Hi G Tek IGMA51916 Master handheld terminal User Manual Hi G Tek MHHT Manual
Hi-G-Tek Ltd Master handheld terminal Hi G Tek MHHT Manual
UserManual.wiki
>
Hi G Tek
>
IGMA51916 User Manual
>
User Manual
Contents
1.
User Manual
2.
Users Manual
User Manual
Navigation menu
Upload a User Manual
Namespaces
Wiki Guide
HTML
PDF
Info
Views
User Manual
Discussion / Help
Navigation
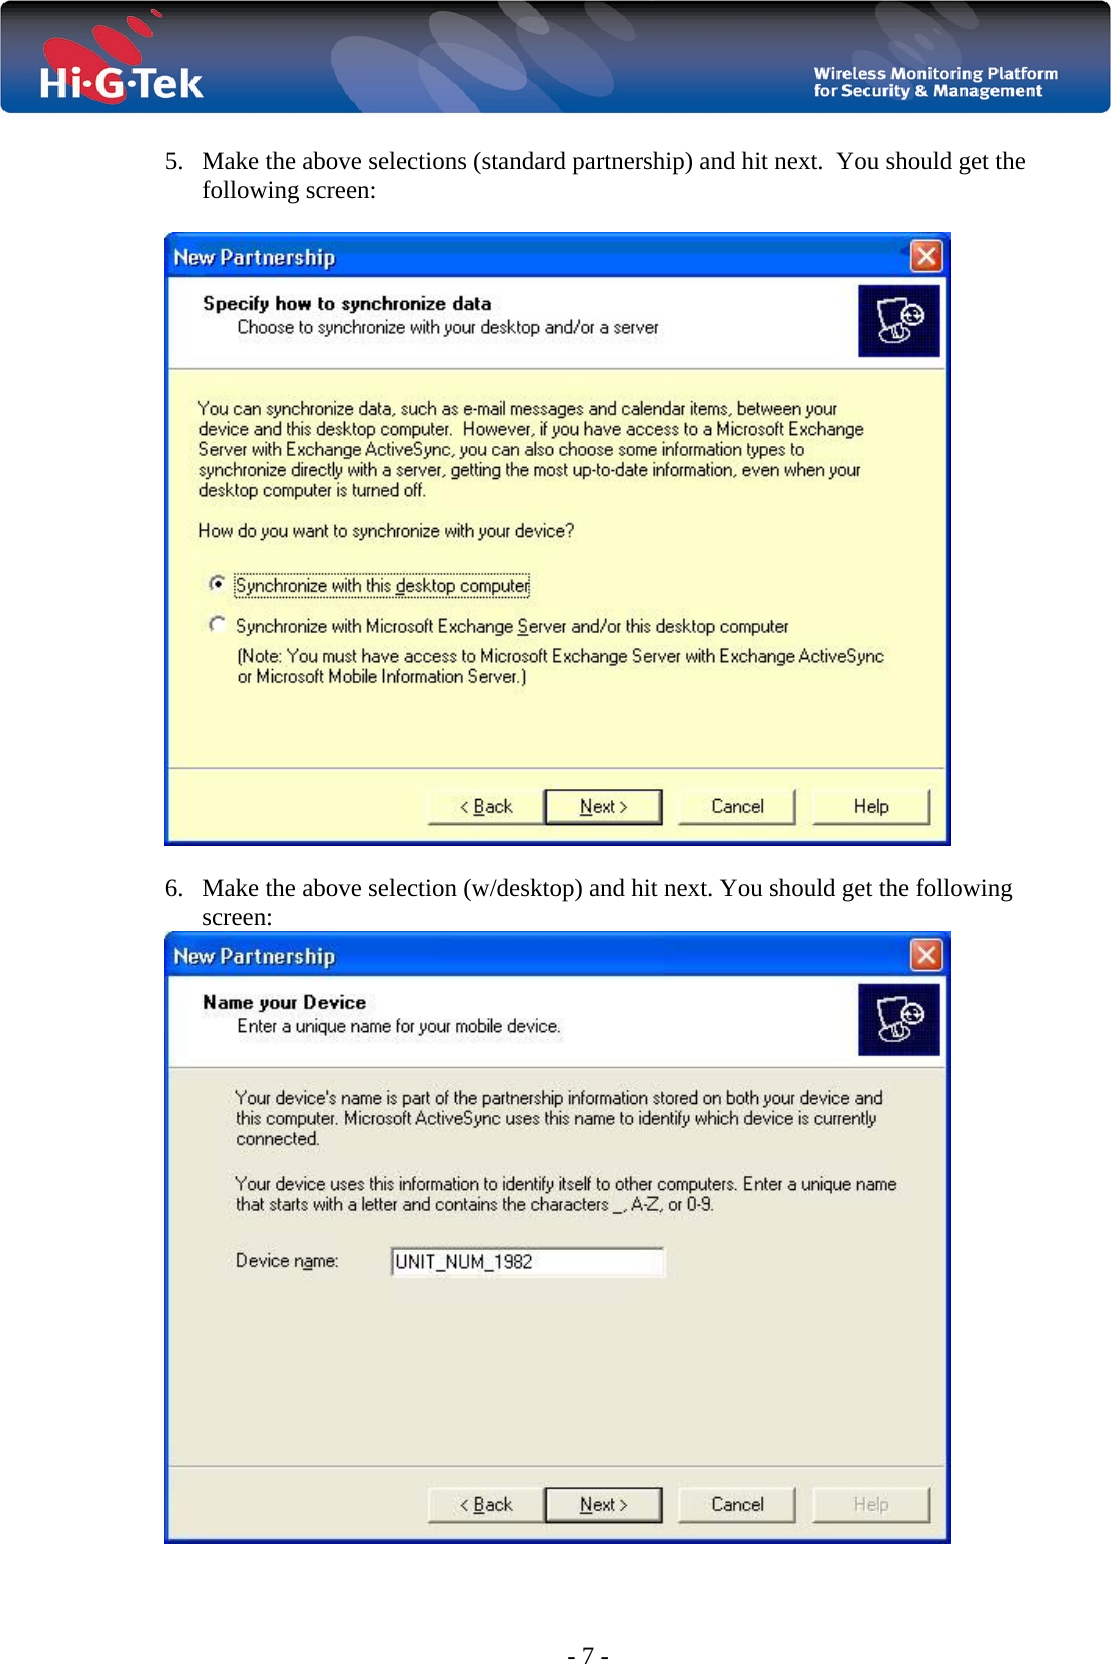
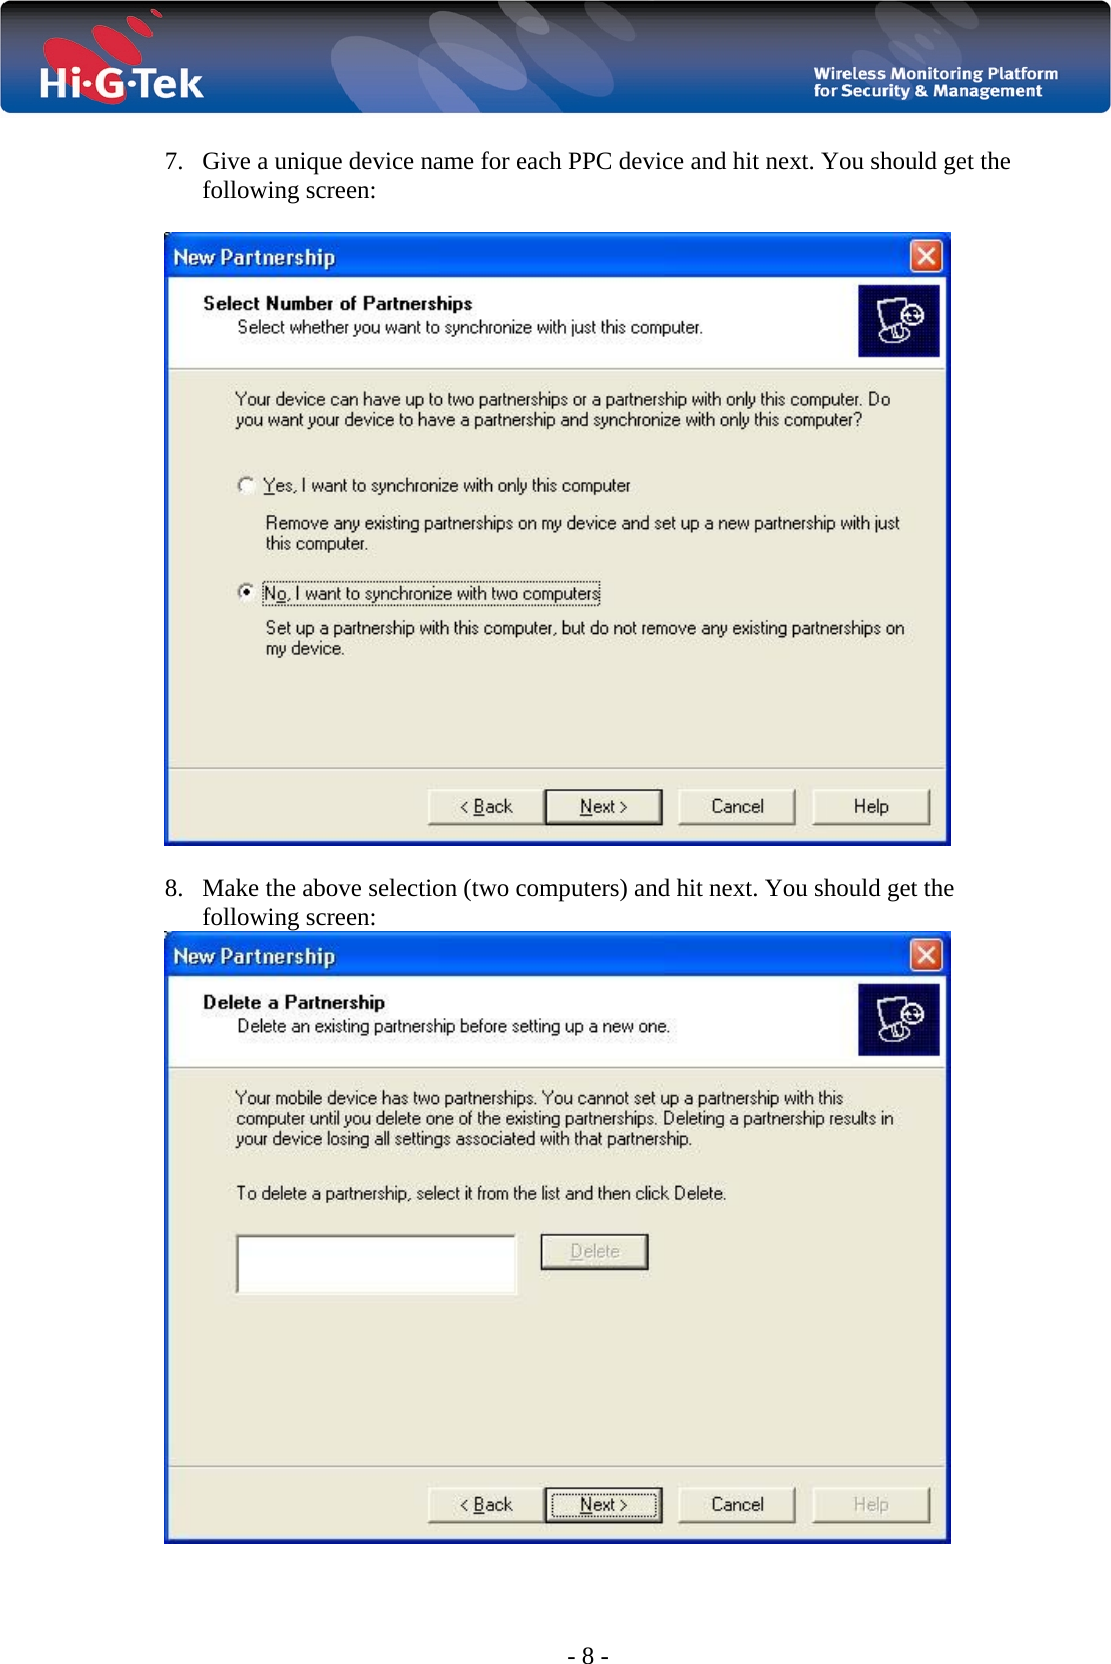
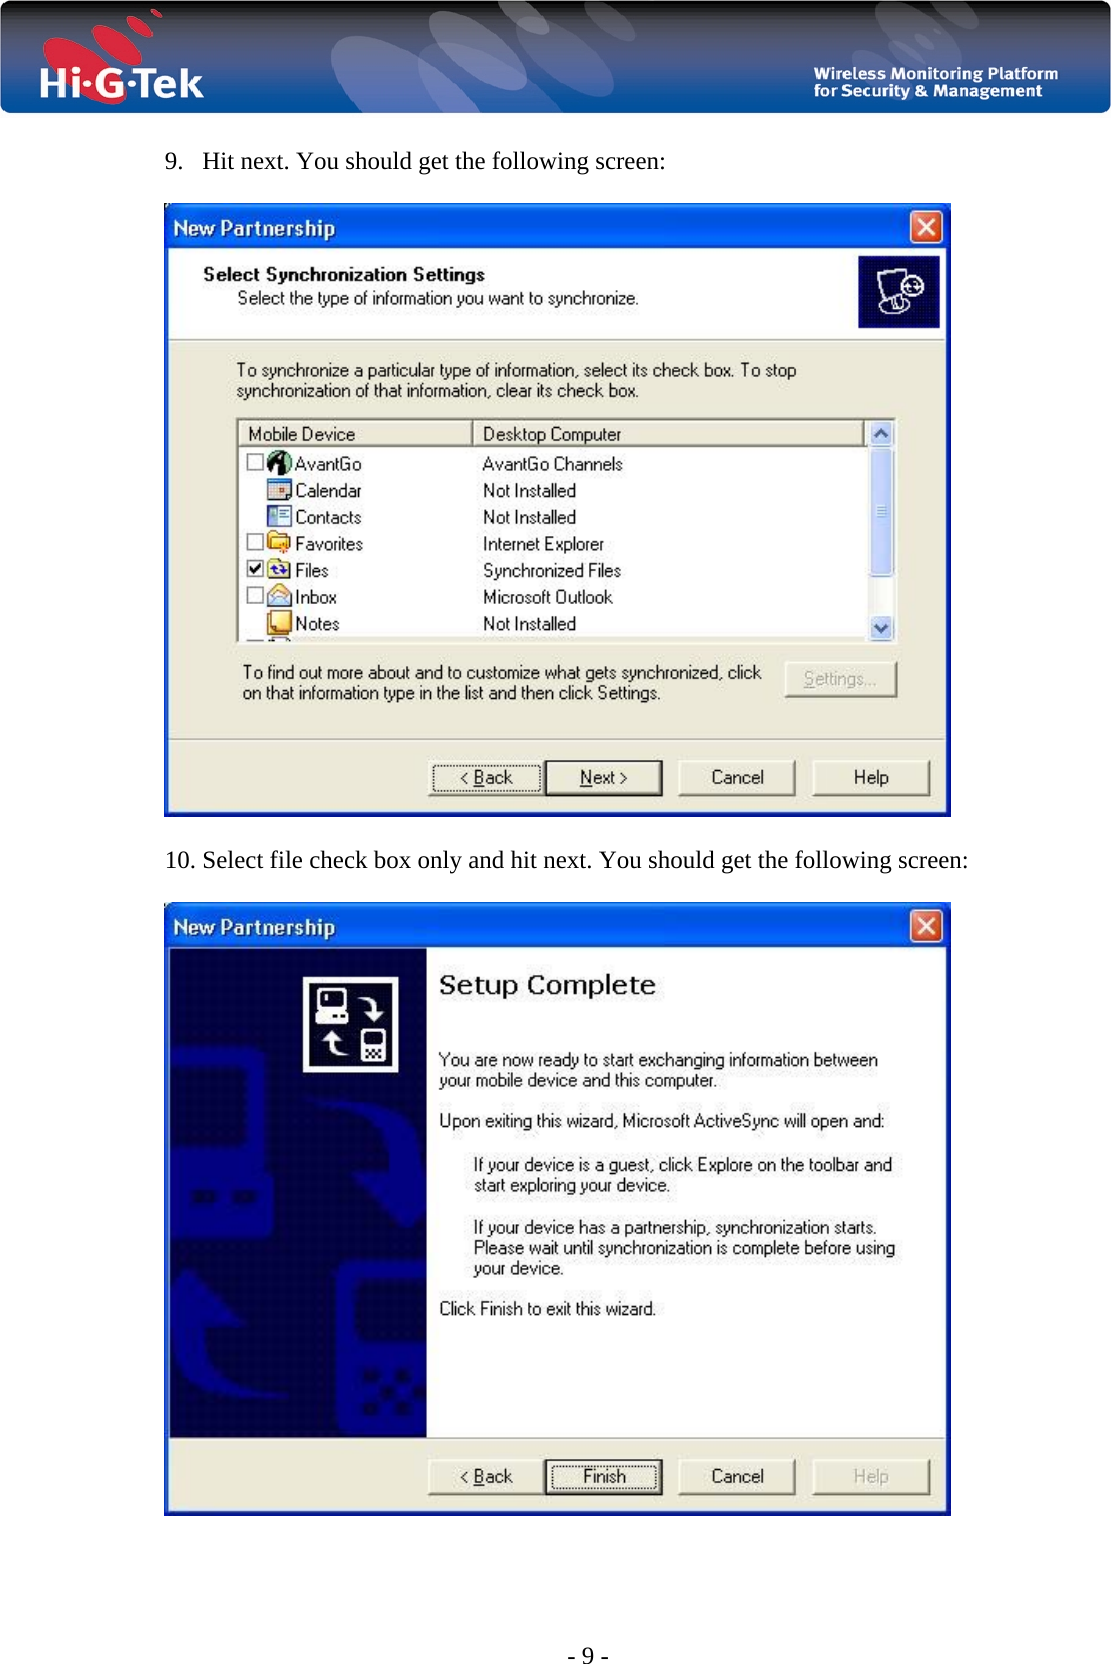
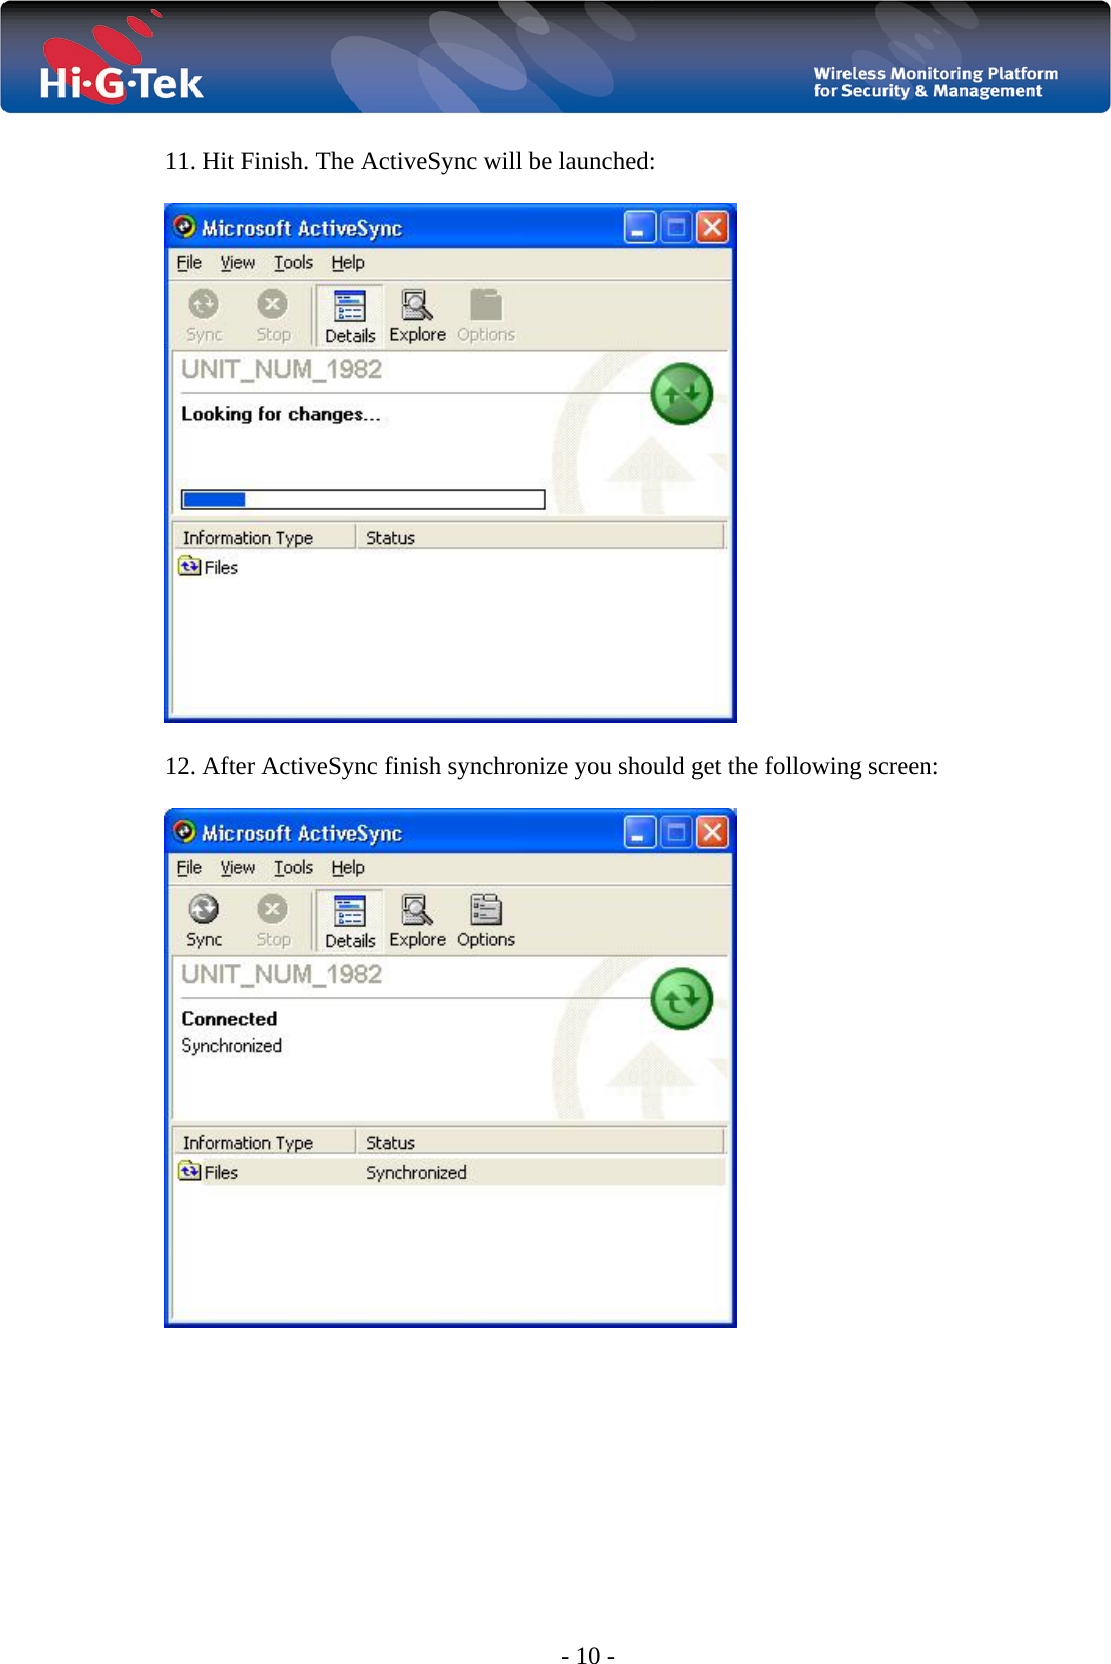
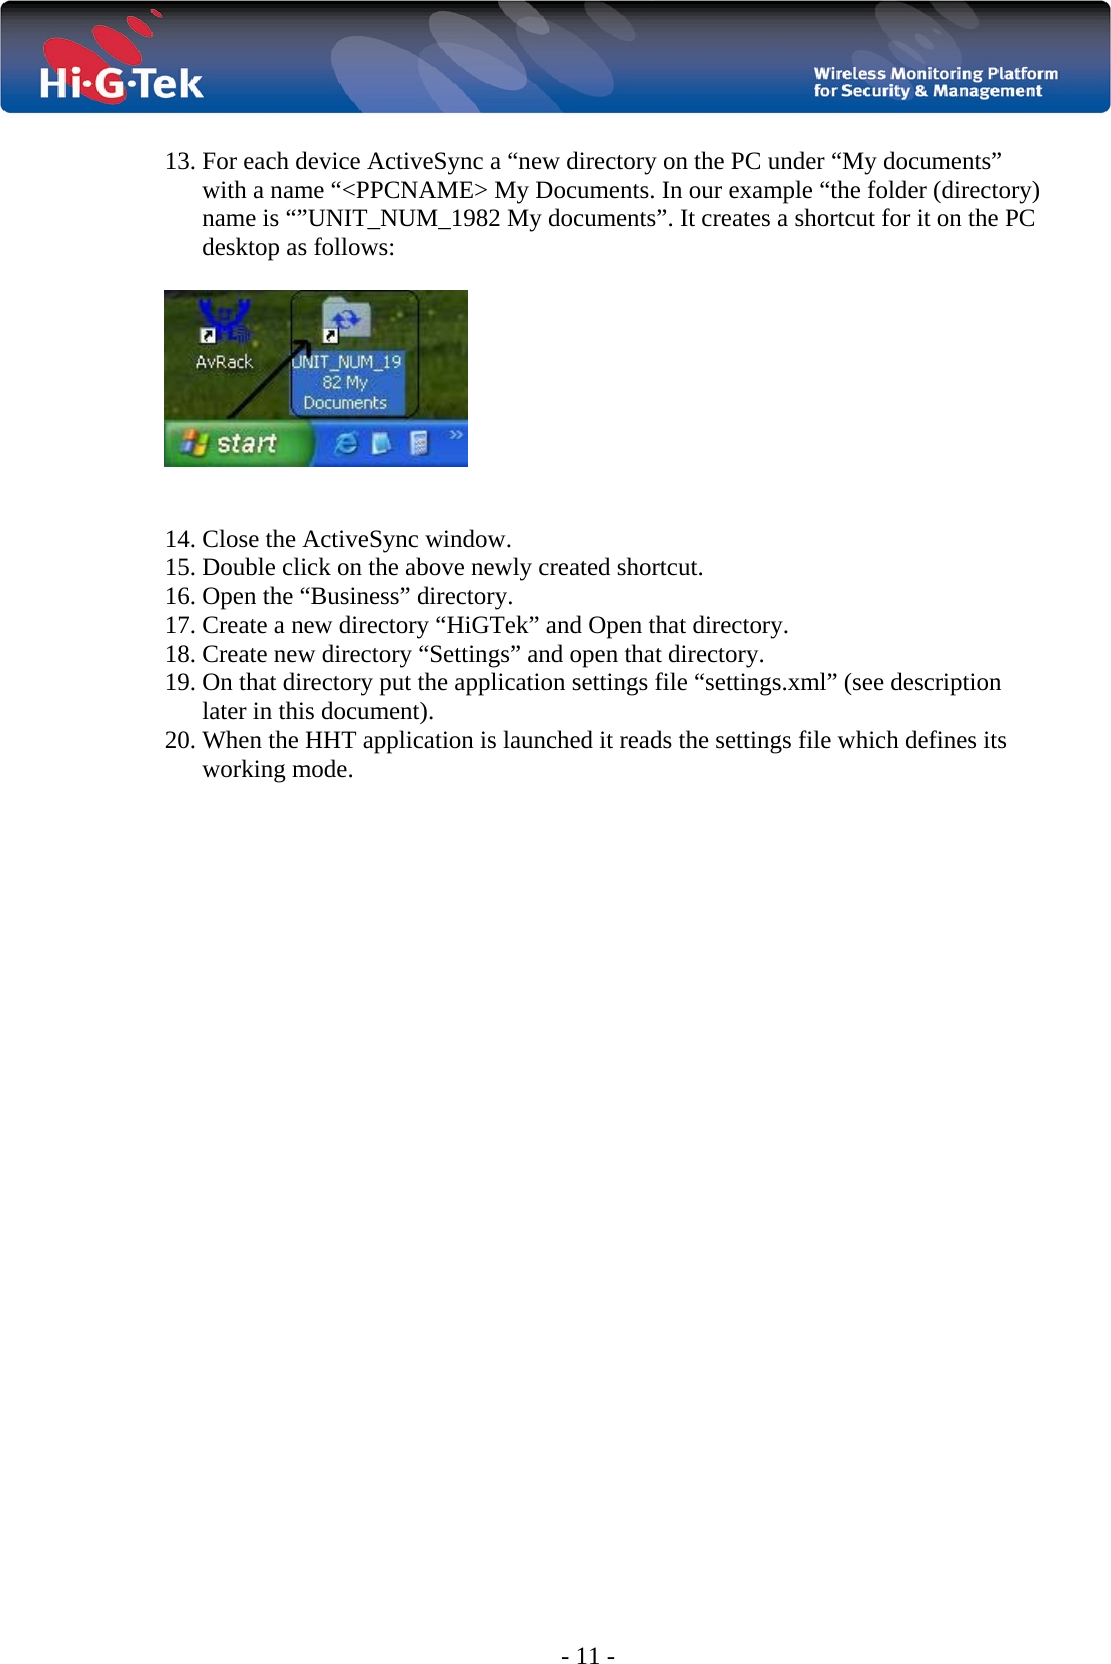
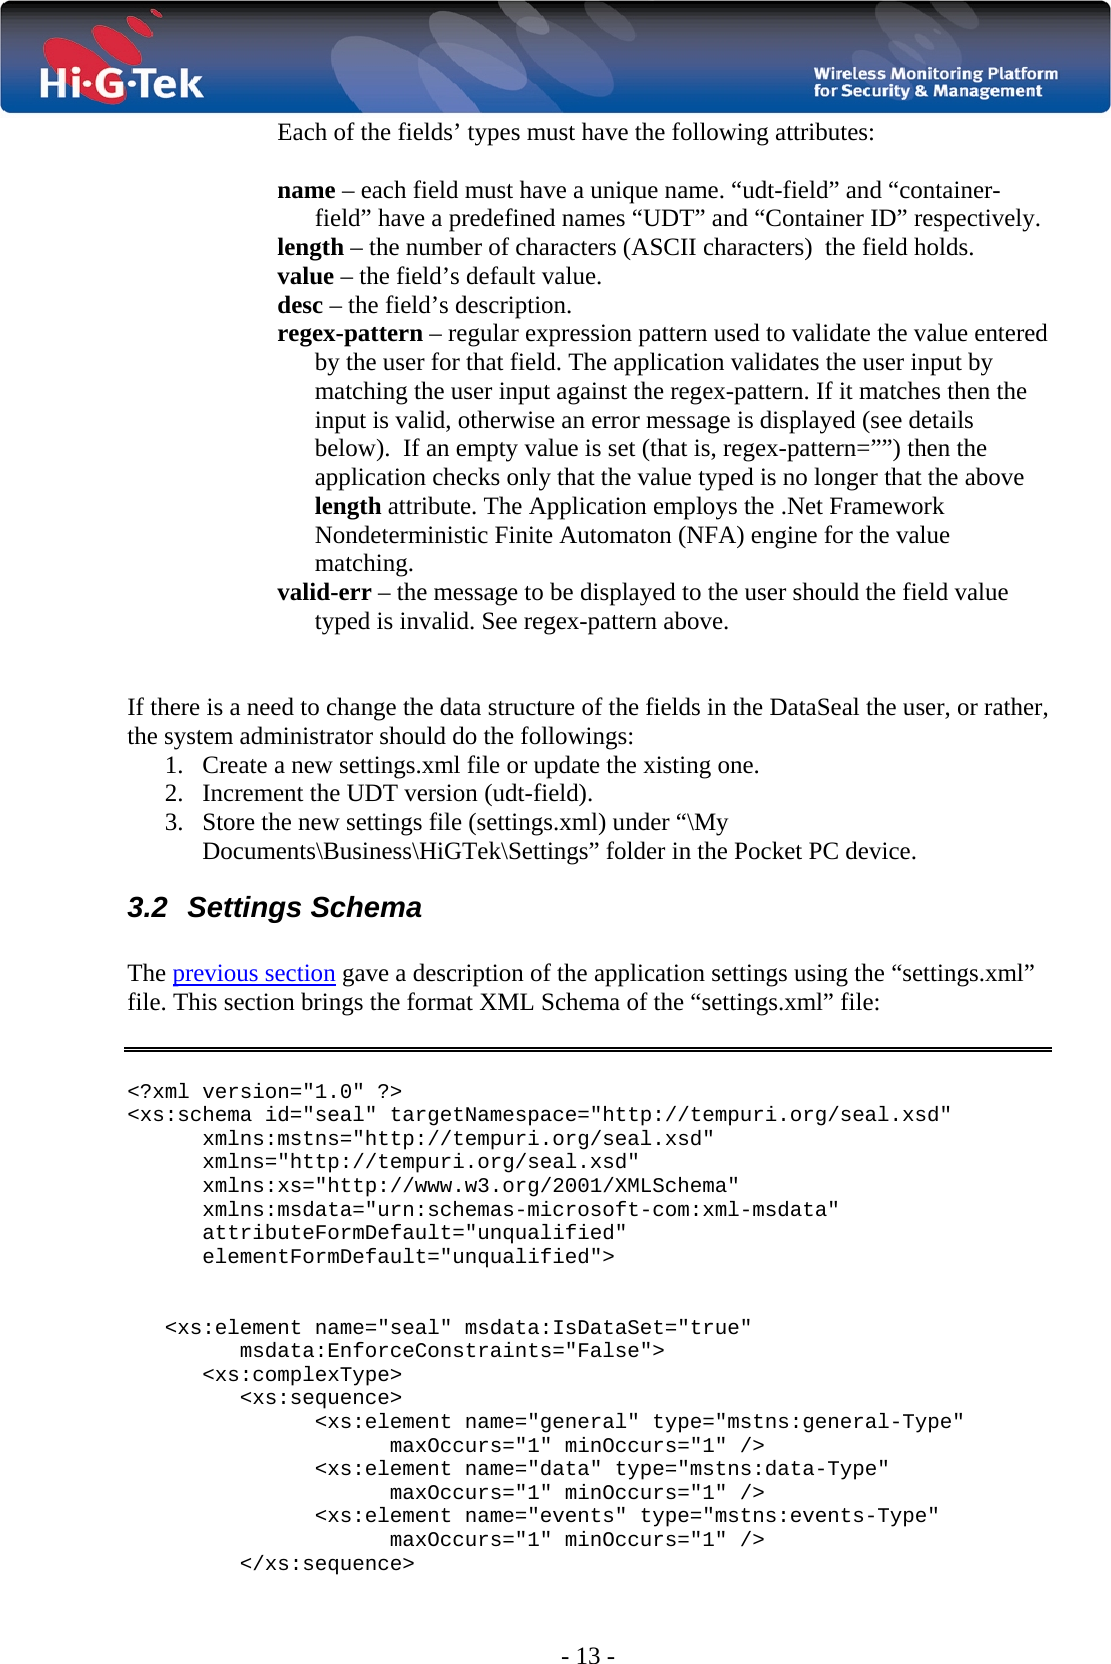
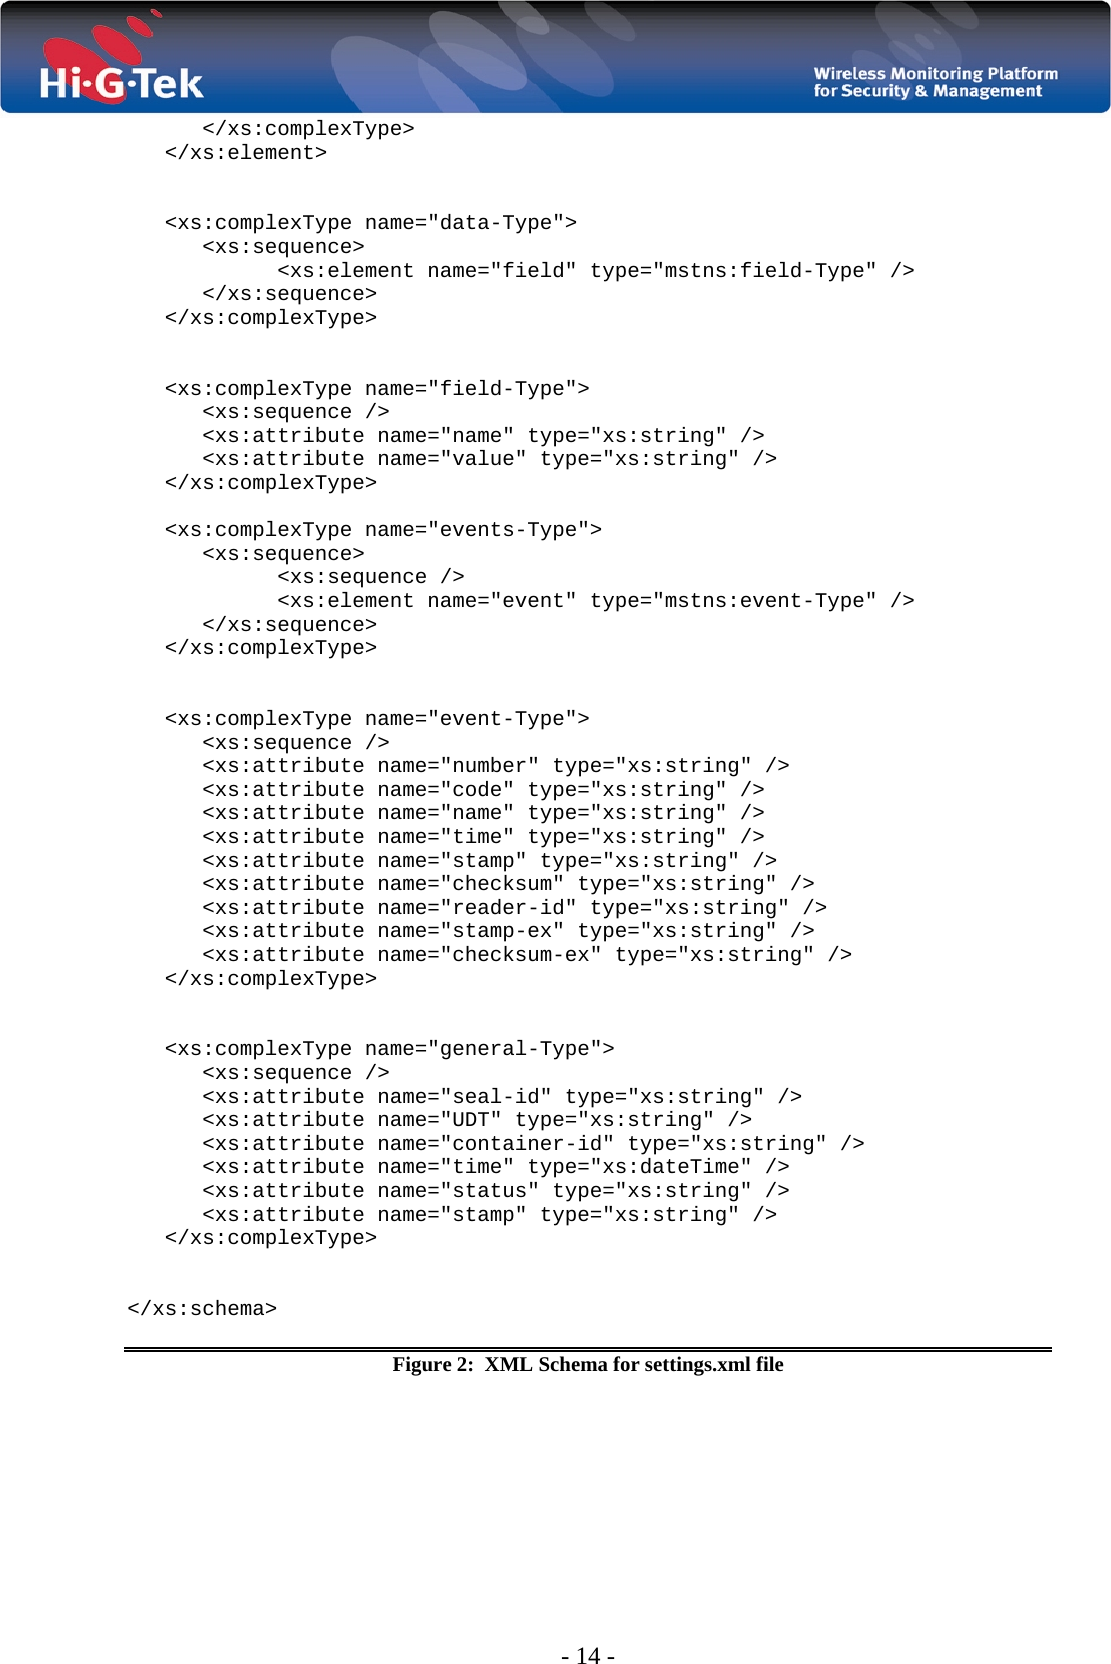
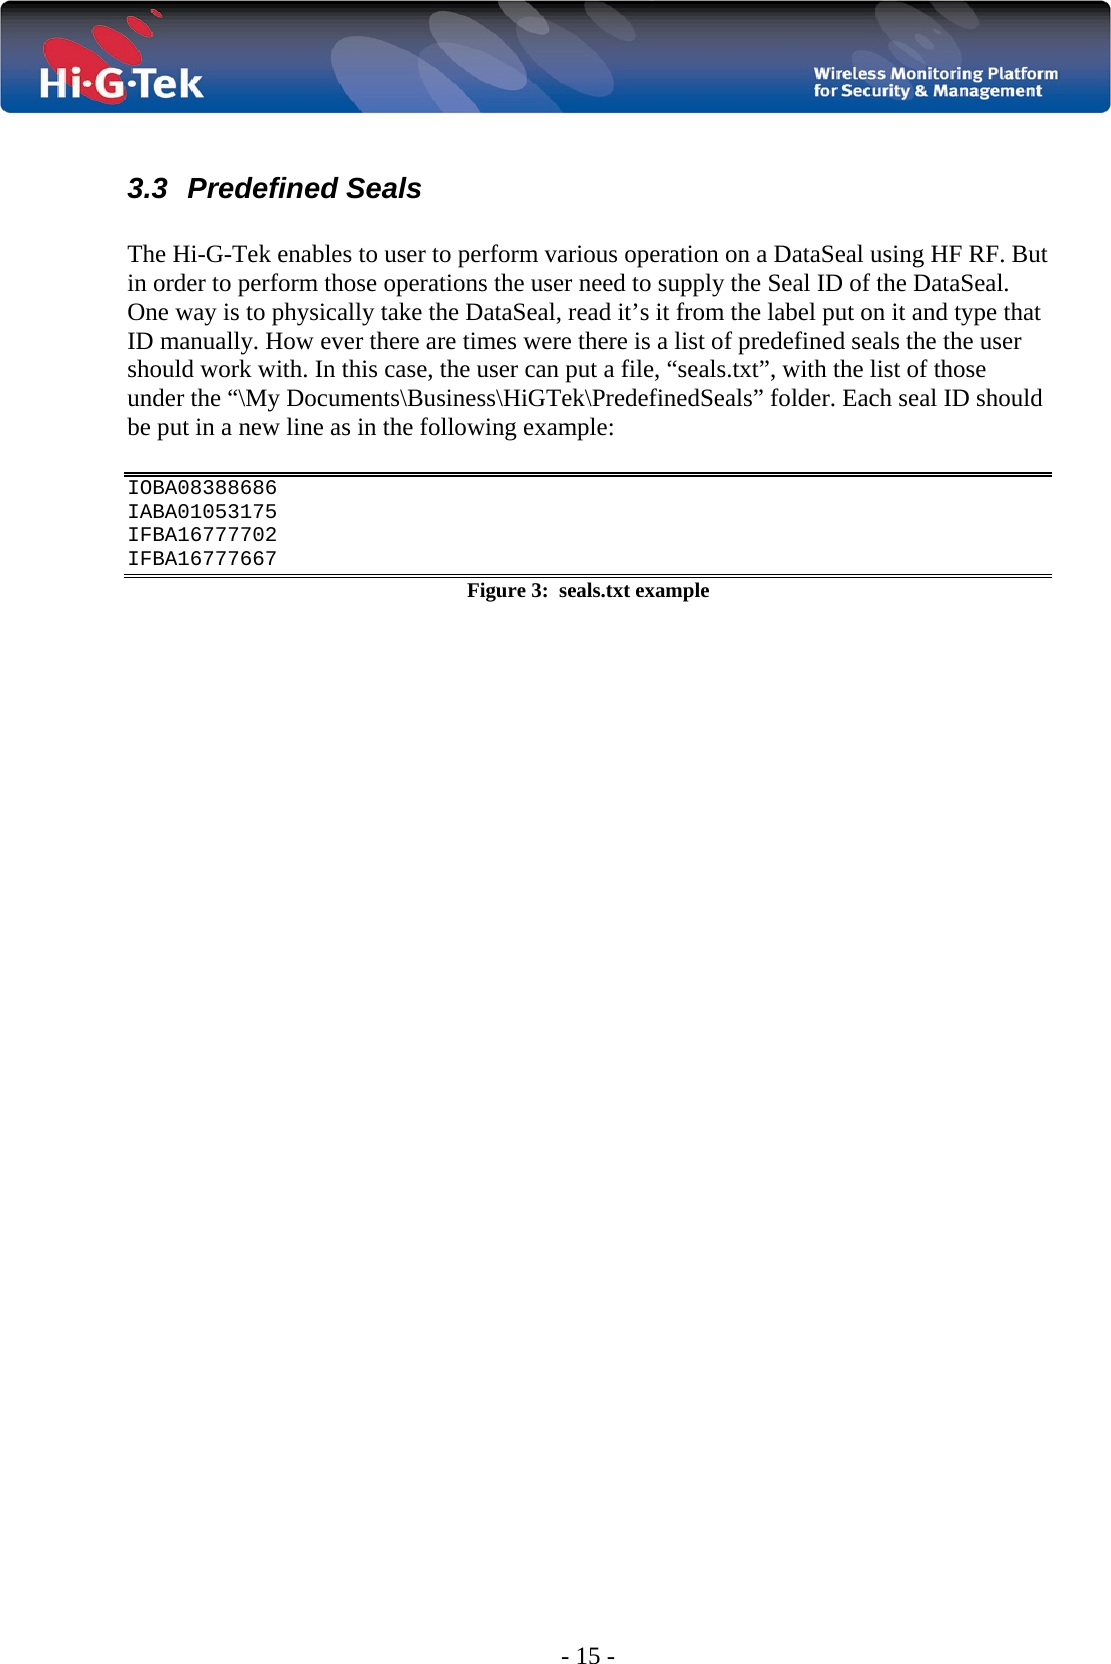
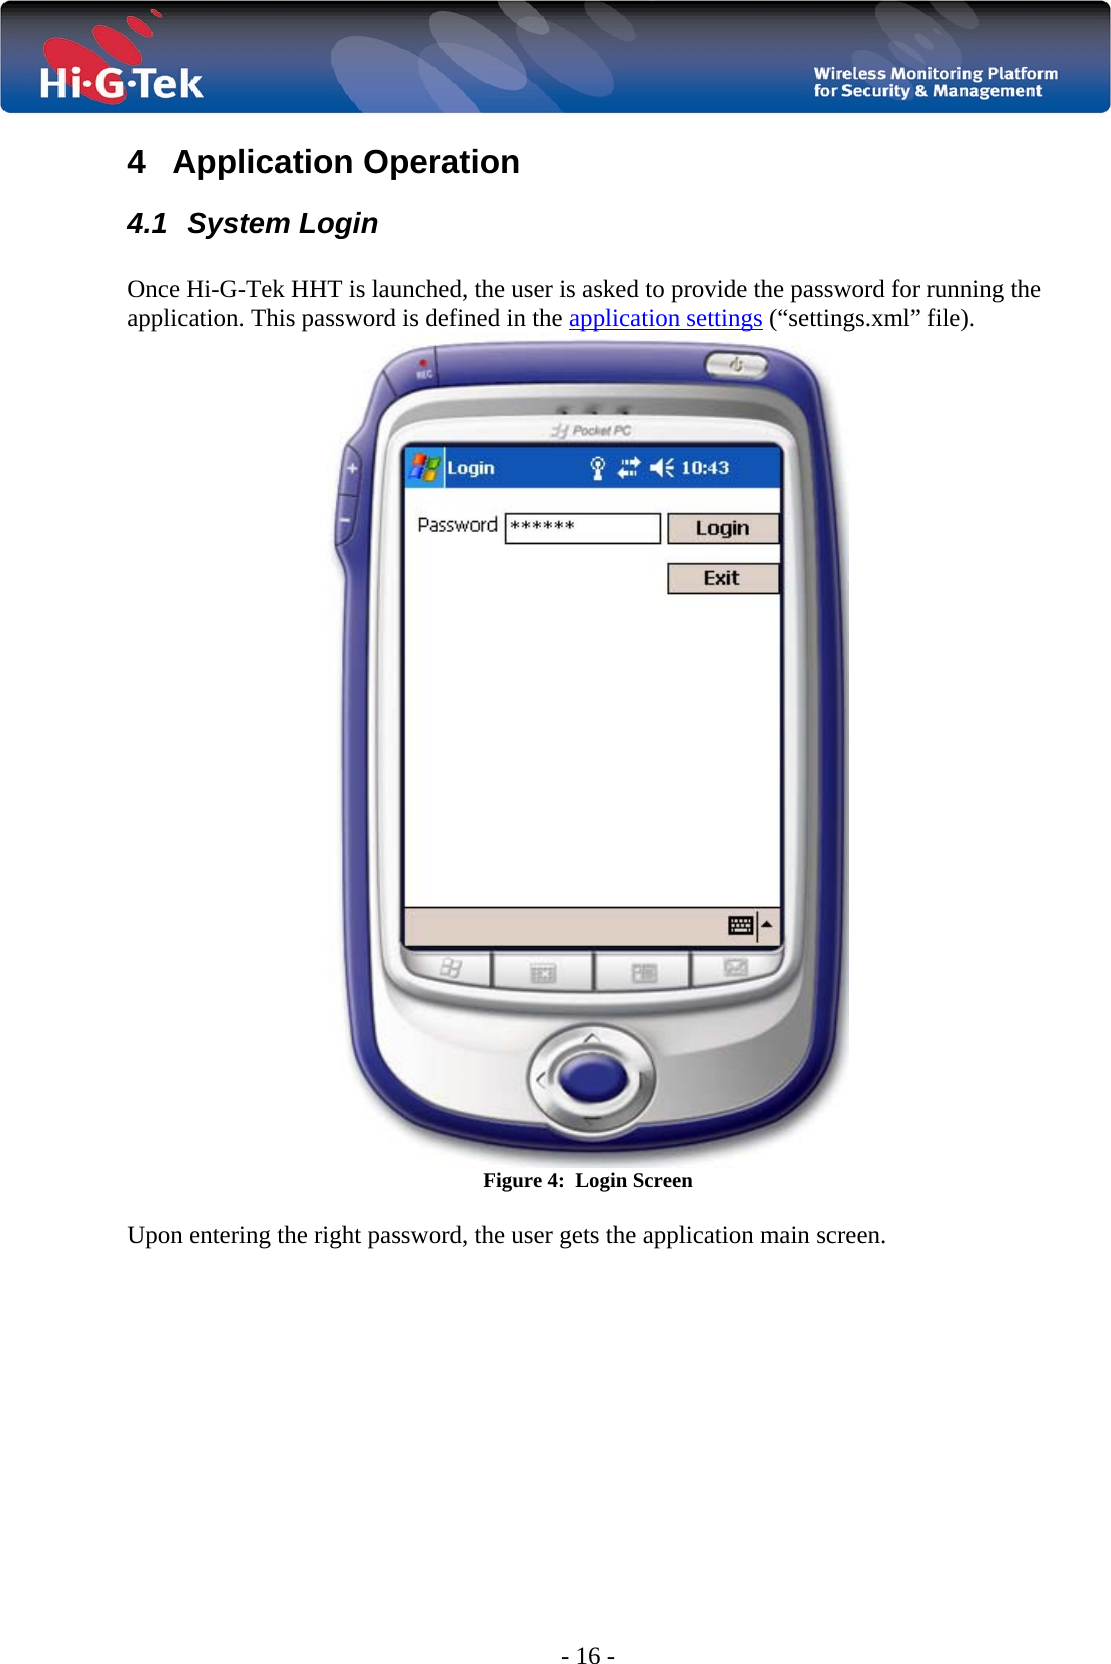
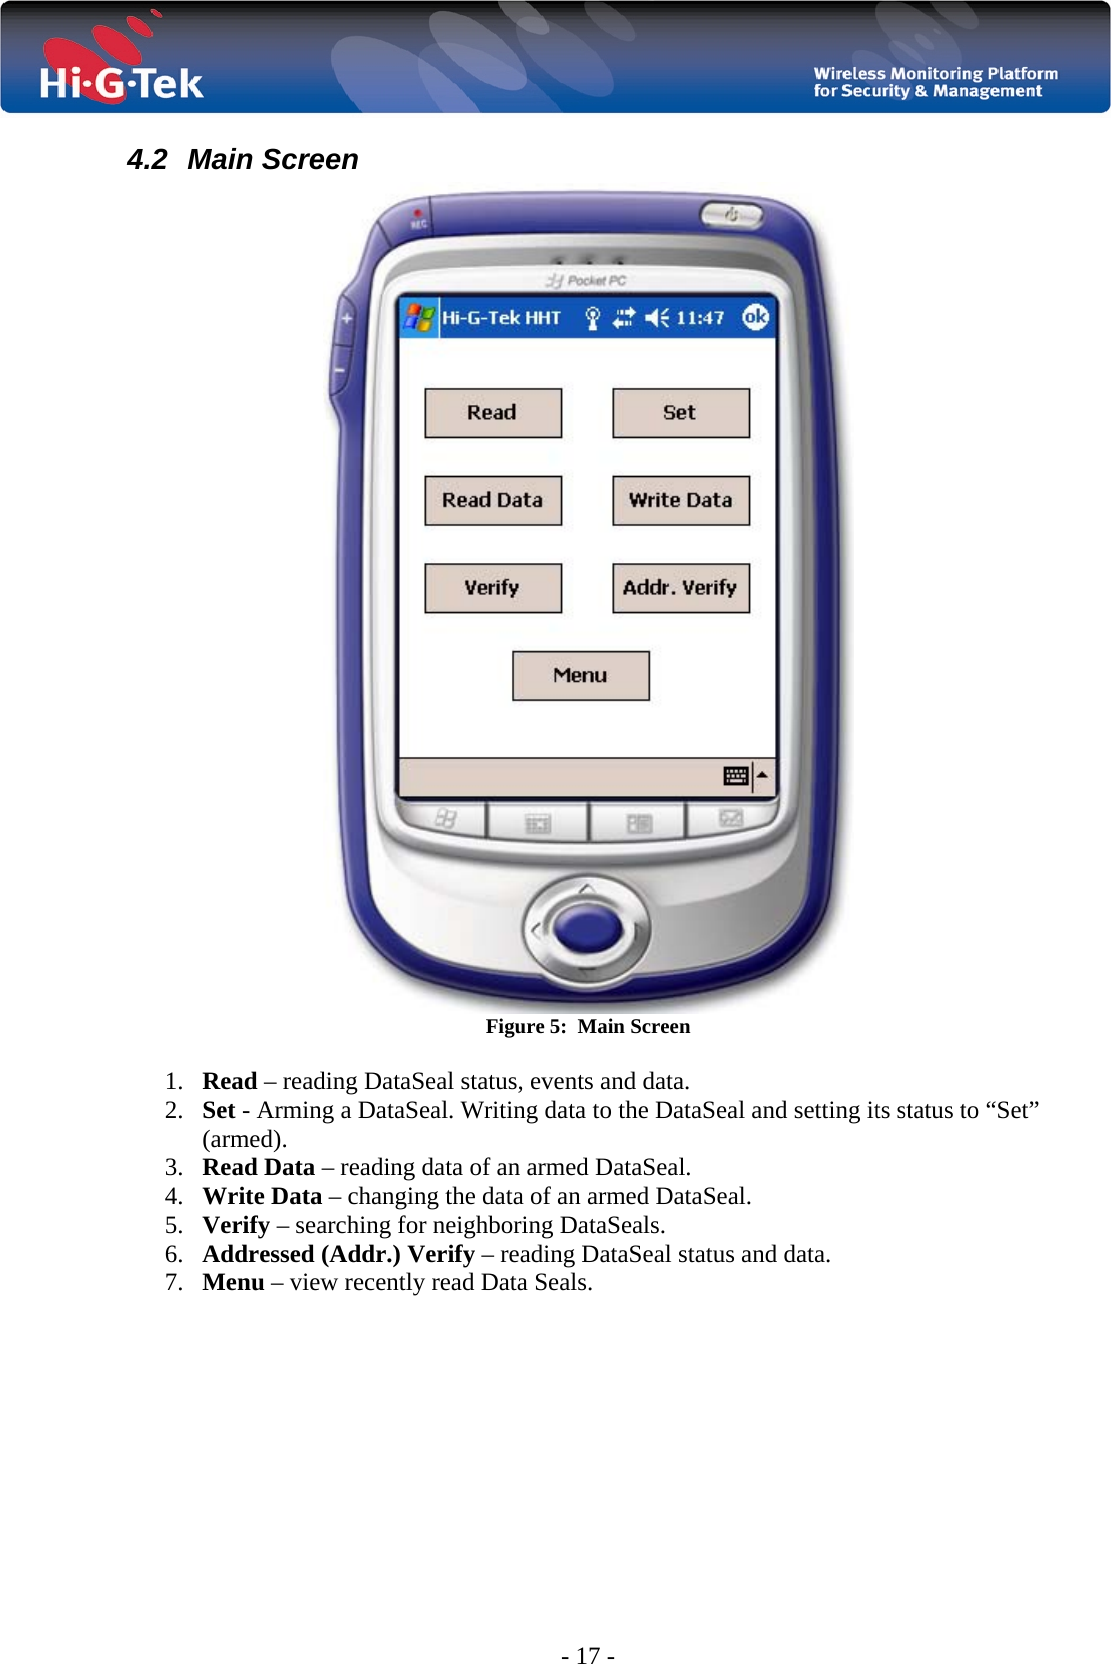
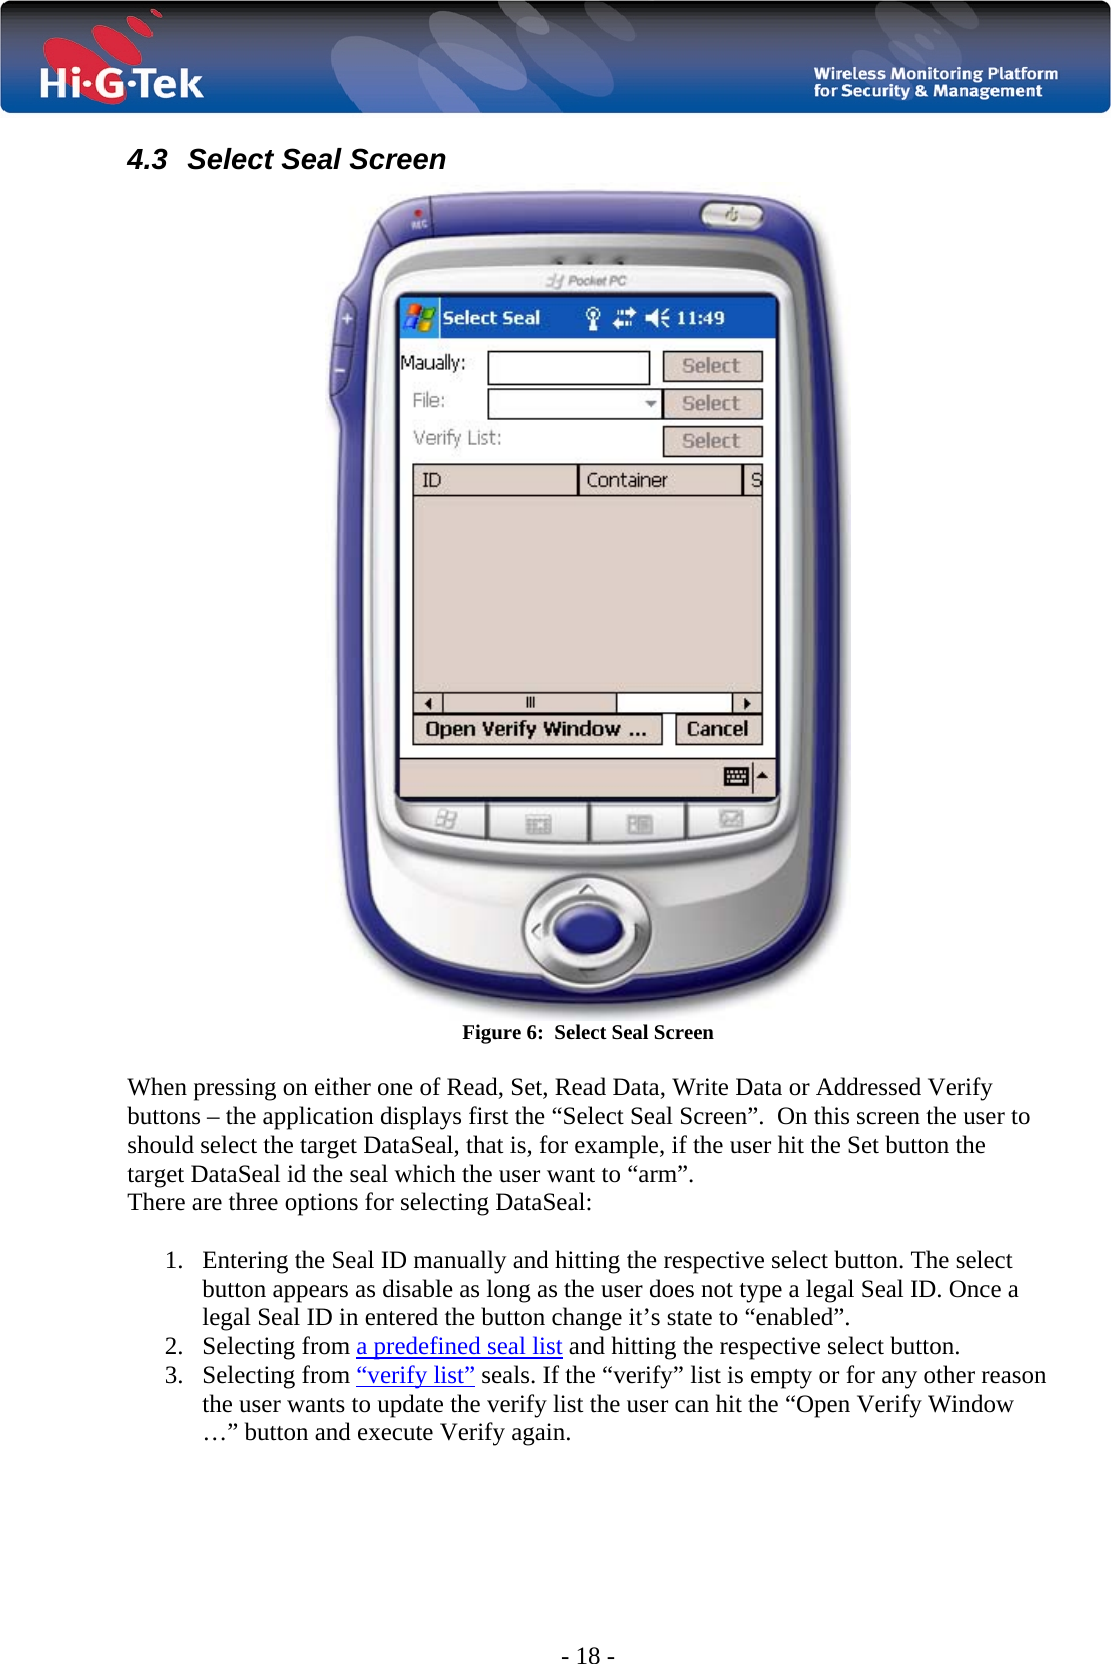
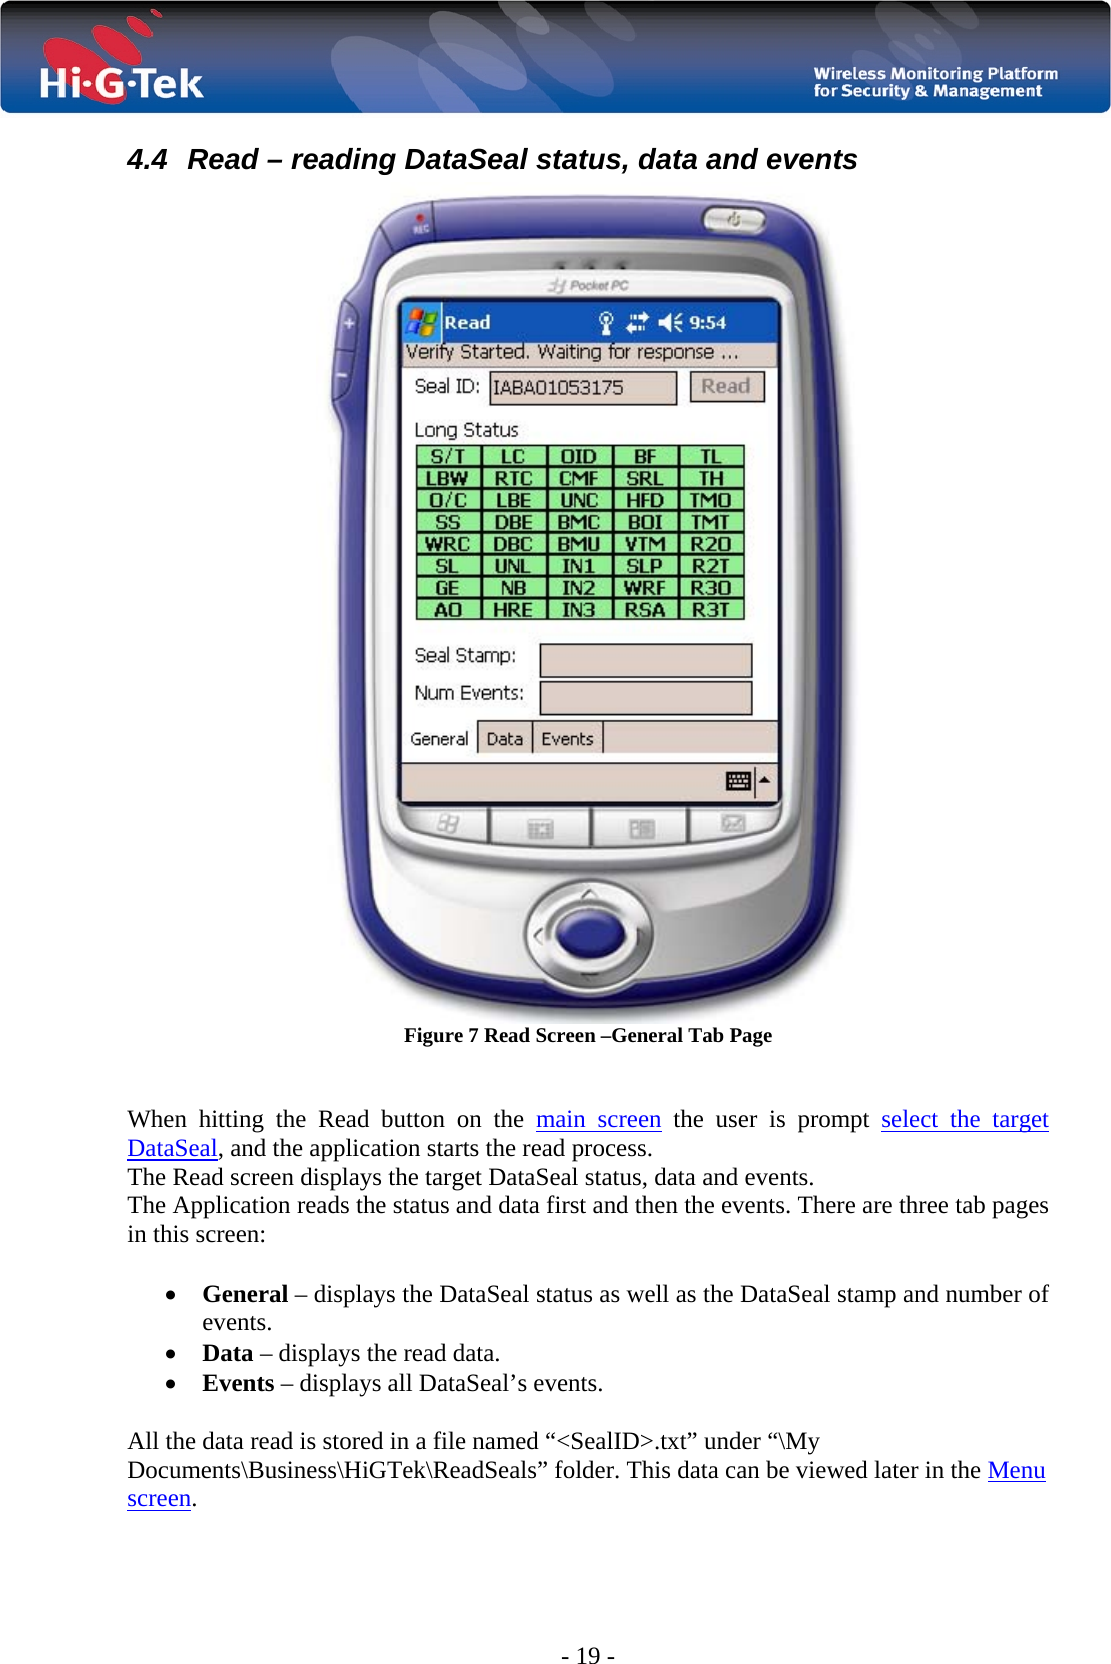
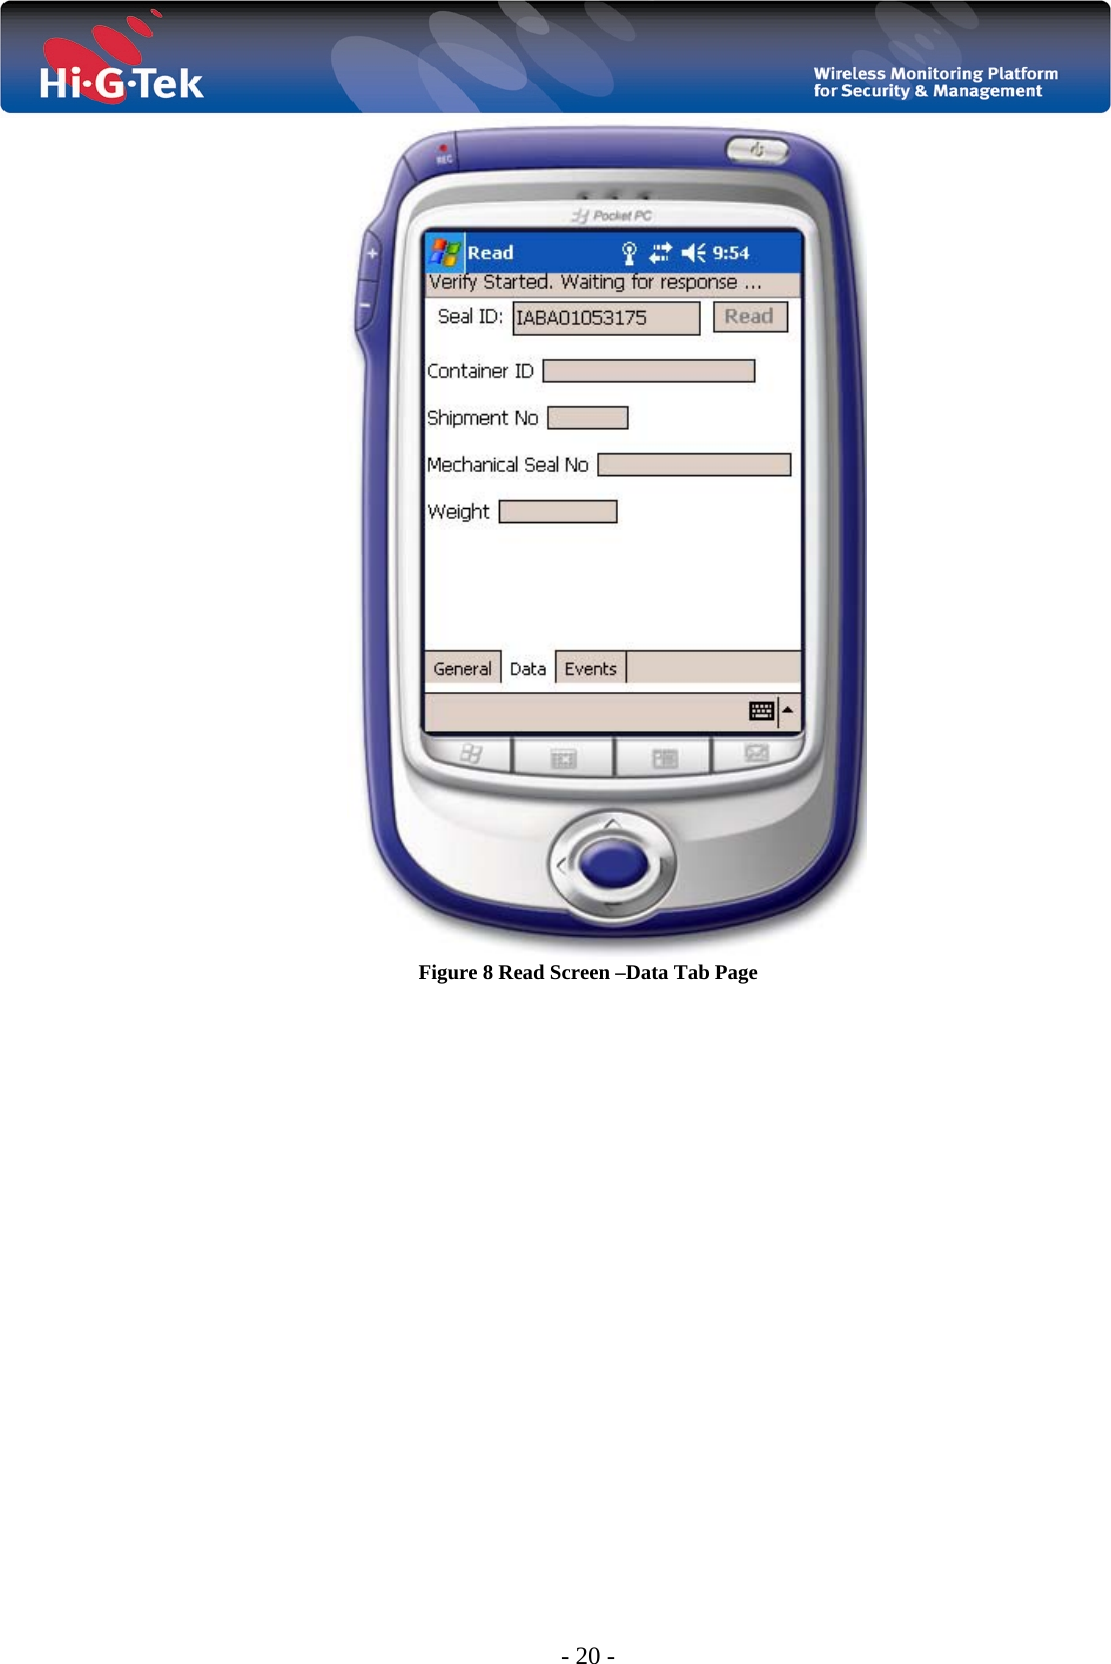
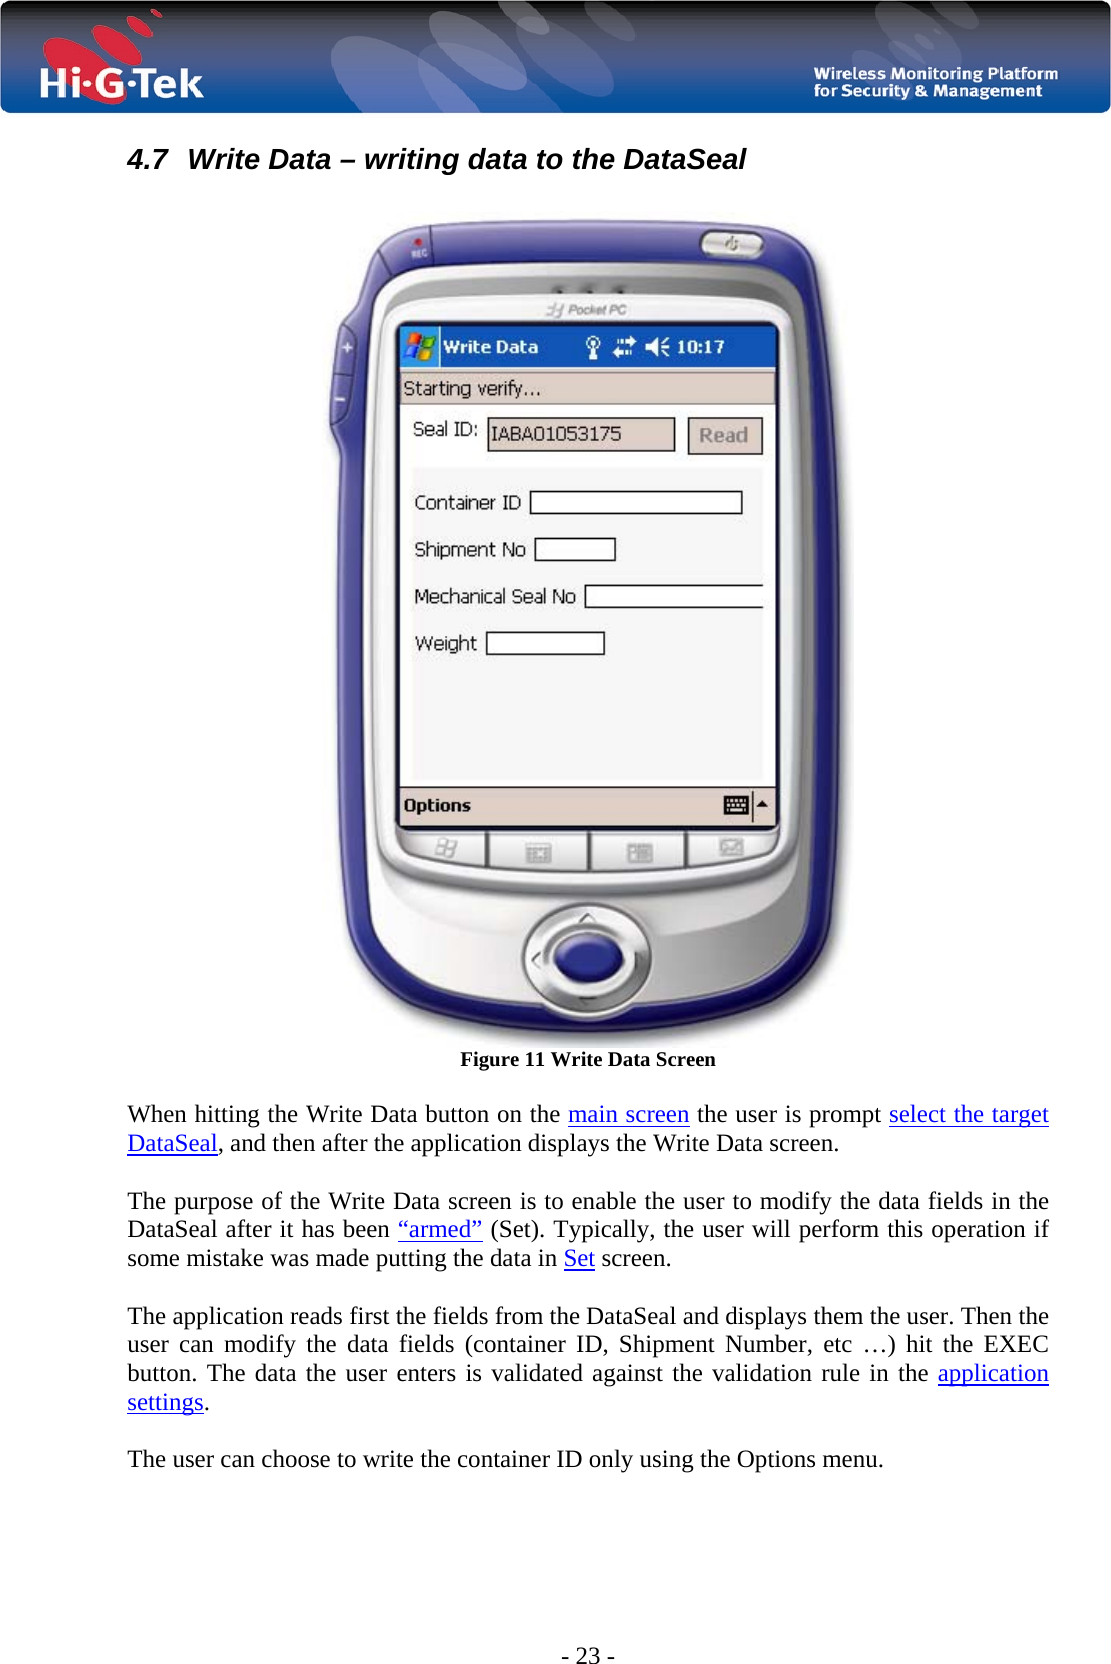
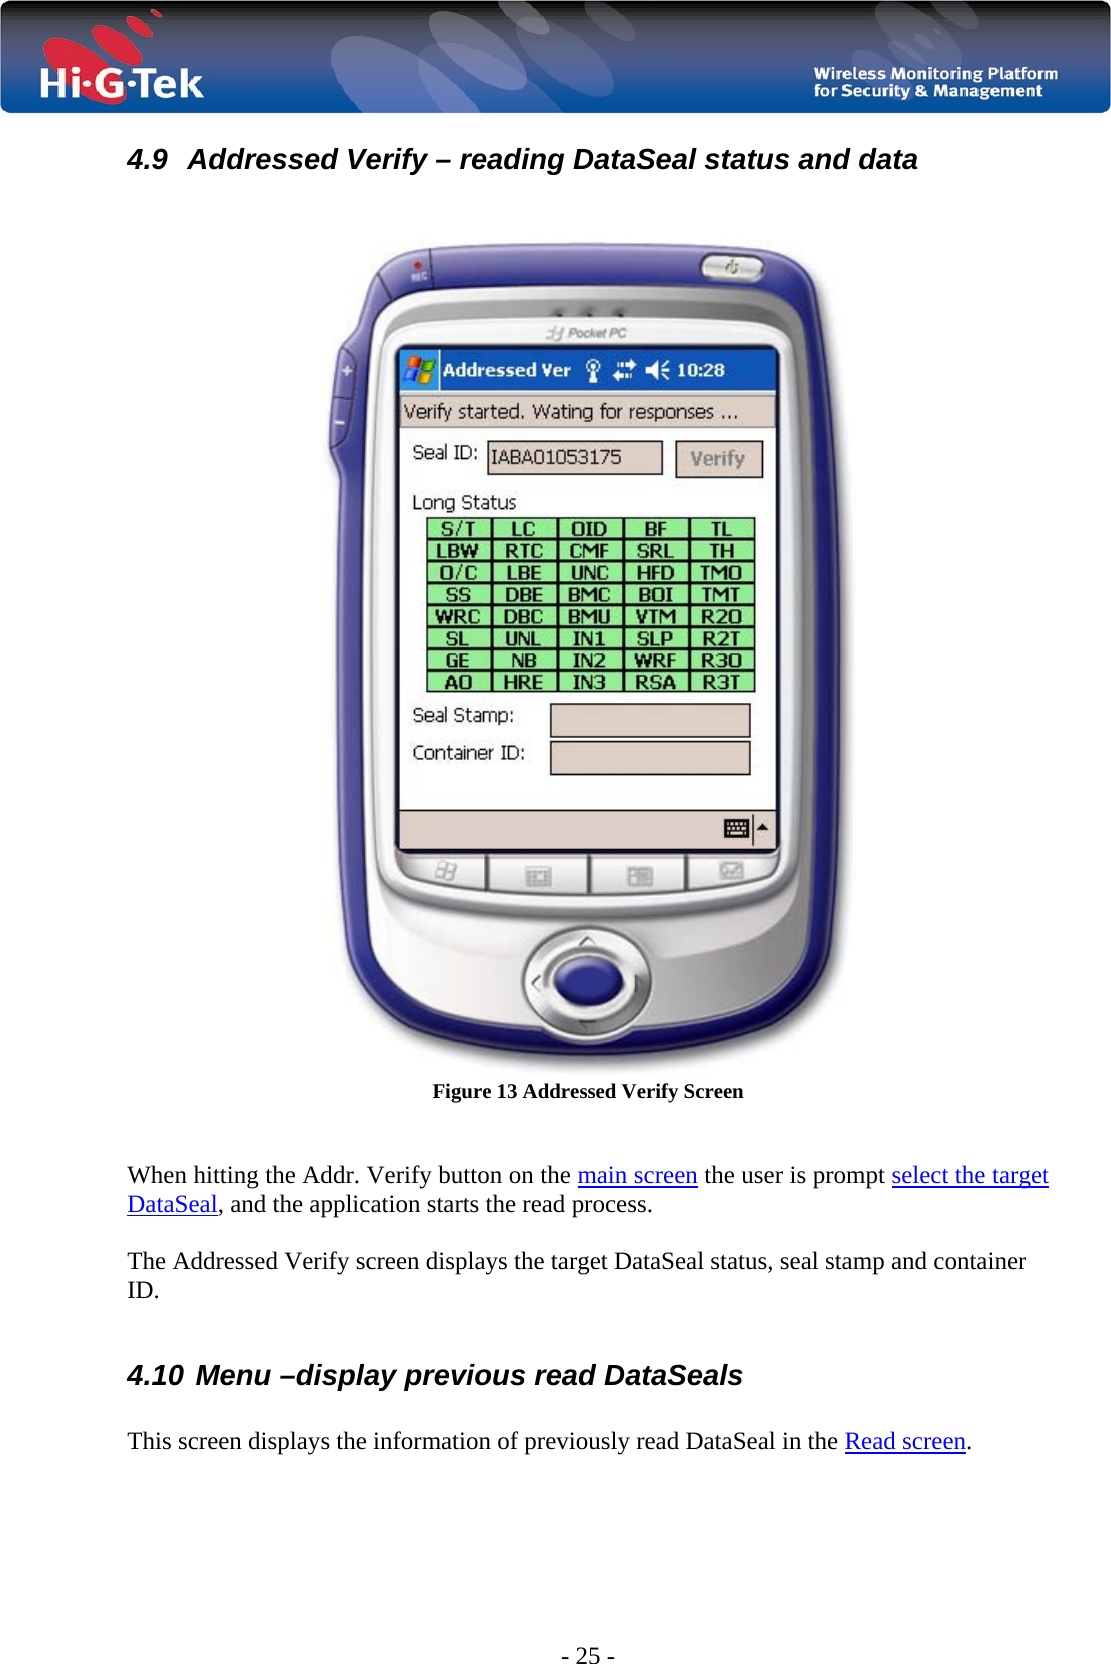
![- 12 - 3 Application Settings 3.1 General description Hi-G-Tek HHT application enables the user to customize it’s setting using the setting.xml file. This file has the following format: <?xml version="1.0" encoding="utf-8" ?> <settings xmlns="http://tempuri.org/settings.xsd"> <options settype="Normal" password="" /> <fields> <udt-field name="UDT" length="6" value="1.0.0" desc="The verion of the field list" regex-pattern=".{0,6}" valid-err-msg="Invalid version" /> <container-field name="Container ID" length="11" value="" desc="The container ID" regex-pattern="[0-9a-zA-Z]{11}" valid-err-msg="Invalid container ID" /> <field name="Shipment No" length="4" value="" desc="Shipment Number" regex-pattern="[0-9a-zA-Z]{4}" valid-err-msg="Invalid shipment number. Must be 4 alphanumeric characters. For example, A827" /> <field name="Mechanical Seal No" length="10" value="" desc="Mechanical Seal Number" regex-pattern="[0-9a-zA-Z]{10}" valid-err-msg="Invalid mechanical seal number. Must be 10 alphanumeric characters. For example, ABCD123456" /> <field name="Weight" length="6" value="" desc="Weight" regex-pattern="\d{1,6}" valid-err-msg="Invalid weight. Must be upto 6 digits number. For example, 56233" /> </fields> </settings> Figure 1: settings.xml example Where settings – is the root element. options – is a general settings options. It includes the following settings: settype – the type of Set the CF Reader should perform when the user hit the Set button. The options are: Normal, Soft and Suspended. password – the password required in order to use the application. fields – describes the data structure of fields stored in the DataSeal. This fields hold the information about the container, shipment etc…. There can be three types of fields: udt-field – the data structure version. There should be one and only one “udt-field” field and it should be the first field. This field is, of course, required. container-field – the container number. There should be one and only one “container-field” field and it should be the second field. This field is, of course, required. field – this could be any additional field of data we want to store in the DataSeal. There can be no “field” field, one “field” field or more that one “field” field. Thus, this field is optional.](https://usermanual.wiki/Hi-G-Tek/IGMA51916.User-Manual/User-Guide-1107240-Page-12.png)