HiTeC Digital Audio HDA-DXM7110 7.1 CHANNEL DIGITAL SOUNDCARD User Manual USERS MANUAL
Hitec Digital Audio 7.1 CHANNEL DIGITAL SOUNDCARD USERS MANUAL
UserManual.wiki
>
HiTeC Digital Audio
>
HDA DXM7110 User Manual
USERS MANUAL
Navigation menu
Upload a User Manual
Namespaces
Wiki Guide
HTML
PDF
Info
Views
User Manual
Discussion / Help
Navigation
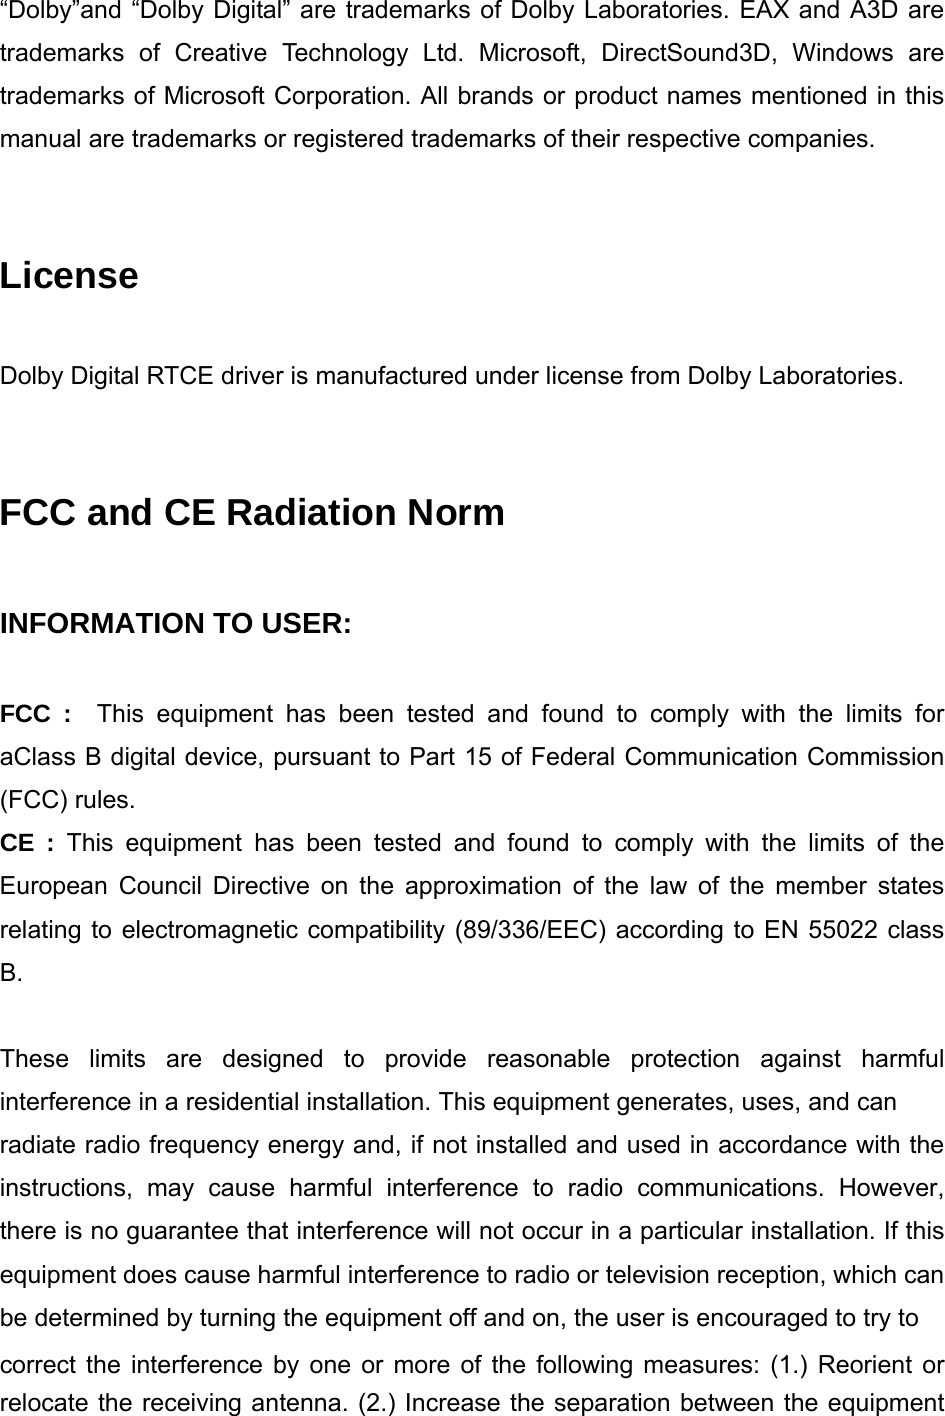
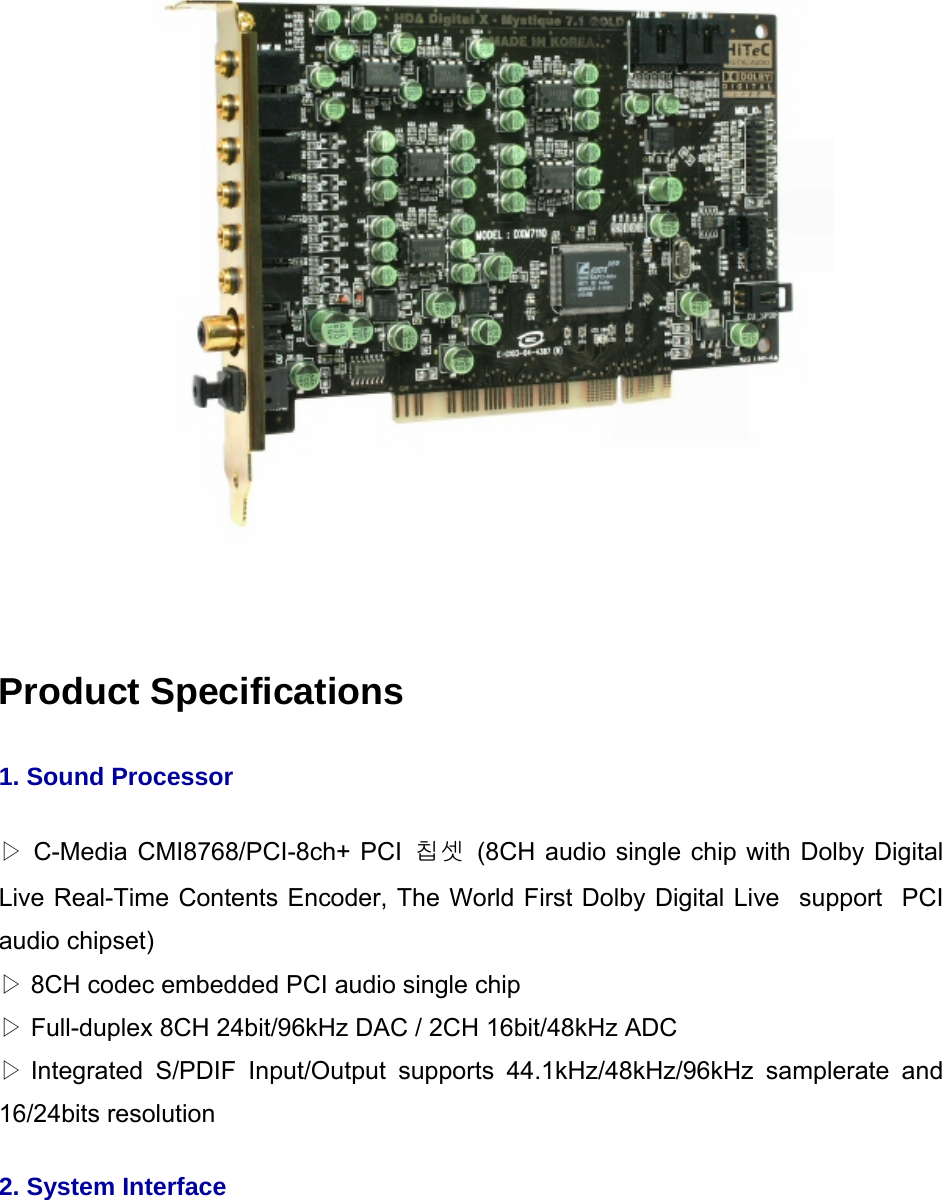

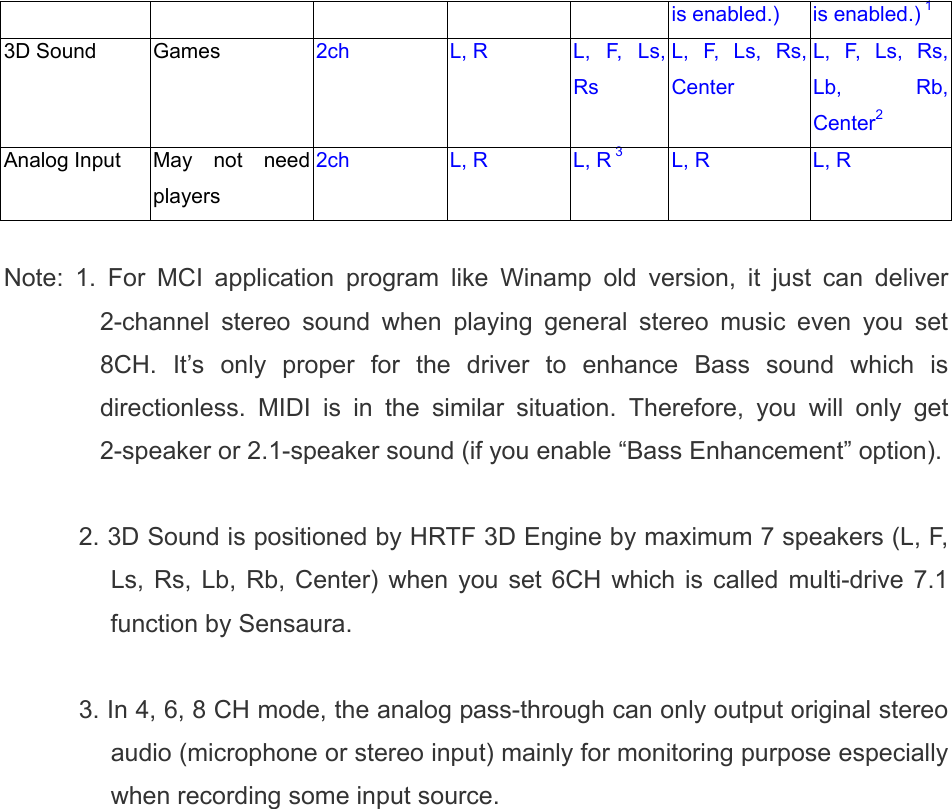
![4. Onboard COAXIAL RCA connector, OPTICAL Toslink trasmitter for high quality Digital Output) 5. Supports 44.1kHz / 48kHz / 96kHz S/PDIF Input with HDA X-10 Digital Input extension board [Digital I/O (SPDIF-IN #2)] 6. Supports CD S/PDIF Input (SPDIF-IN #1) 7. Adopt large capacity regulator and 6pcs of DUAL DIP TYPE OPAMP 8. Anti-Pop control Circuit 9. 7.1 Virtual Speaker Shifter 10. Support Stereo MIX recording option and Mic Echo which makes the best environment for Winmap broadcasting 11. Support Karaoke features such as Echo, Magic Voice, Vocal Cancel, and Key Control * All specifications are subject to change without prior notice. System Requirements (Minimum) Intel Pentium III 500MHz CPU or equivalent CPU Motherboard with above level CPU support At least 256MB of RAM One available PCI 2.1 or higher spec compliant slot Microsoft Windows 98SE/ME/2000/Server2003/XP operating system Hardisc Drive supporting UDMA 66/100 and 5400rpm Active 2ch speakers / Headphone or Speakers with powered amplifier](https://usermanual.wiki/HiTeC-Digital-Audio/HDA-DXM7110/User-Guide-510511-Page-9.png)

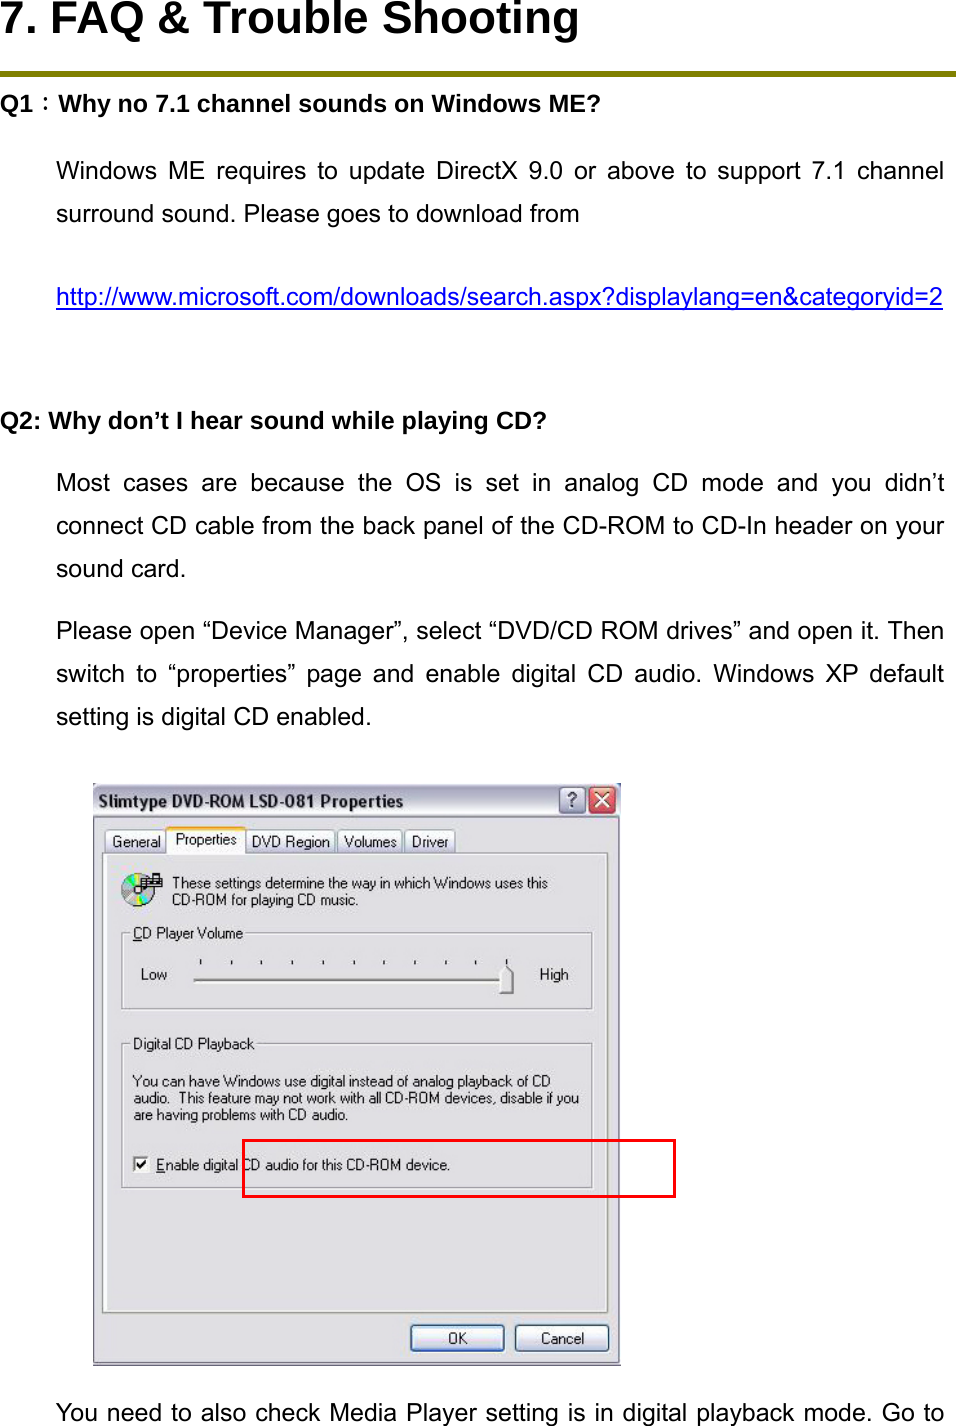
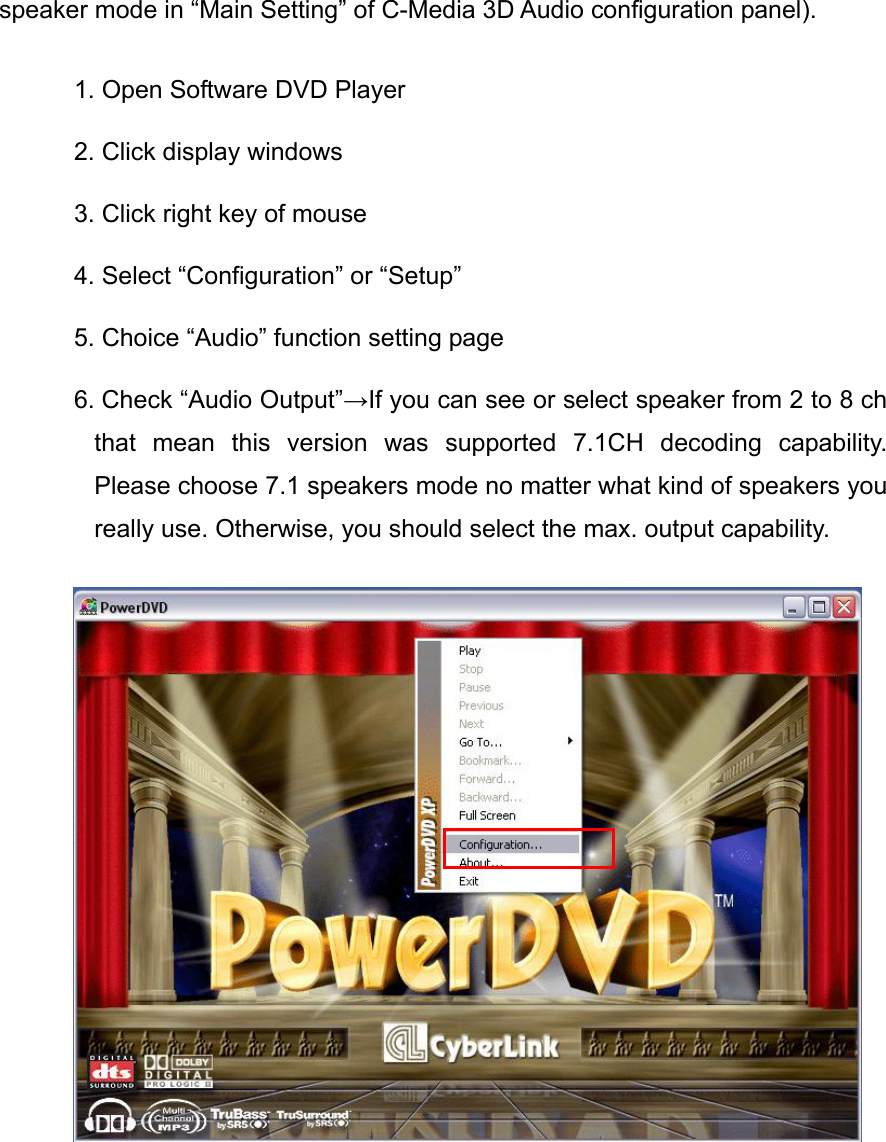
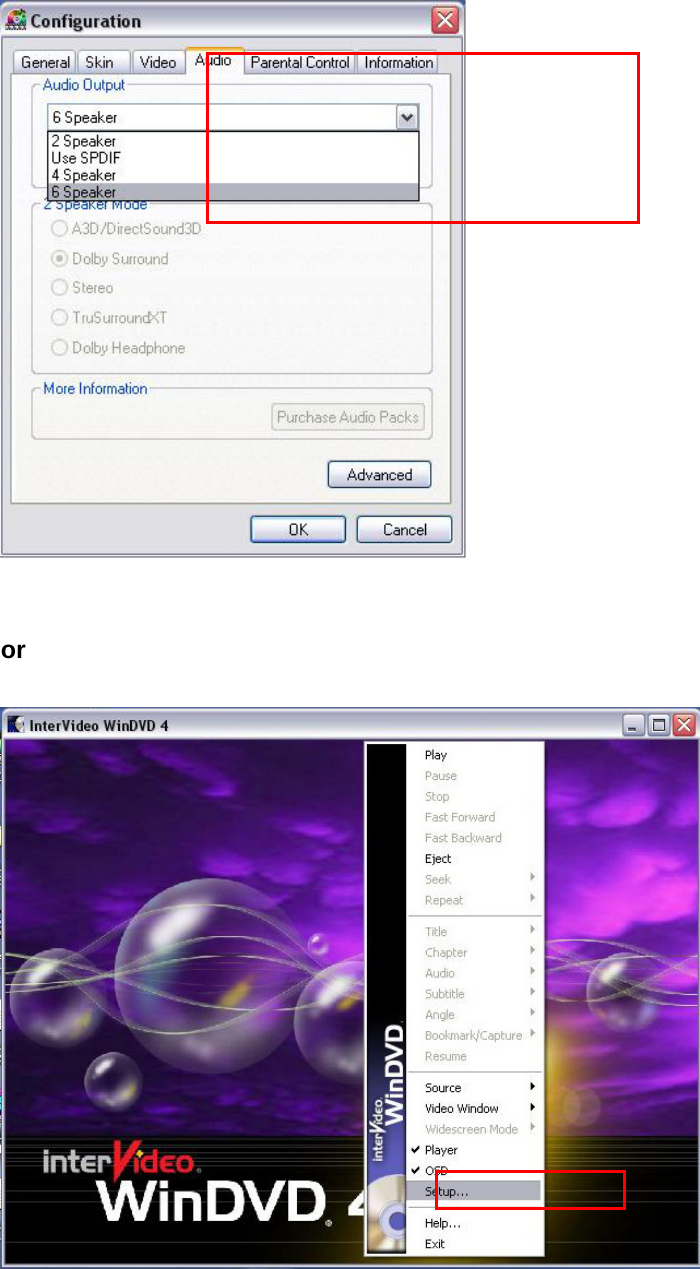
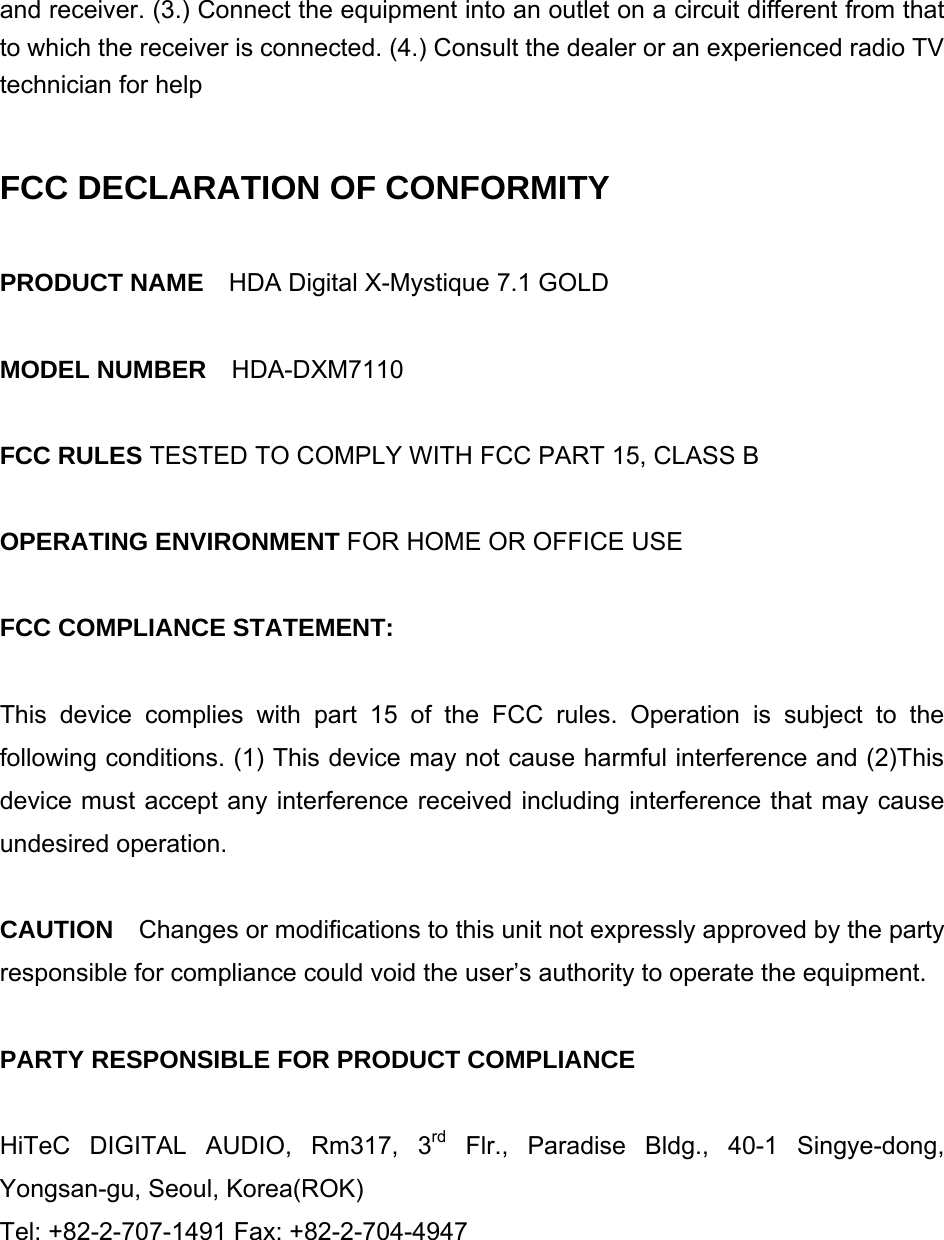
![[Tools=>Options=>Devices=>DVD-ROM or CD-ROM]. You will see the following window Q3:Xear 3DTM Sound technology provide amazing function in 7.1 Virtual Speaker Shifter. How to use this function in different applications? 7.1 Virtual Speaker Shifter can be utilized for 2CH, 4CH, 5.1CH, or 7.1CH audio source over any kind of output device (even your earphone, stereo speakers). Each virtual speaker represents a source channel. You can move each virtual speaker anywhere you want to get the best sound field. If you want to enjoy real 5.1/7.1CH DVD surround sound, you should buy a software DVD player with Dolby Digital EX or DTS ES decoding function such as WinDVD or Power DVD. With Xear 3D Virtual Speaker Shifter DSP mode, you should always set the maximum output channel from the players to get best sound effects. Virtual Speaker SHIFTER engine can deliver the multi-channel sound sources over your real speakers (it should be corresponding to the](https://usermanual.wiki/HiTeC-Digital-Audio/HDA-DXM7110/User-Guide-510511-Page-30.png)