Hisense Electric LCDC0025 LED TV User Manual LHD32W22US indd
Hisense Electric Co., Ltd. LED TV LHD32W22US indd
UserManual.wiki
>
Hisense Electric
>
LCDC0025 User Manual
User Manual
Navigation menu
Upload a User Manual
Namespaces
Wiki Guide
HTML
PDF
Info
Views
User Manual
Discussion / Help
Navigation

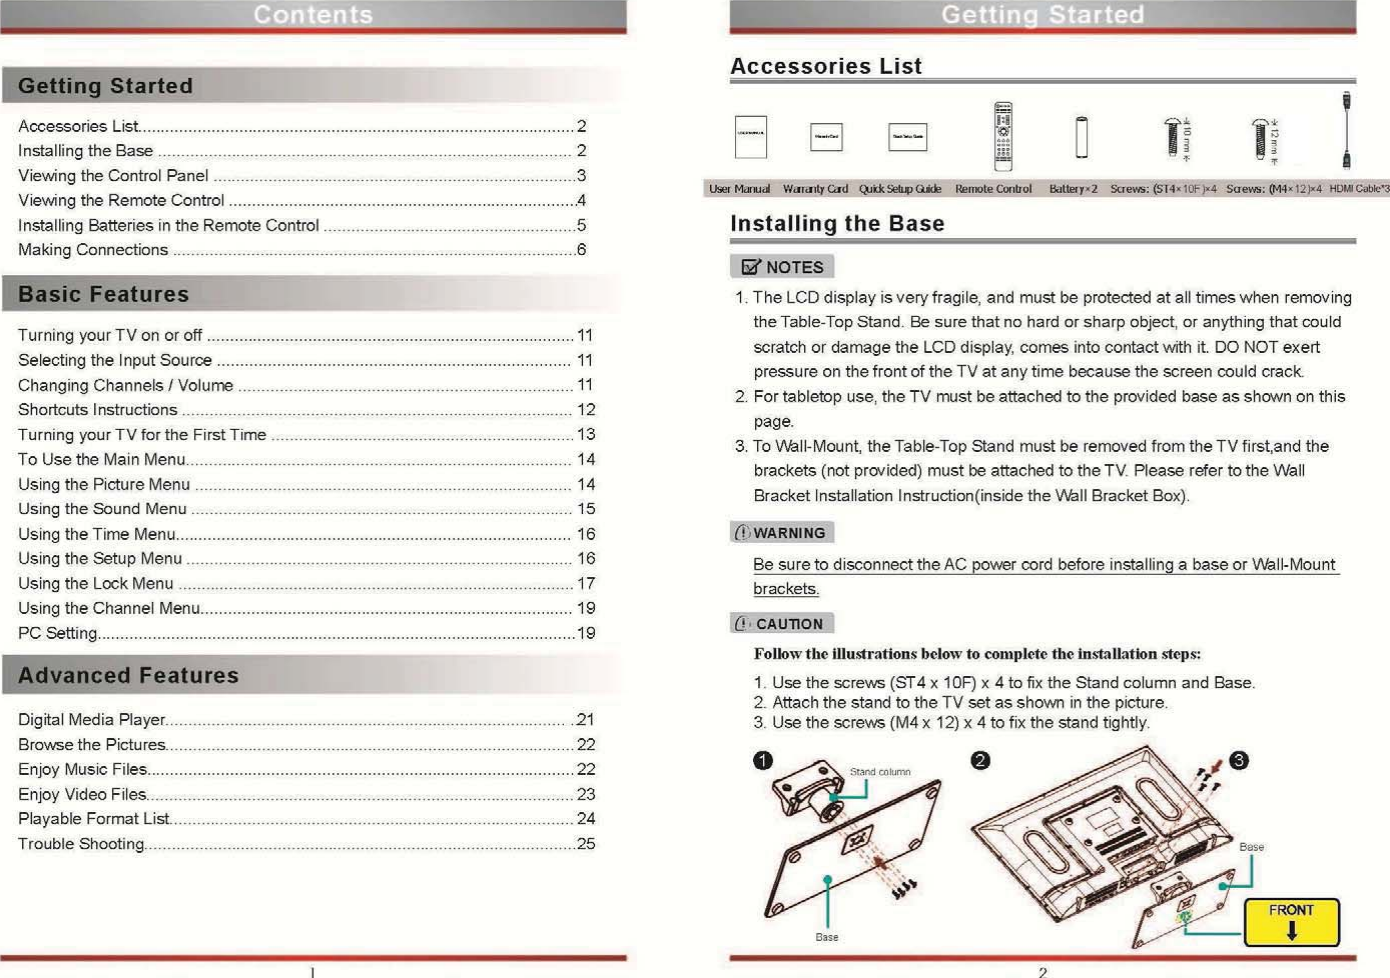
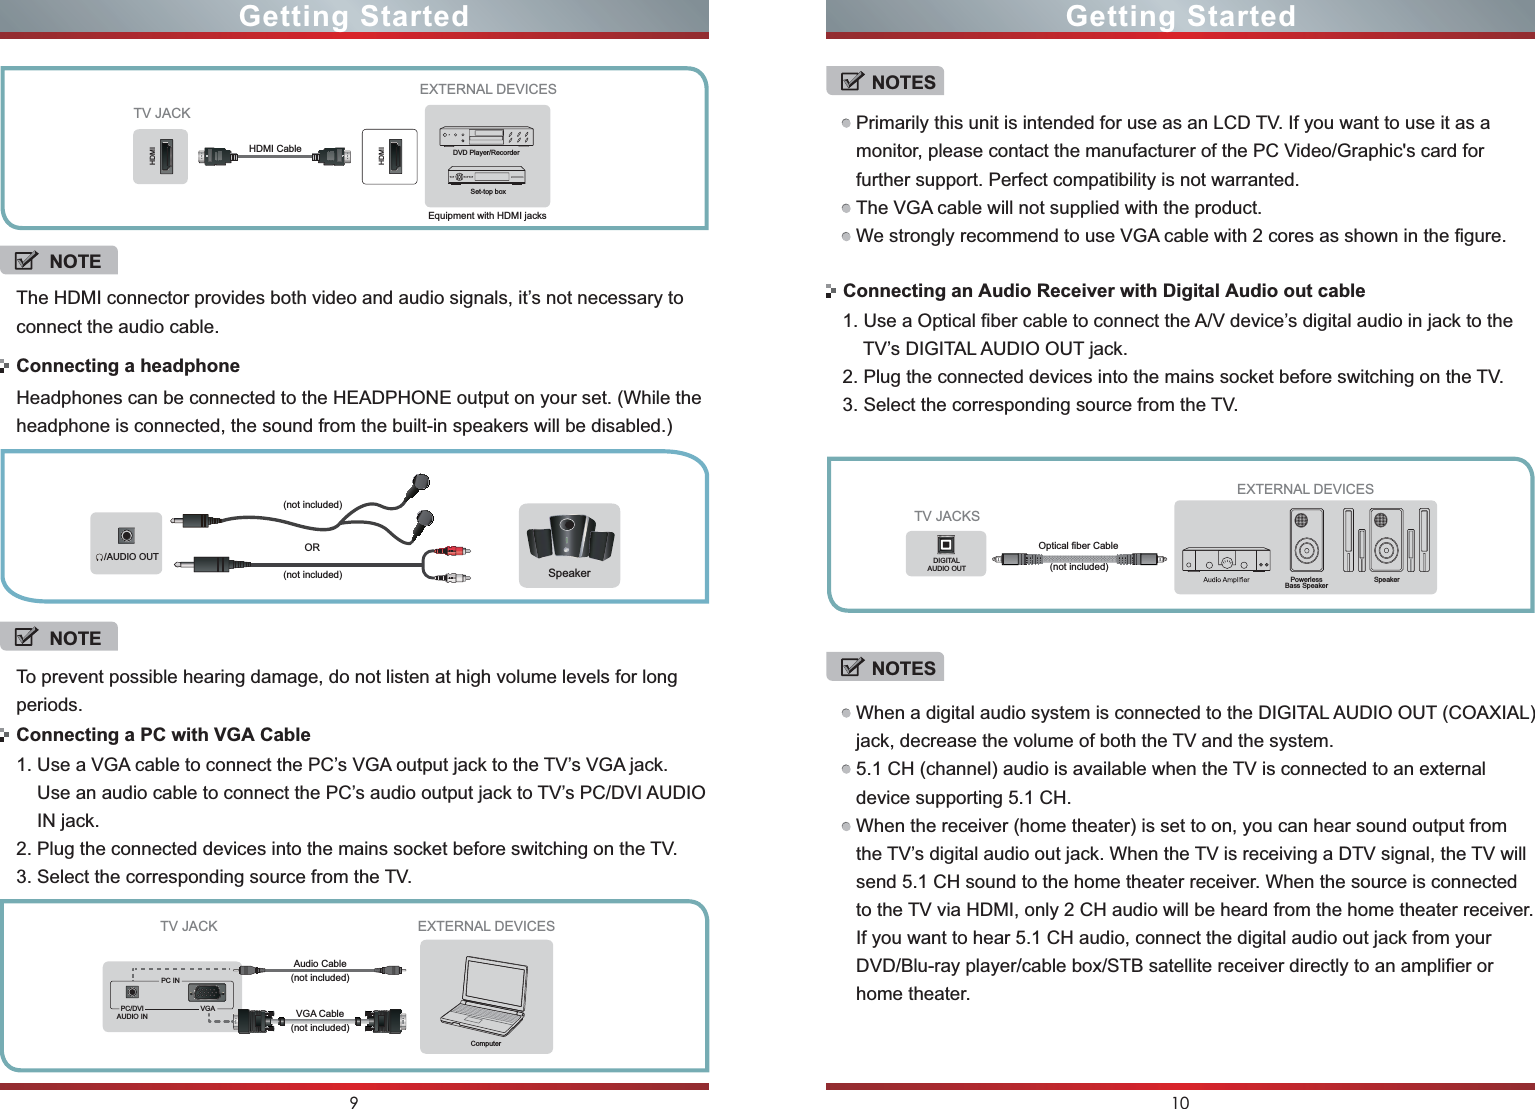
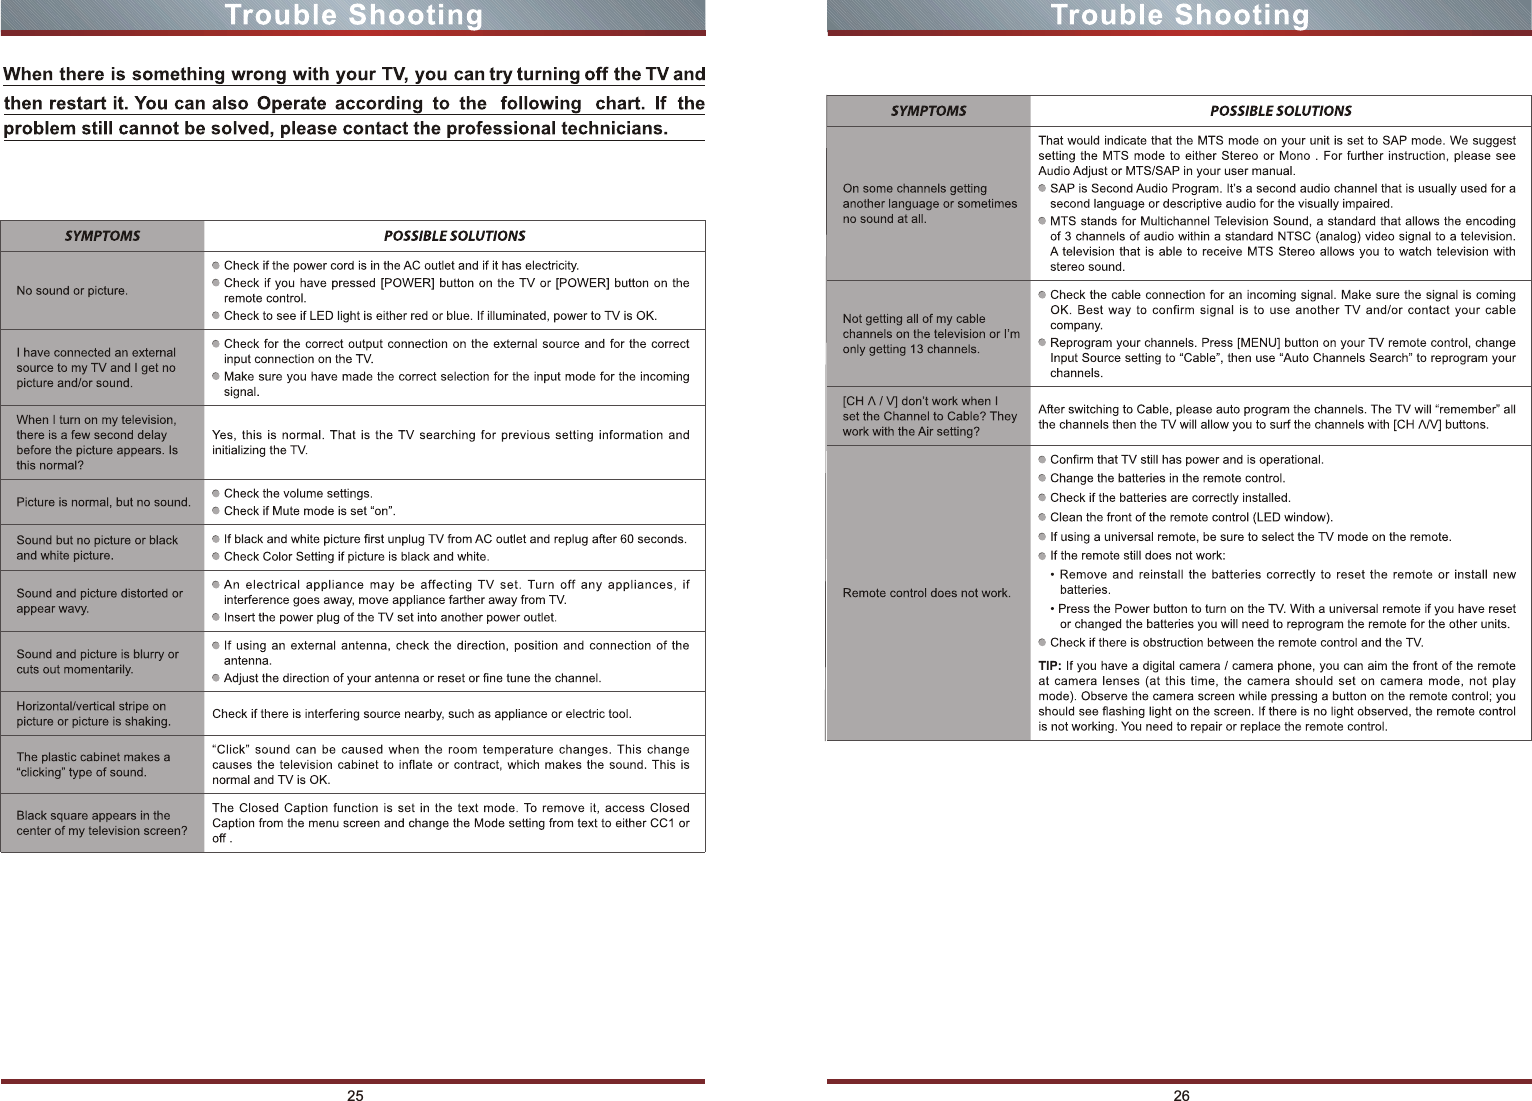
![11 12Basic Features Basic FeaturesTo turn your TV on or off (standby mode):1. Plug the power cord into an AC power outlet.2. Press [Power] button. Your TV turns on.3. Press [Power] button again to turn off your TV. When you turn off your TV, it goes into standby mode.Aspect - Select the screen aspect ratio from Normal, Wide, Zoom and Cinema.Turning your TV on or off Shortcuts InstructionsSelecting the Input SourceWARNINGNOTENOTEWhen your TV is in standby mode, it is still receiving power. To completely disconnect power, unplug the power cord.Normal: The original 4:3 aspect ratio (1.33:1 signal) is preserved,so black bars are added to the left and right of the image. Standard TV broadcasts are displayed with a 4:3 aspect ratio.Wide: When watching a standard broadcast or full-frame movie inthis mode, the display image is stretched proportionately to fill the TV screen. When watching a widescreen (1.78:1 signal) programor movie, the display image fills the TV screen.Zoom: Stretch the 4:3 aspect ratio image vertically and horizontally to fill the screen at 1:1.78 aspect ratio.Cinema: Stretch the 4:3 aspect ratio image vertically and horizontally to fill the screen at 1:2.35 aspect ratio.Point to Point: Use the function to see the full image without anycutoff, when VGA signal is inputted.If your TV does not receive an input signal for several minutes, it automatically goes into standby mode.Changing the channels can also be achieved by directly entering the channel number using the numeric keys on the remote control. If you are entering a two or three digit channel number, the time between key presses should be less than 3 seconds.To select the video input source:The first time you turn on your TV, you must select the TV signal source. Your TV stores this information, so you do not need to change the TV signal source unless it changes. For example, you change from an outside antenna to cable TV.Changing Channels / Volume1. Turn on your TV, then press [Input] button on the remote or on the TV. The Input Source menu opens.2. Press [▲/▼] button to highlight the input source, then press [OK] button.1. Press the [CH /V] (or [CH +/-]) on the TV/remote control to change the channel.2. Press the [VOL /V] (or [VOL +/-]) on the TV/remote control to adjust the volume.3. Press the numeric buttons on the remote control to display the corresponding channels.VVPicture - Press to set the picture mode. It can be set as Standard, Cinema, User and Vivid. This mode achieves a certain image display effect by setting the brightness,contrast and color etc.Sound - Press to set the sound mode. It can be set as Standard, Speech, User and Music.Mute - Press to turn the sound off, press this button again to turn the sound back on. This function is used to switch off sound temporarily.Sleep - It can set the TV to let it enter into the Standby state automatically. Press this button repeatedly to select the proper sleeping clock mode, and the clock tells you the remaining time before the TV enters Standby state.Display - Display the information banner. The information including channel number, channel name, current system time, tuner mode, audio stream, video format, audiolanguage, closed caption mode, parental locks rated,program details, etc.](https://usermanual.wiki/Hisense-Electric/LCDC0025/User-Guide-2072204-Page-13.png)
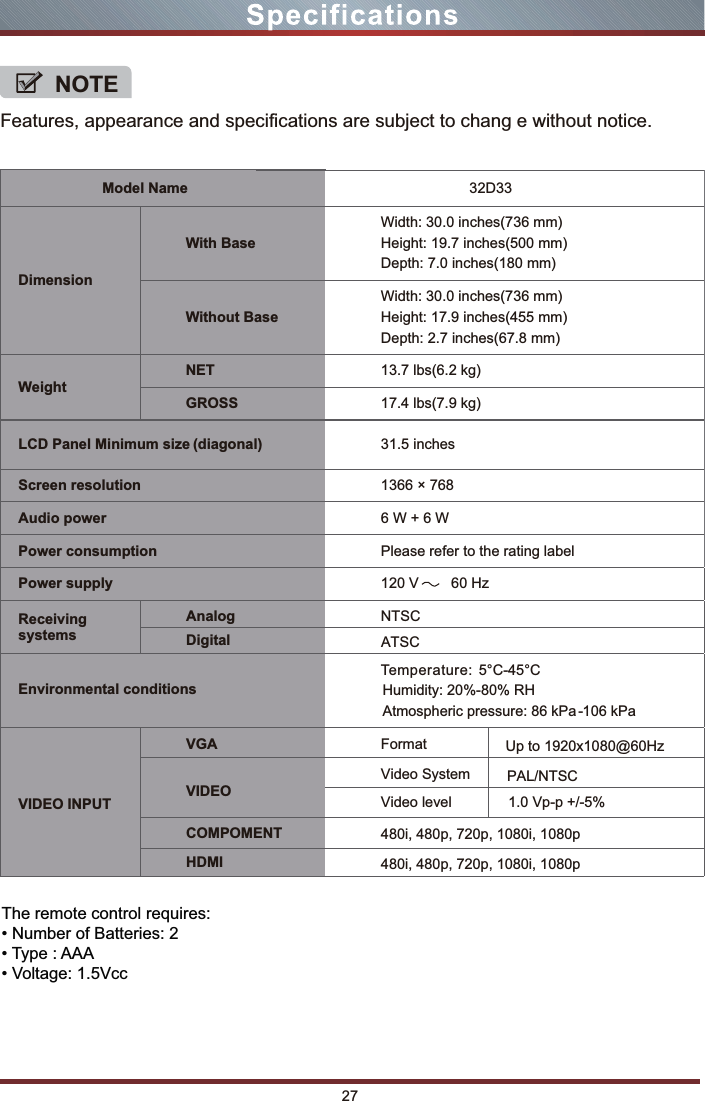
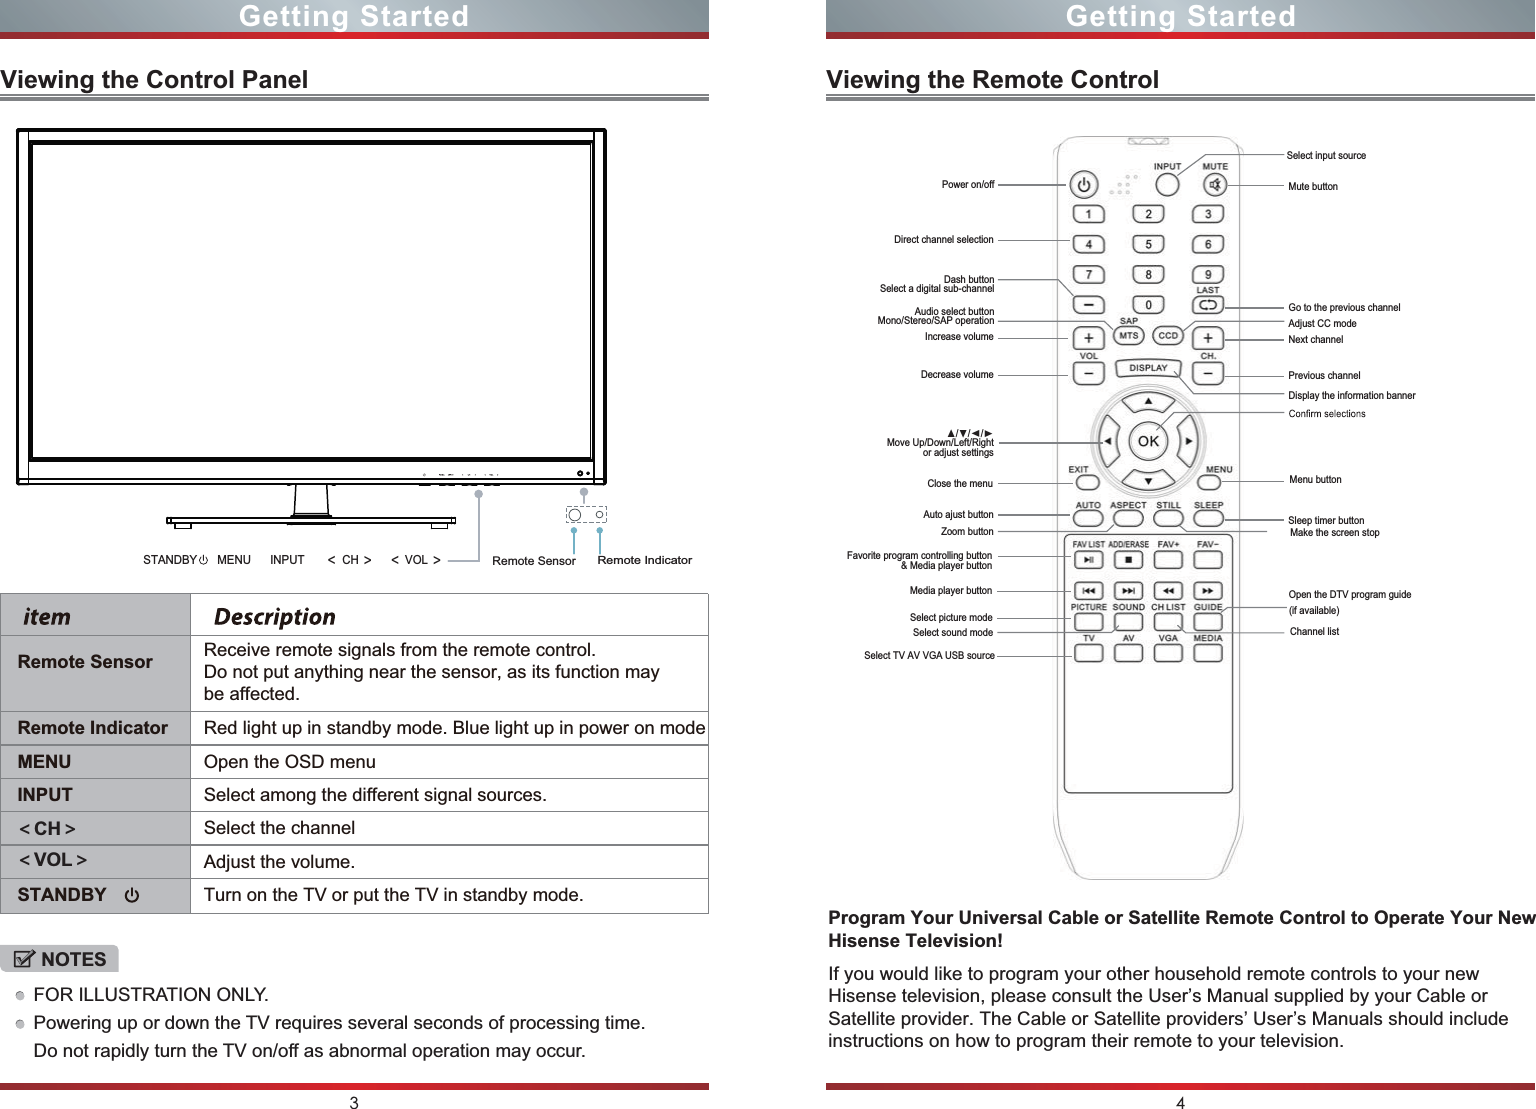
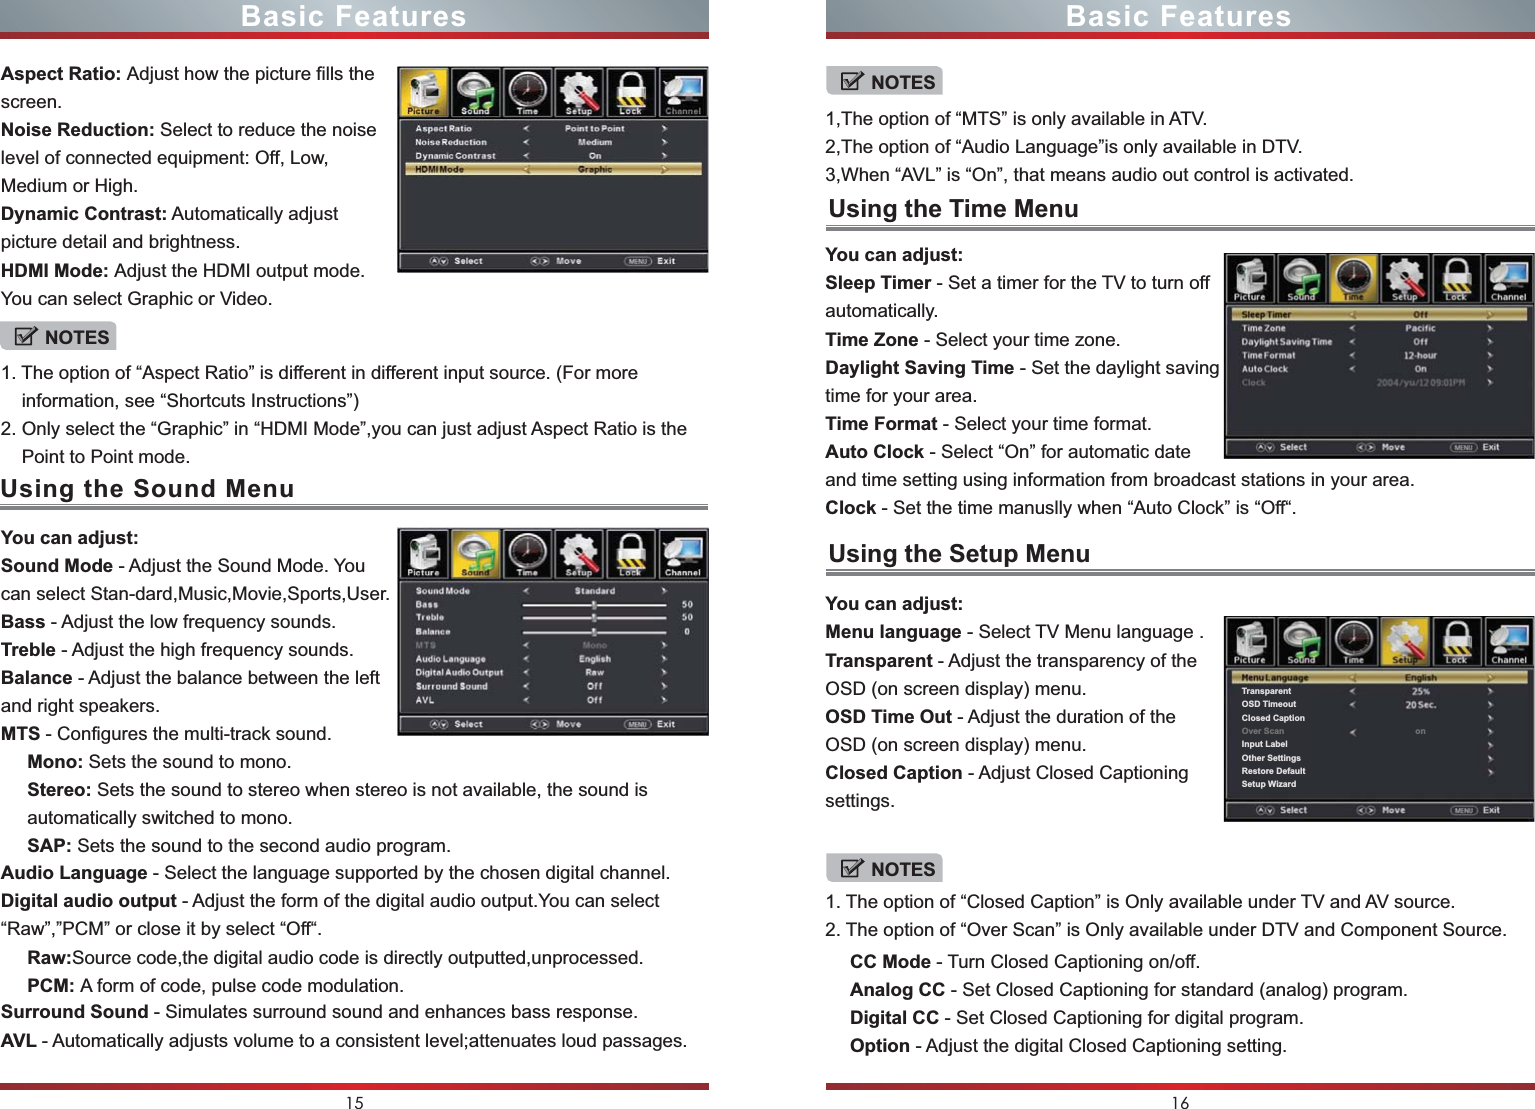
![Turning your TV for the First TimeUsing the Picture MenuPress [Menu] to display the main menu or return to the previous menu or close the main menu.Press [◄/►] to highlight the desired menu icon, and press [OK] to select.NOTEIf no buttons are pressed,the menu will close automatically after about 10 seconds.Picture Mode - Adjust the Picture Mode. You can select Standard,Vivid,Soft,User,Energy saving.Brightness - Increase or decrease the brightness of the picture. Increasing the brightness can add more light to dark areas of the picture, while decreasing the brightness can add more darkness to light areas of the picture.Contrast - Increase or decrease the contrast of the picture.Increase the contrast to adjust the white areas of the picture or decrease the contrast to adjust the black areas of the picture.Color - Adjust the intensity of the colors.Tint - Adjust the hue(Red,Green,Blue) of the picture.Sharpness - You can increase the sharpness level for clearer images or decrease the sharpness level for smoother images.Color Temperature - Adjust the overall color of the picture.Advanced Settings - Access advanced video settings such as Aspect Ratio,Noise Reduction,and Dynamic Contrast.You can adjust:13 14Basic Features Basic FeaturesThe Initial Setup menu appears the first time you turn on the TV. It will assist you to specify the Energy Saving mode.Connect your TV’s power cord to a power outlet, then press power. The Initial Setup screen opens.Press [◄ / ►] button on the remote control to select the language to be used for menus and message.Press [▼ / ▲] button on the remote control to select go to next step and press [OK /►] button to go.Select LanguagePress [▼ / ▲] button on the remote control to select the time zone, daylight saving time and time format you want to.Press [◄ / ►] button on the remote control to adjust.Press [▼ / ▲] button on the remote control to select go to next step and press [OK /►] button to go.Select TimePress [◄ / ►]button on the remote control to select Home Mode or Retail Mode.Press [▼ / ▲] button on the remote control to select go to next step and press [OK / ►] button to go.Select Picture ModePress [◄ / ►] button on the remote control to select the antenna type,Air or Cable.Press [▼ / ▲] button on the remote control to select go to next step and press [OK /►] button to start auto scan.Auto ScanTo Use the Main Menu](https://usermanual.wiki/Hisense-Electric/LCDC0025/User-Guide-2072204-Page-14.png)
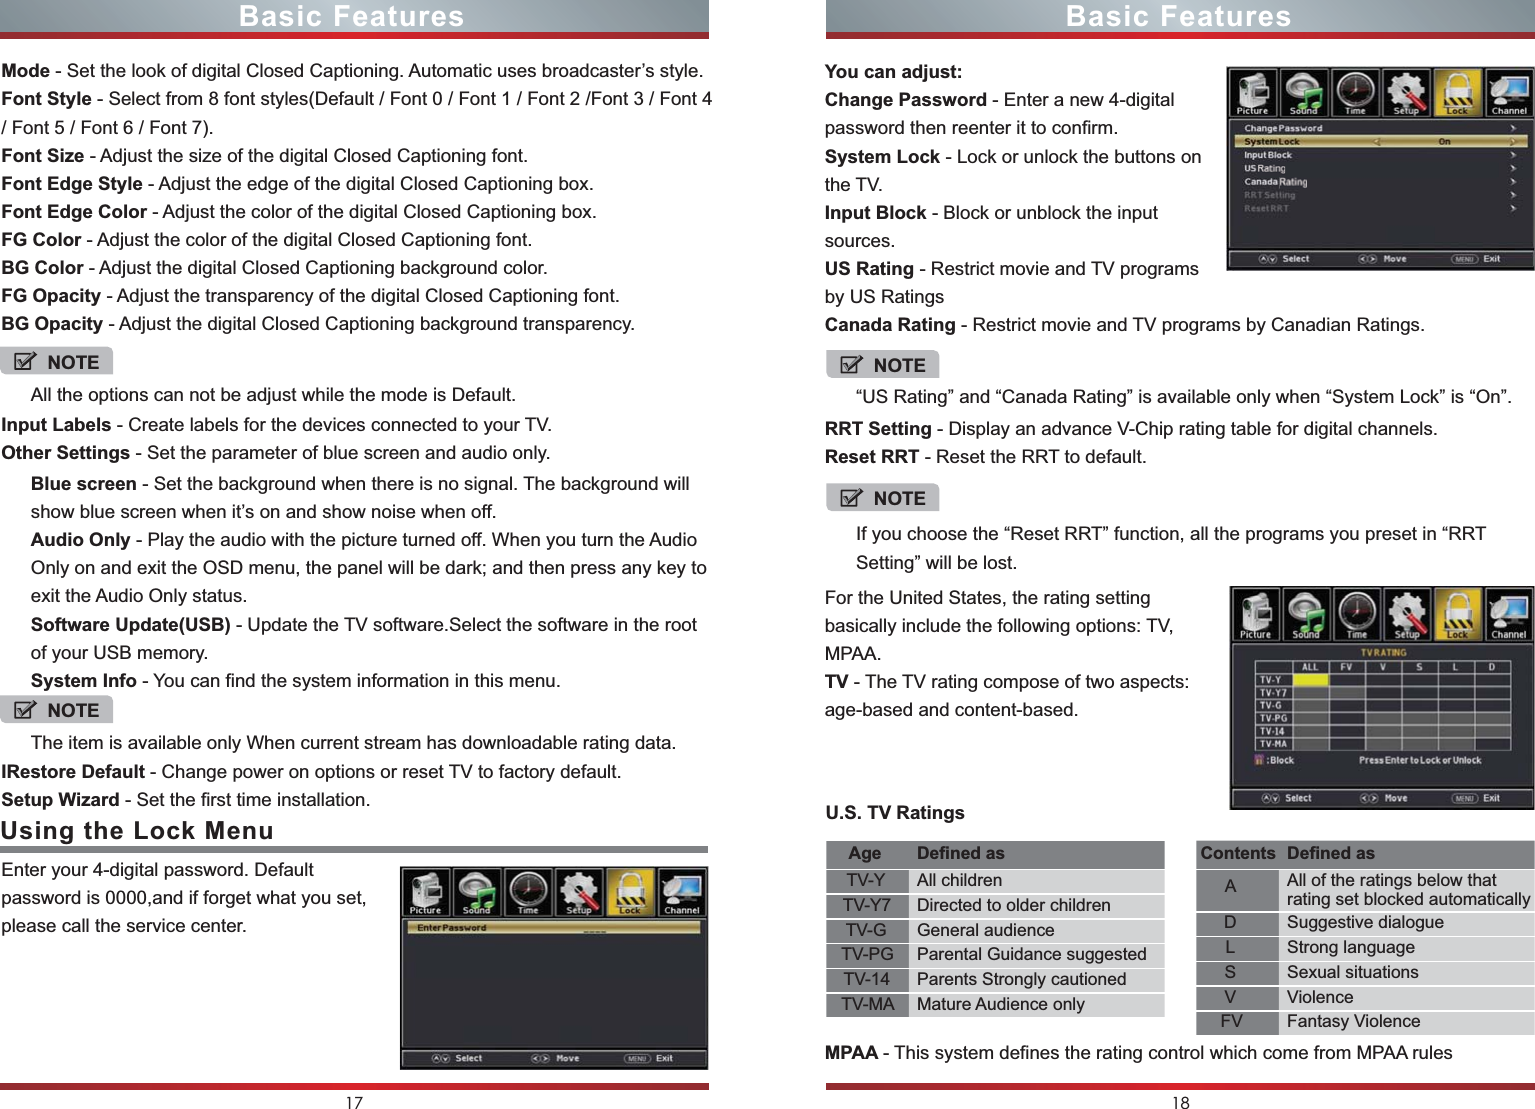
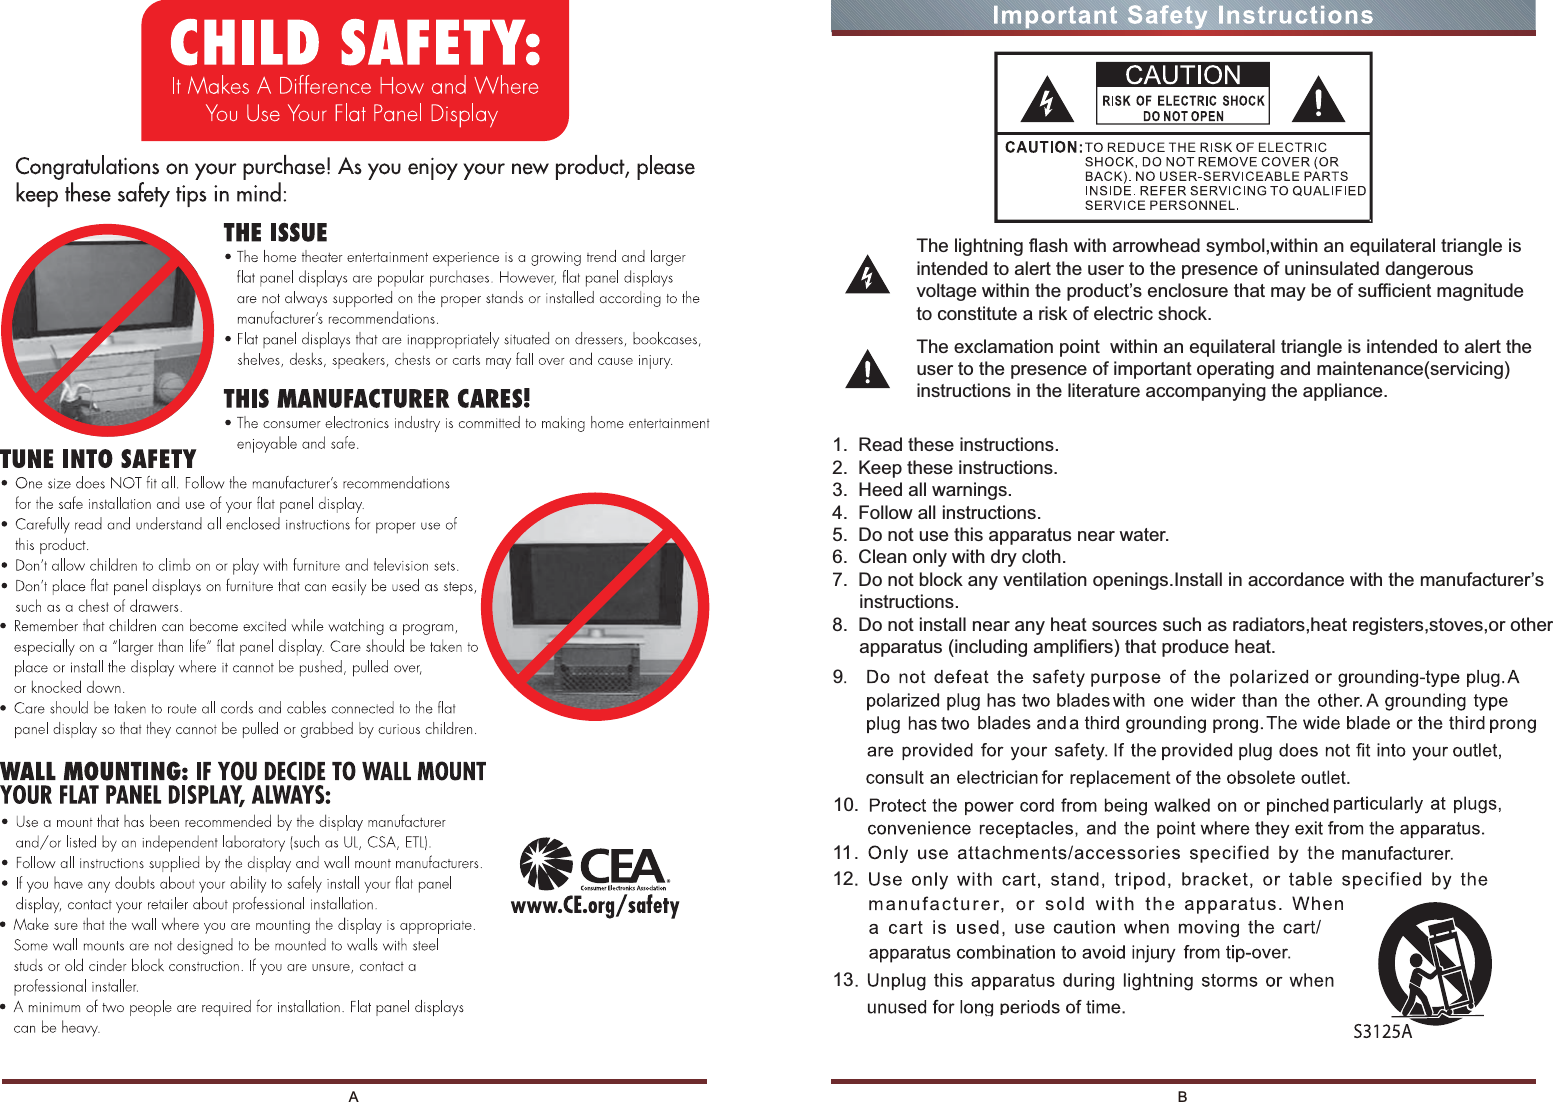
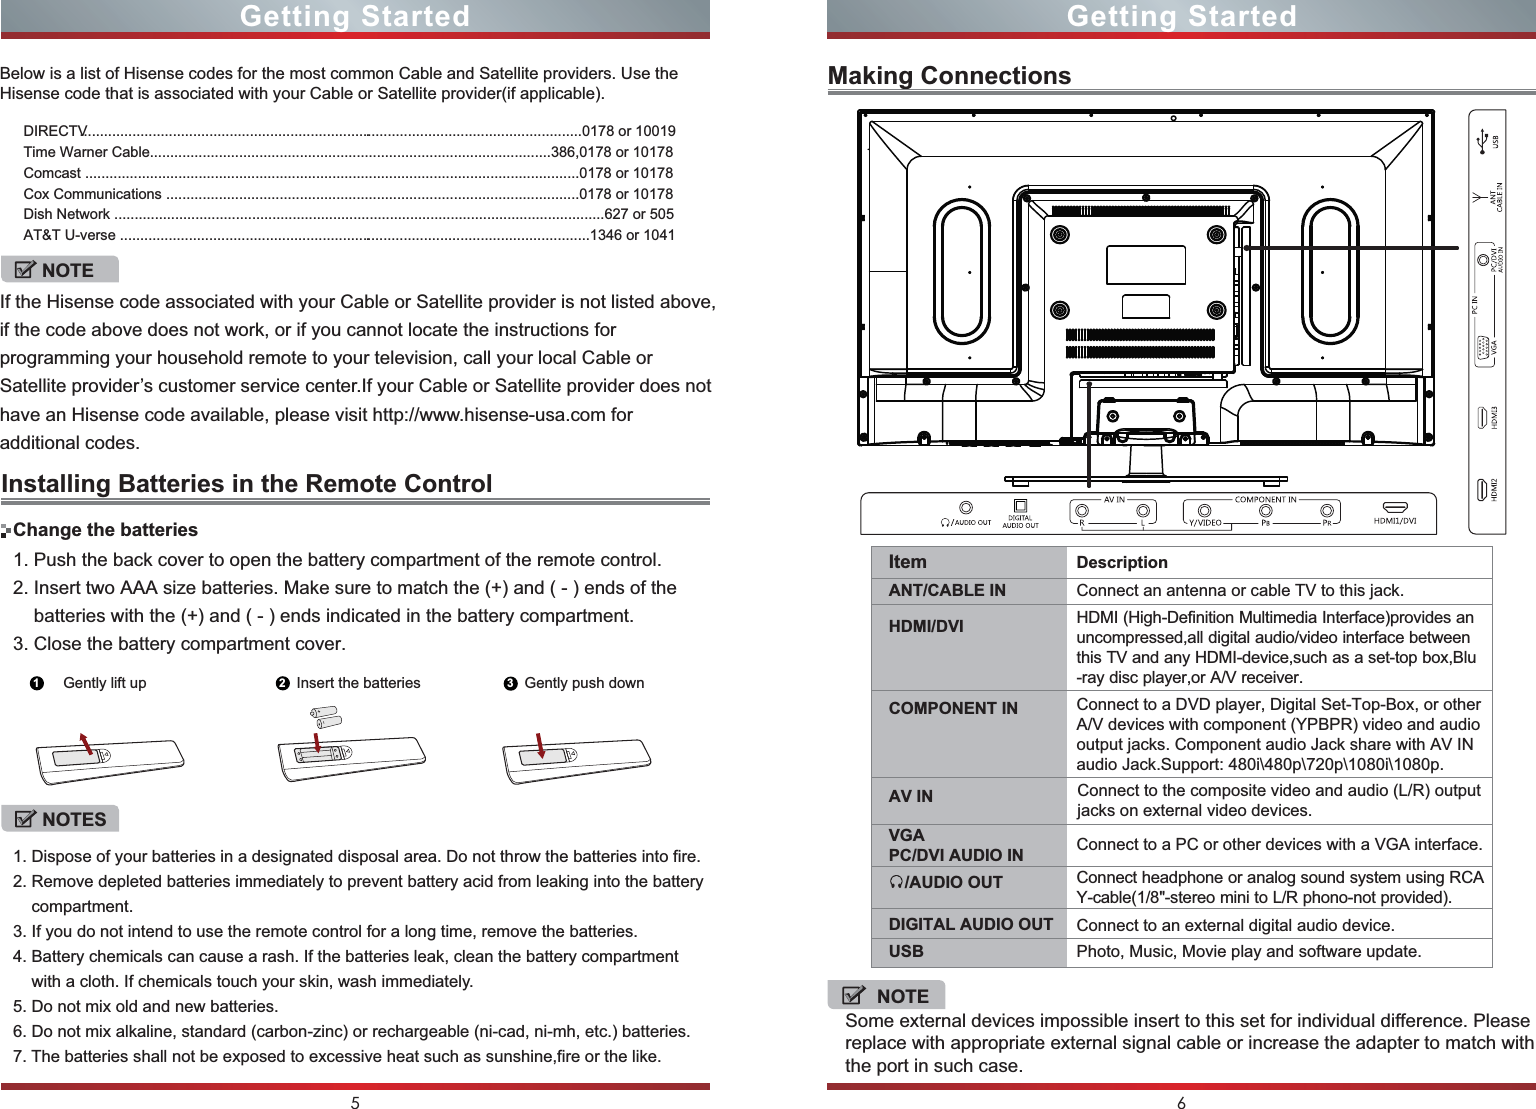
![19 20Rating Defined asG General audiencePG Parental Guidance suggestedPG-13 Parents strongly cautionedR RestrictedNC-17 No one 17 and under admittedX Adult audience onlyU.S. Movie Ratings NOTENOTENOTEUsing the Channel MenuPC SettingBasic Features Basic FeaturesThe content ratings will increase depending on the level of the age-based rating. For example, a program with aTV-PG V rating may contain moderate violence, while a TV-14 V rating may contain intense violence. So locking a higher level option will automatically cause locking the options that has more sensitive level.You can adjust:Air/Cable - Select signal type.Auto Scan - Automatically search for channels.Favorites - Add channels to create a favorite list.Show/Hide - Show or hide the channels in your program list.Channel No. - Show the channel number.Channel Label - Create label for channel,up to 7 characters.You can adjust:H-Pos - Adjust the horizontal position of the picture.V-Pos - Adjust the vertical position of the picture.Clock - Minimize vertical stripes in the screen image.Phase - Minimize horizontal distortion.Auto - Adjust to the PC signal timing automatically.Press [Input] to select VGA source.Press [Menu] to enter the main menu, Press [◄ / ►] button to select Setup menu.Press [▼] to select PC Settings.When the input source is AV / COMPONENT / HDMI / VGA/ MEDIA, the CHANNEL MENU is unavailable.The item is available only When a PC signal is inputted to your TV.](https://usermanual.wiki/Hisense-Electric/LCDC0025/User-Guide-2072204-Page-17.png)
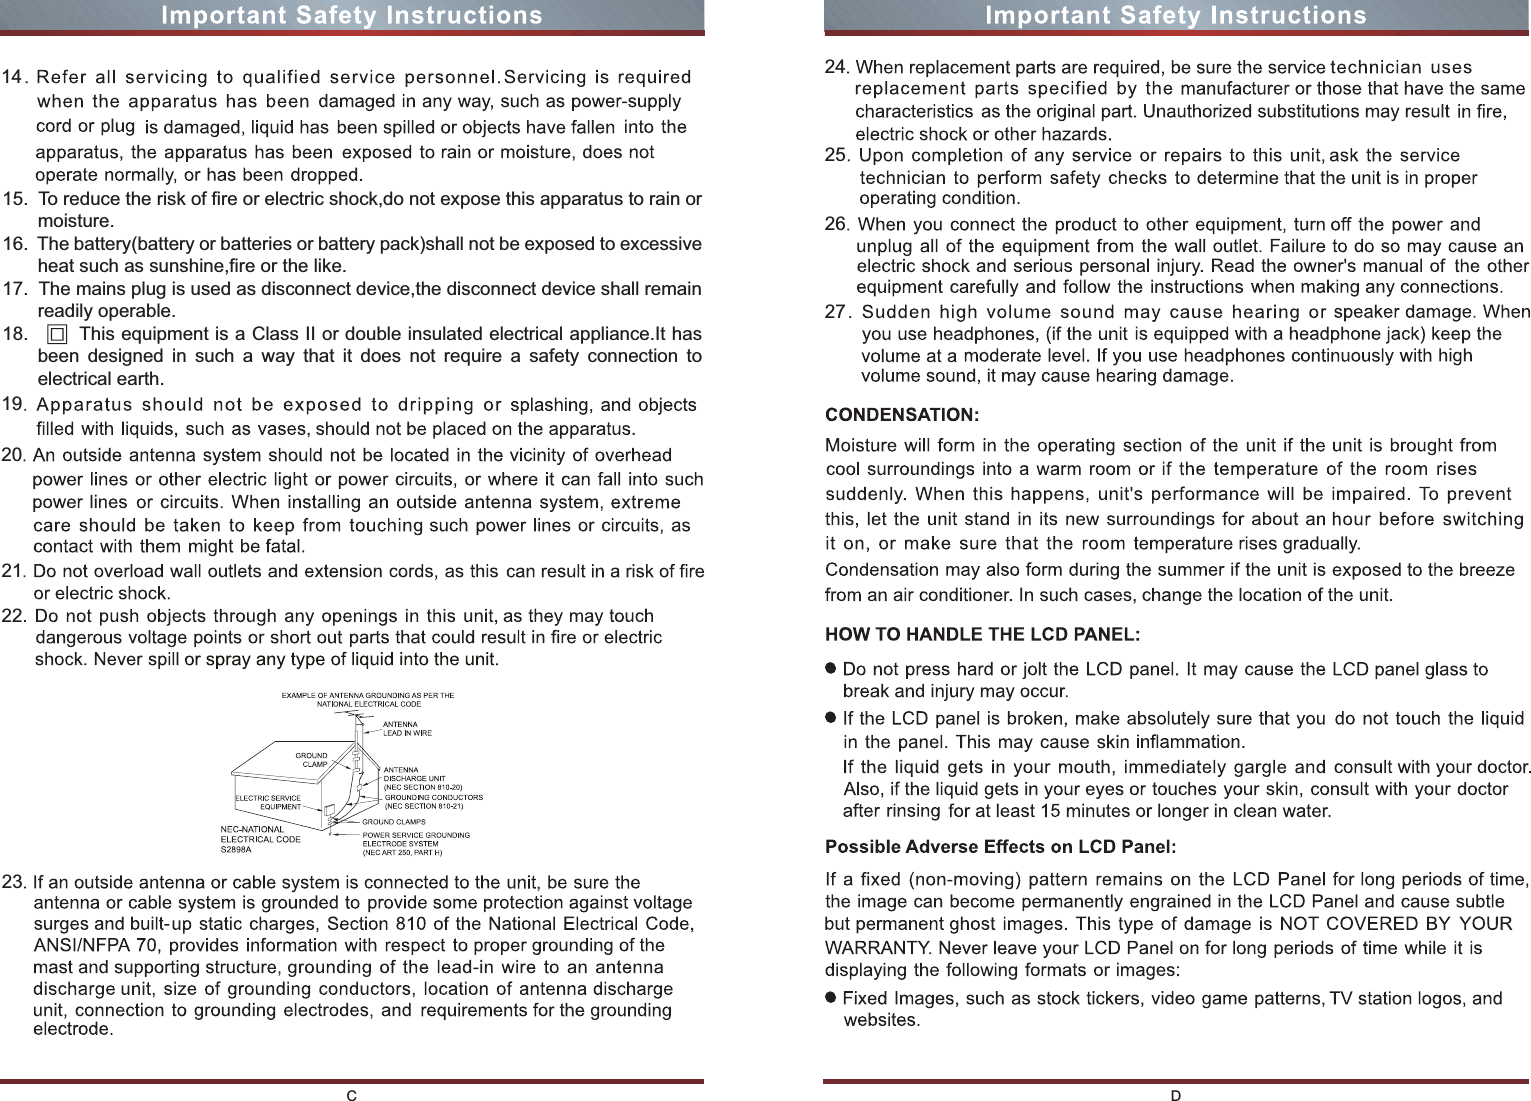
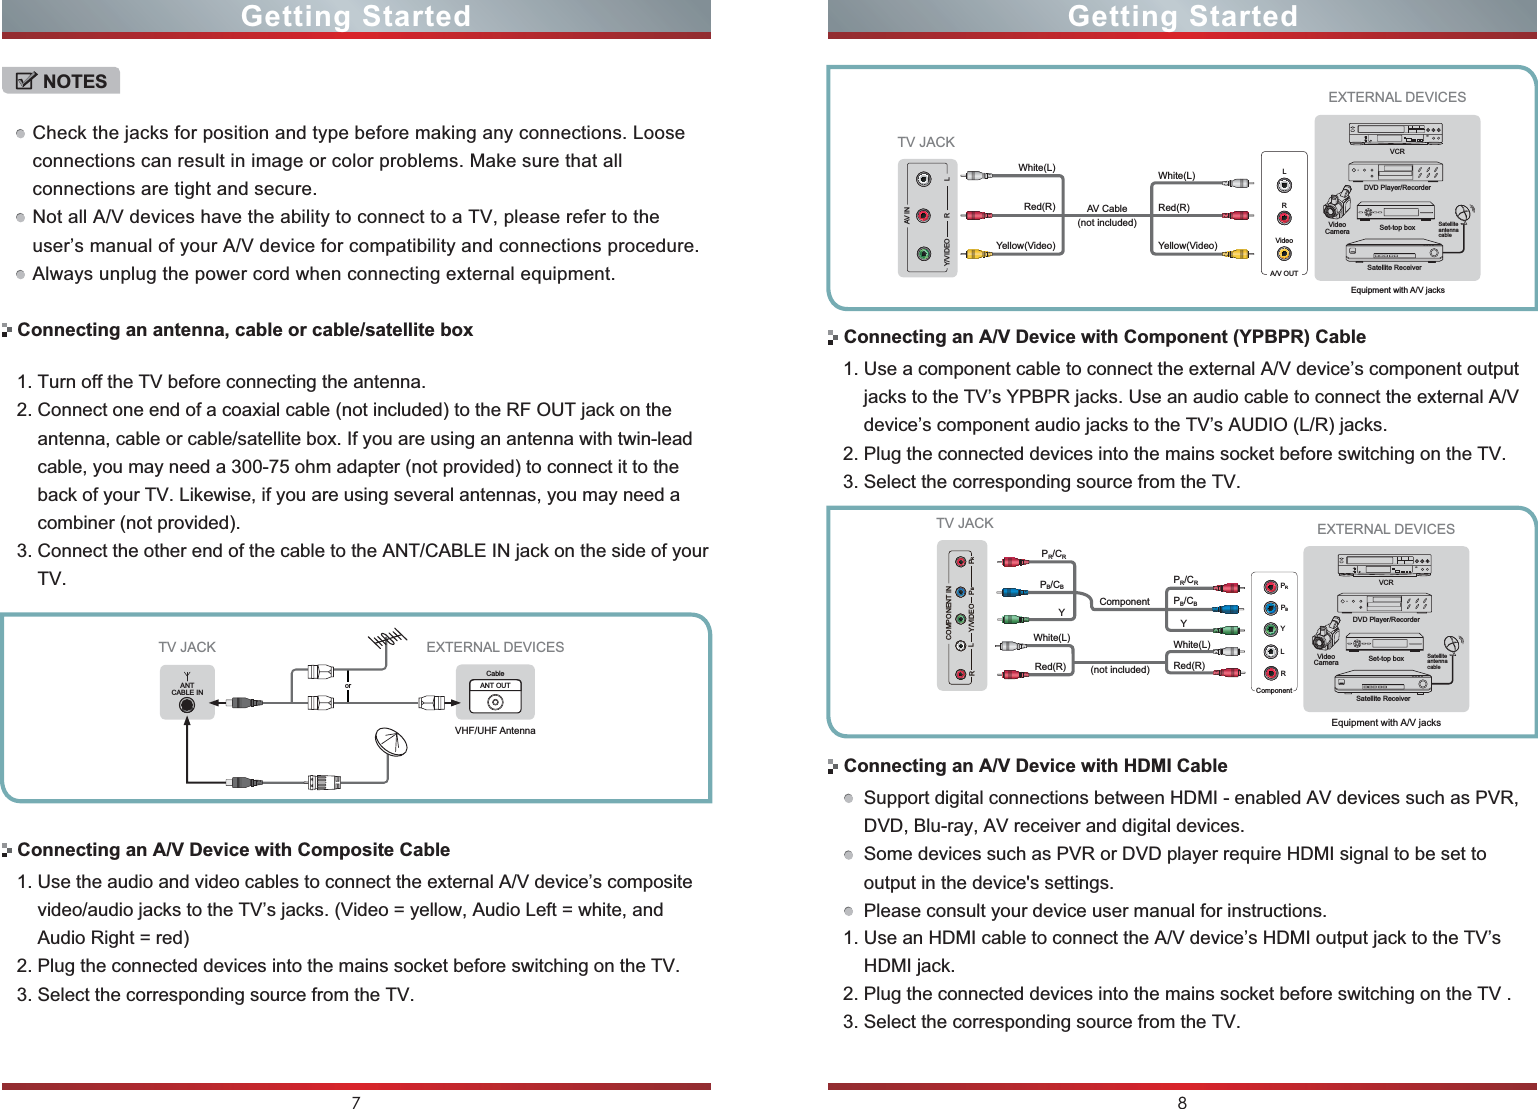
![21 22 Digital Media PlayerNOTESPlease note that Hisense will not assume any responsibility for any lost data and cannot guarantee perfect compatibility with all mass storage devices. Be sure to insert the USB disk with standard USB 2.0 port. Data Input from USB Memory Stick only. Do not connect any device to this terminal such as digital camera, keyboard, mouse, etc.Browse the PhotosEnjoy Music FilesWhen viewing video/music/photo, you can press these buttons on the remote control to control video/music/photo.Press [◄ / ►] button to select the option you want to adjust in the main Media menu,then press [OK] button to enter.Press [◄ / ►] button to select drive disk you want to watch, then press [OK] button to enter.Press [◄ / ►] button to select return option to back .Press [◄ / ►] button to select the file folder you want to search in the file selecting menu, then press [OK] button on your remote control to enter sub-menu.Press [◄ / ►] button to select “Return” option and press [OK] to back to the previous menu.Press [◄ / ►]button to select drive disk, then press [OK] button to enter.Press [◄ / ►] button to select return option to back.Press [◄ / ►] button to select the file you want to watch in the file selecting menu, then press [OK or ] button to display and operate file details.◄Press [◄ / ►] button to select the file you want to watch in the file selecting menu, then press [OK or ] button to display picture.◄Never remove the USB flash drive or turn off your TV while viewing video/music/photo.Before operating Media menu,Plug in USB device, then press [Input] button to set the Input Source to Media .Media content control function buttonsWhen browsing the photos, only the and buttons are available. ◄►Press[ / ]button to select MEDIA in the Source menu,then press [OK] button to enter.Fast forwardStopFast backwardThe previousoneThe next onePlayAdvanced Features Advanced Features](https://usermanual.wiki/Hisense-Electric/LCDC0025/User-Guide-2072204-Page-18.png)
![NOTESThe unit recognizes only a USB Memory Stick.Do not use a USB hub or an extension cable to connect an external hard disk drive to the unit. (Not supported)A USB Memory Stick is always inserted to this unit directly.A USB Memory Stick is not supplied with this unit.We do not guarantee that all USB Memory Sticks can be supported by this unit.Be sure to keep a backup copy of the original files on your device before you play them back on this unit. We have no responsibilities for damage or loss of your stored data.To protect your USB Memory Stick files from being erased place the write protect sliding tab in the protect position.When you are ready to remove a USB Memory Stick, set the unit to go into Standby mode to avoid any damage to your data and the unit.A USB Memory Stick that requires its own driver or the device with a special system such as fingerprint recognition are not supported.This unit is not allowed to use the USB Memory Stick which requires an external power supply (500mA or more).23 24Press [◄ / ►] button to select drive disk, then press [OK] button to enter.Press [◄ / ►] button to select return option to back.Press [ ] button to hide the menu in the bottom. When you press [DISPLAY], the menu in the bottom will appear again.◄NOTEWhen highlighting the option you select, the file information will appear on the right and the picture of photo and movie will be previewed in the center.Enjoy Video FilesPlayable format list◄Press [◄ / ►] button to select the file you want to watch in the file selecting menu.Press [OK or ] button to display and operate file details.̷Press [◄ / ►] button to select the file folder and press [OK] button to enter sub-menu.Press [◄ / ►] button to select menu in the bottom you want to run,then press [OK] button to operate.Press [Exit] button to back to the previous menu.Press[ ] button to hide the menu in the bottom.Advanced Features Advanced FeaturesPress [◄ / ►] button to select menu in the bottom you want to run,then press [OK] button to operate.Press [Exit] button to back to the previous menu .Press [▼] button to hide the menu in the bottom.Files Format Playable formatPhotoMusicVideoJPGMP3MPEG1(.dat/.mkv),MPEG2(.mpg/.ts/.vob),MPEG4(.mp4/.mov/.mkv),XviD(.avi),H.264(.avi/.mp4/.mov/.mkv/.ts/.FLV),Motion JPEG(.avi/.mov)](https://usermanual.wiki/Hisense-Electric/LCDC0025/User-Guide-2072204-Page-19.png)