User Manual

The NexSTAR USB
Transmitter Interface
Information to user : PART 15, PARAGRAPH 15.21
Caution : Changes or modifications not expressly approved by the party responsible for
compliance could void the user’s authority to operate the equipment
FCC Notice
NOTE : This equipment has been tested and found to comply with the limits for a
Class B digital device, pursuant to Part 15 of the FCC Rules. These limits are designed
to provide reasonable protection against harmful interference in a residential
installation. This equipment generates, uses and can radiate radio frequency energy and,
if not installed and used in accordance with the instructions, may cause harmful
interference to radio communications. However, there is no guarantee that interference
will not occur in a particular installation. If this equipment does cause harmful
interference to radio or television reception, which can be determined by turning the
equipment off and on, the user is encouraged to try to correct the interference by one
or more of the following measures:
- Reorient or relocate the receiving antenna.
- Increase the separation between the equipment and receiver
- Connect the equipment into an outlet on a circuit different from that to which the
receiver is connected.
- Consult the dealer or an experienced radio/TV technician for help.
This device complies with Part 15 of the FCC Rules. Operation is subject to the
following two conditions: (1)this device may not cause harmful interference, and (2)this
device must accept any interference received, including interference that may cause
undesired operation.
A
AD
DD
DI
IN
NG
G
T
TO
O
T
TH
HE
E
R
RE
EA
AL
LI
IS
SM
M
By definition, the R/C transmitter is a key component in all types of
R/C flying. This unique method of control is part of what separates
R/C from every other type of aviation. Consequently, a realistic
transmitter is important to an authentic simulation of the R/C
experience.
With this in mind, we at Great Planes are proud to offer our
NexSTAR USB Transmitter Interface.
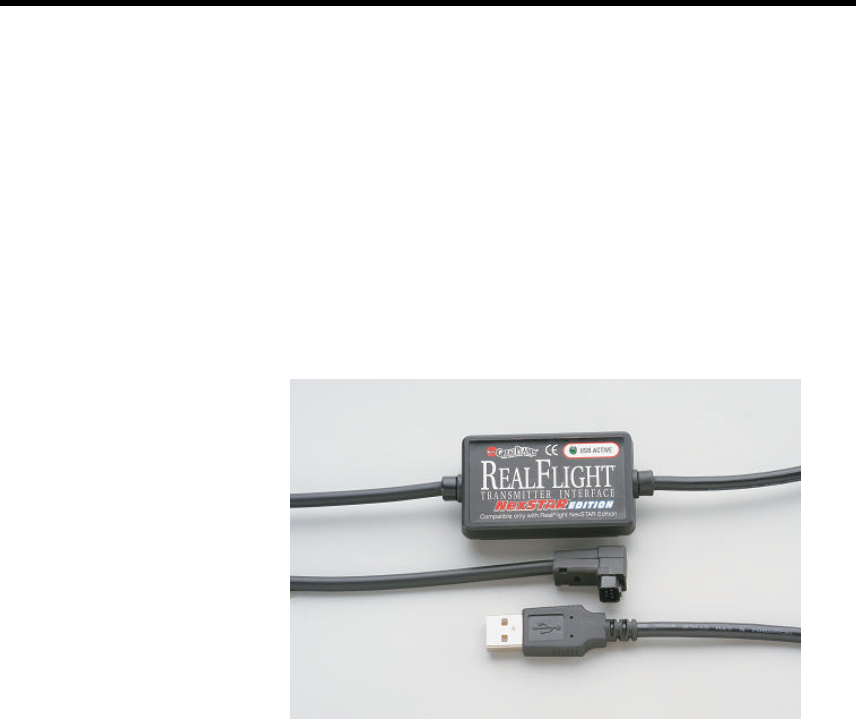
The NexSTAR USB Transmitter Interface
Features of the NexSTAR USB Transmitter Interface:
• USB compatibility and convenience. The ultimate
convenience of “plug and play”, “hot pluggable”
installation and removal, as well as the high-speed
digital performance made possible by Universal Serial
Bus (USB) technology.
• Use your Actual R/C transmitter. The Transmitter
Interface allows you to use your NexSTAR transmitter
to control the action. This is a great way to familiarize
yourself with the controller before heading to the flying
field.

• Easy setup and use. Pre -calibrated so you don’t even
have to calibrate your NexSTAR transmitter, unlike
other computer joysticks. Simply plug it in and go!
T
TR
RA
AN
NS
SM
MI
IT
TT
TE
ER
R
I
IN
NT
TE
ER
RF
FA
AC
CE
E
F
FE
EA
AT
TU
UR
RE
ES
S
This awesome interface brings you:
• Full USB compatibility. The Transmitter Interface plugs
directly into your computer’s USB port with little, if any,
additional setup required.
• High-speed data transfer ensures rapid, digitally precise
response to your control input.
• Hot pluggable—connect/disconnect your Transmitter
Interface adapter without shutting down or rebooting the
PC.
• Total control with your actual R/C transmitter. You’ll
get the ‘feel’ for controlling the NexSTAR with the
same unit you’ll be using at the field.
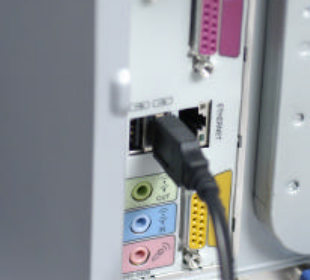
CONNECT THE USB TRANSMITTER INTERFACE
Finally, plug the RealFlight NexSTAR Edition Transmitter Interface
into a USB port on your computer (see diagram). On most computers,
the USB ports are clearly labeled.
Please note, the Transmitter Interface is hot pluggable or hot
swappable. In other words, you can normally plug/unplug the
Transmitter Interface without turning your computer off or rebooting.
While your Transmitter Interface is plugged in, and your computer is
turned “on”, a small green light on the Transmitter Interface should
illuminate. This light, labeled “USB Active”, indicates that the
Transmitter Interface is connected and working.
Grasp the remaining Transmitter Interface cord (the one with the
square connector) and firmly plug this into the trainer jack (a.k.a.
buddy box) port located in the back of the NexSTAR transmitter.
Turn the transmitter’s power “on.”