Honeywell 7850L0GE Data Terminal with WLAN User Manual 7850 UG
Honeywell International Inc Data Terminal with WLAN 7850 UG
UserManual.wiki
>
Honeywell
>
7850L0GE User Manual
>
User Manual
Contents
1.
User Manual
2.
New User Manual
User Manual
Navigation menu
Upload a User Manual
Namespaces
Wiki Guide
HTML
PDF
Info
Views
User Manual
Discussion / Help
Navigation


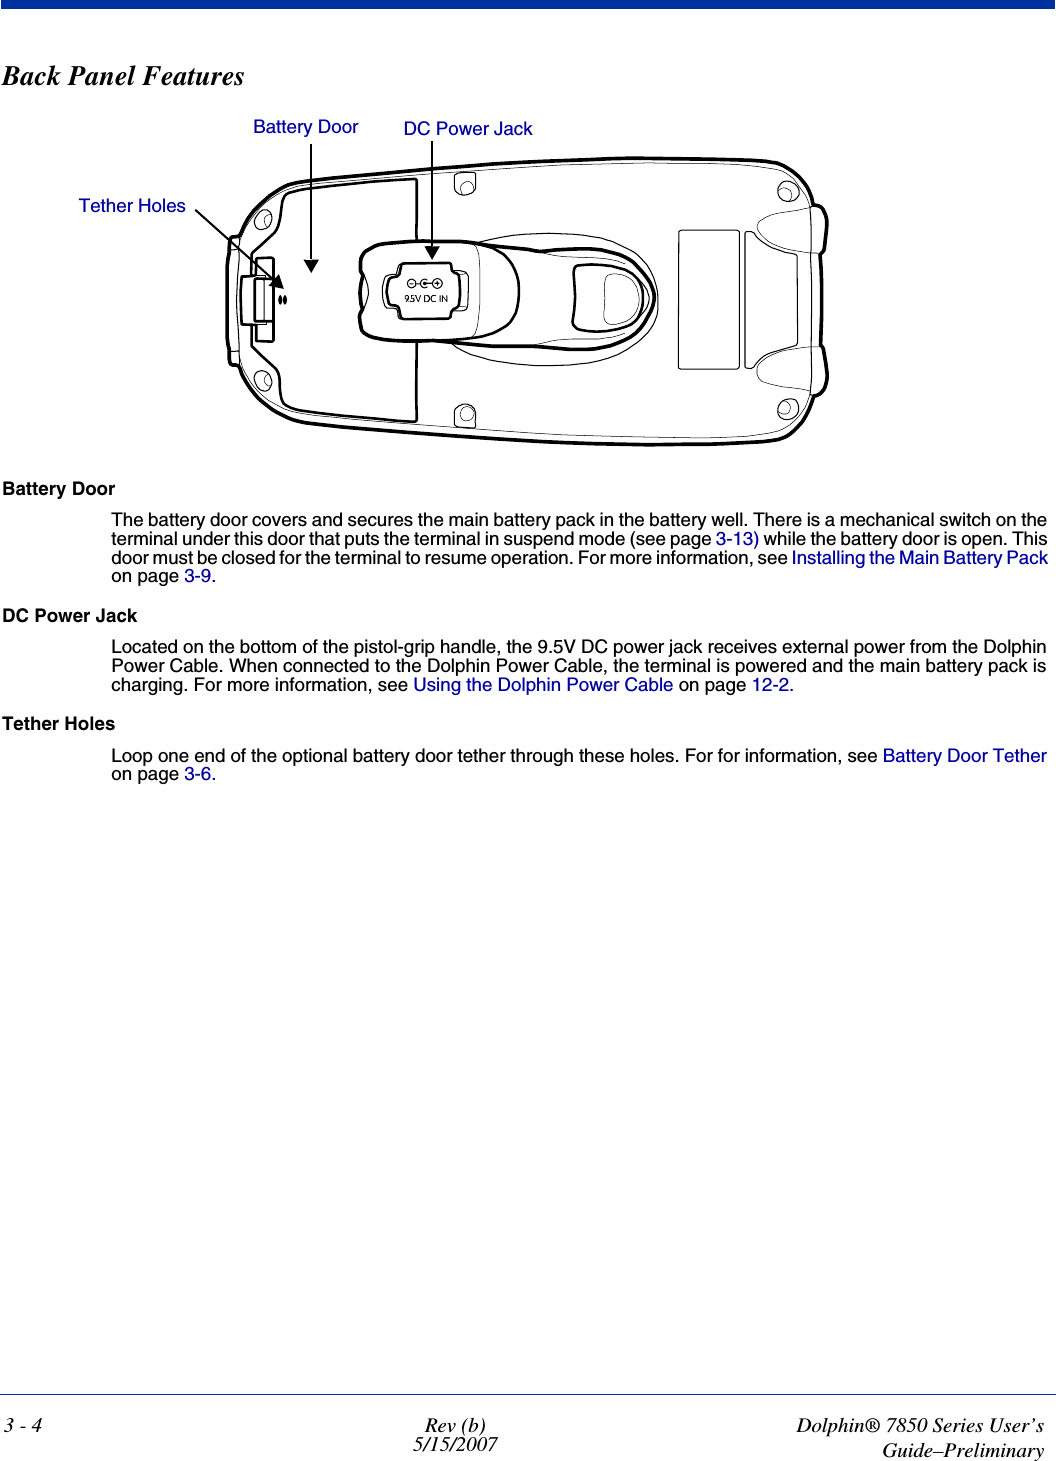
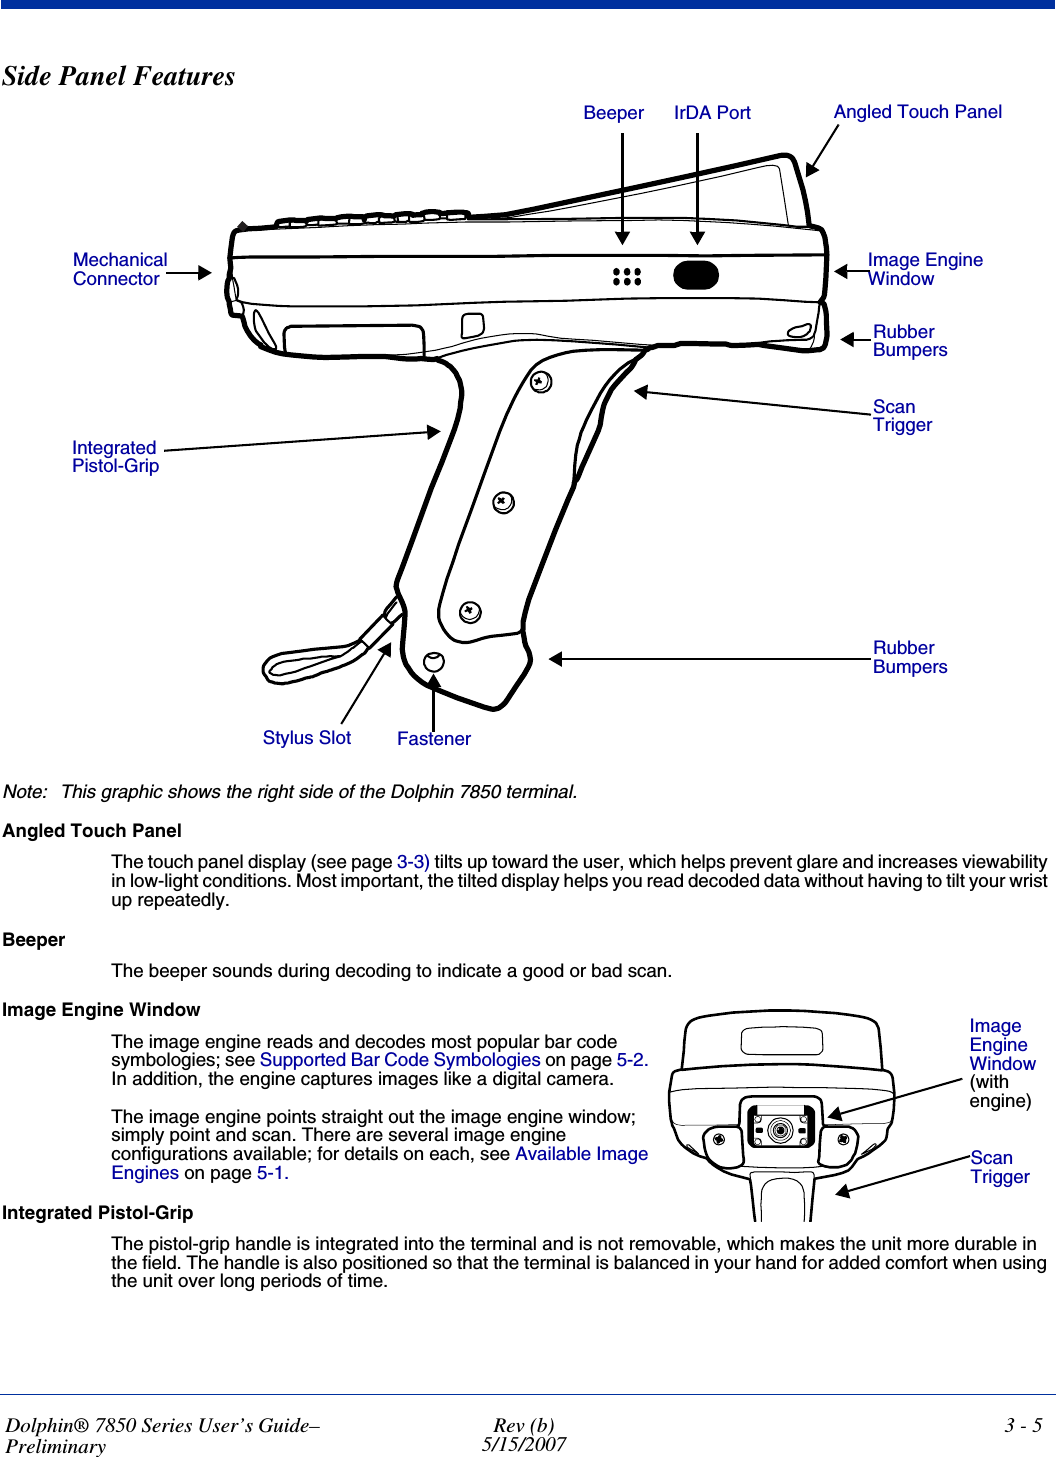
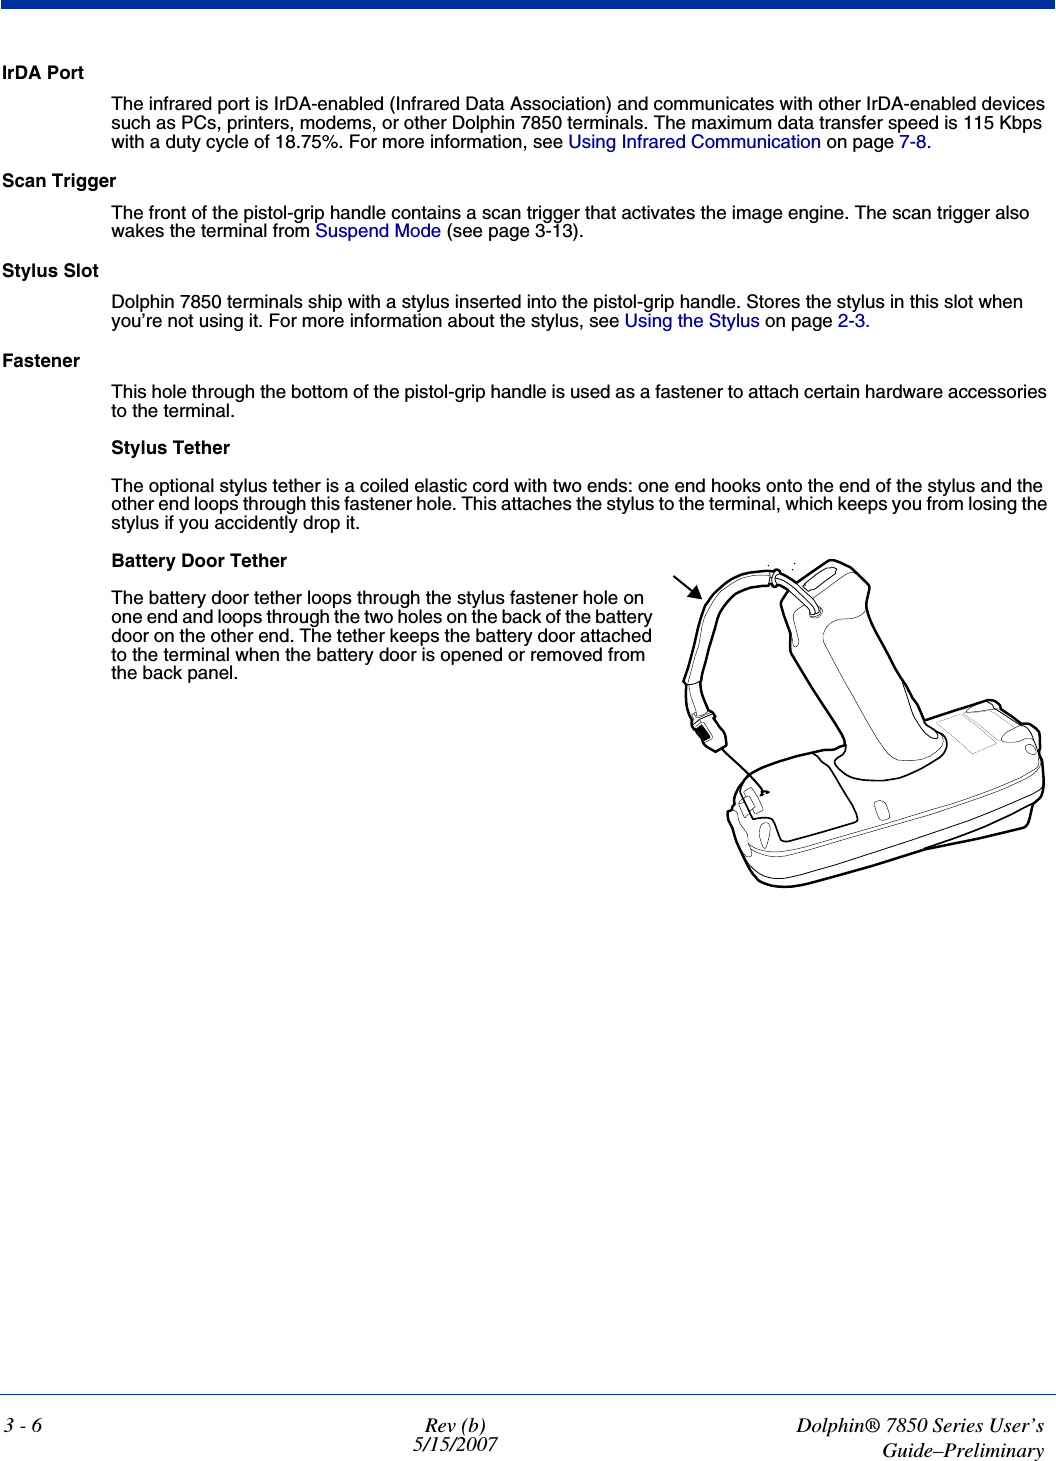

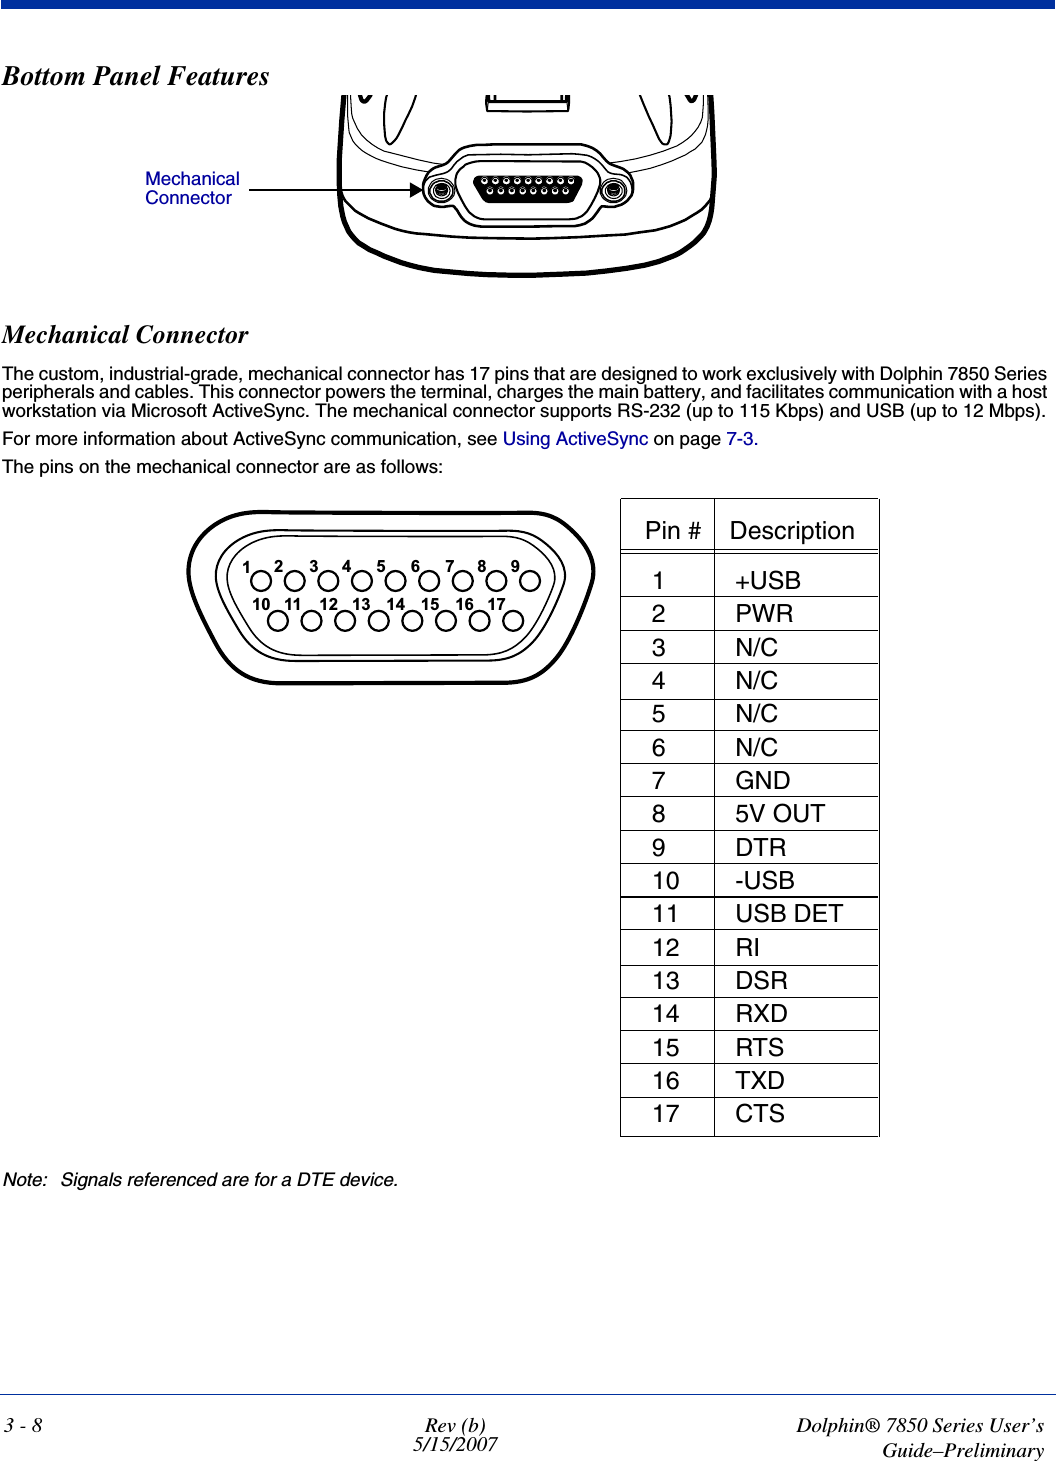
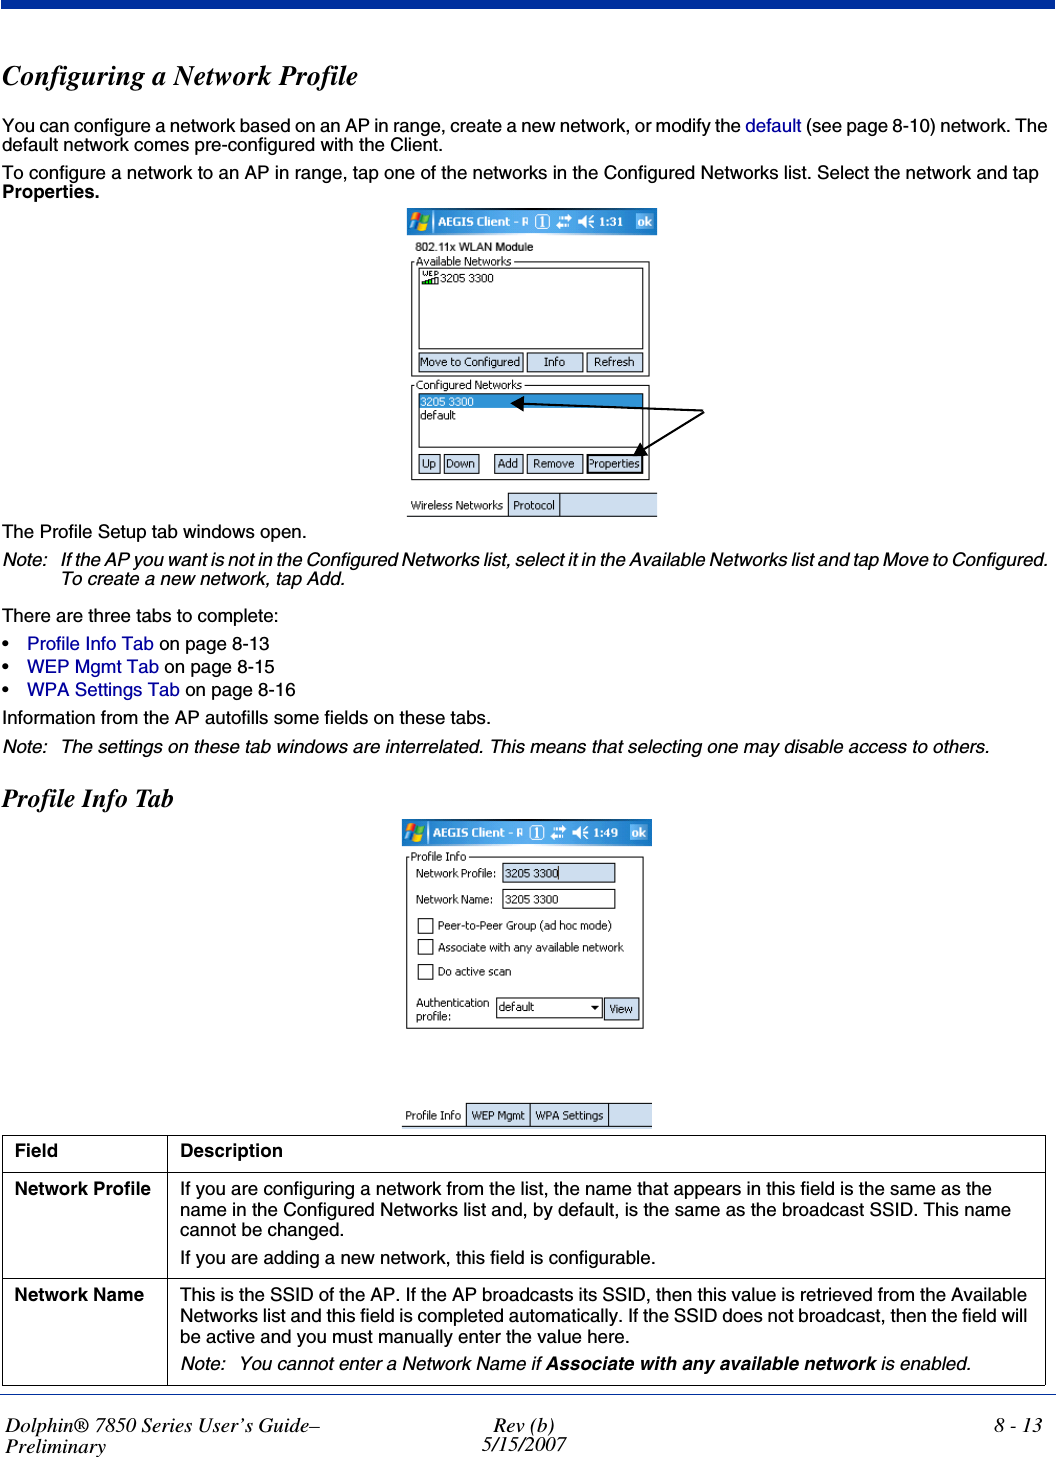
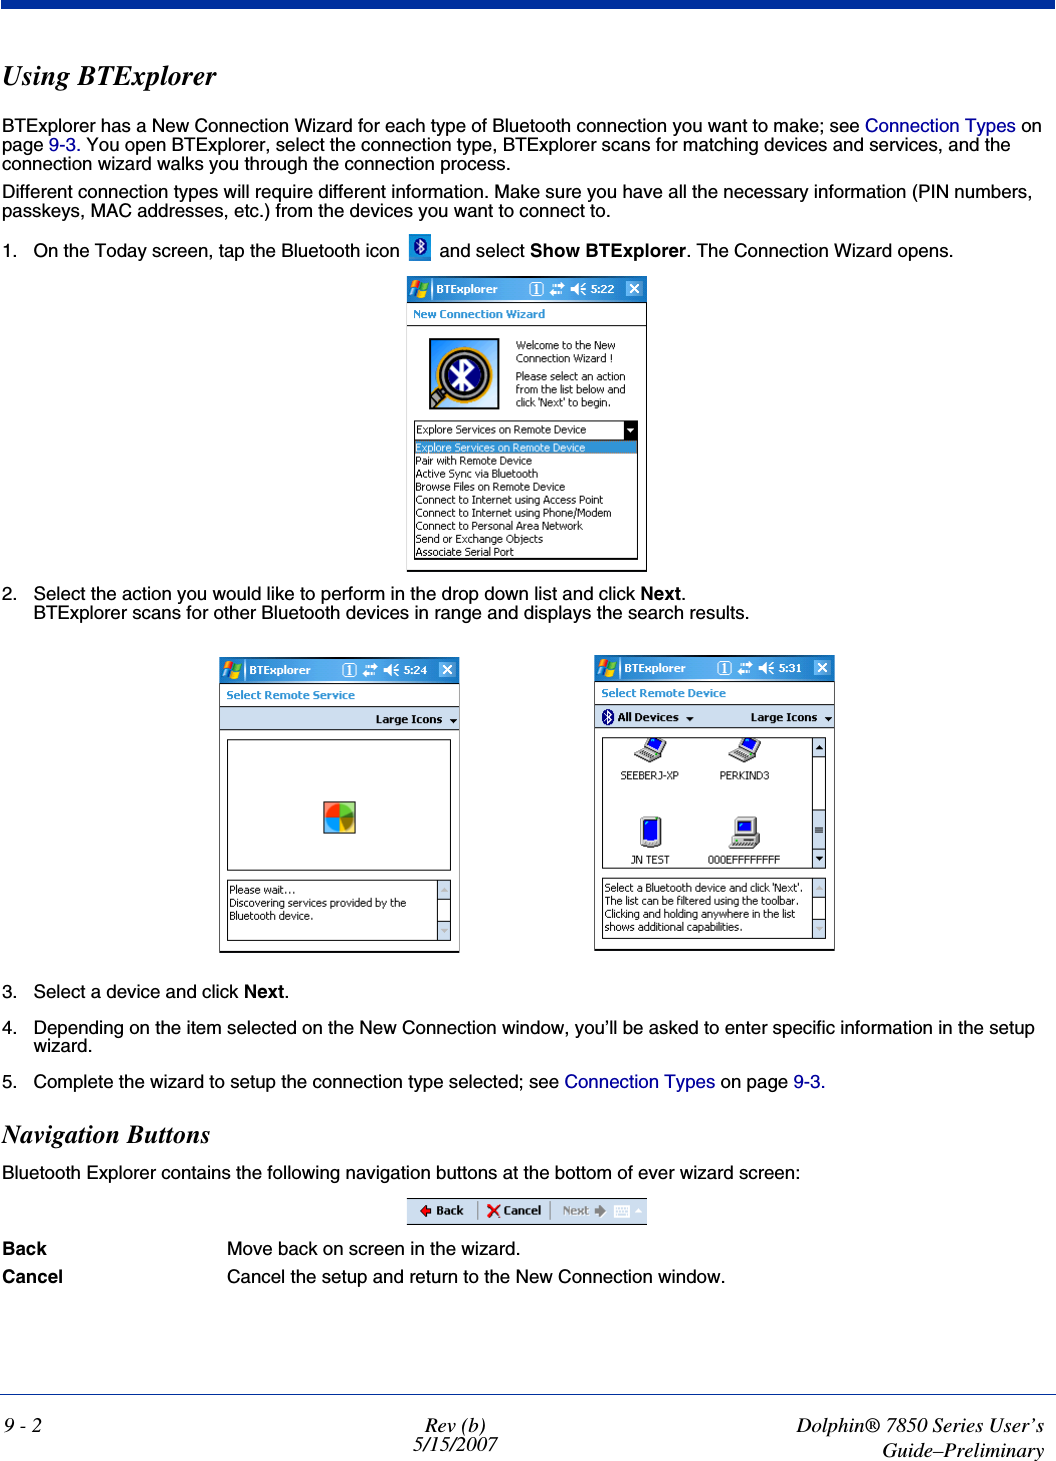
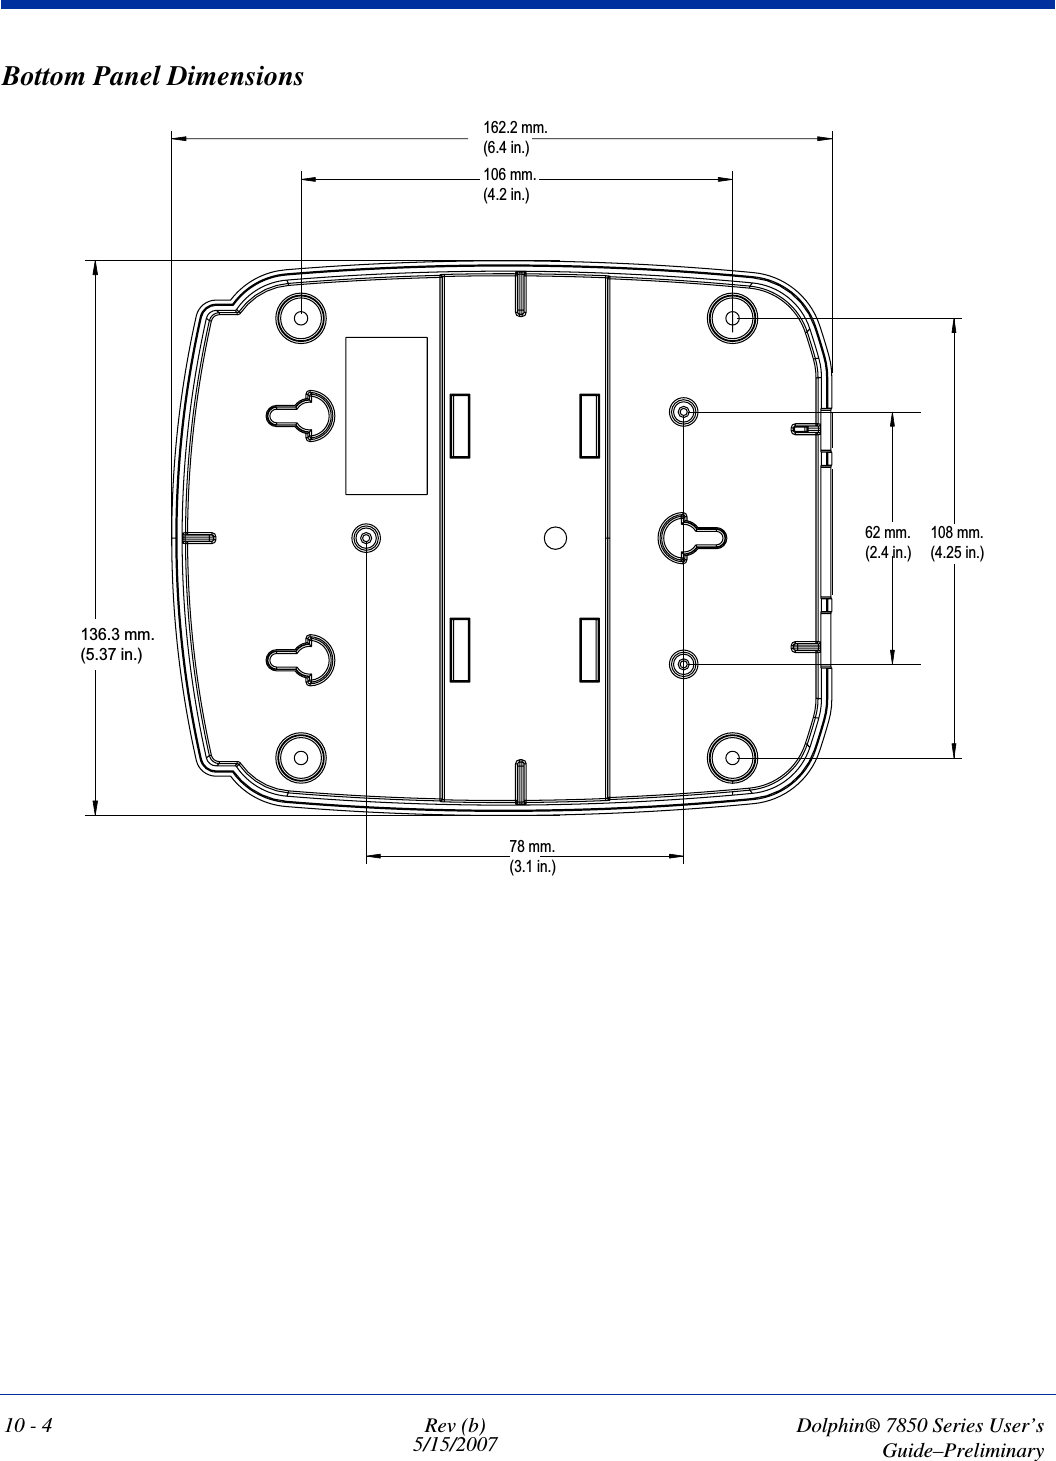
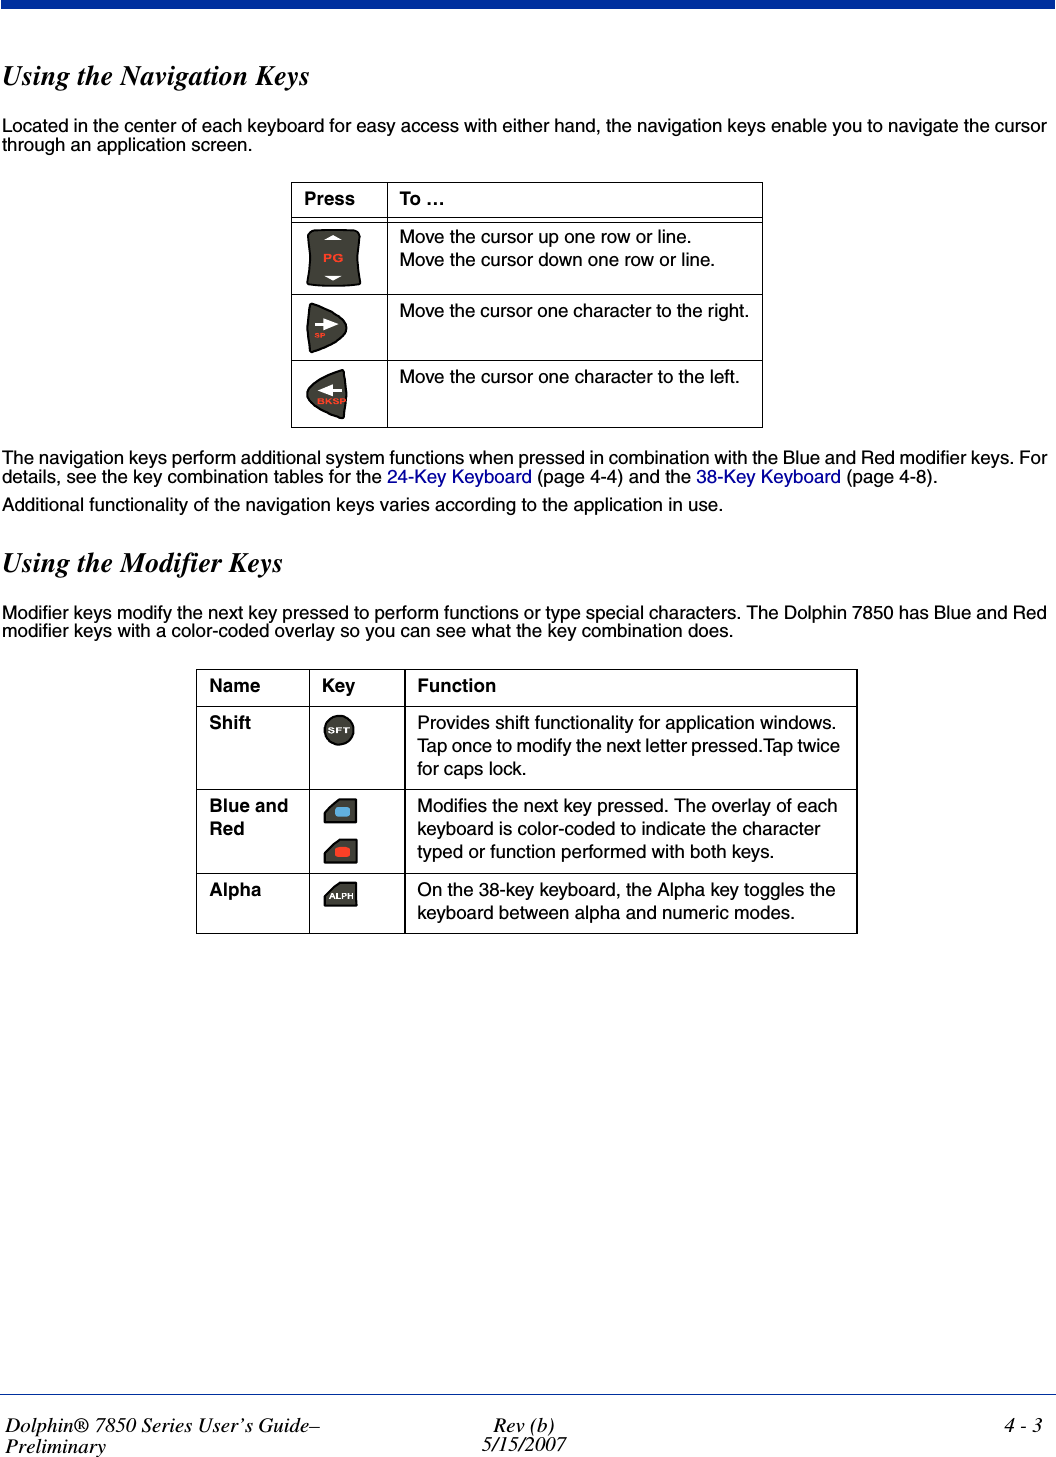
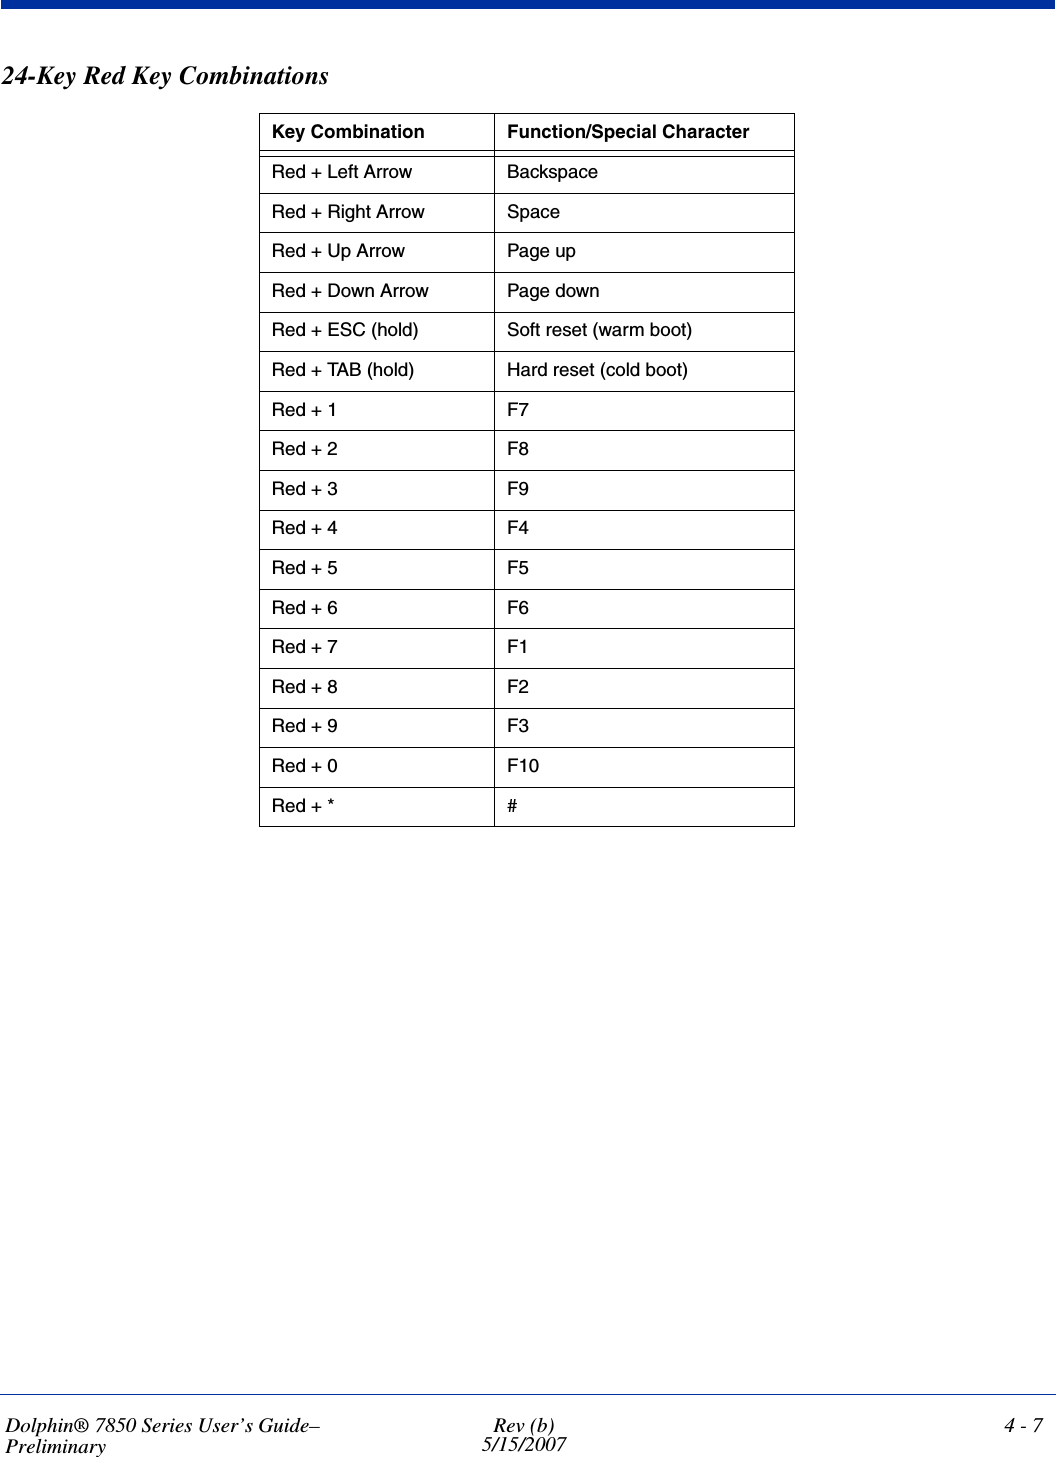
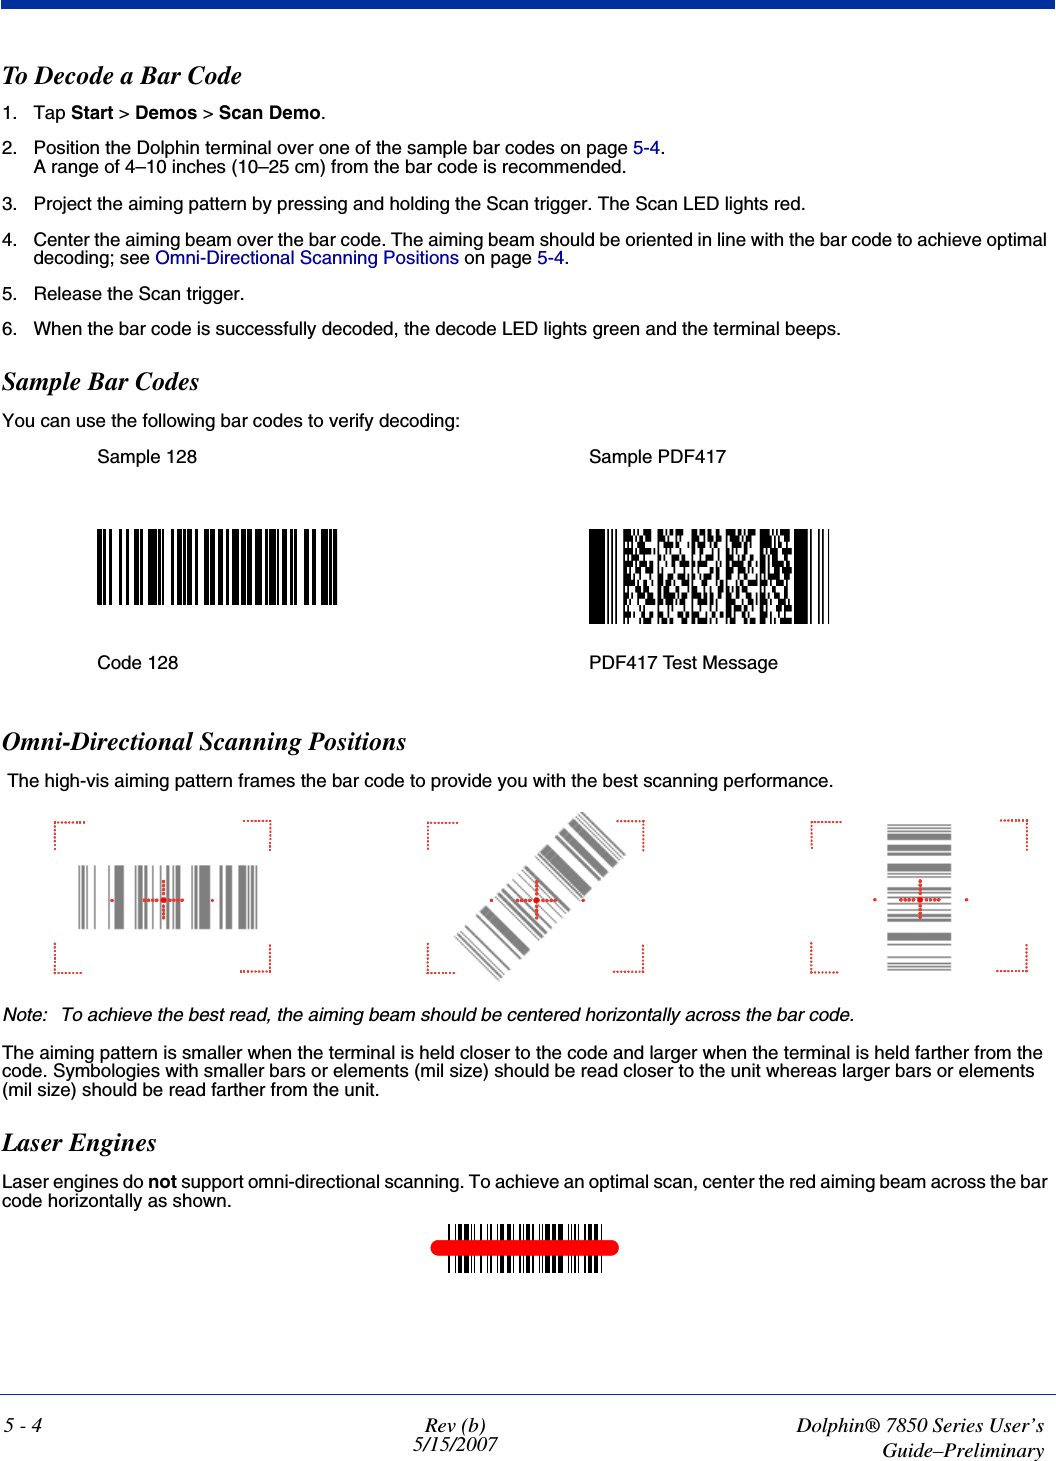
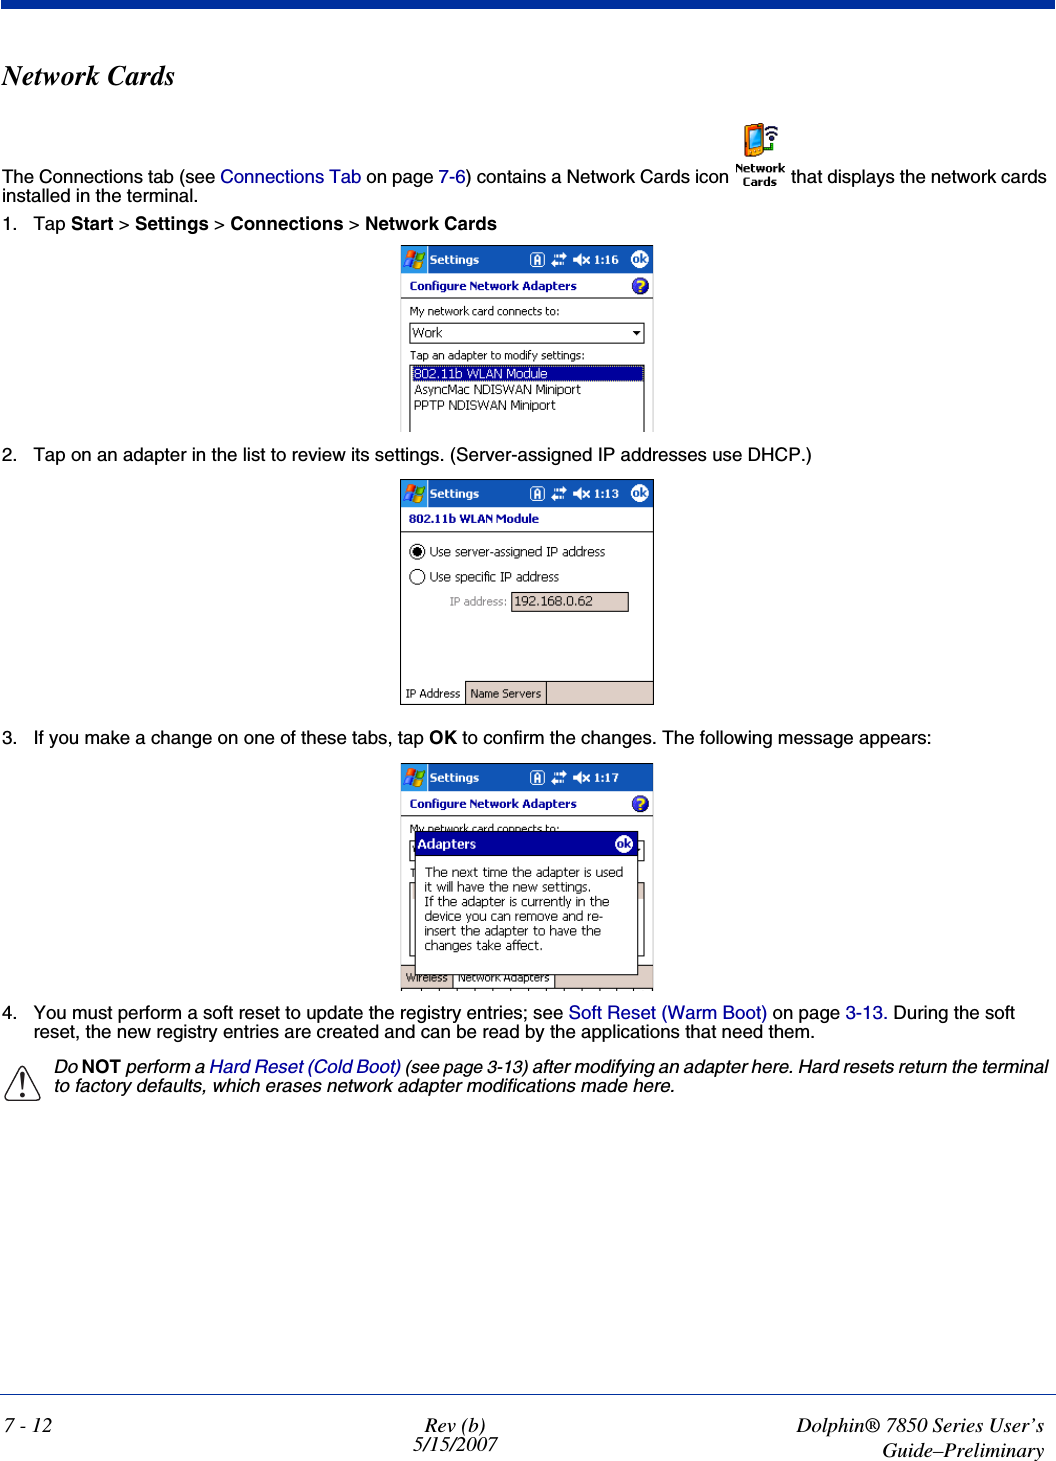
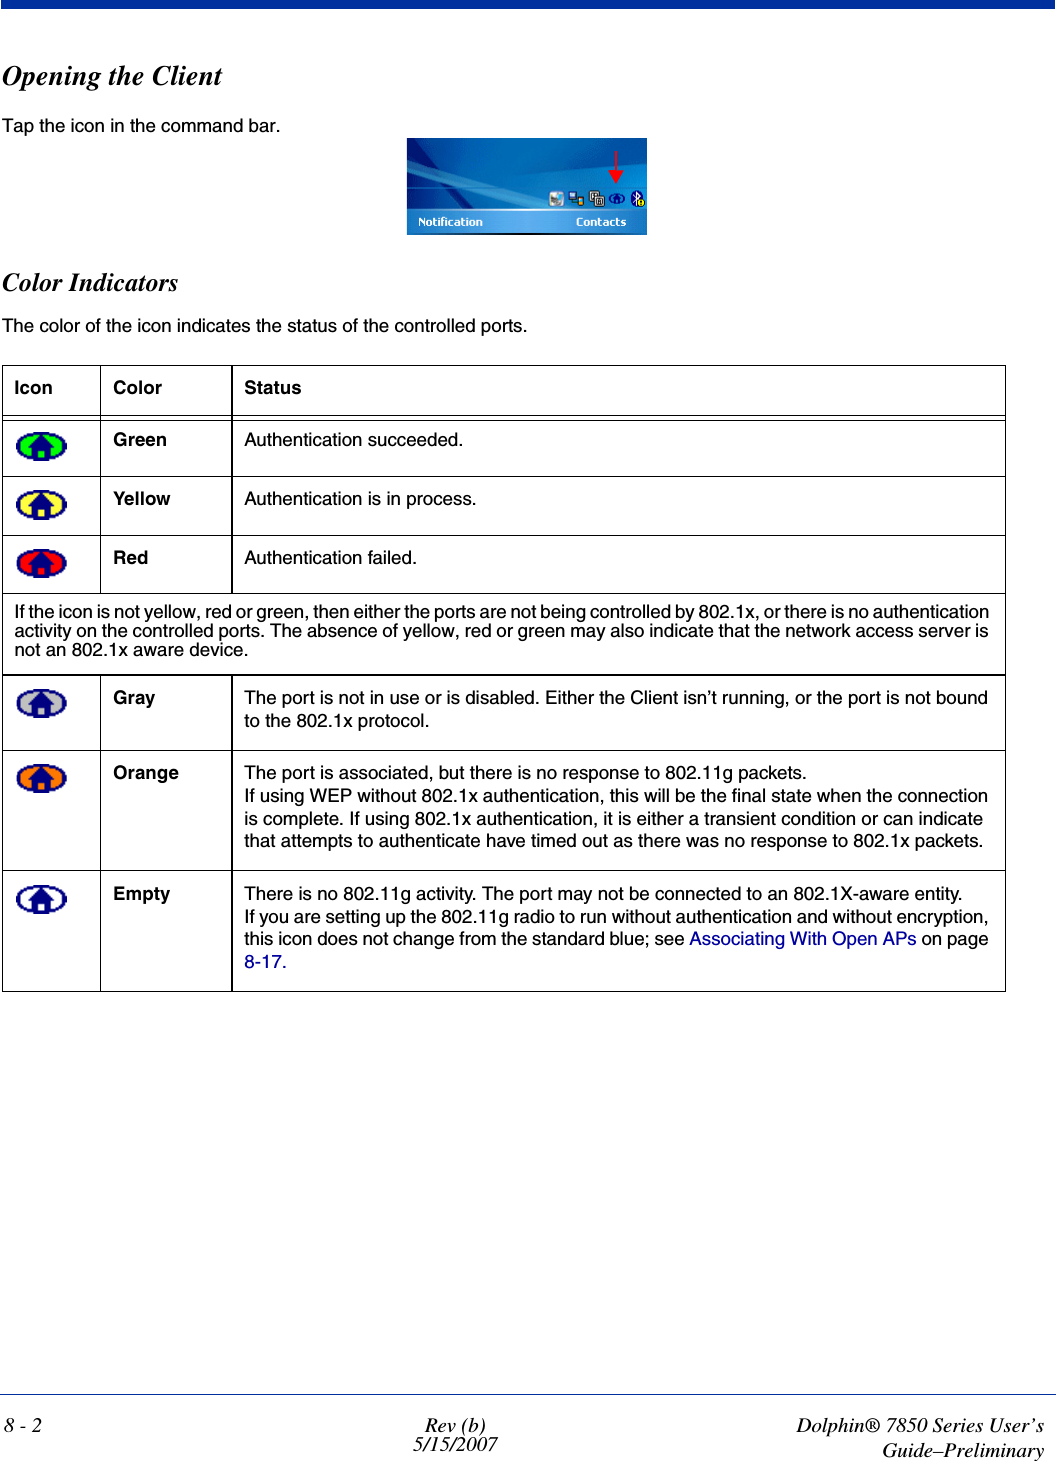
![3 - 10 Rev (b)5/15/2007Dolphin® 7850 Series User’sGuide–PreliminaryInternal Backup BatteryLocated inside the terminal, the backup battery is a 3.6V nickel metal hydride (NiMH) battery. The internal backup battery prevents the terminal from being reset when you remove the main battery pack. The backup battery retains RAM data and allows the real-time clock to remain operational for up to 30 minutes. If the terminal is left without the main battery pack for more than 30 minutes, the internal backup battery discharges and needs to be recharged to function according to specifications. Note: Even if the internal backup battery fails, data and programs stored in Flash memory are not totally lost, but the terminal does automatically cold boot when you install a fully charged battery pack and you need to reset the real-time clock.ChargingThe internal backup battery charges off the main battery pack and requires eight hours charge time to backup RAM data for 30 minutes. You can begin using the Dolphin terminal after charging the main battery for four hours; however, the internal backup battery will continue to charge off the main battery. To ensure that the internal backup battery functions properly, maintain a consistent power supply for the first eight hours of terminal operation. This power supply can be external power (using a charging peripheral) or an installed, charged battery pack or a combination of both.Guidelines Follow these guidelines to maximize the life of the Dolphin’s internal backup battery:• Keep a charged Li-ion battery pack in the Dolphin terminal. • Keep the Dolphin terminal connected to a power source when the terminal is not in use. Managing Battery PowerData and files saved on the Dolphin terminal may be stored in RAM memory; therefore, maintain a continuous power supply to the terminal to help prevent data loss. When you remove a battery pack, insert another charged battery pack in the Dolphin. If the main battery pack is low, insert the terminal into a charging peripheral to power the terminal and begin recharging the battery.Note: If the main battery is low and the terminal is in suspend mode, pressing the SCAN trigger does not wake the Dolphin terminal; you must replace the discharged battery with a fully charged battery.Default Low and Critical Battery PointsThe Dolphin terminal ships with default low and critical battery points programmed in the following registry parameters:[HKEY_LOCAL_MACHINE\System\CurrentControlSet\Control\Power\LowBatt=19][HKEY_LOCAL_MACHINE\System\CurrentControlSet\Control\Power\CriticalBatt=a]The Navigation bar at the top of the each screen displays battery warning icons when the main battery reaches the low, then critical battery points. Note: Battery power warnings do not appear when the terminal is running on external power.Registry Parameter DescriptionLowBatt Sets the Low Battery point. The default is 25% (Hexadecimal=19). This is the point at which you are warned by an icon in the Navigation bar that the battery is low. You are notified only once for a low battery. CriticalBatt Sets the Critical Battery point. The default is 10% (Hexadecimal=a). This is the point at which the you are warned by an icon in the Navigation bar that the battery is very low. This warning is posted every three minutes until the situation is corrected.](https://usermanual.wiki/Honeywell/7850L0GE.User-Manual/User-Guide-794913-Page-24.png)


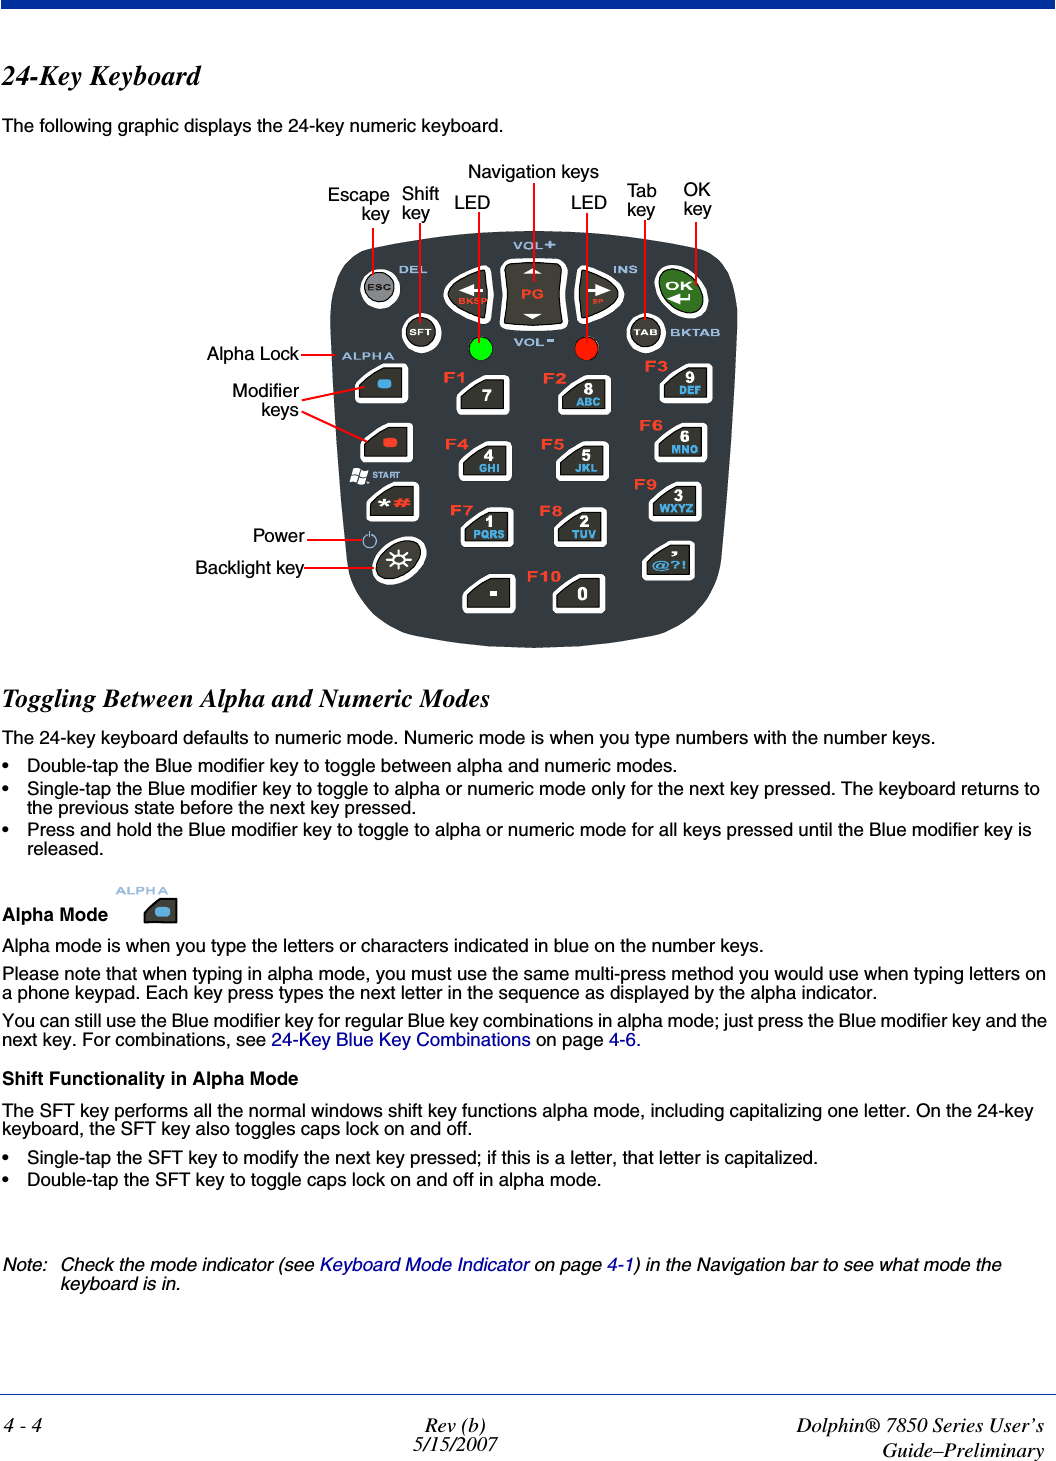
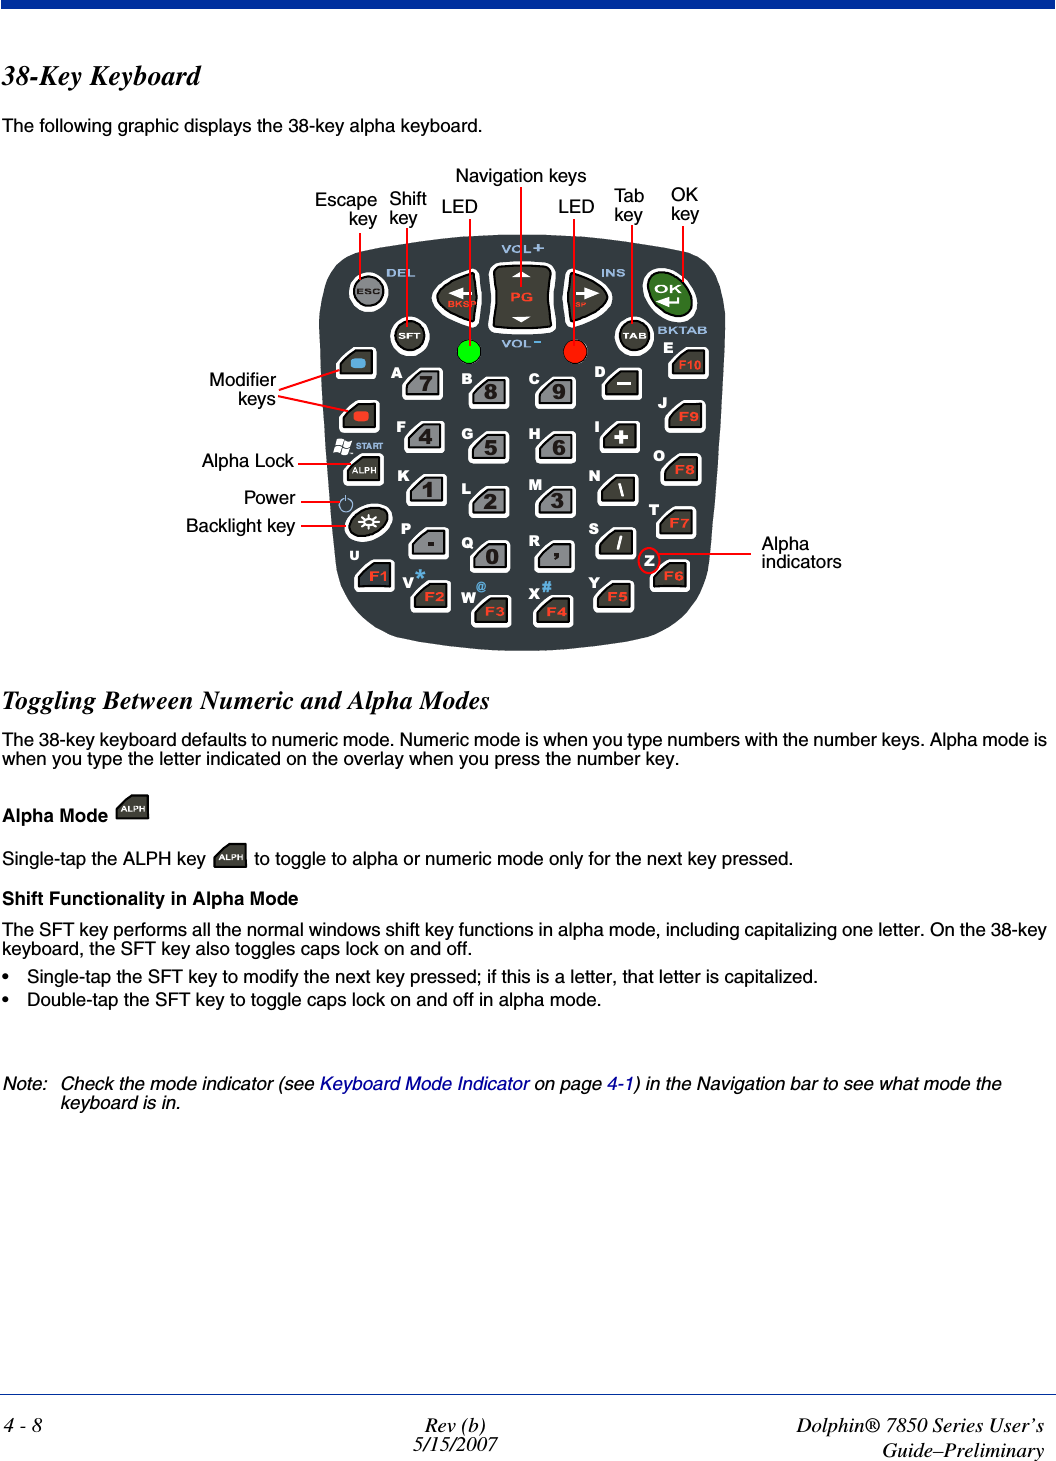

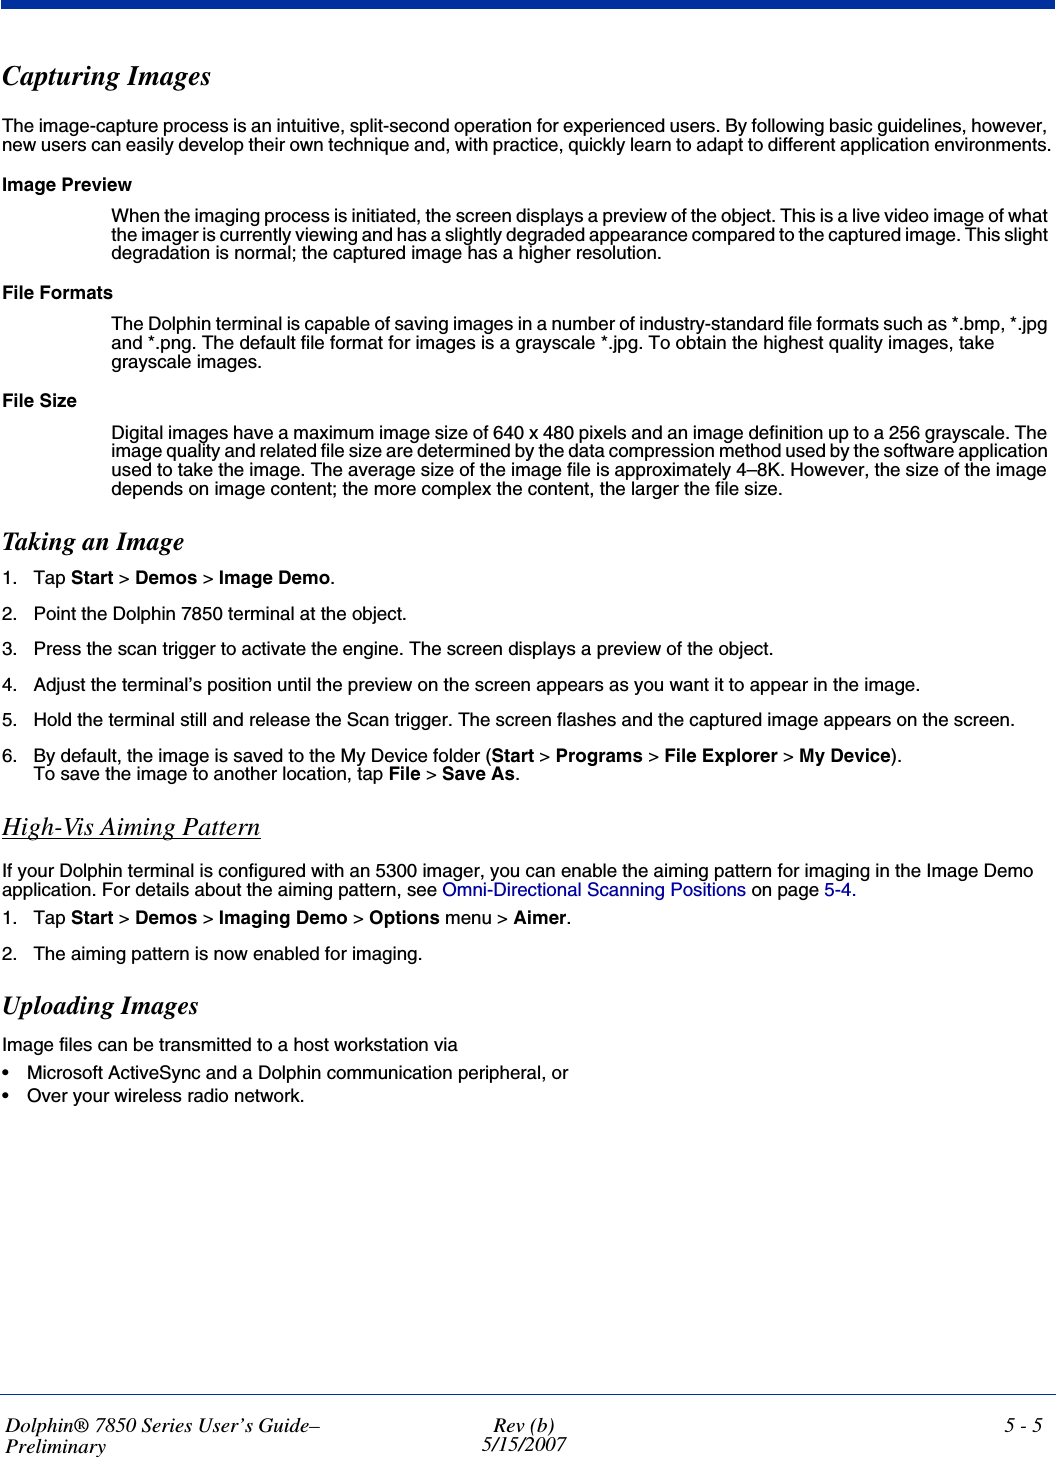

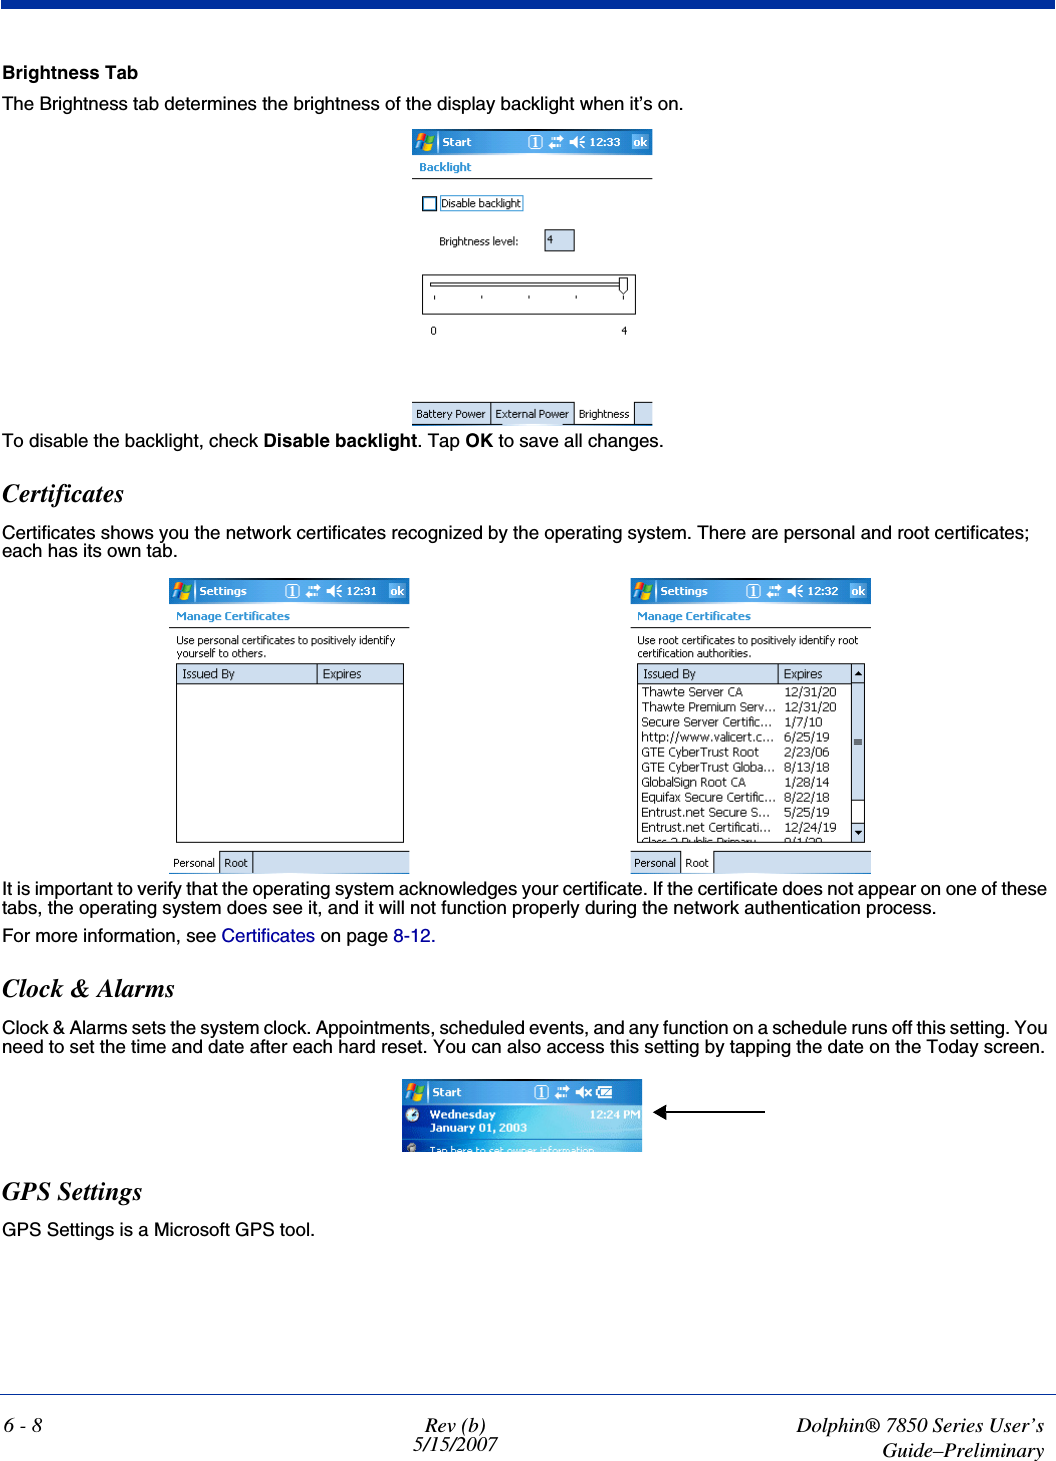

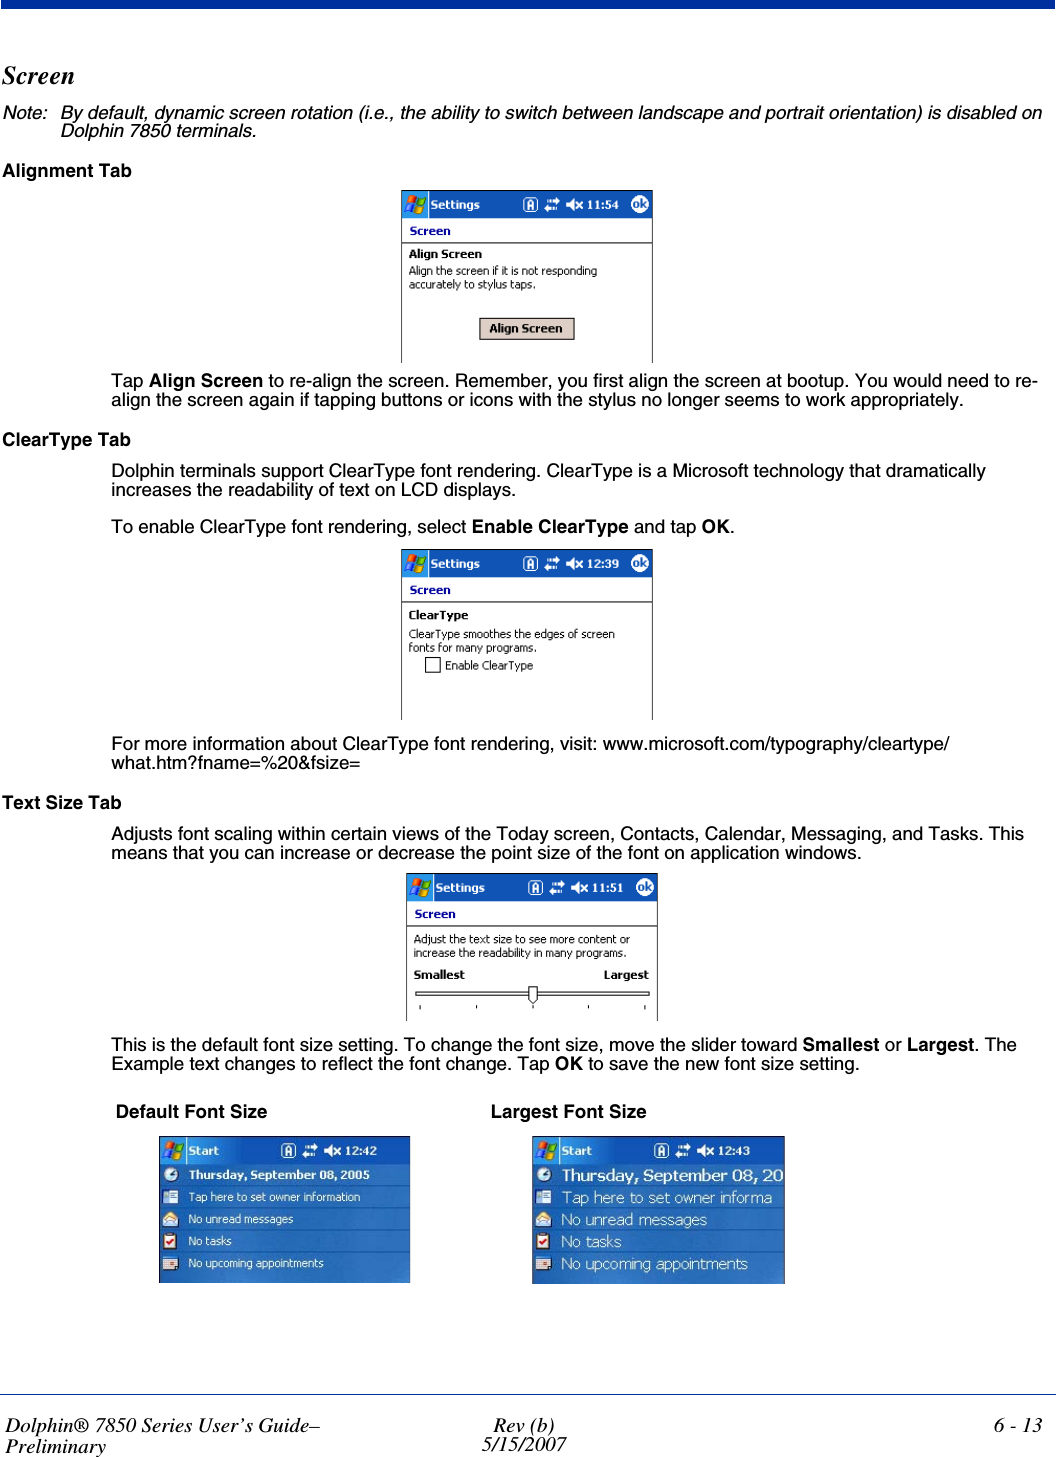


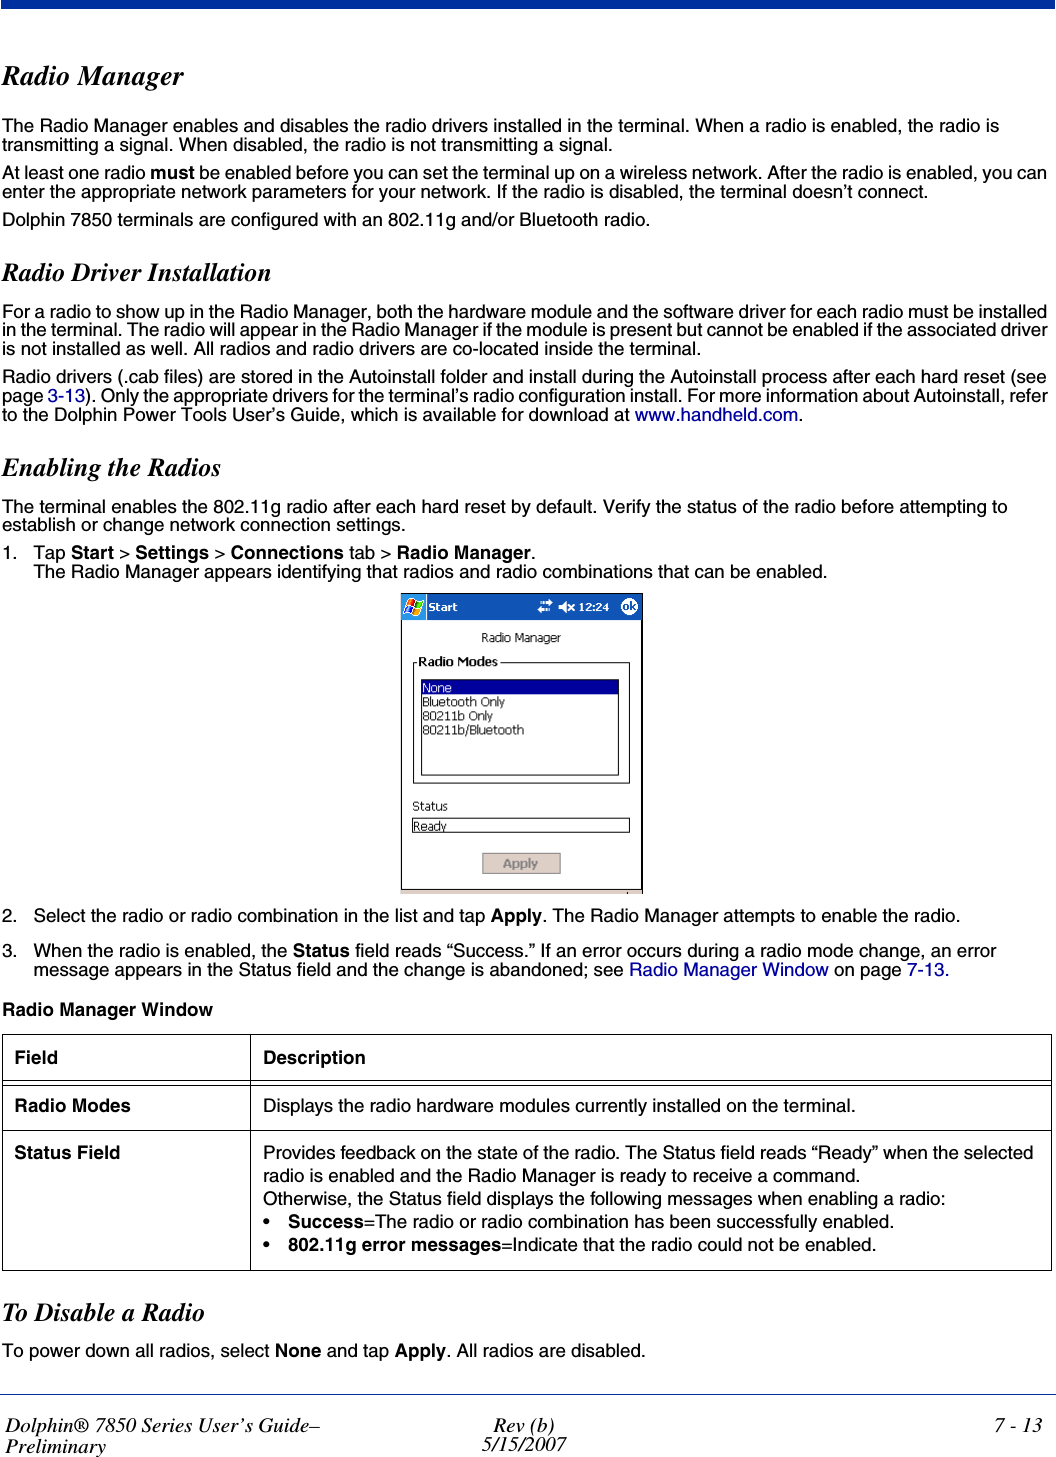
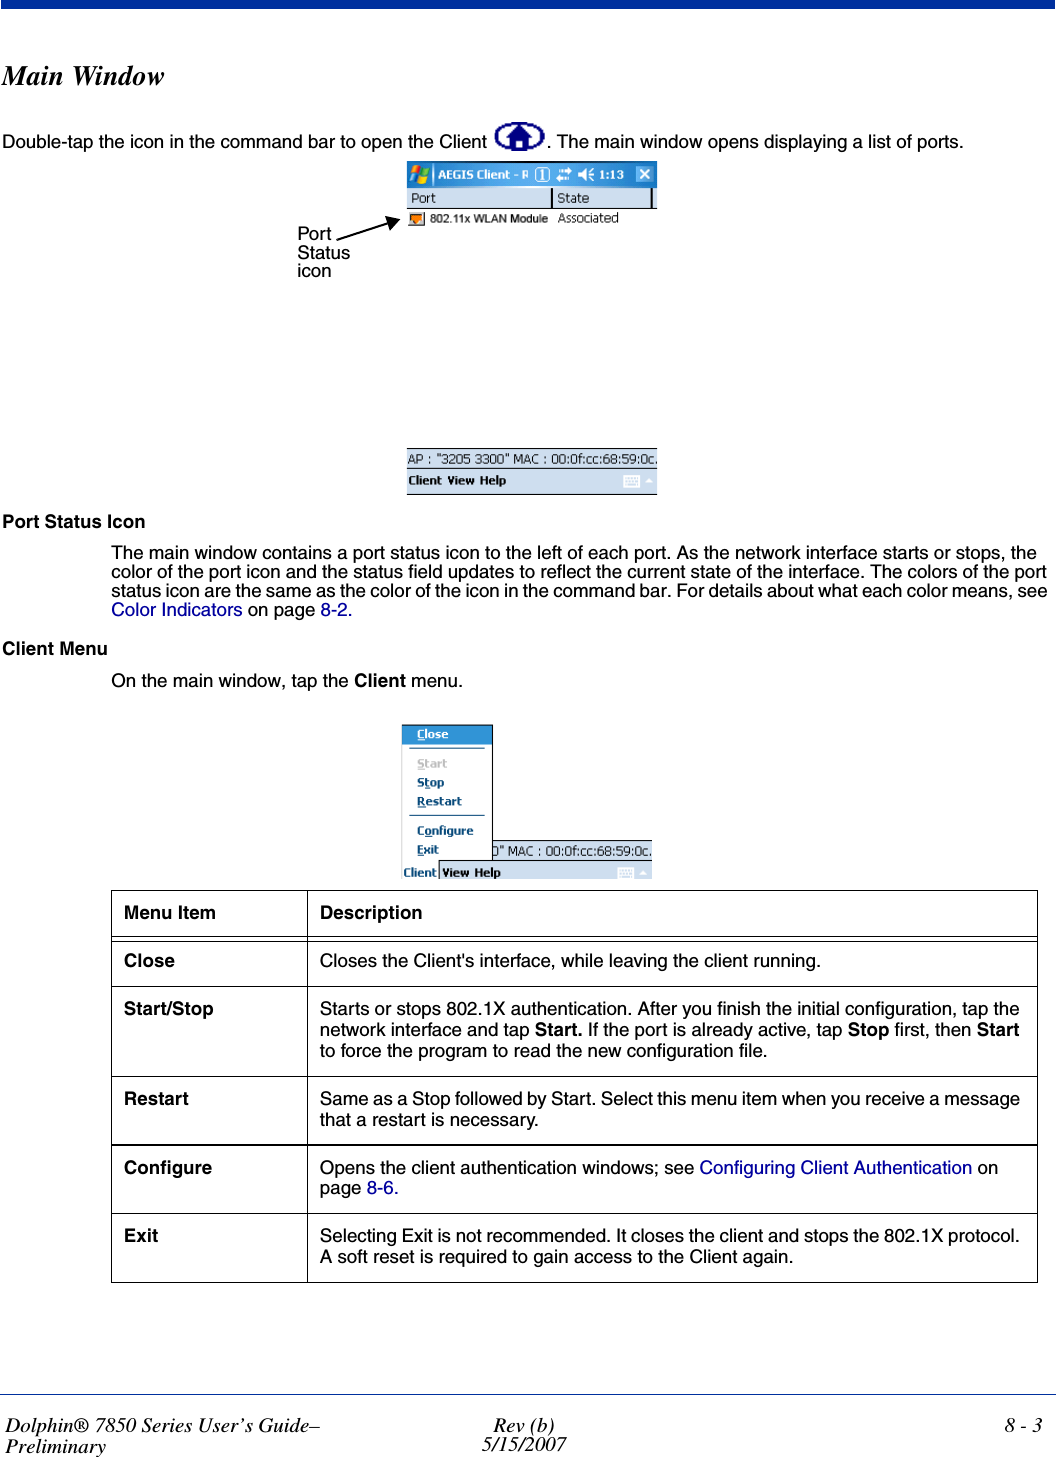
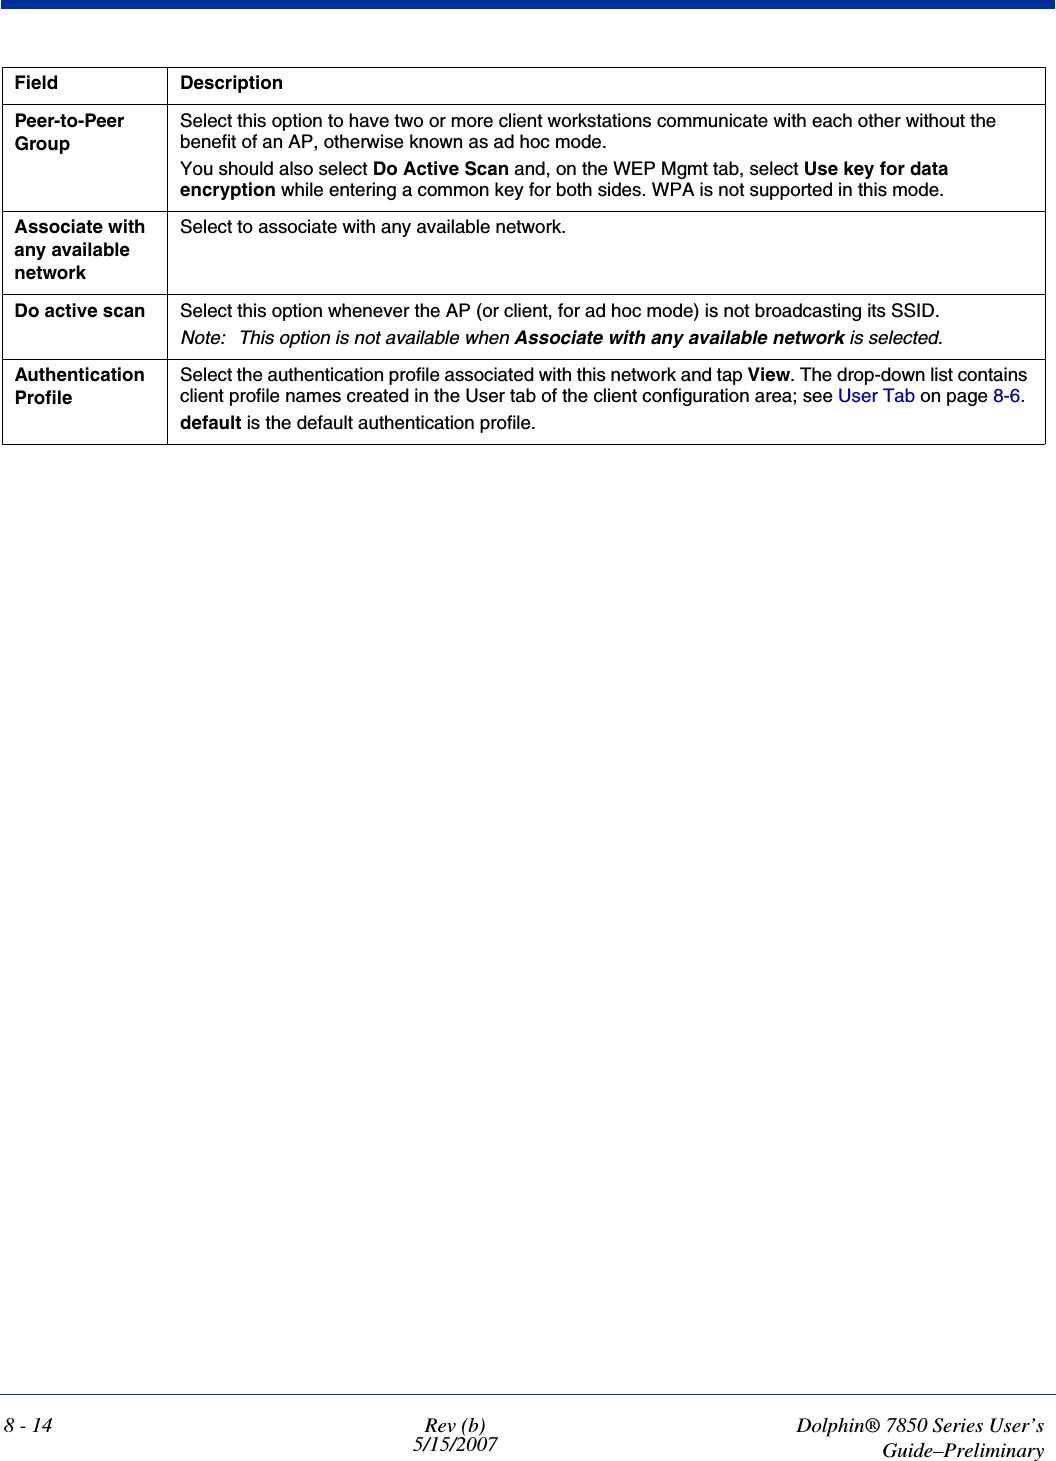
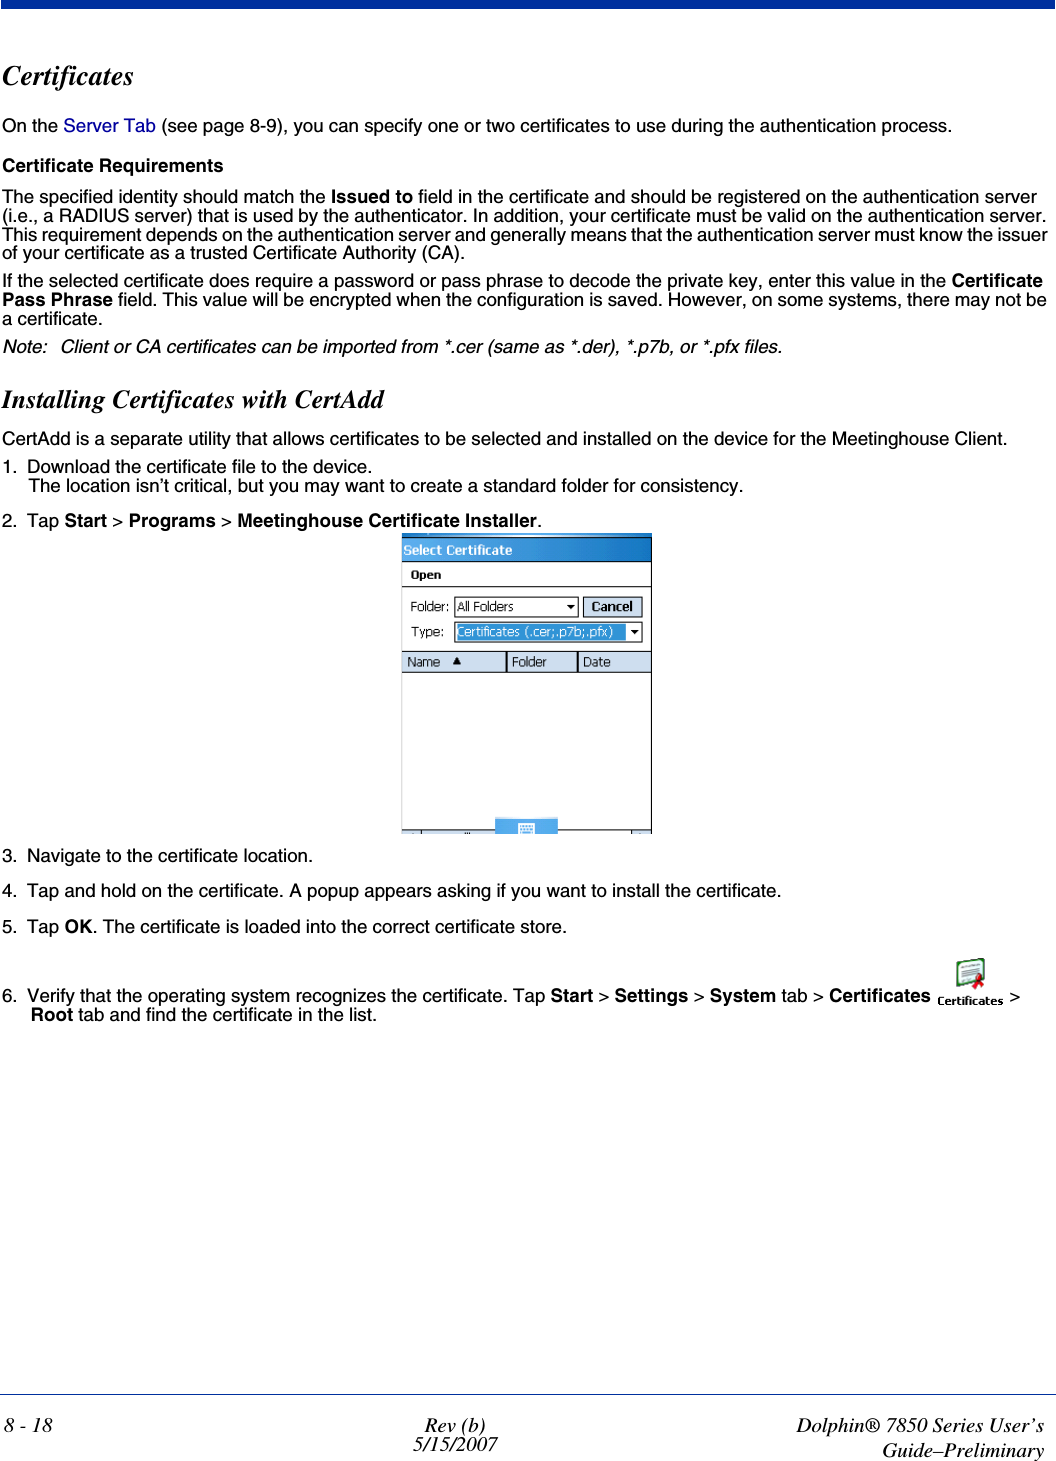
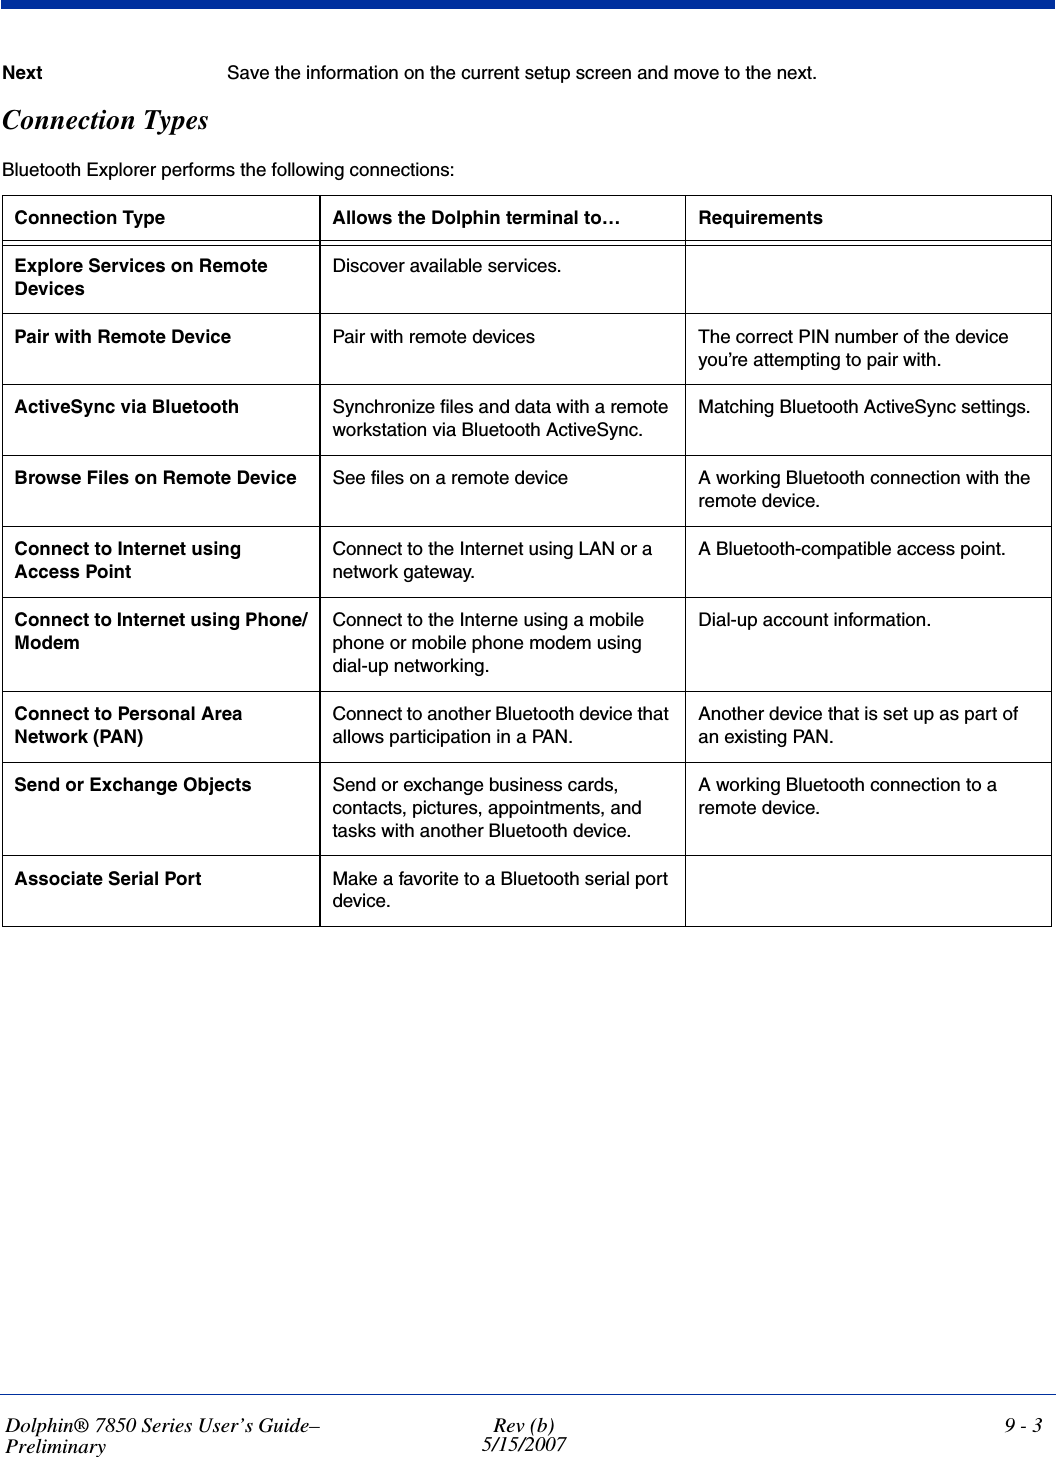
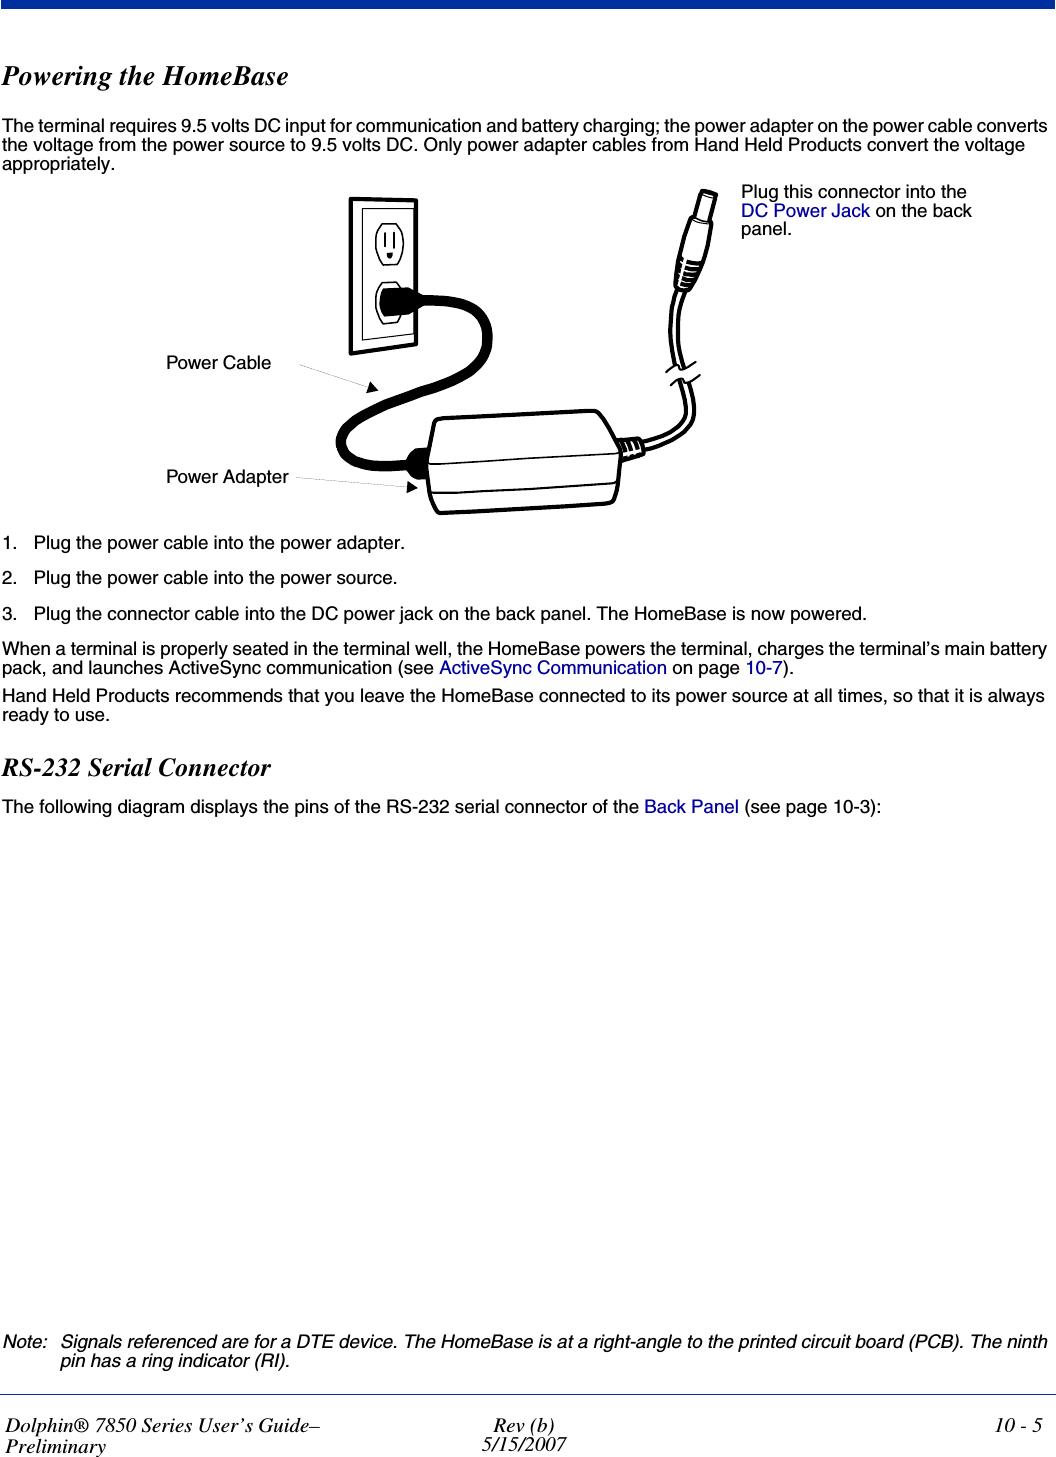
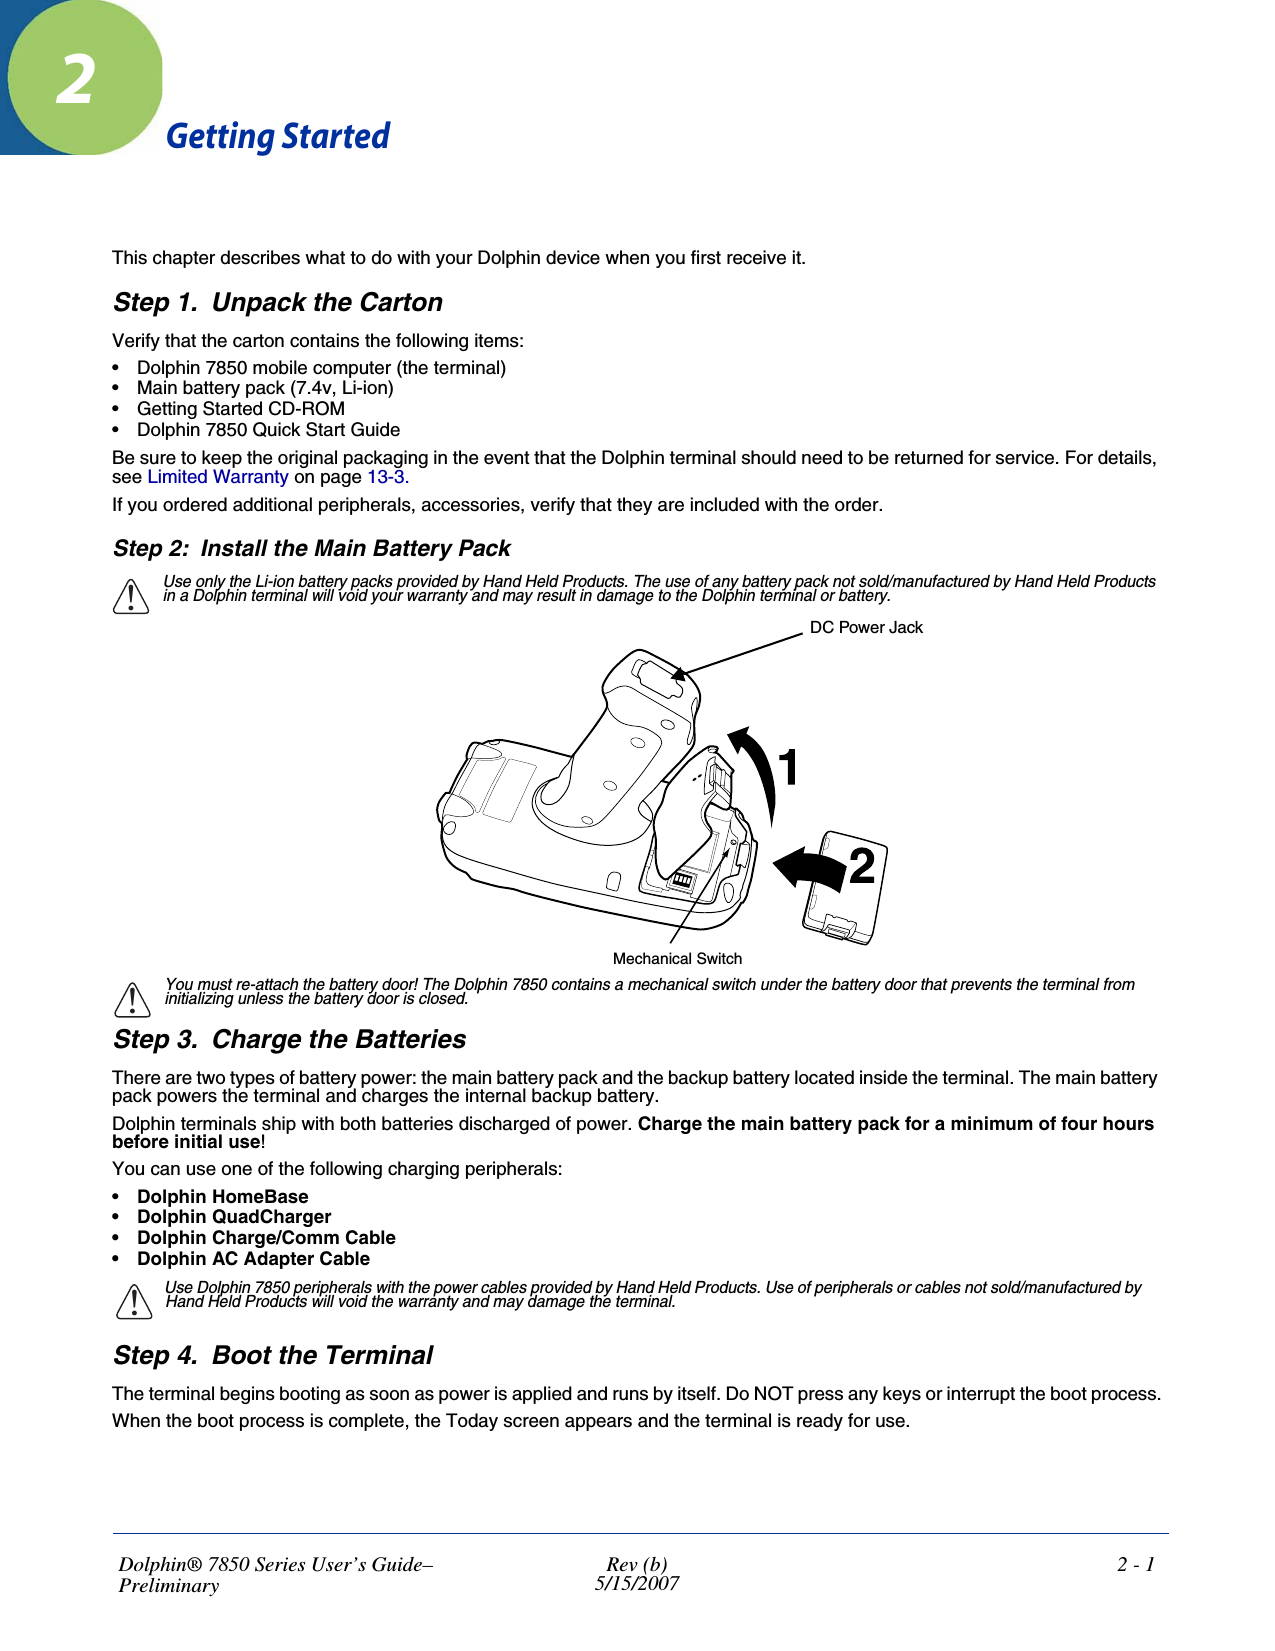
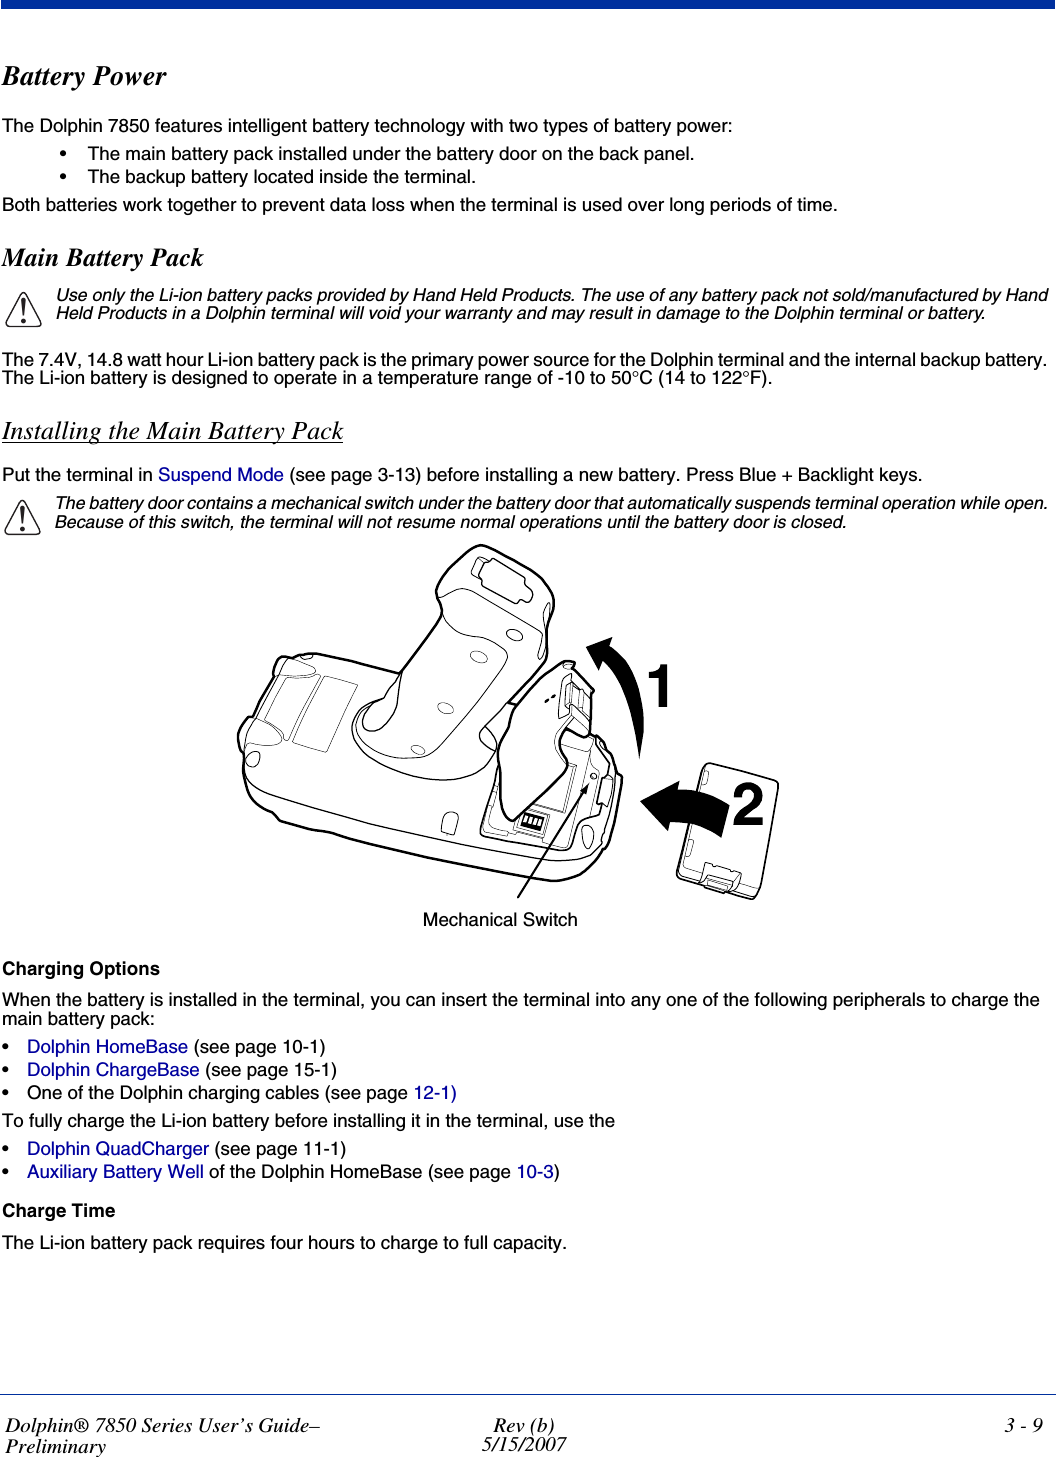
![Dolphin® 7850 Series User’s Guide–PreliminaryRev (b)5/15/20078 - 5Status BarThe status bar indicates the connection status between the network card and the AP.Depending on the status of connectivity, the status bar displays one of the following:• Not Associated• AP : [AP's SSID] MAC : [AP's BSSID].Status Bar](https://usermanual.wiki/Honeywell/7850L0GE.User-Manual/User-Guide-794913-Page-81.png)
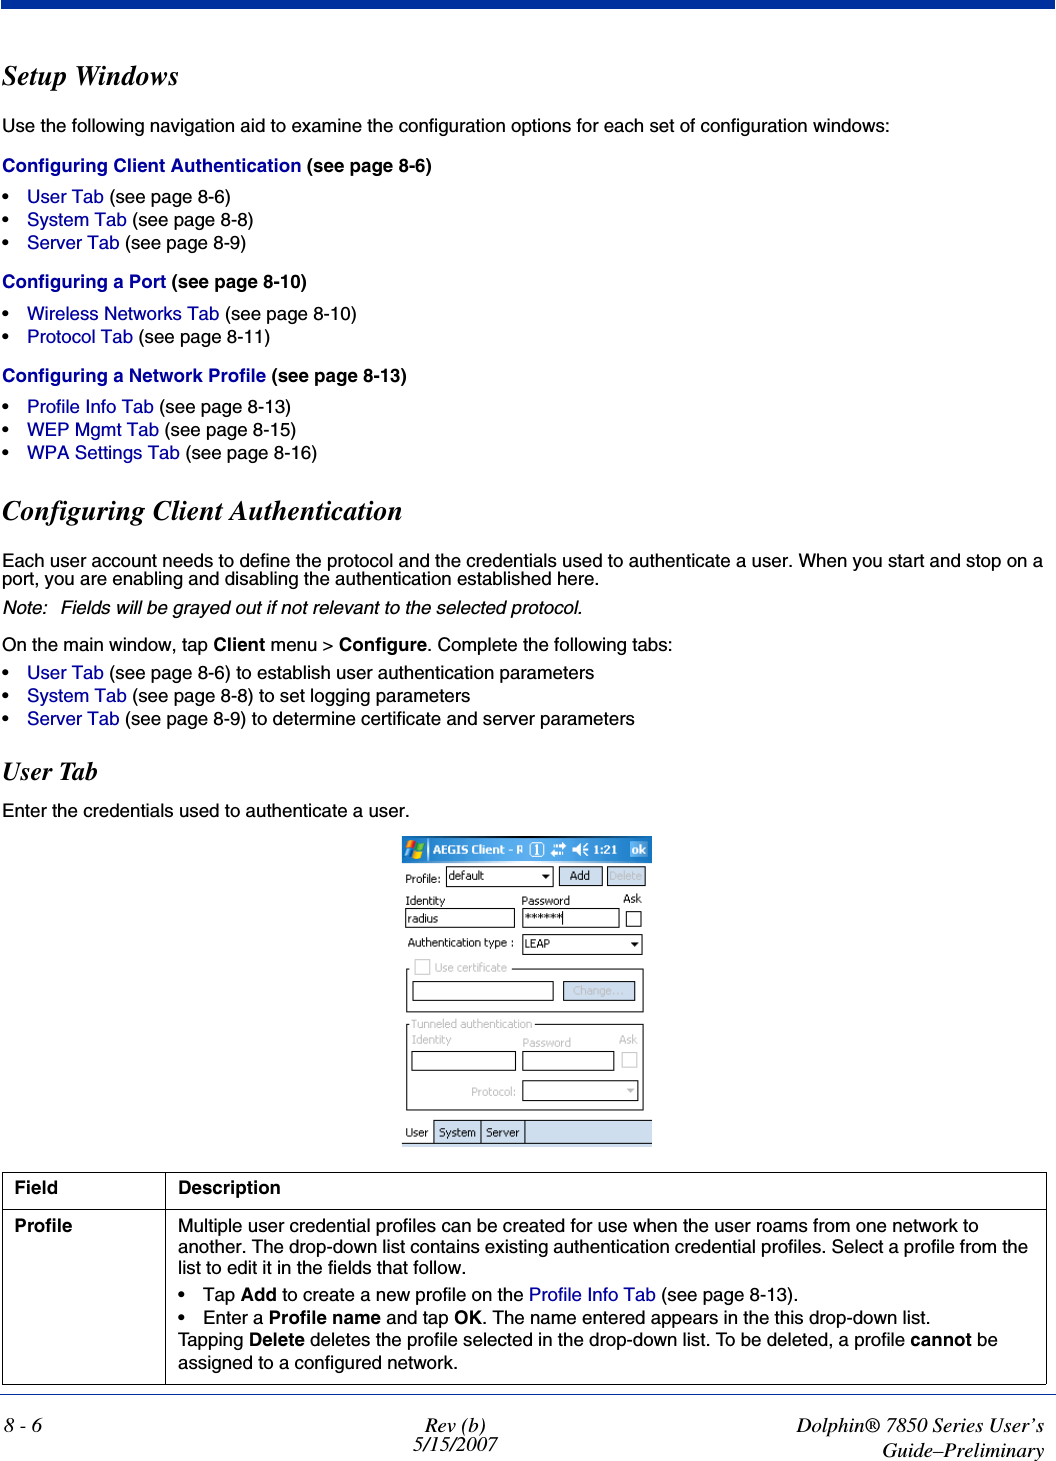
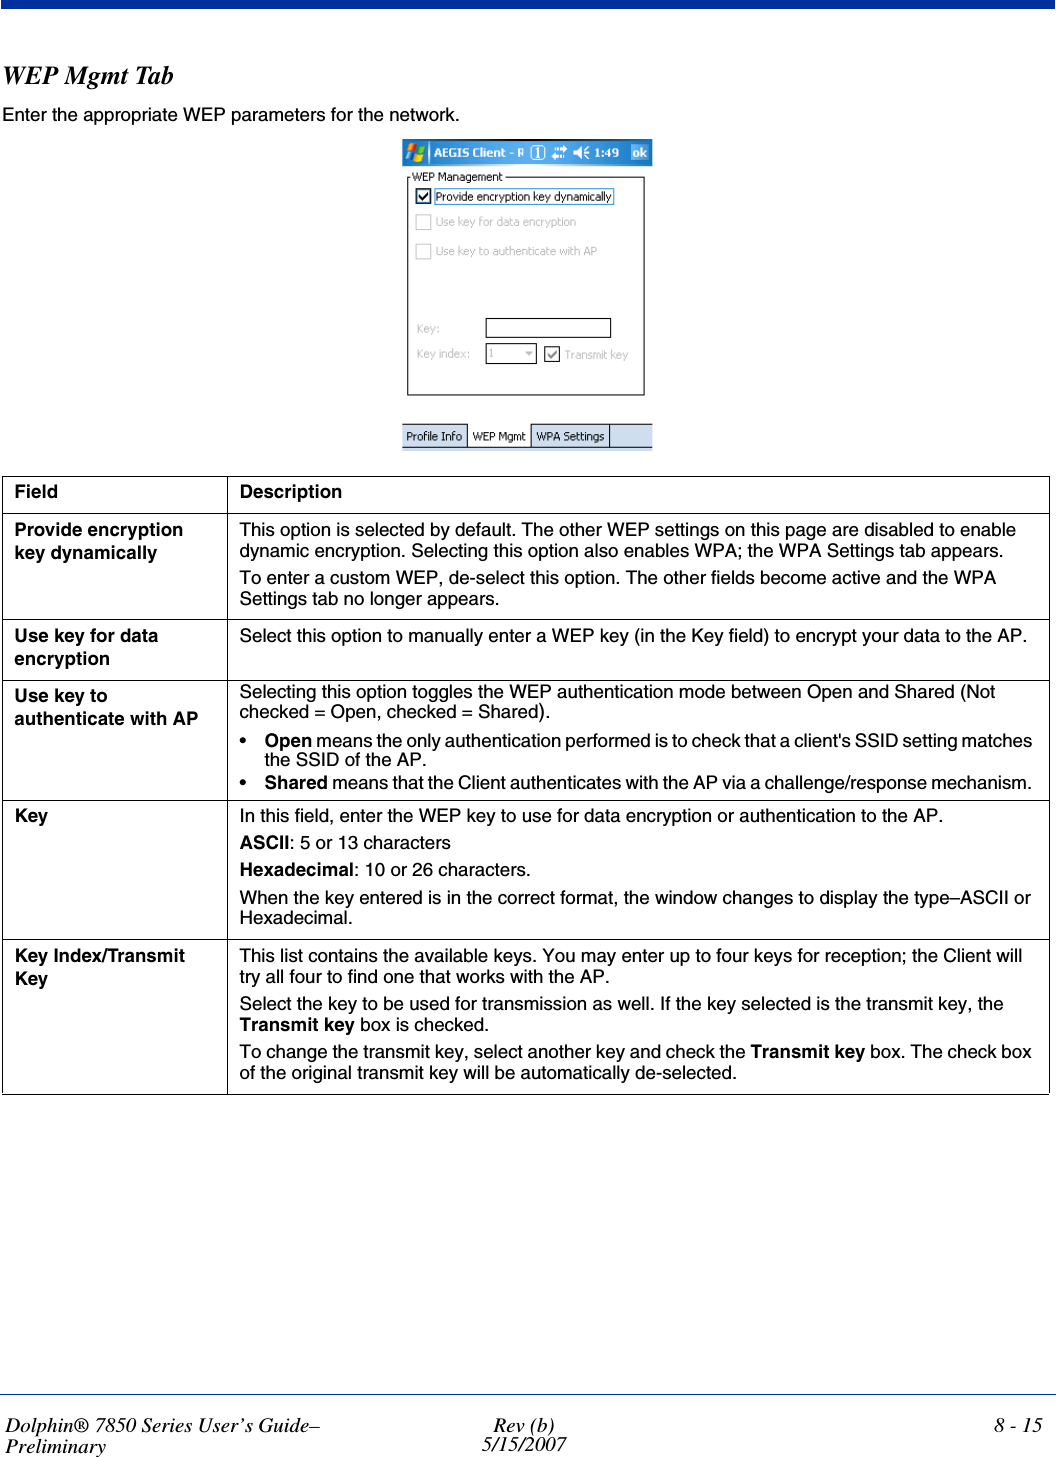
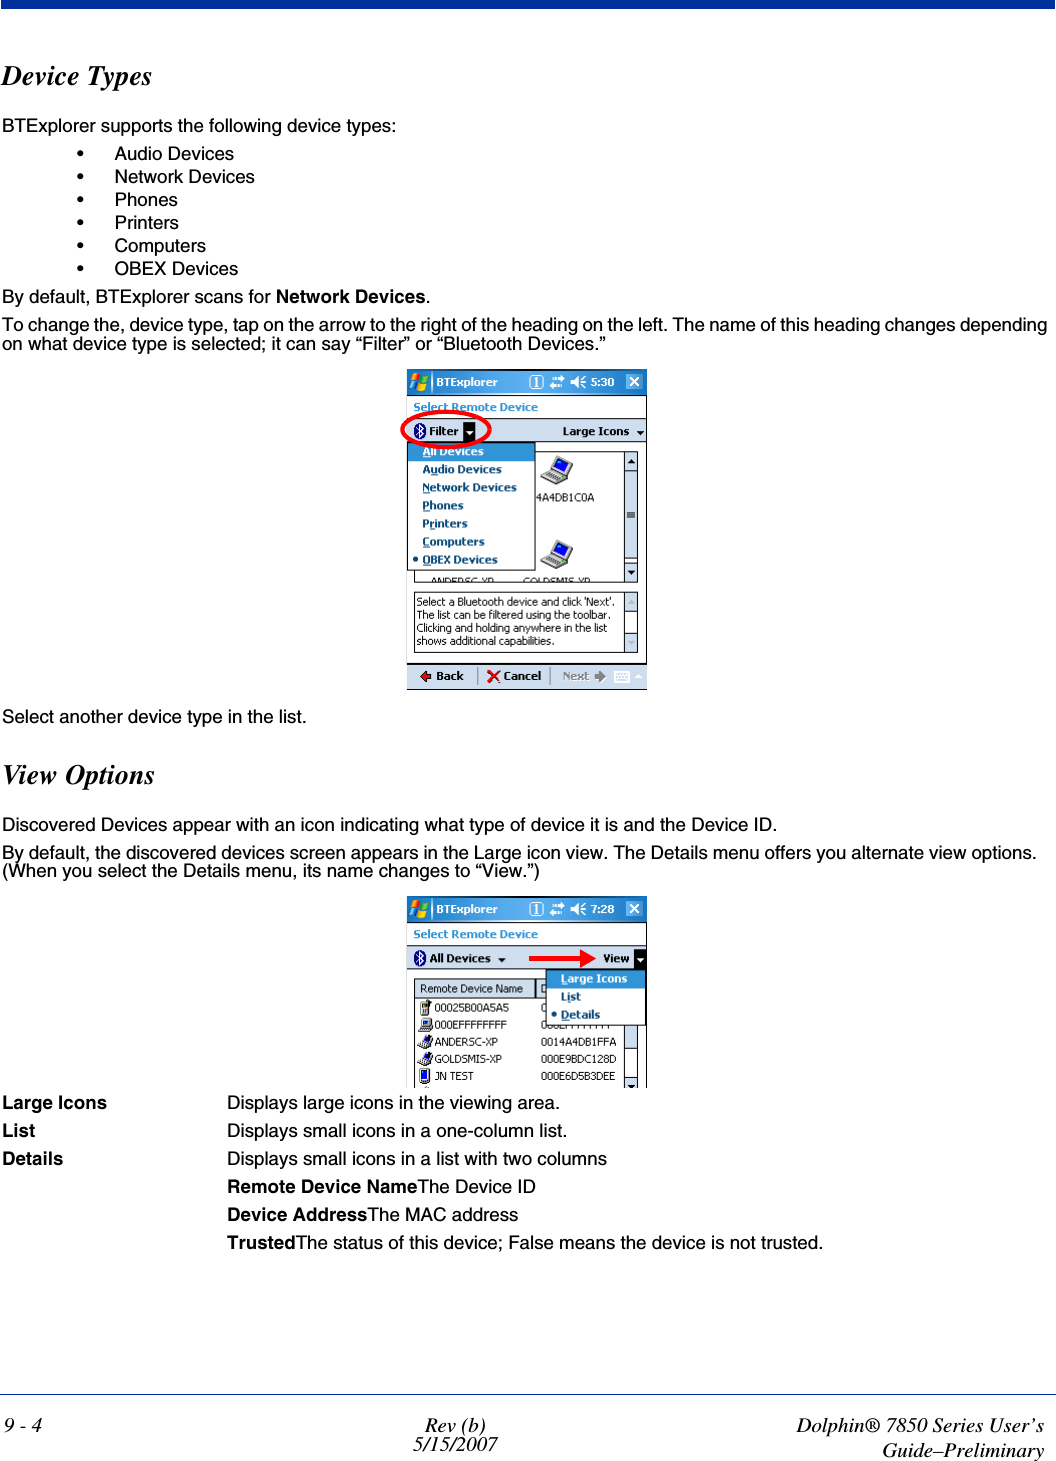
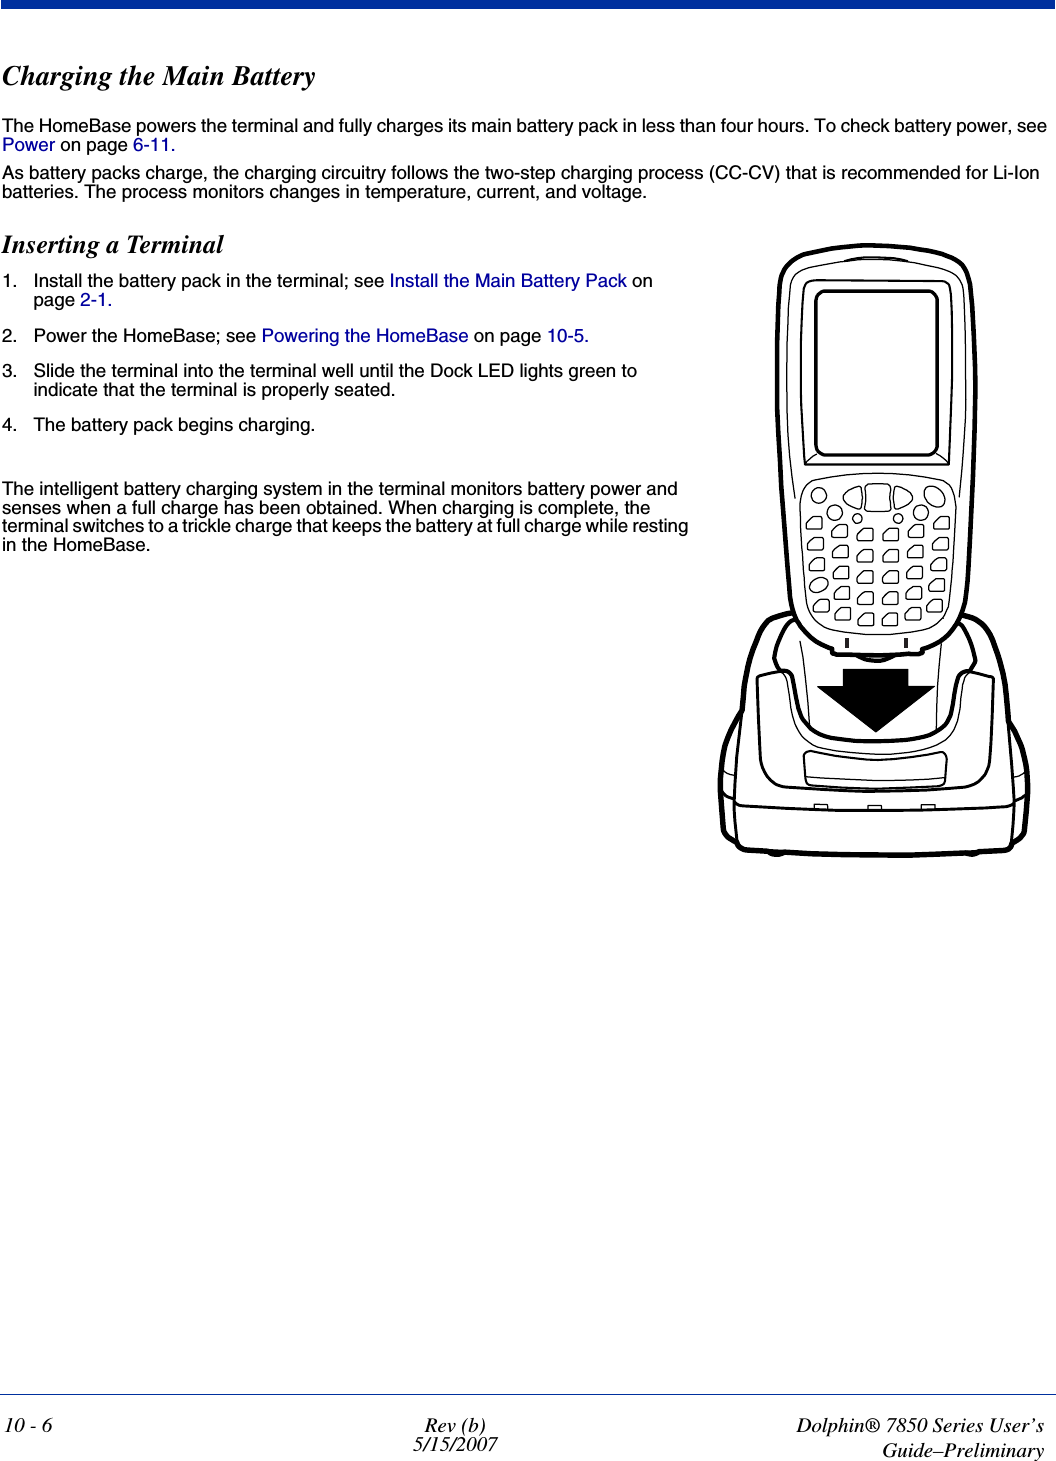
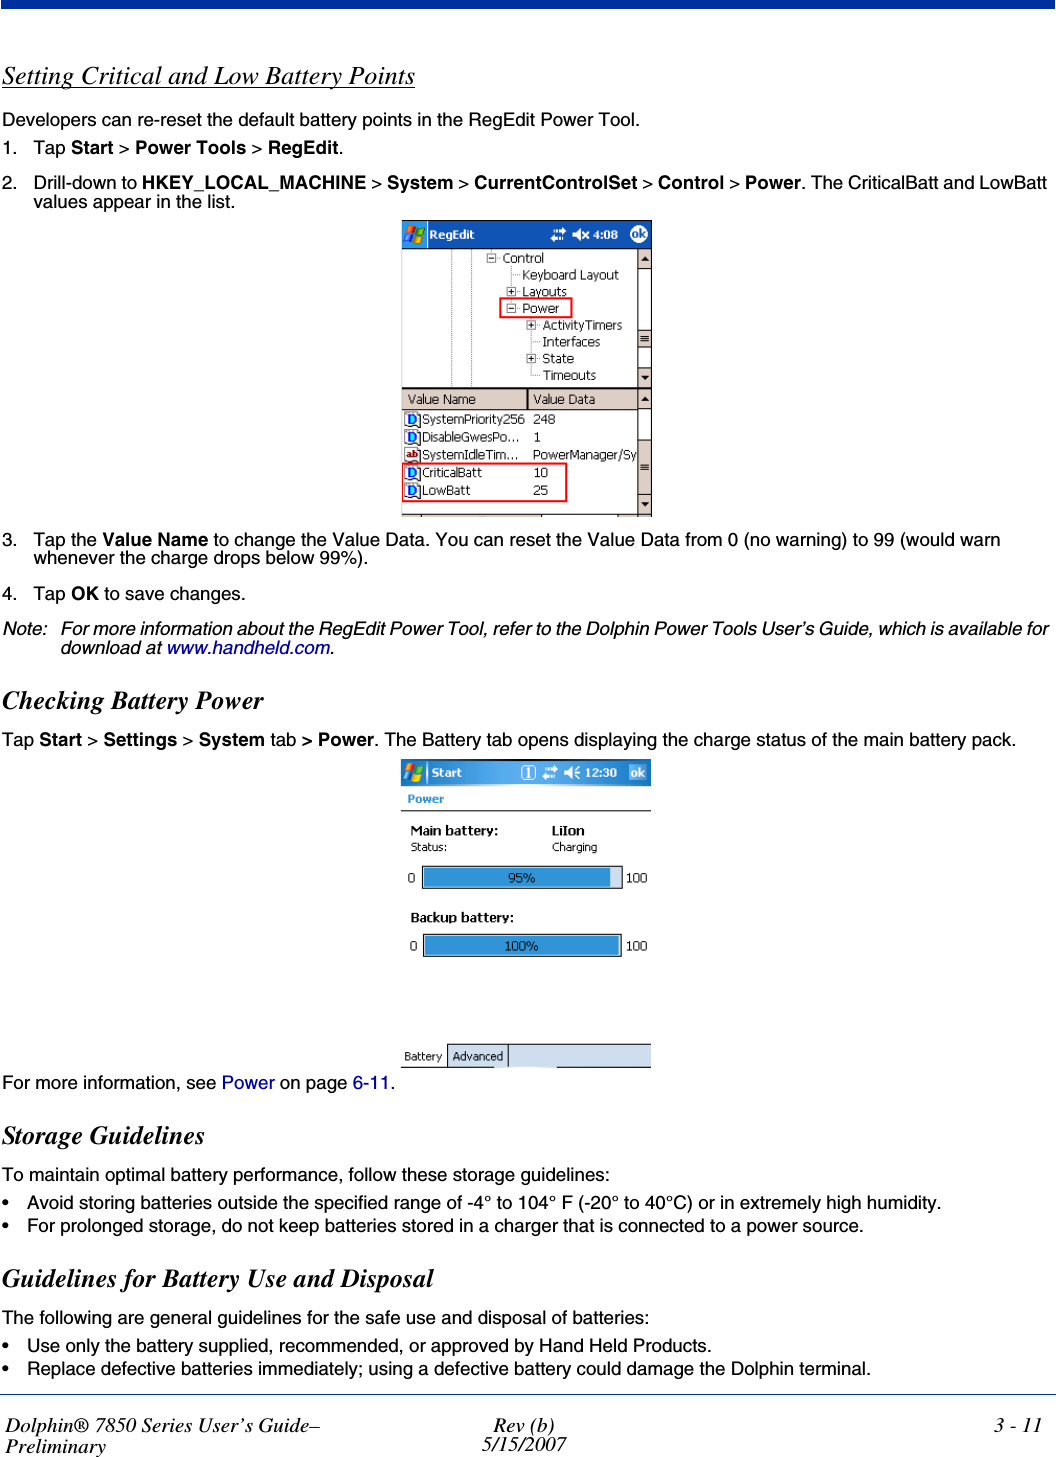
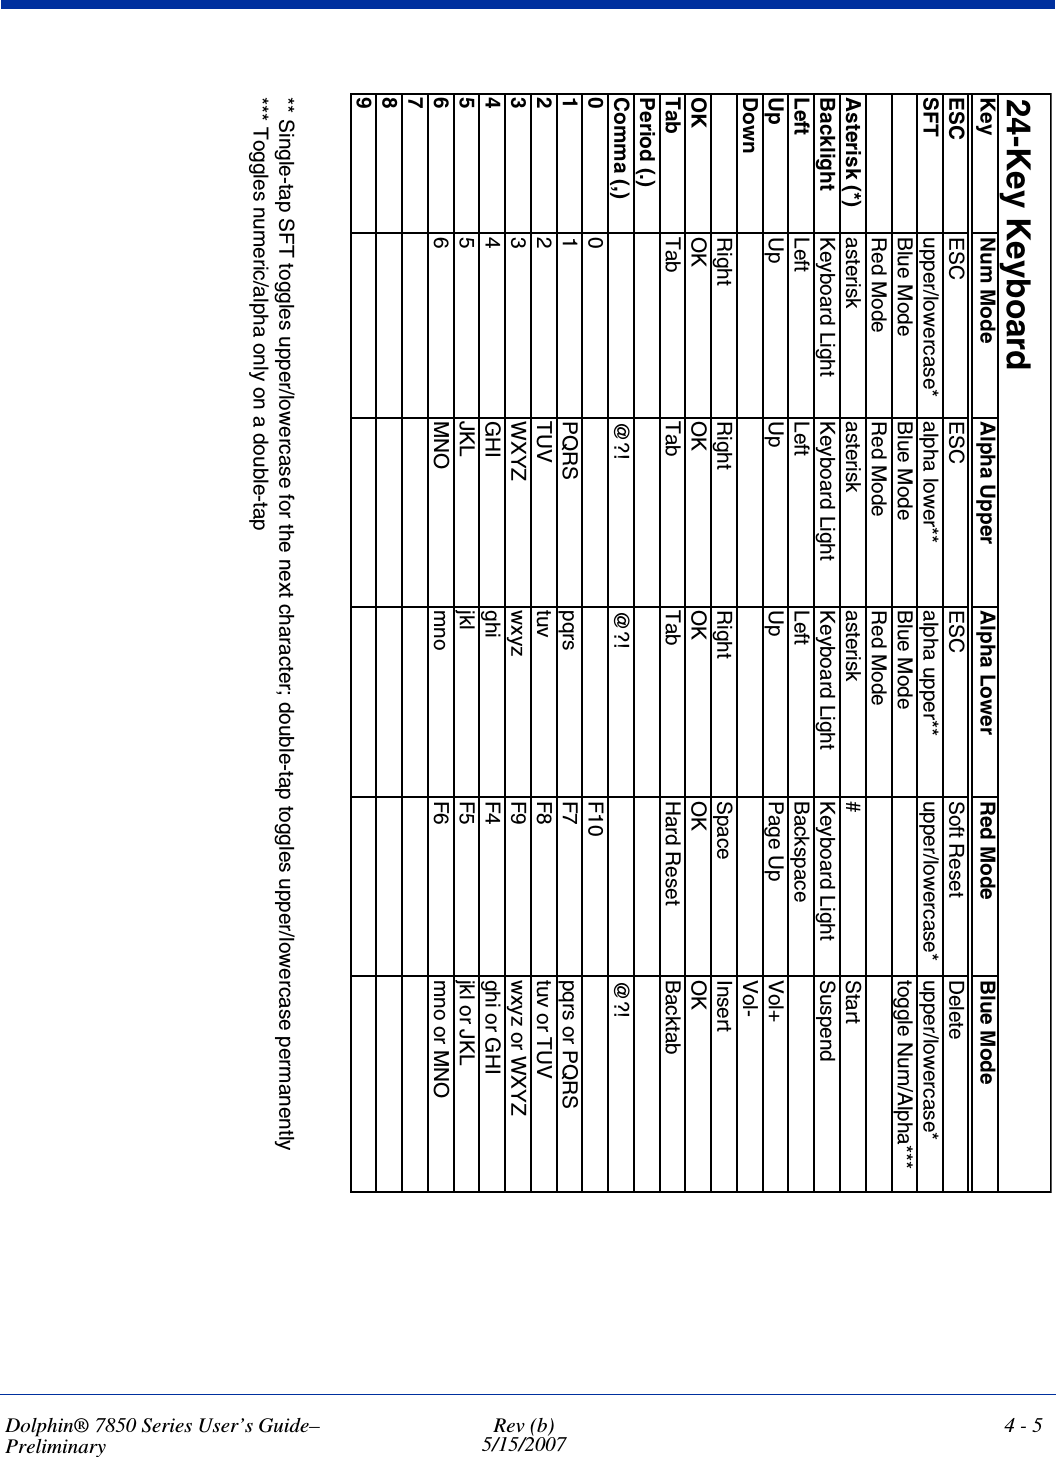
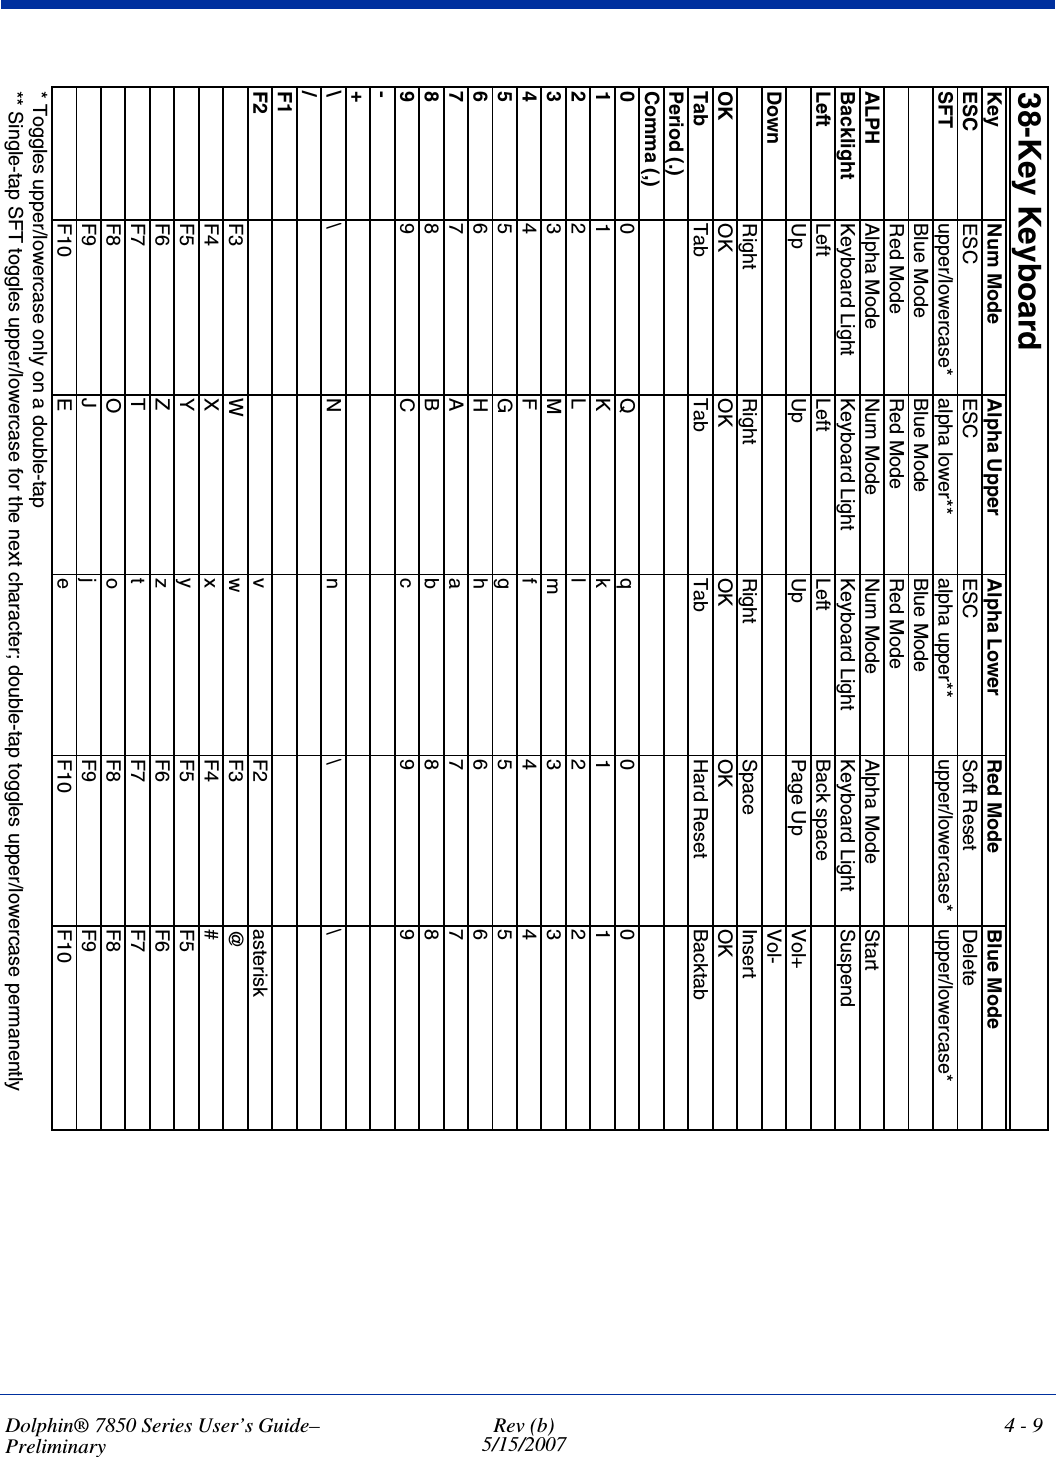
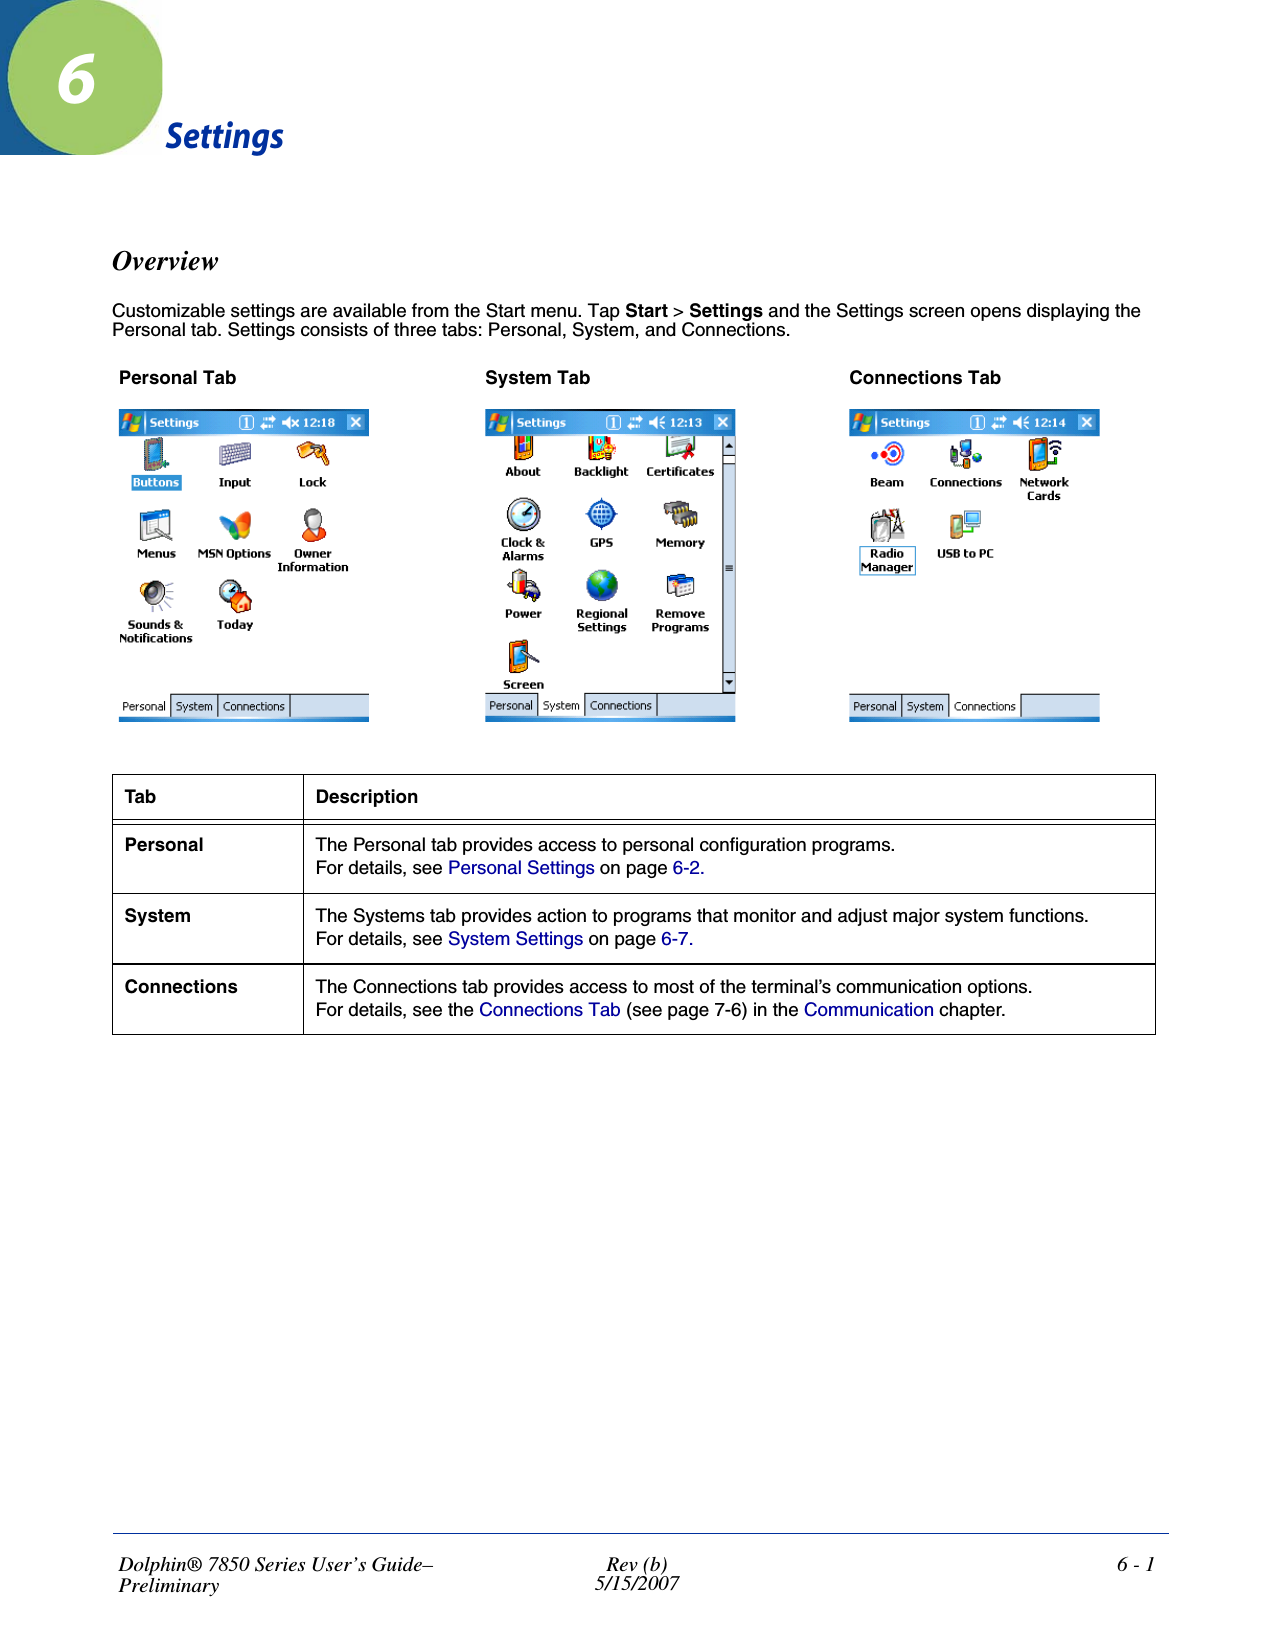
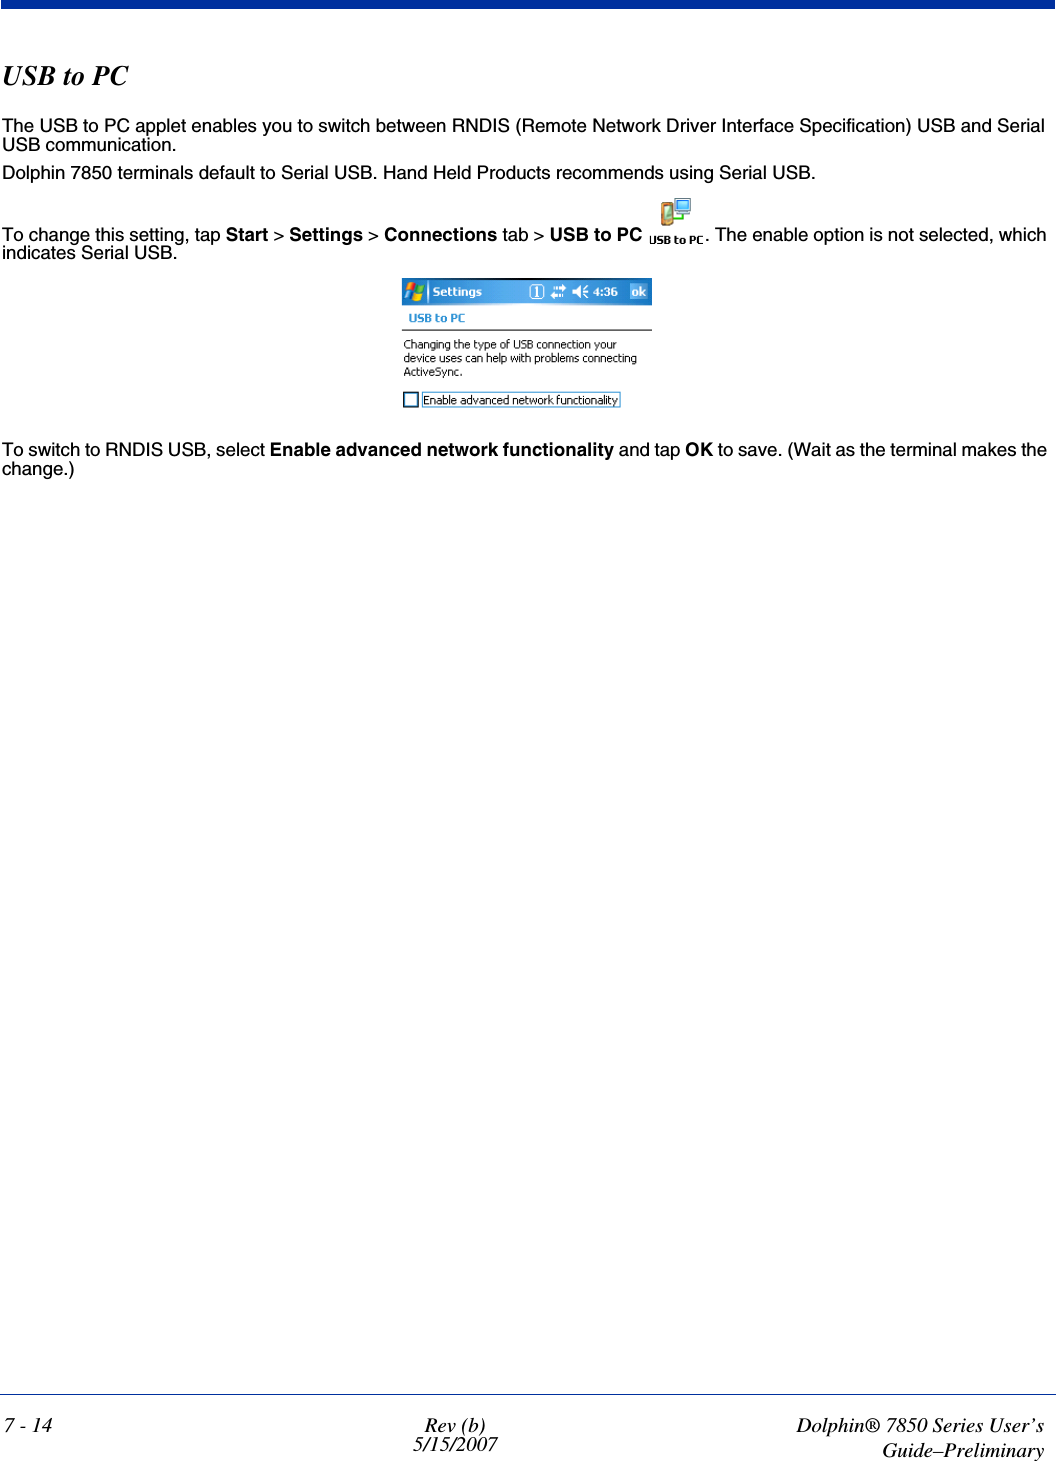
![8 - 8 Rev (b)5/15/2007Dolphin® 7850 Series User’sGuide–PreliminarySystem TabDefine logging settings and the port manager timeout period.Protocol This parameter specifies the authentication protocol operating within the secure tunnel. The following protocols are currently supported for TTLS: •EAP-MD5• CHAP •PAP• MS-CHAP• MS-CHAP-V2The following protocols are currently supported for PEAP: • EAP-MS-CHAP-V2• TLS/SmartCard• Generic Token Card (EAP-GTC)Field DescriptionLog Level These settings control the detail of the log messages generated by the Client. Each level is cumulative. By default, all errors, warnings, and information events are logged. Each entry records a severity code (of one [debug message] to four [error] asterisks), a time stamp, and a message.•Errors=Only the most severe conditions are logged.•Warnings=Less severe conditions are logged.•Information=All errors, warnings, and information events are logged. This is the default setting.•Debugging=Creates a log message each time the Client detects or reacts to an event. Be advised that log entries fill memory quickly if the Debugging level is chosen. Do not use the Debugging option for a significant length of time because most internal operations generate messages.For more information, see Logging on page 8-9.Defaults button Tap this button to return log settings to the default settings.Scan List TimeoutThe time interval at which the Client polls the ports. This value should not be changed from the 10-second default unless technical support advises you to do so.Save Credentials for (min)The amount of time the Client saves credentials.Disable Wireless Zero ConfigThis option is selected by default and disables other wireless utilities.Use this option only as directed by technical support. Field Description](https://usermanual.wiki/Honeywell/7850L0GE.User-Manual/User-Guide-794913-Page-84.png)