Huace Navigation Technology B01012 Handheld GNSS Data Collector User Manual il
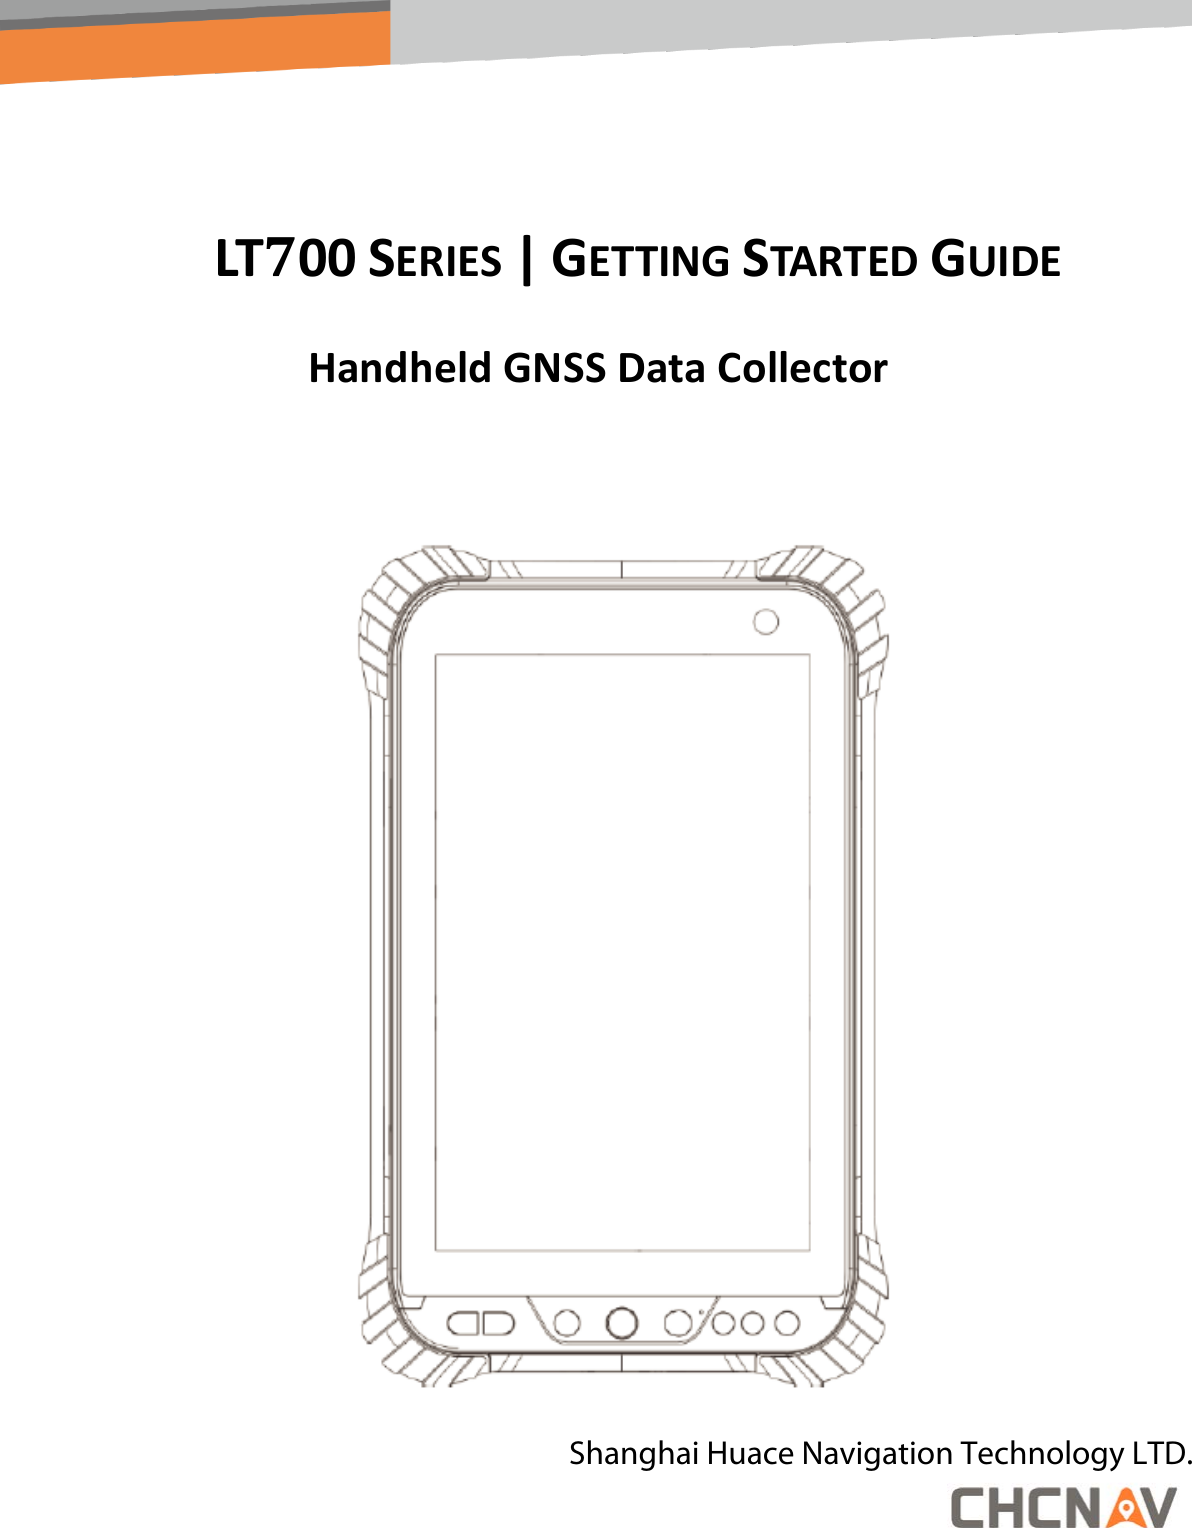
Shanghai Huace Navigation Technology LTD. Handheld GNSS Data Collector il
UserManual.wiki
>
Huace Navigation Technology
>
B01012 User Manual
>
user_manual
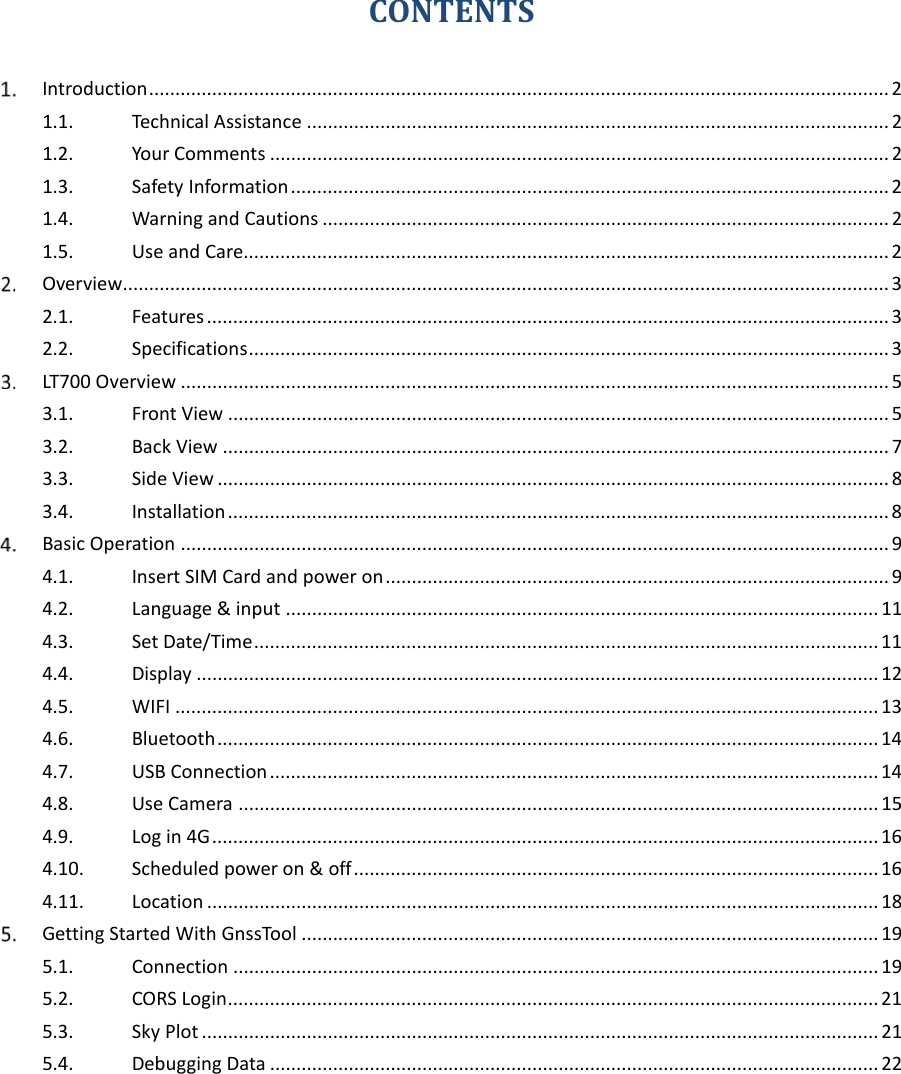
Contents
1.
user_manual
2.
Uaser_Manual
3.
User manual
user_manual
Navigation menu
Upload a User Manual
Namespaces
Wiki Guide
HTML
PDF
Info
Views
User Manual
Discussion / Help
Navigation


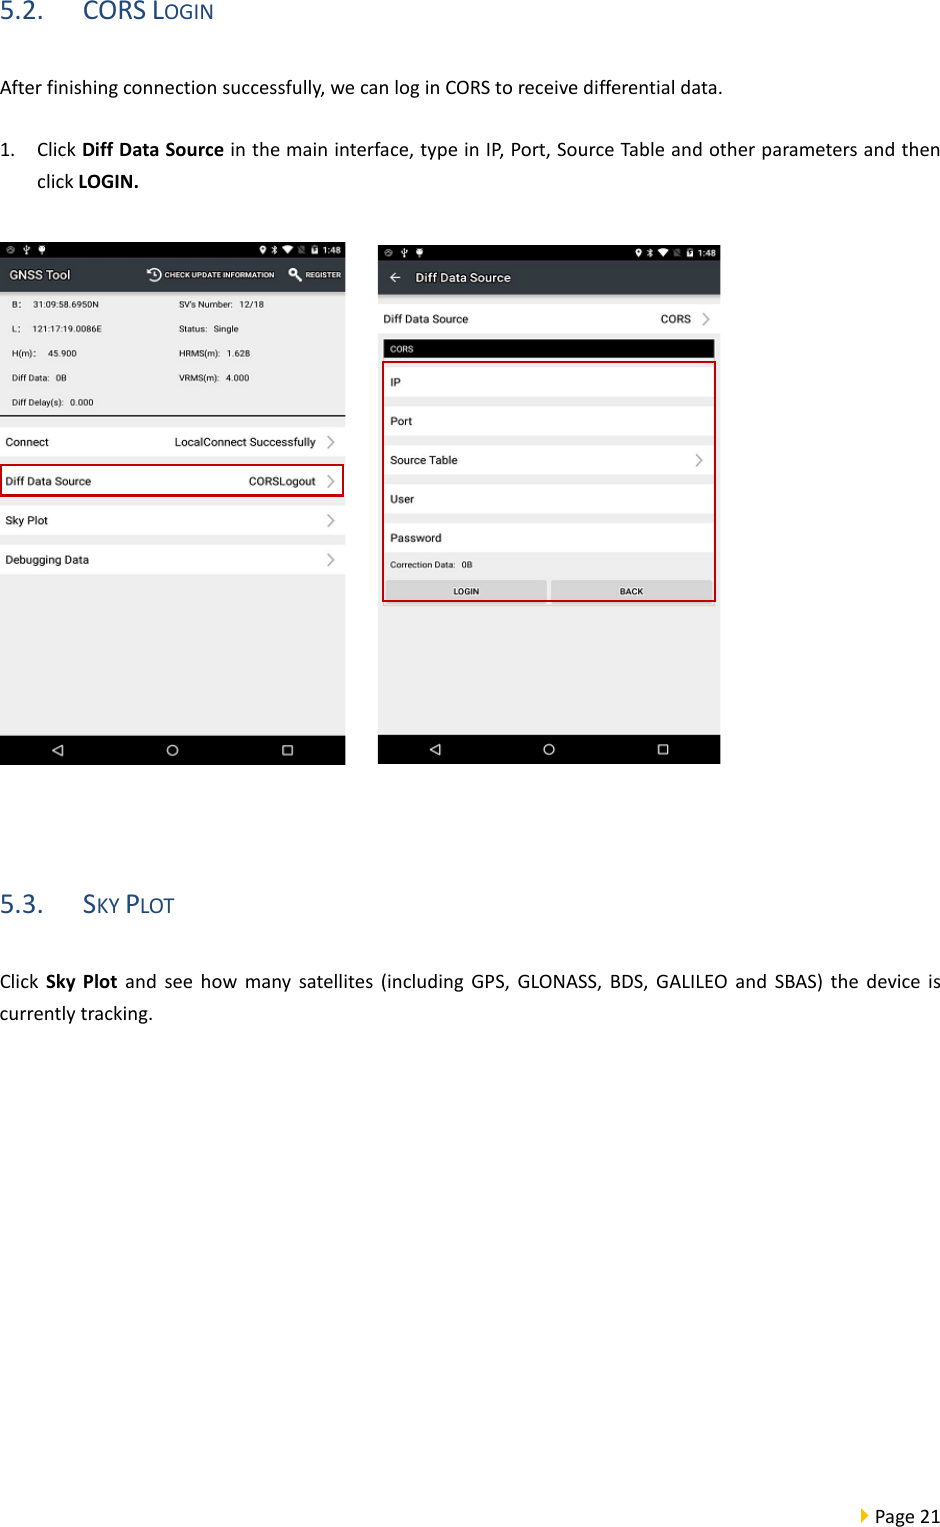
![ Page 19 GETTING STARTED WITH GNSSTOOL 5.1. CONNECTION 1. Open GNSSTool and click [Connect] menu and select [Device Type] and [Connection Type] / [Device ID] in connect interface. 2. Device Type: There are 4 types of Device Type: Smart RTK, GNSS RTK, Local and Peripheral. Here for LT700, we choose Local.](https://usermanual.wiki/Huace-Navigation-Technology/B01012.user-manual/User-Guide-3927953-Page-20.png)
![ Page 20 3. Connection Type: For smart RTK (like i80), we select Bluetooth, WIFI or Demonstration. For GNSS RTK (like X91), we select Bluetooth, and Demonstration. For Local and Peripheral, we select the specific device type that we use. Here we select LT700 for Connection Type. 4. Click [Connect] to connect with the receiver successfully and go back to the previous interface.](https://usermanual.wiki/Huace-Navigation-Technology/B01012.user-manual/User-Guide-3927953-Page-21.png)