Huawei Technologies F256VW Fixed Wireless Terminal with CDMA band class 0 and class 1 User Manual
Huawei Technologies Co.,Ltd Fixed Wireless Terminal with CDMA band class 0 and class 1
Contents
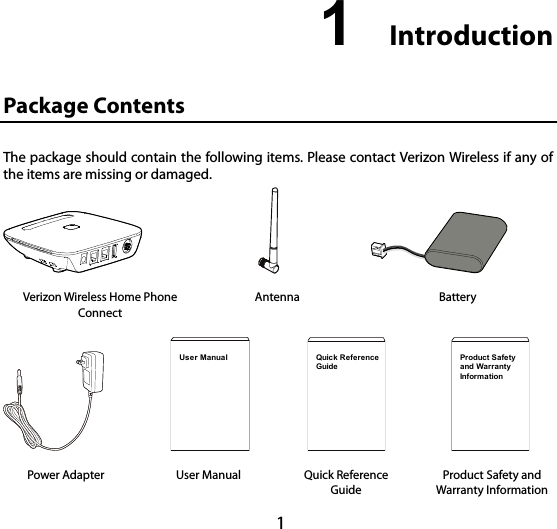
- 1. User manual
- 2. Safety and warranty manual
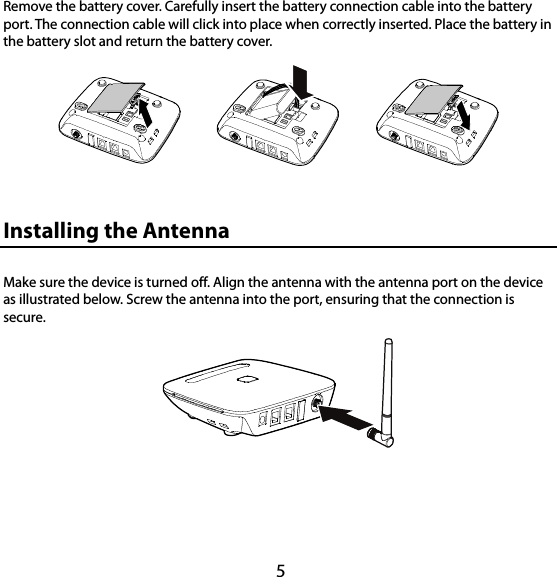
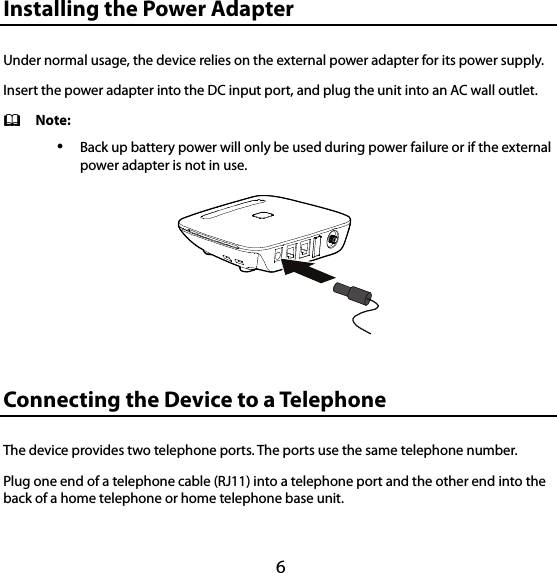
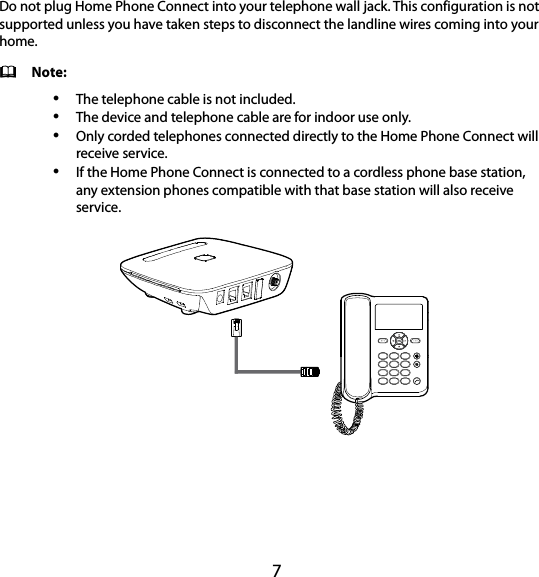
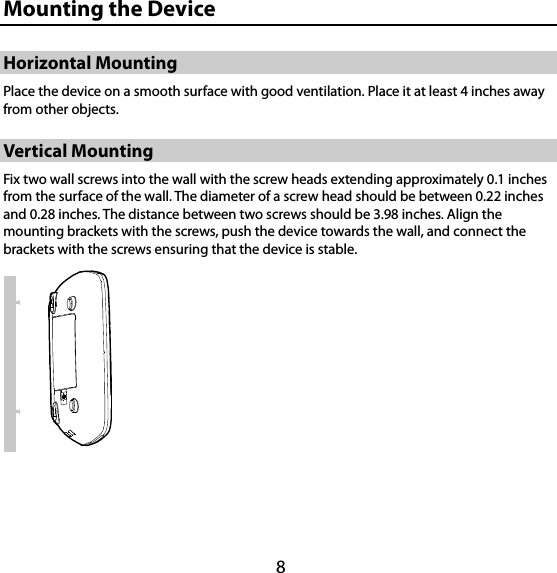
User manual