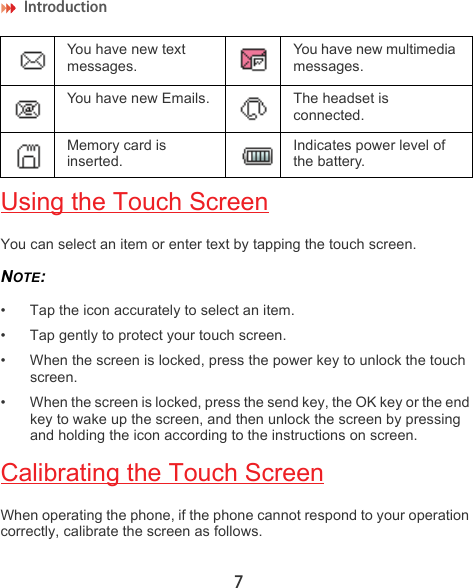
Huawei Technologies U7515 HSDPA/UMTS/GPRS/GSM/EDGE Mobile Phone with BT User Manual U7515 User Guide
Huawei Technologies Co.,Ltd HSDPA/UMTS/GPRS/GSM/EDGE Mobile Phone with BT U7515 User Guide
Contents
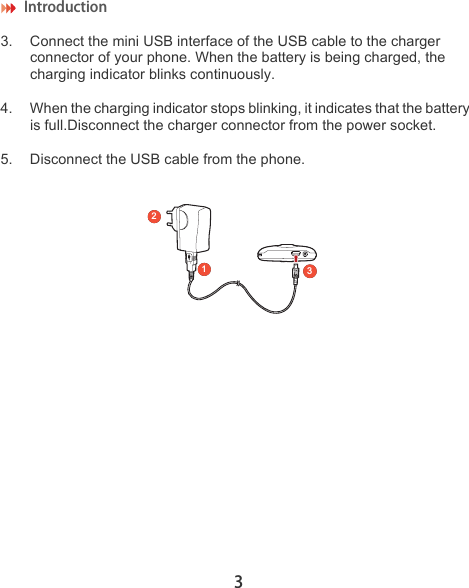
- 1. User Manual Part 1
- 2. User Manual Part 2
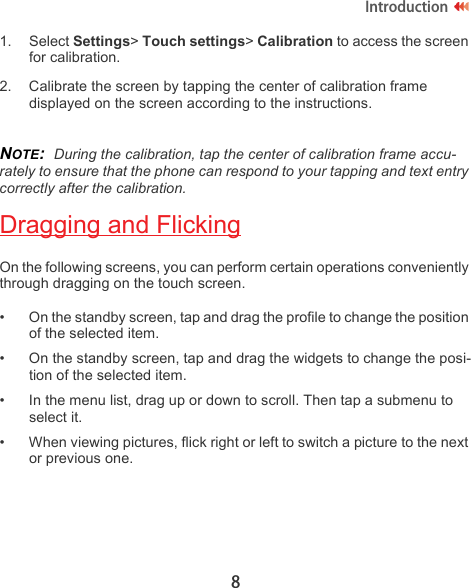
User Manual Part 1