Huawei Technologies U8950-1 HUAWEI U8950-1, U8950-1 mobile phone, with GSM, Bluetooth, WLAN User Manual Normal
Huawei Technologies Co.,Ltd HUAWEI U8950-1, U8950-1 mobile phone, with GSM, Bluetooth, WLAN Normal
Contents
- 1. User Manual
- 2. User Manual II
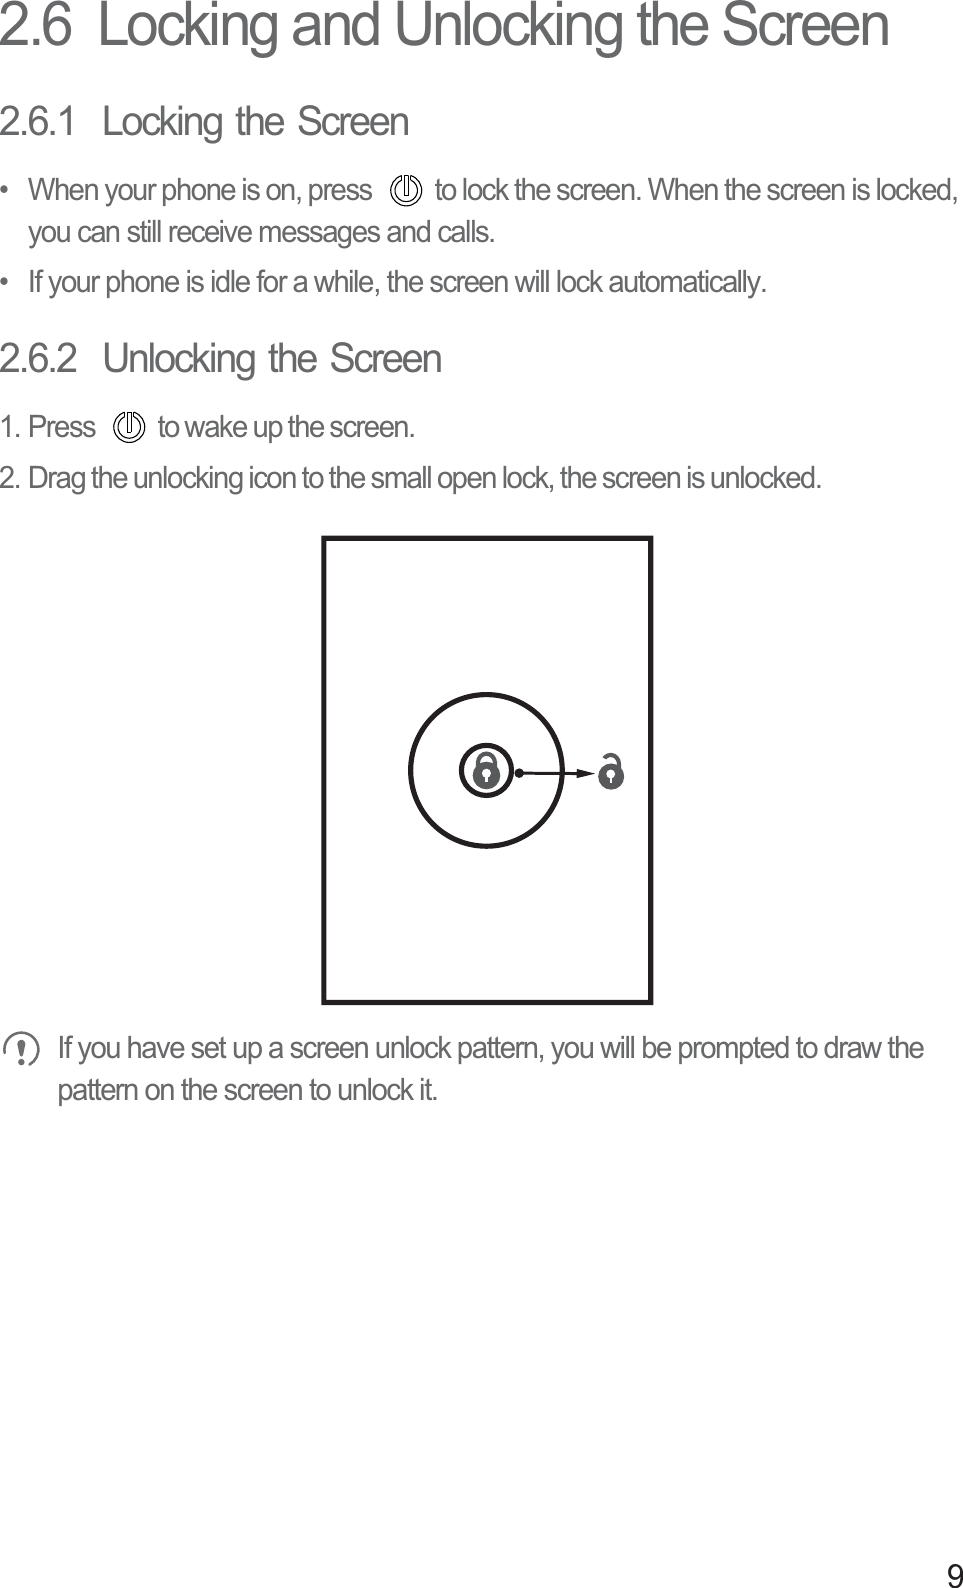
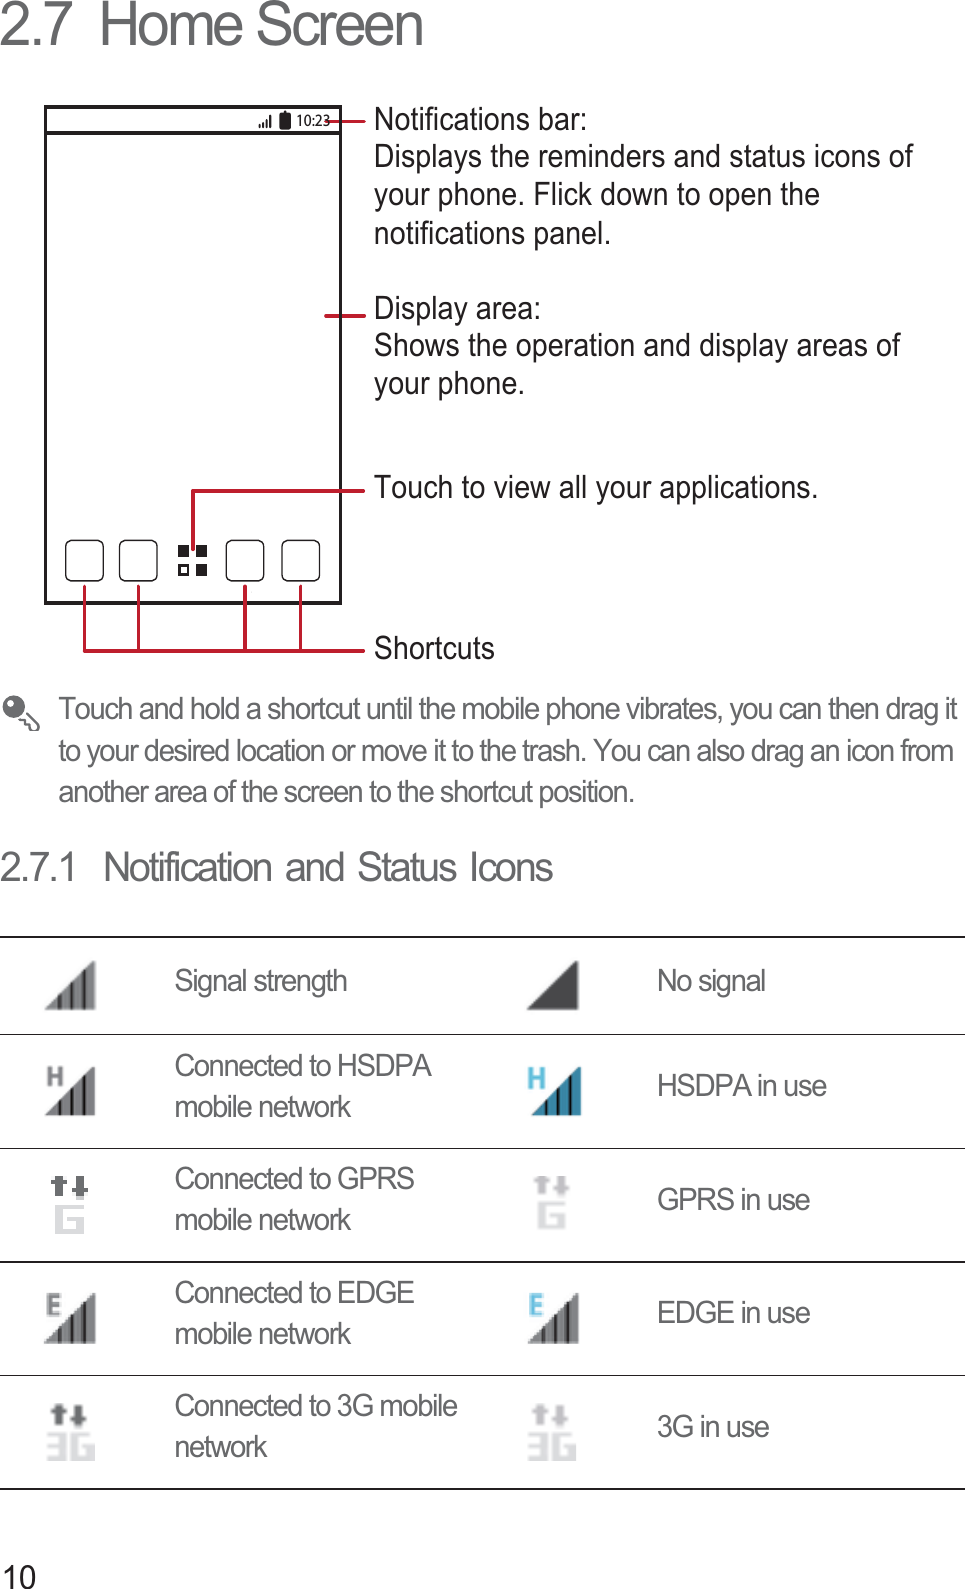
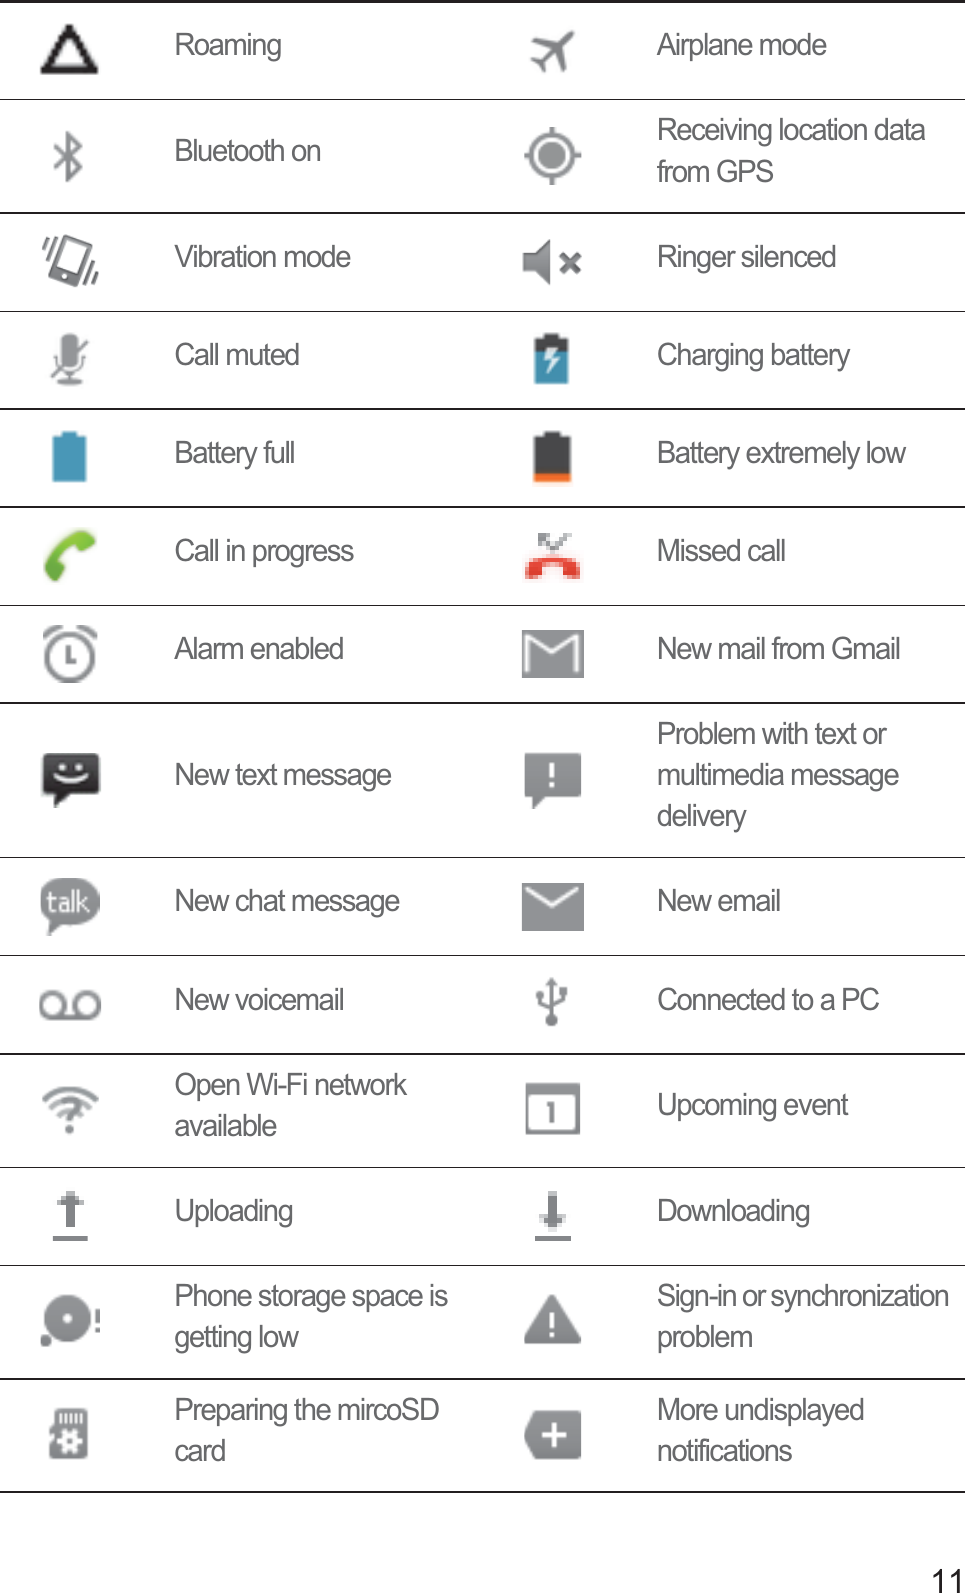
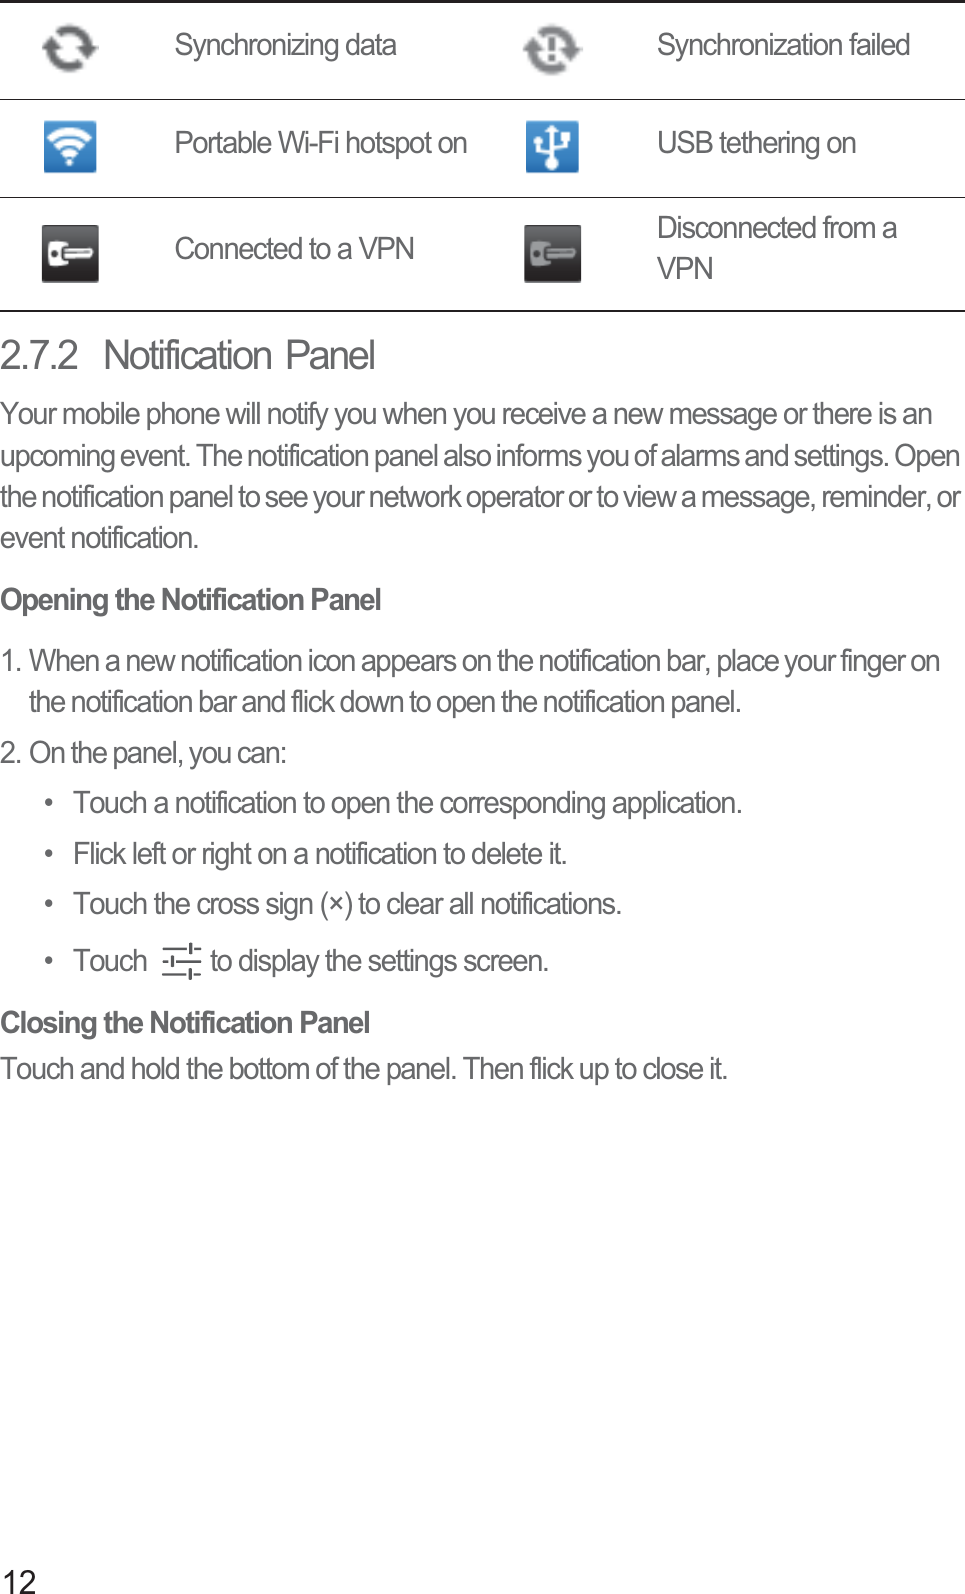
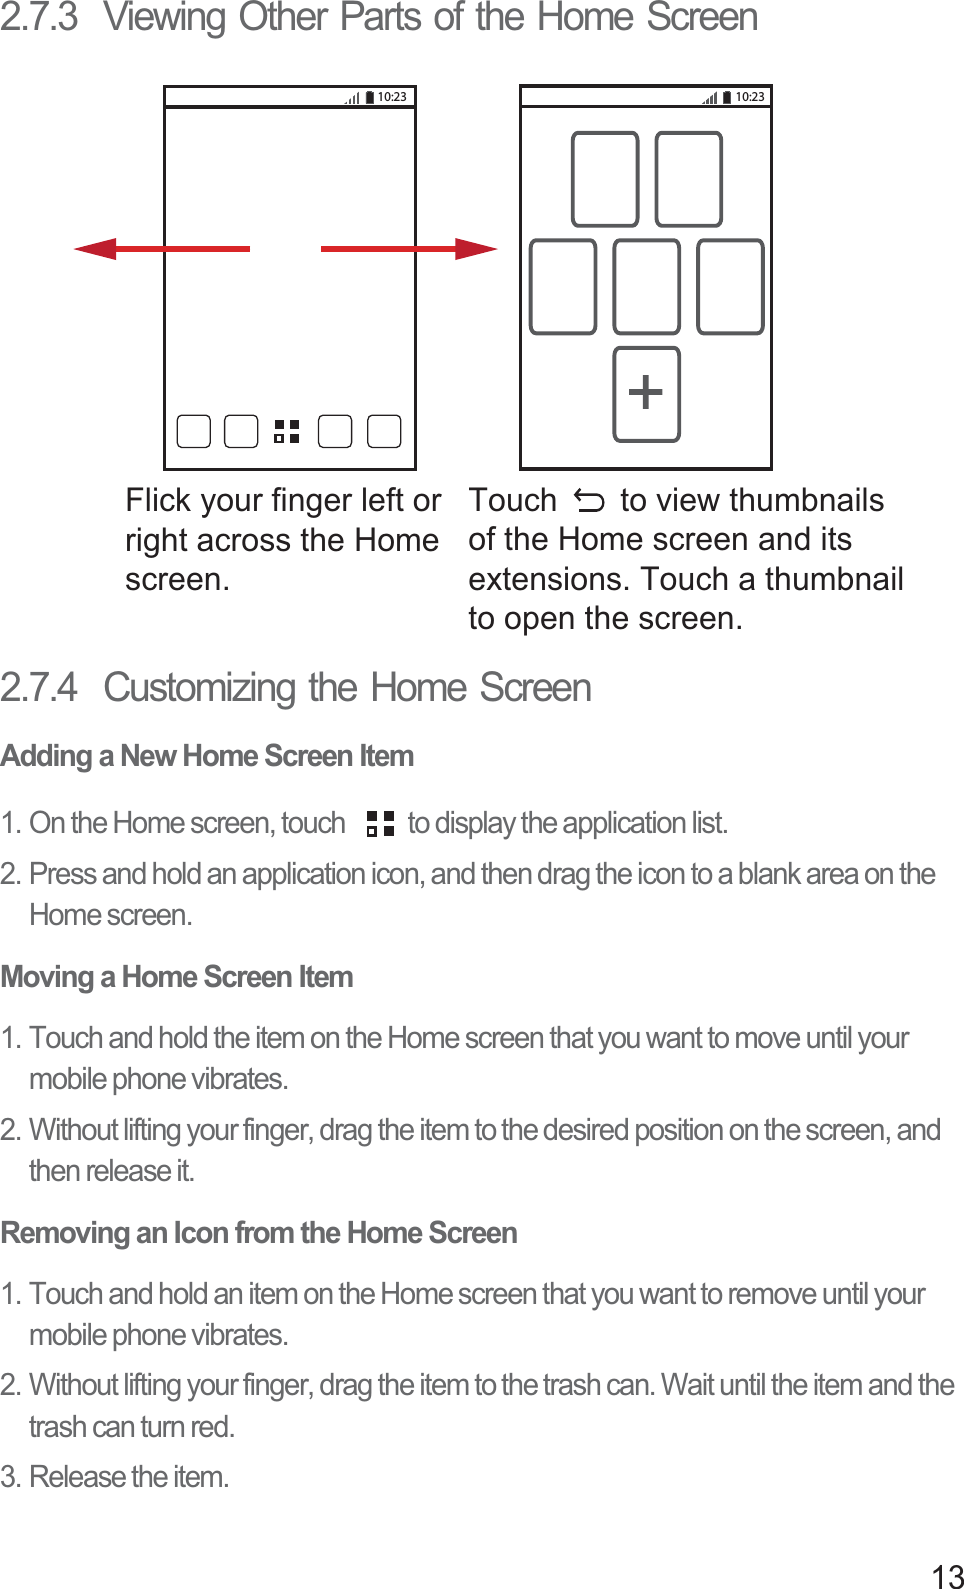
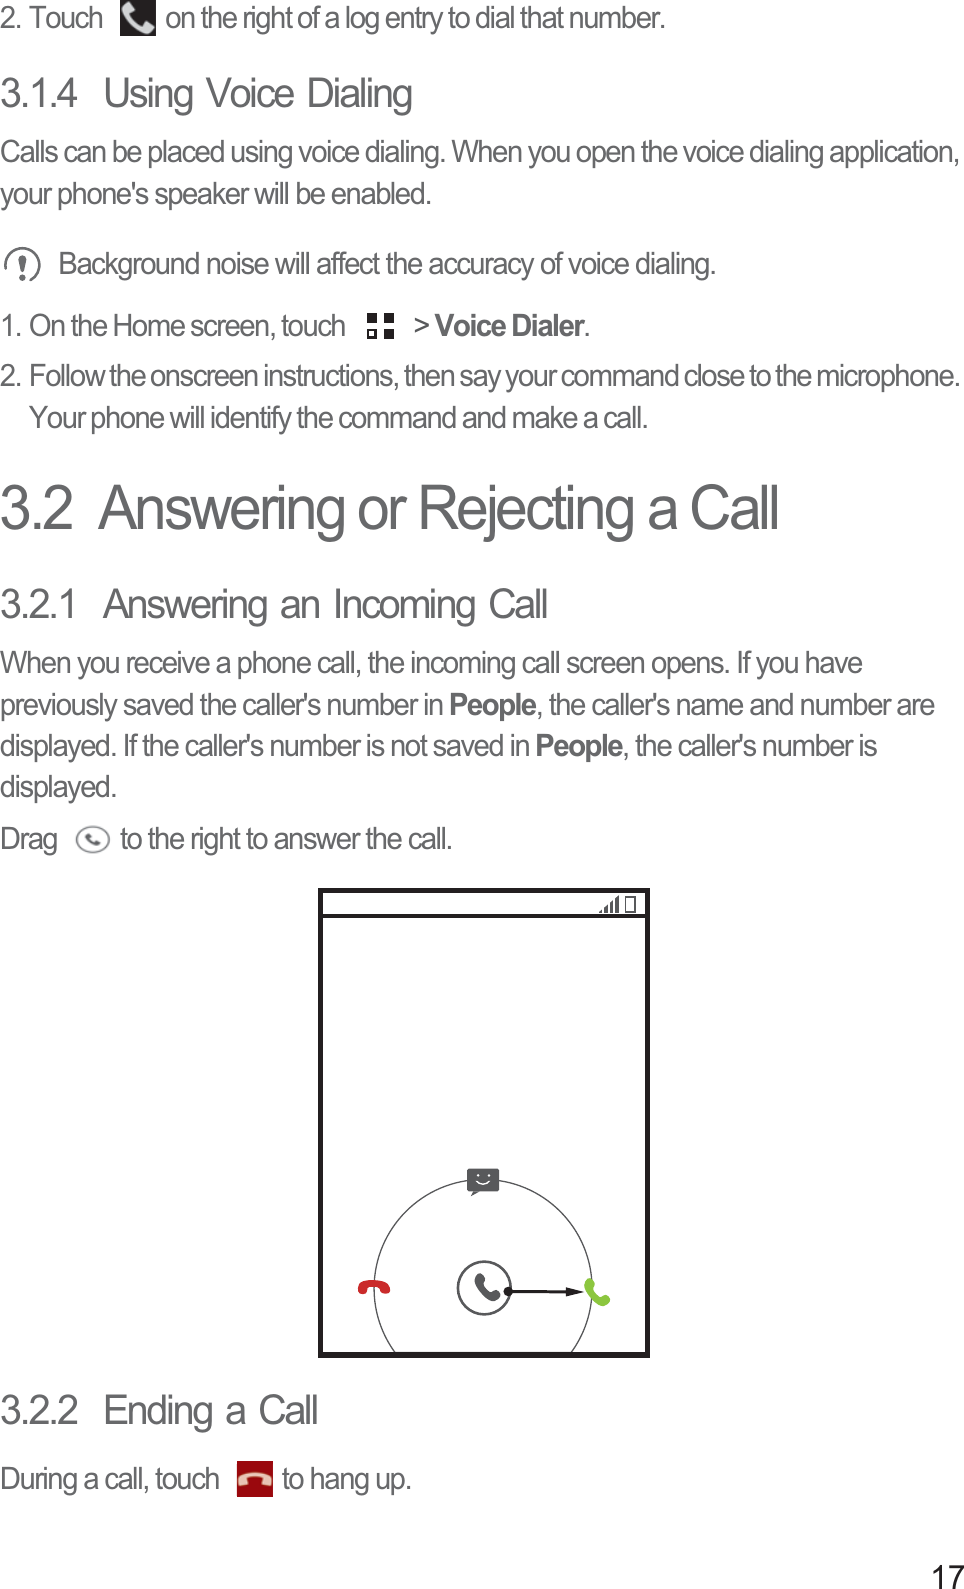
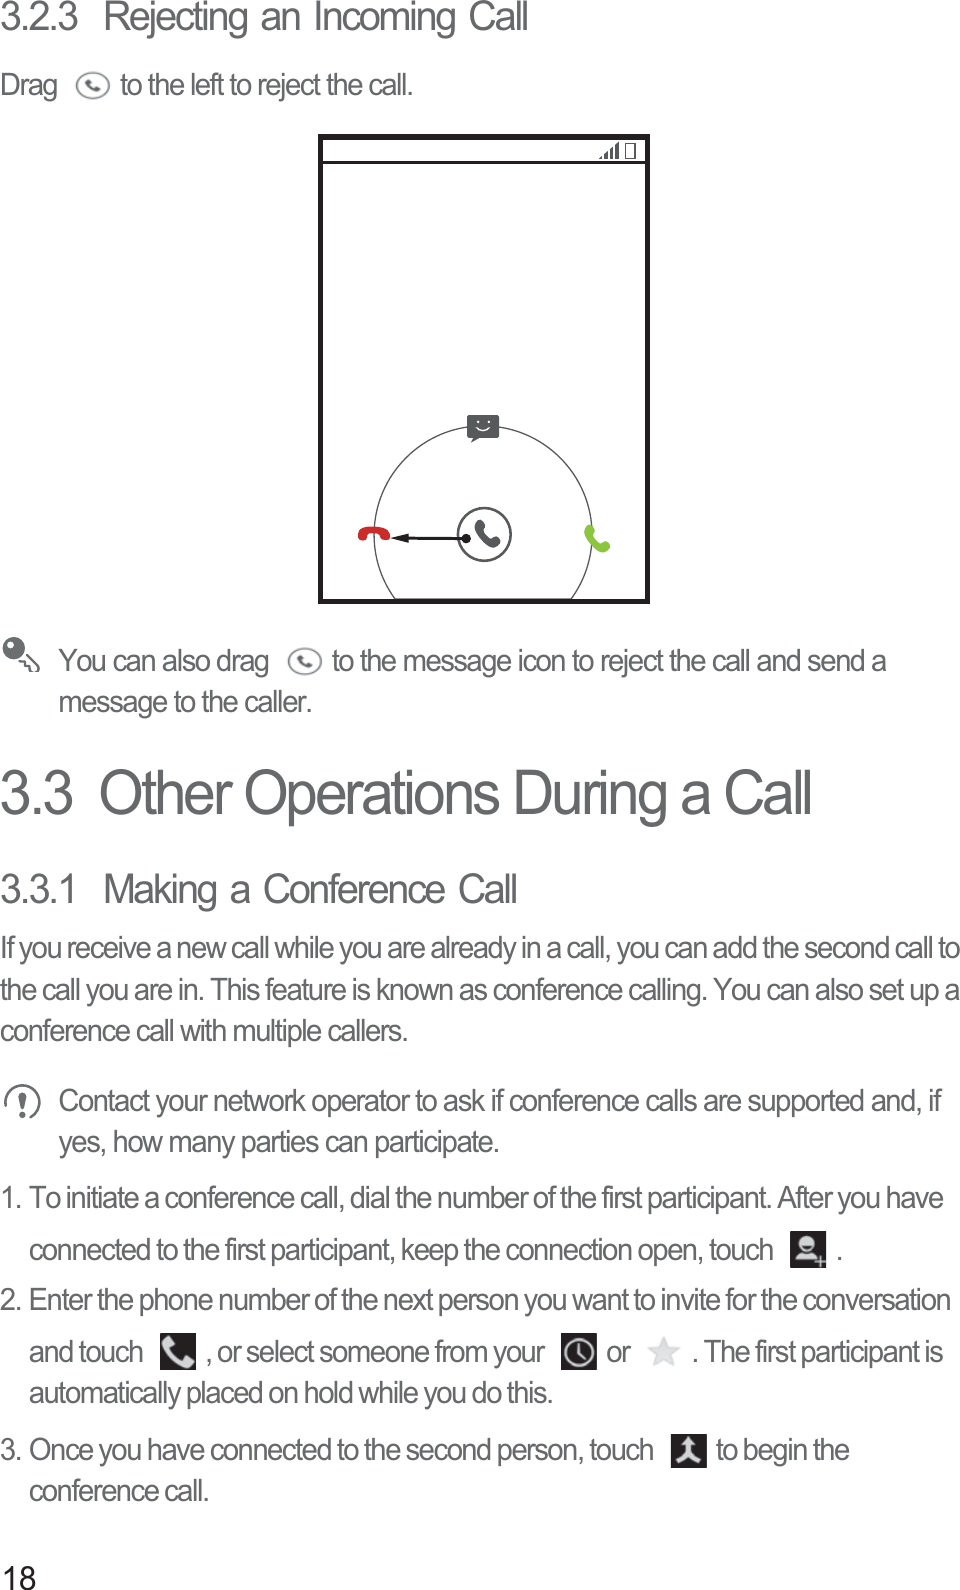
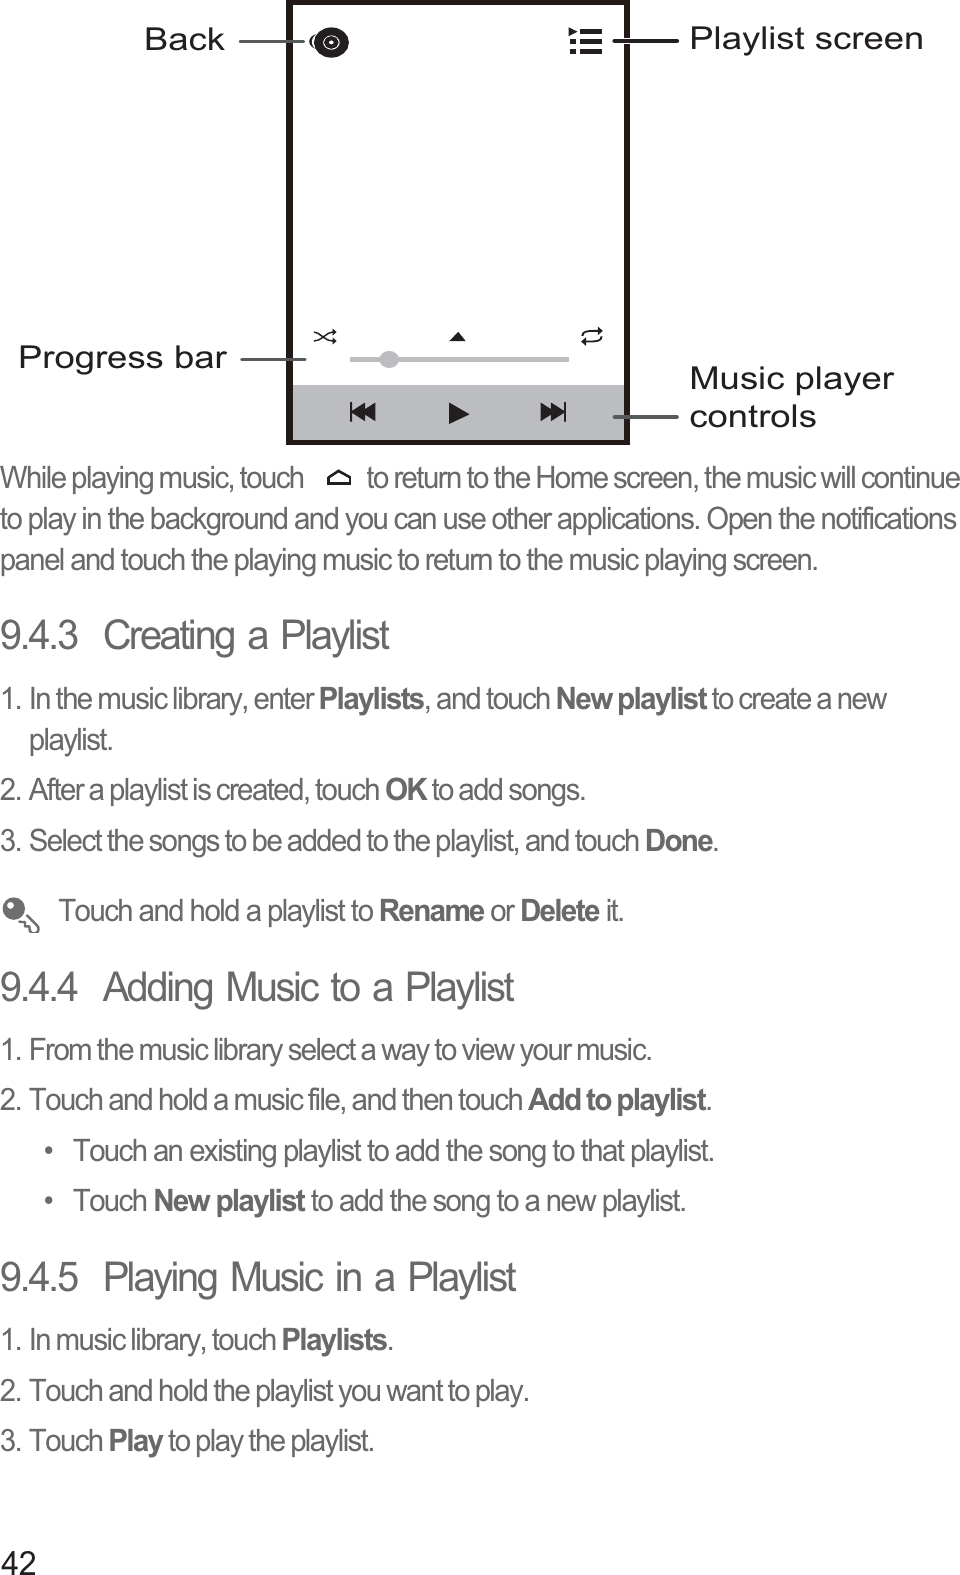
User Manual