Huawei Technologies U9200E HSPA+/HSUPA/HSDPA/UMTS/GSM/GPRS/EDGE Mobile Phone User Manual UG cover
Huawei Technologies Co.,Ltd HSPA+/HSUPA/HSDPA/UMTS/GSM/GPRS/EDGE Mobile Phone UG cover
UserManual.wiki
>
Huawei Technologies
>
U9200E User Manual
User Manual
Navigation menu
Upload a User Manual
Namespaces
Wiki Guide
HTML
PDF
Info
Views
User Manual
Discussion / Help
Navigation

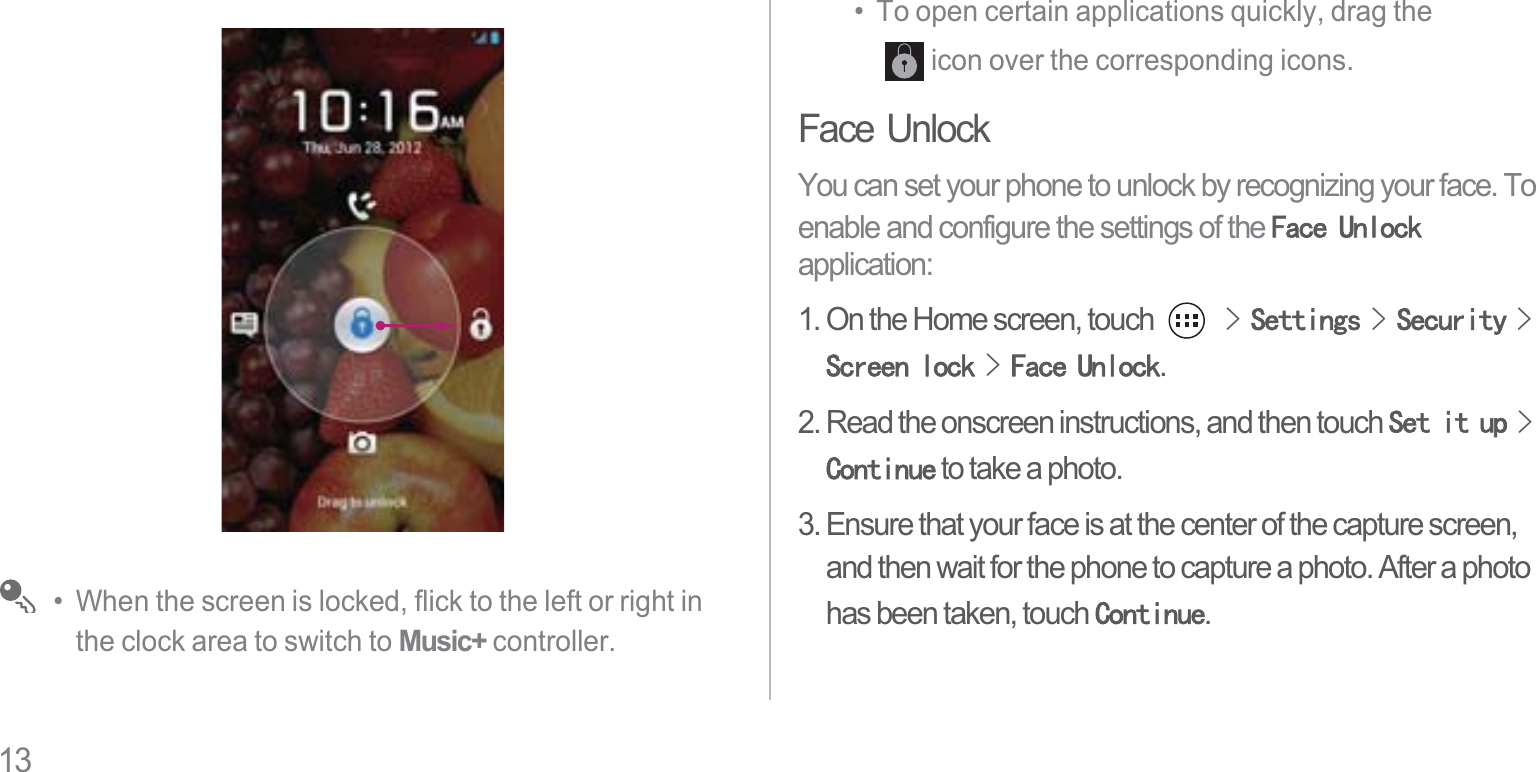

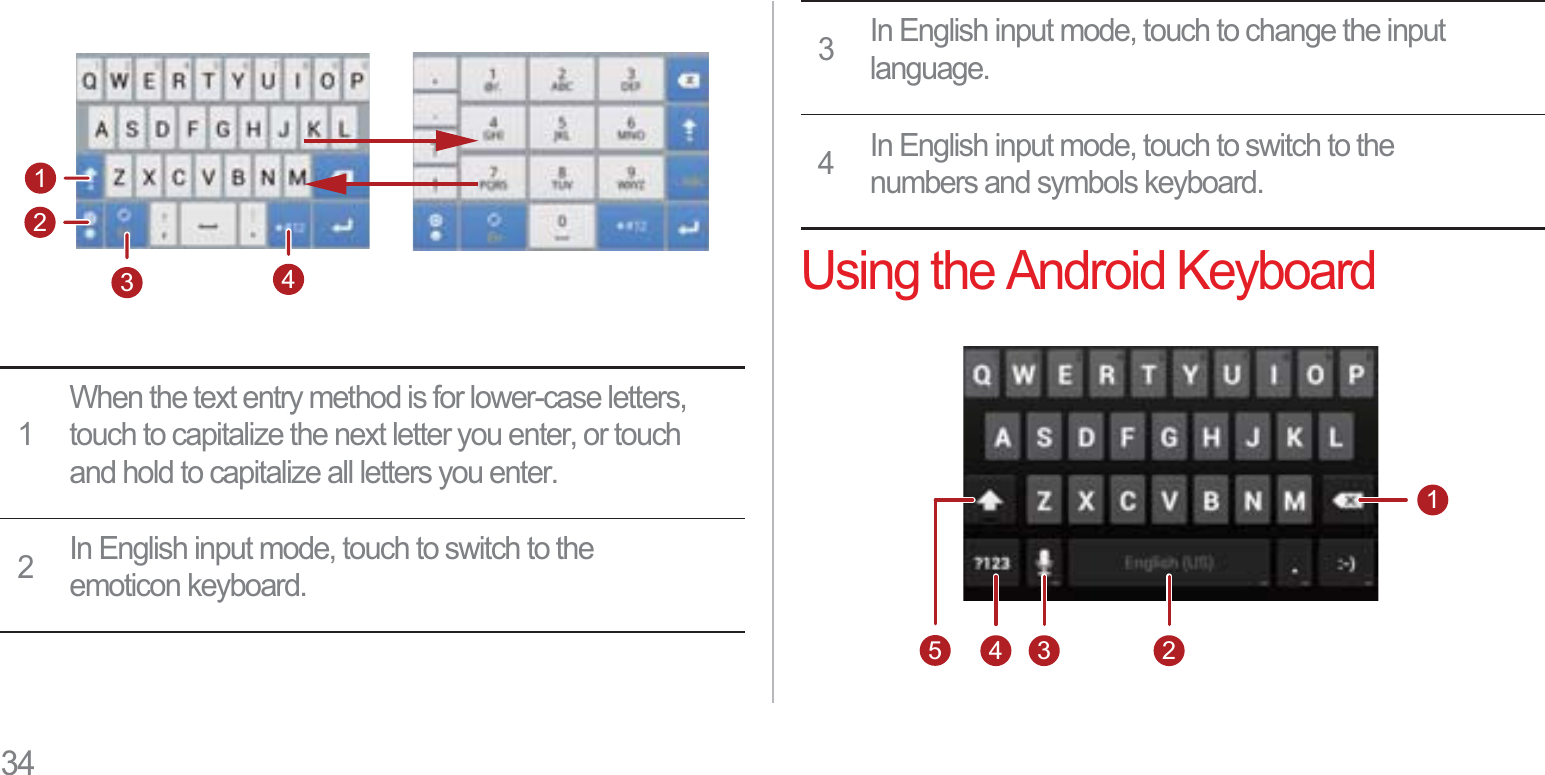
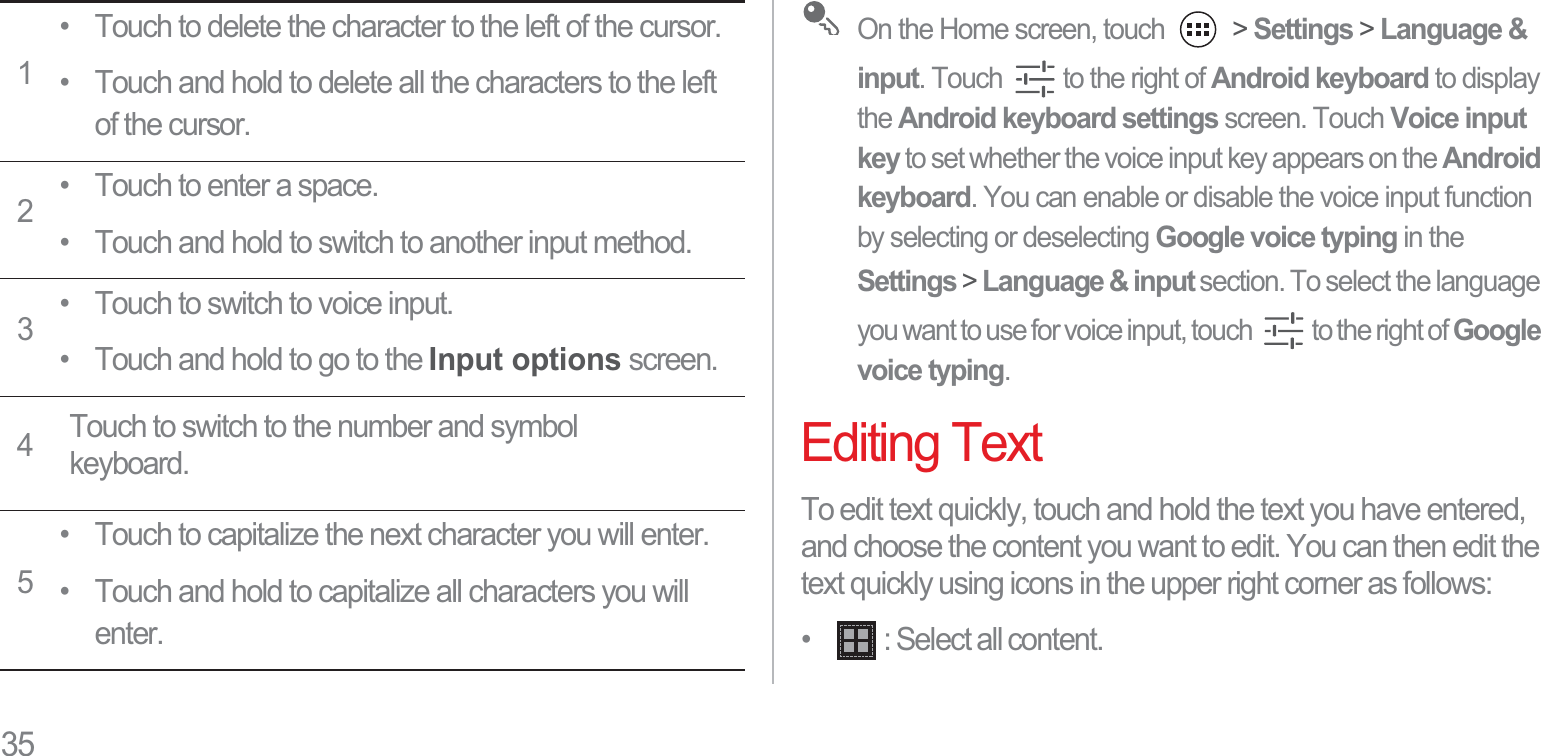


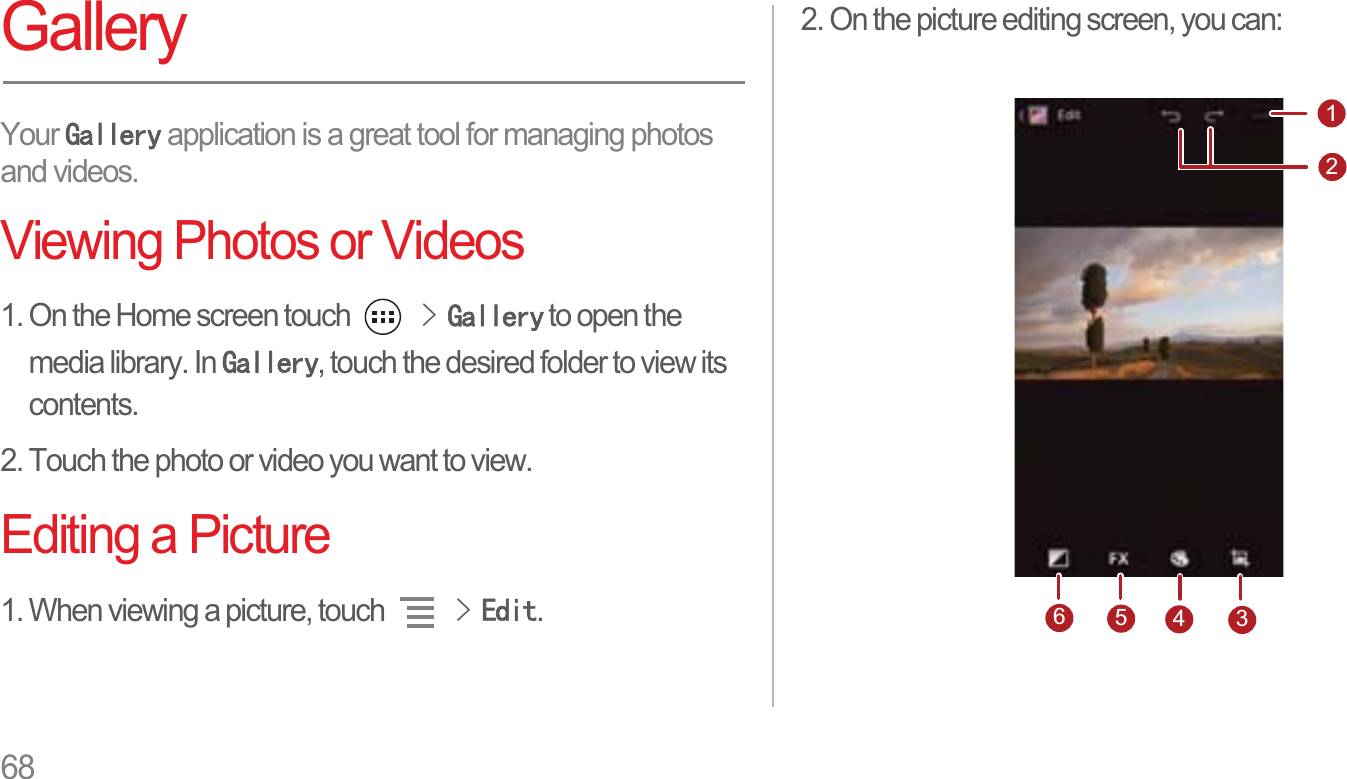


![86Configuring Phone SettingsOn the Home screen, touch !6HWWLQJV to configure your phone settings.Setting the Date and TimeWhen your phone is using date and time settings automatically provided by the network, you cannot set the date, time, and time zone manually.1. On the 6HWWLQJV screen, touch 'DWHWLPH.2. Clear the $XWRPDWLFGDWHWLPH and $XWRPDWLFWLPH]RQHcheck boxes.3. Touch 6HWGDWH, then or to adjust the date. Touch 6HW.4. Touch 6HWWLPH, then or to adjust the time. Touch 6HW.5. Touch 6HOHFWWLPH]RQH, and then select a desired time zone from the list. Scroll down to view more time zones.6. Select or clear the 8VHKRXUIRUPDW check box to switch between 12-hour and 24-hour time formats.7. Touch 6HOHFWGDWHIRUPDW to select how you want the date to be displayed.Configuring the Display SettingsOn the 6HWWLQJV screen, touch 'LVSOD\ to configure the following:•Brightness: Adjust the brightness. Clear the Automatic brightness check box to adjust the brightness manually.](https://usermanual.wiki/Huawei-Technologies/U9200E/User-Guide-1777014-Page-87.png)