HYUNDAI MOBIS PNAV3550 PNP User Manual JUPITER
Hyundai MOBIS Co., Ltd. PNP JUPITER
UserManual.wiki
>
HYUNDAI MOBIS
>
PNAV3550 User Manual
Users Manual
Navigation menu
Upload a User Manual
Namespaces
Wiki Guide
HTML
PDF
Info
Views
User Manual
Discussion / Help
Navigation
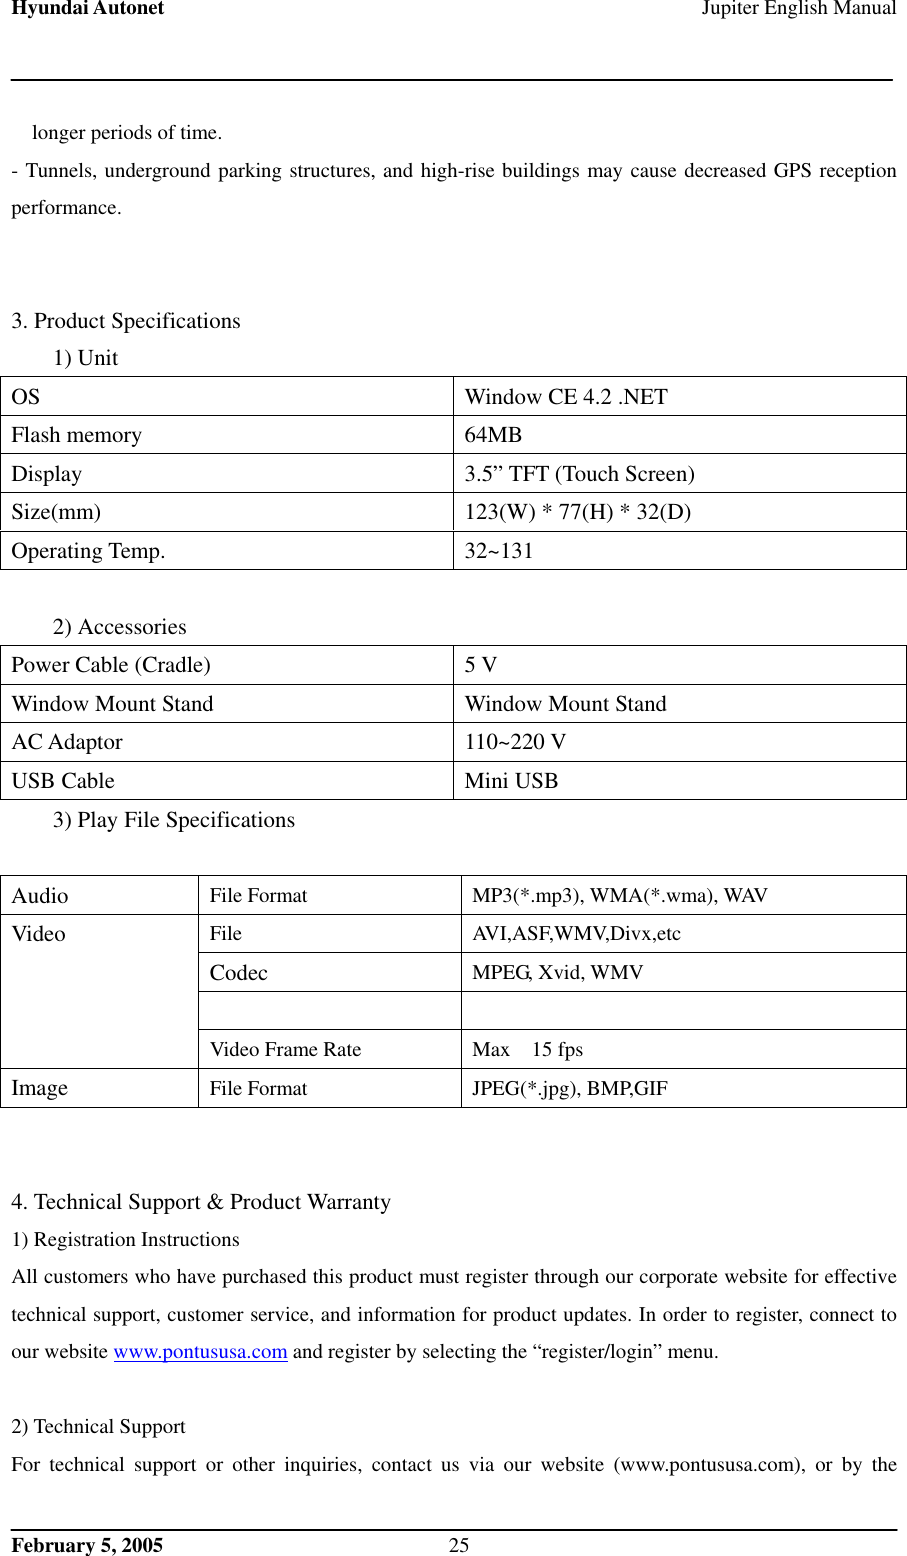
![Hyundai Autonet Jupiter English Manual 3. Troubleshooting 4. Product Specifications 5. Technical Support & Product Warranty Chapter 1 Product Information 1. Product Introduction 2. Make certain to read before use 3. Caution when handling the CD 1. Product Information This product is a car navigation with MP3 player system. It is designed to be installed and used in vehicle. A GPS engine and an antenna have been mounted for car navigation along with an accurate digital map. The user manual for this product may change without prior notification and affect performance improvement. We ask for your understanding when actual conditions vary due to this reason. The screen in this user’s manual may appear different than the actual screen . Strictly abide to the warning/caution/prohibited regulations stated within this user’s manual for maximum driver and user safety and to prevent property damage. 2. Make certain to read before use. [Abiding traffic regulations] The digital map used in this product has been produced using the most recent road conditions. However, certain information regarding actual conditions of roads and buildings may not yet have been included or may have changed after the release of the product, so it is recommended that the user drive while abiding actual road conditions and traffic regulations. <Caution> No damages or claims will be awarded for any accidents which occurred while not abiding actual road and traffic conditions. This product should only be used as an additional reference. February 5, 2005 2](https://usermanual.wiki/HYUNDAI-MOBIS/PNAV3550/User-Guide-556190-Page-2.png)
![Hyundai Autonet Jupiter English Manual [Understanding GPS] GPS used for commercial purposes will carry a distance error, on average, of 15 meters(convert to feet). In addition, the distance error reading when close to buildings, underpasses, overpasses, and others may be up to 100 meters(convert to feet). Please take this into consideration during use. [Warnings] - Do not install the device on top of the vehicle’s airbag. If an accident occurs, the movement of the airbag may cause this product to harm the user. - Do not operate while driving. Operating while driving may cause traffic accidents due to lack of caution in gauging upcoming road conditions. When requiring route settings or other operations, be sure to stop and activate the parking brake before such use. -Do not continuously watch the screen. Watching the screen for prolonged periods while driving is very dangerous. Use this device safely as not to prevent oneself from fully understanding real traffic conditions or from seeing pedestrians. -Do not use this device if there are signs of malfunction. Continuous use while there are symptoms of malfunction, such as strange smells and sounds, may cause fires and other damage. In such cases, turn off the power and inquire with your place of purchase. [Caution] - Be cautious not to introduce foreign substances inside the device. Water, beverages, and other foreign substances may cause damages to this product. -Do not cause excessive force. Excessive force may cause damages to this product. -Use in moderate volume levels. Do not receive voice guidance in high volume levels which deter you from understanding the road conditions outside of the vehicle. -Route/Voice Guidance may be different from actual road conditions. Practice safe driving by abiding to actual road regulations as route/voice guidance may be different from actual road conditions. -Satellite reception may require a long period of time. A certain period of time is required for initial GPS satellite reception from the time of powering the unit. Weather and surrounding conditions may cause differences in the required time period. -Operate cautiously after leaving the device in high or low temperature locations. Abnormal operations may occur upon use after prolonged parking periods in locations with severe temperature changes. Please begin use after achieving normal internal temperatures inside of the vehicle. February 5, 2005 3](https://usermanual.wiki/HYUNDAI-MOBIS/PNAV3550/User-Guide-556190-Page-3.png)
![Hyundai Autonet Jupiter English Manual (Normal operating temperature: 32~131F) [Prohibited] -Do not use the device for long periods of time with the engine turned off. Prolonged use with the ignition off may cause the battery to discharge. -Do not apply metal window tint. Applying strong window tint to the window area in which the GPS Antenna is installed may cause instability in GPS data reception or errors. -Do not place metal substances near the GPS Antenna. Placing metal substances near the area in which the GPS Antenna is installed may deter performance in GPS data reception. -Do not use the device alongside products which emit radio frequencies or with other similar GPS devices. Products which emit radio frequencies or other GPS products may have an effect on this device. Limit simultaneous use as these types of devices may cause deterred GPS reception performance. -Do not disassemble, repair, or modify the device. Damage caused by disassembling, repairing, or modifying may cause fires and accidents and cannot allow reception after service repair. In cases when requiring repair, please inquire with your place of purchase. 3. Caution when handling the CD The CD included with this product may not operate properly if it has been scratched, damaged through contact with a foreign substance, or becomes bent due to high temperatures. -Do not allow contact with foreign objects, especially volatile substances which may cause extreme damage. -Negligence in high temperatures may transform the shape of the CD and cause abnormal operations. -Scratches may cause abnormal operations. -When cleaning the CD make sure to use a soft cloth and wipe in an inside to outside direction. -Use caution not to leave marks, such as fingerprints, when handling the CD. February 5, 2005 4](https://usermanual.wiki/HYUNDAI-MOBIS/PNAV3550/User-Guide-556190-Page-4.png)
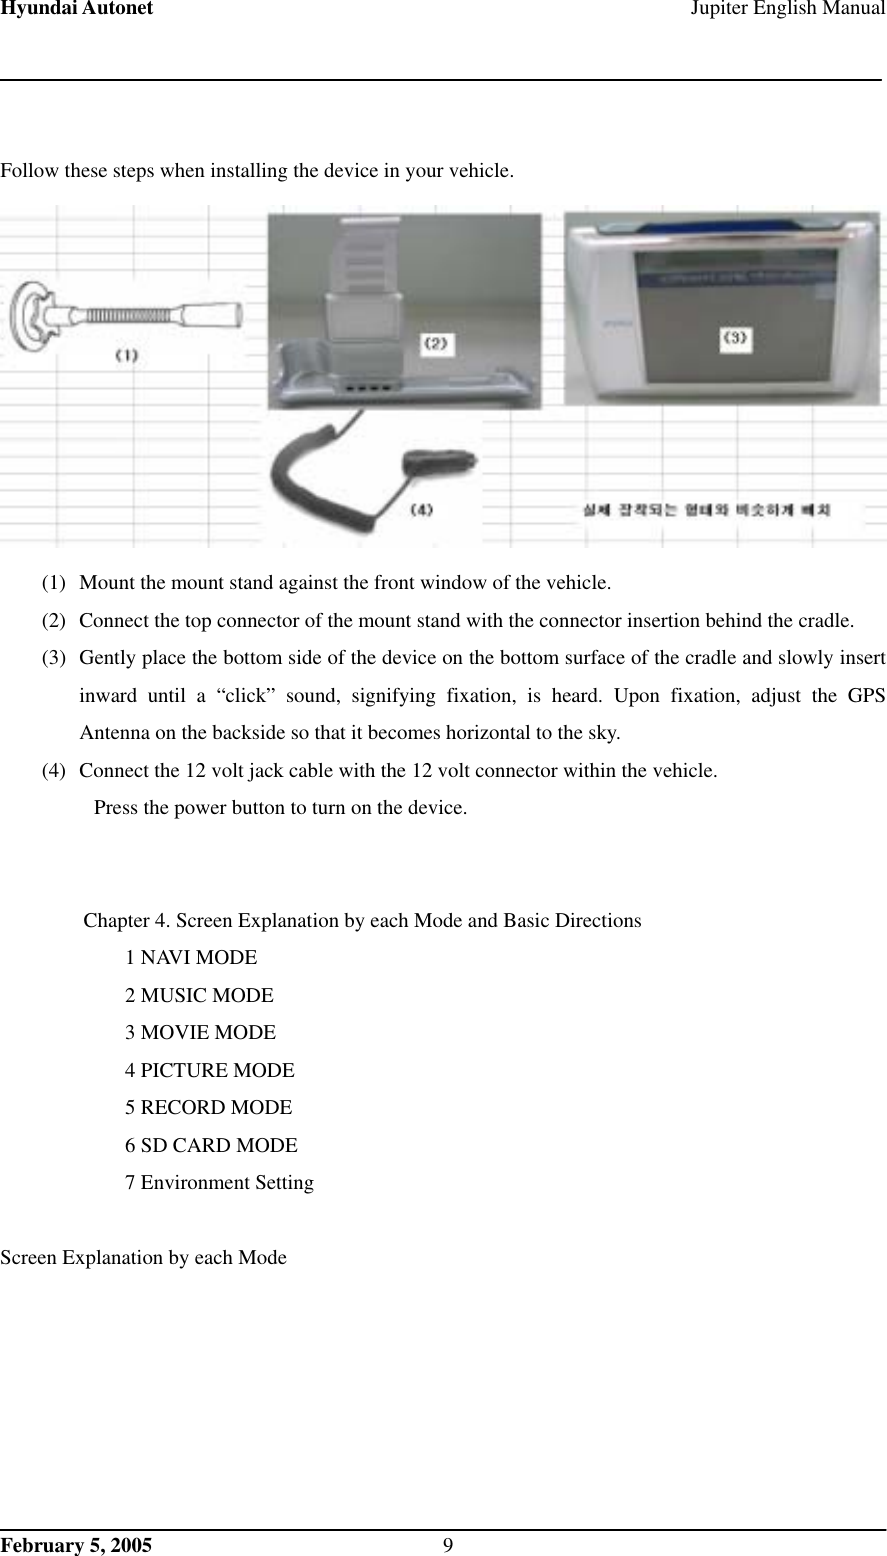
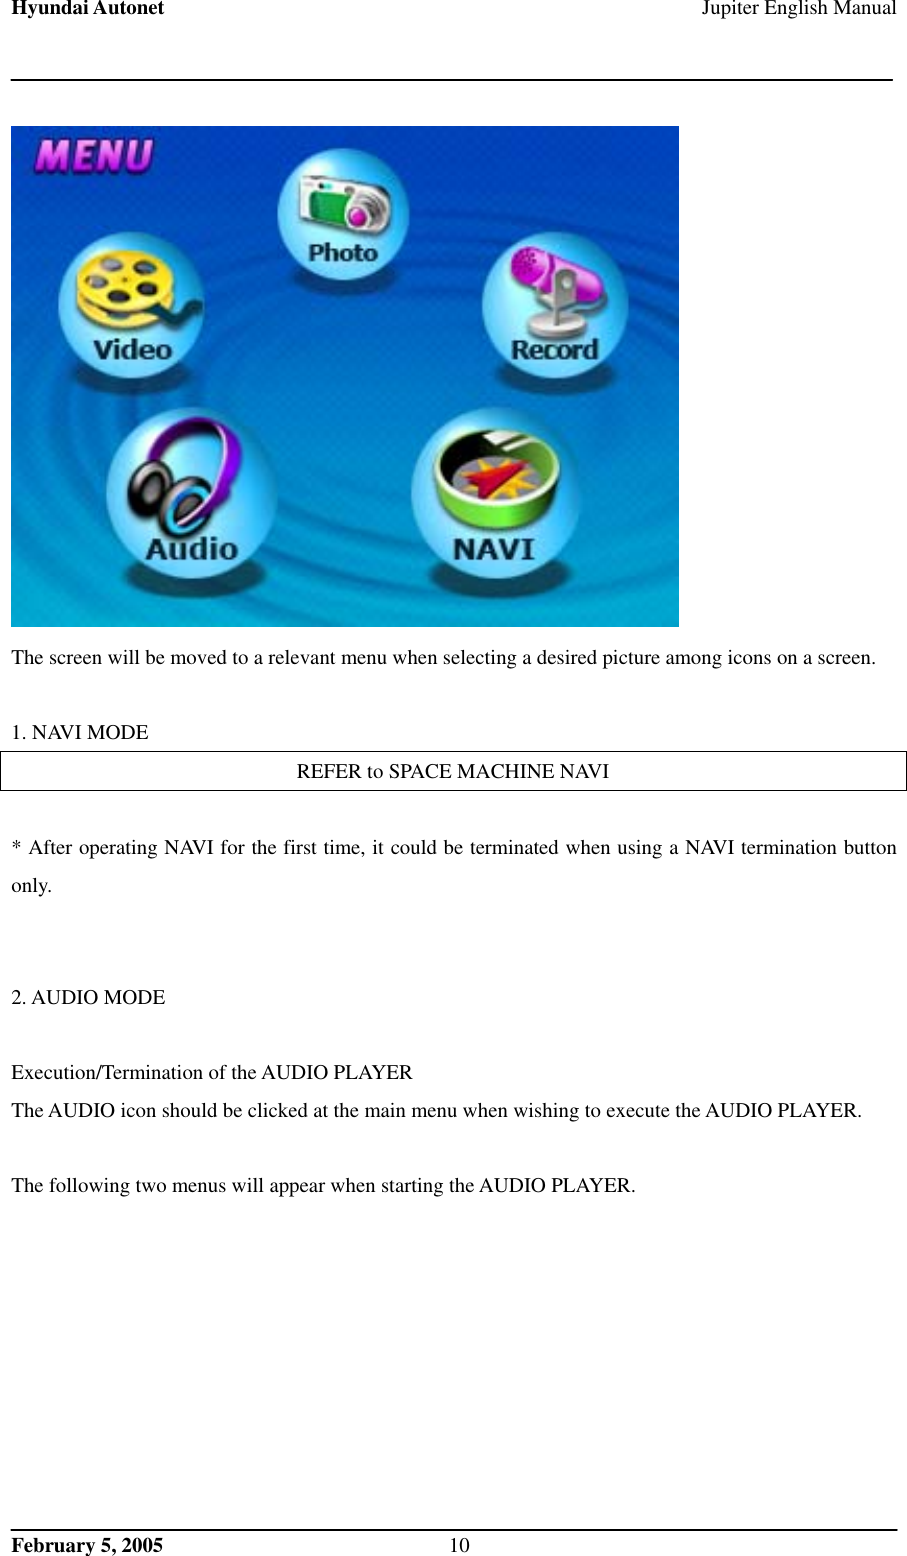
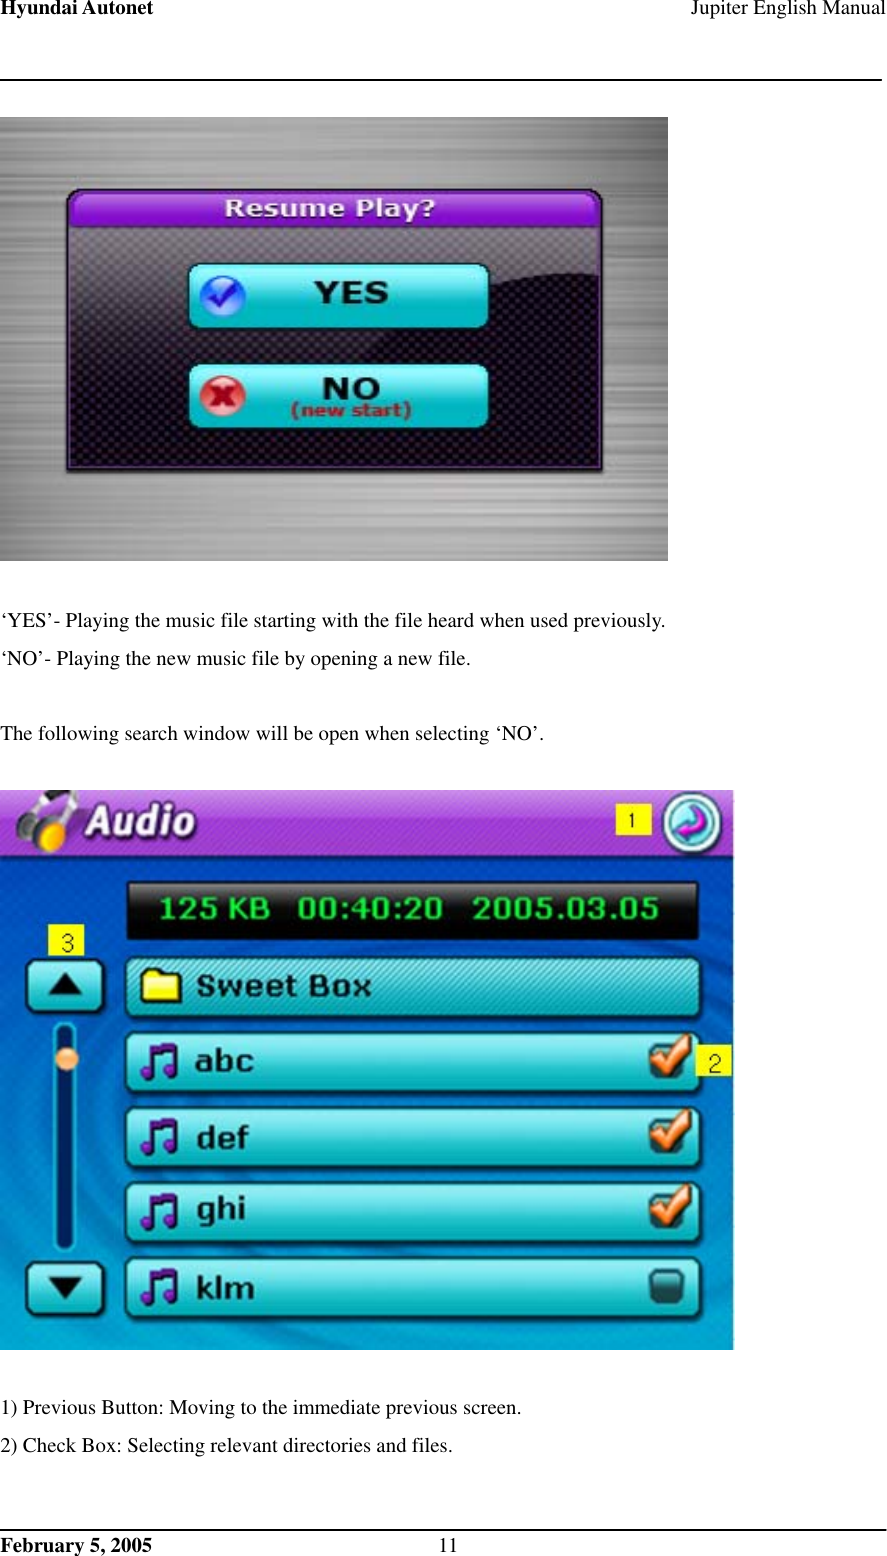
![Hyundai Autonet Jupiter English Manual Chapter 2 Before use 1. What is included in the box 2. Names of each section 1. What is included in the box After purchasing this product, open the packaging and see if any of the components listed below are damaged or missing. If there is an abnormality, make an inquiry with your place of purchase. As these images are to facilitate the understanding of the consumer, they may differ from actual conditions. Please include AC Adapter <2> Unit <3> Cradle <4> Window Mount Stand <5> EarPhone <6> User’s Manual <7> USB Cable <8> CD <9> AV IN/OUT 3RCA CABLE 2EA <10> AC Adaptor 2. Name of Each Section [Main Unit] February 5, 2005 5](https://usermanual.wiki/HYUNDAI-MOBIS/PNAV3550/User-Guide-556190-Page-5.png)
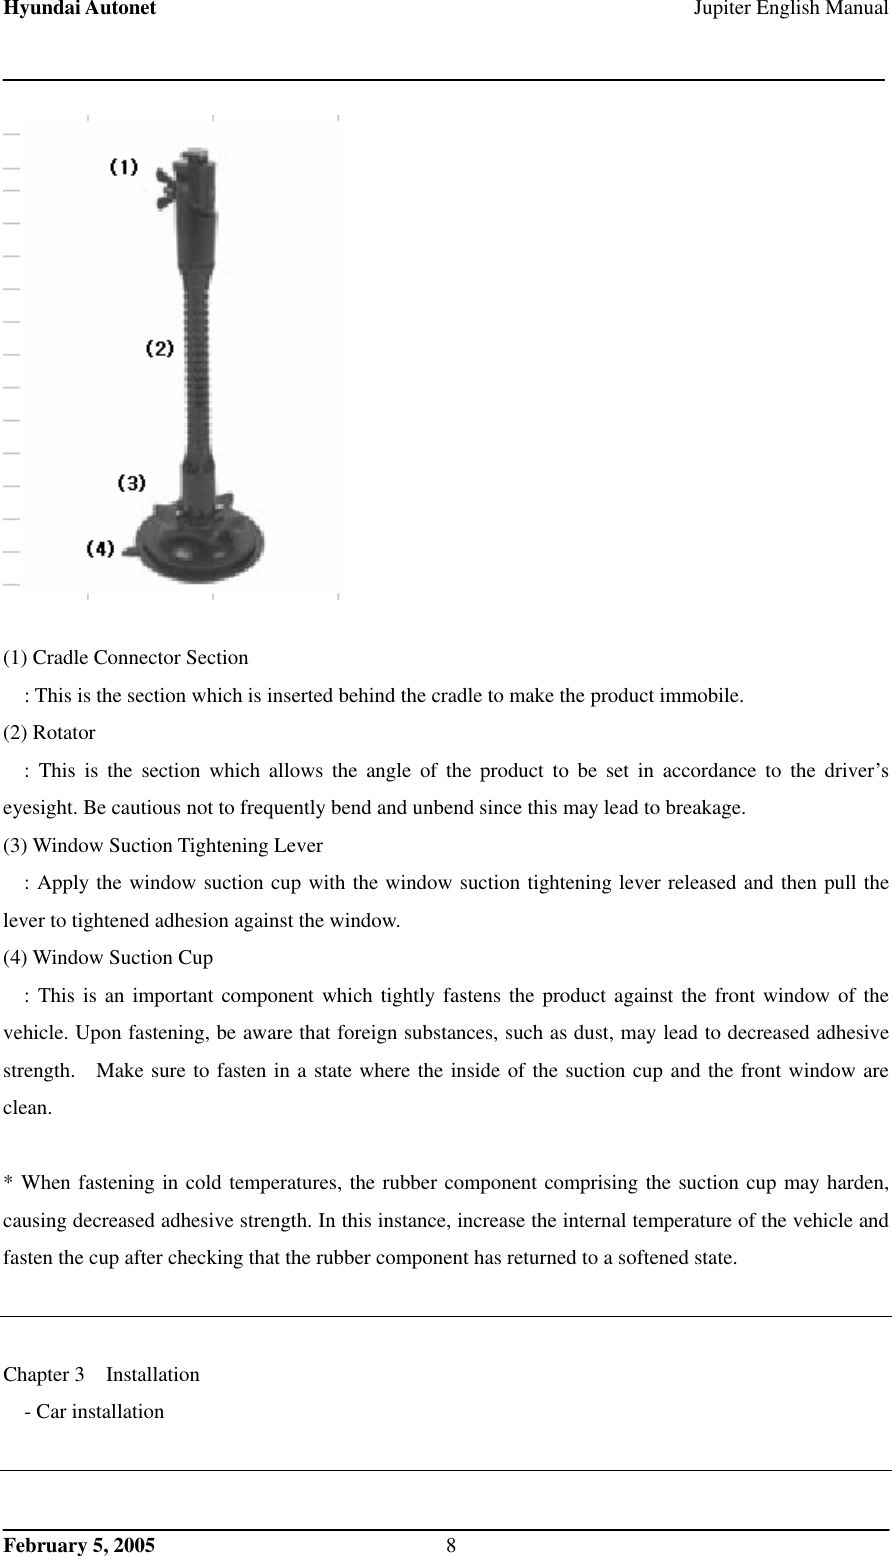
![Hyundai Autonet Jupiter English Manual [Cradle] (1) Power Connector : This supplies power to the Device through the vehicle 12 volt jack cable. If the power is not being supplied smoothly, check to see whether the area around the cradle connection or the device connection is dirty and clean if necessary. (2) Product Fastener : This is the component which fixes the product by fastening its top and bottom sides. Only fasten the product after installation is complete. (3) Mount Stand Connector : This is a section which connects with the Mount Stand. Make sure to insert it all the way to secure a fixed connection with the Mount Stand and Cradle before starting use. [Mount Stand] February 5, 2005 7](https://usermanual.wiki/HYUNDAI-MOBIS/PNAV3550/User-Guide-556190-Page-7.png)