IDUTEX Tech TDX Car Diagnosis tablet PC User Manual Users manual
Shenzhen IDUTEX Tech Co., Ltd Car Diagnosis tablet PC Users manual
Users manual

Car Diagnosis Tablet PC with Android4.X System Usage Guide
table of Contents (Click to reach quickly)
1、Gradually understand the starter
1.1 The main interface is unlocked
1.2 Main interface
1.3 The main interface of the key description
1.3.1 The button is always displayed on the screen
1.3.2 Automatically show / hide buttons
1.4 Notification bar
1.5 Main interface program
1.5.1 Resource manager
1.5.2 Contact person
1.5.3 APK installer
1.6 Remove and uninstall the desktop application's shortcut icon
2、Set up
2.1 Wireless and network
2.1.1 Bluetooth Wi-Fi
2.1.2 Traffic usage
2.1.3 More…
2.2 equipment
2.2.1 sound
2.2.2 Display
2.2.3 Screenshot settings
2.2.4 storage
2.2.5 battery
2.2.6 application
2.3 personal
2.3.1 Location service
2.3.2 Safety
2.3.3 Language and input method
2.3.4 Backup and reset
2.4 system
2.4.1 Date and time
2.4.2 Auxiliary function
2.4.3 Developer options
2.4.4 About tablet
3、camera
3.1 Take pictures
1、Gradually understand the starter
Your hands on the Car Diagnosis Tablet PC equipped with Android4.X.X
System, the starter (ie: boot desktop) than the previous version, there is a big
Change, here is a brief introduction to its basic use.
1.1 The main interface is unlocked
The system has no default lock screen mode
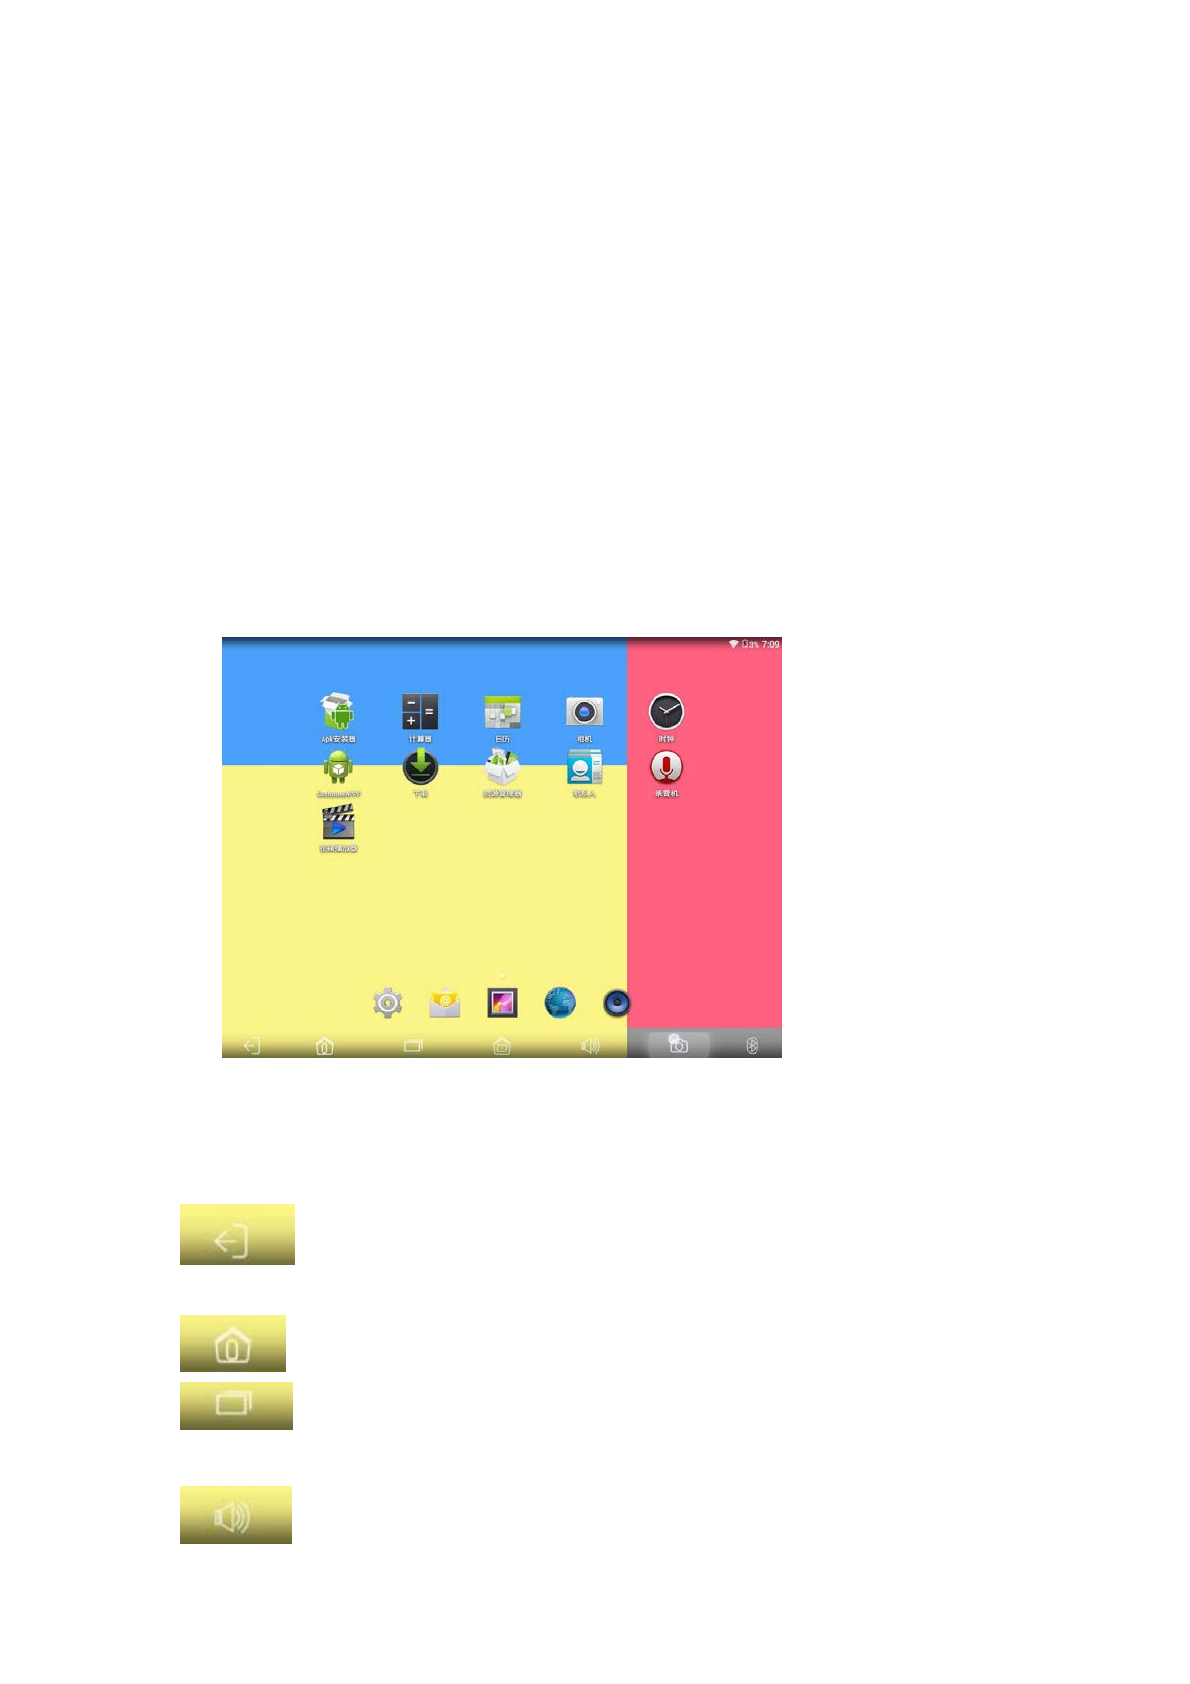
1.2 Main interface
After unlocking the main interface, the main interface is divided into five
screens, the finger on the screen left and right paddle can switch the
page.With the screen, you can see each screen will have a box, which is
android4.0 system new Join the display, similar to the 3D display.
1.3 The main interface of the key description
1.3.1 The button is always displayed on the screen
: return key. Any interface click on this icon, you can return to the
next level directory.
: Home key. Any interface click to return to the main interface.
: Background program icon. Click to view the program that was
recently opened and running in the background.
: volume button. Click to adjust the volume level (some models
have this virtual key).
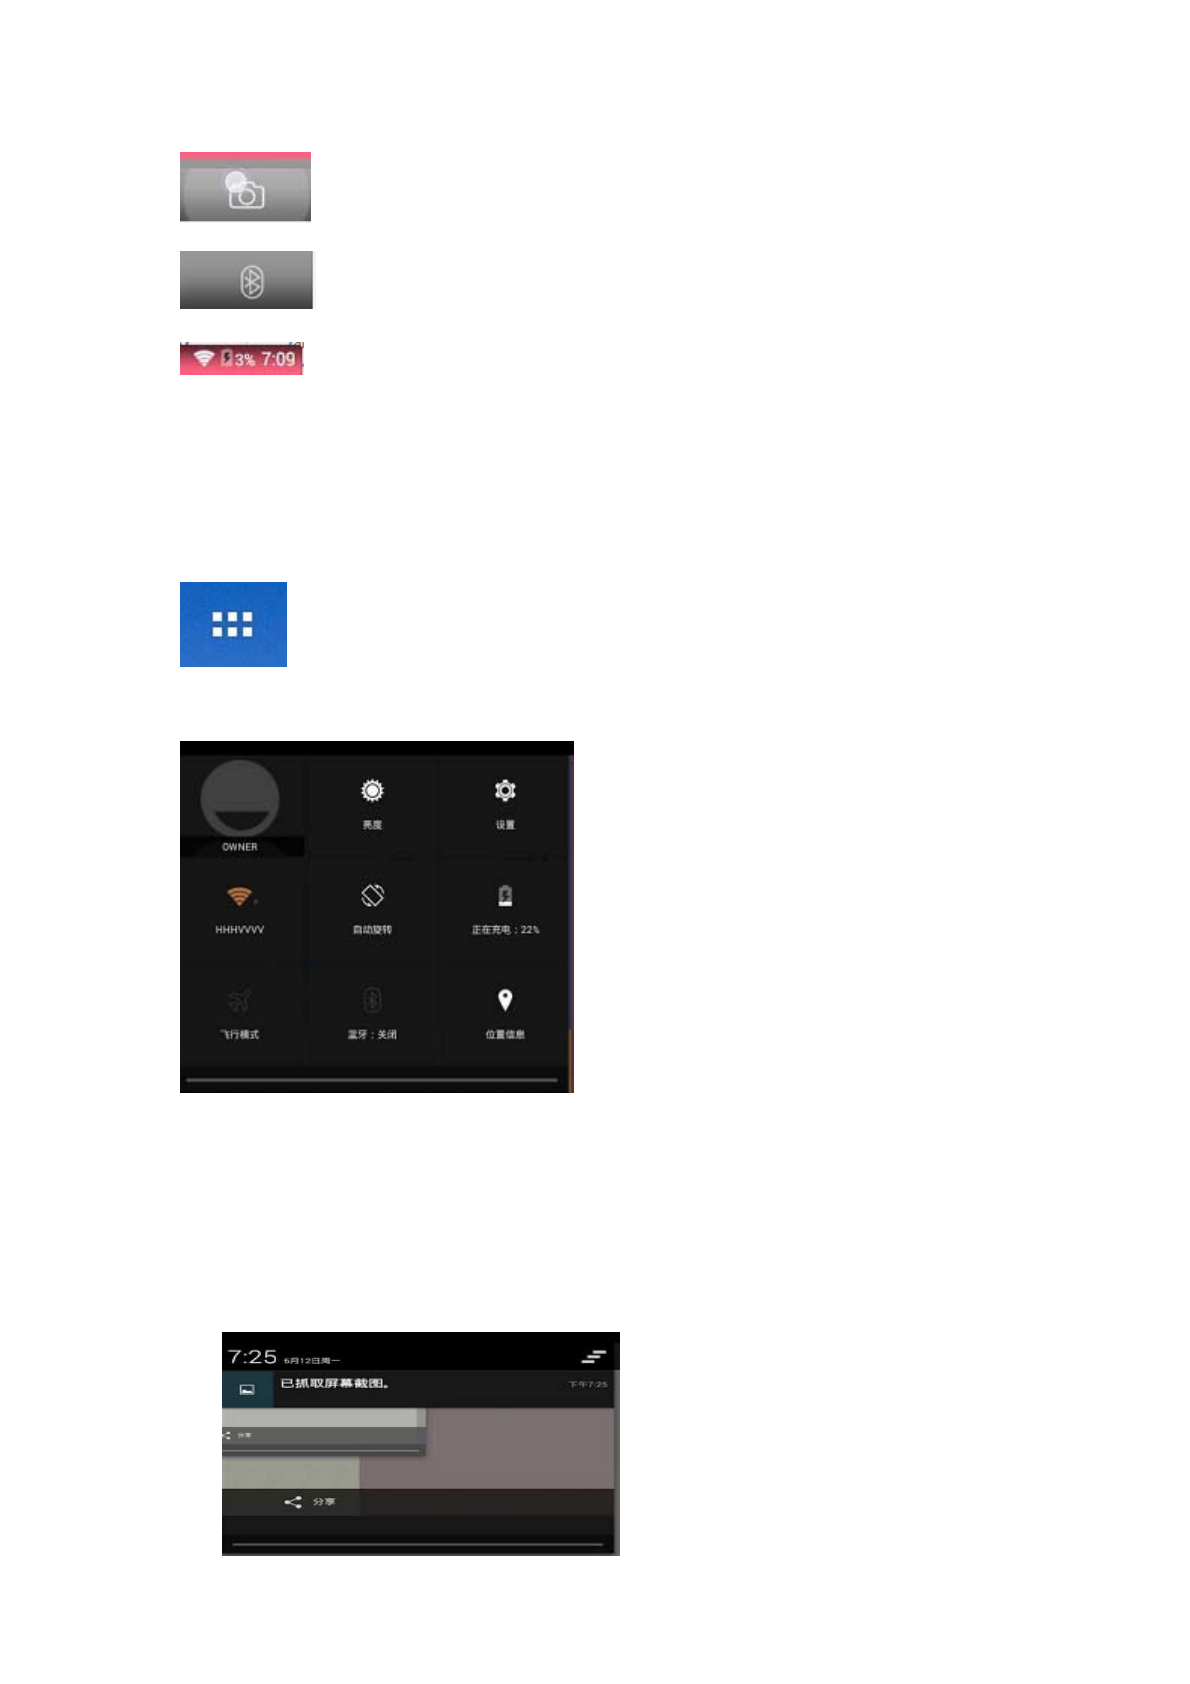
: Screenshot
: As if the bulb shows whether to turn on Bluetooth
:Notification bar. From the right to the left are: time icon,
notification / other icon (depending on whether the open software is
automatically displayed or hidden), the battery icon (display the current battery
charge, charging a lightning symbol on the battery), WiFi icon (WiFi will be
displayed on the connection).
1.3.2 Automatically show / hide buttons
: Program drag the button in the main interface at the top right
position that time to move down the location of the slide can be displayed on
the application list interface.
:
1.4 Notification bar
The upper left corner of the screen can slide down, we call the notification
bar. When we click on the notification bar, the pop-up menu will pop up as
follows:
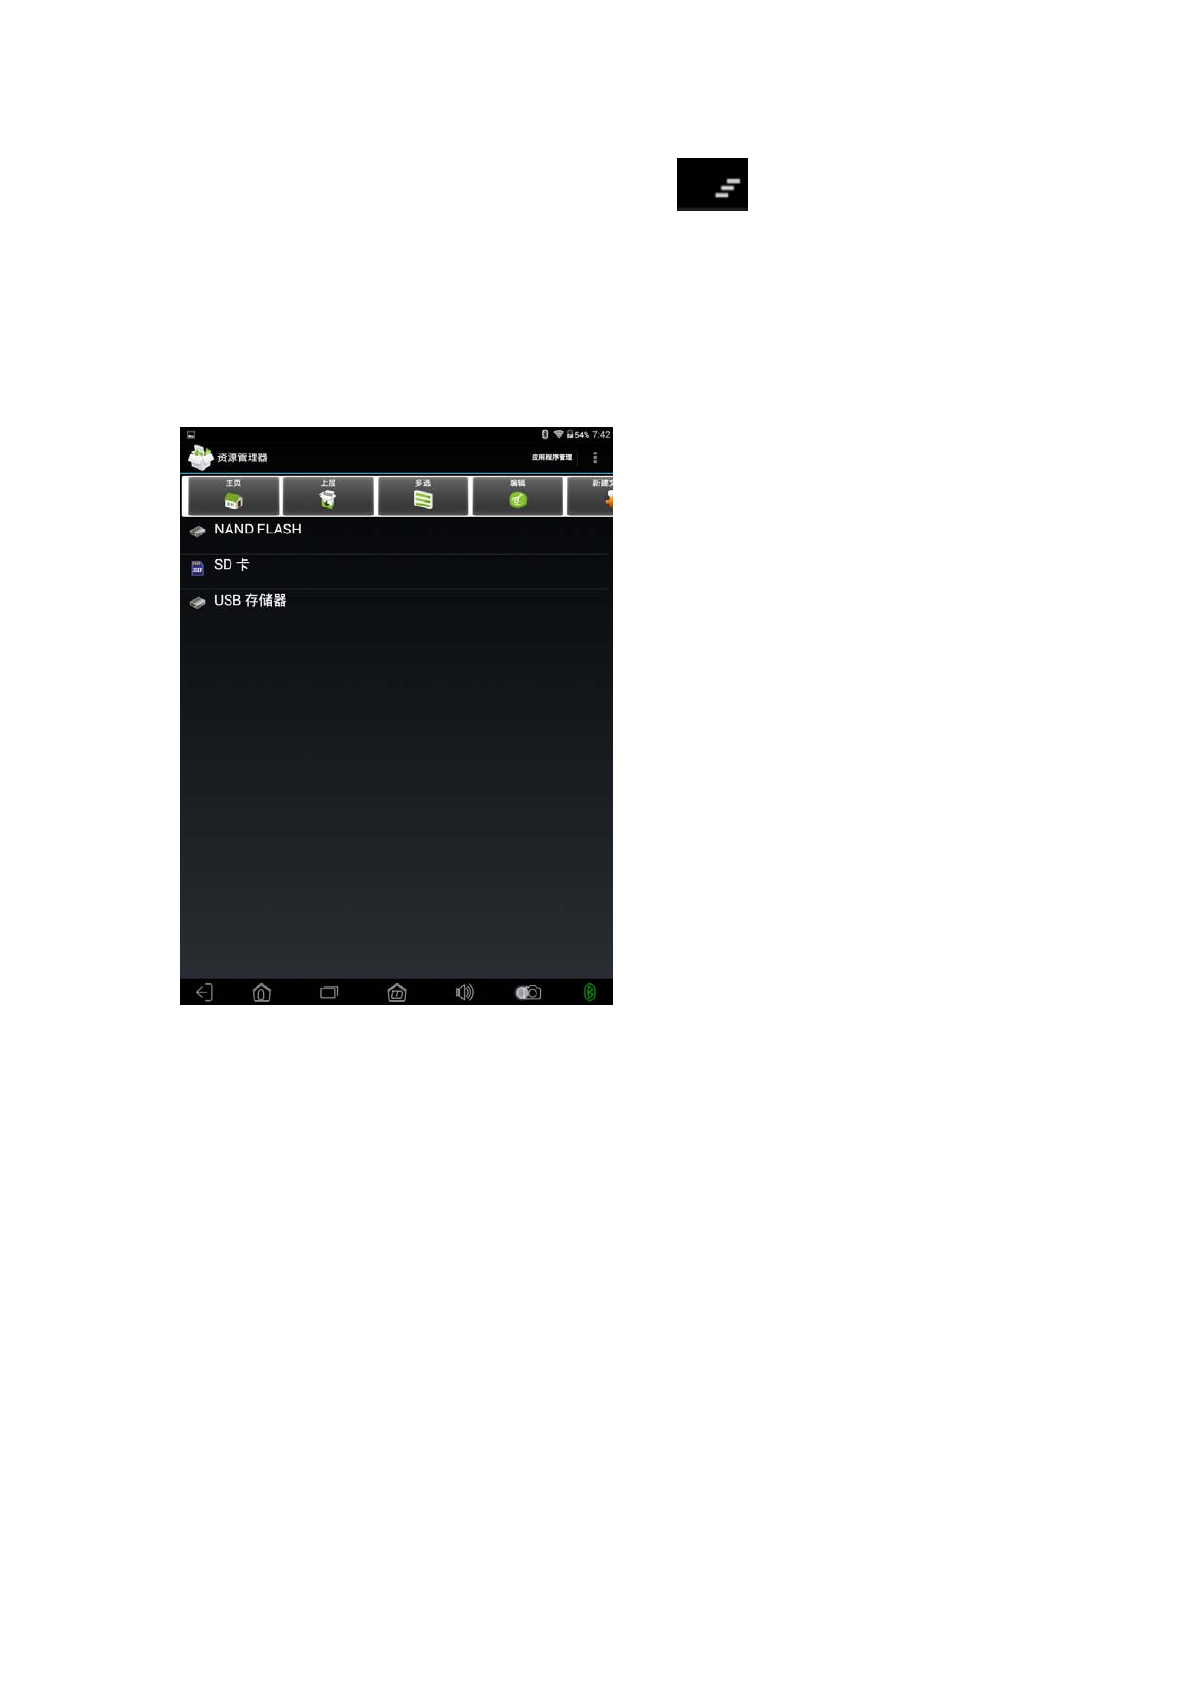
Then click the button in the upper right corner ,Some APP notification
information can be cleared.
1.5 Main interface program
1.5.1 Resource manager
1, Show this tablet memory status
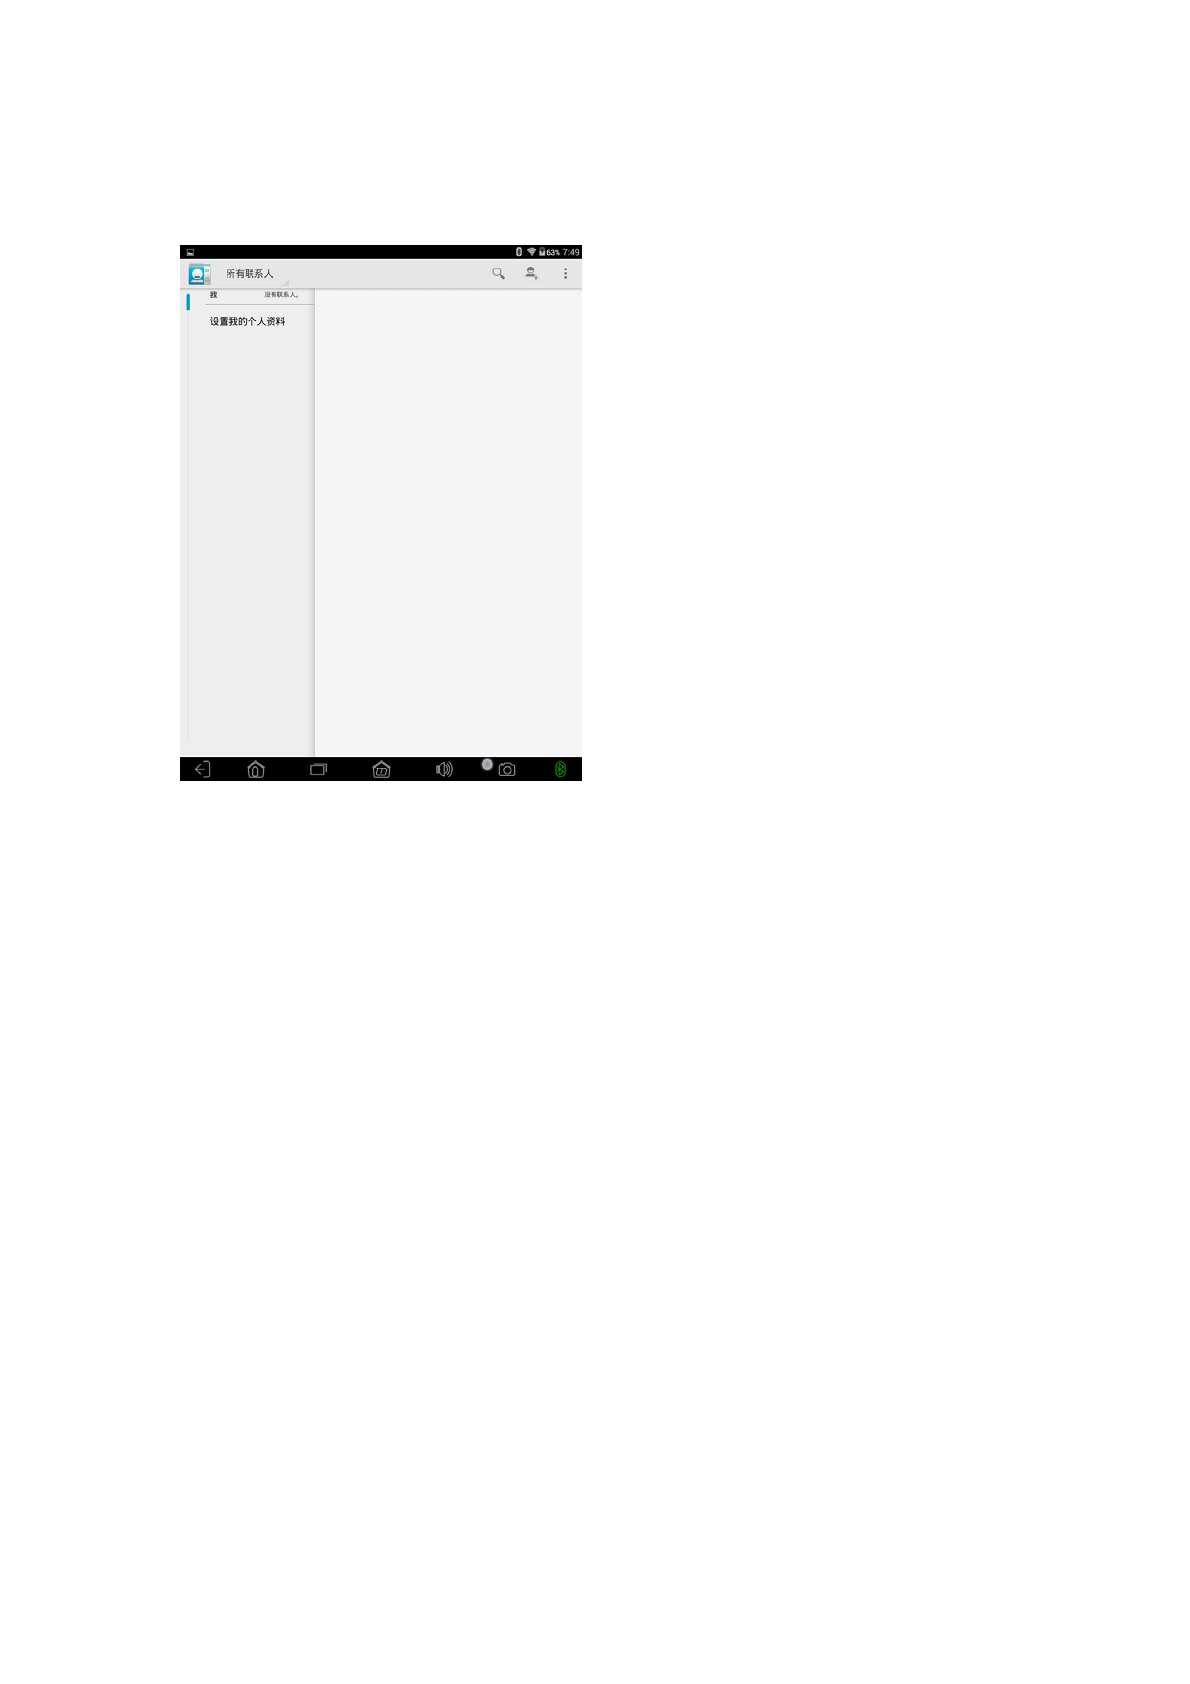
1.5.2 Contact person
1,Can add a friend's contact information
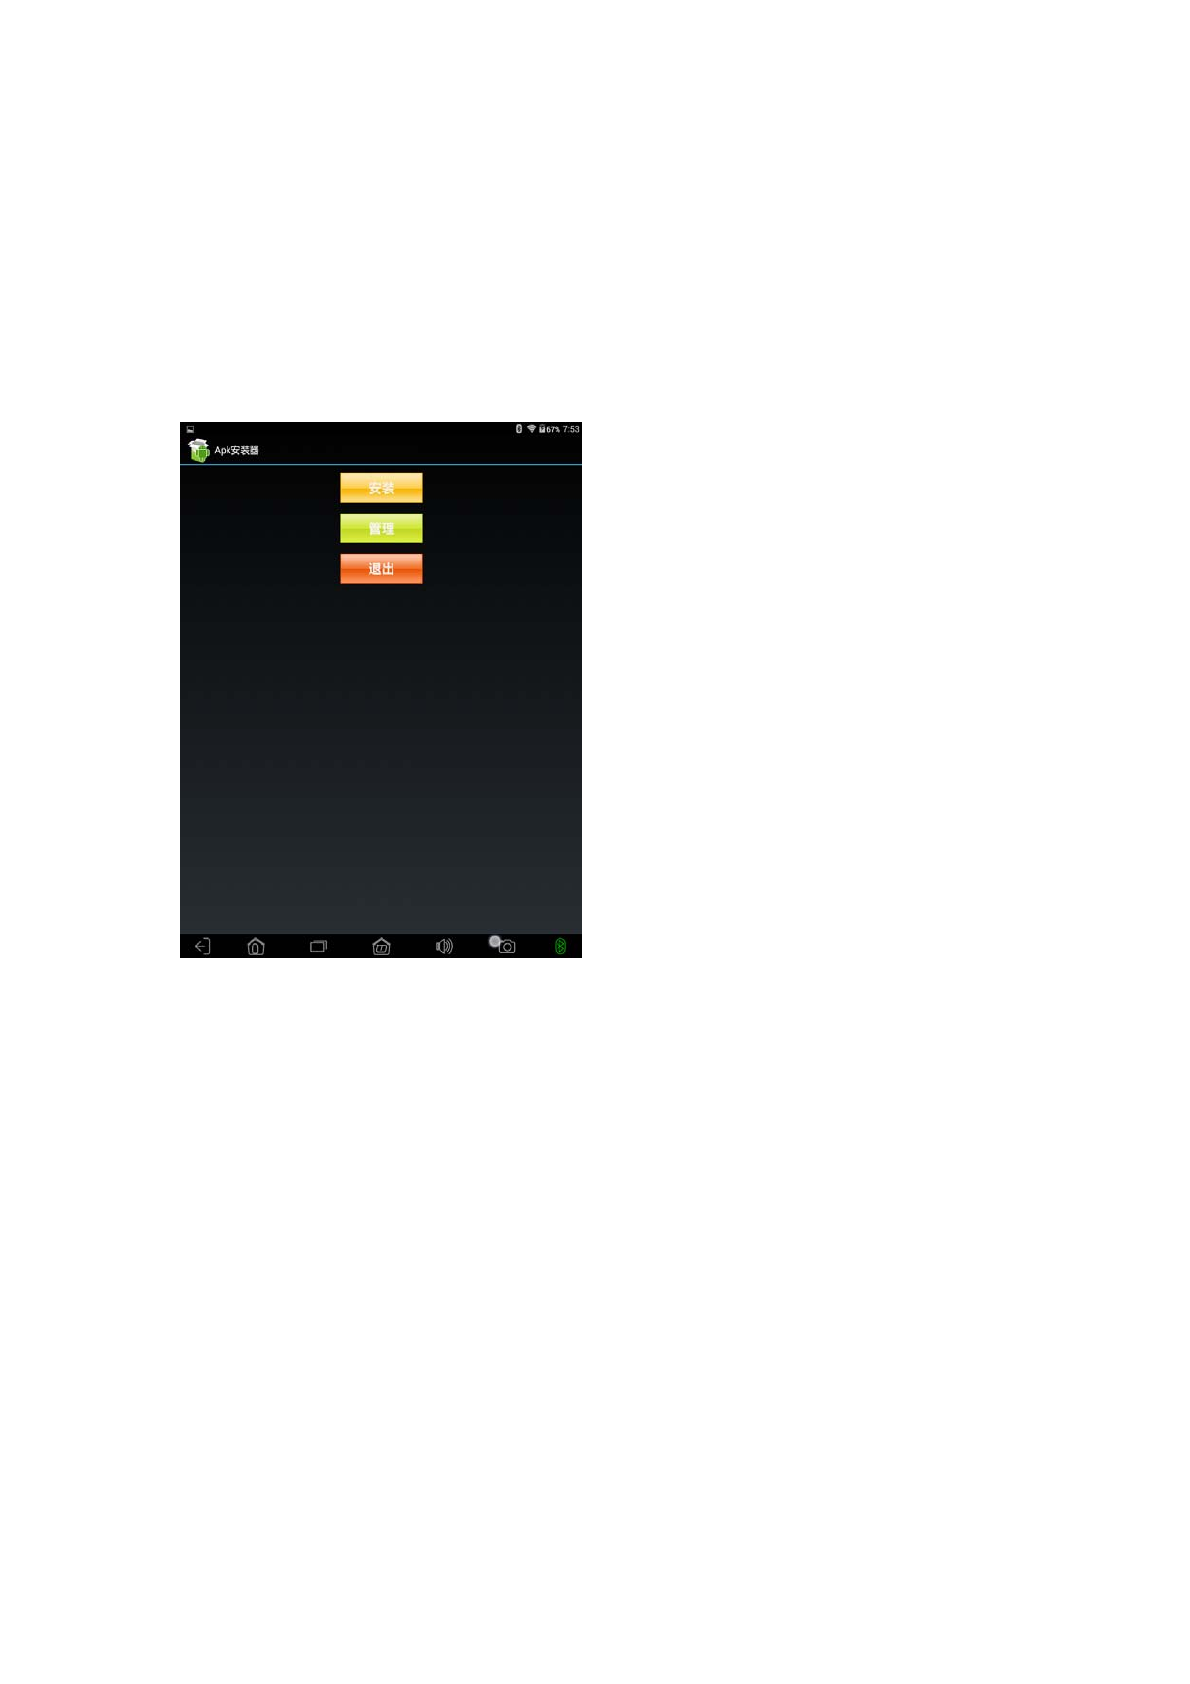
1.5.3 APK installer
1,Install the software file location
2,All installs of this machine
3,Exit the APK installer
After the download is complete, the notification bar will prompt to complete.
Click the installation button, will be installed in the machine WeChat, click on
the need to install the APK file, you can pop up the installation interface, here
is the next click APK program, install WeChat APK:
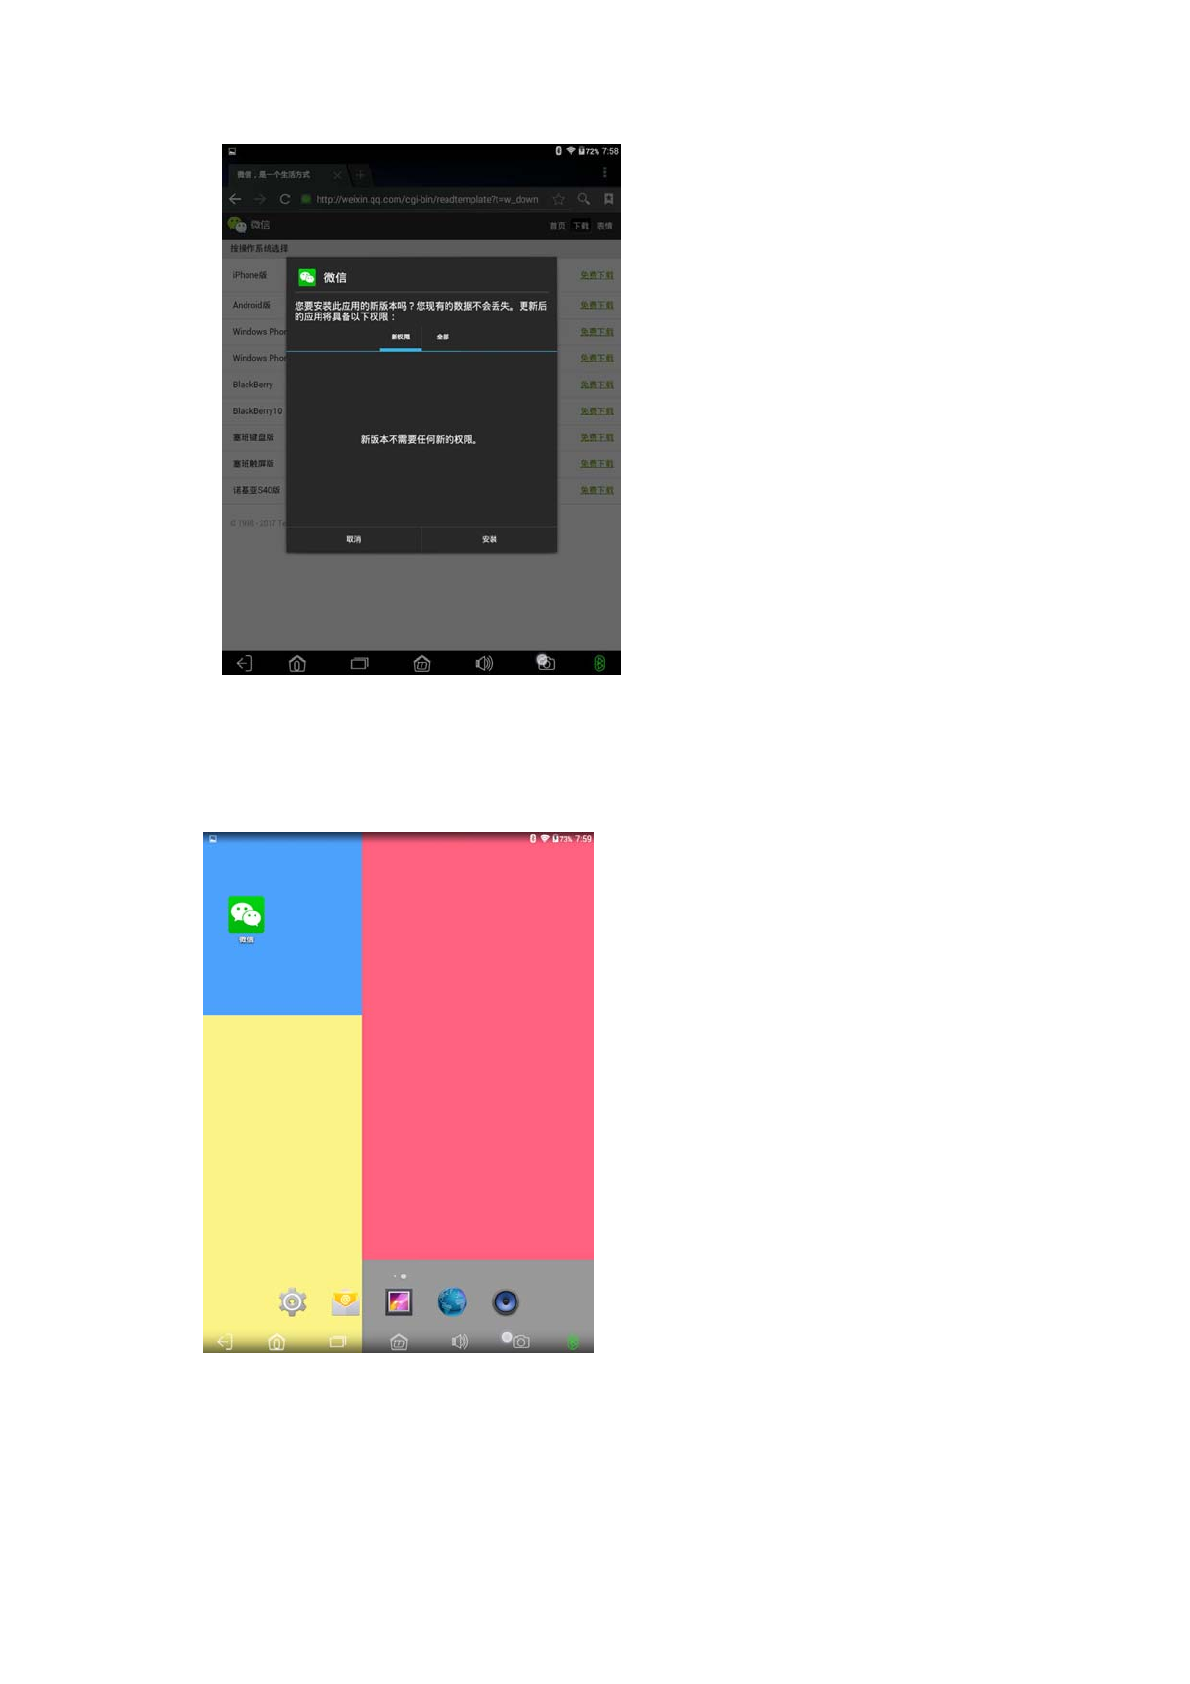
After the installation is successful, return to the application list interface, you
can see that we have successfully installed the WeChat this new application:
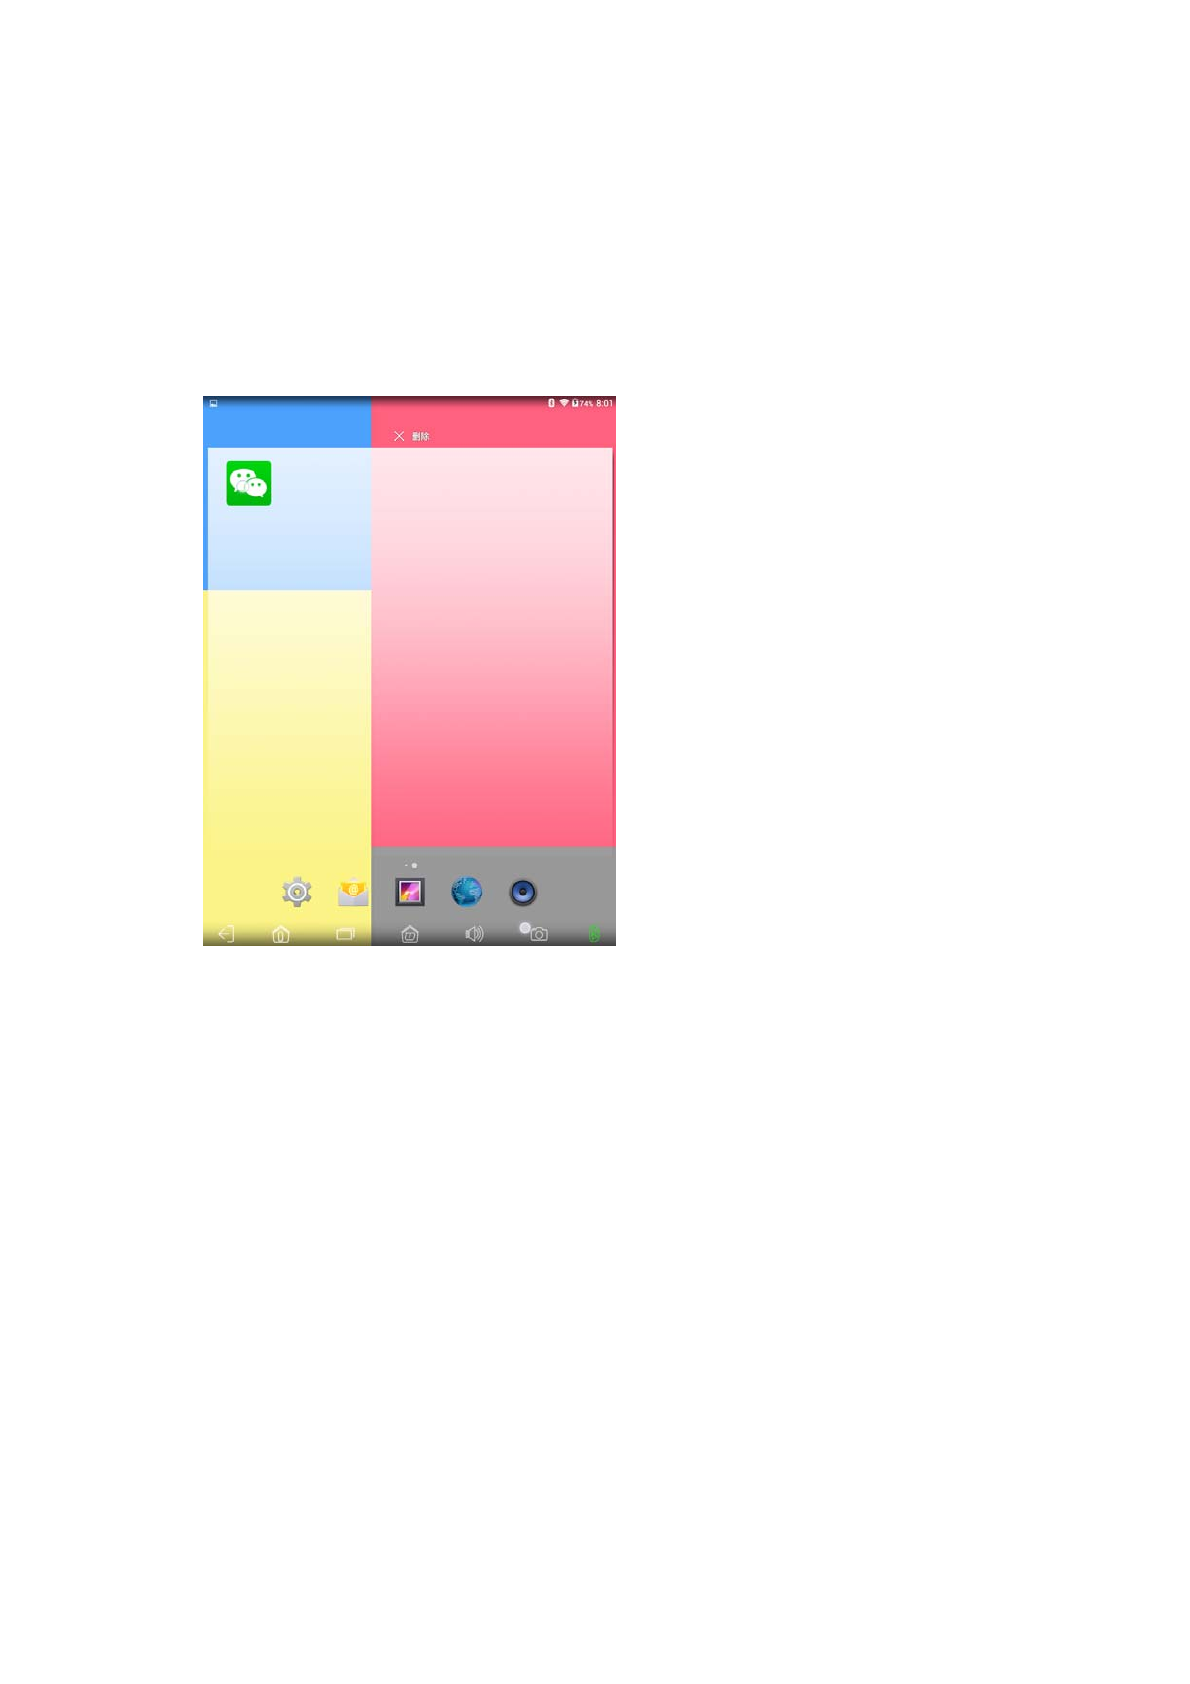
1.6 Remove the application that has been installed on the
tablet
If you have installed a lot of applications on the tablet, you want to delete a
part of the application is not, you can main interface through the following
operations to achieve. Press and hold the 3-second application to delete it
2、Set up
Android system settings function, similar to the settings on the phone
or Windows system control panel, you can personalize the preferences
according to their preferences
2.1 Wireless and network
This section only briefly describes the basic functions of
each function
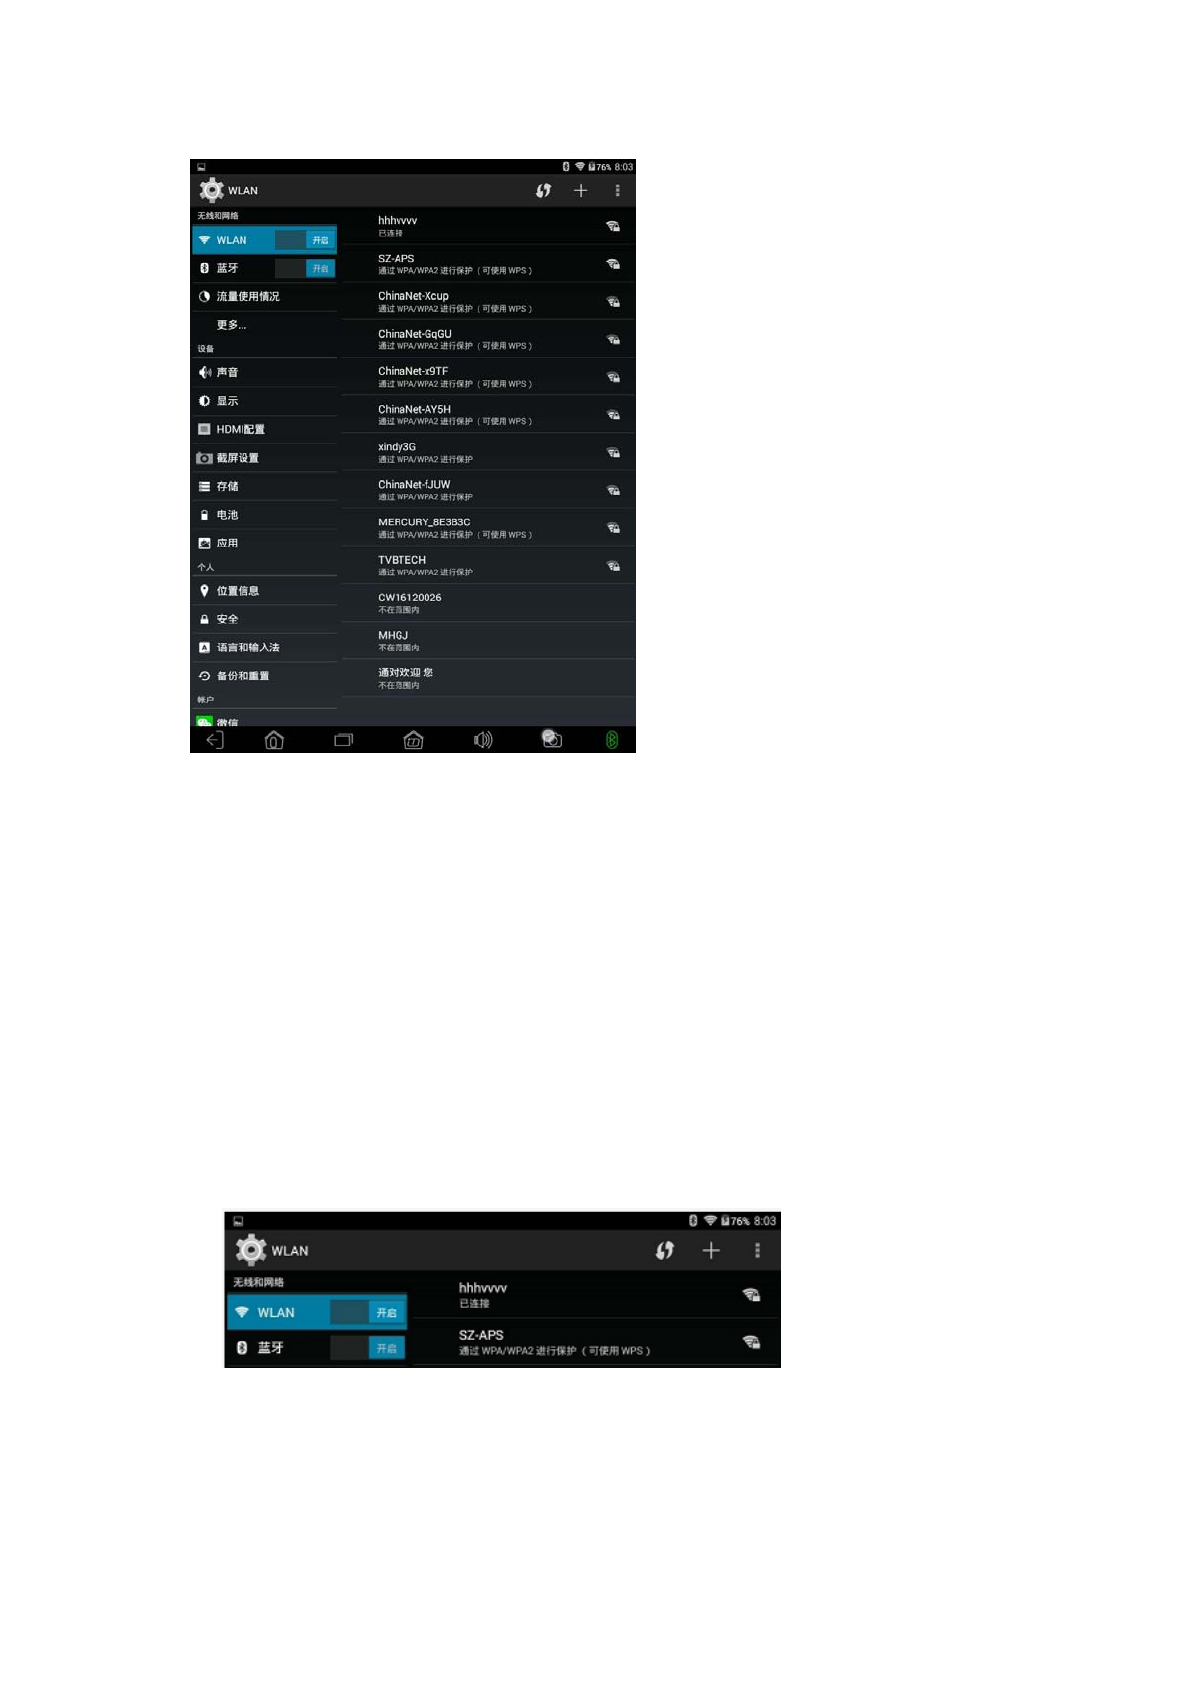
2.1.1 Wi-Fi
1.Turn Wi-Fi on and off:
Click the button next to Wi-Fi to open WIFI. Open WIFI later, if you have a
WIFI network around, in the right list bar will search, as shown below:
In the above figure, the search for the source, each name (on the router, the
name is called SSID number, you can set, generally not recommended to set
the Chinese) The following small characters that wireless WIFI encryption,
each name behind Of the fan icon, said WIFI signal strength; fan icon next to if
a small lock, said the sign al is encrypted. Need to enter a password to
connect.
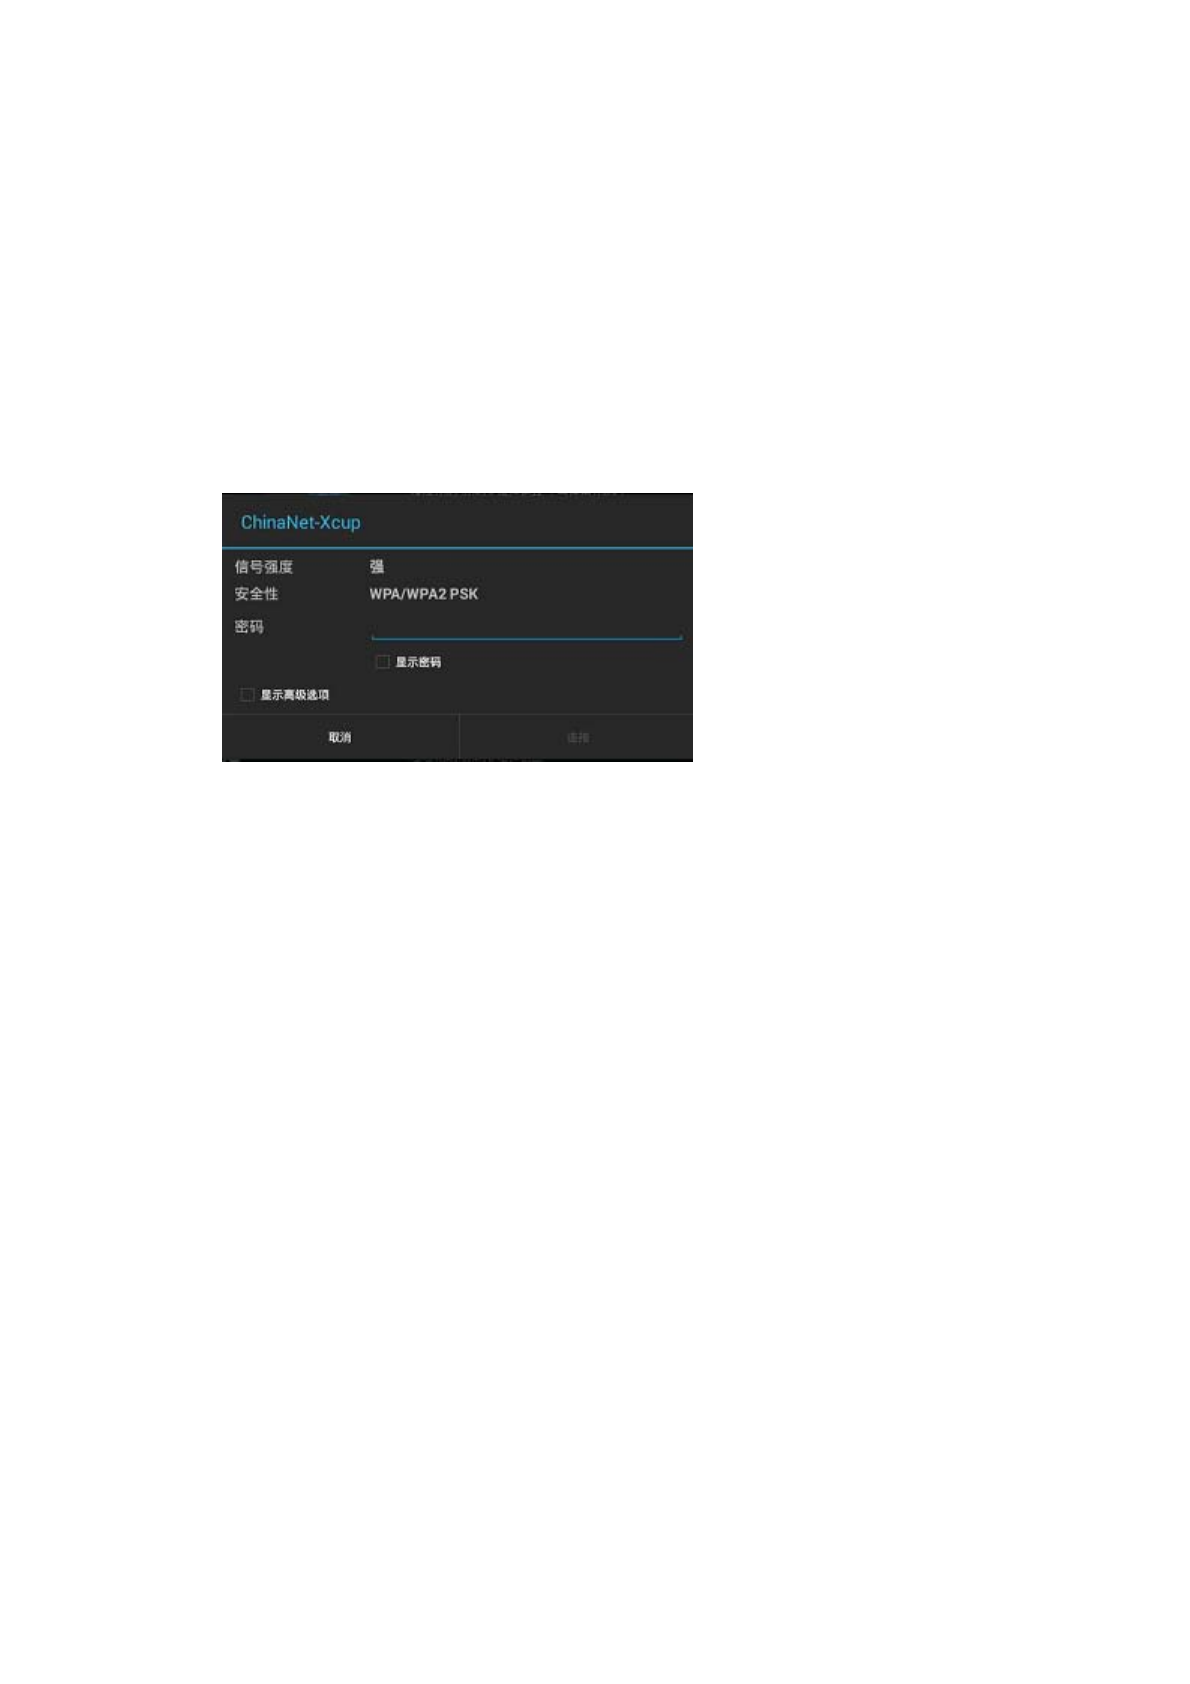
2.Connect Wireless WI-FI:
Search for wireless WIFI If there is no encryption, open WIFI will be
automatically connected. If there is encryption, click on the wireless WIFI name,
will automatically pop up the window to enter the password, generally only
need to enter the password and then the lower right corner of the "connection"
button to connect.
Bluetooth the same as WIFI the same
WPS: Default off. This is only valid for some of the routers that support
WPS functionality.
Proxy settings: Default none Generally do not have access, not here to
explain.
IP settings: The default is DHCP, automatically obtain the IP address.
When you select "Static", you can enter the IP address manually.
This interface displays the MAC address, IP address, etc. of the wireless
WIFI.
2.1.2 Traffic usage
This option can display the traffic usage of WIFI, mobile network (external
3G network card), Ethernet (external network cable). The default shows only
the mobile network traffic, if you want to display the flow of WIFI and Ethernet,
click the upper right corner of the screen icon, check the appropriate option. As
shown below:
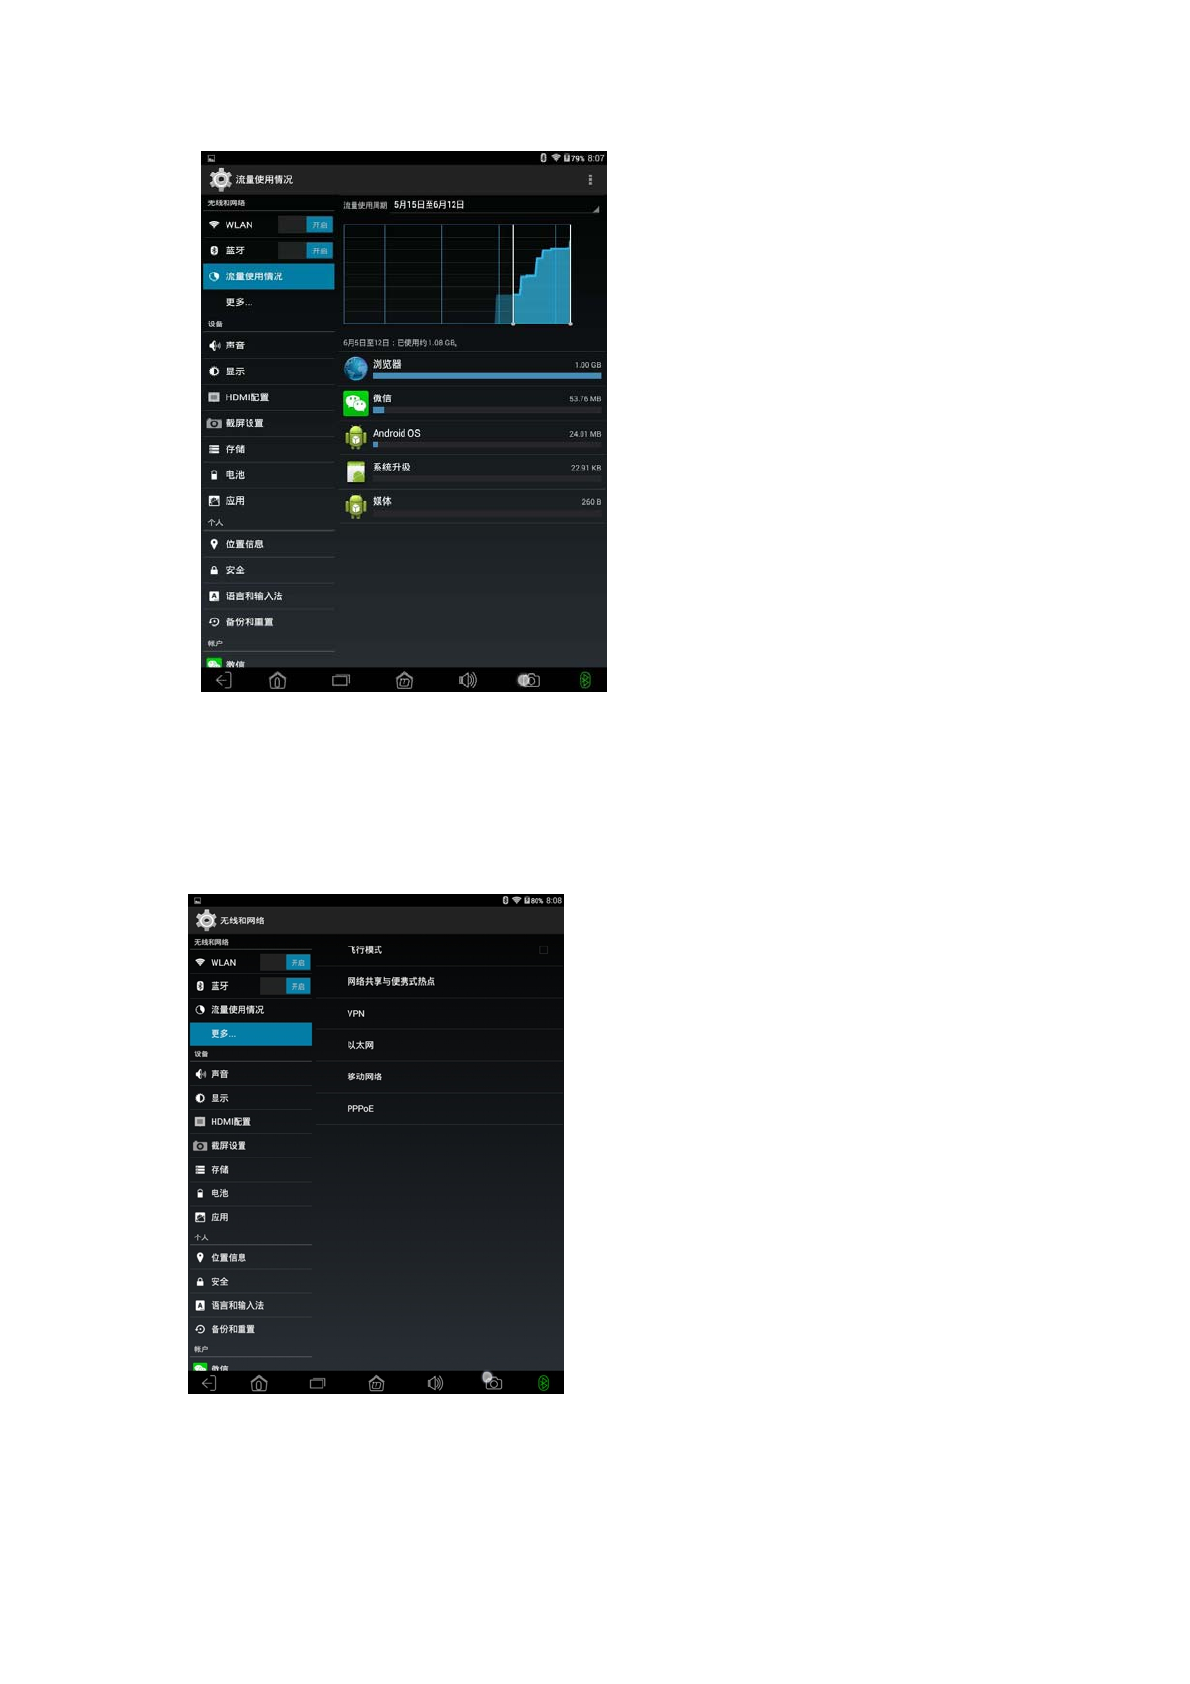
2.1.3 More…
This function has a number of options: VPN, mobile network (external 3G
network card) and so on
Flight mode: Can not connect mobile data, WIFI has no effect
VPN: Turn on this feature to enable virtual private network functionality.
mobile network: OTG function through external 3G network card, to
achieve 3G Internet access.
2.2 equipment
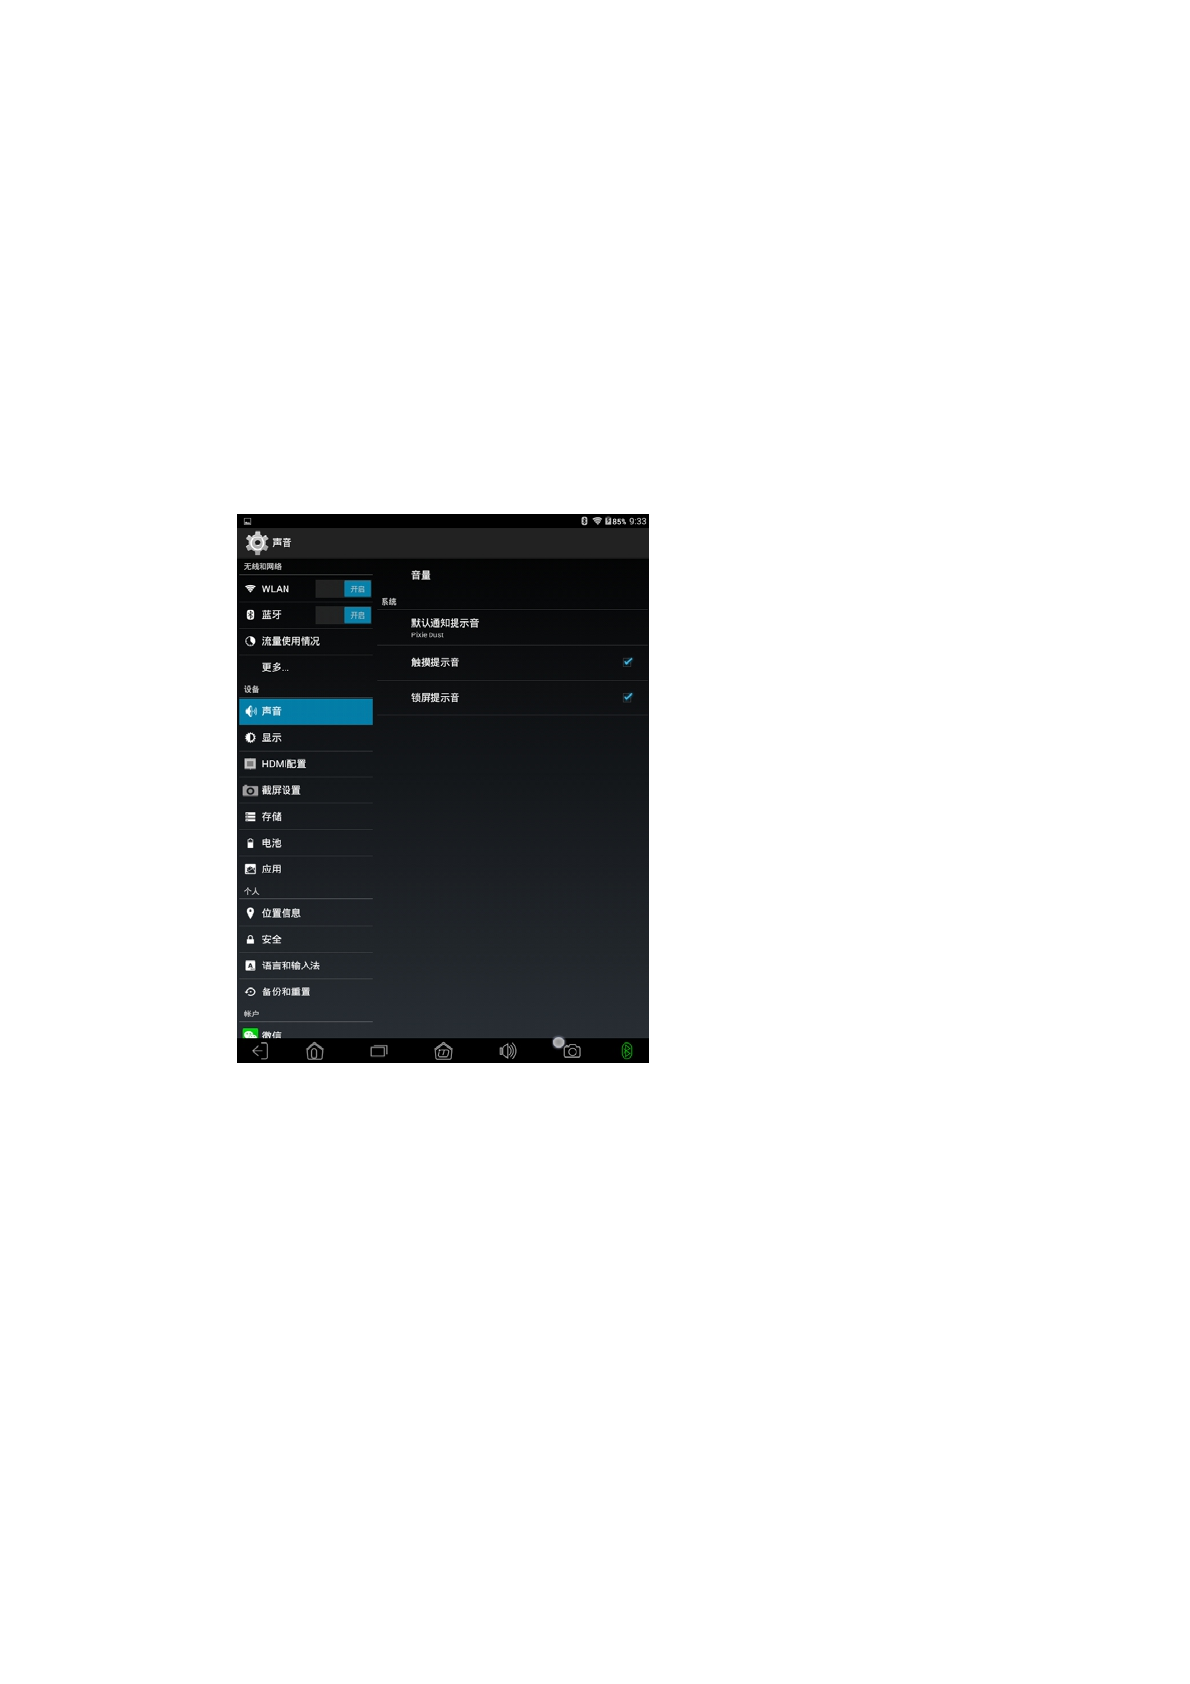
2.2.1 sound
This item can set the volume, notify the ringtone, touch the tone, lock screen
tone.
2.2.2 Display
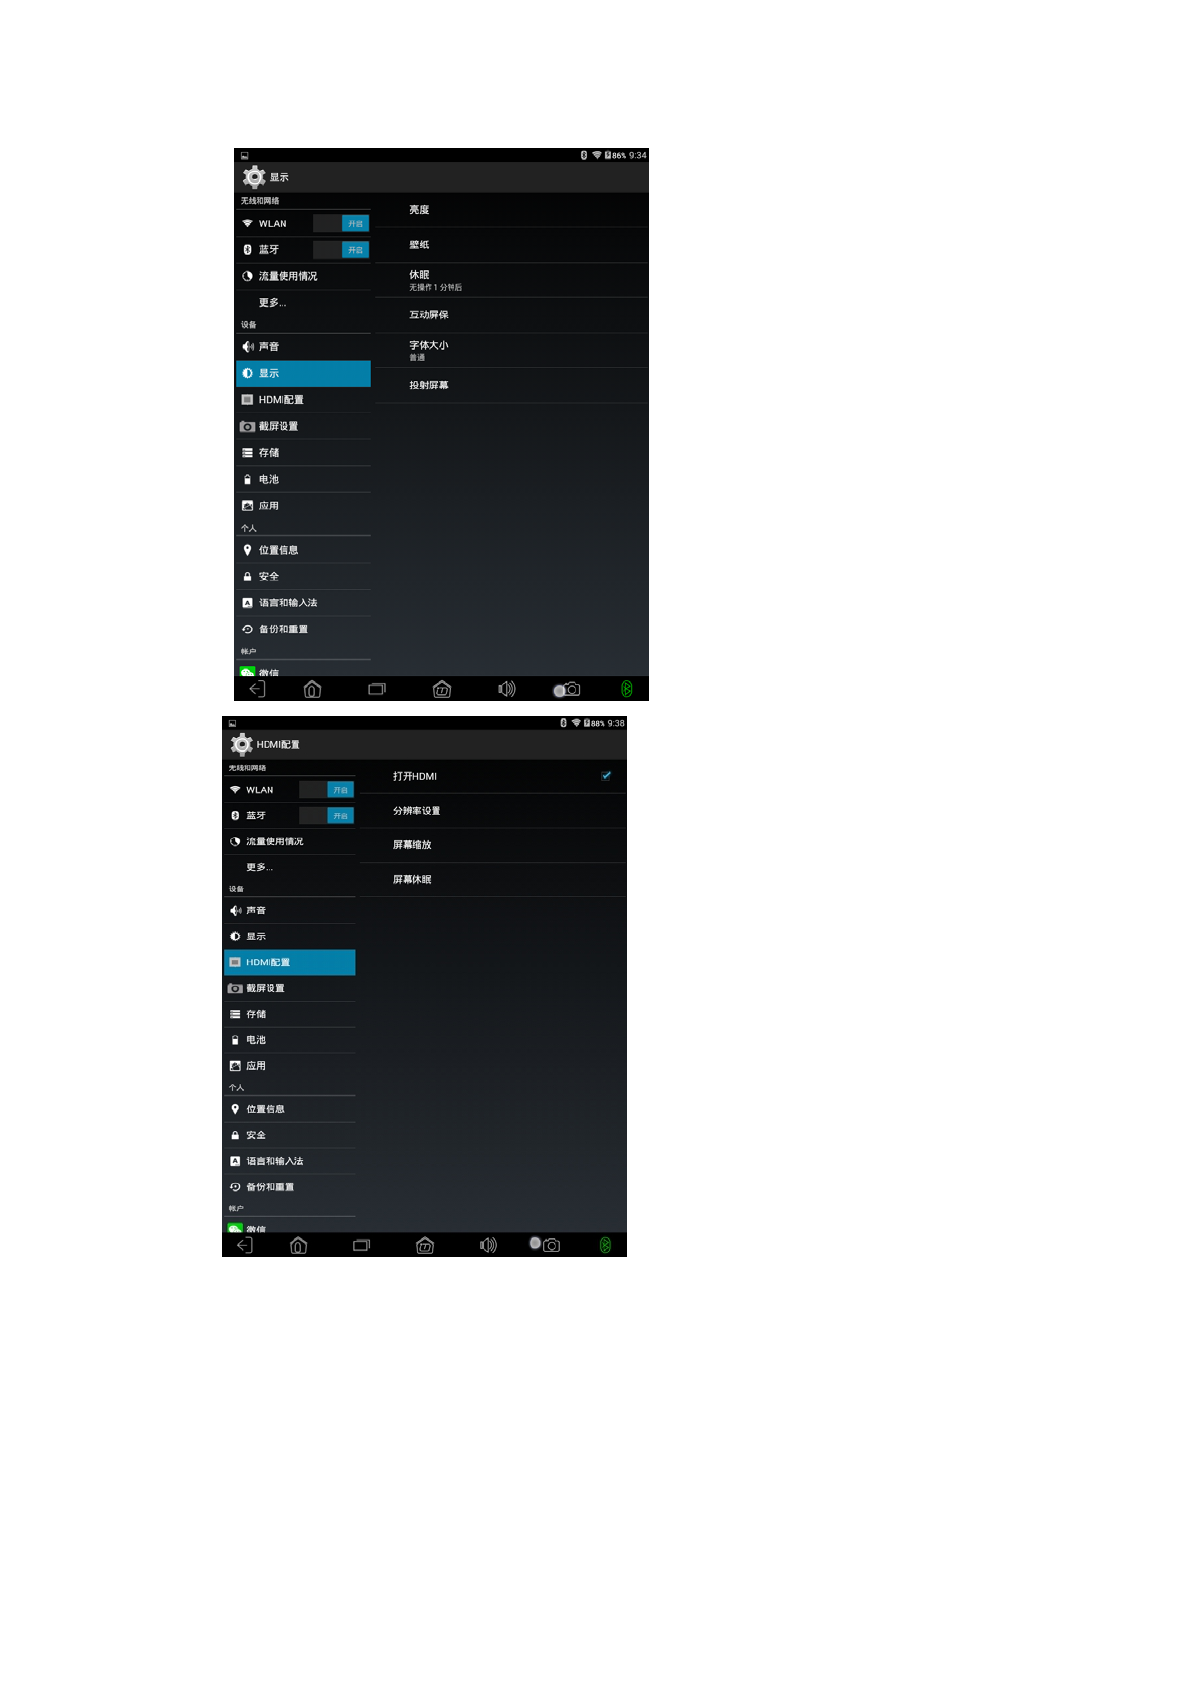
brightness: You can set the brightness of the screen。
wallpaper: Set up desktop wallpaper.
Automatic rotation of the screen: After checking, by rotating the
Car Diagnostic Tablet PC, the display will automatically change the display direction.
Sleep: Set the screen saver time.
font size: Can be displayed on the font size to adjust, the default is "normal."
note: HDMI configuration options only when the models have HDMI output
interface will be displayed, not all models have HDMI output function, please
know.
Projection screen: Need to connect the device
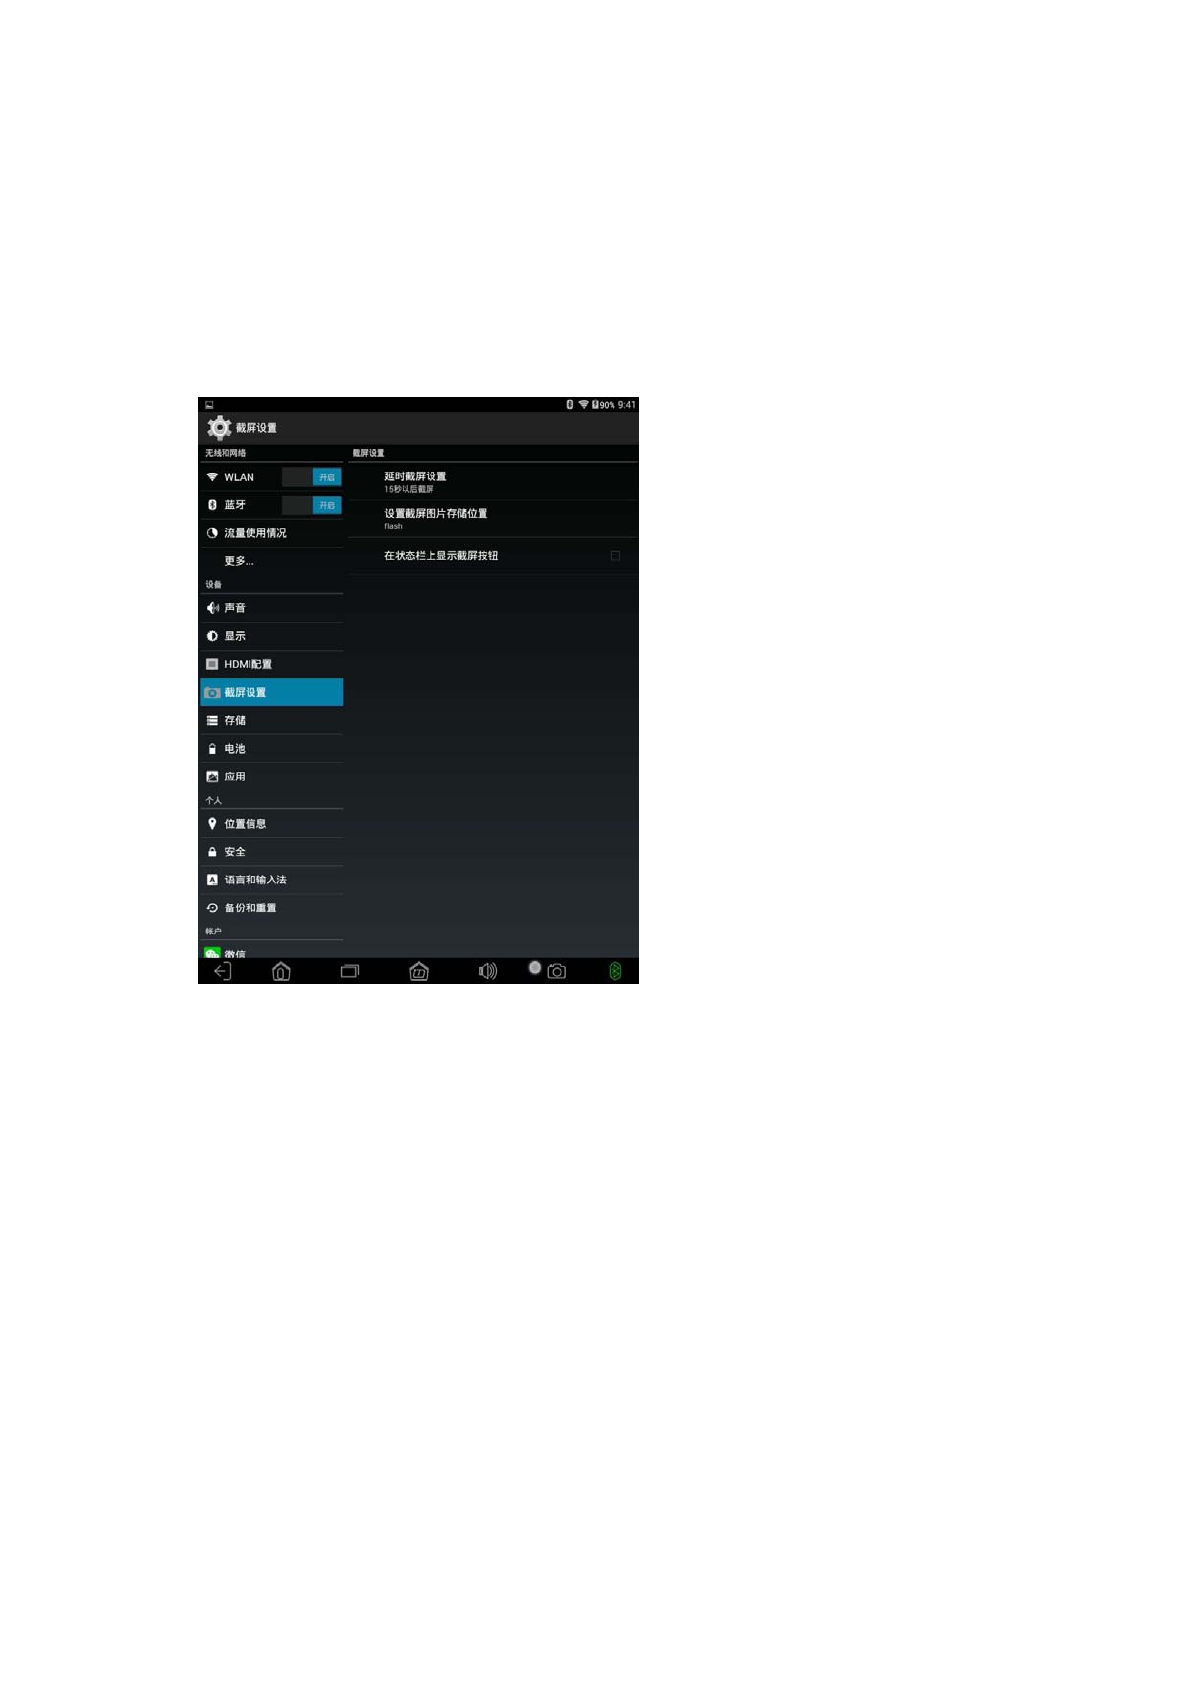
2.2.3 Screen settings
1, Delay screen settings can control the screen time
2, Set the screen to save the picture location, FLASH, SD card, external USB
3, In the status bar shows the screenshot button, such as click to cancel "√"
main screen does not appear screenshots button
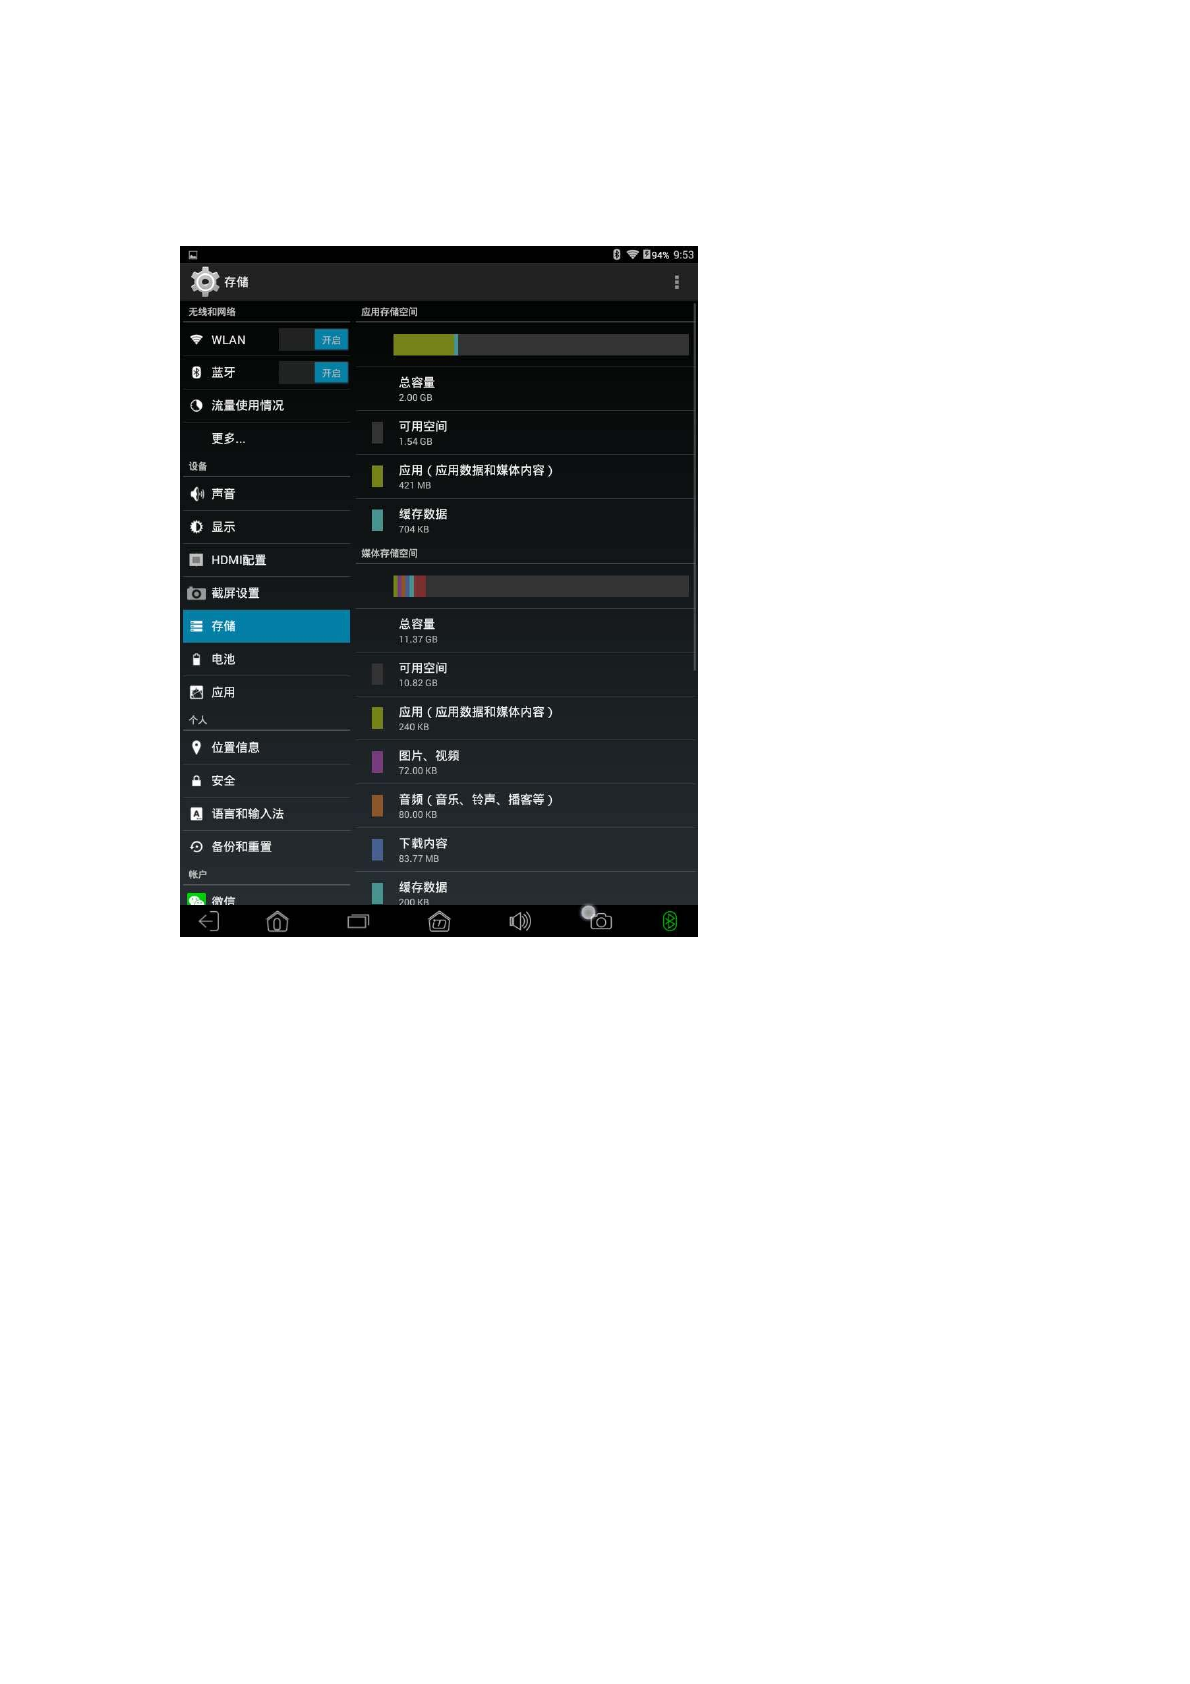
2.2.4 storage
Internal storage space:
Tablet PC is also called ROM space, is the
system allocated to install APK application space.
NANDFLASH:The storage space of the local disk, that is, connected to
the computer to display the removable disk space, according to your purchase
model configuration, divided into 8GB / 16GB / 32GB (Due to the different
ways in which the FLASH manufacturer and the operating
system manufacturer are calculated and the part of the
Android system itself occupies part of the space, the actual
available capacity will be less than the identification capacity,
which is not a product quality issue).

EXTSD:The user inserts the storage space of the TF card
(TF card
non-product standard, if necessary, please own purchase).
Enable media scanning on SD card: Check this function, when the
user inserted the TF card, you can display the TF card in the Explorer
file, if you do not open this feature, TF card media files will not be displayed.
USBHOST1:
Through the OTG external U disk / mobile hard disk and other
storage devices storage space.
Enable media scanning on USBHOST1: Turn on this function. When
the user passes the OTG external storage device, the media file of the external
storage device can be displayed in the resource manager. If this function is not
enabled, the media file on the external storage device can not be displayed.
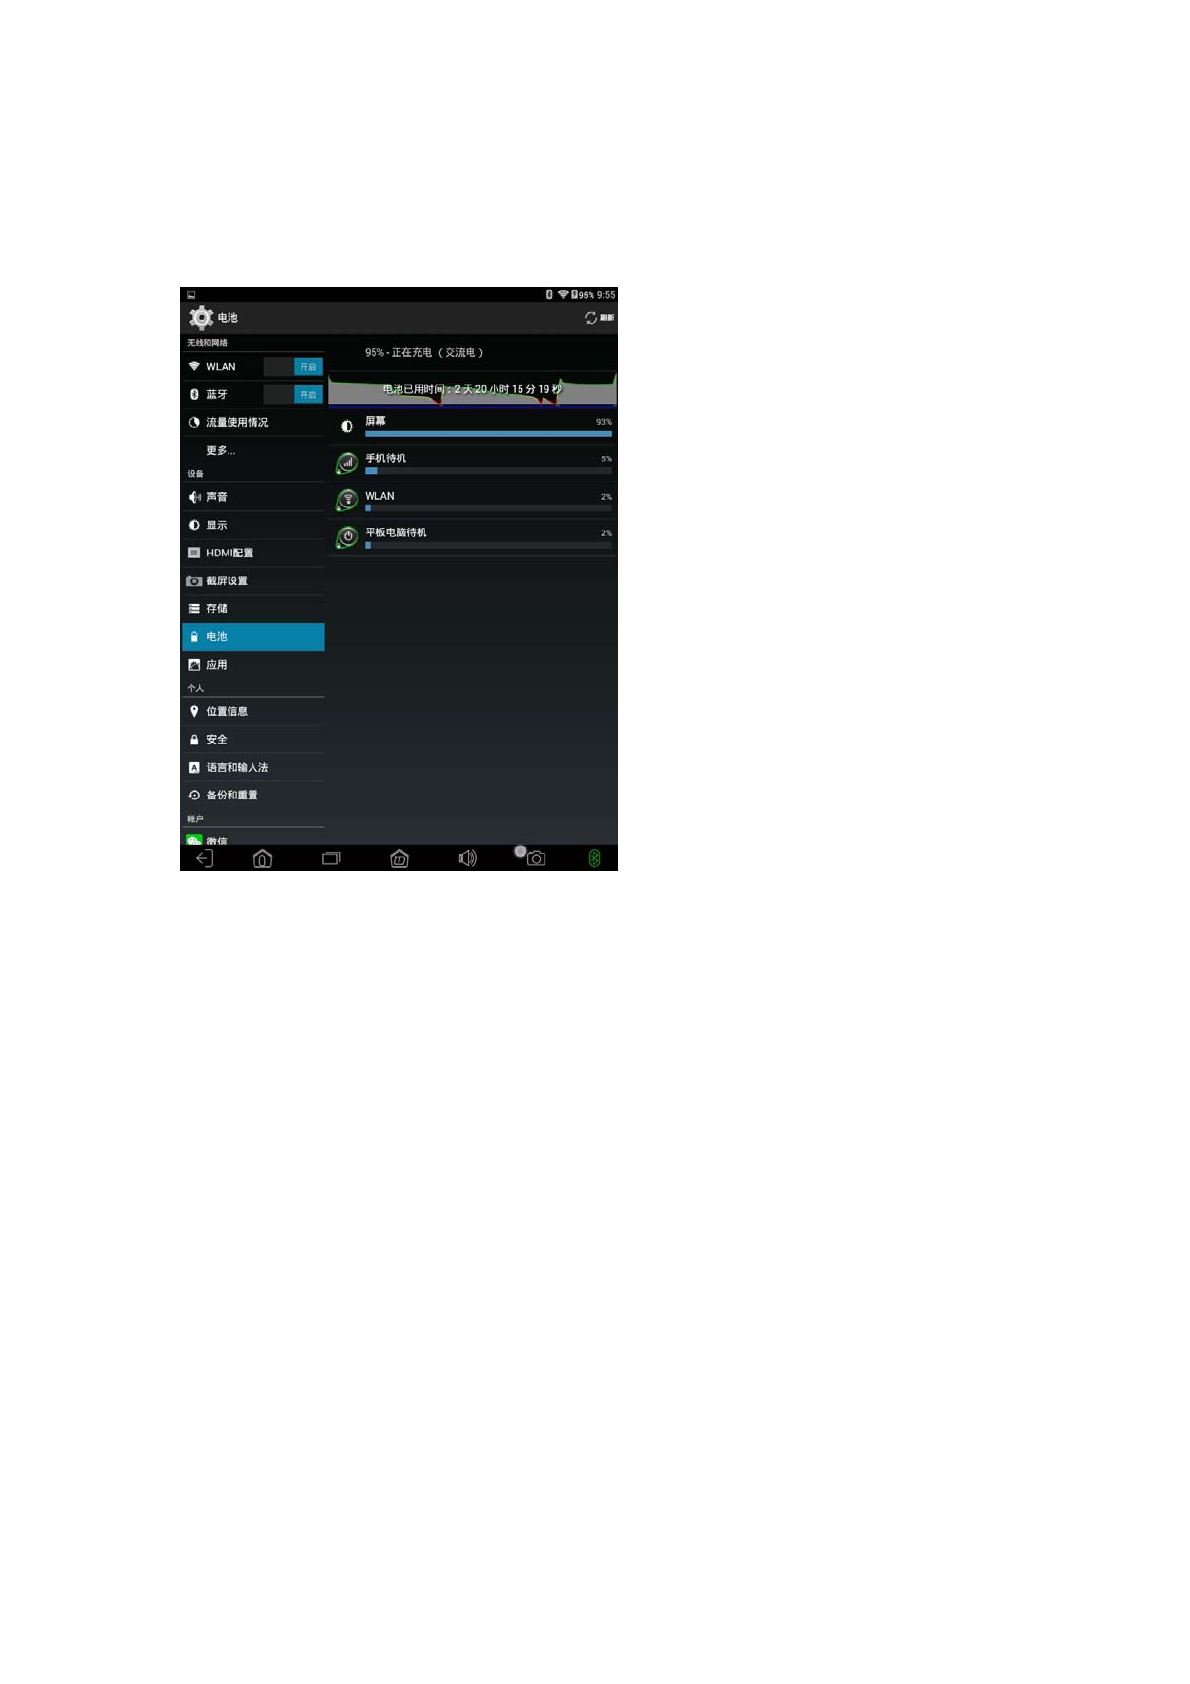
2.2.5 battery
This item shows the battery charge and usage.
2.2.6 application
This item shows all the applications that the machine has installed. You
can uninstall the application here, clear the data generated by the application
in use, change the storage location of the program, move the program from the
ROM (internal application installation space) to the local disk, or move it from
the local disk To ROM.
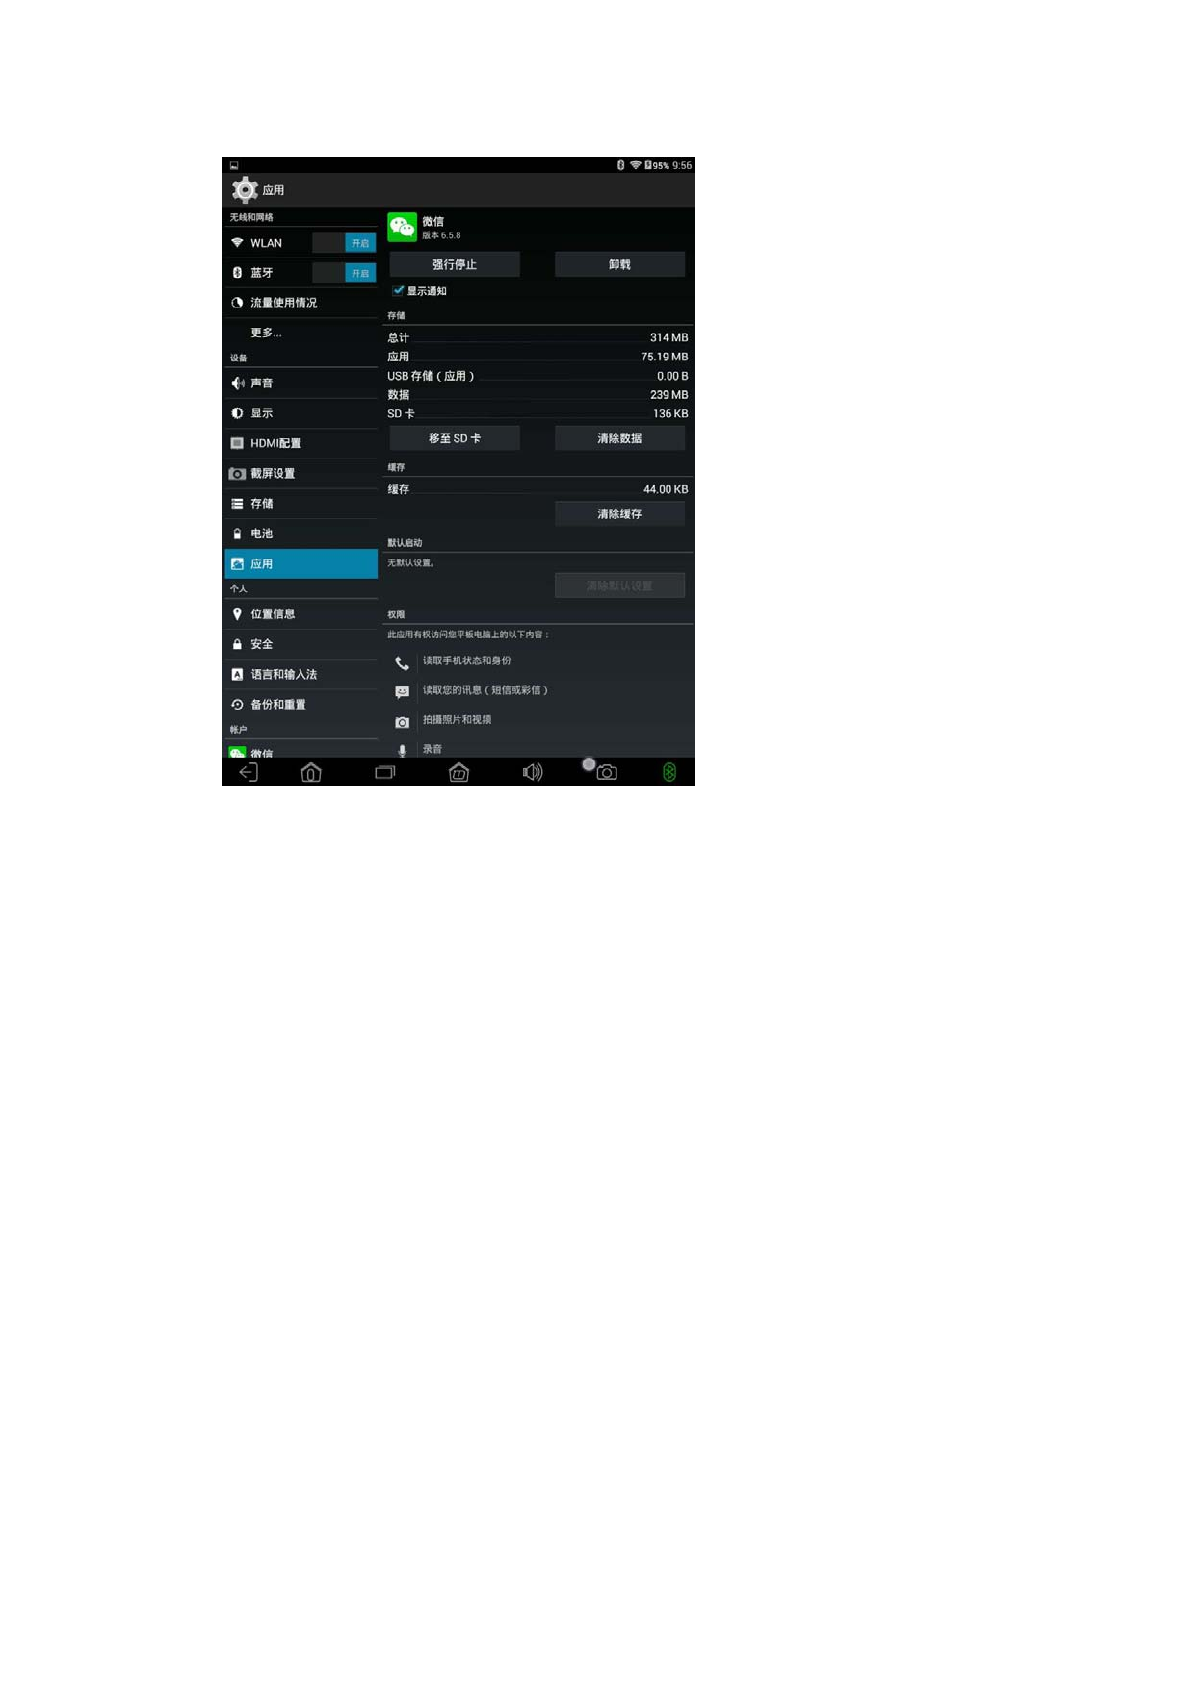
【friendly reminder】
1、As shown in the figure shown in the "move to SD card"
button is actually moved to the local disk, not the user to insert
the TF card. The reason is that the system mounts the local
disk directly as an SD card directory. The inserted TF card is
mounted as an EXTSD directory.
2、The application can move in ROM space and local disk, but
can not move to the inserted TF card.
2.3 personal
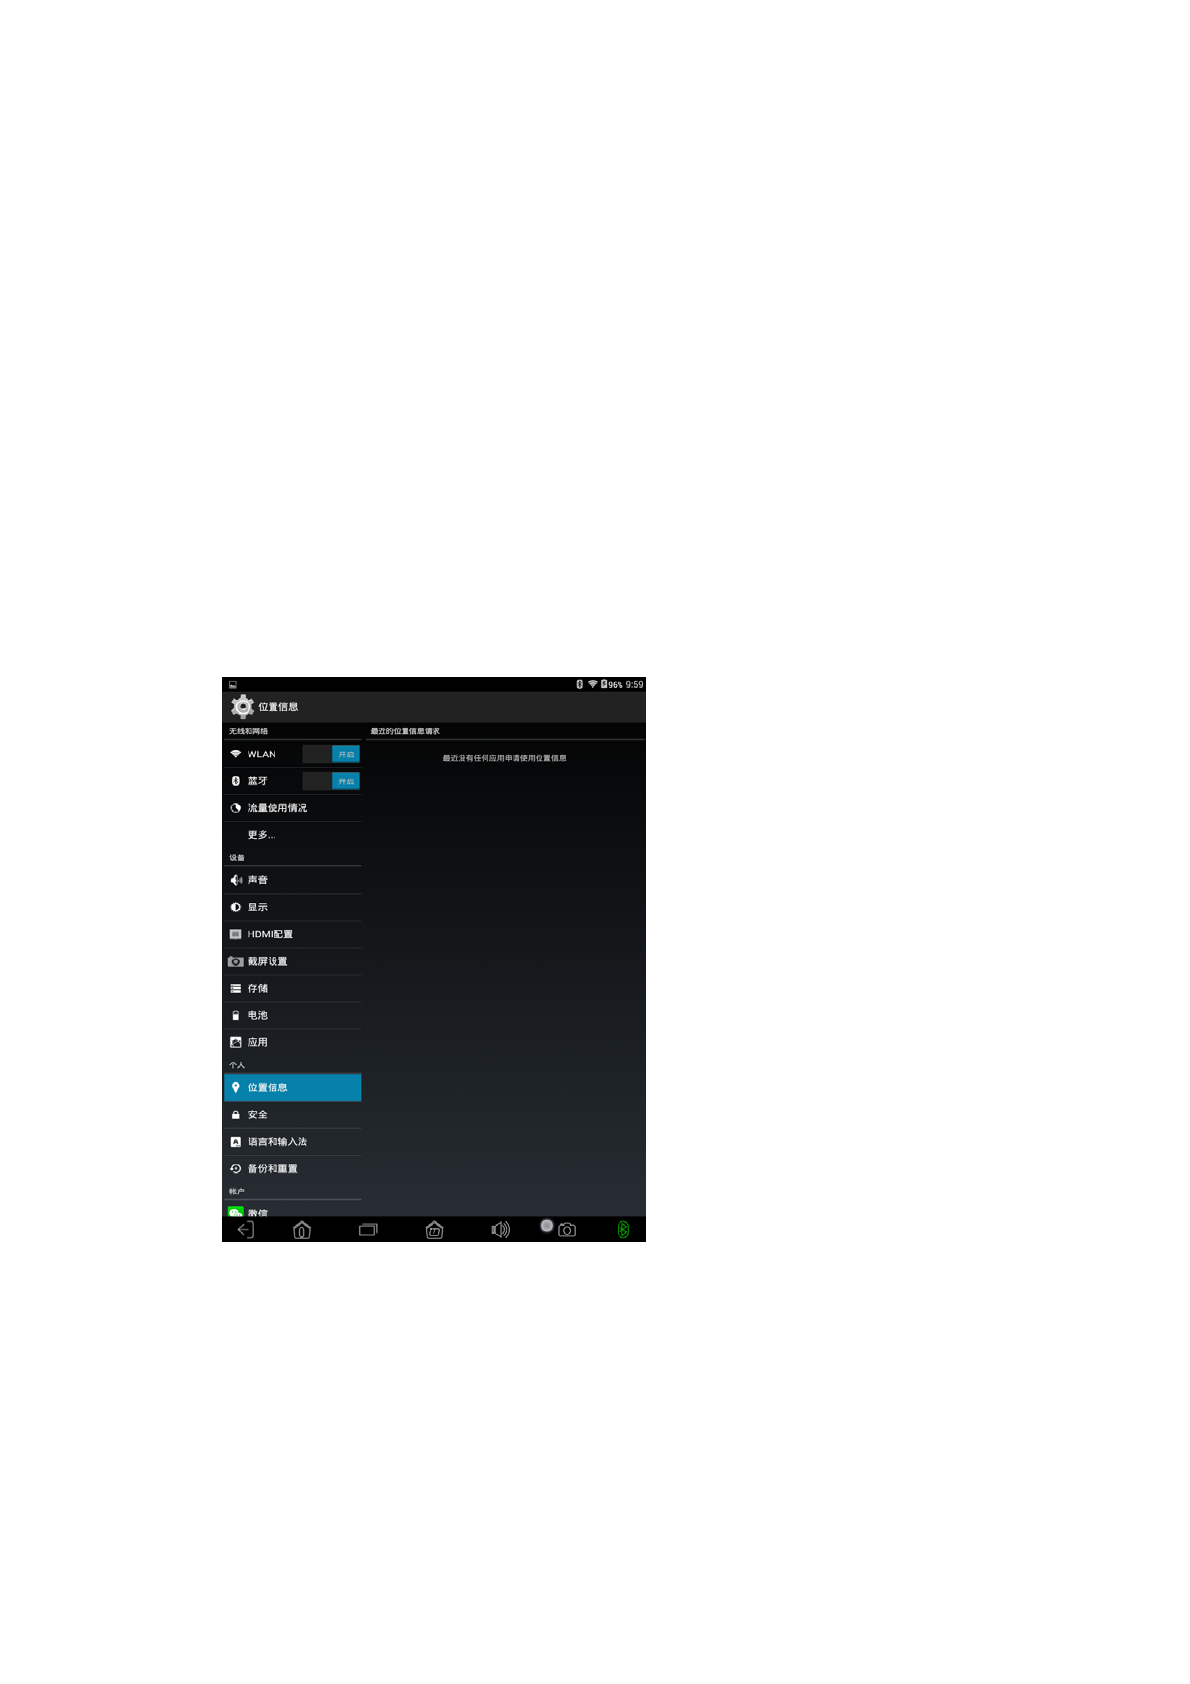
2.3.1 Location service
This item requires WiFi / plug-in 3G / external Ethernet and other network
environment can be used. Weather, maps, and some other applications may
support.
(It is recommended that the user check the first option to
facilitate the weather, maps and other applications through the
WiFi to obtain the current location information)
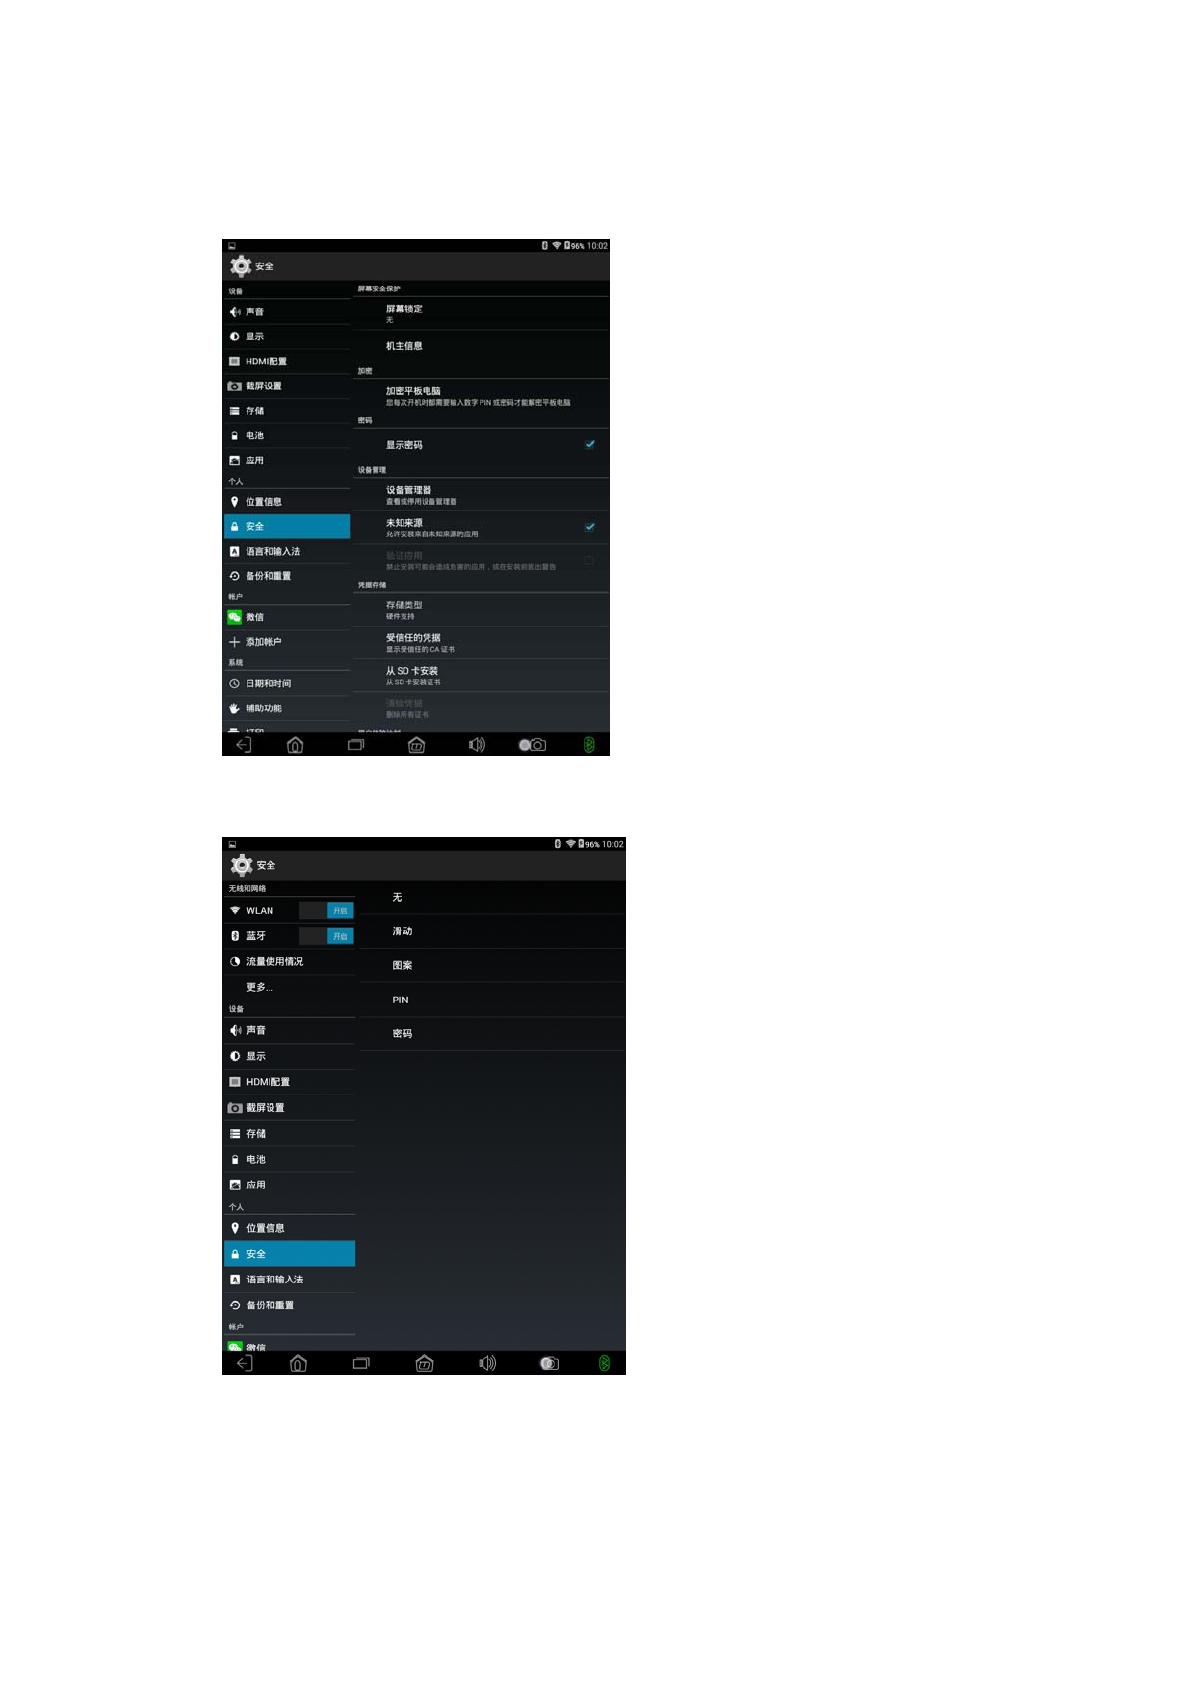
2.3.2 Safety
Screen lock: The system default to no sliding unlock mode, the user can
also set the pattern, password, face unlock and so on.
Please note: When you set the digital / pattern password,
please be sure to keep in mind the password set, forget the
password will not be retrieved, only by re-brush machine to
restore.
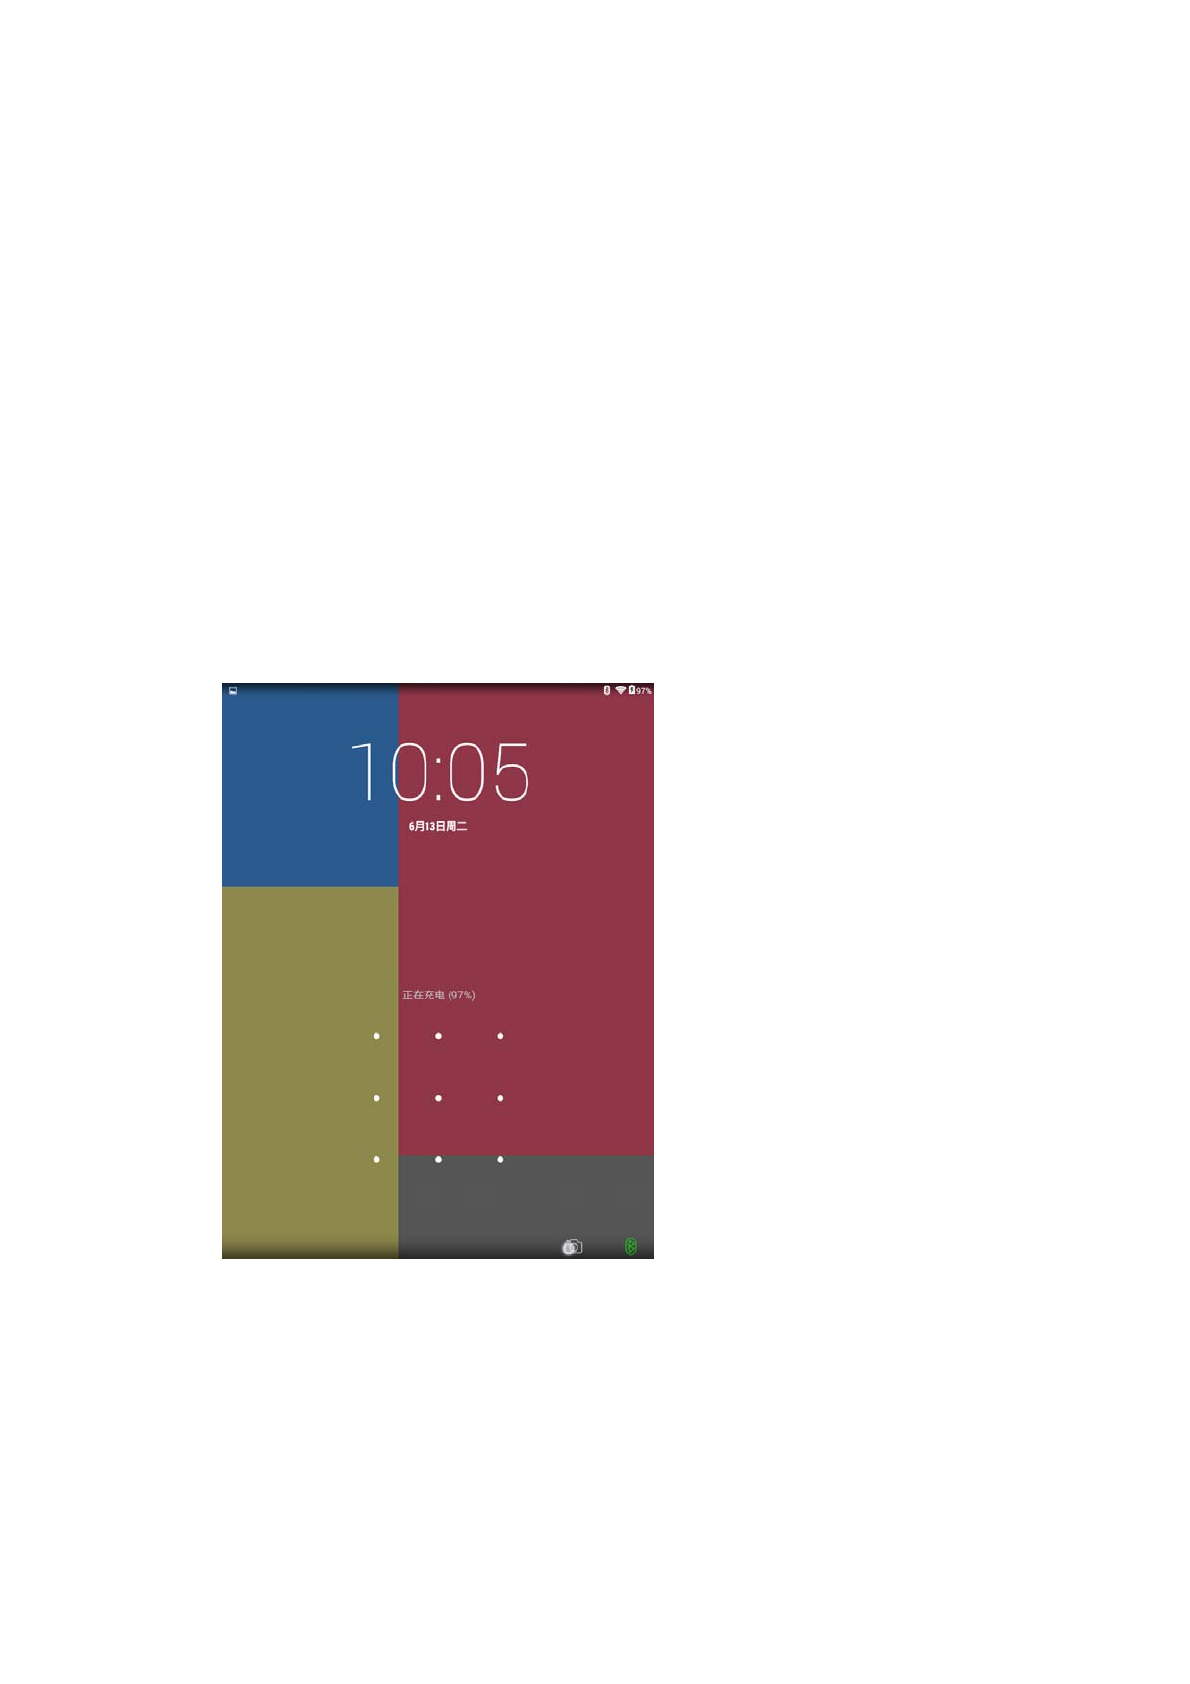
Owner information: Users can set their own, in the lower left corner of the
lock screen interface to display the owner information. The following figure
shows the pattern lock, and set the owner information:"188"
Unknown source:
Please open this option by default. If you do not
open the case, in addition to the program downloaded from the Google
electronic market can be installed, from other places under the program can
not be installed, will inconvenience to your daily use.
2.3.3 Language and input method
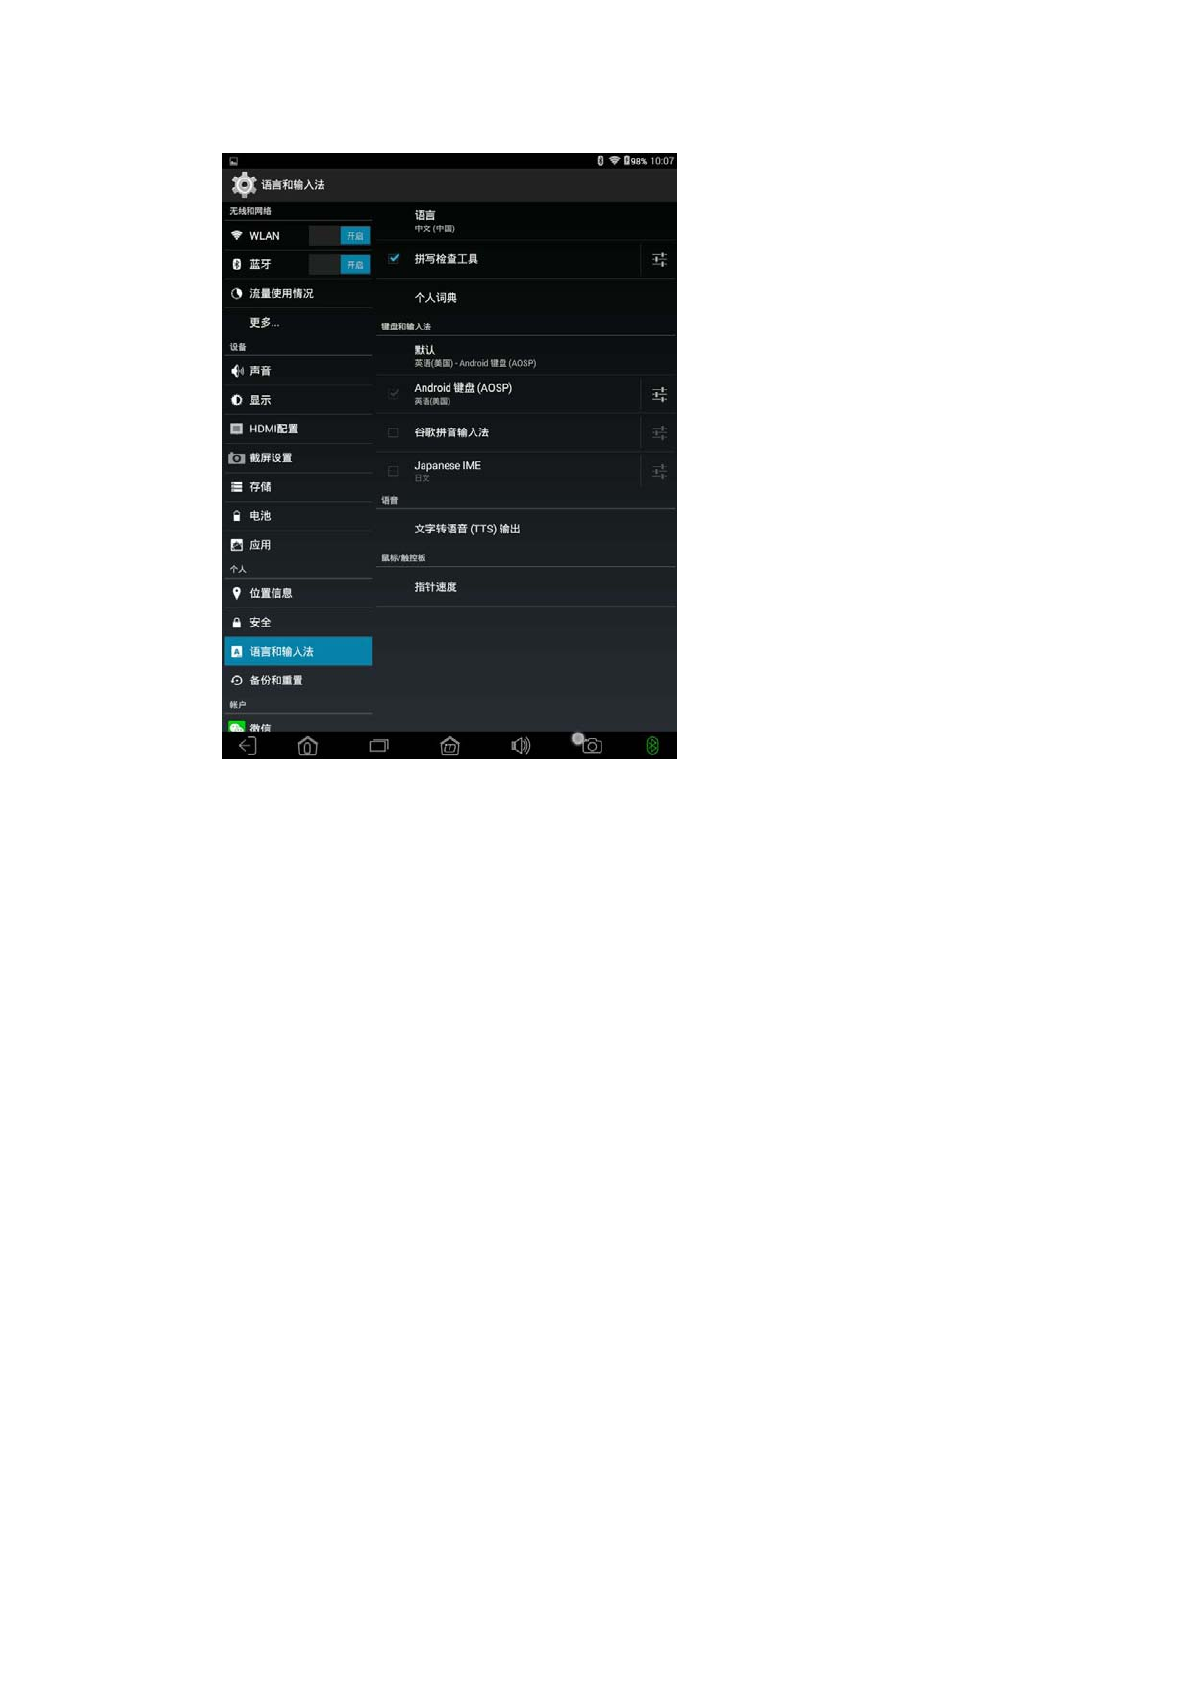
Language: Set the system language.
Keyboard and input method: This item can be seen that the system
comes with the input method, you can also see the user to install the input
method, click "default" to set the system default input method.
2.3.4 Backup and reset
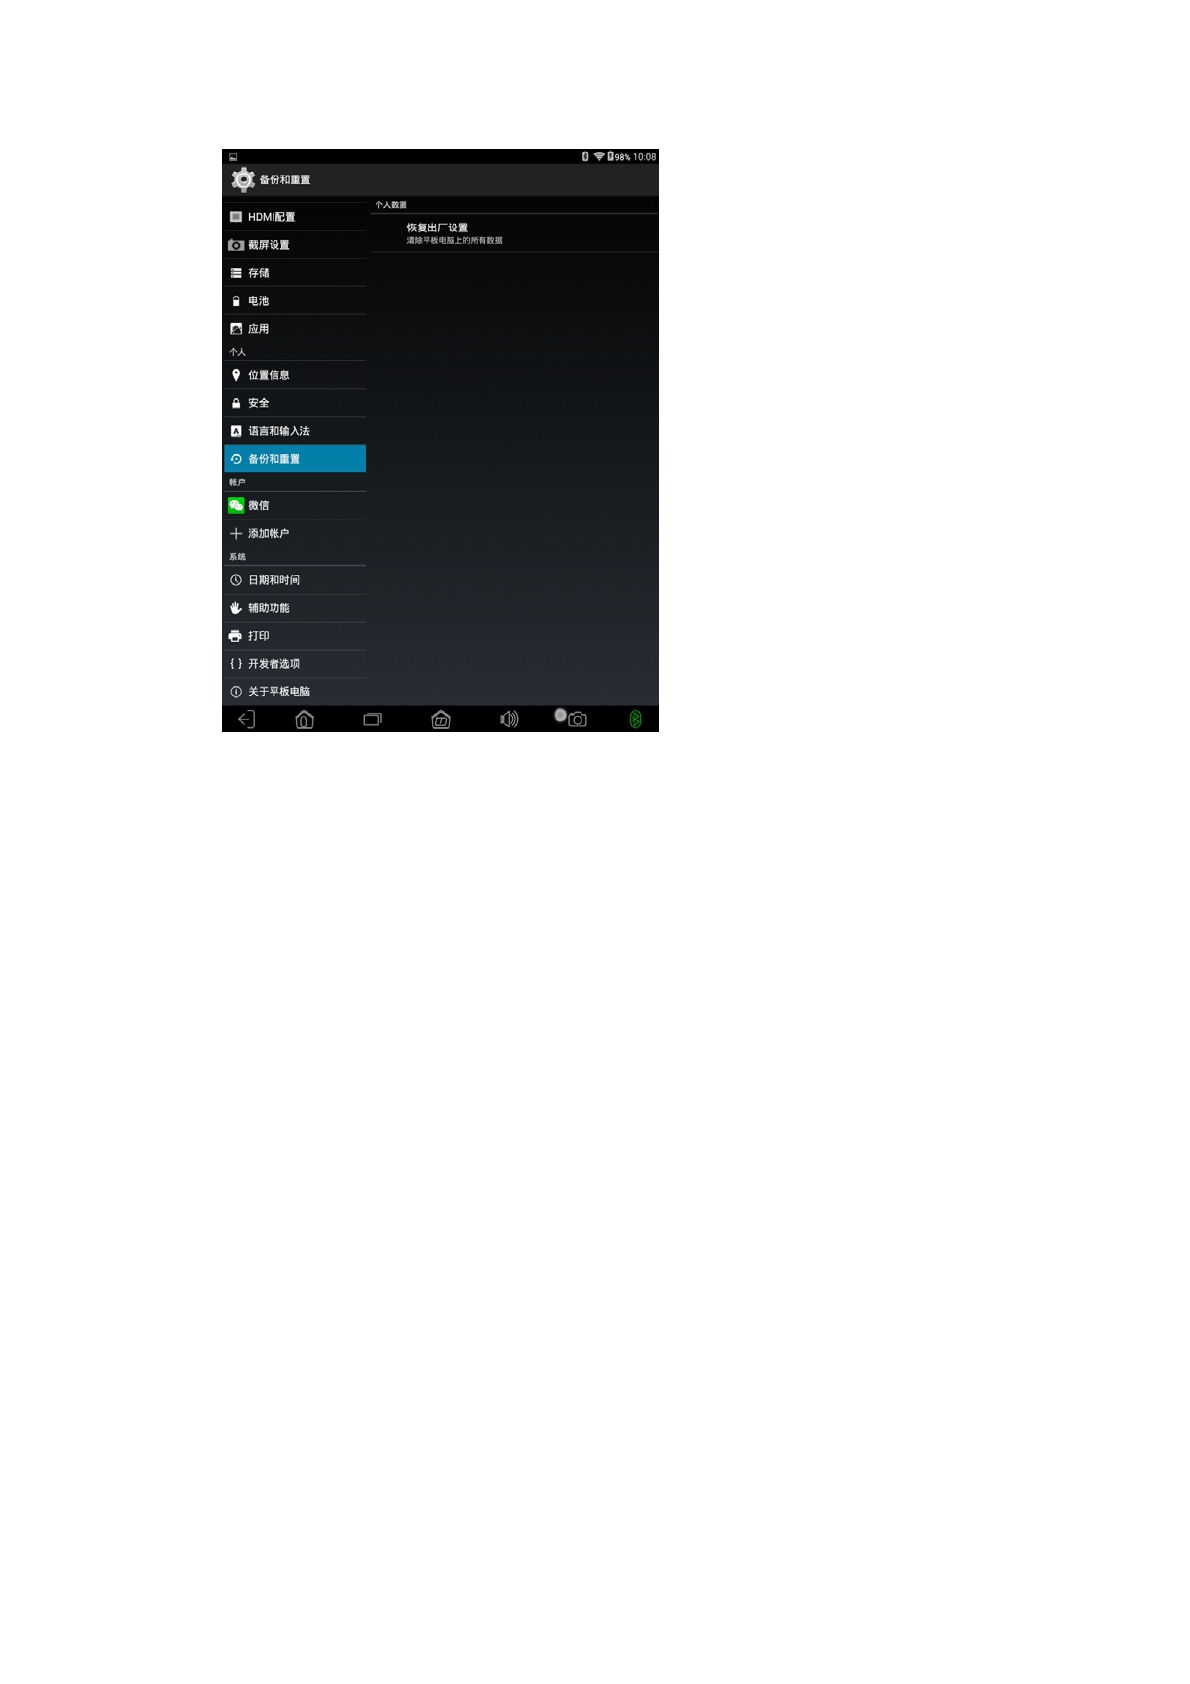
reset: You can use this function to restore the system to its original state
if some of the software that comes with your Car Diagnostic Table PC is
not working properly or if something is not functioning properly.
Please pay special attention to:
Restoring the factory settings will
delete all users to install the program and data, so please use the backup
before the important data and ensure that the battery power in more than 20%.
2.4 system
2.4.1 Date and time
This item can set the date, time, timing, time display format, date display
format and other related information of the tablet.
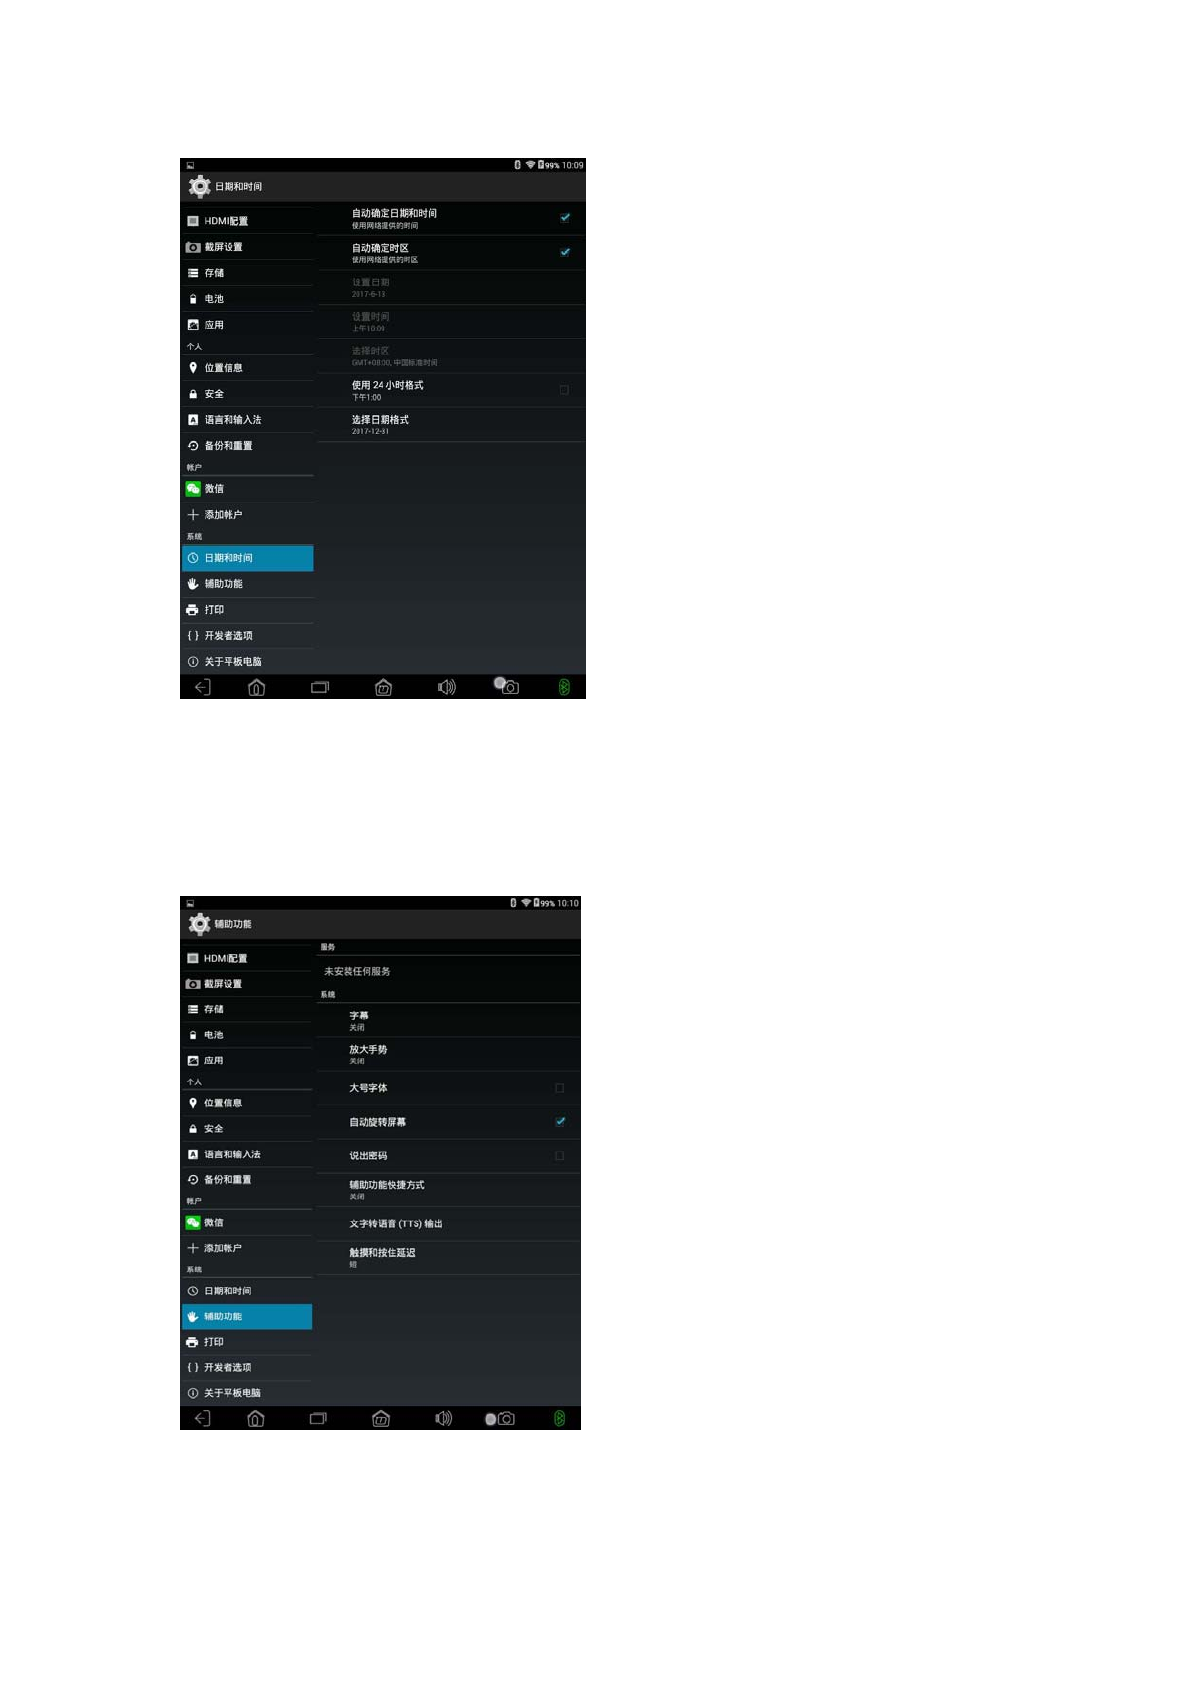
2.4.2 Auxiliary function
This item is the system comes with some auxiliary functions, the user can use
according to their own needs.
2.4.3 Developer options

USB debugging:
The default is off. Generally only need to be installed on
the computer and third-party software communication, such as the need to use
the computer on the computer 91 assistant, pea pod, Brush Wizard and other
software, you need to open the USB debug mode.
2.4.4 About tablet
This item displays information about the system on your Car Diagnostic Tablet PC.
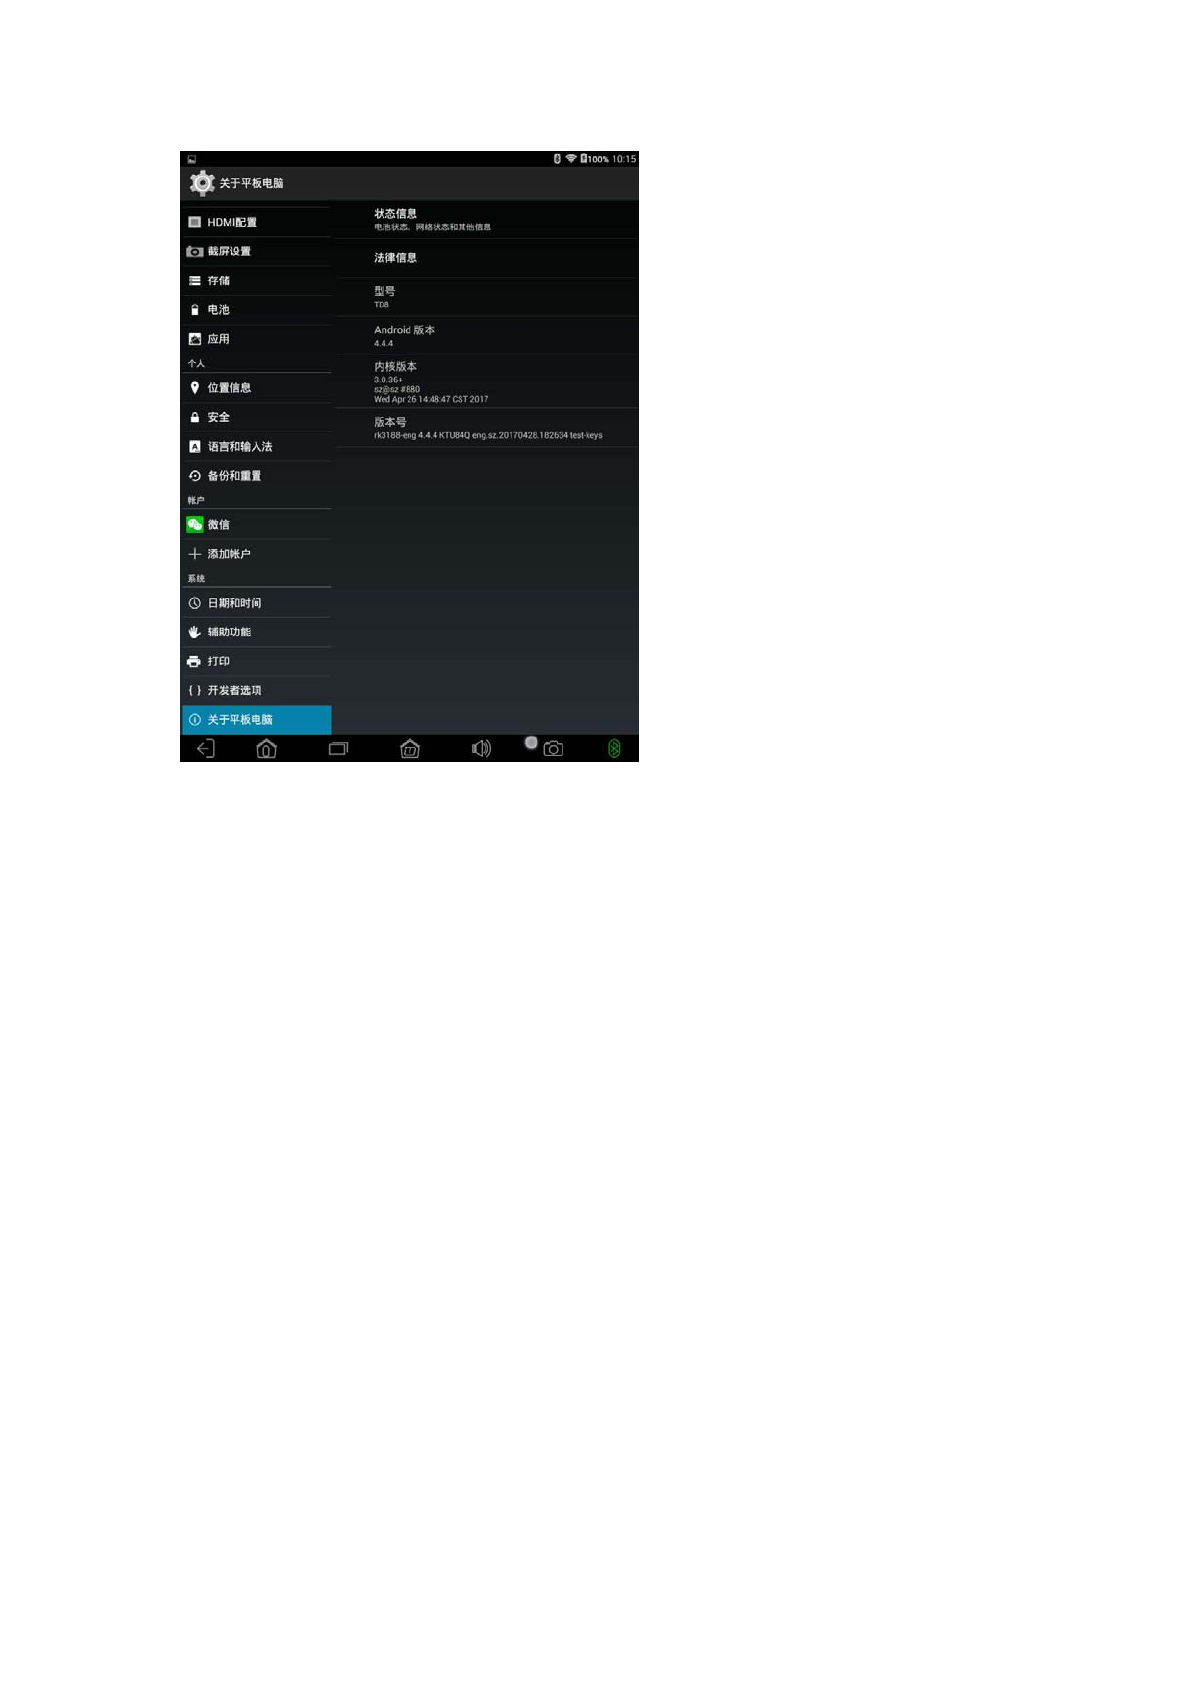
model: Shows the model information for the current Car Diagnostic Tablet PC.
Android version: Displays the version information of the current Car
Diagnostic Table PC's with Android system.
Kernel version: Displays the kernel version information for the current
Car Diagnostic Table PC..
version number:
Displays the firmware version information for the current
Car Diagnostic Table PC..
friendly reminder:
Tablet PC firmware is based on the operating system
developed special software (used to call ROM), in other words,
each firmware contains the current display of the Android
operating system.
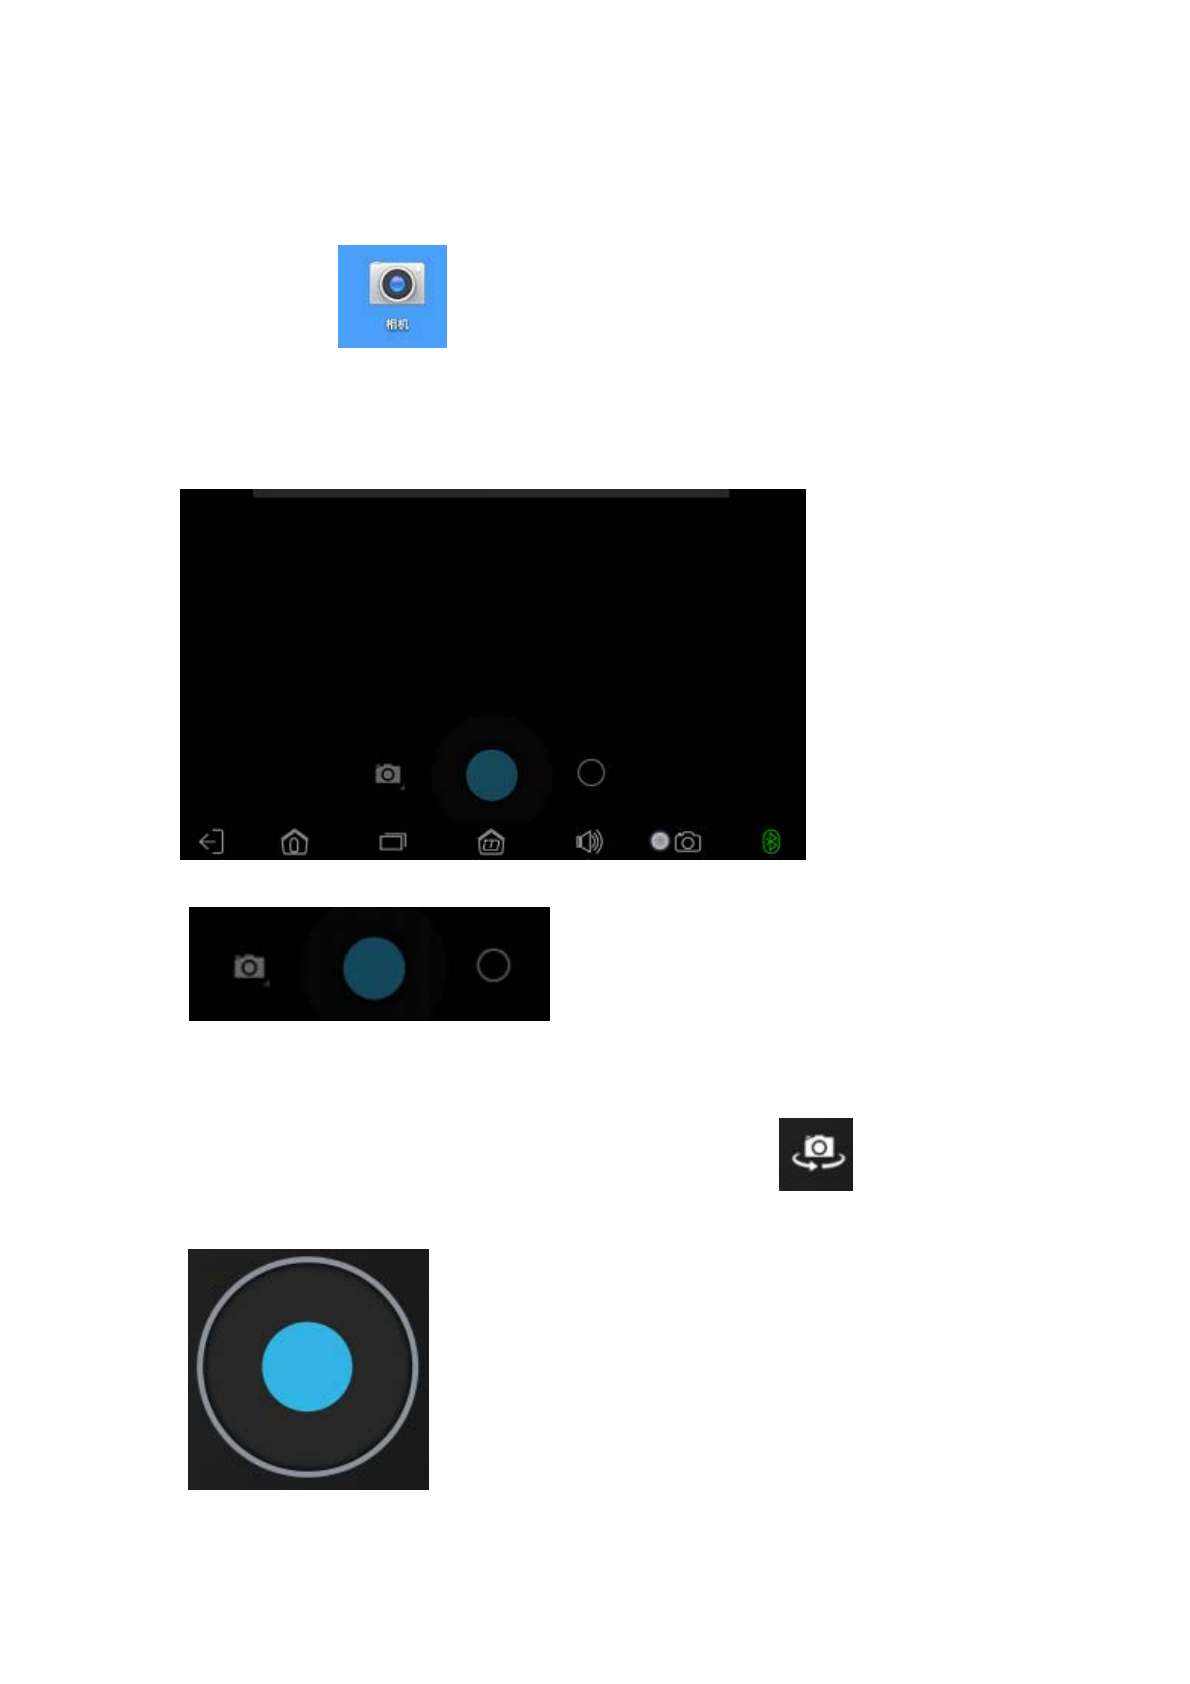
3、camera
Click on Icon to open the camera, the camera's main function
is to take pictures and record video, some software can achieve network video
capabilities, such as QQ software.
3.1 Take pictures
Button Description:
:Camera status display button.
The current state that take pictures, click on the two icons can switch to each
other camera and camera.
With the front and rear dual camera machines, click on
Button can be
used to take pictures before and after the camera.
:Start / Save the camera button.
Car Diagnosis tablet PC with Android4.X system using the tutorial to this end,
thank you for reading!
5mm