Inkel ETR0005 TFT LCD TV MONITOR User Manual USERS MANUAL
INKEL Corporation TFT LCD TV MONITOR USERS MANUAL
UserManual.wiki
>
Inkel
>
ETR0005 User Manual
USERS MANUAL
Navigation menu
Upload a User Manual
Namespaces
Wiki Guide
HTML
PDF
Info
Views
User Manual
Discussion / Help
Navigation


![VIEWING THE MENUCHANNELVOLUMEP.MODEMENU/ENTERADD/DELETEAfter turning the power on, pressMENU/ENTER button.The main menu appears on the screen. Itsleft side has 4 icons: Channel, Adjust, Setup,Sound.The on-screen menus disappear from the screenafter several seconds. Displaying time can beadjusted in the [Setup]-[osd] menu. See page 17 fordetails.116MENU SOURCESTANDBY/ONCH VOL.MENU SOURCESTANDBY/ONCH VOL.OperationsTURNING THE POWER ON/OFFPOWER ON STANDBYPC AUTO123456789SLEEPSURR.1To turn the power on, press the POWERON button on the remote control.You can also use the STANDBY/ON buttonon top of the TV.POWER ON STANDBYPC AUTO123456789SLEEPSURR.MUTE2To turn the power off, press the STANDBYbutton on the remote control.You can also use the STANDBY/ON buttonon top of the TV.In STANDBY mode, the standby indicatoron the front panel lights up red.When the power operation is in STANDBY mode, theapparatus is still connected on some AC linevoltages.Please be sure to unplug the cord when you leavehome for, say, a vacation.If the electricity fails or the AC input cord isunplugged while the power is on and plugged itagain, your TV enters directly into STANDBY mode.Depending on input source and some operationstatus, some menus cannot be selected and theconditions of menu may differ.](https://usermanual.wiki/Inkel/ETR0005/User-Guide-477019-Page-16.png)
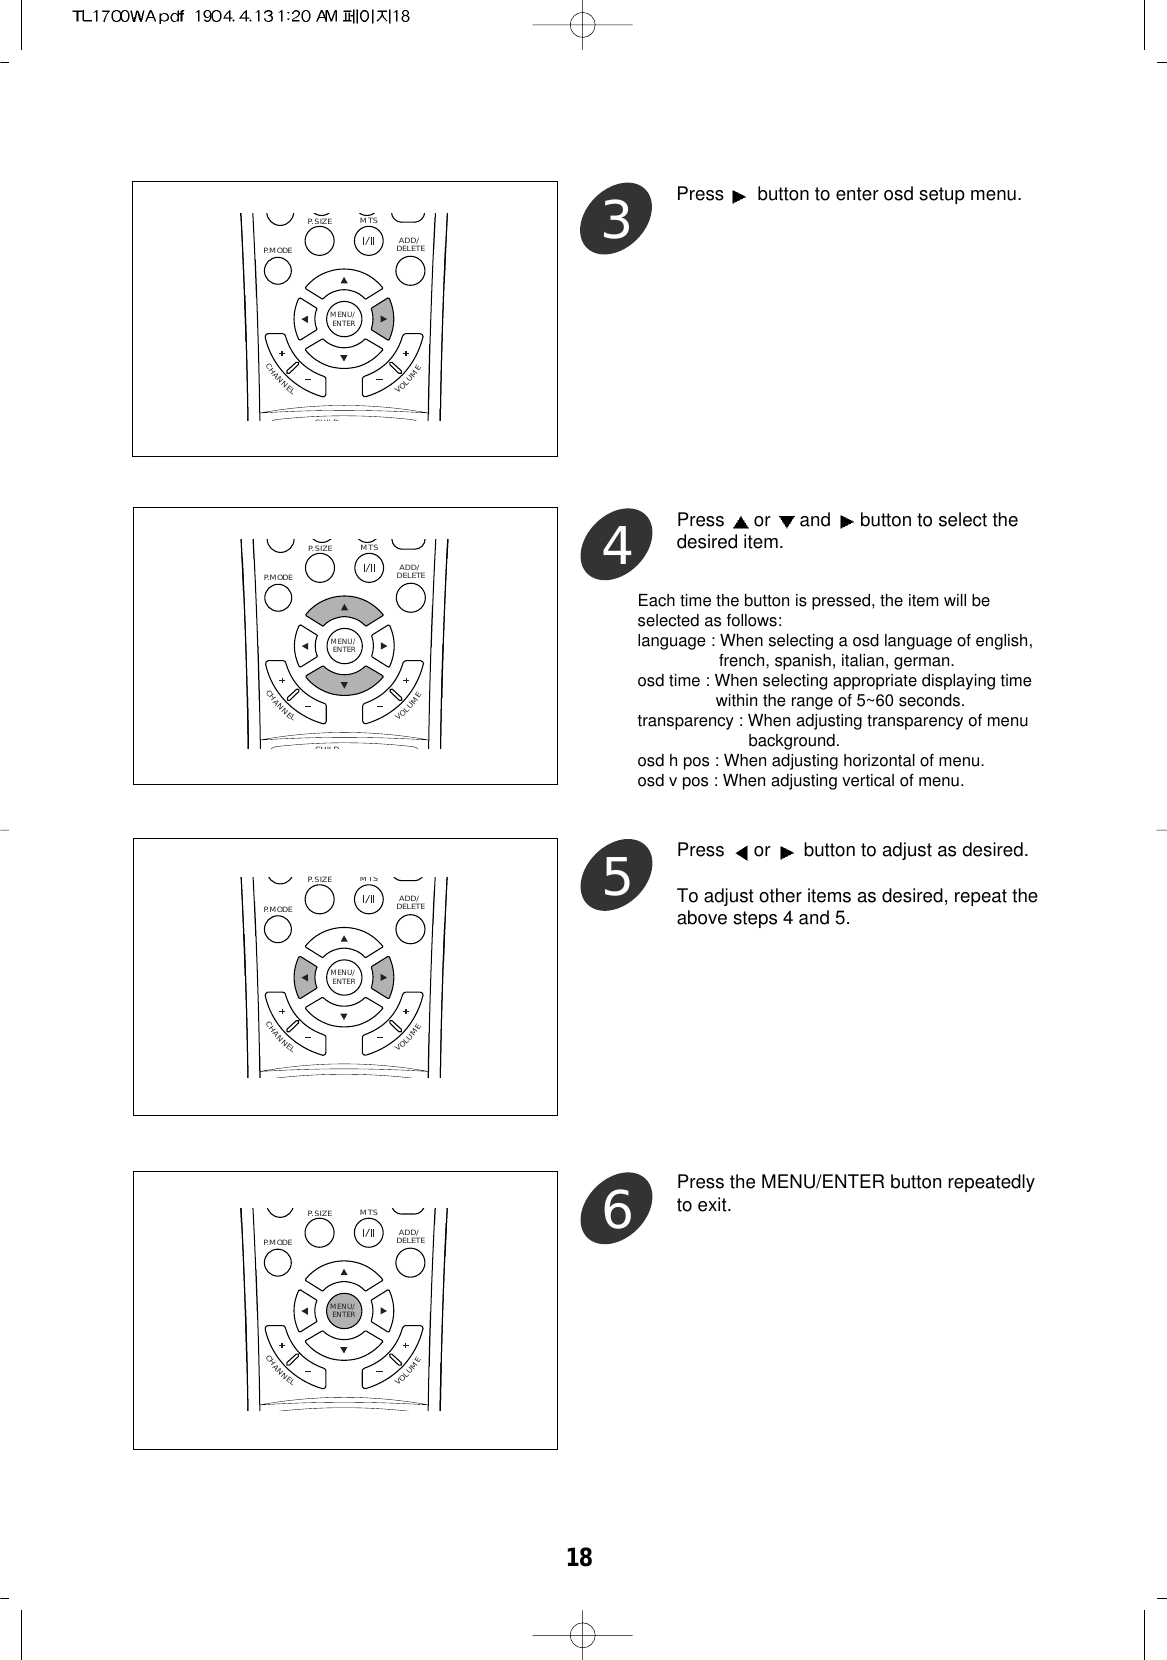
![17CHANNELVOLUMEP.SIZEP.MODEMENU/ENTERADD/DELETEUse the or button to select one of theicons. Then press and or button toaccess the icon’s sub-menu.You can also use the MENU, CH and VOL. buttons onthe top panel of the TV to make selections.2CHANNELVOLUMEP.MODEMENU/ENTERADD/DELETEPress the MENU/ENTER button to exit.3SETTING THE OSD SETUPPress the MENU/ENTER button to displaythe menu and select [Setup] menu using /buttons.Then press button to access its menu.1CHANNELVOLUMEP.SIZEP.MODEMTSCAPTION CHILDLOCK SOURCEMENU/ENTERADD/DELETEPress or button to select [osd].2CHANNELVOLUMEP.SIZEP.MODEMTSCHILDMENU/ENTERADD/DELETE](https://usermanual.wiki/Inkel/ETR0005/User-Guide-477019-Page-17.png)
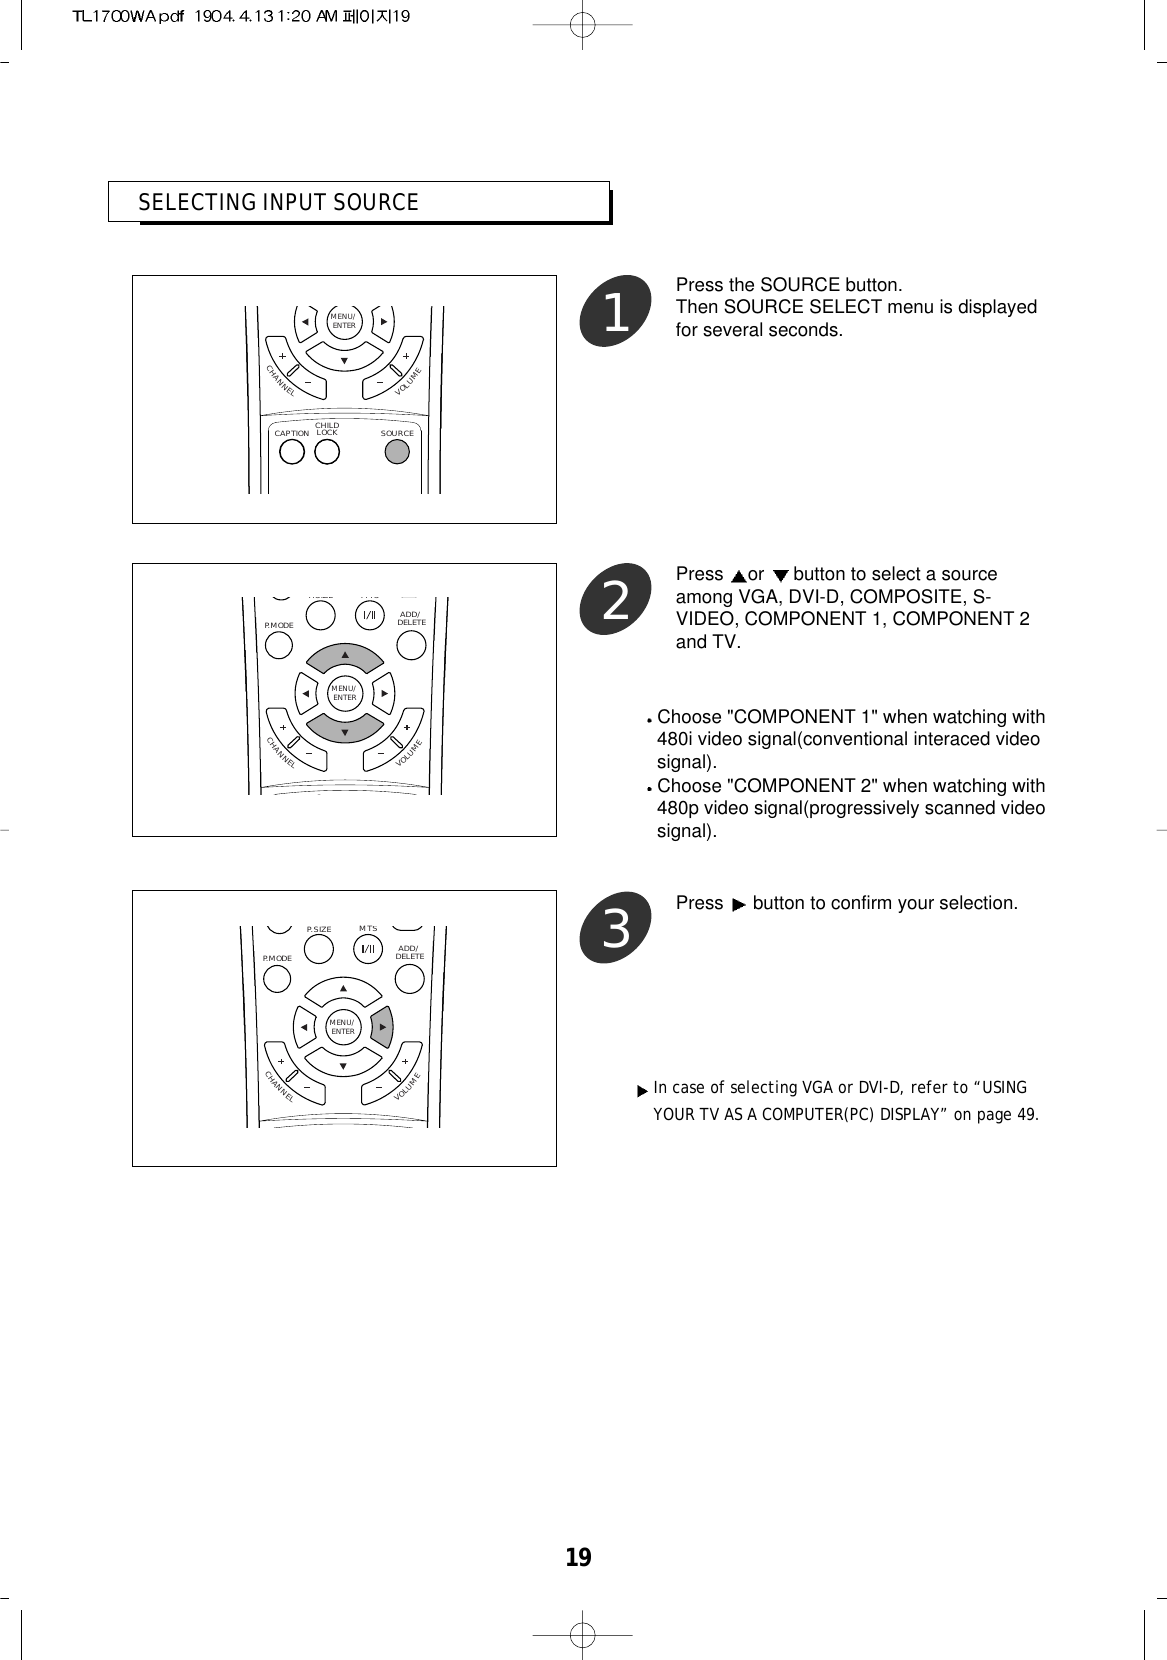
![20Selecting a Broadcast SourceWhen you select the TV mode as input source, you should select the broadcast source.Press the MENU/ENTER button to displaythe menu and select [Channel] menu using/buttons.Then press button to access its menu.1Press or button to select the“air”(antenna) or “cable”. 3CHANNELVOLUMEP.SIZEP.MODEMTSMENU/ENTERADD/DELETECHANNELVOLUMEP.MODEMENU/ENTERADD/DELETEPress the MENU/ENTER button repeatedlyto exit.4CHANNELVOLUMEP.SIZEP.MODEMTSCHILDMENU/ENTERADD/DELETEair : when viewing air(antenna) channelscable : cable viewing cable channelsPress or button to select [source].2CHANNELVOLUMEP.SIZEP.MODEMTSCHILDMENU/ENTERADD/DELETE](https://usermanual.wiki/Inkel/ETR0005/User-Guide-477019-Page-20.png)
![MEMORIZING THE CHANNELS22Storing Channels in Memory (Automatic Method)Once you have memorized the available channels, you can use the CH +/- buttons to scan the memorized channels.Channels can be tuned with automatic or manual method.Before memorizing channels, first select the broadcast source.(Refer to “Selecting a Broadcast Source” on page 20 )All of the receivable channels can be stored by this method.You would better use this method during installation of your TV.Press the MENU/ENTER button to displaythe menu and select [Channel] menu using/and buttons to access the icon'ssub-menu.1CHANNELVOLUMEP.SIZEP.MODEMTSCHILDMENU/ENTERADD/DELETEPress button to begin autoset.3To stop autoset, press the MENU/ENTER button.CHANNELVOLUMEP.SIZEP.MODEMTSMENU/ENTERADD/DELETECHANNELVOLUMEP.SIZEP.MODEMTSMENU/ENTERADD/DELETEPress the MENU/ENTER button repeatedlyto exit.4Press or button to select [auto seach].2CHANNELVOLUMEP.SIZEP.MODEMTSCHILDMENU/ENTERADD/DELETE](https://usermanual.wiki/Inkel/ETR0005/User-Guide-477019-Page-22.png)
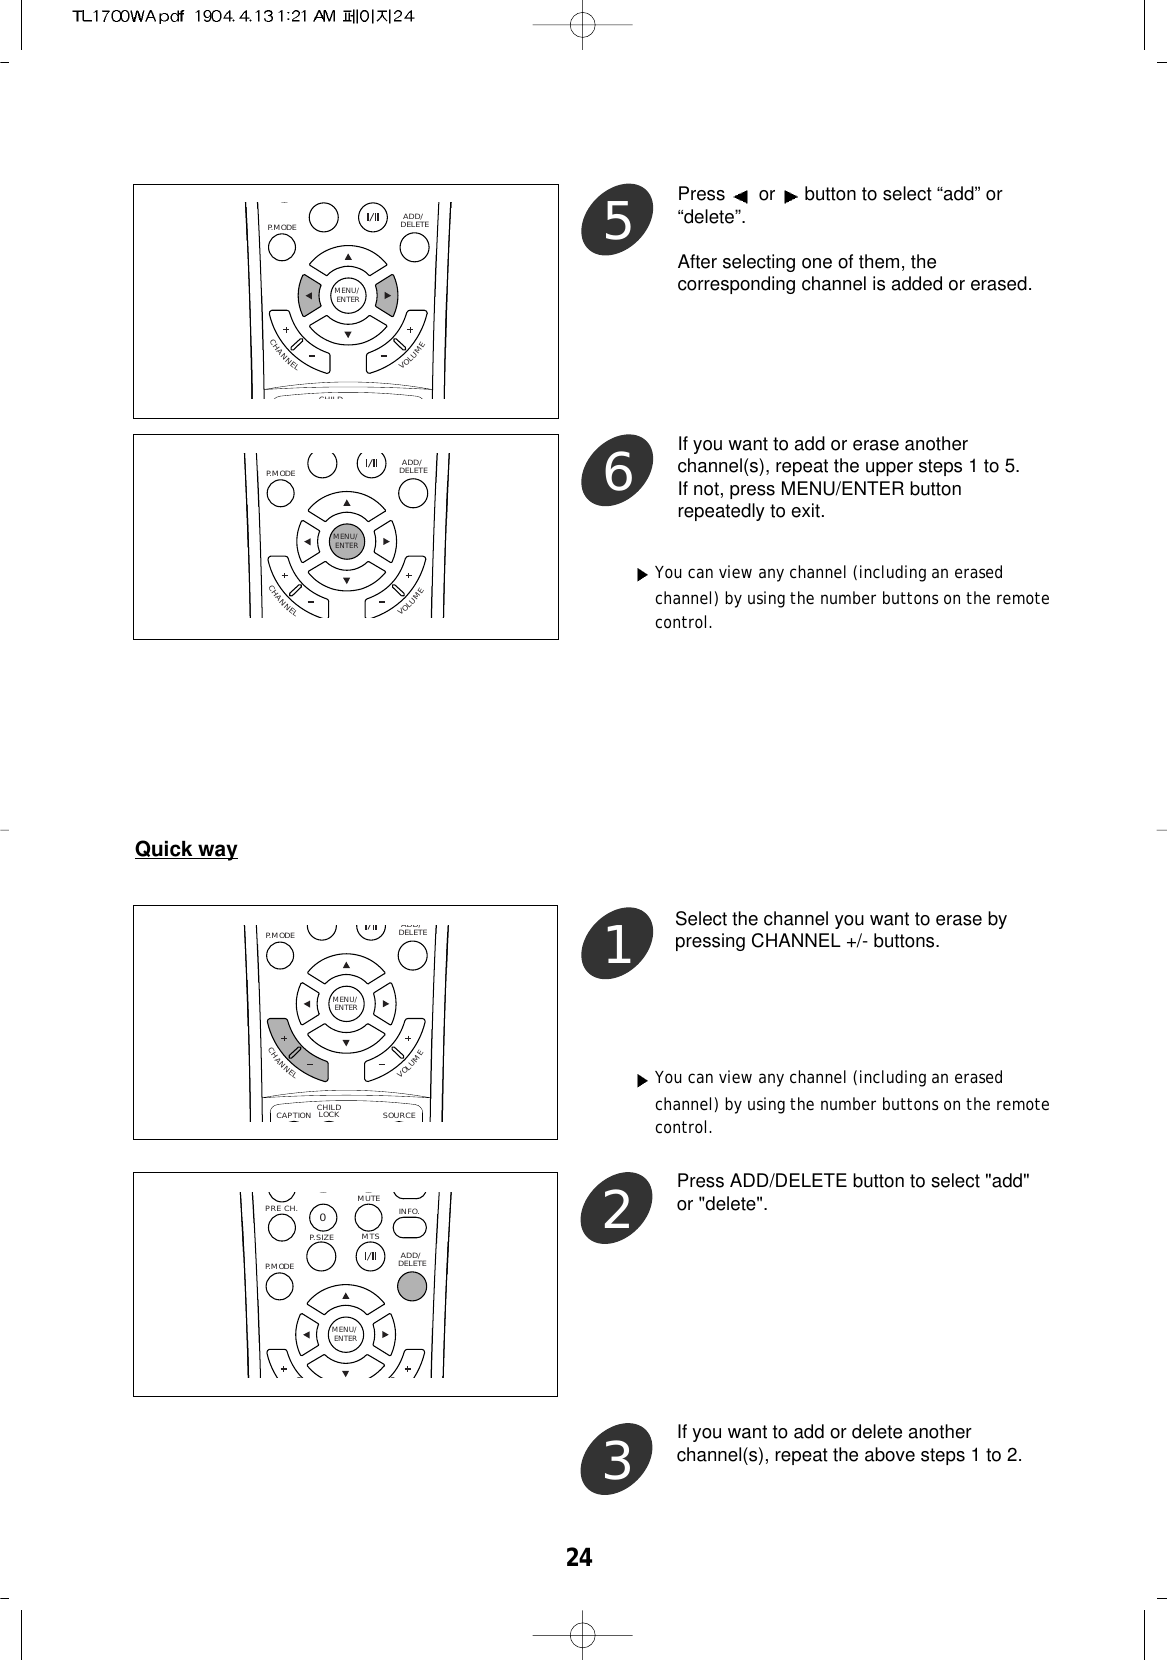
![23Press the MENU/ENTER button to displaythe menu and select [Channel] menu using/buttons.Then press button to access its menu.1CHANNELVOLUMEP.SIZEP.MODEMTSMENU/ENTERADD/DELETEAdding and Erasing Channels (Manual Method)Press or button to select [edit channel].4CHANNELVOLUMEP.SIZEP.MODEMTSMENU/ENTERADD/DELETEPress or button to select a channel tobe added or erased.3CHANNELVOLUMEP.SIZEP.MODEMTSMENU/ENTERADD/DELETEPress or button to select [channel].2CHANNELVOLUMEP.SIZEP.MODEMTSCHILDMENU/ENTERADD/DELETE](https://usermanual.wiki/Inkel/ETR0005/User-Guide-477019-Page-23.png)
![CHANGING CHANNELS25Press the MENU/ENTER button to displaythe menu and select [Channel] menu using/buttons.Then press button to access its menu.1CHANNELVOLUME0P.SIZEP.MODEMTSCHILDMENU/ENTERADD/DELETEUsing On-Screen MenuPress or to change channels.3CHANNELVOLUMEP.SIZEP.MODEMTSMENU/ENTERADD/DELETEPress MENU/ENTER button repeatedly toexit.4CHANNELVOLUMEP. S I ZEP.MODEMTSCHILDMENU/ENTERADD/DELETEPress or button to select [channel].2CHANNELVOLUMEP.SIZEP.MODEMTSCHILDMENU/ENTERADD/DELETE](https://usermanual.wiki/Inkel/ETR0005/User-Guide-477019-Page-25.png)
![26Directly Accessing ChannelsSelecting the Previous ChannelPress the PRE CH. button.The TV will switch to the last channel viewed.7809SURR.MUTEINFO.P.SIZEPRE CH.P.MODEMTSMENU/ENTERADD/DELETETo quickly switch between two channels that are farapart, tune to one channel, then use the numberbutton to select the second channel. Then, use thePRE.CH button to quickly alternate between them.Press the number buttons to go directly to a channel.For example, to select channel 71, press “7”, then“1”. The TV will change channels after you pressthe second number.You can also change to single-digit channels asfollows: for channel 7,just press “7”or “0”, then “7”or “0”, “0” then “7” (in case of selecting "cable" in [source] menu)POWER ON STANDBYPC AUTO1234567809SLEEPSURR.MUTEINFO.P.SIZEPRE CH.MTSUse the number buttons to quickly tune to any channel, even that was erased or not memorized.Using the Channel +/- ButtonsPress the CHANNEL + or CHANNEL - button tochange channels.CHANNELVOLUMECAPTION CHILDLOCK SOURCEMENU/ENTERWhenever you press these buttons, the TV changeschannels in sequence. You will see all the channelsthat have been memorized. You will not seechannels that were either erased or not memorized.](https://usermanual.wiki/Inkel/ETR0005/User-Guide-477019-Page-26.png)
![CUSTOMIZING THE PICTURE27You can adjust the brightness, contrast, tint, color and sharpness according to personal preference (each item can bevaried depending on the input source.).Press the MENU/ENTER button to displaythe menu and select [Adjust] menu using /buttons.Then press button to access its menu.1CHANNELVOLUMEP.SIZEP.MODEMTSMENU/ENTERADD/DELETEPress or button to select a particularitem.2CHANNELVOLUMEP.SIZEP.MODEMTSCHILDMENU/ENTERADD/DELETEPress or button to change the value ofa particular item.For example, if you select [brightness],pressing increases it.To adjust other items as desired, repeat theabove steps 1 to 3.3CHANNELVOLUMEP.SIZEP.MODEMTSMENU/ENTERADD/DELETECHANNELVOLUMEP.MODEMENU/ENTERADD/DELETEPress the MENU/ENTER button repeatedlyto exit.4](https://usermanual.wiki/Inkel/ETR0005/User-Guide-477019-Page-27.png)
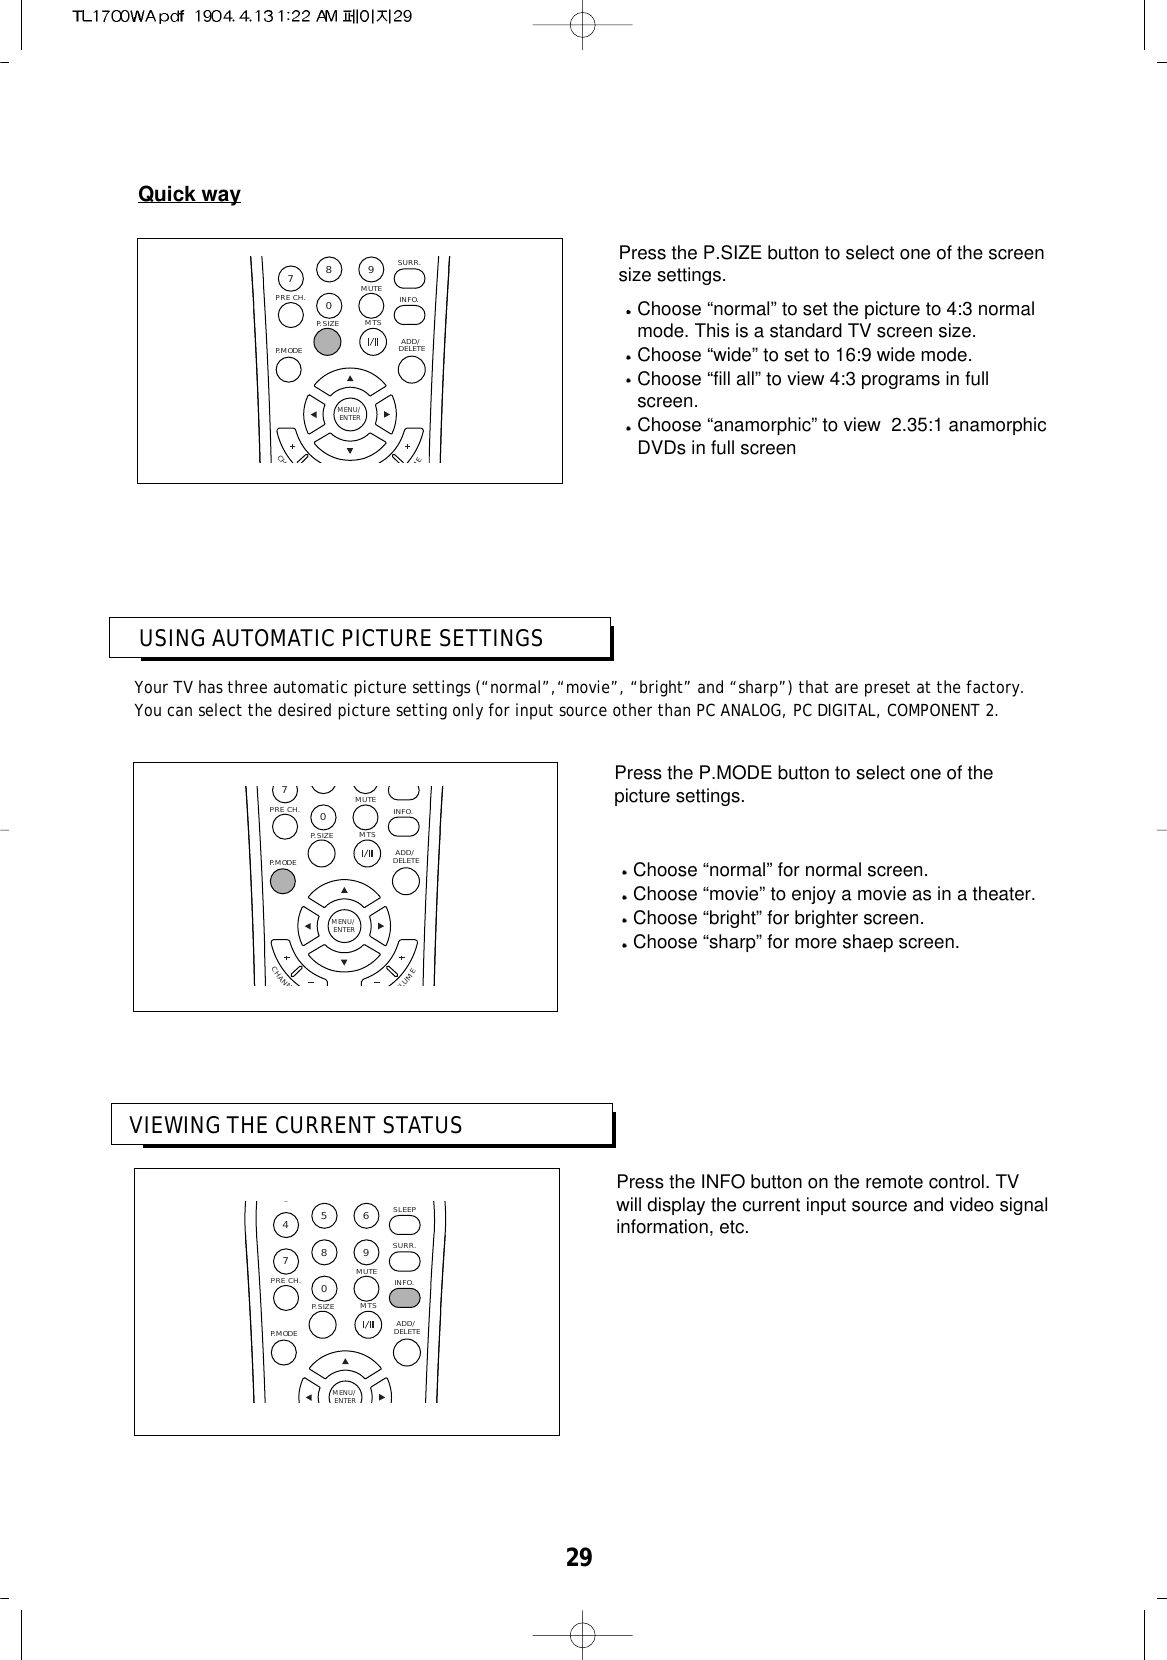
![28CHANGING THE SCREEN SIZEYou can select the desired screen size only for input source other than VGA, DVI-D, COMPONENT 2.Press the MENU/ENTER button to displaythe menu and select [Adjust] menu using /buttons.Then press button to access its menu.1CHANNELVOLUMEP.SIZEP.MODEMTSMENU/ENTERADD/DELETEPress or button to select [picture size].2CHANNELVOLUMEP.SIZEP.MODEMTSCHILDMENU/ENTERADD/DELETEPress or button to select one of picturesize settings.3CHANNELVOLUMEP.SIZEP.MODEMTSMENU/ENTERADD/DELETECHANNELVOLUMEP.MODEMENU/ENTERADD/DELETEPress the MENU/ENTER button repeatedlyto exit.4Choose “normal” to set the picture to 4:3normal mode. This is a standard TV screensize.Choose “wide” to set to 16:9 wide mode.Choose “fill all” to view 4:3 programs in fullscreen.Choose “anamorphic” to view 2.35:1anamorphic DVDs in full screen](https://usermanual.wiki/Inkel/ETR0005/User-Guide-477019-Page-28.png)
![CUSTOMIZING THE SOUND30The [bass], [treble] and [balance] can be adjusted to suit your personal preference.[bass] and [treble] can be selected when the [surround mode] is set to “user”. Refer to next page.Press the MENU/ENTER button to displaythe menu and select [Sound] menu using /buttons.Then press button to access its menu.1CHANNELVOLUMEP.SIZEP.MODEMTSMENU/ENTERADD/DELETEPress or button to select a particularitem.2CHANNELVOLUMEP.SIZEP.MODEMTSMENU/ENTERADD/DELETEPress or button to change the value ofa particular item.For example, if you select [treble], pressingbutton increases it.To adjust other items as desired, repeat theabove steps 1 to 3.3CHANNELVOLUMEP.SIZEP.MODEMTSCHILDMENU/ENTERADD/DELETECHANNELVOLUMEP.MODEMENU/ENTERADD/DELETEPress the MENU/ENTER button repeatedlyto exit.4](https://usermanual.wiki/Inkel/ETR0005/User-Guide-477019-Page-30.png)
![SELECTING A SURROUND SOUND 31Your TV has five automatic sound settings ([standard], [music], [movie], [sports], [news], and [user]) that are preset atthe factory. You can select the desired of them.CHANNELVOLUMEP.MODEMENU/ENTERADD/DELETEPress the MENU/ENTER button repeatedlyto exit.4Press the MENU/ENTER button to displaythe menu and select [Sound] menu using /buttons.Then press button to access its menu.1CHANNELVOLUMEP.MODEMENU/ENTERADD/DELETEPress or button to select an appropriatesurround mode.3CHANNELVOLUMEP.SIZEP.MODEMENU/ENTERADD/DELETEChoose “standard” for the standard factory settings.Choose “music” when watching music video or concert.Choose “movie” when watching movies.Choose “sports” when watching sport games.Choose “news” when watching news that is mostlydialogue. Choose “user” when adjusting audio items as you want.Press the SURR. button.Each time this button is pressed, the surround modechanges as follows:standard music movie sports newsuserQuick wayPC AUTO1234567809SLEEPSURR.MUTEINFO.P.SIZEPRE CH.P.MODEMTSADD/DELETEPress or button to select [surroundmode].2CHANNELVOLUMEP.MODEMENU/ENTERADD/DELETE](https://usermanual.wiki/Inkel/ETR0005/User-Guide-477019-Page-31.png)
![FINE TUNING CHANNELSUse fine tuning to manually adjust a particular channel for optimal reception.Generally, fine tuning is only necessary if reception is poor.Press the MENU/ENTER button to displaythe menu and select [Channel] menu using/buttons.Then press button to access its menu.1CHANNELVOLUMEP.MODEMENU/ENTERADD/DELETE32Special FeaturesPress or button to select [fine tune].2CHANNELVOLUMEP.MODEMENU/ENTERADD/DELETECHANNELVOLUMEP.MODEMENU/ENTERADD/DELETEPress or button to adjust the finetuning.3CHANNELVOLUMEP.MODEMENU/ENTERADD/DELETEPress the MENU/ENTER button repeatedlyto exit .4](https://usermanual.wiki/Inkel/ETR0005/User-Guide-477019-Page-32.png)
![33CHOOSING A MULTI-CHANNEL SOUND (MTS) SOUNDTRACKPress the MTS I/II button to select the desired mode.Depending on the particular program being broadcast, you can listen to stereo, mono, or a second Audio Program. (SAP audio is usually a foreign-language translation. Sometimes SAP has unrelated information like news and weather.)Mono sound selectionIn stereo reception if the stereo signal is weak, youcan switch to mono by pressing the MTS I/II button. Inmono reception the depth of sound is improved. Toswitch back to stereo, press the MTS I/II button twiceagain.Language selection for dual language broadcastIf a program is received in two languages (duallanguage), you can switch to DUAL I, DUAL II orDUAL I+II by pressing the MTS I/II button repeatedly.7809SURR.MUTEINFO.P. S I ZEPRE CH.P.MODEMTSMENU/ENTERADD/DELETEQuick wayPress the MENU/ENTER button to displaythe menu and select [Sound] menu using /buttons.Then press button to access its menu.1CHANNELVOLUMEP.MODEMENU/ENTERADD/DELETEPress or button to selsct "mono" or"stereo".3CHANNELVOLUMEP.MODEMENU/ENTERADD/DELETEPress MENU/ENTER button repeatedly toexit.4CHANNELVOLUMEP.MODEMENU/ENTERADD/DELETEPress or button to select [mts mode].2CHANNELVOLUMEP.MODEMENU/ENTERADD/DELETE](https://usermanual.wiki/Inkel/ETR0005/User-Guide-477019-Page-33.png)
![SETTING THE CLOCK34Setting the clock is neccessary in order to use the timer features of the TV.Press the MENU/ENTER button to displaythe menu and select [Setup] menu using /buttons.Then press button to access its menu.1CHANNELVOLUMEP.MODEMENU/ENTERADD/DELETEPress button to enter time serup menu.Then press or to select [clock].3CHANNELVOLUMEP.MODEMENU/ENTERADD/DELETEAfter the hour is set, press button.Then press or repeatedly or hold downeither of these buttons until the correctminute appears.5CHANNELVOLUMEP.MODEMENU/ENTERADD/DELETEAfter the minutes are set,Press MENU/ENTER button repeatedly toexit.6CHANNELVOLUMEP.MODEMENU/ENTERADD/DELETEPress or button to select [time].2CHANNELVOLUMEP.MODEMENU/ENTERADD/DELETEPress button.Then press or repeatedly or hold downeither of these buttons until the correct hourappears.4CHANNELVOLUMEP.MODEMENU/ENTERADD/DELETE](https://usermanual.wiki/Inkel/ETR0005/User-Guide-477019-Page-34.png)
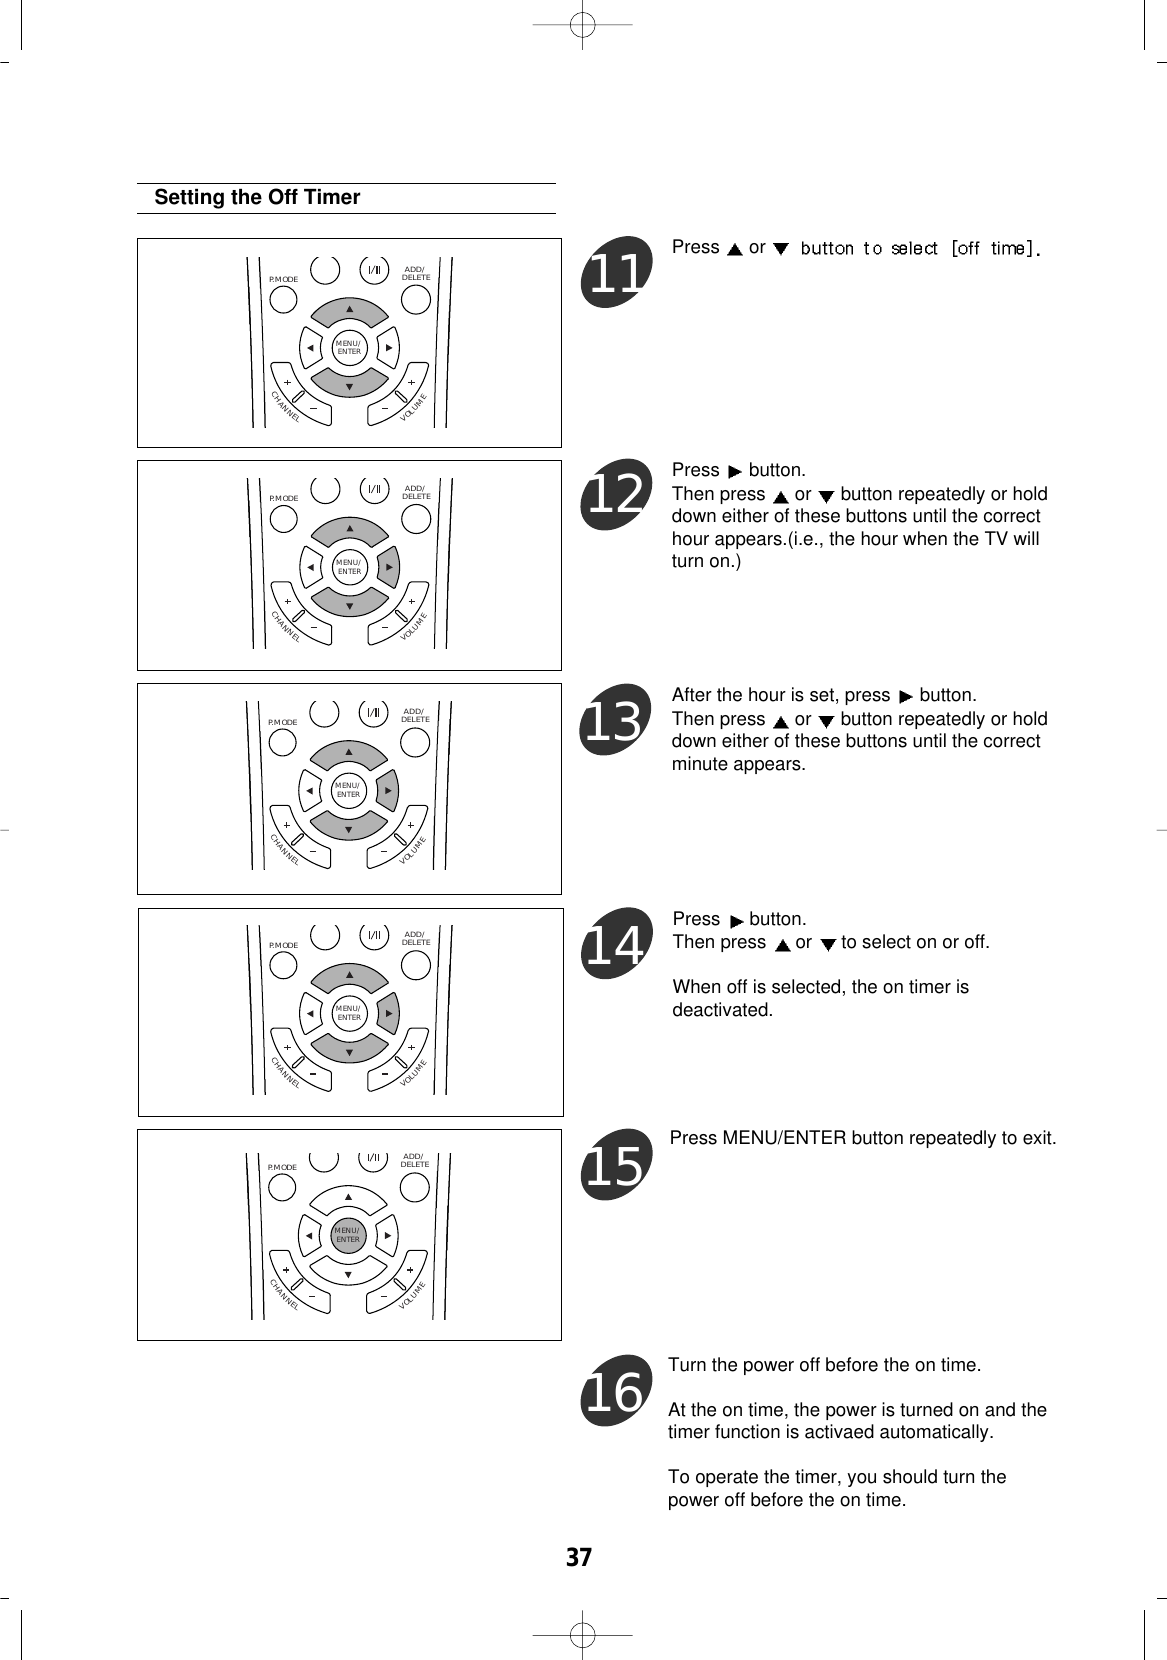
![535SETTING THE ON/OFF TIMERPress the MENU/ENTER button to displaythe menu and select [Setup] menu using /buttons.Then press button to access its menu.1Press or button to select [time].2Press button.Then press or button repeatedly orhold down either of these buttons until thecorrect hour appears.(i.e., the hour when theTV will turn on.)3After the hour is set, press button.Then press or button repeatedly orhold down either of these buttons until thecorrect minute appears.4Setting the On TimerMake sure the clock has been set correctly before setting the timer.CHANNELVOLUMEP.MODEMENU/ENTERADD/DELETECHANNELVOLUMEP.MODEMENU/ENTERADD/DELETECHANNELVOLUMEP.MODEMENU/ENTERADD/DELETECHANNELVOLUMEP.MODEMENU/ENTERADD/DELETECHANNELVOLUMEP.MODEMENU/ENTERADD/DELETEPress button to enter time setup menu.Then press or button to select [on time].](https://usermanual.wiki/Inkel/ETR0005/User-Guide-477019-Page-35.png)
![36Press button.Then press or to select on or off.When off is selected, the on timer isdeactivated.CHANNELVOLUMEP.MODEMENU/ENTERADD/DELETECHANNELVOLUMEP.MODEMENU/ENTERADD/DELETECHANNELVOLUMEP.MODEMENU/ENTERADD/DELETECHANNELVOLUMEP.MODEMENU/ENTERADD/DELETECHANNELVOLUMEP.MODEMENU/ENTERADD/DELETE6Press button to exit from [on time].Then press or button to select [channel].7Then press or button repeatedly or holddown either of these buttons until appropriatechannel is selected.8Press or button to select [volume].9Then press or button repeatedly orhold down either of these buttons until thevolume is adjusted as desired.10](https://usermanual.wiki/Inkel/ETR0005/User-Guide-477019-Page-36.png)
![38SETTING THE SLEEP TIMERThe sleep timer automatically shuts off the TV after a preset time (from 10 to 240 minutes).Press the MENU/ENTER button to displaythe menu and select [Setup] menu using /buttons.Then press button to access its menu.1CHANNELVOLUMEP.MODEMENU/ENTERADD/DELETEPress button to enter time setup menu.Then press or button button to select[sleep timer].3CHANNELVOLUMEP.MODEMENU/ENTERADD/DELETEPress or button until the appropriatetime interval appears (any of the presetvalues from "off" to "240").4CHANNELVOLUMEP.MODEMENU/ENTERADD/DELETEPress or button to select [time].2Press MENU/ENTER button repeatedly toexit.5CHANNELVOLUMEP.MODEMENU/ENTERADD/DELETECHANNELVOLUMEP.MODEMENU/ENTERADD/DELETE](https://usermanual.wiki/Inkel/ETR0005/User-Guide-477019-Page-38.png)
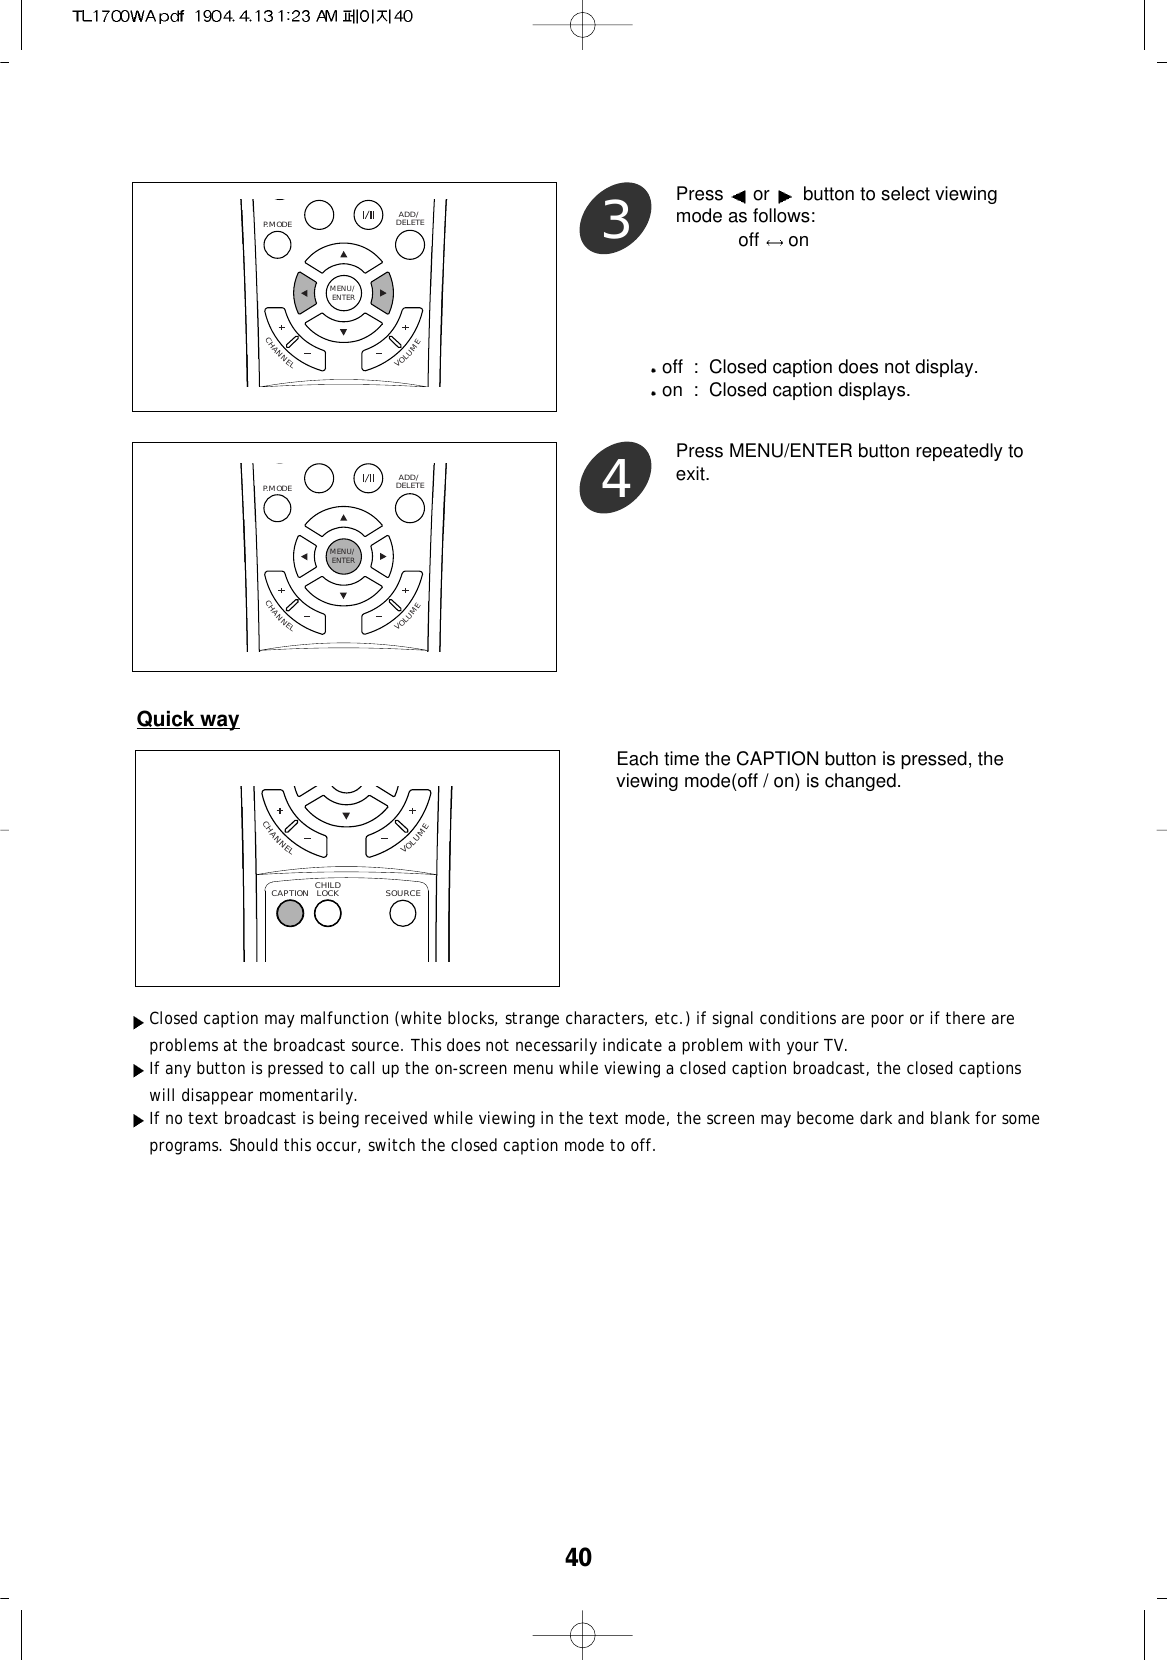
![Press the MENU/ENTER button to display themenu and select [Setup] menu using /buttons.Then press button to access its menu.1CHANNELVOLUMEP.MODEMENU/ENTERADD/DELETE39After several seconds, the sleep display disappearsfrom the screen, and the time interval is set.POWER ON STANDBYPC AUTO123456789SLEEPSURR.MUTEPress the SLEEP button on the remote controlrepeatedly until the appropriate time intervalappears.To cancel the sleep timer, press the SLEEP button repeatedly until the “off” is displayed.Quick wayPress or button to select [closed caption].2CHANNELVOLUMEP.MODEMENU/ENTERADD/DELETEThis TV is equipped with an internal closed caption decoder. Closed caption is a system which allows conversations,narration, and sound effects in TV programs and home videos to be viewed as captions on the TV screen.Not all programs and videos will offer closed captioning.Please look for the “ “ symbol to ensure that captions will be shown.The closed caption broadcasts can be viewed in two modes: caption and text.For each mode, two channels are available: cc1 / cc2, t1 / t2.The caption mode shows subscripts of dialogs and commentaries of TV dramas and news programs while allowing aclear view of the picture.The text mode displays various information over the picture (such as TV program schedules and weather forecasts,etc.) that is independent of the TV programs.ADJUSTING CLOSED CAPTION SETTINGSccVeiwing Closed Captions](https://usermanual.wiki/Inkel/ETR0005/User-Guide-477019-Page-39.png)
![41Press the MENU/ENTER button to displaythe menu and select [setup] - [background]menu using /buttons.Then press button to access its menu.1CHANNELVOLUMEP.MODEMENU/ENTERADD/DELETESelecting the Background of Closed CaptionPress or button to select [background].2CHANNELVOLUMEP.MODEMENU/ENTERADD/DELETEPressing or button changes thecaption background as follows:opaque transparent3CHANNELVOLUMEP.MODEMENU/ENTERADD/DELETEPress MENU/ENTER button repeatedly toexit.4CHANNELVOLUMEP.MODEMENU/ENTERADD/DELETEOnly when the closed caption is set to on, you can select the background of closed caption.](https://usermanual.wiki/Inkel/ETR0005/User-Guide-477019-Page-41.png)
![42Press the MENU/ENTER button to displaythe menu and select [Setup] menu using /buttons.Then press button to access its menu.1Pressing or button changes the captionmode as follows:cc1 cc2 text1 text2 xds* cc13CHANNELVOLUMEP.SIZEP.MODEMTSMENU/ENTERADD/DELETEPress MENU/ENTER button repeatedly toexit.4CHANNELVOLUMEP. S I ZEP.MODEMENU/ENTERADD/DELETECHANNELVOLUMEP.SIZEP.MODEMTSMENU/ENTERADD/DELETESelecting the Closed Caption Mode*XDS : Extended Data Service.This service displays "network name", "callletter", "program name", "program length" and"time in show" information, etc.Press or button to select [mode].2CHANNELVOLUMEP.SIZEP.MODEMTSMENU/ENTERADD/DELETE](https://usermanual.wiki/Inkel/ETR0005/User-Guide-477019-Page-42.png)
![Press the MENU/ENTER button to displaythe menu and select [Setup] menu using /buttons.Then press button to access its menu.1CHANNELVOLUME0P.SIZEP.MODEMTSCHILDMENU/ENTERADD/DELETEEntering a PasswordBLOCKING THE CONTENTS43The Parental Control function (V-Chip) is used to block TV programs viewing based on the ratingssent by the broadcast station. The default setting is to allow all programs to be viewed. Viewing canbe blocked by the type of program and by the categories chosen to be blocked. Restriction of TV programs include two ratings that contain information about the program: the MPAArating and the TV Parental Guidelines. The MPAA rating is restricted by age. TV Parental Guidelinesare restricted by age and content. To use the Parental Control function, you should first enter a password and set the parental ratings. Since a TV program may use either the MPAA ratings or the TV Parental Guidelines, both should beadjusted for completed control.MPAA ratingsG: General audience (no restrictions).PG: Parental guidance suggested.PG-13: PG-13 (Parents strongly cautioned).R: Restricted (Children under 17 should be accompanied by an adult).NC-17: No children under age 17.X: Adults only. NR: No rated.The MPAA rating is only age-based.TV Parental GuidelinesTV Parental Guidelines consist of the age-based categories and the content categories as follows.Content categoriesFV: Fantasy violence.D: Sexual suggestive dialog.L: Adult language.S: Sexual situation.V: ViolenceAge-based categoriesY: Young children.Y7: Children 7 and over.G: General audience.PG: Parental guidance.14: Viewers 14 and over.MA: Mature audience. These categories consist of two separategroups:"Y" and "Y7"(young children throughage7), and "G" through "MA"(everybody else).](https://usermanual.wiki/Inkel/ETR0005/User-Guide-477019-Page-43.png)
![444Press button to move the cursor to thedesired digit and press or button toselect the desired number (0~9).5CHANNELVOLUMEP.MODEMENU/ENTERADD/DELETEPress button to enter [ENTER password]mode.Then 4 digit password input menu is displayedfor several second.3CHANNELVOLUMEP.MODEMENU/ENTERADD/DELETERepeat the above step 3 to enter 4 digit password.When you enter a password first time, enter "0000"as default settings.CHANNELVOLUMEP.MODEMENU/ENTERADD/DELETEPress MENU/ENTER button repeatedly toexit.Press button to select "enter" and pressMENU/ENTER button.If the incorrect password is entered, the itemsother than [password input] on the v-chipsetup menu cannot be selected.6CHANNELVOLUMEP.MODEMENU/ENTERADD/DELETEPress or button to select [v-chip].Then press button to enter v-chip setupmenu.2CHANNELVOLUMEP.MODEMENU/ENTERADD/DELETE](https://usermanual.wiki/Inkel/ETR0005/User-Guide-477019-Page-44.png)
![45Changing the PasswordBefore changing the passwond, you should enter the old password first, performing the steps 1~ 5 in"Entering A Password" on the previous page.Press or button to select [passwordchange], then press button to enter thenew password input mode.1CHANNELVOLUMEP.SIZEP.MODEMTSMENU/ENTERADD/DELETEPress button to move the cursor to thedesired digit and press or button toselect the desired number (0~9).2CHANNELVOLUMEP.SIZEP.MODEMTSCHILDMENU/ENTERADD/DELETERepeat the above step 2 to enter a new 4 digitpassword.Press button to select "enter" and pressMENU/ENTER button.3CHANNELVOLUMEP.SIZEP.MODEMTSMENU/ENTERADD/DELETEOnce the new password is changed into, do notforget it. If you do not know it, you cannot set theparental ratings. Should this happen, reset all thesettings made in the menus and enter "0000" aspassword. (See "FACTORY RESET" on page 48) CHANNELVOLUMEP.MODEMENU/ENTERADD/DELETEPress MENU/ENTER button repeatedly toexit.4](https://usermanual.wiki/Inkel/ETR0005/User-Guide-477019-Page-45.png)
![46Setting the Restrictions Using MPAA RatingsBefore setting this restrictions, you should enter the password first, performing the steps 1~ 5 in "Entering APassword" on page 43.CHANNELVOLUMEP.MODEMENU/ENTERADD/DELETEPress button to select [MPAA level].Then MPAA level setup menu is displayedfor several second.1Press or button to select a particularMPAA category to be blocked and press theADD/DELETE button.2Each time the ADD/DELETE button is pressed at acategory, that category will be blocked or not.CHANNELVOLUMEP.MODEMENU/ENTERADD/DELETEPress the MENU/ENTER button to exit fromthe MPAA level setup.3CHANNELVOLUMEP.MODEMENU/ENTERADD/DELETEExample 1: If "PG-13" is blocked, this will alsoautomatically block the higherratings "R", "NC-17", "X" and “NR".Example 2: If "R" is blocked, this will alsoautomatically block the higherratings "NC-17", "X", and "NR".](https://usermanual.wiki/Inkel/ETR0005/User-Guide-477019-Page-46.png)
![47Setting the Restrictions Using TV Parental GuidelinesBefore setting this restrictions, you should enter the password first, performing the steps 1~ 5 in "Entering APassword" on page 43.CHANNELVOLUMEP.SIZEP.MODEMENU/ENTERADD/DELETEPress or button to select [TPG level].Then TPG level setup mwnu is displayed forseveral second.1Press /and /buttons to select aparticular age-based category to be blockedand press the ADD/DELETE button.2CHANNELVOLUMEP.MODEMENU/ENTERADD/DELETEPress the MENU/ENTER button to exit fromthe TPG level setup mode.Press the MENU/ENTER button repetedly toexit from the on-screen menu mode.4CHANNELVOLUMEP.SIZEP.MODEMTSMENU/ENTERADD/DELETECHANNELVOLUMEP.SIZEP.MODEMTSMENU/ENTERADD/DELETEPress /and /buttons to select aparticular conten category to be blocked andpress the ADD/DELETE button.3If "L" sub rating in "PG" is blocked, the "L" subratings in "14" and "MA" will automatically beblocked.Each time the ADD/DELETE button ispressed at a category, that category will beblocked or not.Example : If "Y7" is blocked, this will alsoautomatically block the higherratings "G", "PG", "14" and "MA". (Thecotent categories ("D", "L", "S", "V")work together similary.)"Y7", G", "PG", "14" and "MA" have sub ratings asadditional options. Do the next step to selectthe particular content category.Each time the ADD/DELETE button ispressed at a category, that category will beblocked or not.](https://usermanual.wiki/Inkel/ETR0005/User-Guide-477019-Page-47.png)
![48CHANNELVOLUMECAPTION CHILDLOCK SOURCEENTERCHILD LOCKIf you do not want your child(ren) to watch the TV when you’re out, we recommend this function.Press the CHILD LOCK button.Each time this button is pressed, the mode changeas follow: off onon : This TV cannot be controlled with the buttons of top panel.off : This TV can be controlled with both the buttonsof top panel and remote control.FACTORY RESETYou can reset all the settings made in the menus to the default settings.Press the MENU/ENTER button to displaythe menu and select [Setup] menu using /buttons.Then press button to access its menu.1CHANNELVOLUMEP. S I ZEP.MODEMTSCHILDMENU/ENTERADD/DELETEPress button to start resetting.3CHANNELVOLUMEP.MODEMENU/ENTERADD/DELETEPress or button to select [factory reset].2CHANNELVOLUMEP.SIZEP.MODEMTSCHILDMENU/ENTERADD/DELETESome settings such as MPAA level, TPG level etc. cannot be reset to the default settings.](https://usermanual.wiki/Inkel/ETR0005/User-Guide-477019-Page-48.png)
![51Press the MENU/ENTER button to displaythe menu and select [Adjust] menu using /buttons.Then press button to access its menu.1CHANNELVOLUMEP.MODEMENU/ENTERADD/DELETEPress or button to adjust the position.To adjust the other position as desired,repeat the above step 1 to 3.3CHANNELVOLUMEP.MODEMENU/ENTERADD/DELETEPress MENU/ENTER button repeatedly toexit.4CHANNELVOLUMEP.MODEMENU/ENTERADD/DELETEChanging the Screen PositionPress or button to select [h position] or[v position].2CHANNELVOLUMEP.SIZEP.MODEMTSMENU/ENTERADD/DELETEYou can adjust the h position and v position only when PC ANALOG is selected as input source.](https://usermanual.wiki/Inkel/ETR0005/User-Guide-477019-Page-51.png)
![52Press or button to select [phase] forhorizontal stripes or [frequency] for verticalones.2CHANNELVOLUMEP.MODEMENU/ENTERADD/DELETEPress or button to adjust the selecteditem.To adjust the other position as desired,repeat the above step 1 to 3.3CHANNELVOLUMEP.MODEMENU/ENTERADD/DELETEPress MENU/ENTER button repeatedly toexit.4CHANNELVOLUMEP.MODEMENU/ENTERADD/DELETEAdjusting the Screen QualityThe purpose of picture quality adjustment is to remove or reduce picture noise.After the noise has been reduced, re-adjust the picture so that it is aligned on the center of screen.See "Aligning the Picture on the Center of Screen" on page 53.You can adjust the phase and frequancy only when PC ANALOG is selected as input source.Press the MENU/ENTER button to displaythe menu and select [Adjust] menu using /buttons.Then press button to access its menu.1CHANNELVOLUMEP.MODEMENU/ENTERADD/DELETE](https://usermanual.wiki/Inkel/ETR0005/User-Guide-477019-Page-52.png)
![53Aligning the Picture on the Center of ScreenPress the MENU/ENTER button to displaythe menu and select [Adjust] menu using /buttons.Then press button to access its menu.1CHANNELVOLUMEP. S I ZEP.MODEMTSCHILDMENU/ENTERADD/DELETEPress button to start auto adjustment.The picture is automatically centered on thescreen.3CHANNELVOLUMEP.MODEMENU/ENTERADD/DELETEPress or button to select [autoadjustment].2CHANNELVOLUMEP.SIZEP.MODEMTSCHILDMENU/ENTERADD/DELETEPress PC AUTO button.The picture is automatically centered on thescreen.POWER ON STANDBYPC AUTO1234567809SLEEPSURR.MUTEINFO.PRE CH.Quick way](https://usermanual.wiki/Inkel/ETR0005/User-Guide-477019-Page-53.png)
![Press the MENU/ENTER button to displaythe menu and select [Color] menu using /buttons.Then press button to access its menu.1CHANNELVOLUMEP.SIZEP.MODEMTSMENU/ENTERADD/DELETEPress or button to select one of theautomatic color settings.2CHANNELVOLUMEP.SIZEP.MODEMTSCHILDMENU/ENTERADD/DELETECHANNELVOLUMEP.MODEMENU/ENTERADD/DELETEPress the MENU/ENTER button repeatedlyto exit.354Selecting the Color ToneYour TV has three automatic color settings("cool", "normal", warm" and "user").That are preset at the factory.You can select the desired of them.2CHANNELVOLUMEP.MODEMENU/ENTERADD/DELETEPress or button to select [color temp.].Choose “cool” to emphasize clear blues.Choose “normal” for standard picture.Choose “warm” to emphasize mild greens.Choose “user” to adjust the color tone settings asdesired.](https://usermanual.wiki/Inkel/ETR0005/User-Guide-477019-Page-54.png)
![55You can adjust the red, blue and green according to personal preference.These can be selected when the [color temp.] is set to “user”. Refer to previous page.Press or button to adjust the selecteditem.For example, if you select [red], pressing or button increases/decreases it.To adjust the other position as desired,repeat the above step 1 to 3.3CHANNELVOLUMEP.SIZEP.MODEMTSCHILDMENU/ENTERADD/DELETECHANNELVOLUMEP.MODEMENU/ENTERADD/DELETEPress the MENU/ENTER button repeatedlyto exit.4Press the MENU/ENTER button to displaythe menu and select [Color] menu using /and buttons.Then press button to access its menu.1CHANNELVOLUMEP.SIZEP.MODEMTSMENU/ENTERADD/DELETE2CHANNELVOLUMEP.MODEMENU/ENTERADD/DELETEPress or button to select a particularitem.Customizing the Color Tone](https://usermanual.wiki/Inkel/ETR0005/User-Guide-477019-Page-55.png)
![Troubleshooting56If the TV seems to have a problem, first try this list of possible problems and solutions.If none of these troubleshooting tips apply, call your nearest service center.Problem Possible SolutionPoor picture Try another channel.Adjust the antenna.Check all wire connections.Poor sound quality Try another channel.Adjust the antenna.No picture or sound Try another channel.Press some buttons related to audio/video .Make sure the TV is plugged in.Check the antenna connections.Ensure that the signal cable is firmly connected to the PC or video sources.Ensure that the PC or video sources are turned on.No color, wrong colors or tints Make sure the program is broadcasted in color.Adjust the related settings in [Adjust] menu.If the set is moved or turned in a different direction, the power should be OFFfor at least 30 minutes.Adjust antenna.Picture rolls vertically. Check all wire connections.The TV operates erratically. Unplug the TV for 30 seconds, then try operating it again.The TV won’t turn on. Make sure the wall outlet is working.Blurred or snowy picture, Check the direction, location and connections of your aerial.distorted sound This interference is often due to the use of an indoor aerial.Remote control malfunctions Replace the remote control batteries.Aim correctly to remote sensor.Check the battery terminals.“out of range” message Check the maximum resolution and the frequency of the display.The image is too light or too dark Adjust the brightness and contrast.Adjust the fine tuning.Horizontal bars appear to flicker, Adjust the fine tuning.jitter or shimmer on the imageVertical bars appear to flicker, The TV is using its power management system.jitter or shimmer on the image Move the computer’s mouse or press a key on the keyboard.Image is not centered on the screen Adjust the horizontal and vertical position.](https://usermanual.wiki/Inkel/ETR0005/User-Guide-477019-Page-56.png)