IPRO TECHNOLOGY IPROVENUSS GSM Mobile Phone User Manual
HONG KONG IPRO TECHNOLOGY CO.,LIMITED GSM Mobile Phone Users Manual
UserManual.wiki
>
IPRO TECHNOLOGY
>
IPROVENUSS User Manual
Users Manual
Navigation menu
Upload a User Manual
Namespaces
Wiki Guide
HTML
PDF
Info
Views
User Manual
Discussion / Help
Navigation

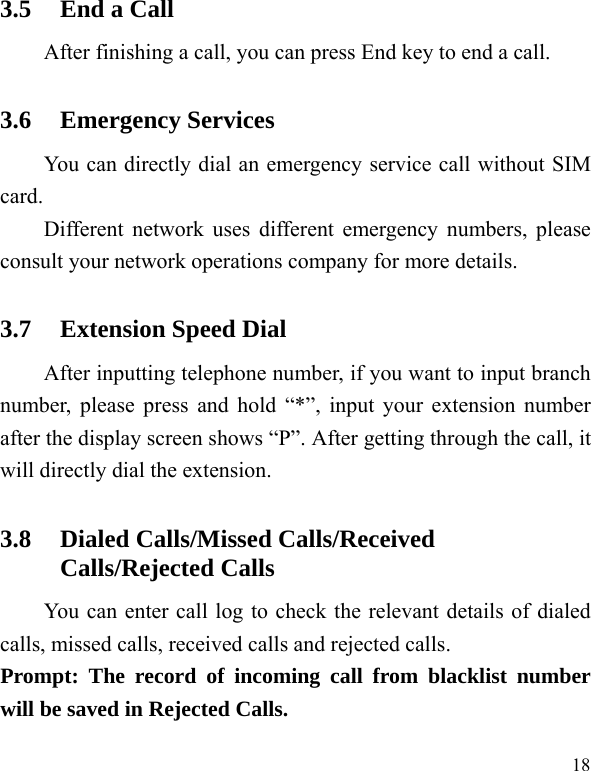

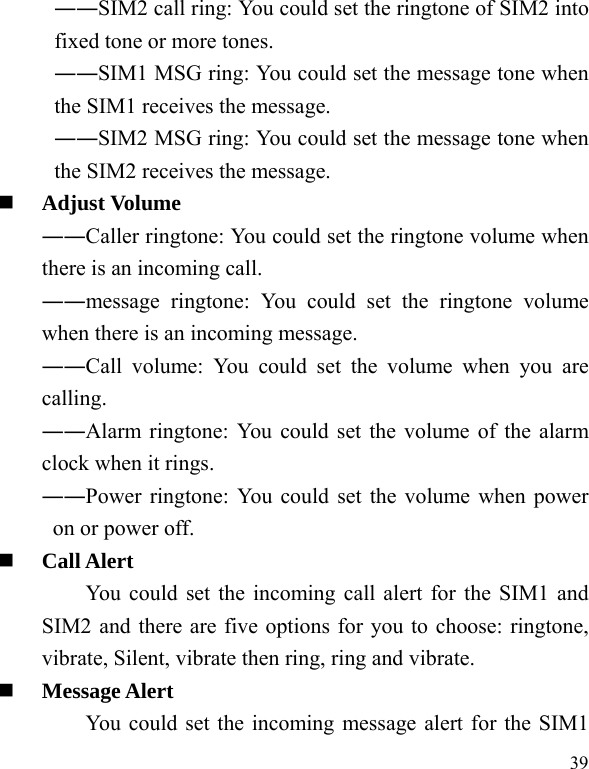
![514.10 Time and date You can set up the date and time on the phone as well as their display mode. 4.11 Calendar You can use this feature to view the year, date and solar term easily. Use up/down/left/right direction key to navigator other date. ――Go to Date: Enter the Solar calendar and it can go to the date you want to check. ――Weekly 4.12 Extra 4.12.1 E-book reader E-book can support file of TXT format. You can copy TXT file to [E-book] folder on the T-FLASH card by PC. In standby mode, enter the function menu, and then select [E-book].Randomly select a book in the bookshelf to read; slide to turn pages.](https://usermanual.wiki/IPRO-TECHNOLOGY/IPROVENUSS/User-Guide-1968448-Page-51.png)