ITM TPMA330 4 Wires Analog Resistive Touch Screen User Manual TOUCH SCREEN USERS GUIDE
ITM INC 4 Wires Analog Resistive Touch Screen TOUCH SCREEN USERS GUIDE
ITM >
Users Manual

TOUCH SCREEN USERS GUIDE
PREFACE
- Touch Screen is designed to be used in conjunction with Multi-media and Windows. This
technology is increasingly applied to our daily lives, on a more regular basis,
especially in the fields of information systems and automation, etc. It is the most
user-friendly, visual-hand input device available.
PRODUCT SPECIFICATIONS
1) TECHNOLOGY : Analog Resistive
2) SCREEN THICKNESS : 1.0 mm~3.5mm (Depending on request)
3) SCREEN SURFACE HARDNESS : ≥ 3H
4) TRANSPARENCY : ≥ 80% (General)
5) RESOLUTION : 4096 X 4096
6) PRESSURE SENSITIVITY : ≥ 80g
7) LIFE TIME : ≥ 1,000,000 touches
8) OPERATIONAL TEMP. RANGE : 0℃~60℃
9) POWER INPUT : DC 5V ± 10%
10) INTERFACE : USB or RS-232C
11) CONVERSION SPEED : USB1.1 or 19200 Baud
12) RESISTANCE : 200~800 Ω
13) TOUCH ACCURACY : ≥ 98.5%
HARDWARE SYSTEM REQUIREMENTS
1) COMPUTER : 486 Compatible or above
2) HARD DISK DRIVE : 10 MB of free memory
3) CONNECT PORT : USB port or RS-232C port
OPERATING SYSTEM REQUIREMENTS
Windows 98 , Windows NT 4.0 , Windows 2000 , Windows Me and Windows XP
TOUCH SCREEN STANDARD COMPONENTS
1) Resistive overlay touch panel with glass
2) Controller (USB or RS-232C)
3) CD-ROM Drive Diskette
4) Cable (USB or RS-232C Cable Ass’y)
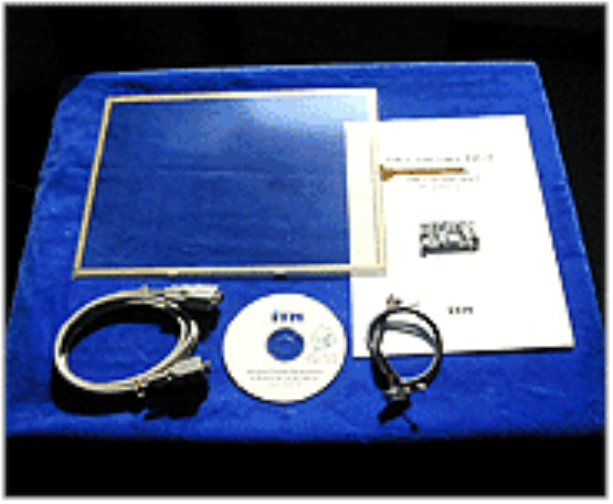
FIG. Touch Screen Standard components
ASSEMBLY & DISASSEMBLY PROCEDURES:
1) Place the built-in Touch panel on LCD monitor that being removed cover assemble.
2) Attach Touch panel controller in the rear part of LCD monitor.
3) Combine the Touch panel with the adhesive rubber tape, and re-assembly of your
monitor.
4) Connect the cable(USB) between PC and Touch Controller
5) Install the Driver to your computer.
INSTALL TOUCH SCREEN DRIVER
Installation of the software differs, depending on whether a serial port or USB port, has been connected to
the touch-screen controller. This section describes the procedures for installation and the parts that you need
to set individually depending on whether you have a serial or USB port connected.
- Supported models
1) Supported model: IBM PC/AT or its compatibles
2) Supported operating system
3) Serial Port connection : Windows 98, Windows ME, Windows NT, Windows 2000, Windows XP
4) USB connection: Windows 98, Windows ME, Windows NT, Windows 2000, Windows XP
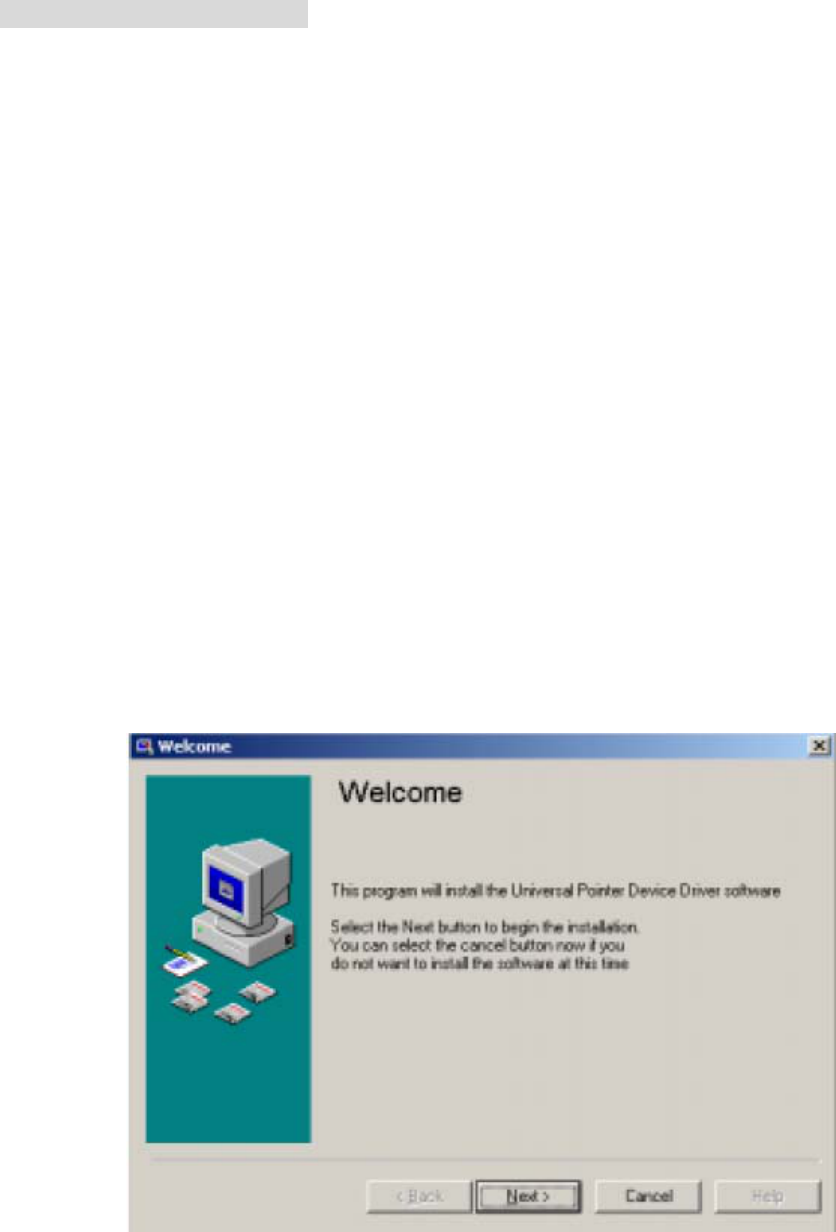
A. Regular installation steps
1. Turn on the computer’s power.
Turn on the power to boot Windows.
2. Start the Installer.
3. Insert the CD then the software starts automatic installation.
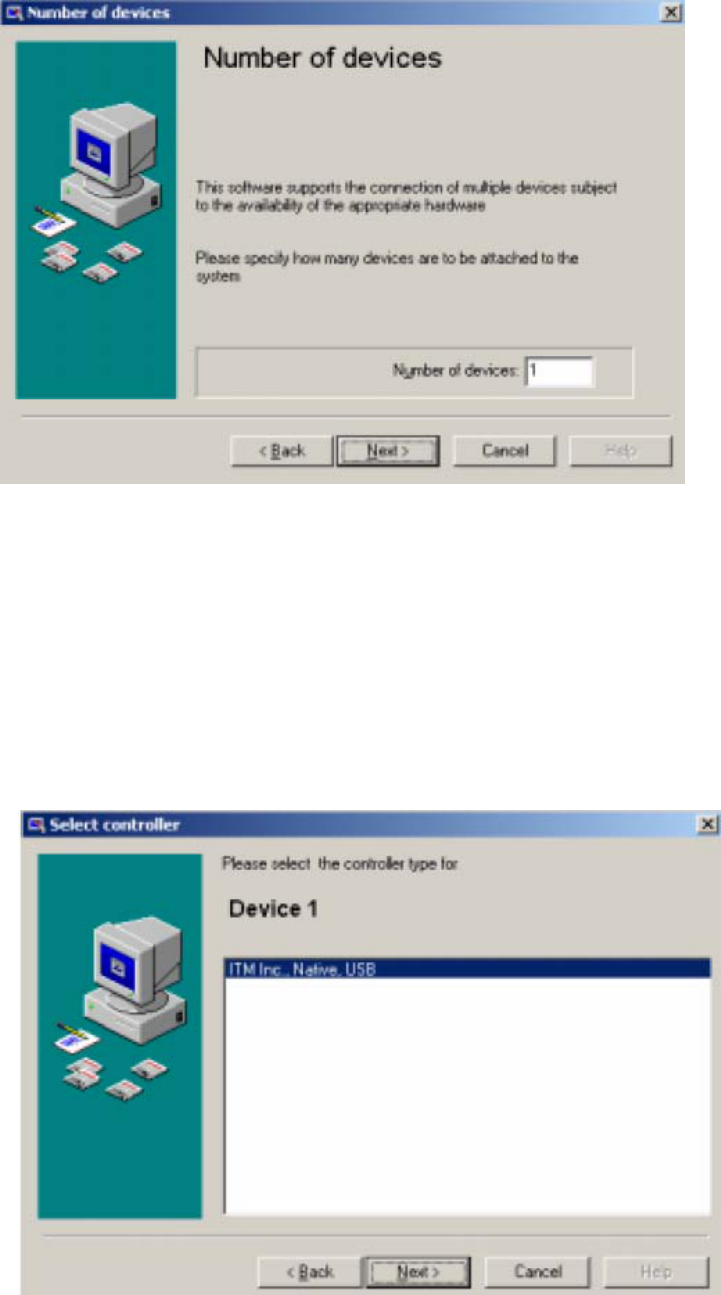
B. Number of devices
- Allows to set the number of touch screens (controllers). Enter the number of touch screen if multiple
touch screens are used. Click on “Next(N)” or press <Enter> when finished.
C. Selecting the controller
- During the installation sequence, the screen for selecting the controller will appear. Then, you must
select whether you want to connect your touch-screen controller to the serial port or USB.
- To connect the controller with a serial port, choose [ITM Touch, Serial]. Alternatively, to connect the
controller with the USB port, choose [ITM Touch, USB].
- If you choose [ITM Touch, USB], then go to [Complete installation].
- If you choose [ITM Touch, Serial], then go to [Serial port connection].
D. Serial port connection
- If you choose [ITM Touch, Serial], the ‘Serial port setting’ window appears. If you want to use is
COM1 as the serial port, click “Next (N)”, or press the <Enter> key. If you want to use COM2 or any
other part, choose a port from the Popup menu, click on “Next (N) or any other port, choose a port from
the Popup menu, click on “Next (N)”, or press the <Enter> key and go to [Complete installation].
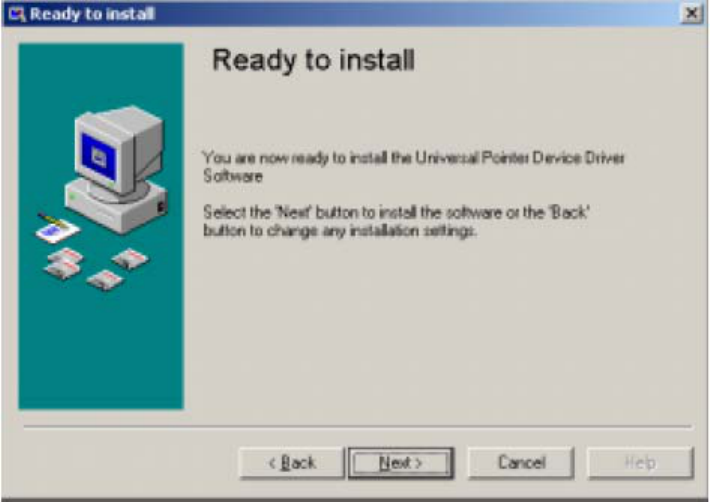
E. Completing the installation
- For connecting to a serial port, set ‘Serial port connection and to [Complete installation]. And in USB
connection, set ‘Select a controller’ and go to the USB port. Click on ‘Next (N)’ or press the <Enter>
key. Then, follow the instructions on the screen.
Windows XP user.
- While installation progresses the window entitled ‘the installation of the hardware’ is indicted. Click on
‘continuation©’ or press the <Enter> Key. A windows indicated in the same way when USB plug is put
in the PC after installation is finished in the case of the USB connection. Click on ‘continuation(C)’ or
press the <Enter> key in the same way in that case as well.
Windows 2000 user.
- While installation progresses the window entitled ‘A digital signature wasn’t found’ is indicated. Click
on ‘Yes(Y)’ or press the <Enter> key. A window is indicated in the same way when USB Plug is put in
the PC after installation is finished in the case of the USB connection. Click on ‘Yes(Y)’ or press the
<Enter> key in the same way in that case as well.
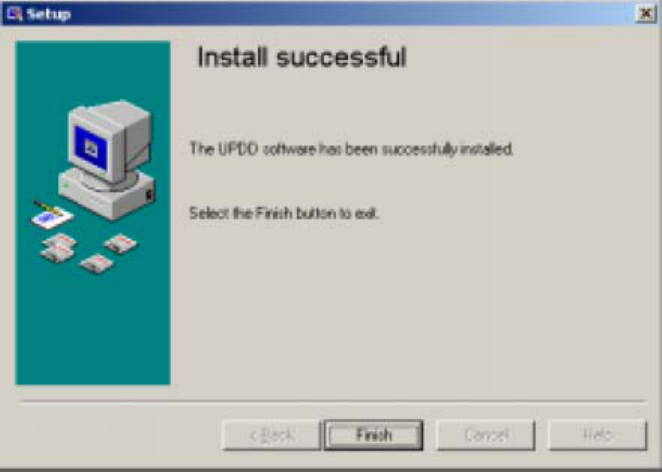
F. After completing the installation
- You complete the installation. Click on “Continue”, and press the <Enter> key. In the case of Windows
NT Workstation, reboot Windows to activate software. Click on “Yes(Y)”, or press the <Enter> key.
G. Uninstalling the software
- To uninstall the software, run “My Computer”, then go to the “Control Panel” and select “Add/Delete
Application” to choose the “Touch screen driver.” Finally click “Add and Delete(R). “After activating
the Uninstaller, follow the instructions on the screen to the software. In the case of Windows NT, reboot
Windows to complete the uninstalling.
Please check below before calling
Touch Screen does not work properly
□ Make sure that the software is installed properly..
□ Check the interface cable connection.
- [ITM Touch, Serial] : RS-232C cable
- [ITM Touch, USB]: USB cable
□ Try reconnecting the interface cable.
Touched area and the on-screen cursor does not match
□ Try reconfiguring the calibration