Ihome Mylife Ih W310Ns Users Manual Notebook Webcam 5.0 Megapixal
MyLife IH-W312NP 2e2d6e41-d68f-47b1-a10d-99d45edb80d5
IH-W310NS to the manual 2e2d6e41-d68f-47b1-a10d-99d45edb80d5
2015-01-21
: Ihome Ihome-Mylife-Ih-W310Ns-Users-Manual-348479 ihome-mylife-ih-w310ns-users-manual-348479 ihome pdf
Open the PDF directly: View PDF ![]() .
.
Page Count: 7
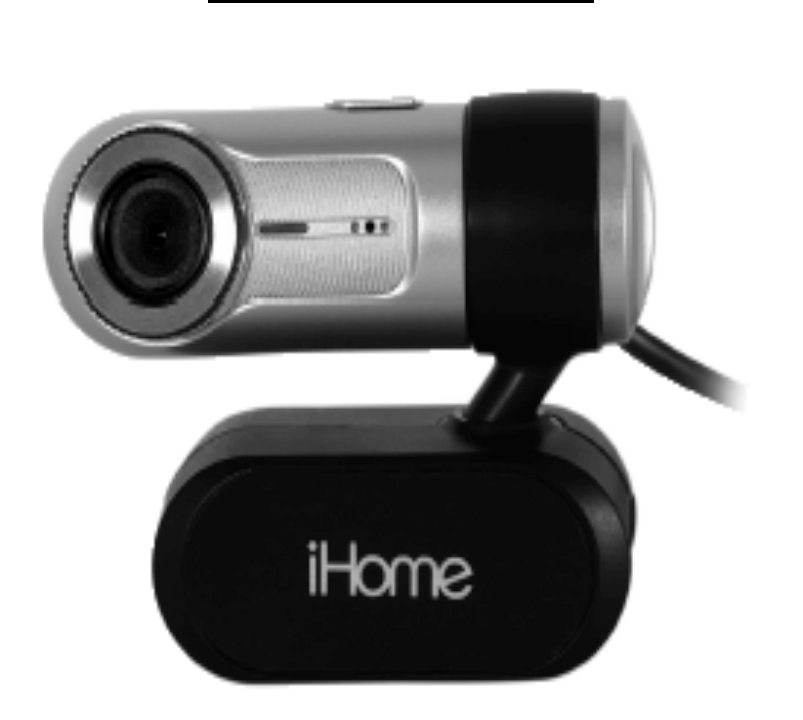
MyLife™ Notebook Webcam
5.0 mega pixel max resolution
Model # IH-W310NS, IH-W311NN, IH-W312NP,
IH-W313NR
Product Knowledge Base

Frequently Asked Questions (FAQs)
1. What is included in the box?
• MyLife webcam pro (USB).
• ArcSoft MediaImpression and installation driver CD
• User manual.
2. What are the system requirements?
• Windows XP Service Pack 2 or Vista
• USB port (a USB 2.0 port is required for optimal performance)
• CD-ROM drive
3. Where can I download the latest driver?
Visit www.life-works.com/drivers
4 . Where can I find warranty information?
Visit www.life-works.com/warranty
5. What are the features?
• 5.0 mega pixel maximum resolution
• Motion tracking
• 3× digital zoom
• Built-in microphone
• Adjustable notebook mount
Note: your must installation the software before connecting the webcam
to your computer.
6. How to Install Software
Note: You must install the driver software before connecting your webcam
to your computer.
Installing Webcam driver:
• Insert the installation CD into your computer. On the screen that appears,
click install driver.
• An Install Shield Wizard dialog box displays. Click Next.
• After the driver has been installed, an Install Shield Wizard Complete
dialog box displays. Click Finish.
The main software installation screen displays again.
Installing the included webcam application:
• On the main software installation screen, click ArcSoft MediaImpression.
• Select a setup language, and then click OK.
• An Install Shield Wizard dialog box displays. Click Next.
• Click Yes to accept the license agreement, and then Next to accept the
default installation location.
• A Select Program Folder dialog box displays. Click Next.
• After the application has been installed, an Associated File Formats dialog
box displays. Click Next.
• An Install Shield Wizard Complete dialog box displays. Click Finish.
The main software installation screen displays again. Click exit. When the
USB PC Camera Setup Complete dialog box displays, choose to restart
your computer now and click OK.
7. How to connect hardware
• Connect the USB cable to a USB port on your computer. Clip the webcam
onto the top of your notebook’s screen.
8. How to access advanced features
• Click Start > All Programs > ArcSoft MediaImpression > MediaImpression
to open the Start Page. Access all advanced features from this menu.
9. How to capture still shots or videos
• From the Start Page, click Webcam. The Capture window displays.
• For a still shot, click Capture. (You can also take a still shot by pressing
the snapshot button on top of the webcam.)
• To record a video clip, click Record Video. When done, click Stop
Recording.
• When capture is complete, close the Capture window. The Media Browser
displays, showing all stills and video captured, and the directory in which
they were saved.
• To turn a video clip into a movie, click Make Movie. The Make Movie
screen displays.
• Add and remove video and still shots as desired to compose your movie.
Change the movie options as desired. Click Preview to view the movie.
• When done and ready to publish, save the project by clicking Project >
Save.
To save a copy of the final movie, click Save As.
10. How to change video settings
• To change video settings and access other webcam settings, click the
webcam settings icon in the Capture window.
• The webcam properties dialog box displays.
• Here you can change image, video and camera settings, as well as set
other advanced options.
! !
11. How to remove video flicker?
• Video flicker is when the image is not steady, and often appears as a
series of bands moving up or down the screen.
To remove video flicker:
• Click the webcam settings button in the Capture window.
• The webcam properties dialog box displays. Select the Stream Property
tab.
• Select the AC power frequency used in your region of the world: 60 Hz for
the U.S., Taiwan, Korea or Japan (west), or 50 Hz for Europe, Australia,
Africa, Asia, China or Japan (east).
• Click OK.
12. How to turn on face tracking
• Face tracking keeps the camera trained on a person’s face without
mechanically moving the camera if the person moves around in the chair.
To turn on face tracking:
• Click the webcam settings icon in the Capture window.
• The webcam properties dialog box displays. Select the Face Tracking tab.
• Select the Face Tracking option.
• Click OK.

Troubleshooting Steps
No video is displayed
• Ensure the webcam is connected to the computer.
Use a different USB port.
• Connect the webcam to a USB port on the computer, not a USB hub.
• Uninstall and reinstall the driver. To uninstall the driver, click Start
>Control Panel > Add or Remove Programs, select MyLife Notebook
Webcam and click Change/Remove.
Video stutters or stops
• Disconnect and reconnect the webcam.
• Ensure the webcam is connected to a USB 2.0 port (not a slower USB 1.1
port).
Microphone isn’t working
The cause of a Web Cam's microphone to stop working can be either a
hardware issue or a result from incorrect configurations.
Recommendations:
• Determine whether it is a hardware problem by testing the microphone in
Sound Recorder.
• We also recommend using the camera on another USB enabled system.
• If you can record sound in Sound Recorder, but not in the Webcam
application, try setting the internal microphone as the preferred device in
Audio Properties.

Product operating tips
• Your webcam operates best if you sit about 3 ft. (1 m) from the camera.
This ensures the picture is not distorted and that the microphone can
easily pick up your voice.
• Turn the ring on the front of the webcam to manually focus the image.
• Press the button on top of the webcam to take a still shot.
• Click Extras > Help in ArcSoft MediaImpression for more details on how to
use the application with your webcam
For questions regarding your iHome computer accessory, please visit our
website at www.life-works.com or call 1-877-Life-540.
2009 © LifeWorks Technology Group LLC.
iHome™ is a trademark of SDI Technologies Inc. used under license.
Windows Vista® is either a registered trademark or trademark of
Microsoft Corporation in the United States and/or other countries.
All other brands and logos are trademarks of their respective companies.
