Inseego NVWE725 Dual-Band CDMA / EVDO Modem Card User Manual book
Novatel Wireless Inc Dual-Band CDMA / EVDO Modem Card book
UserManual.wiki
>
Inseego
>
NVWE725 User Manual
>
Manual 6
Contents
1.
Users Manual
2.
User Manual 1
3.
User Manual 2
4.
User Manual 3
5.
Users Manual 4
6.
Users Manual 5
7.
Manual 1
8.
Manual 2
9.
Manual 3
10.
Manual 4
11.
Manual 5
12.
Manual 6
13.
User Manual Card Utility
14.
Users Manual 6
Manual 6
Navigation menu
Upload a User Manual
Namespaces
Wiki Guide
HTML
PDF
Info
Views
User Manual
Discussion / Help
Navigation
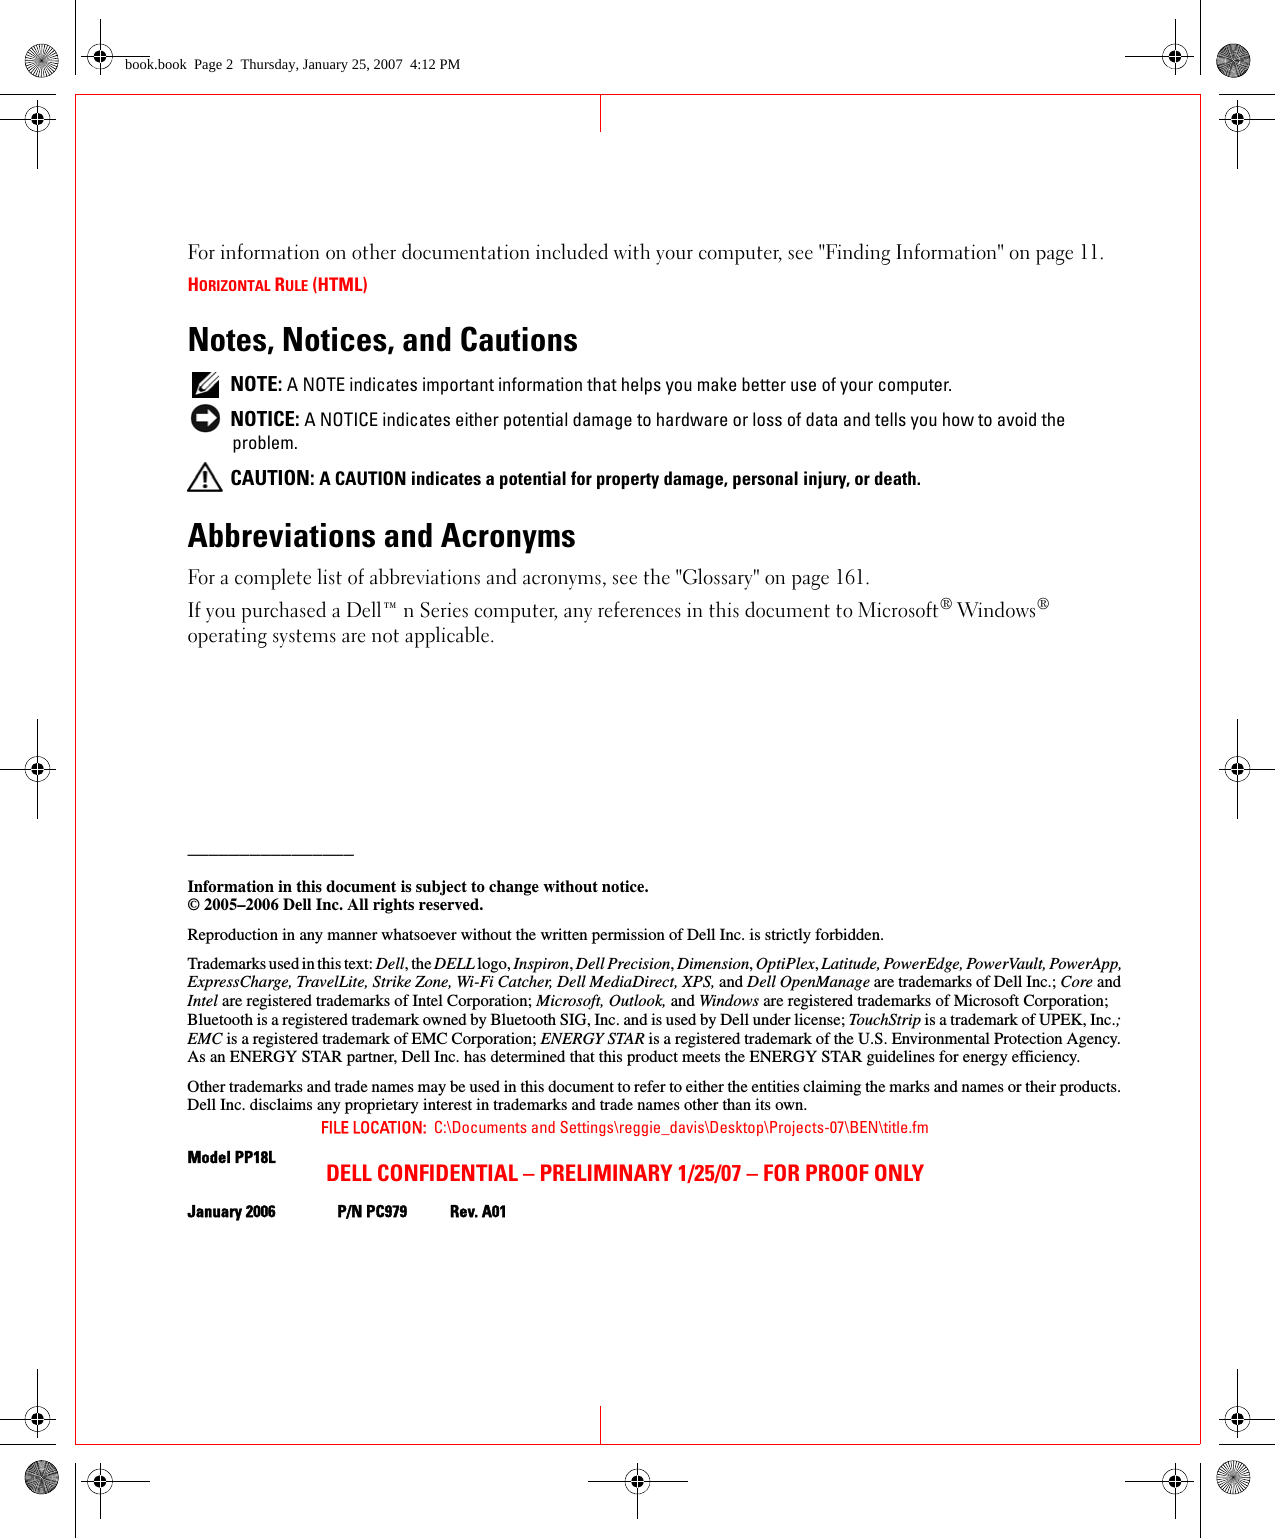
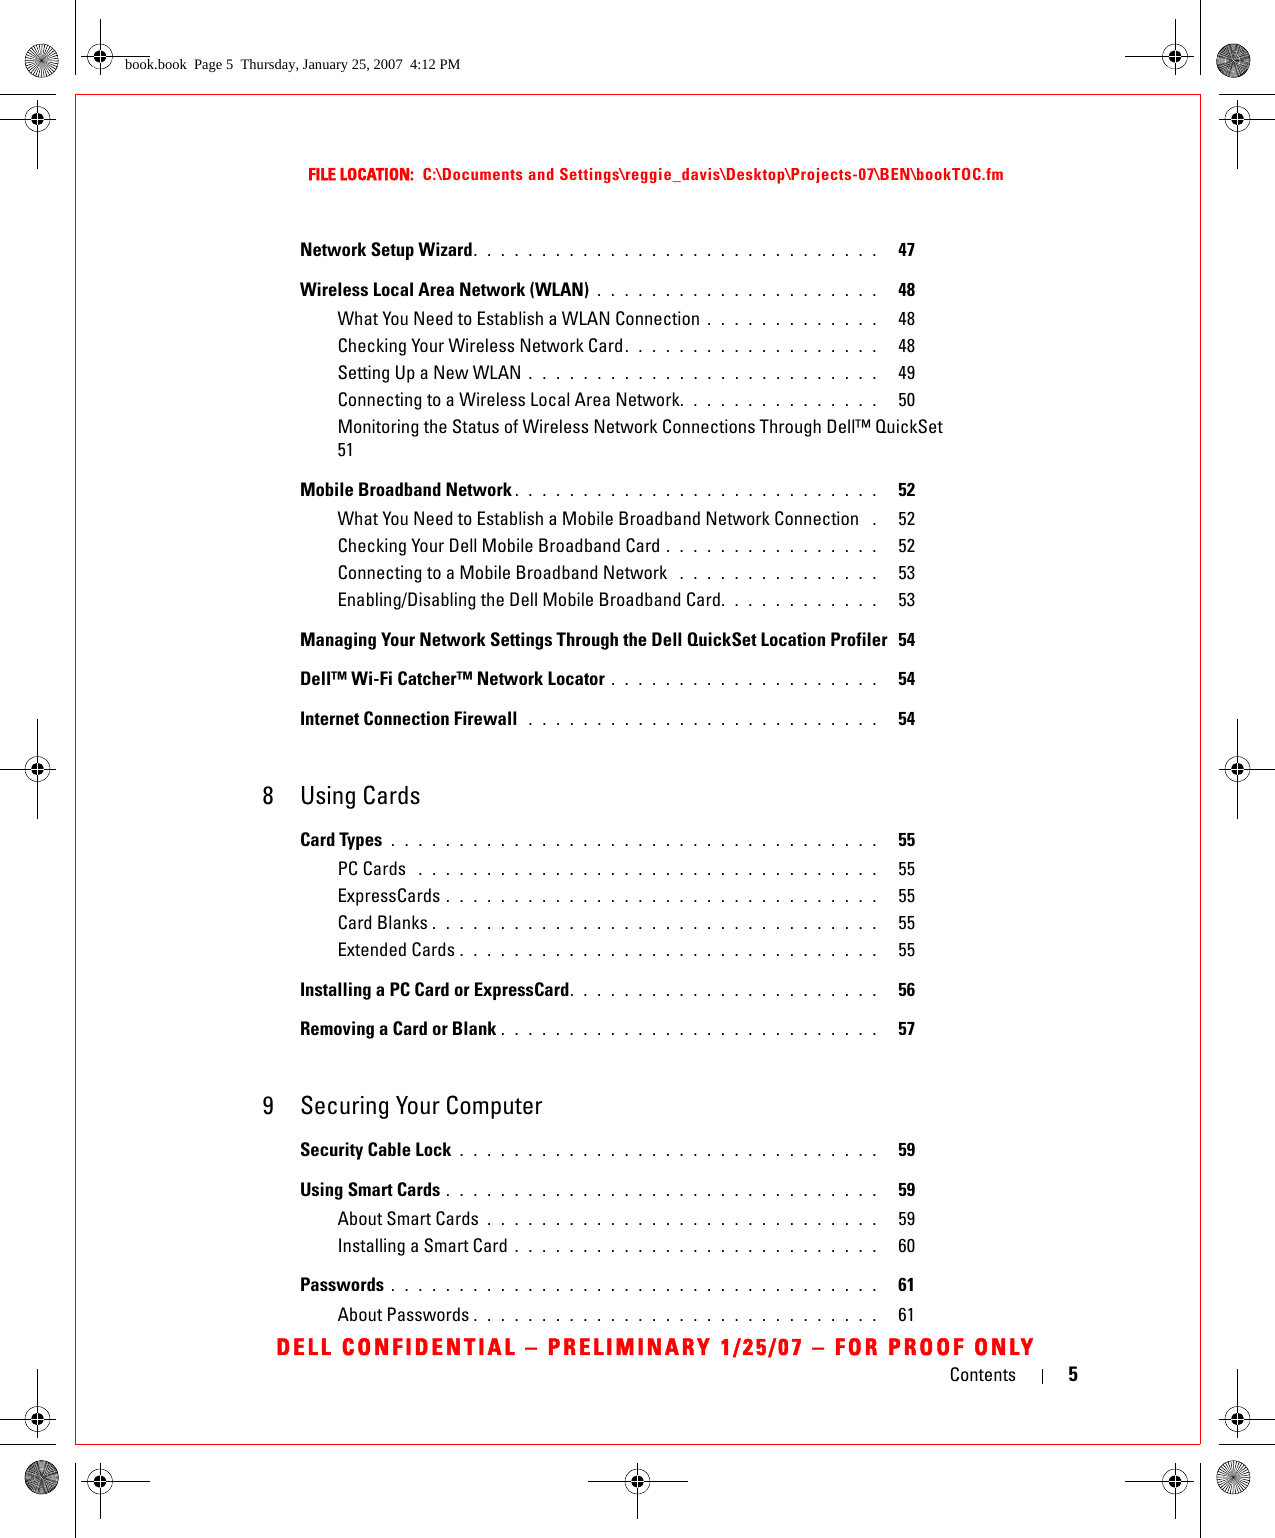
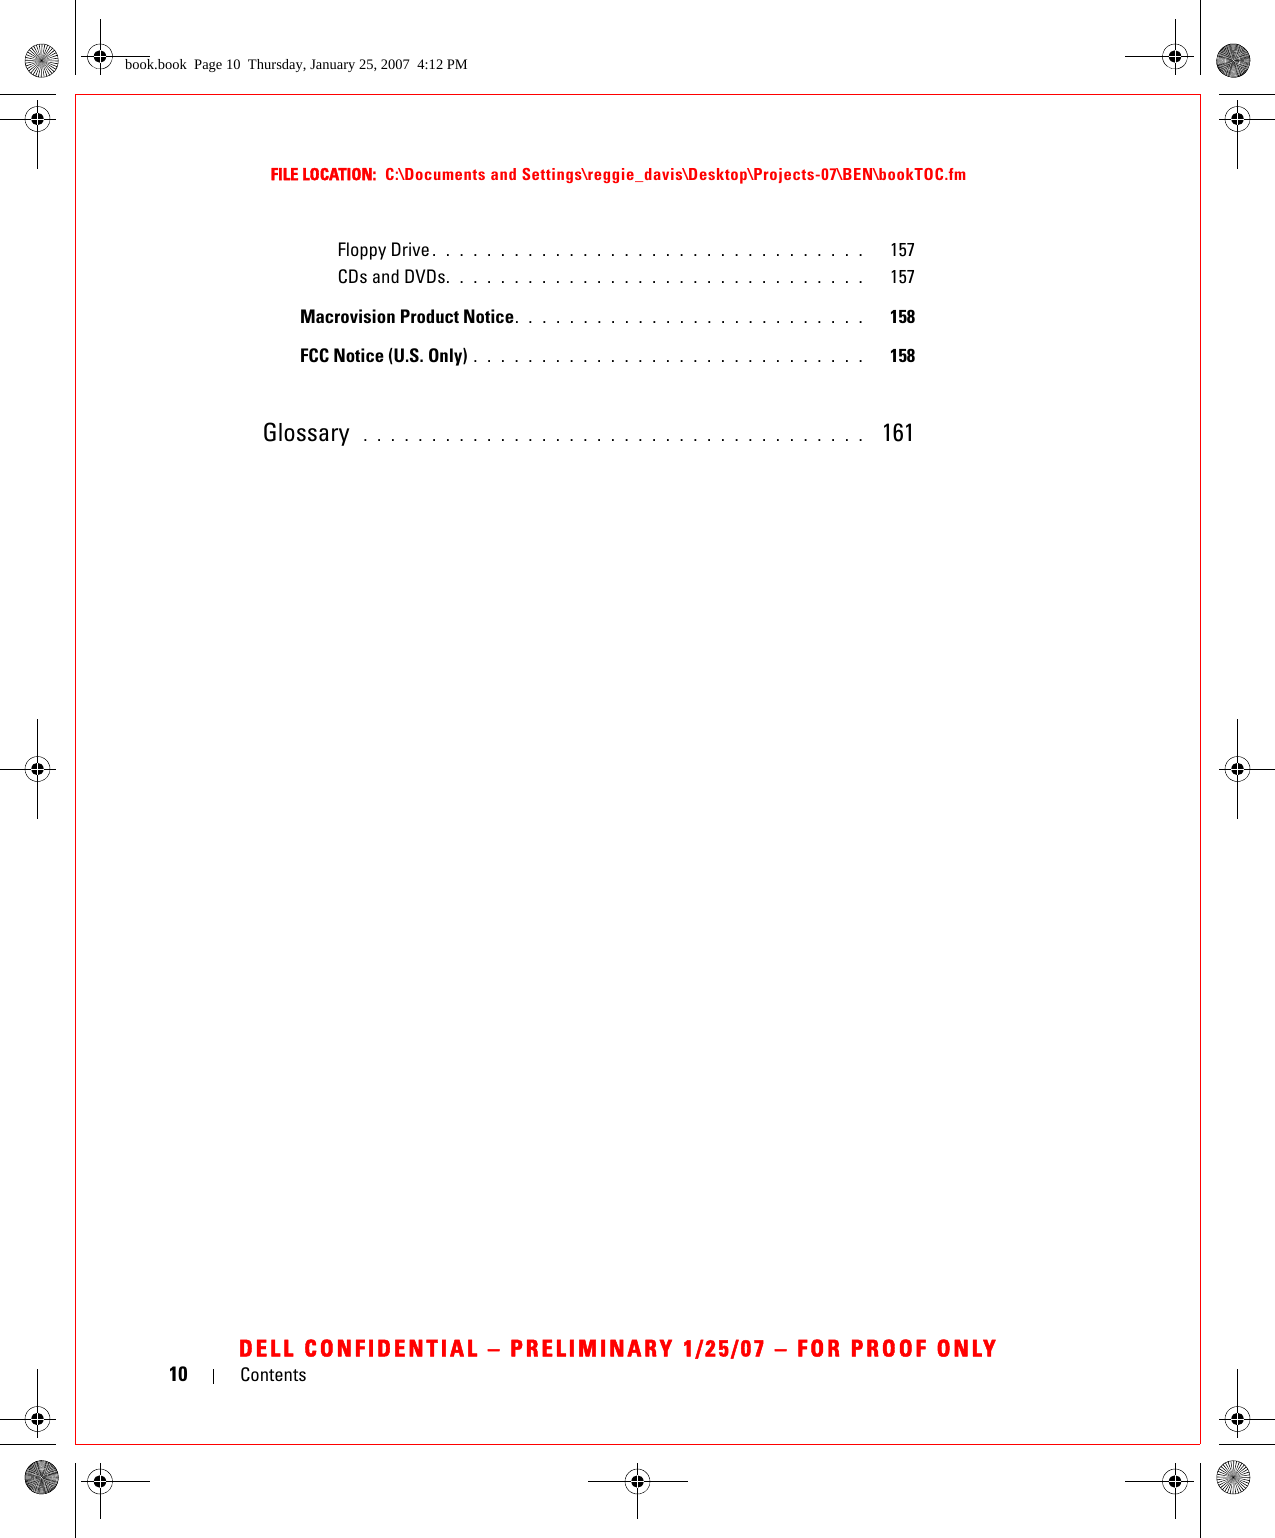
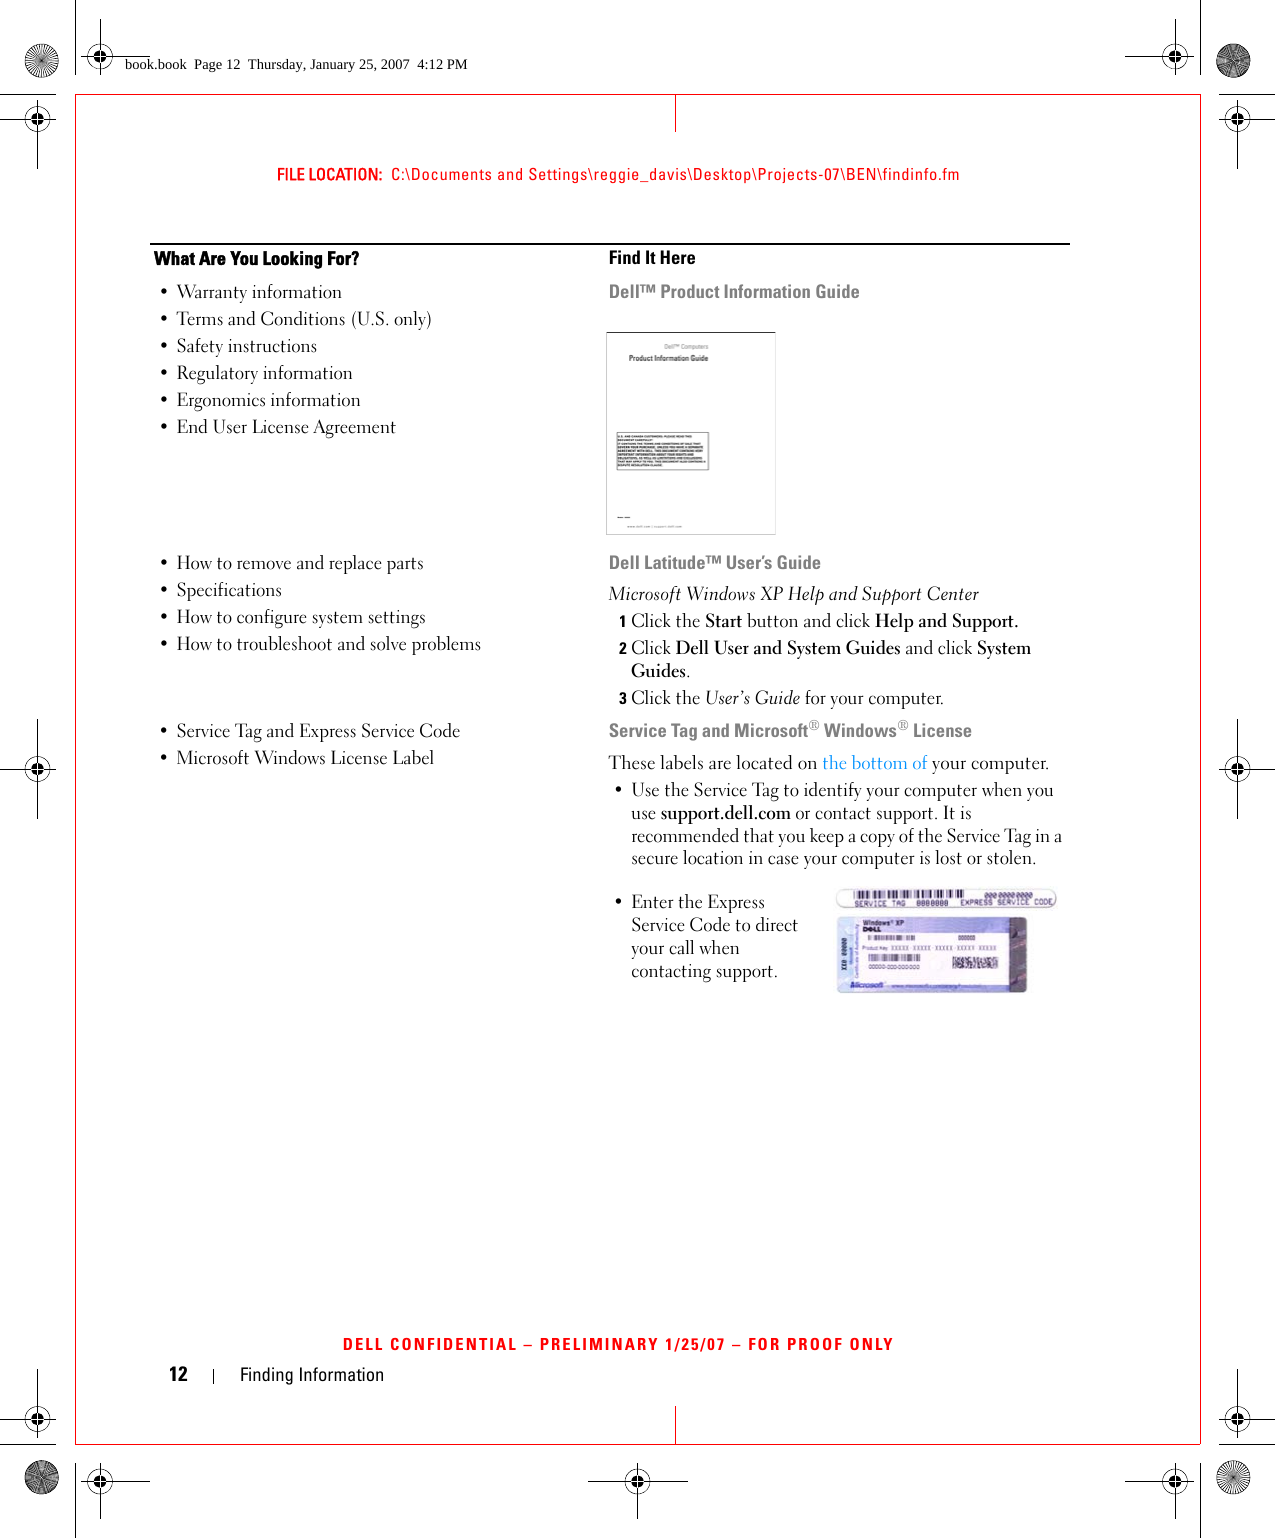
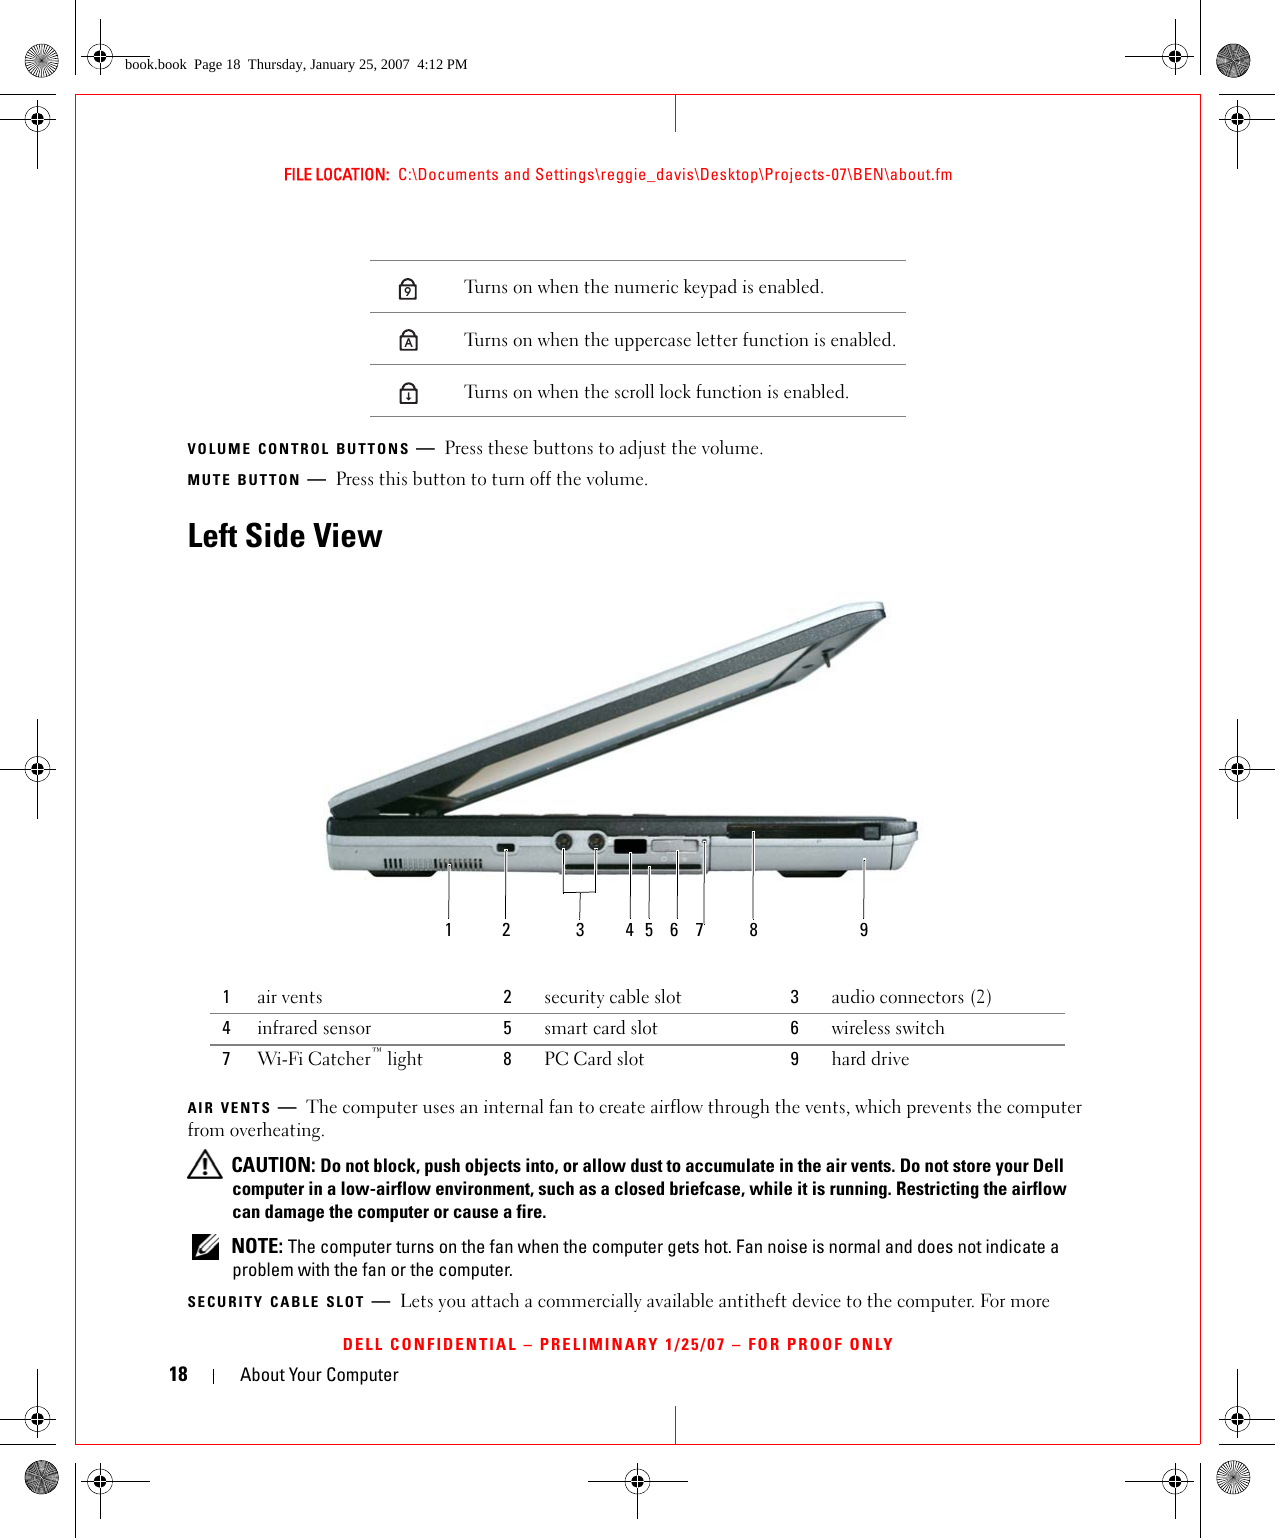


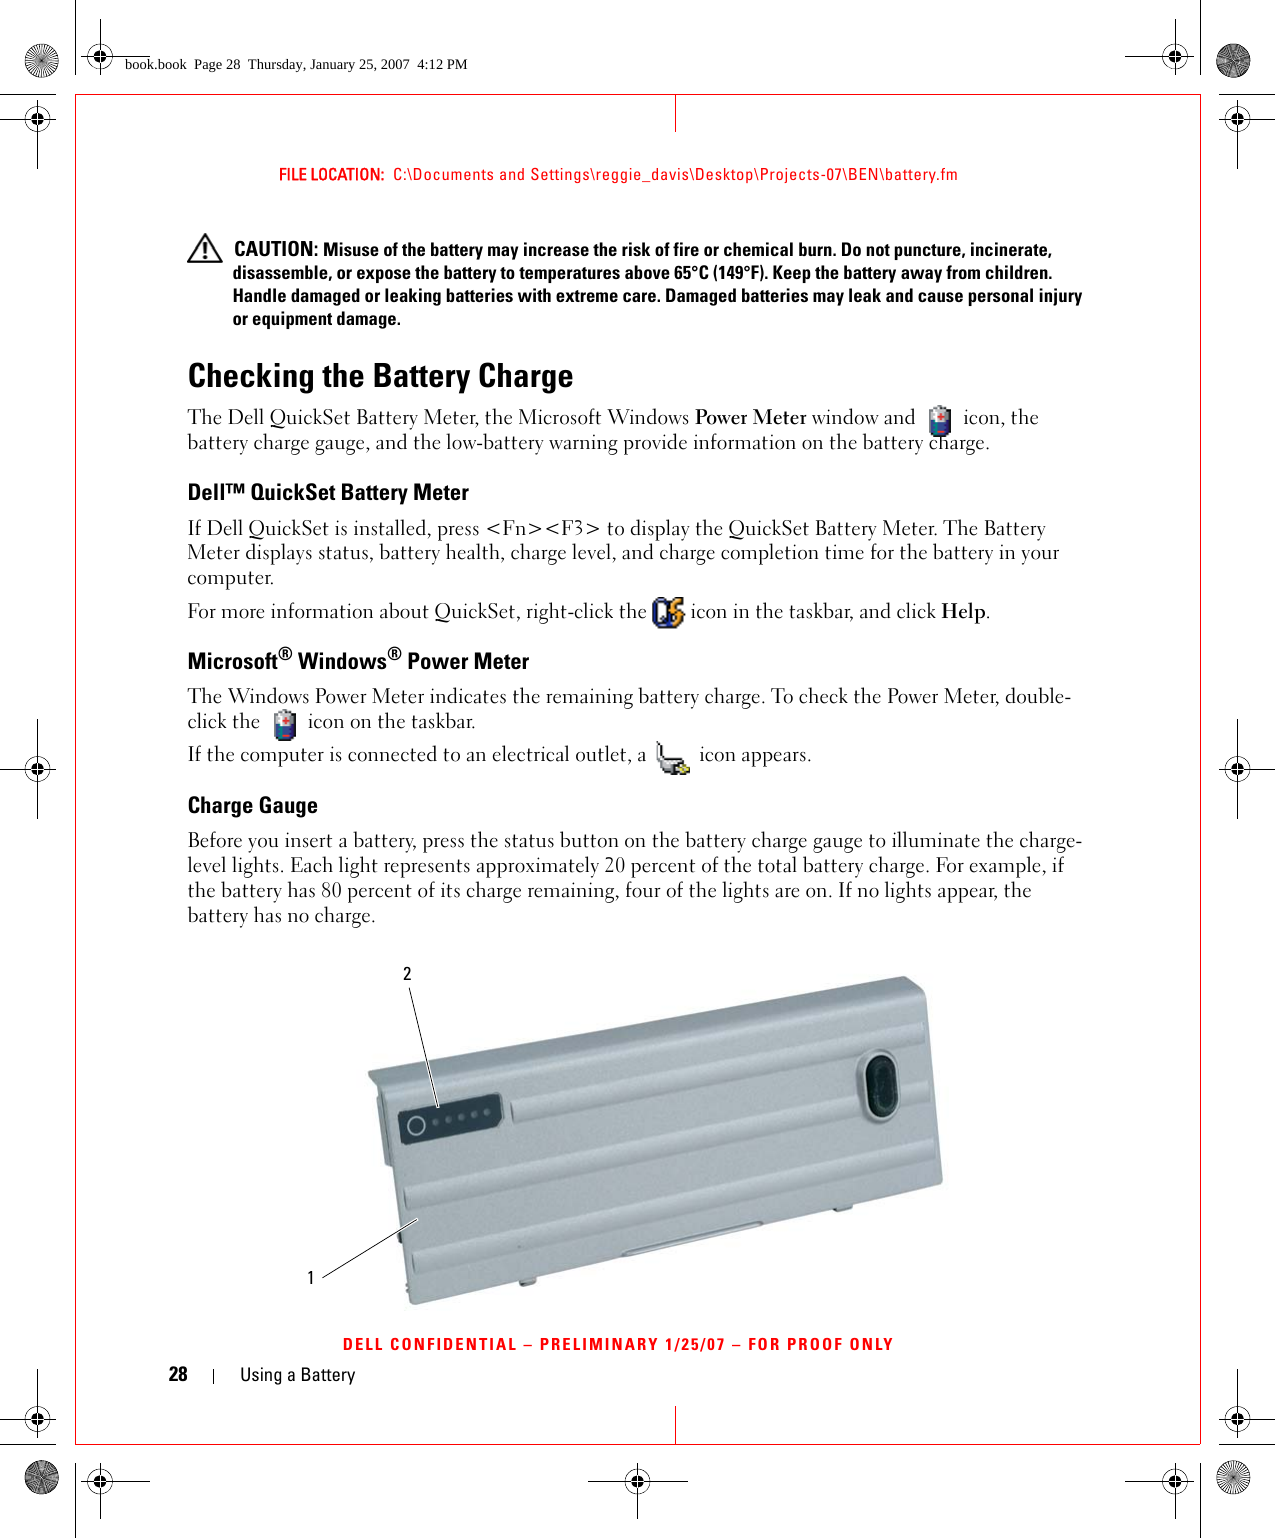

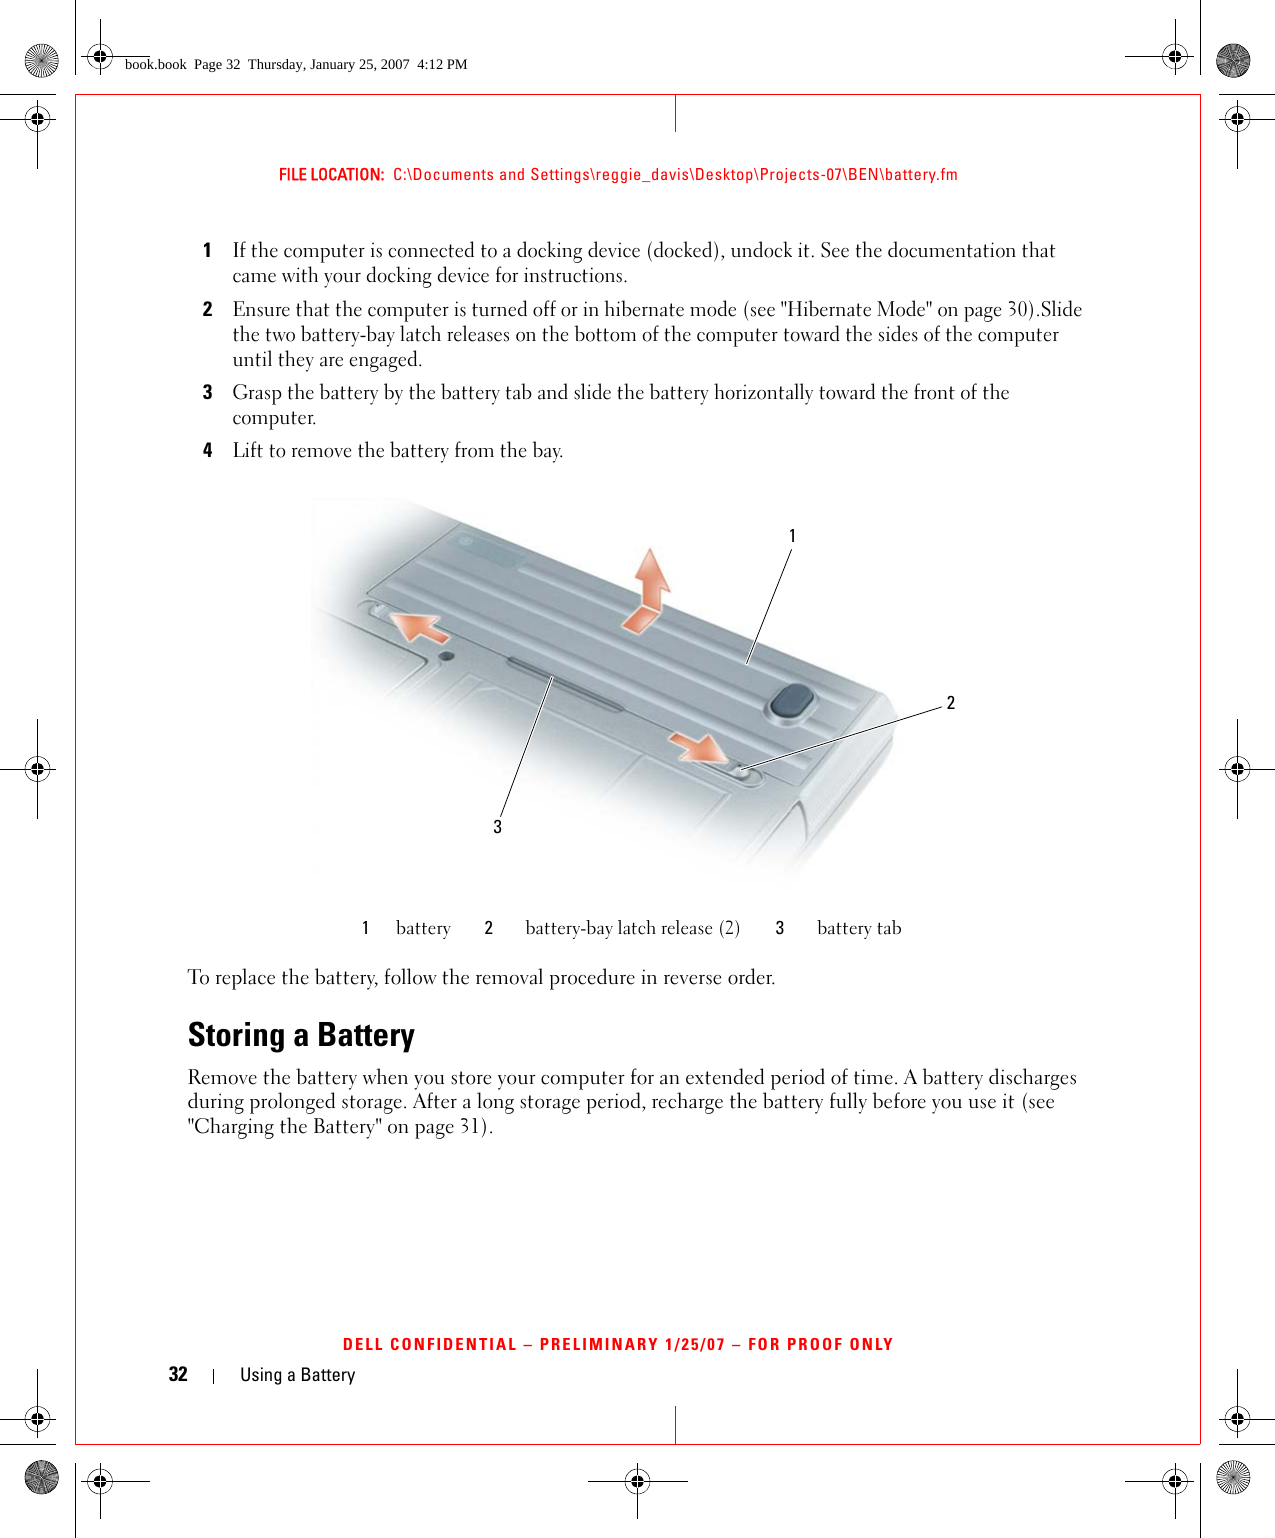
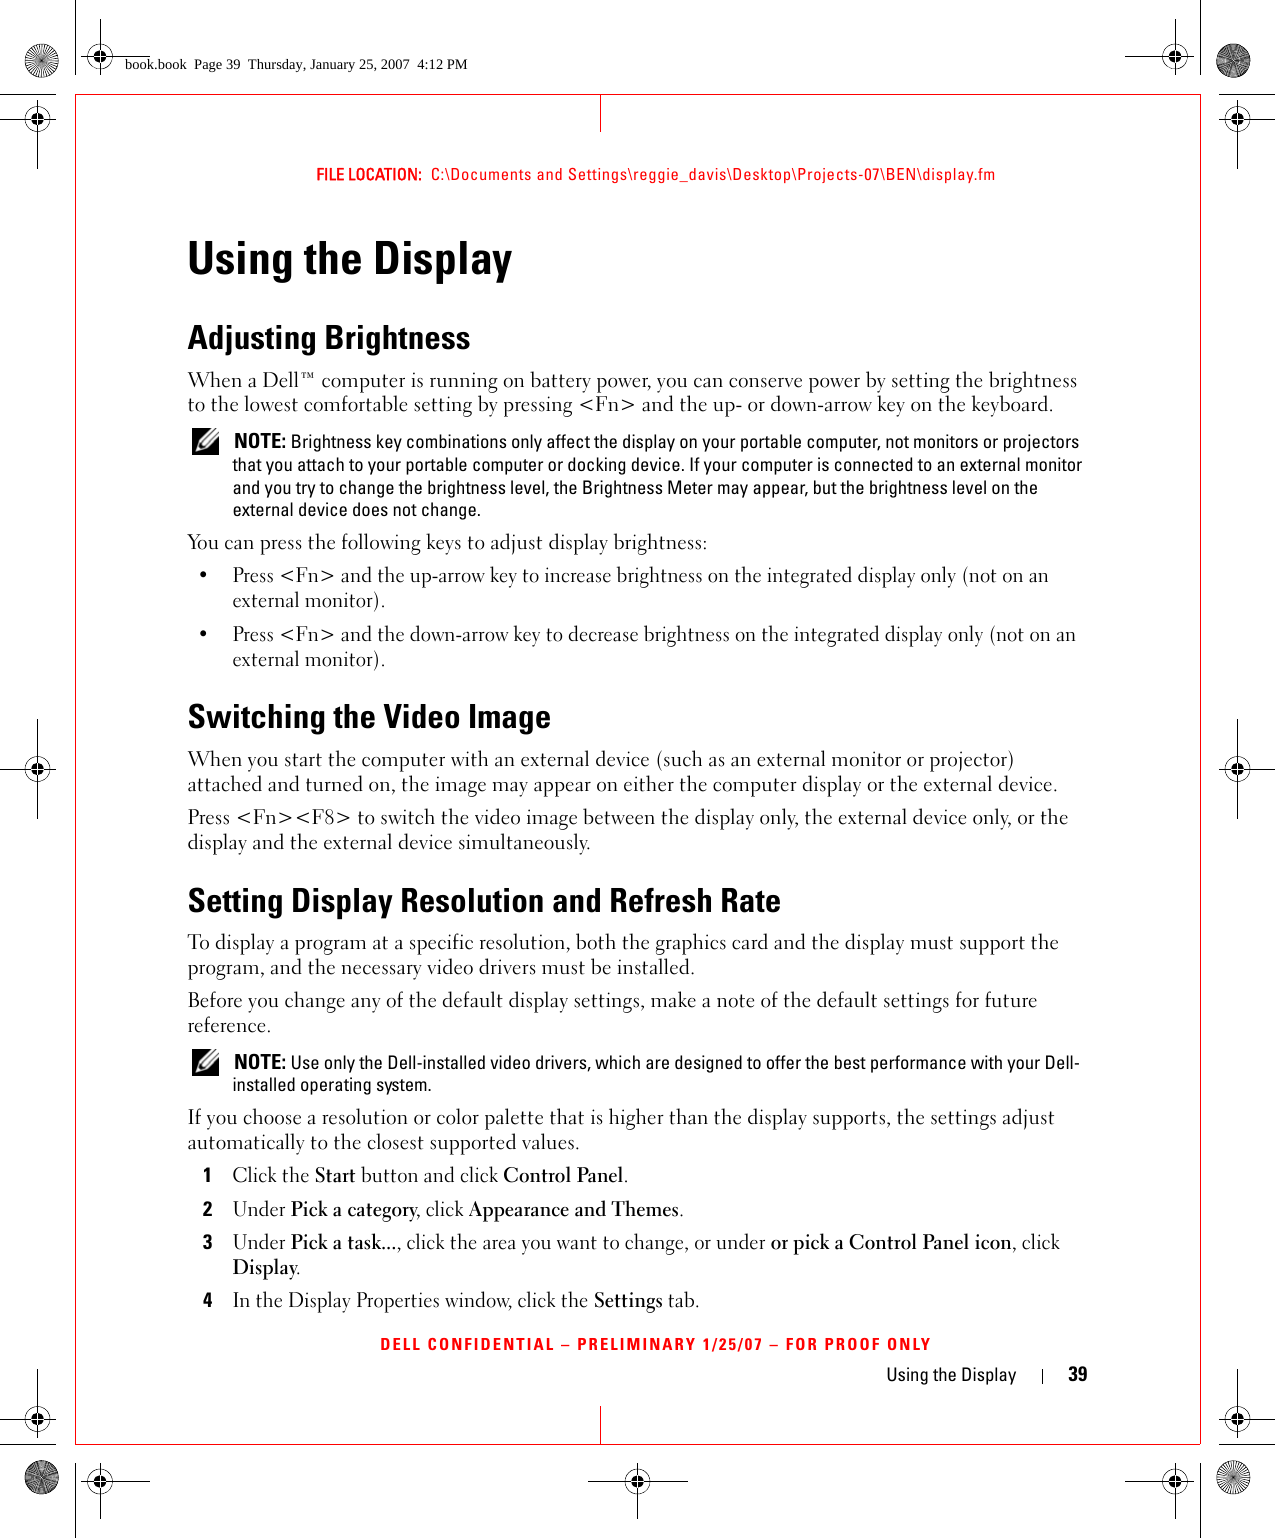

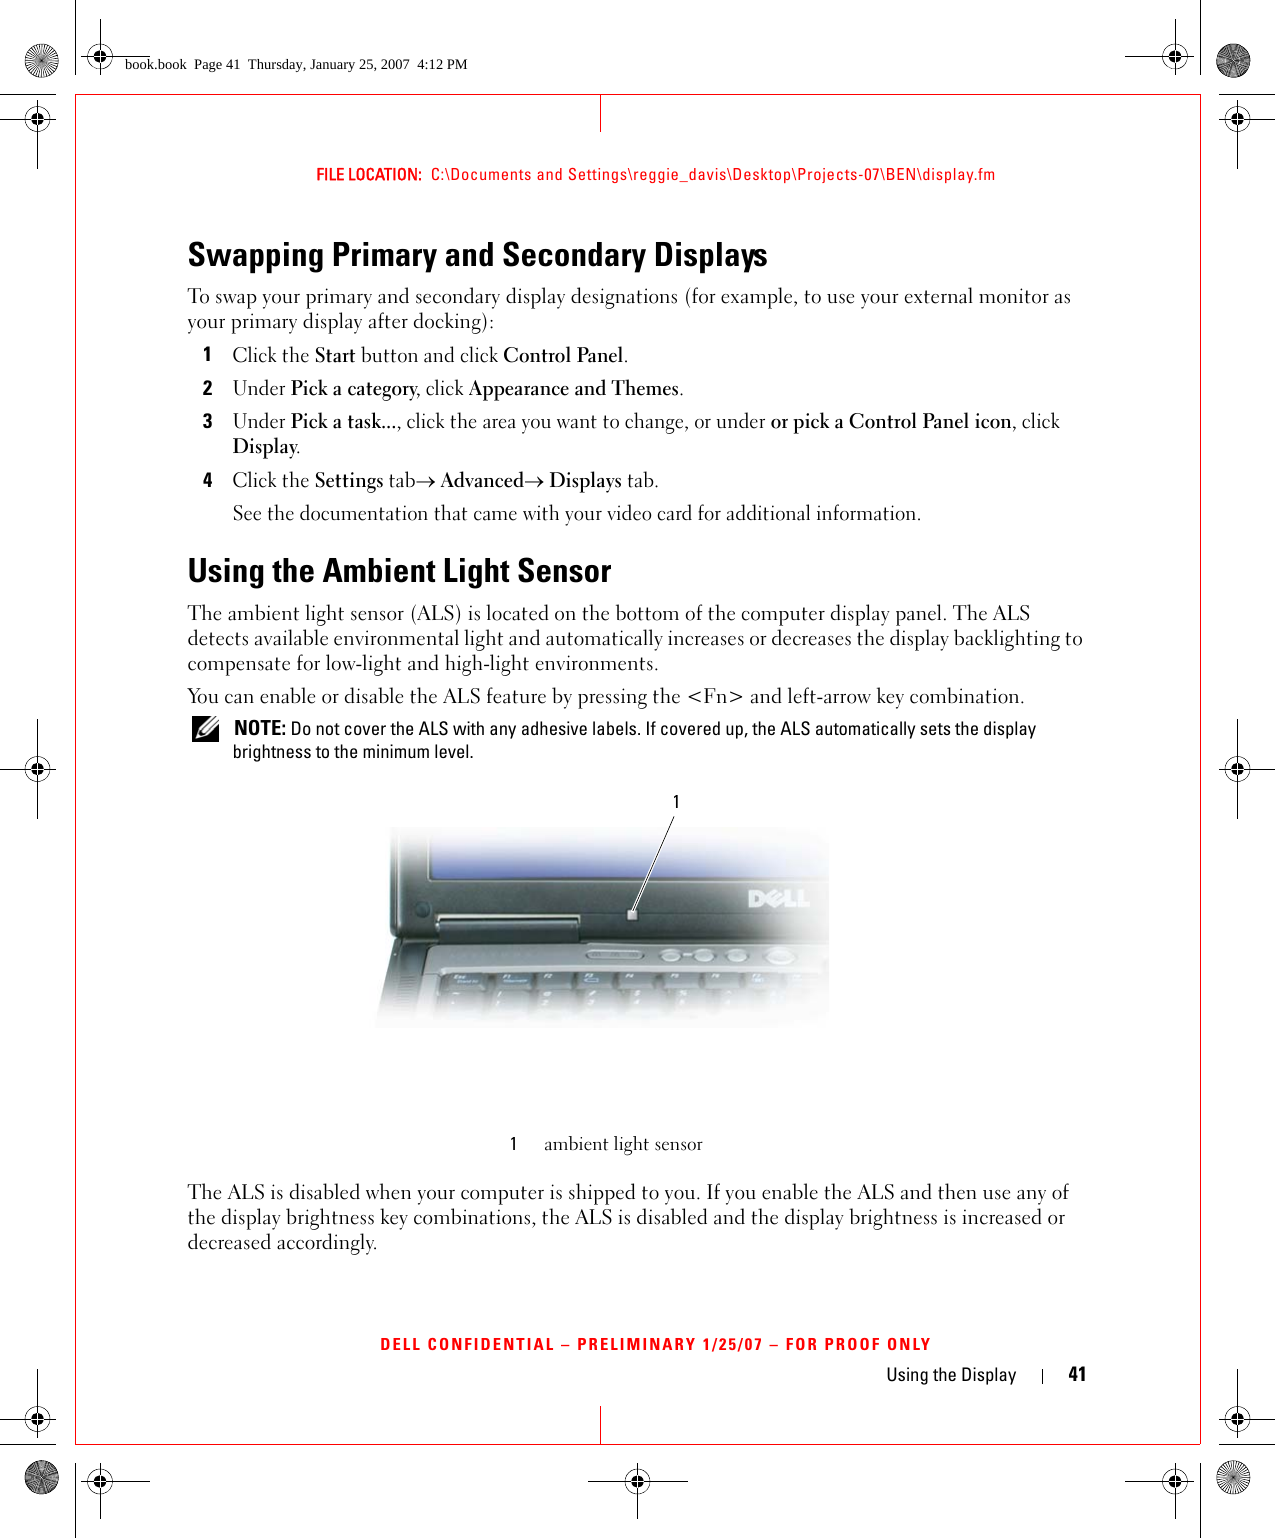


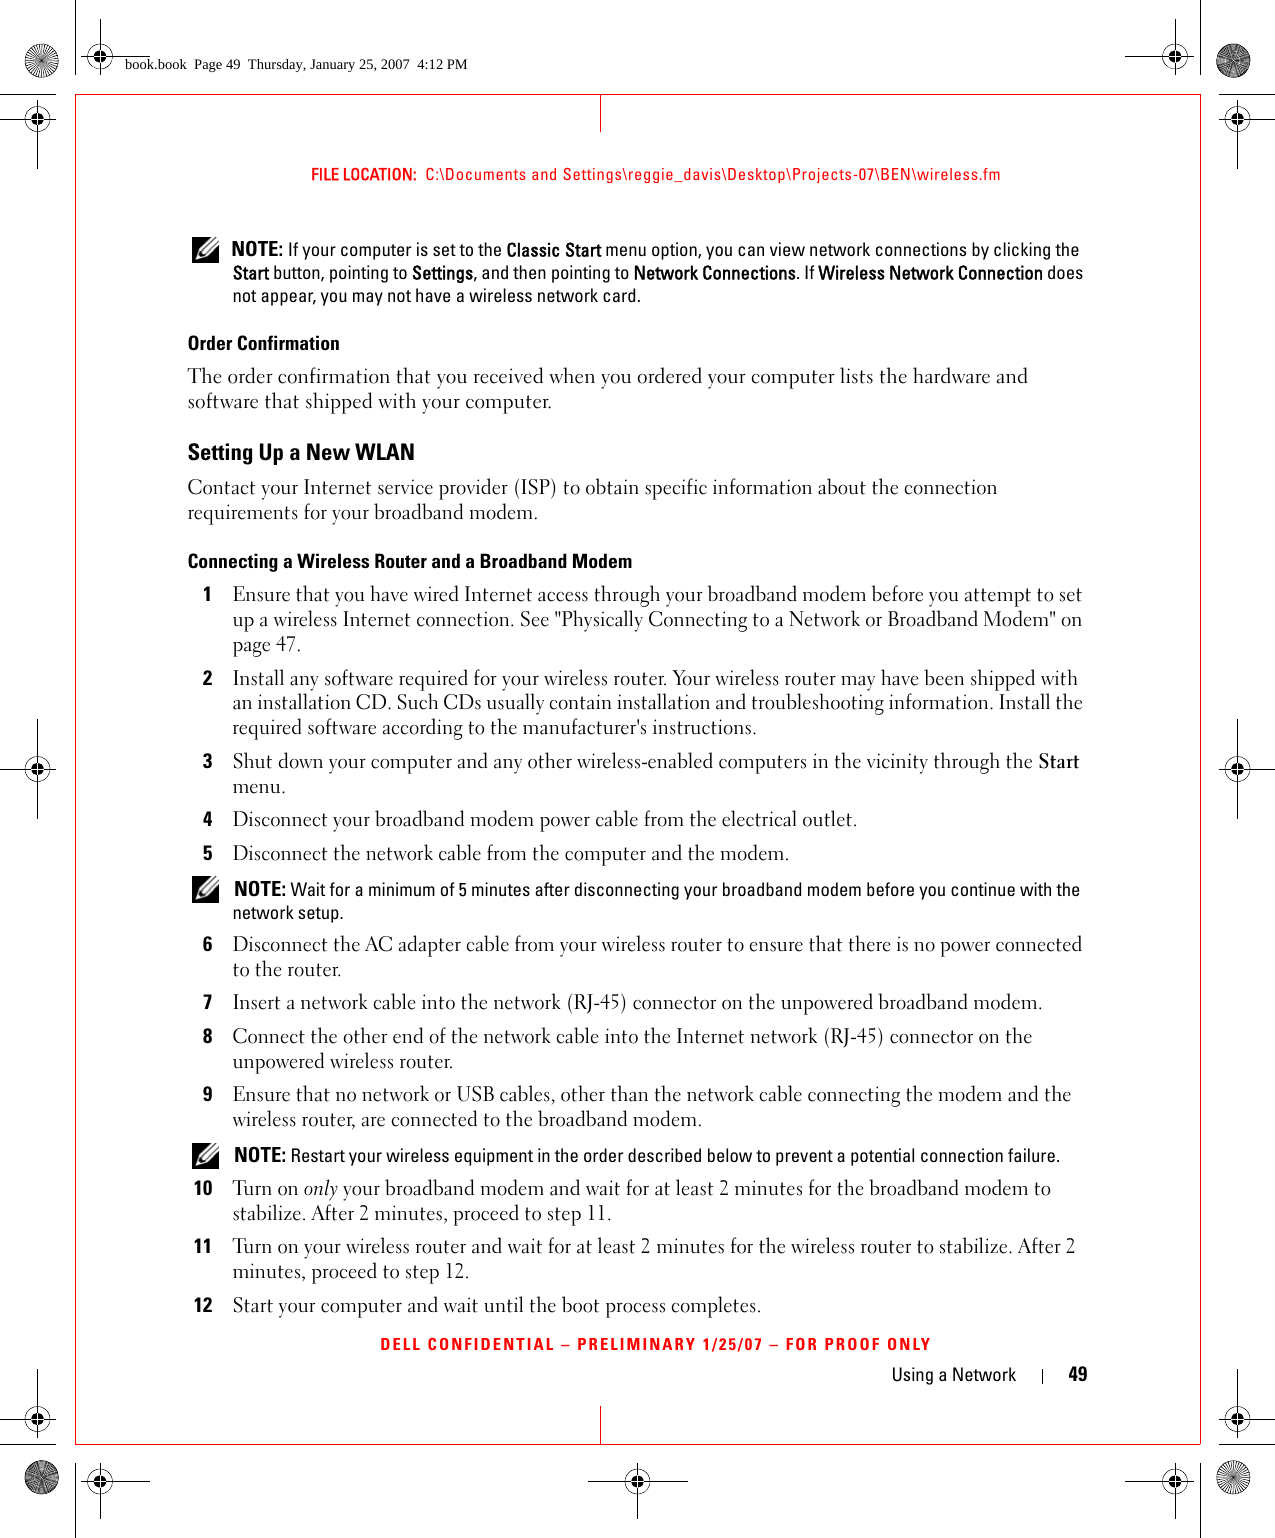
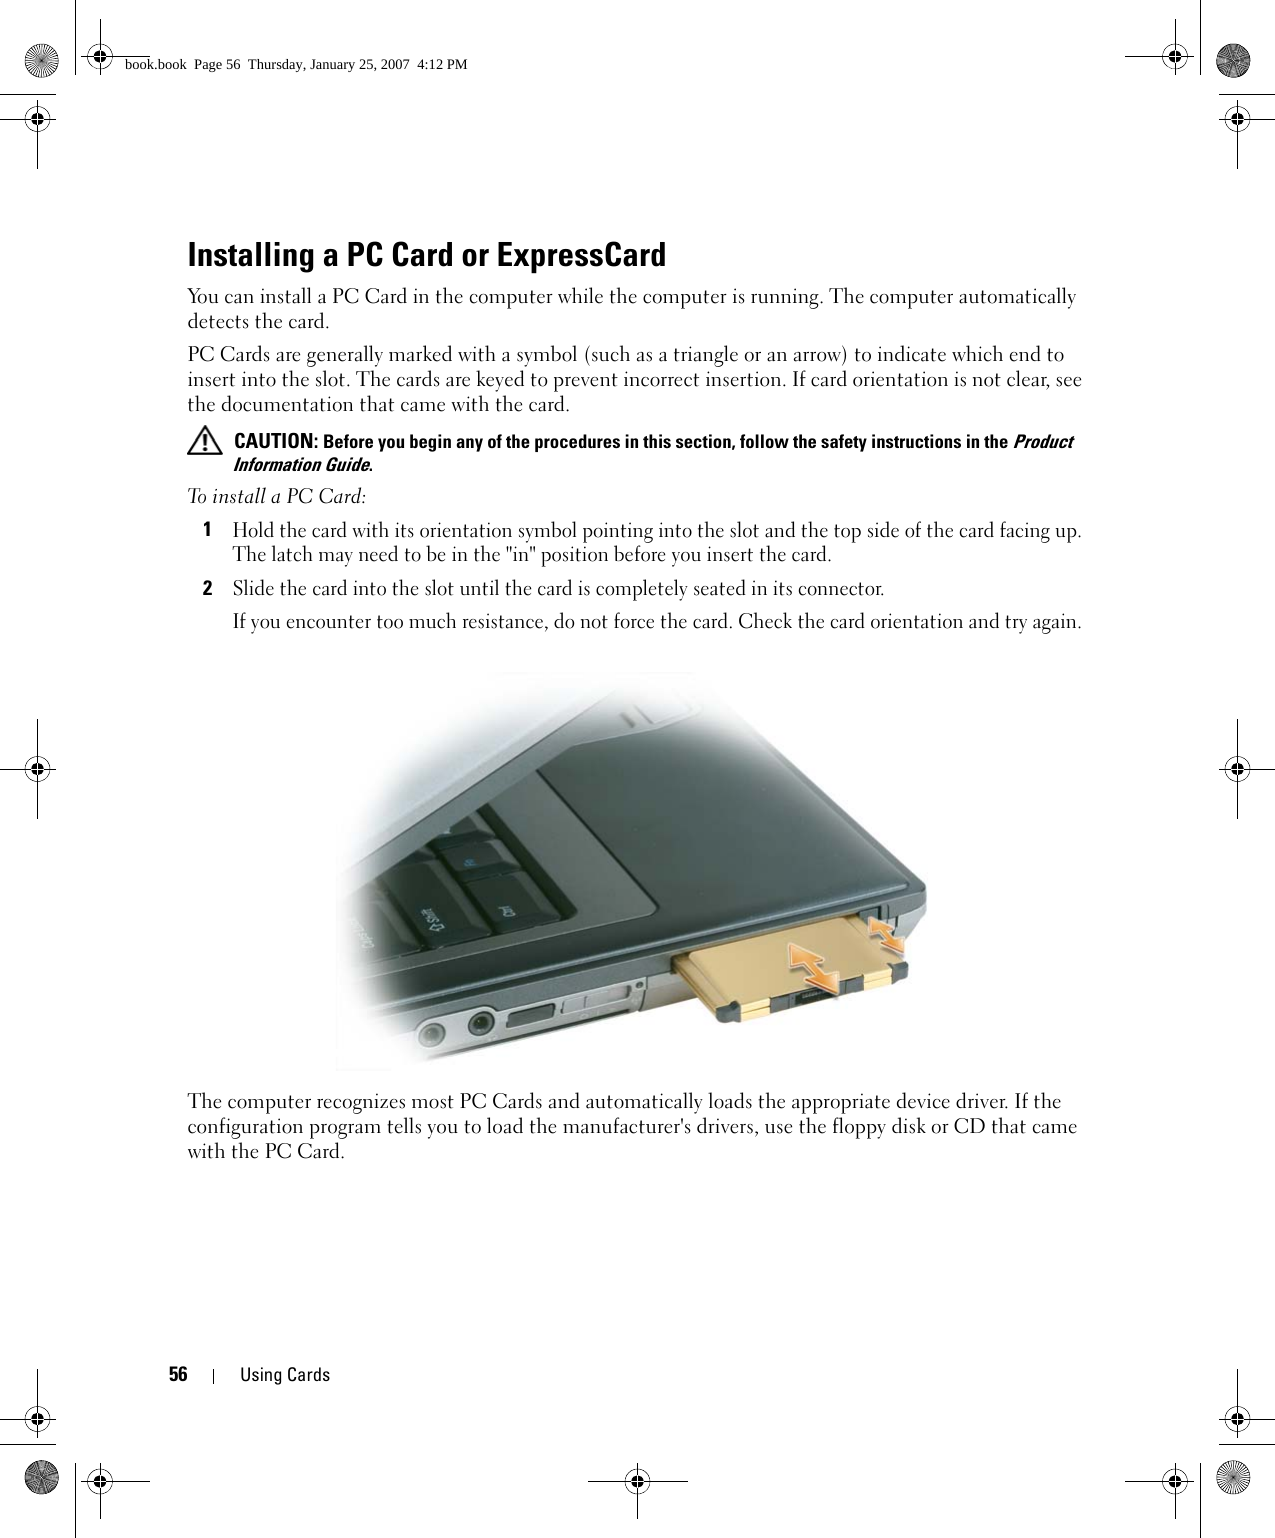
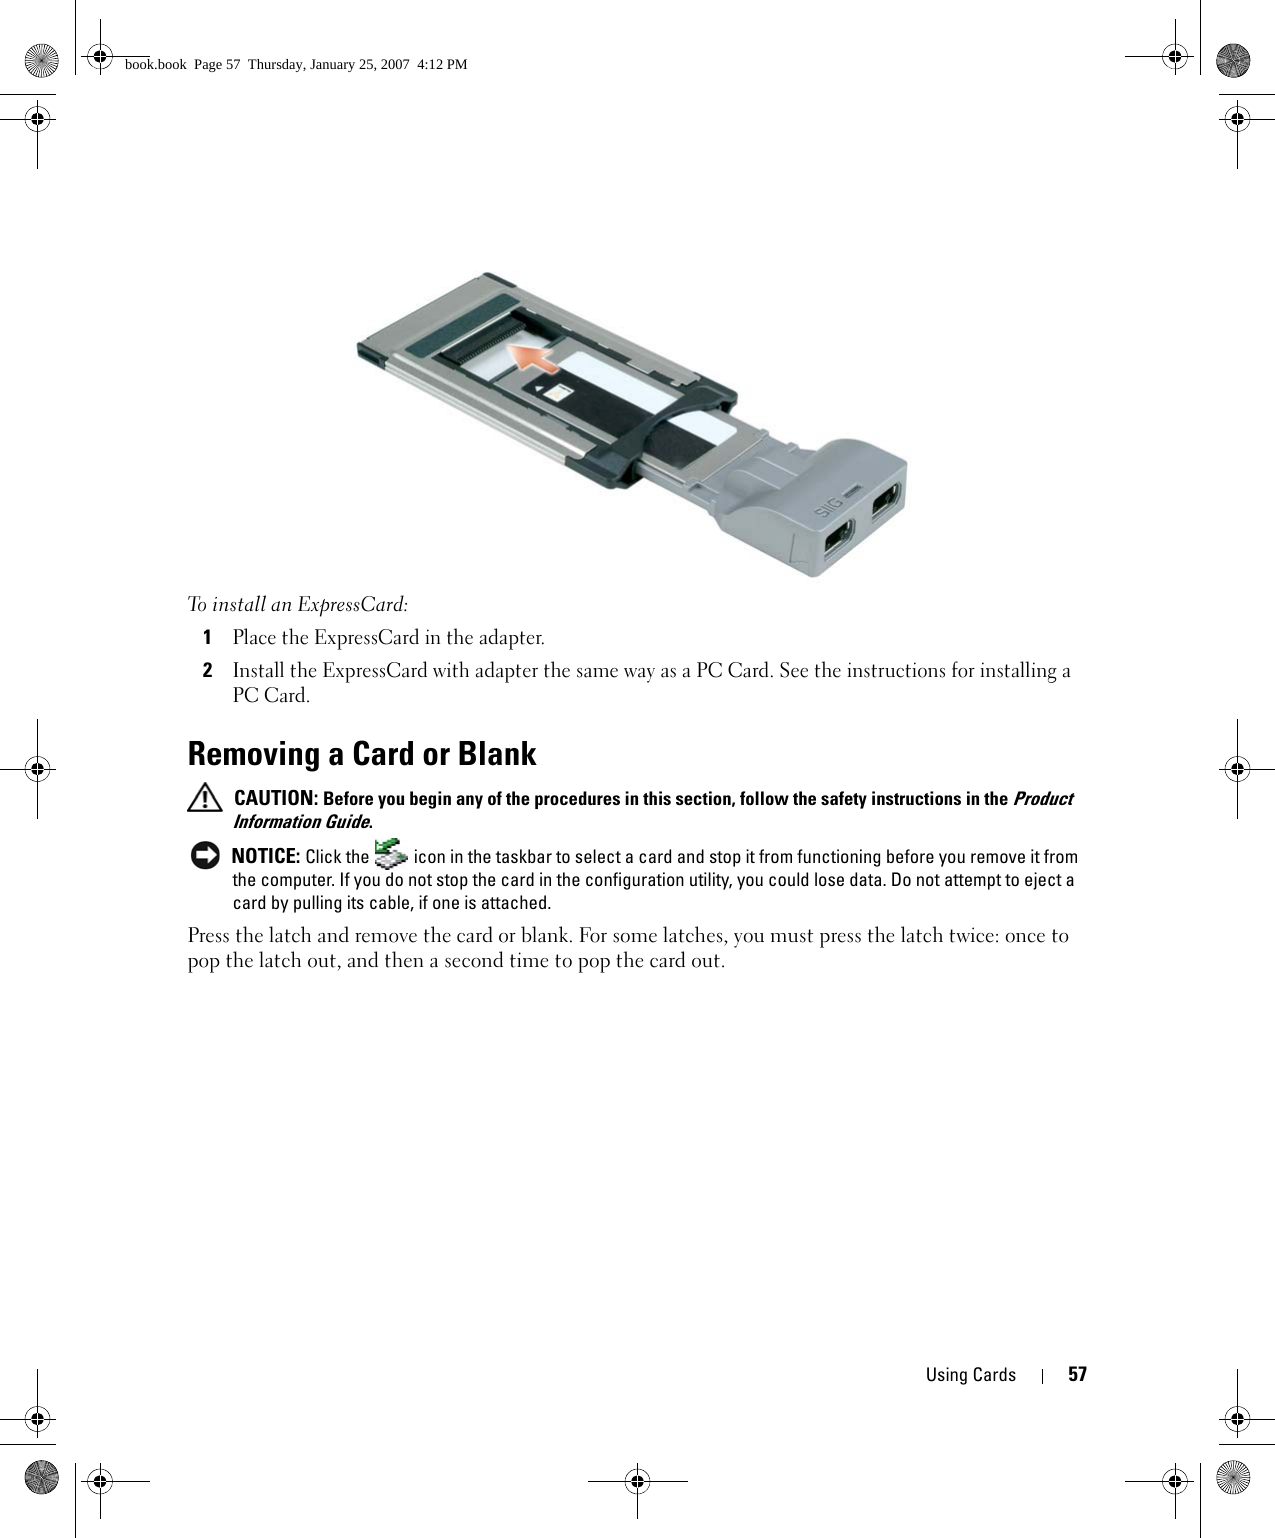
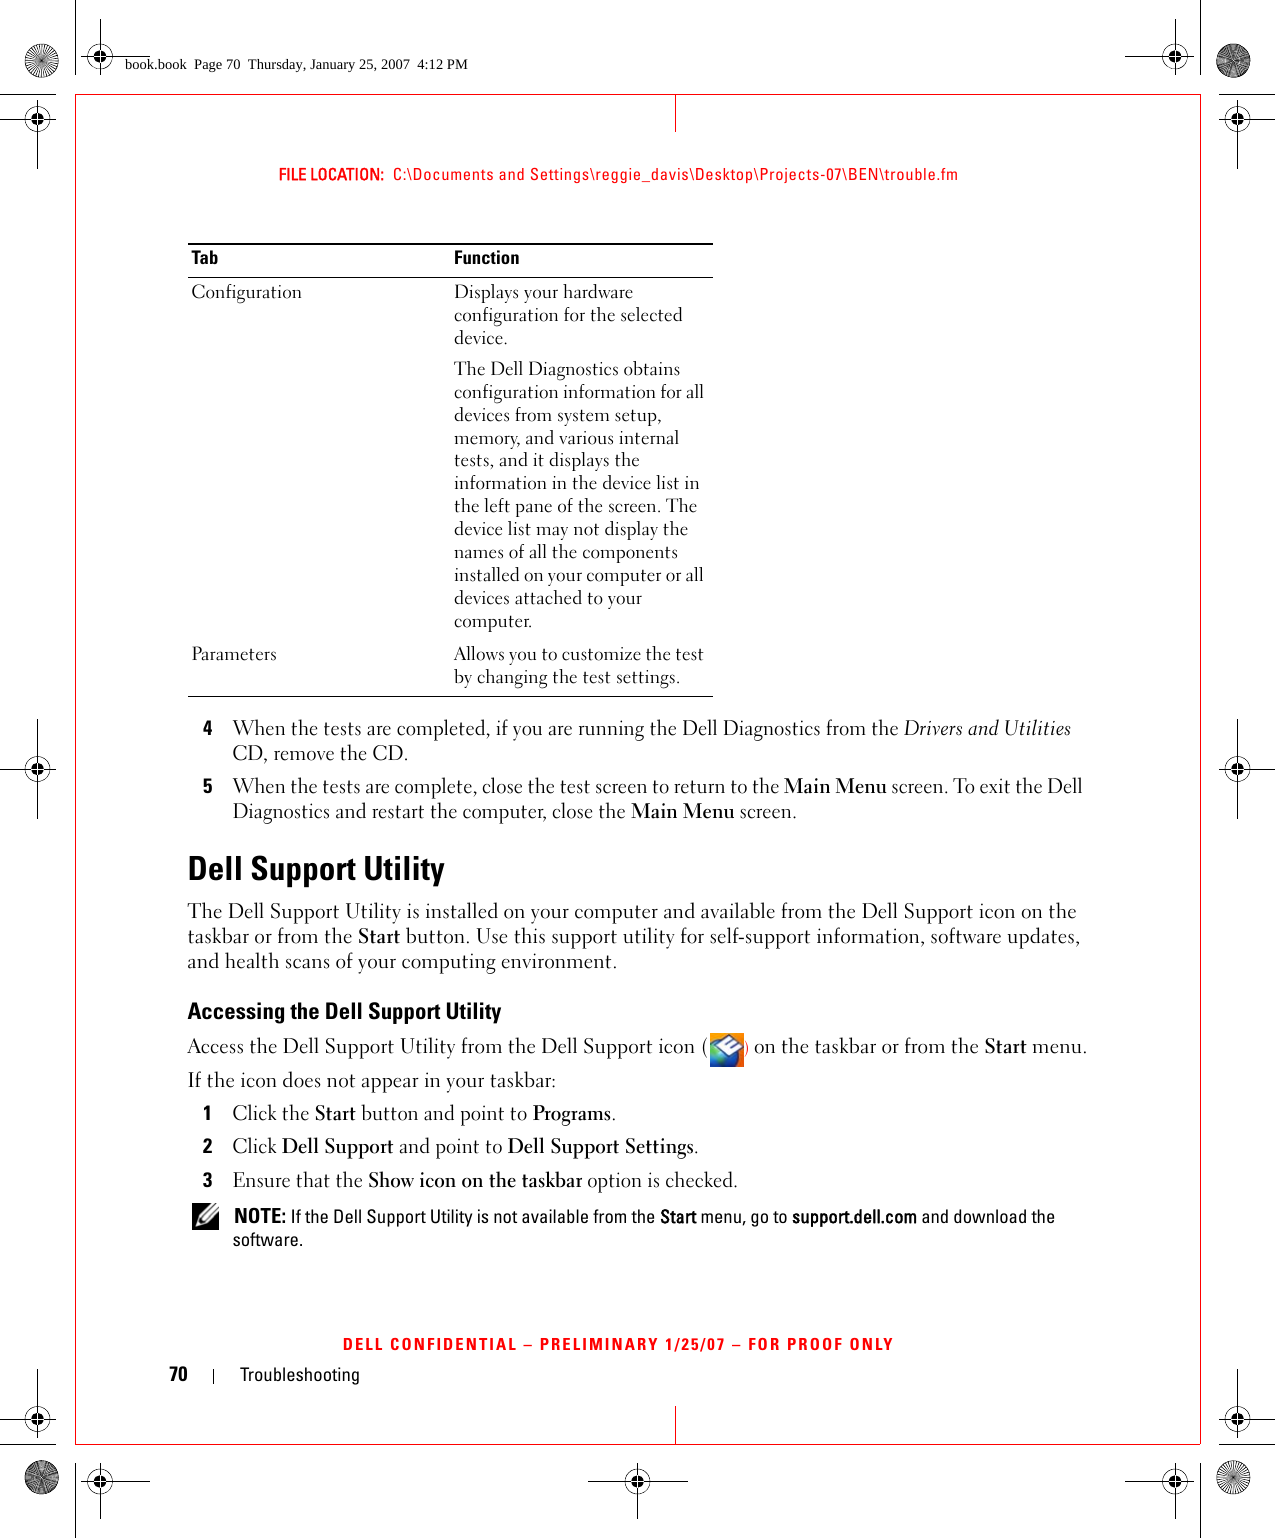
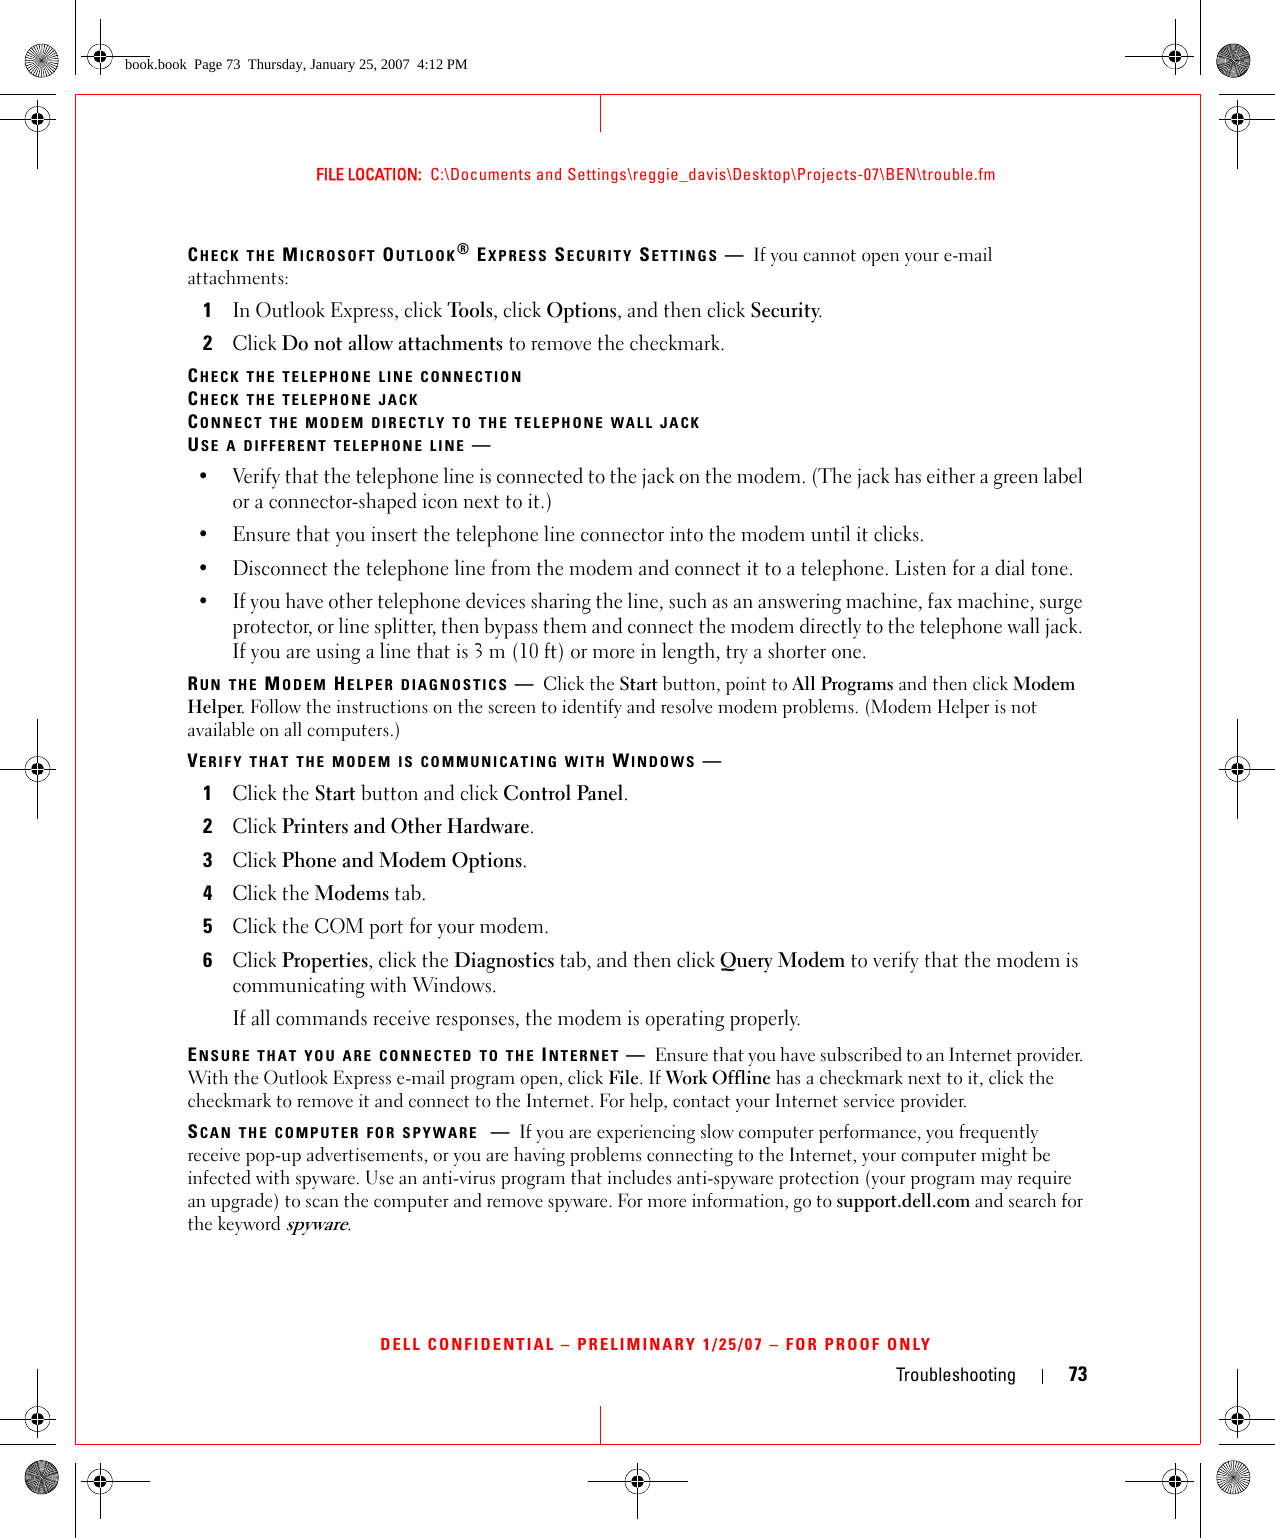
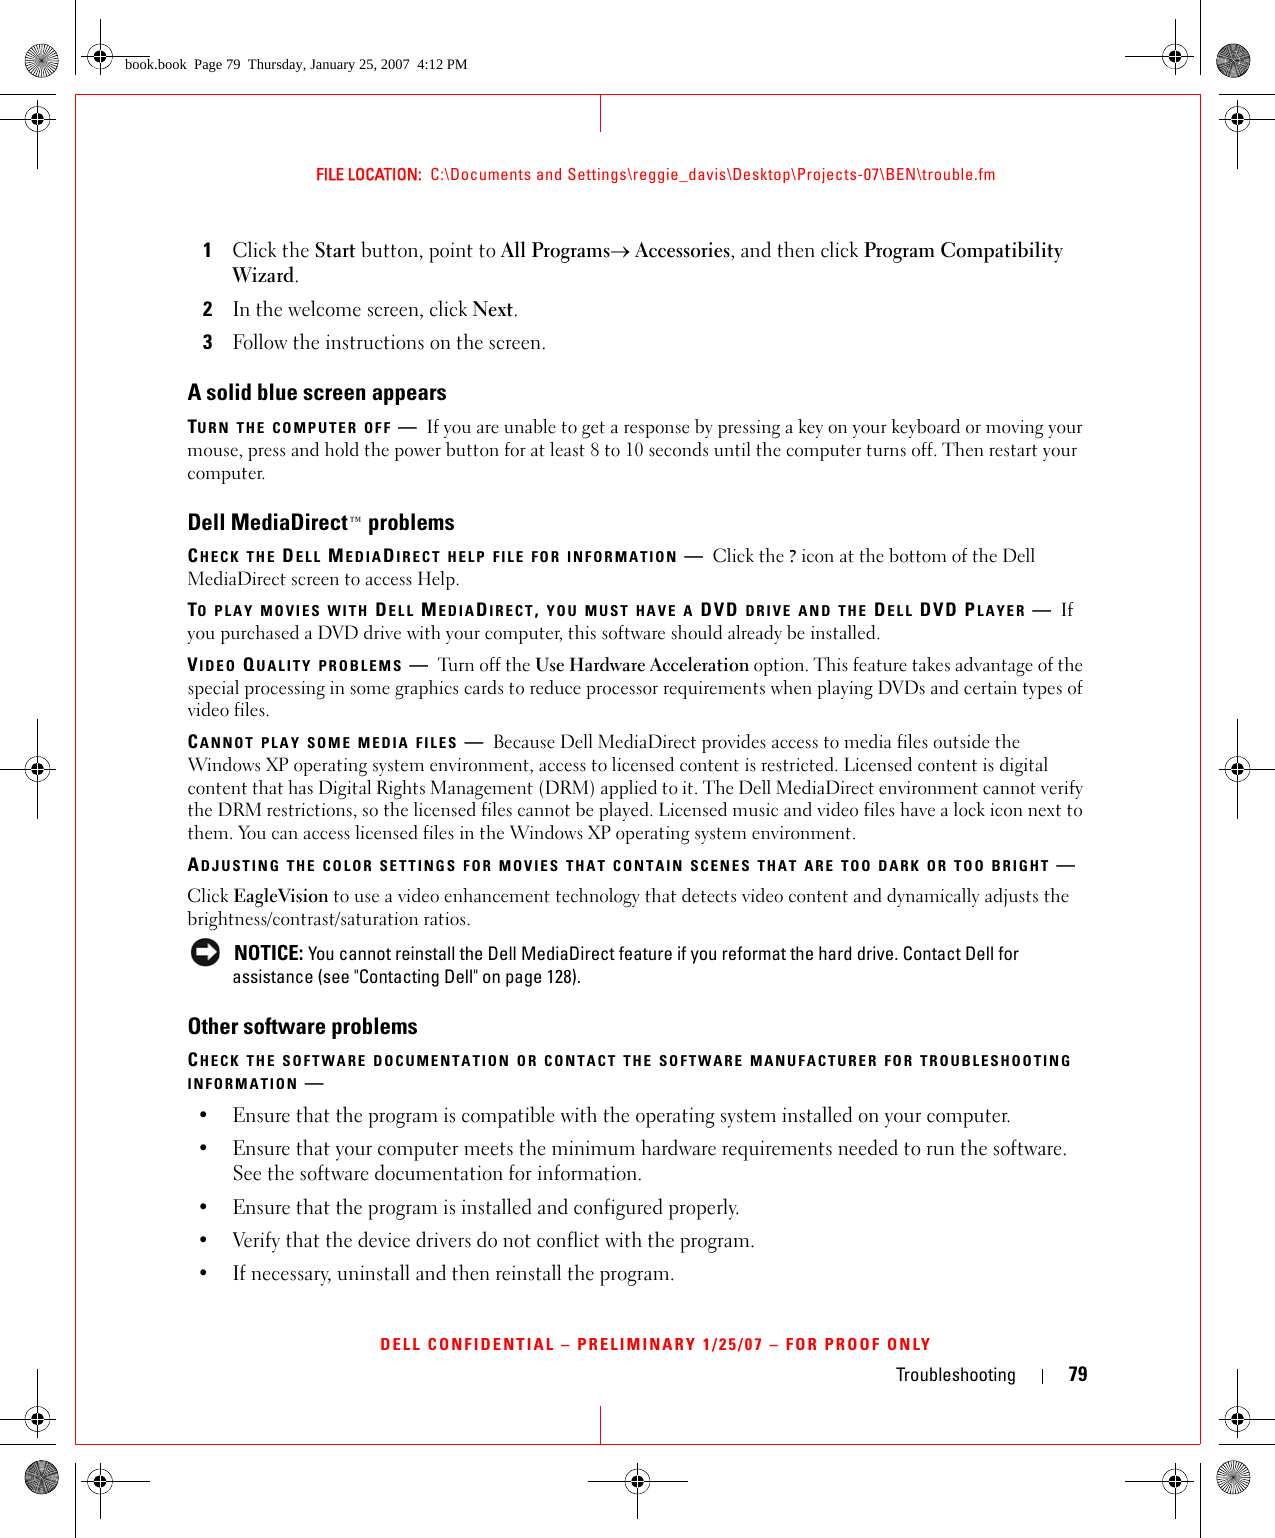
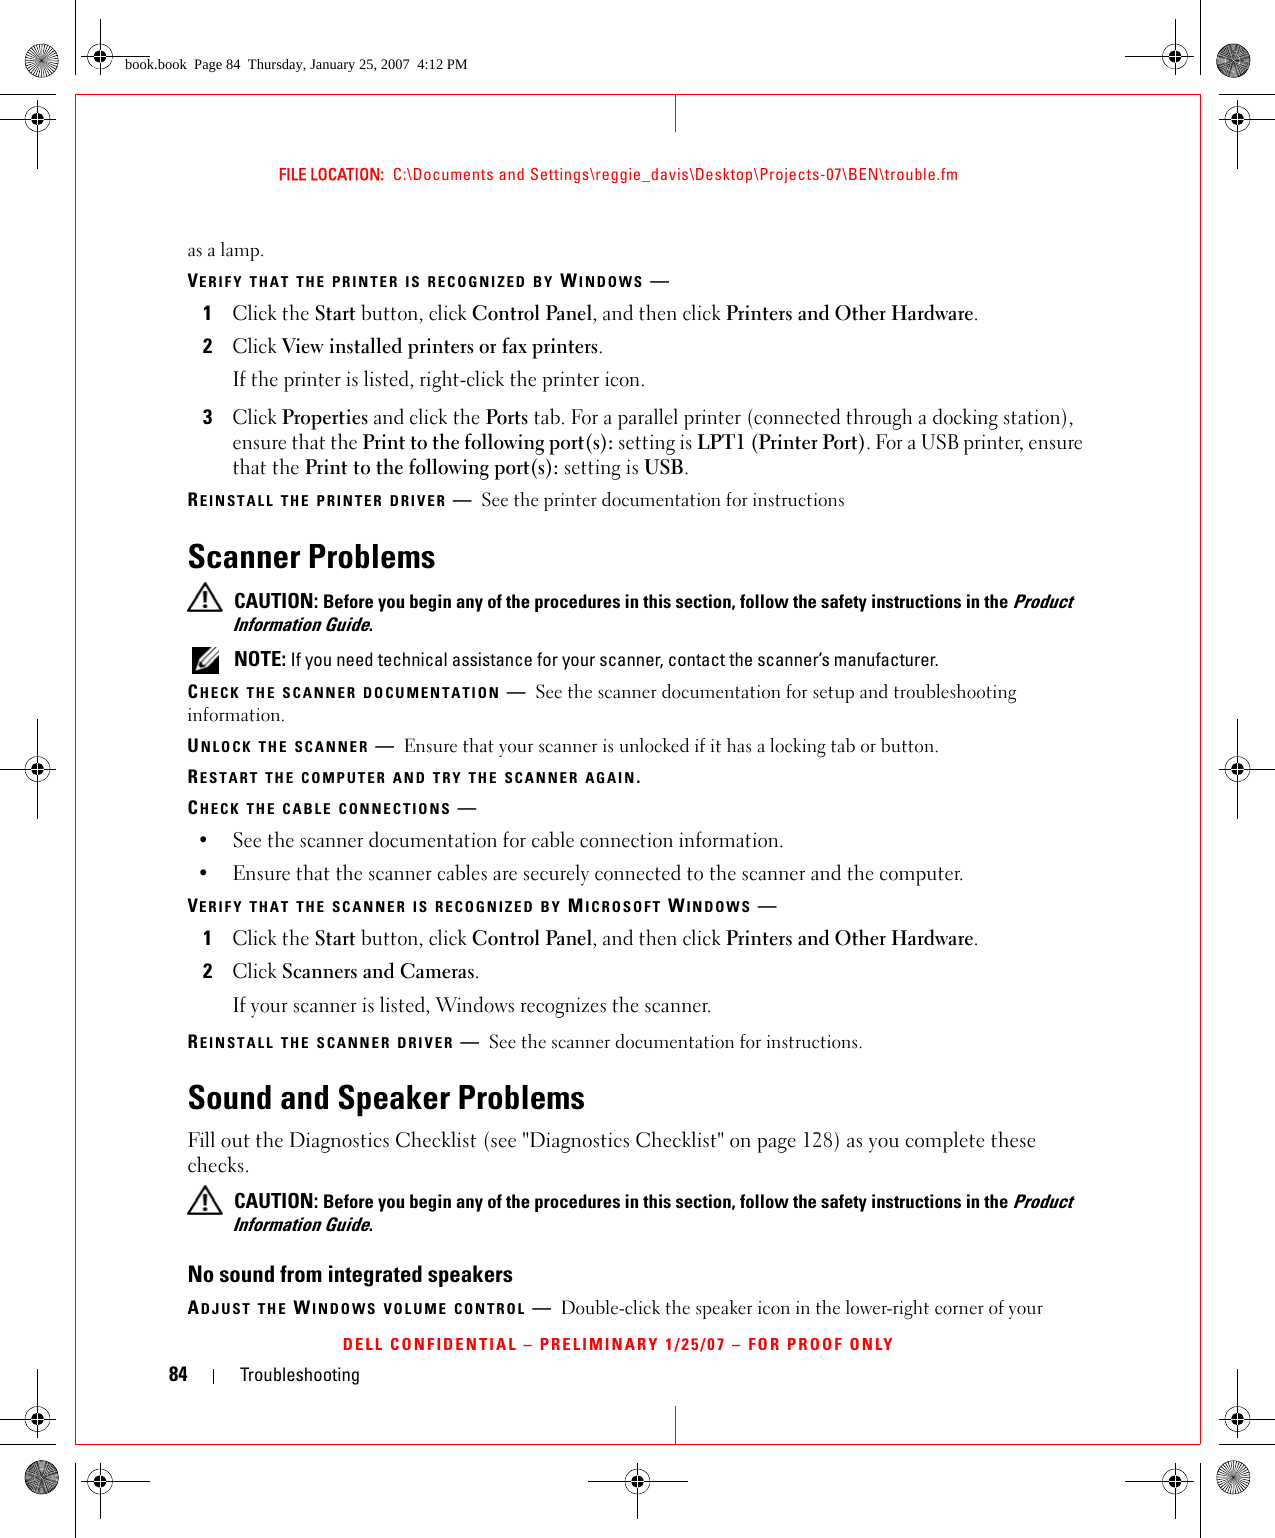
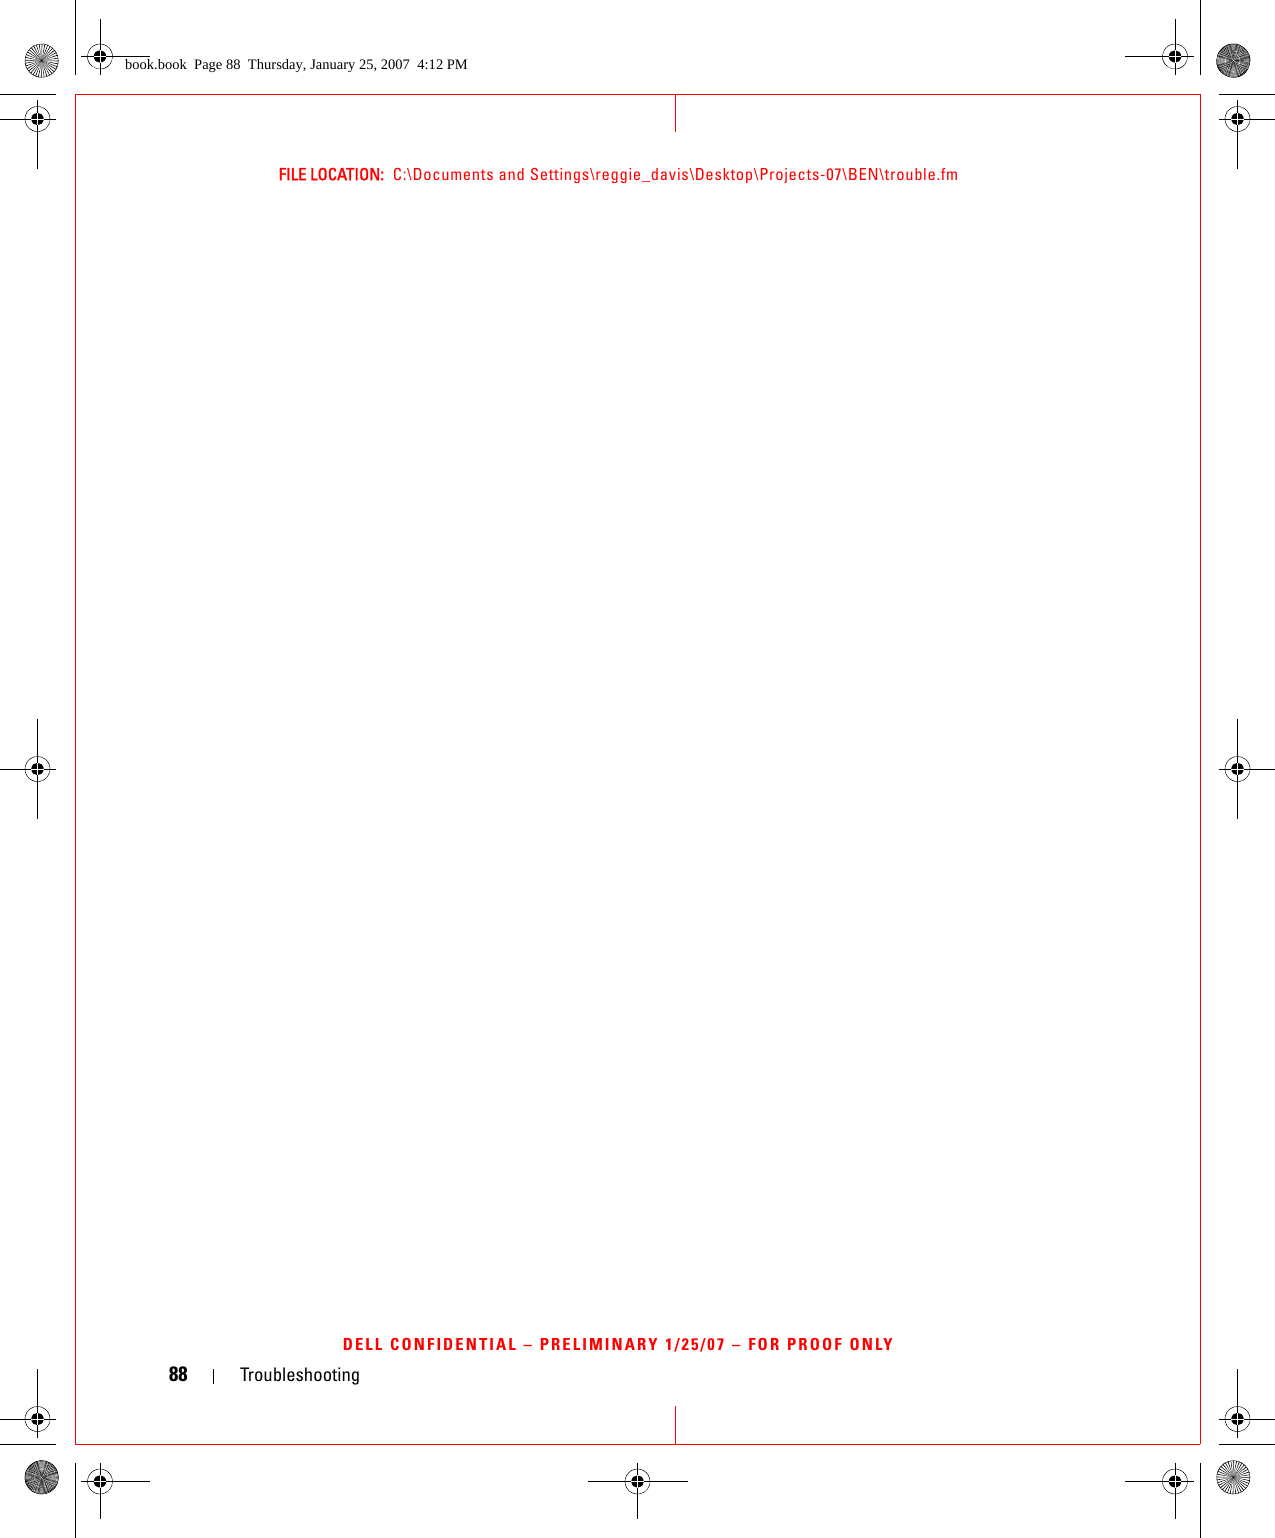
![Using Cards 55Using Cards NOTE: Electrical and electronic devices are sensitive to electrostatic discharge (ESD). If a substantial ESD occurs, the device may reset and the device software may attempt to reinitialize a connection. If the software is not operational after an ESD occurrence, restart the modem software program.Card TypesPC CardsSee "Specifications" on page 147 for information on supported PC Cards. NOTE: A PC Card is not a bootable device.The PC Card slot has one connector that supports a single Type I or Type II card. The PC Card slot supports CardBus technology and extended PC Cards. "Type" of card refers to its thickness, not its functionality.ExpressCards See "Specifications" on page 147 for information on supported ExpressCards. NOTE: An ExpressCard is not a bootable device.ExpressCards leverage PC Card technology to provide a fast and convenient way to add memory, wired and wireless network communications (including Mobile Broadband network [also known as WWAN] communications), multimedia, and security features to your computer. To use an ExpressCard in the PC Card slot, you must use an adapter.Card BlanksYour computer shipped with a plastic blank installed in the card slots. Blanks protect unused slots from dust and other particles. Save the blank for use when no PC card is installed in the slot; blanks from other computers may not fit your computer.To remove the blank, see "Removing a Card or Blank" on page 57.Extended CardsAn extended PC Card (for example, a wireless network adapter) is longer than a standard PC Card and extends outside the computer. Follow these precautions when using extended PC Cards:• Protect the exposed end of an installed card. Striking the end of the card can damage the system board.• Always remove an extended PC Card before you pack the computer in its carrying case.book.book Page 55 Thursday, January 25, 2007 4:12 PM](https://usermanual.wiki/Inseego/NVWE725.Manual-6/User-Guide-780489-Page-55.png)


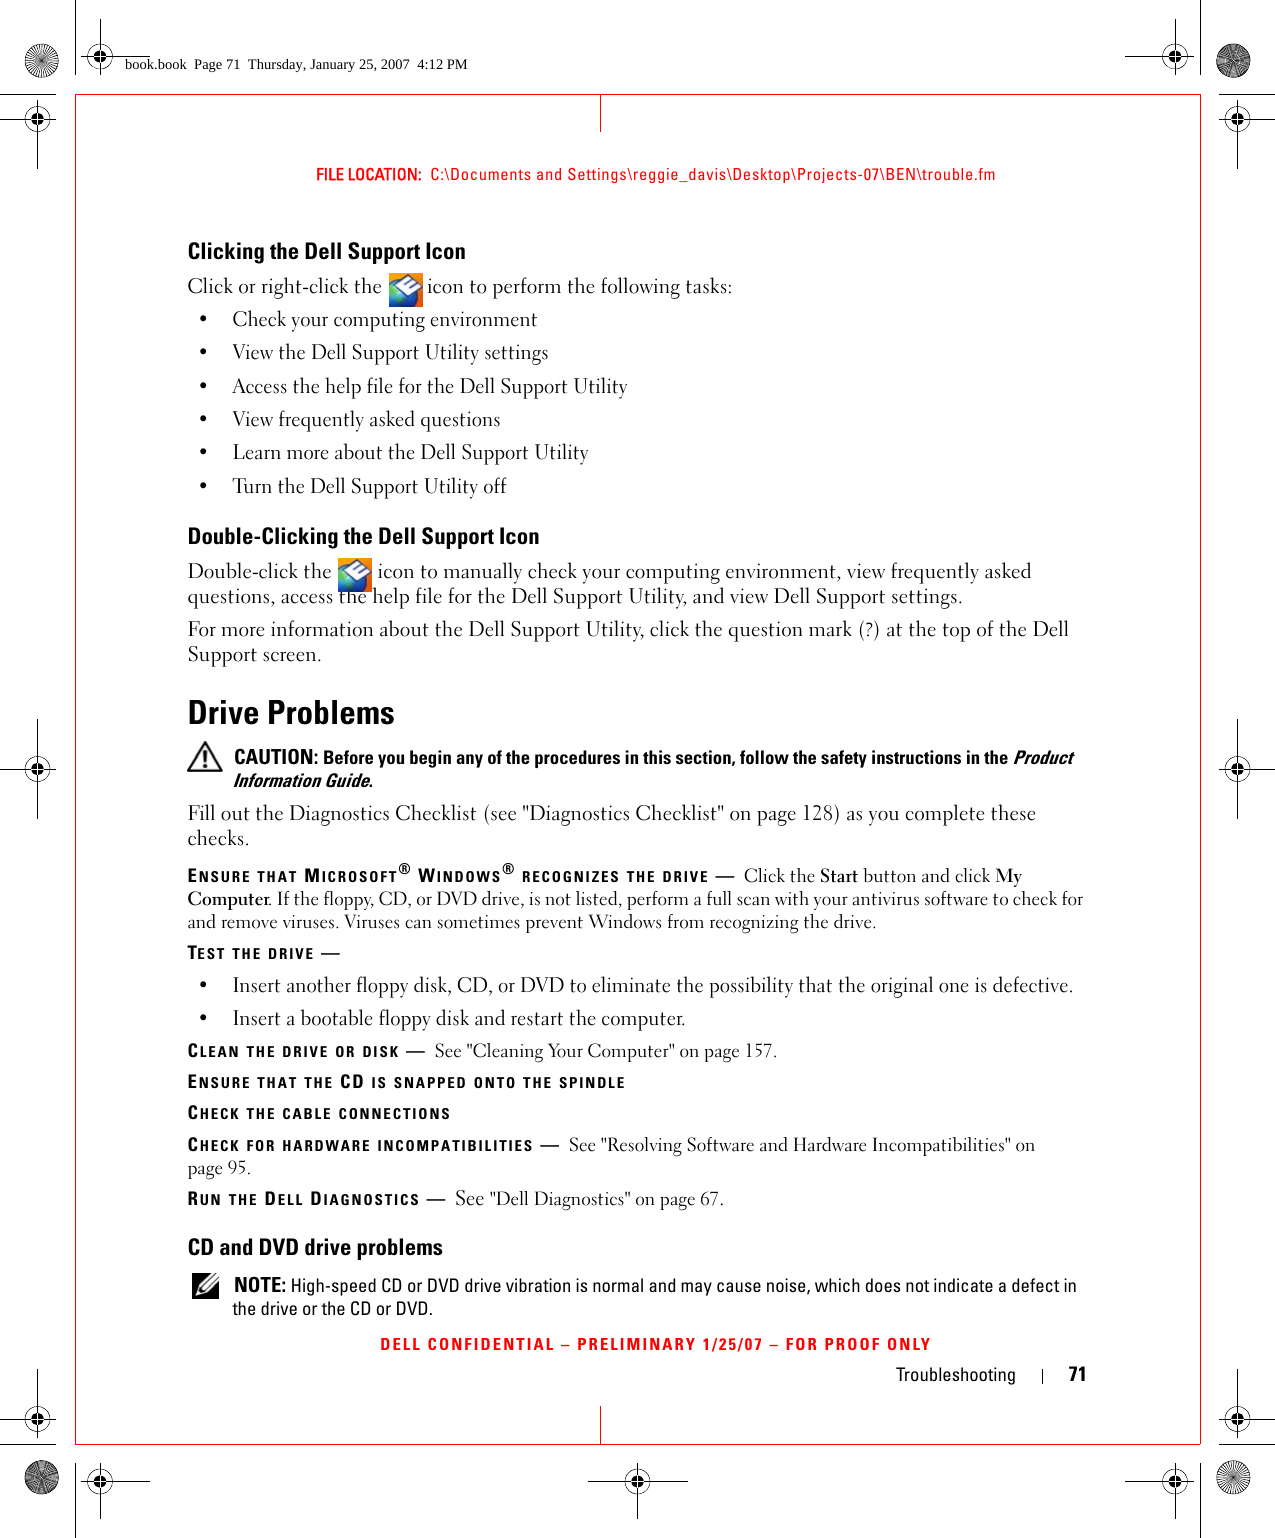
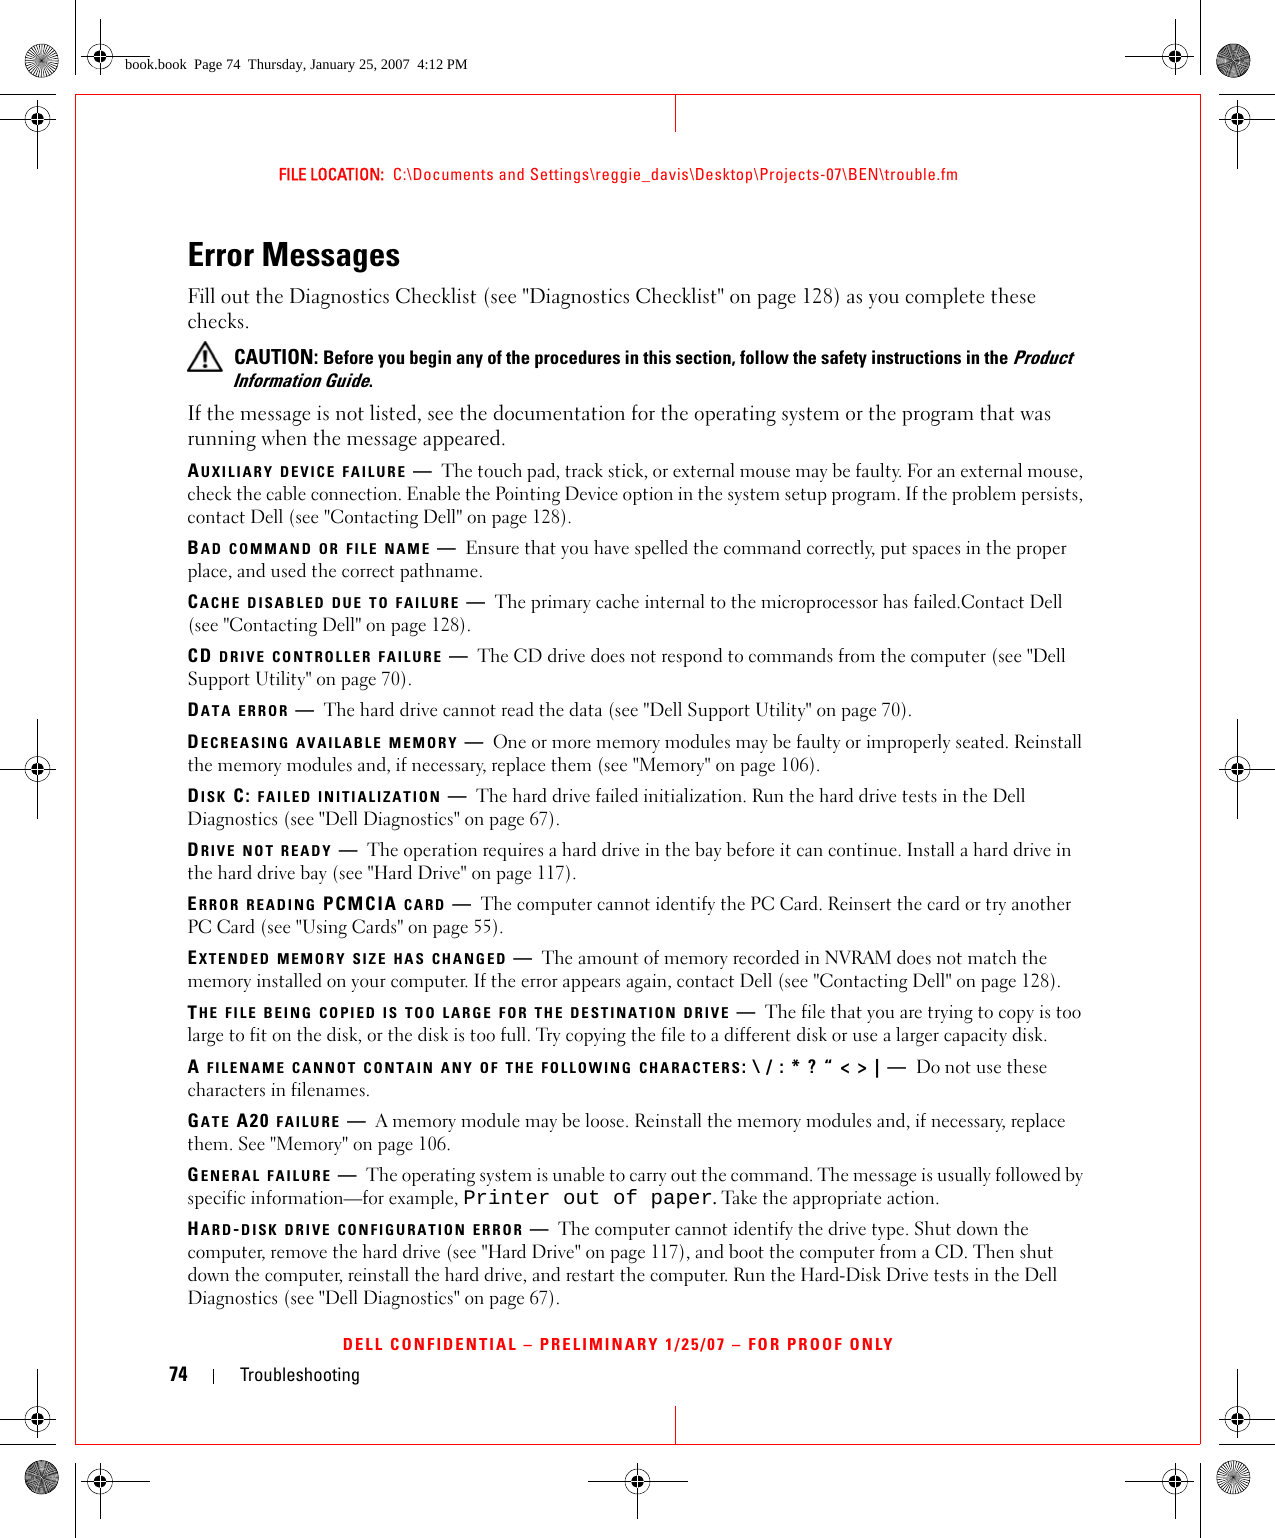

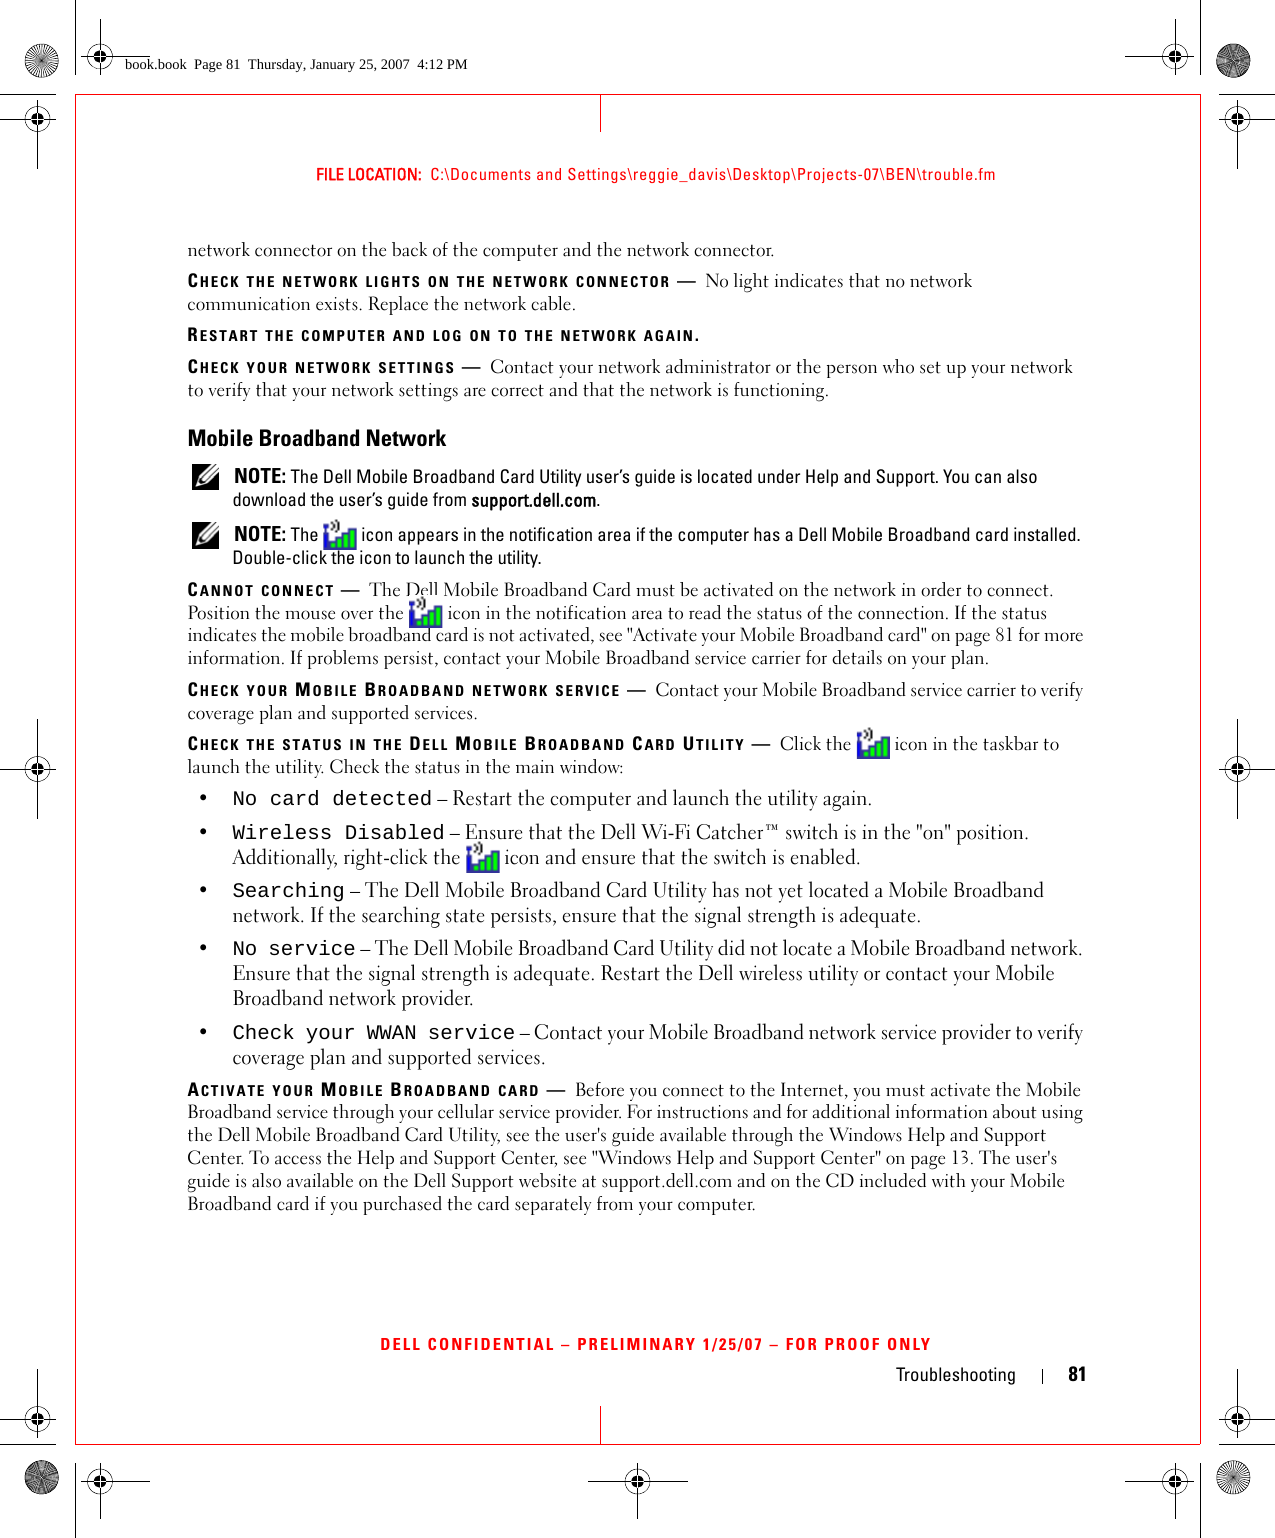
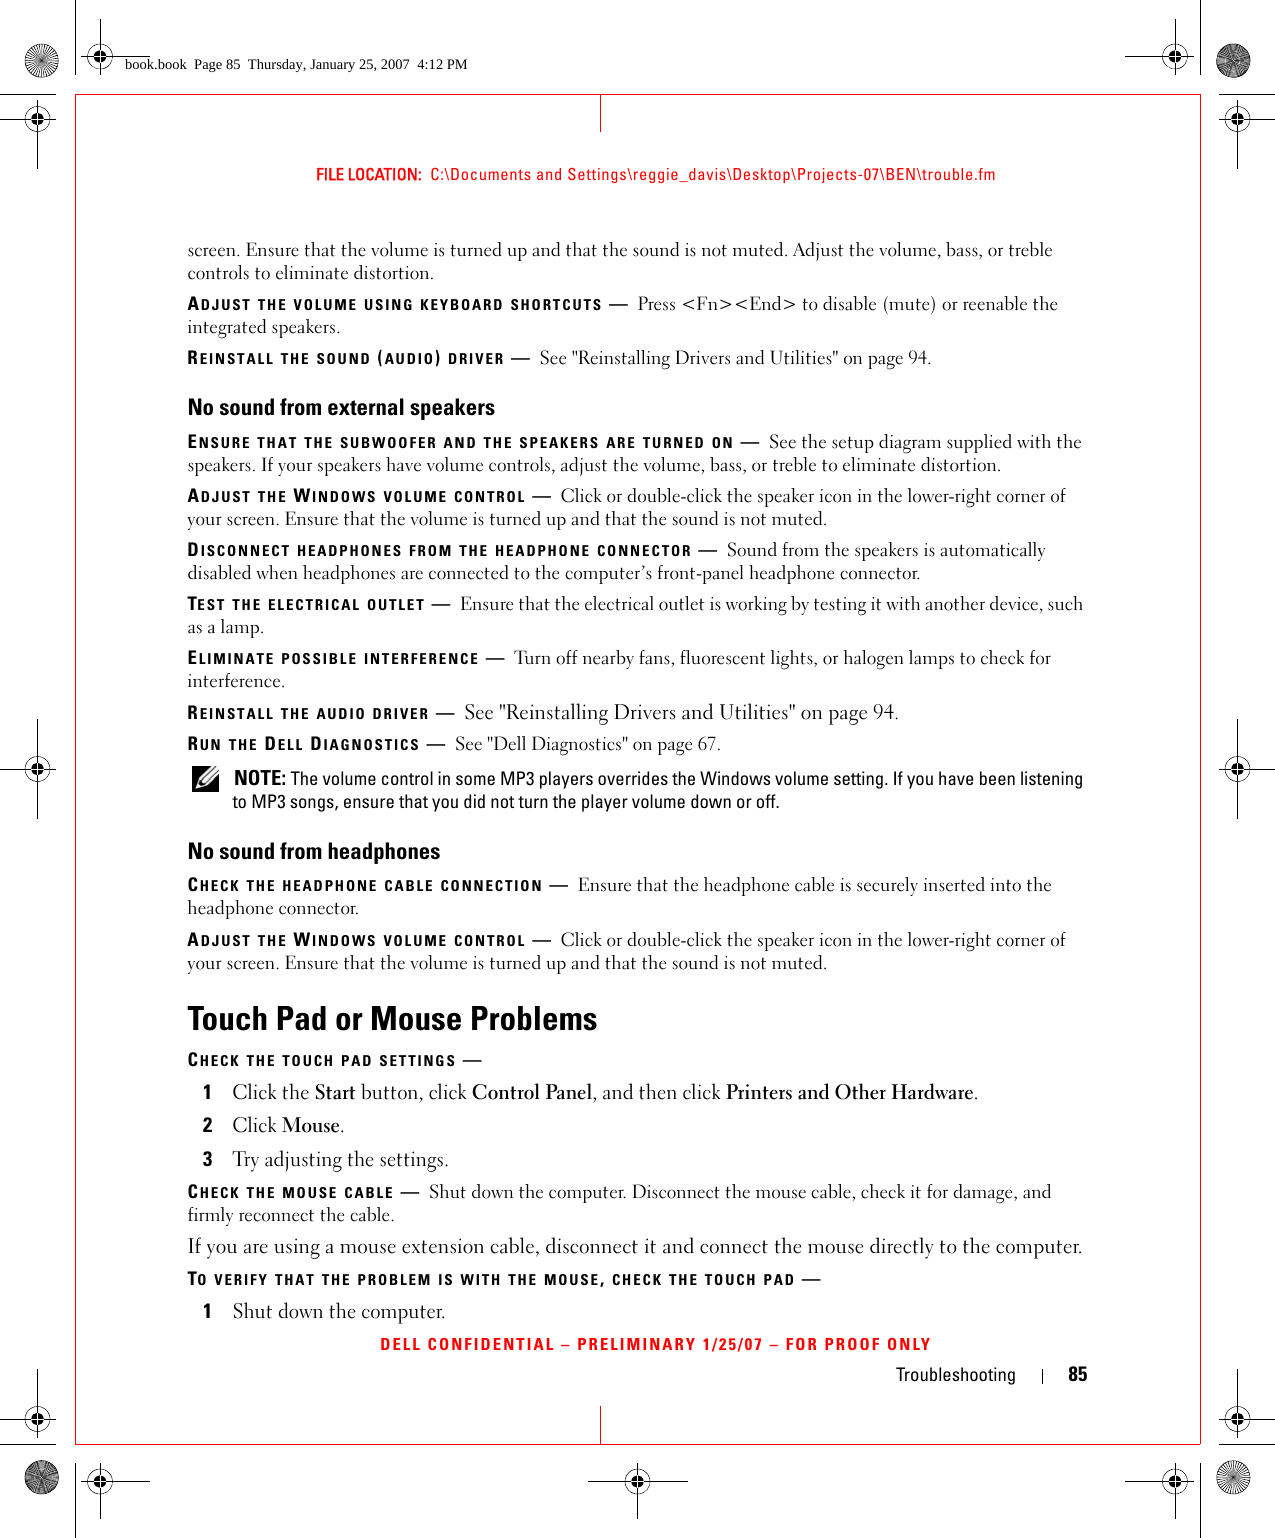
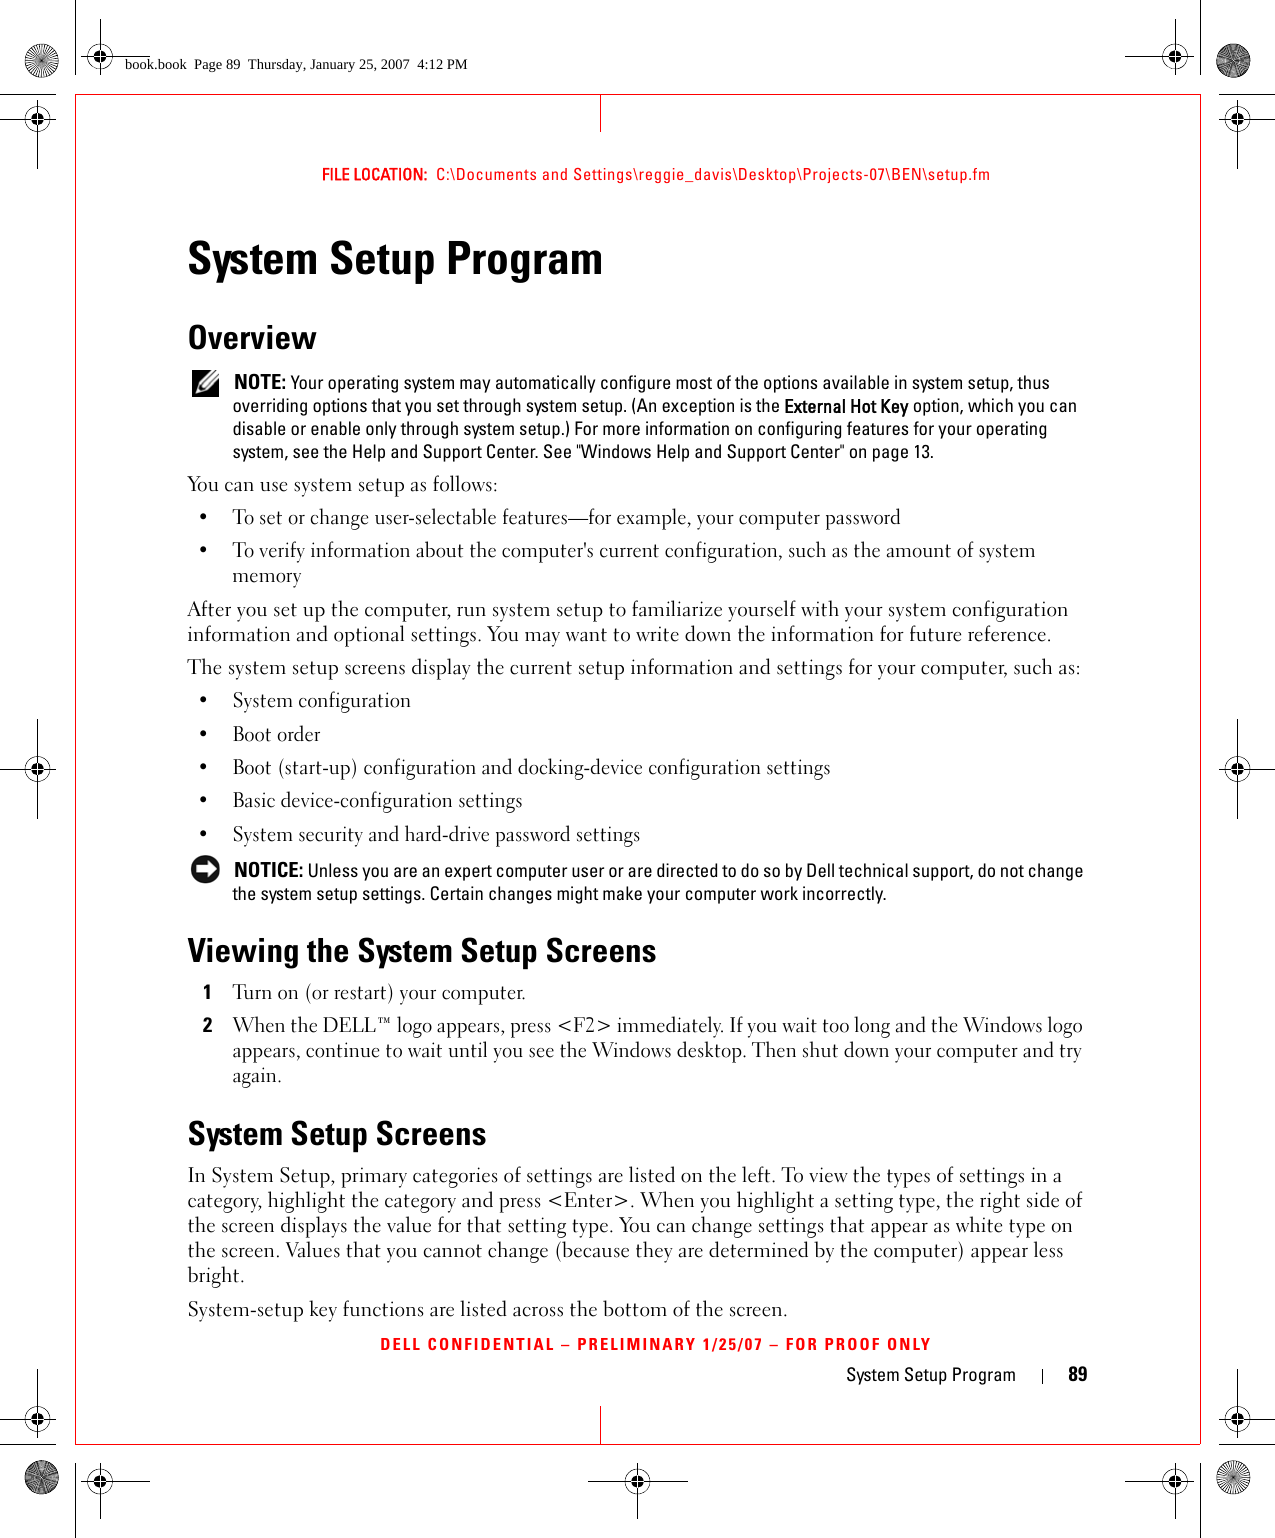

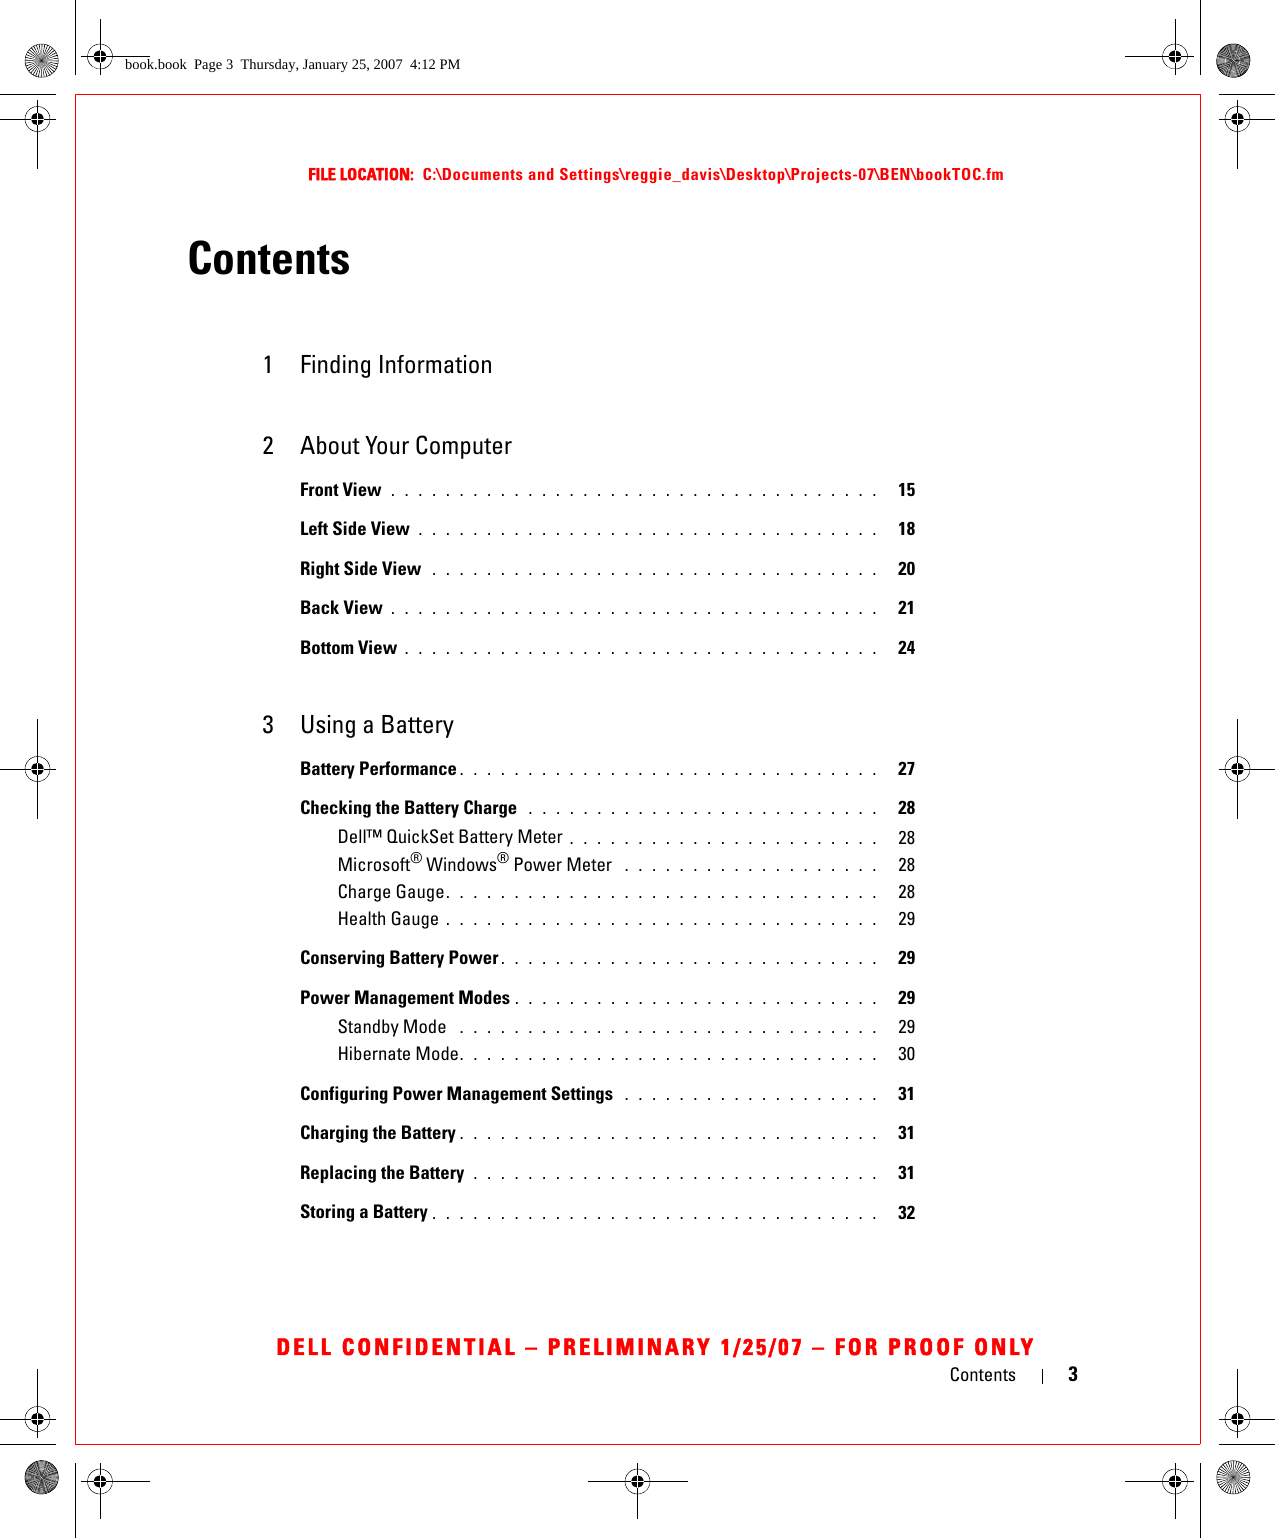
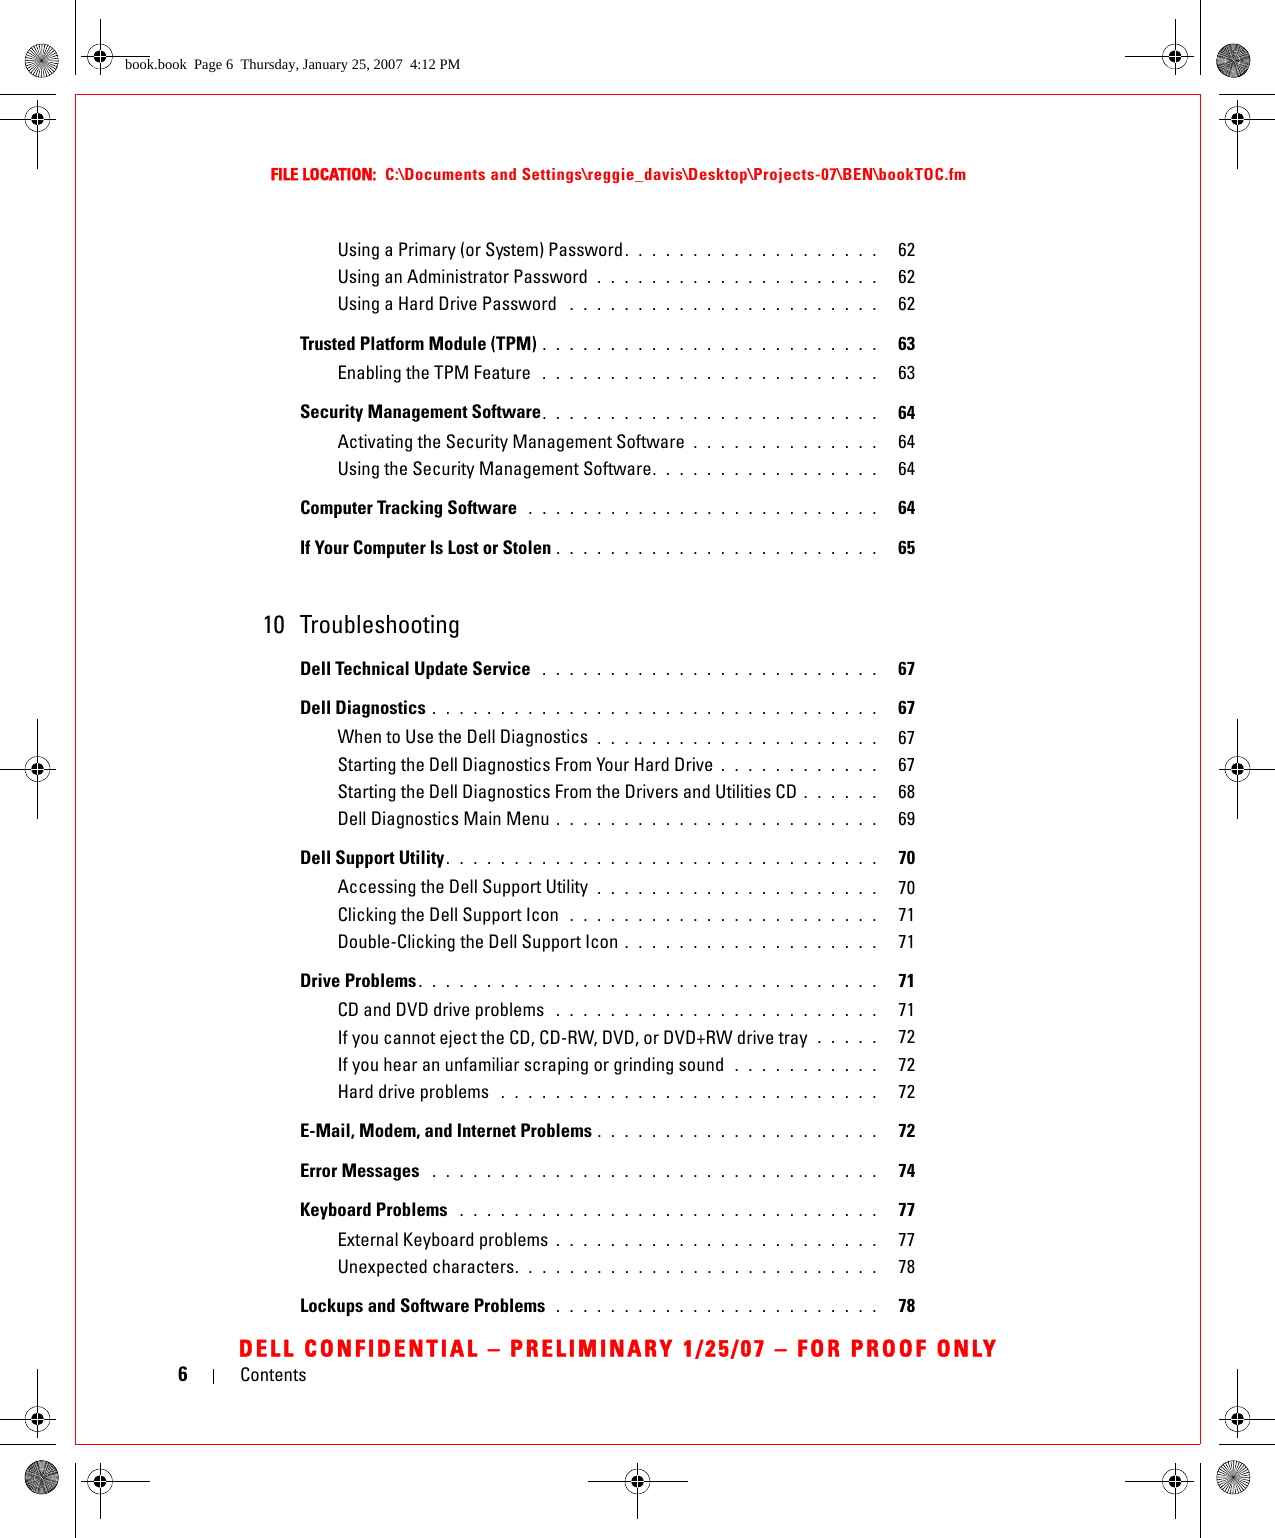
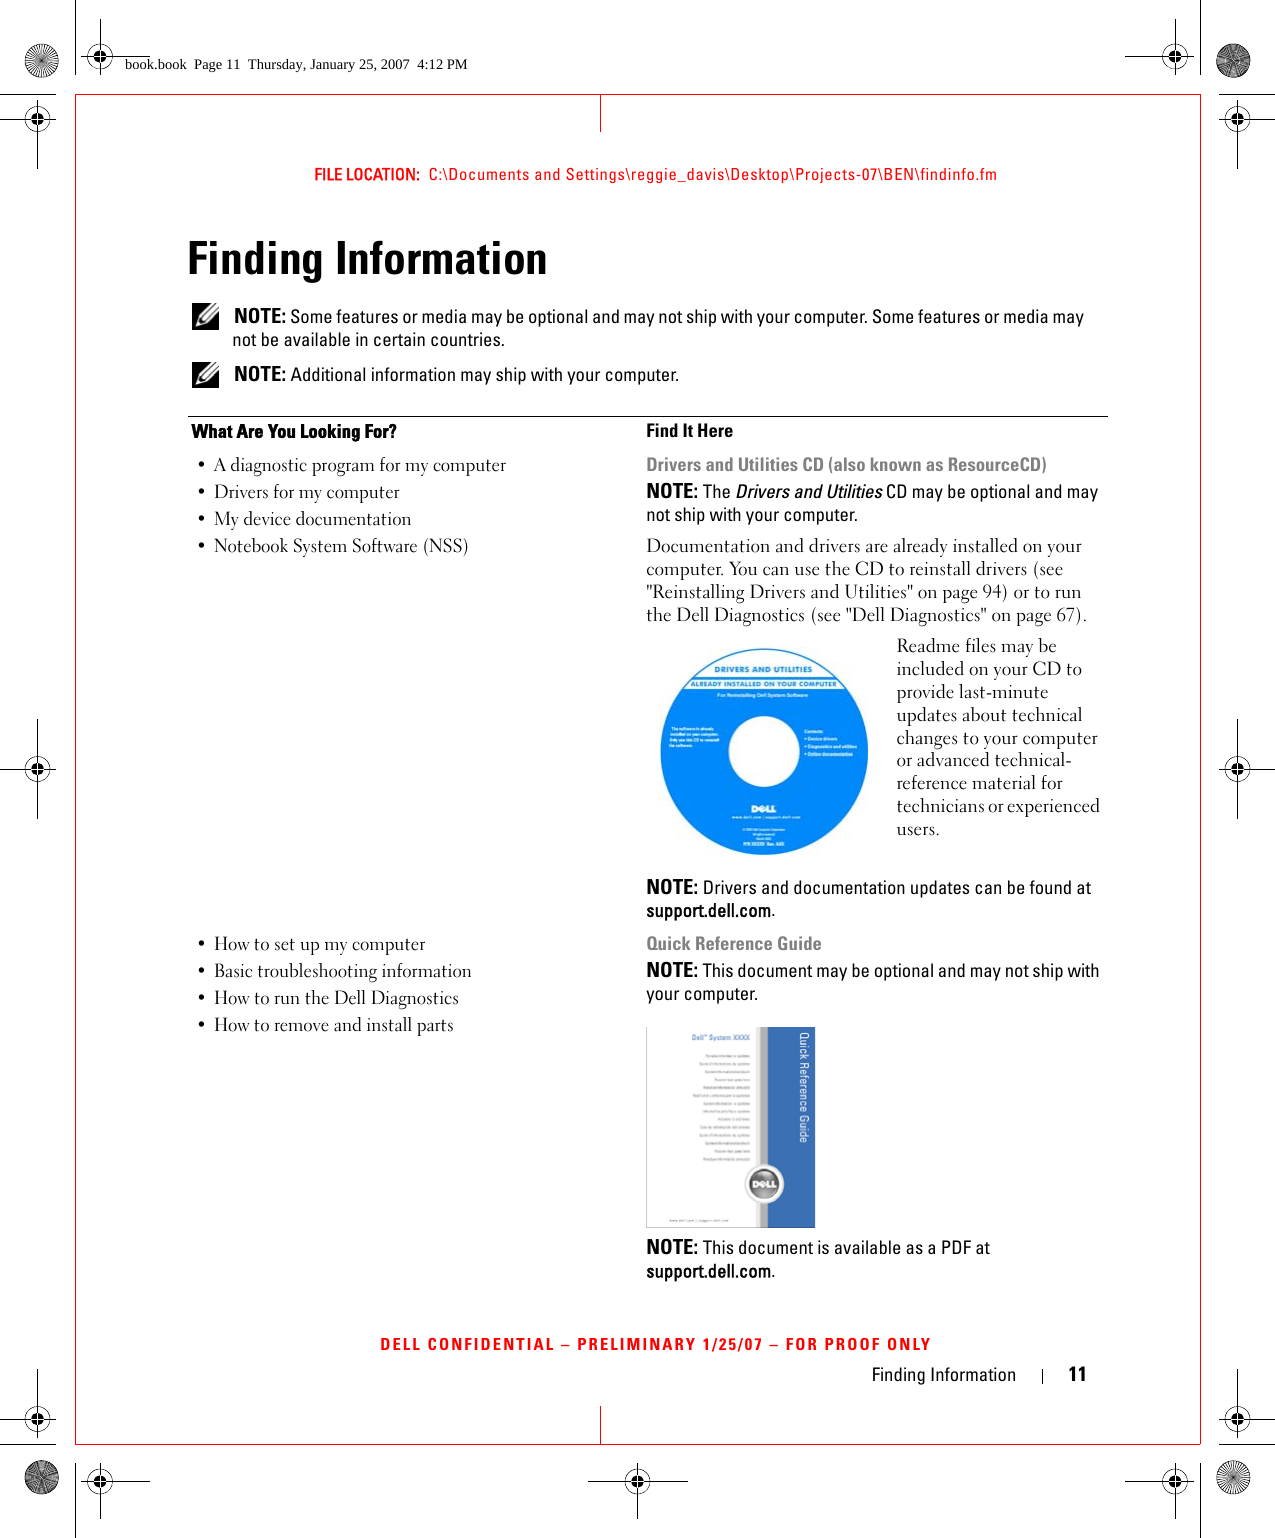
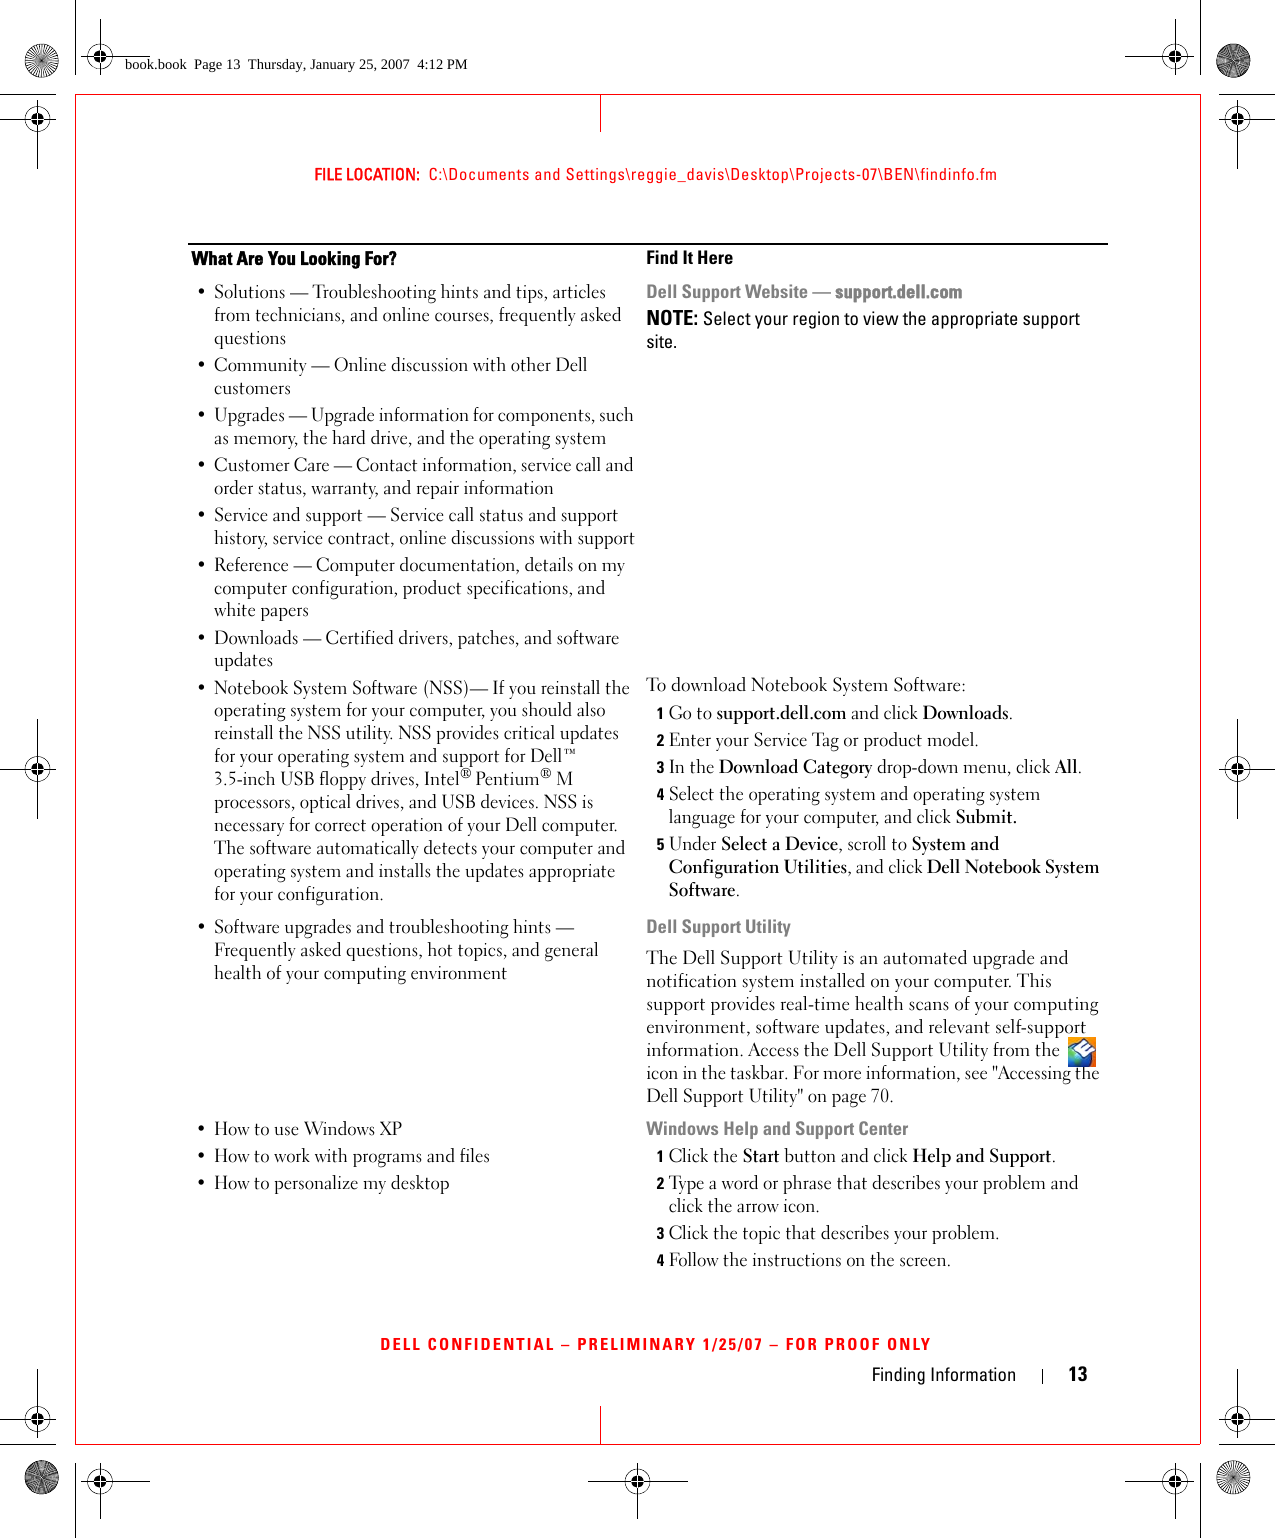
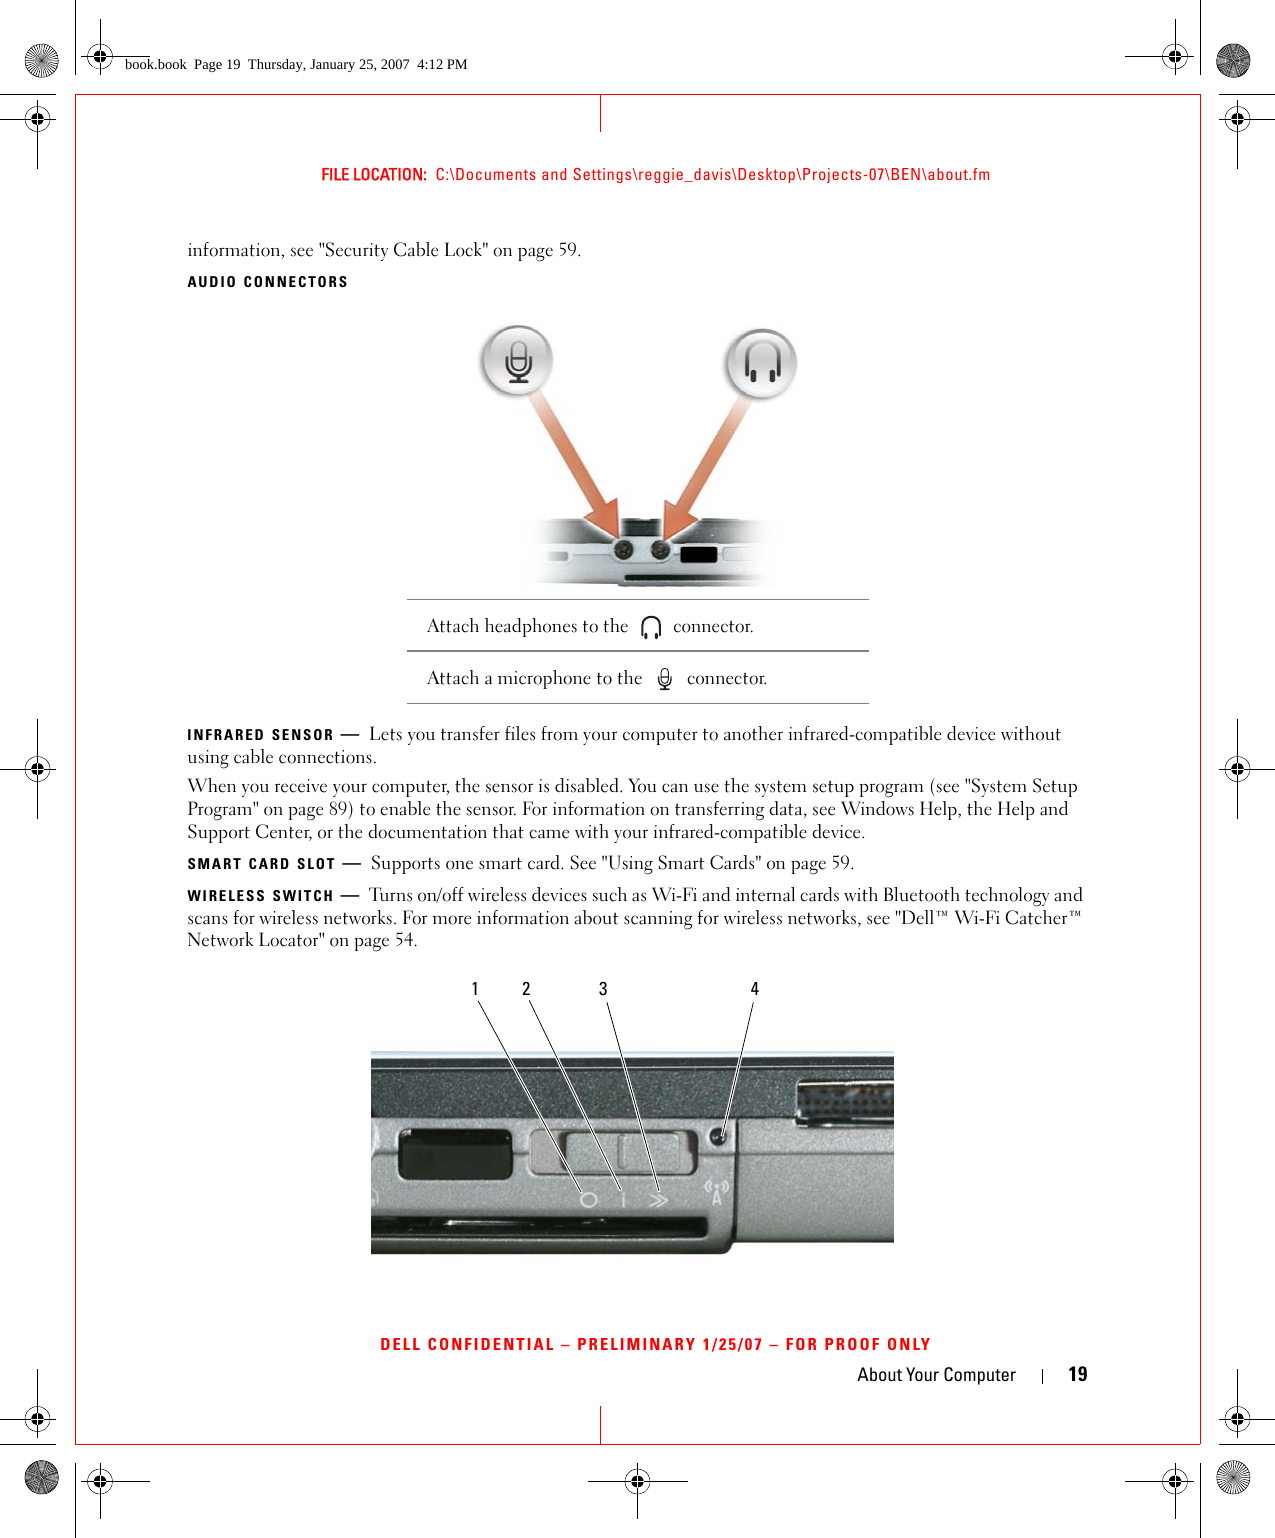
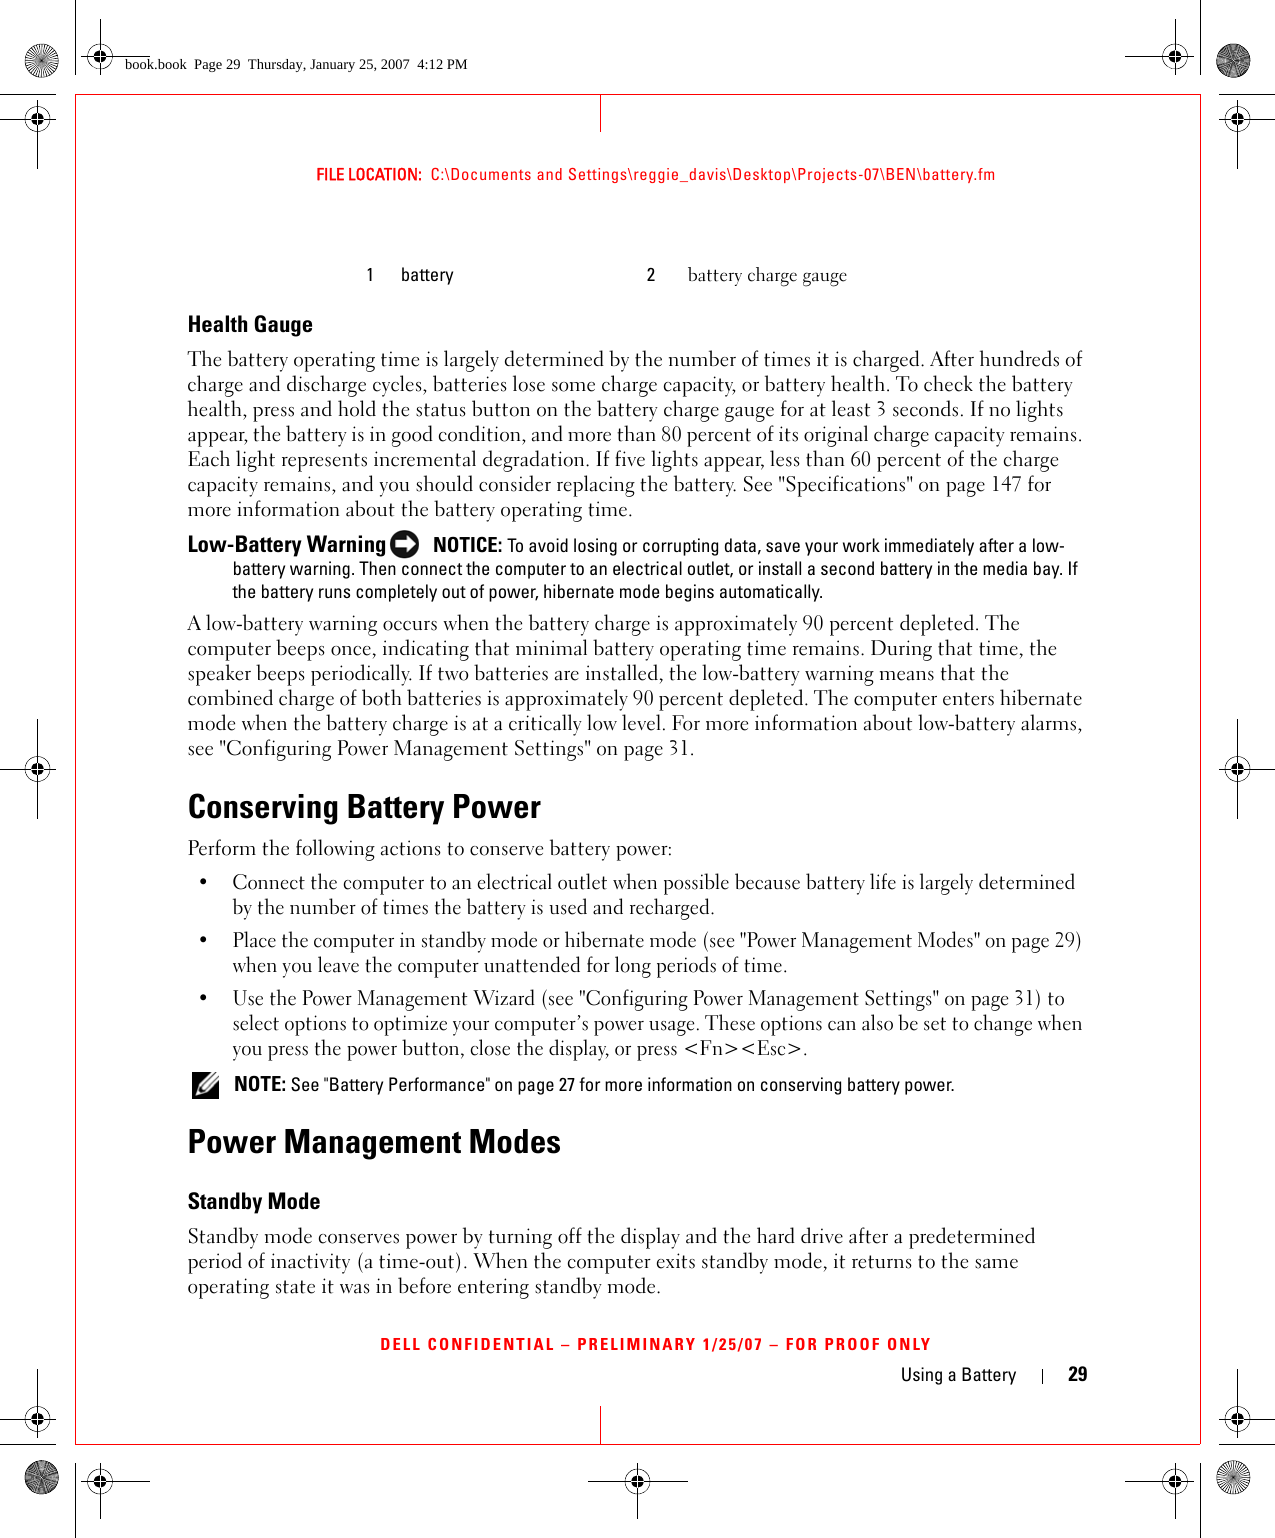
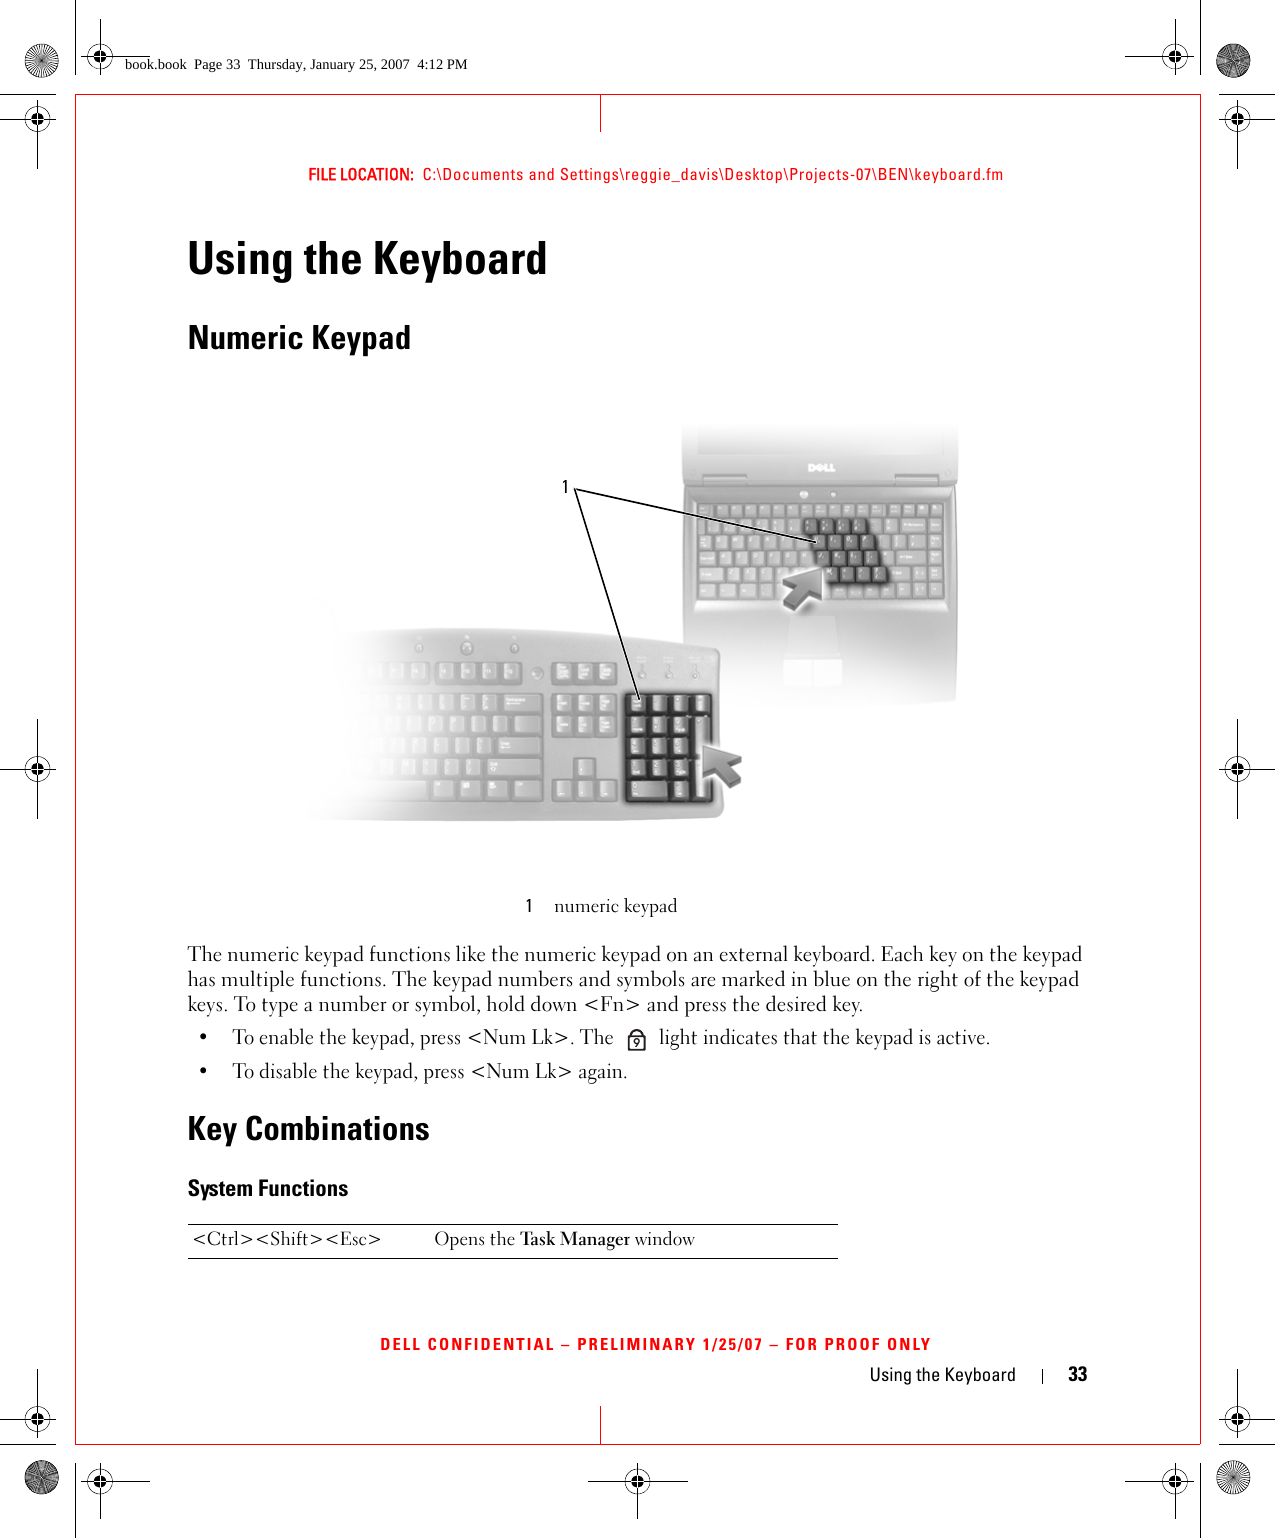
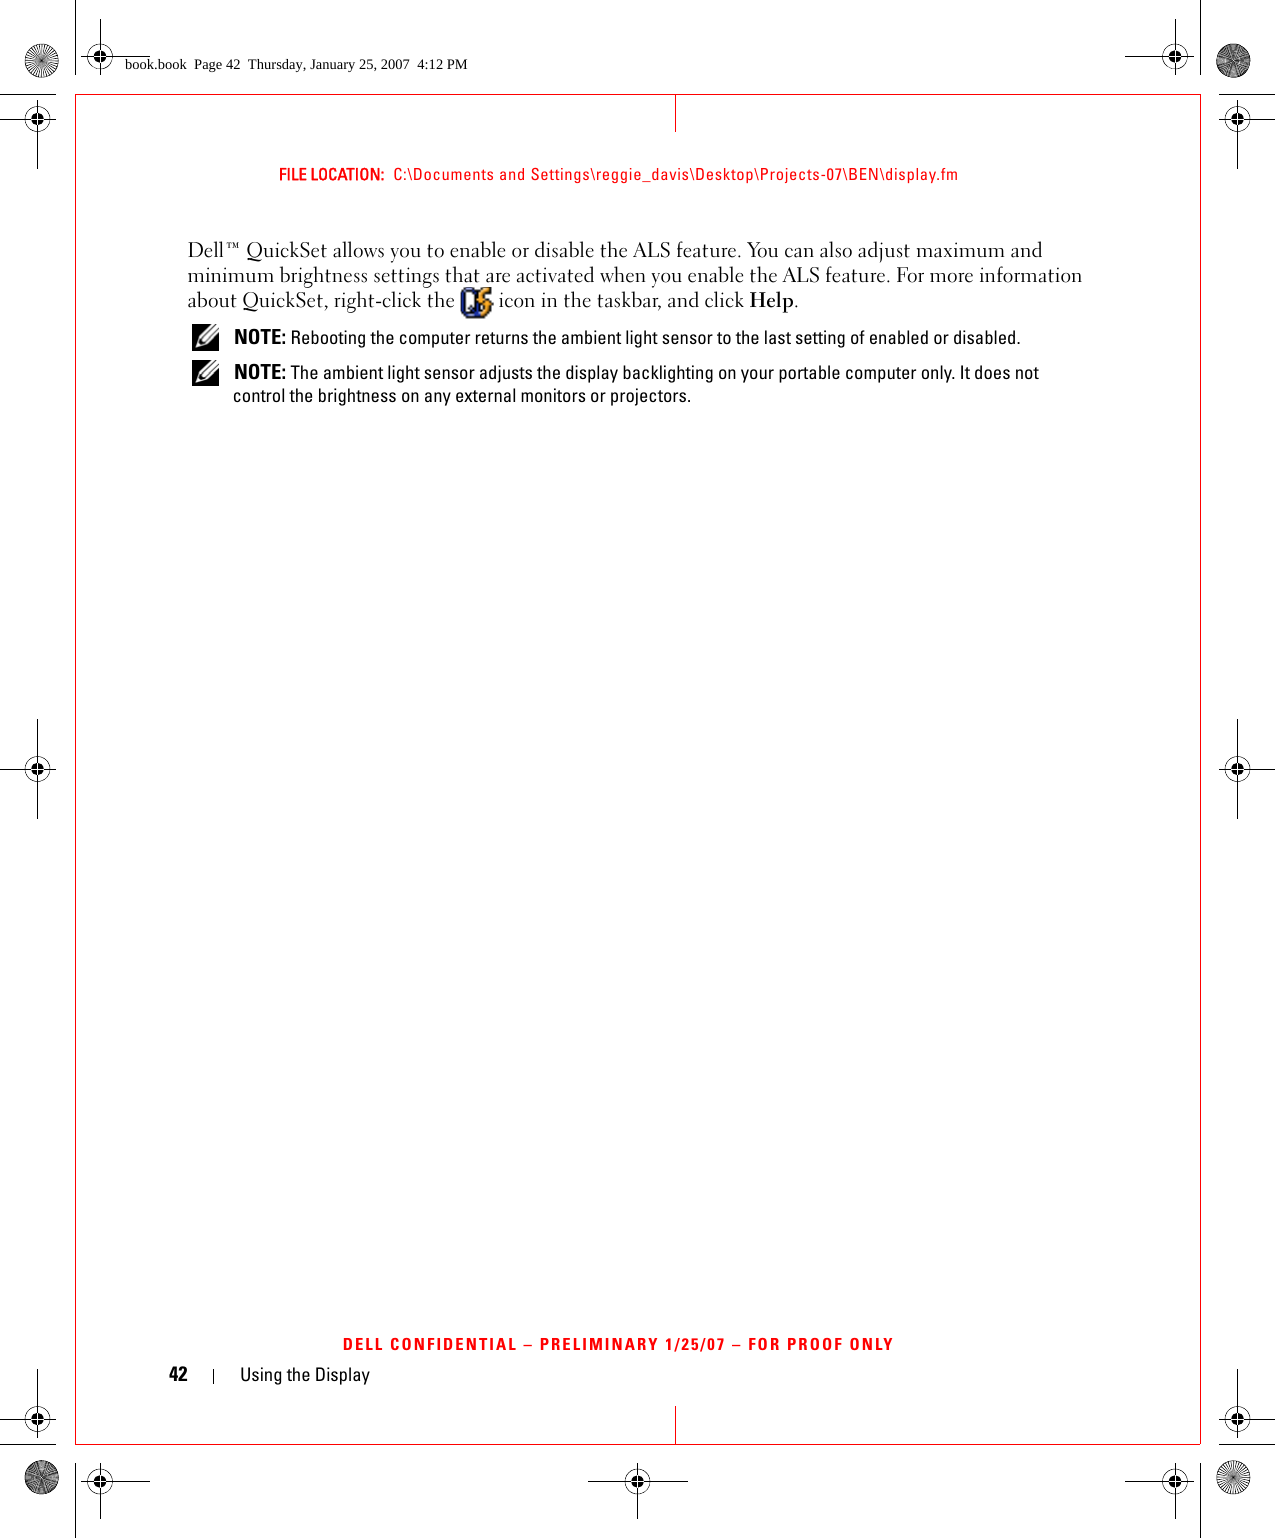
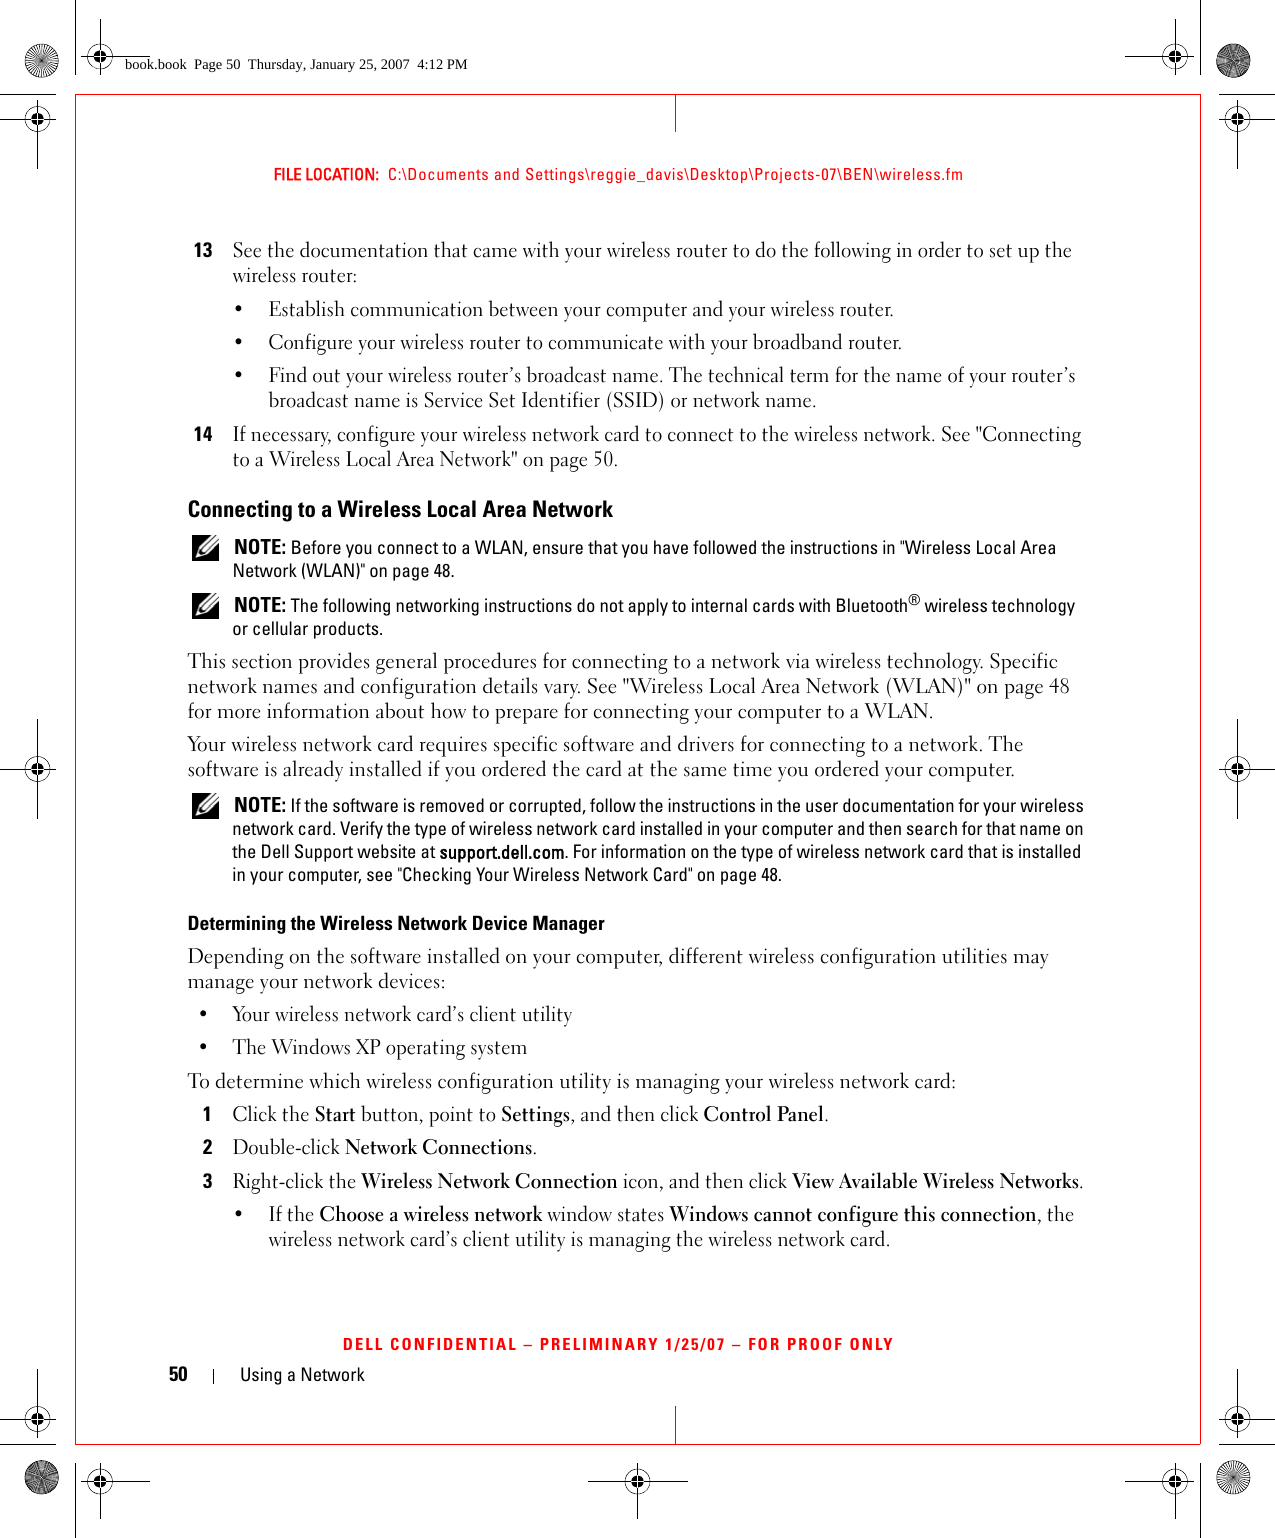
![FILE LOCATION: C:\Documents and Settings\reggie_davis\Desktop\Projects-07\BEN\drivers.fmDELL CONFIDENTIAL – PRELIMINARY 1/25/07 – FOR PROOF ONLYTemplate Last Updated - 7/01/2005 Reinstalling Software 93Reinstalling Software NOTE: The Drivers and Utilities CD and the Operating System CD are optional and may not ship with your computer.DriversWhat Is a Driver?A driver is a program that controls a device such as a printer, mouse, or keyboard. All devices require a driver program.A driver acts like a translator between the device and any other programs that use the device. Each device has its own set of specialized commands that only its driver recognizes.Dell ships your computer to you with required drivers already installed—no further installation or configuration is needed. NOTICE: The Drivers and Utilities CD may contain drivers for operating systems that are not on your computer. Ensure that you are installing software appropriate for your operating system.Many drivers, such as the keyboard driver, come with your Microsoft® Windows® operating system. You may need to install drivers if you:• Upgrade your operating system.• Reinstall your operating system.• Connect or install a new device.Identifying DriversIf you experience a problem with any device, identify whether the driver is the source of your problem and, if necessary, update the driver.1Click the Start button and click Control Panel.2Under Pick a Category, click Performance and Maintenance.3Click System.4In the System Properties window, click the Hardware tab.5Click Device Manager.6Scroll down the list to see if any device has an exclamation point (a yellow circle with a [!]) on the device icon.book.book Page 93 Thursday, January 25, 2007 4:12 PM](https://usermanual.wiki/Inseego/NVWE725.Manual-6/User-Guide-780489-Page-93.png)