Inspira Technologies A745 Astro Tab User Manual
Inspira Technologies LLC Astro Tab
UserManual.wiki
>
Inspira Technologies
>
A745 User Manual
User manual
Navigation menu
Upload a User Manual
Namespaces
Wiki Guide
HTML
PDF
Info
Views
User Manual
Discussion / Help
Navigation


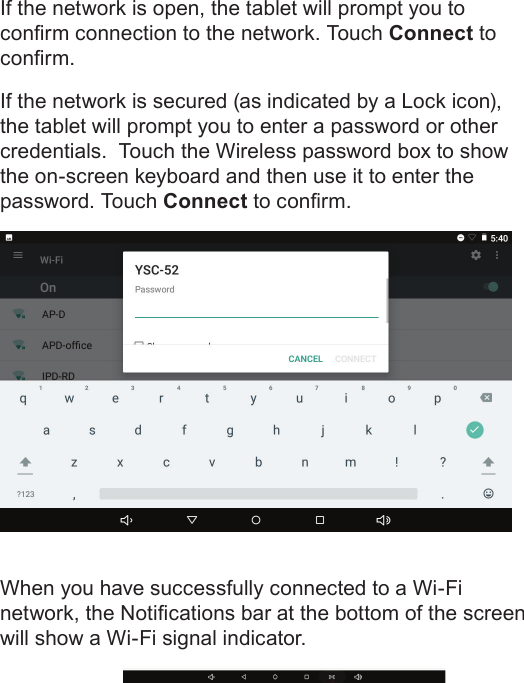
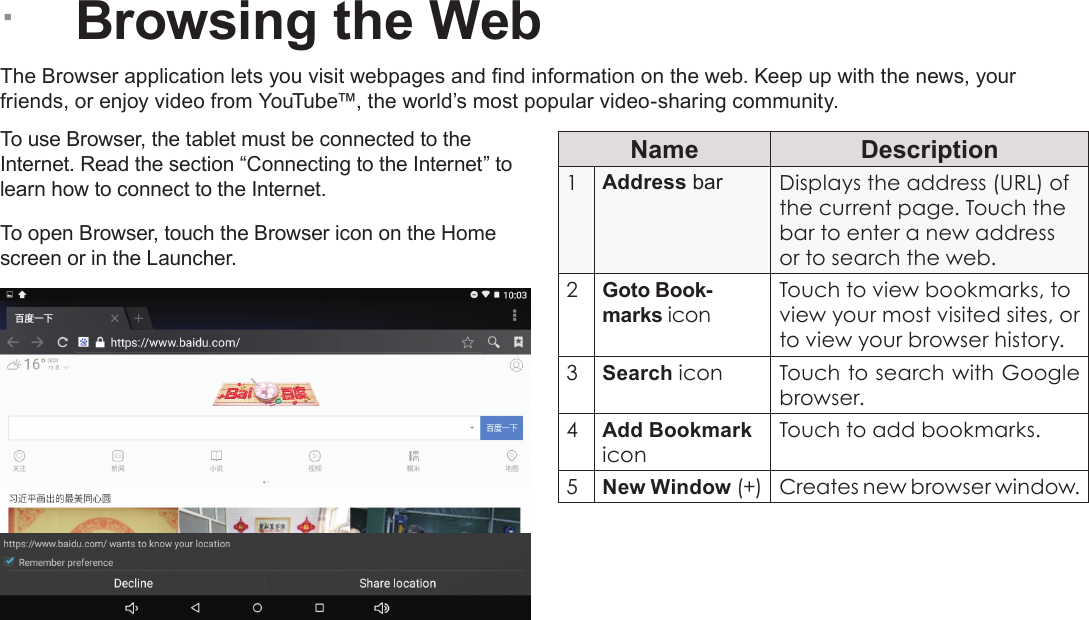
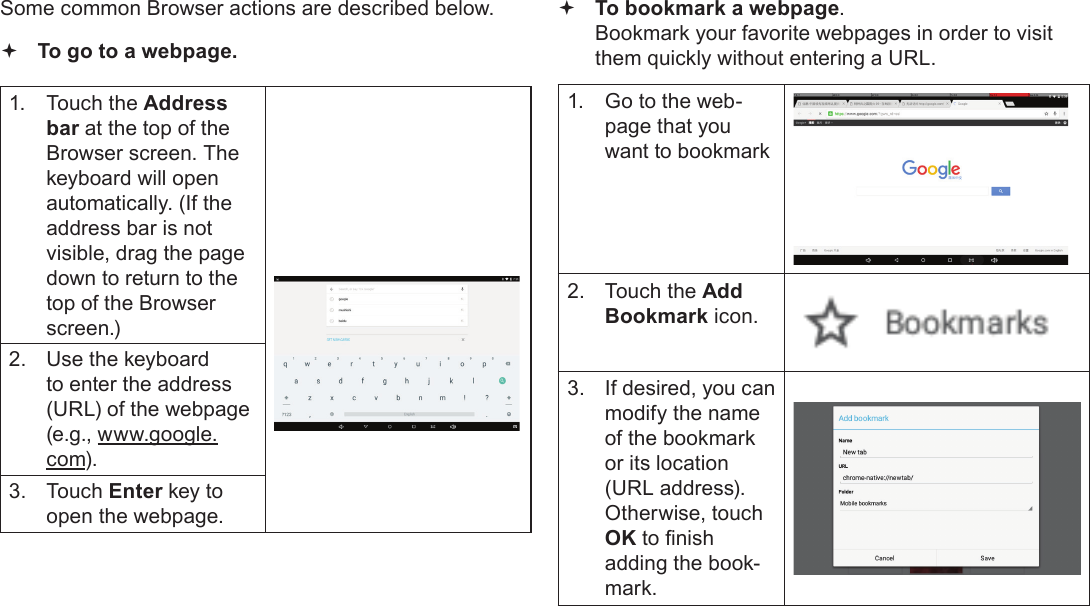
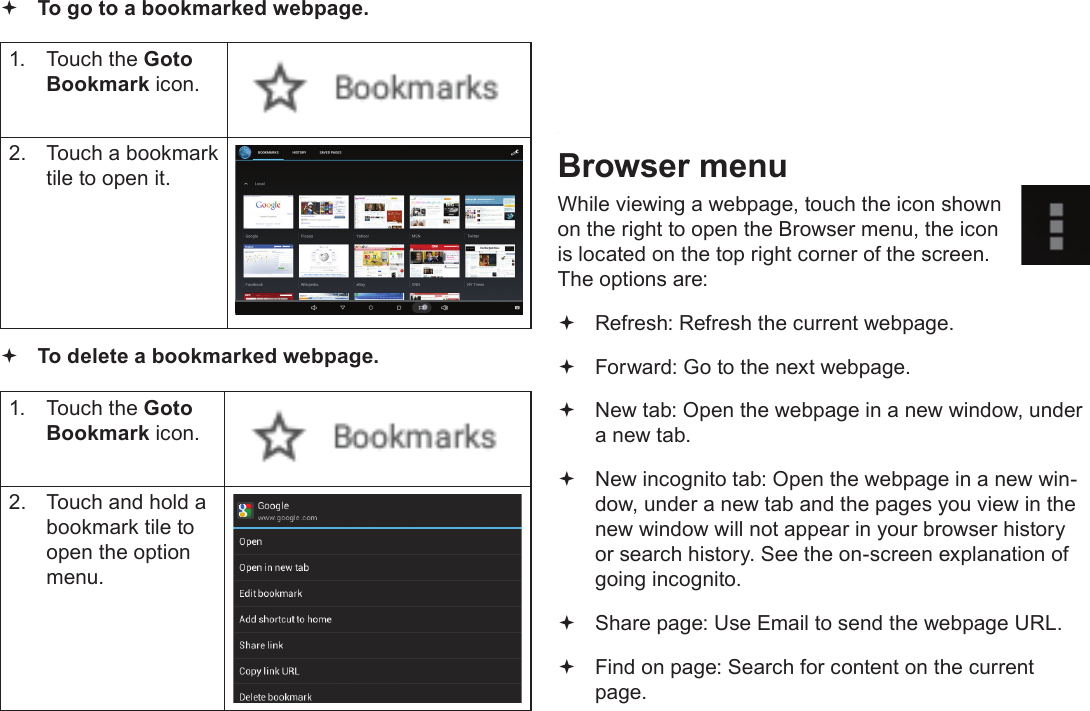
![Page 20 Connecting To The InternetEnglishConnect to a Wi-Fi networkThe Notication bar displays icons that indicate your tablet’s Wi-Fi status.Connected to a Wi-Fi network (waves indicate connection strength).[no icon] There are no Wi-Fi networks in range, or the Wi-Fi radio is off.1. Turn on the Wi-Fi radio if it is not already on. To turn on Wi-Fi:a. Go to the Home screen: Touch the Home icon.b. Open the Launcher screen: Touch the Launcher Tab, then touch Settings.c. Open the Wireless & Networks menu: Touch WIRELESS & NETWORKS.d. Open the Wi-Fi settings menu: Touch WiFi.e. Make sure that the Wi-Fi option box is set to ON. Touch and slide the block to the right to enable the Wi-Fi connection.When Wi-Fi is on, the tablet will look for and display a list of available Wi-Fi networks. If a network that you have connected to previously is found, the tablet will connect to it. If you don’t see your network in the list, you can force the tablet to re-scan. To scan for net-works, tap the SCAN icon located on the top right corner of the screen.2. Select an available Wi-Fi network to connect to:In the same Wi-Fi settings menu above, touch a network in the list.](https://usermanual.wiki/Inspira-Technologies/A745/User-Guide-3556911-Page-20.png)