Insulet 001 iXL Pump User Manual Users manual
Insulet Corporation iXL Pump Users manual
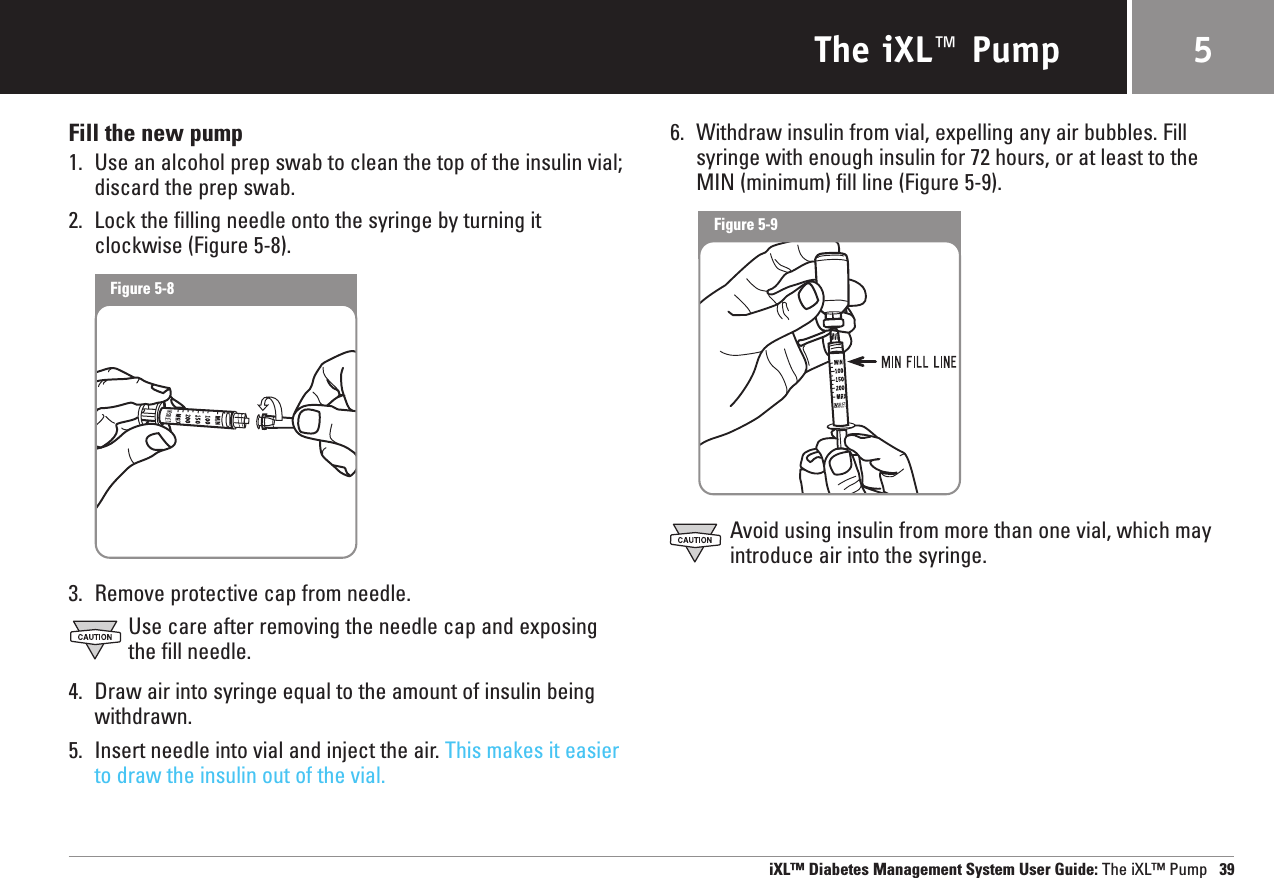
UserManual.wiki
>
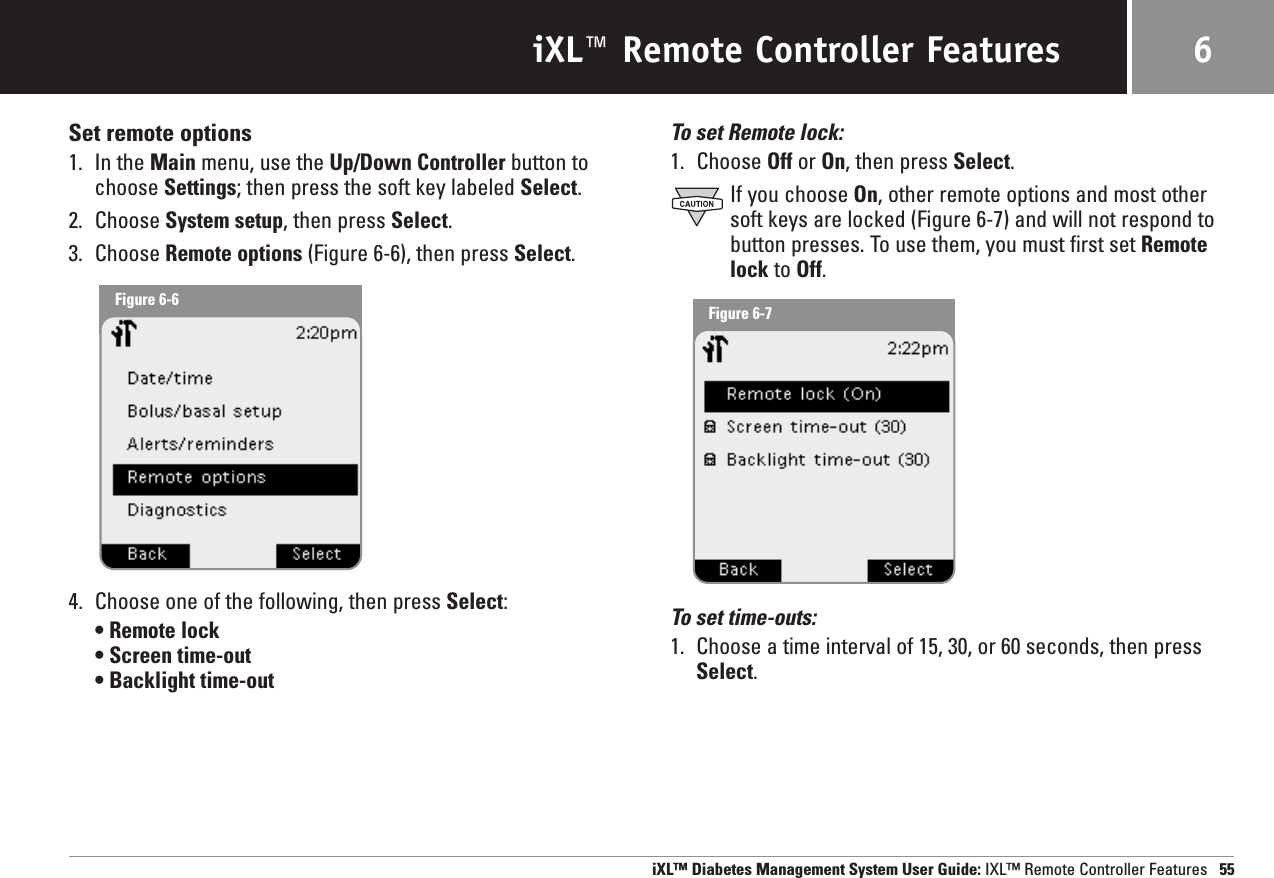
Insulet
>
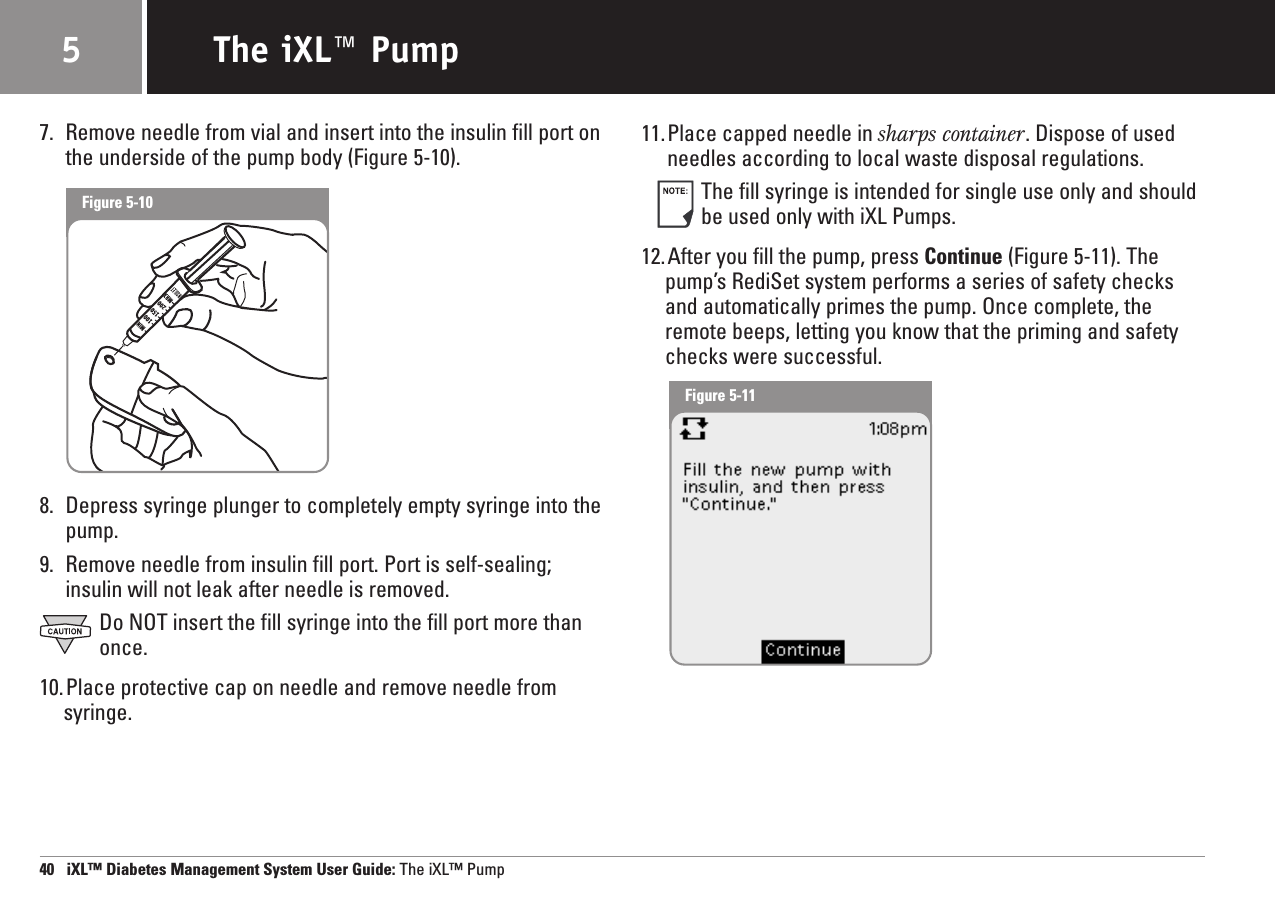
001 User Manual
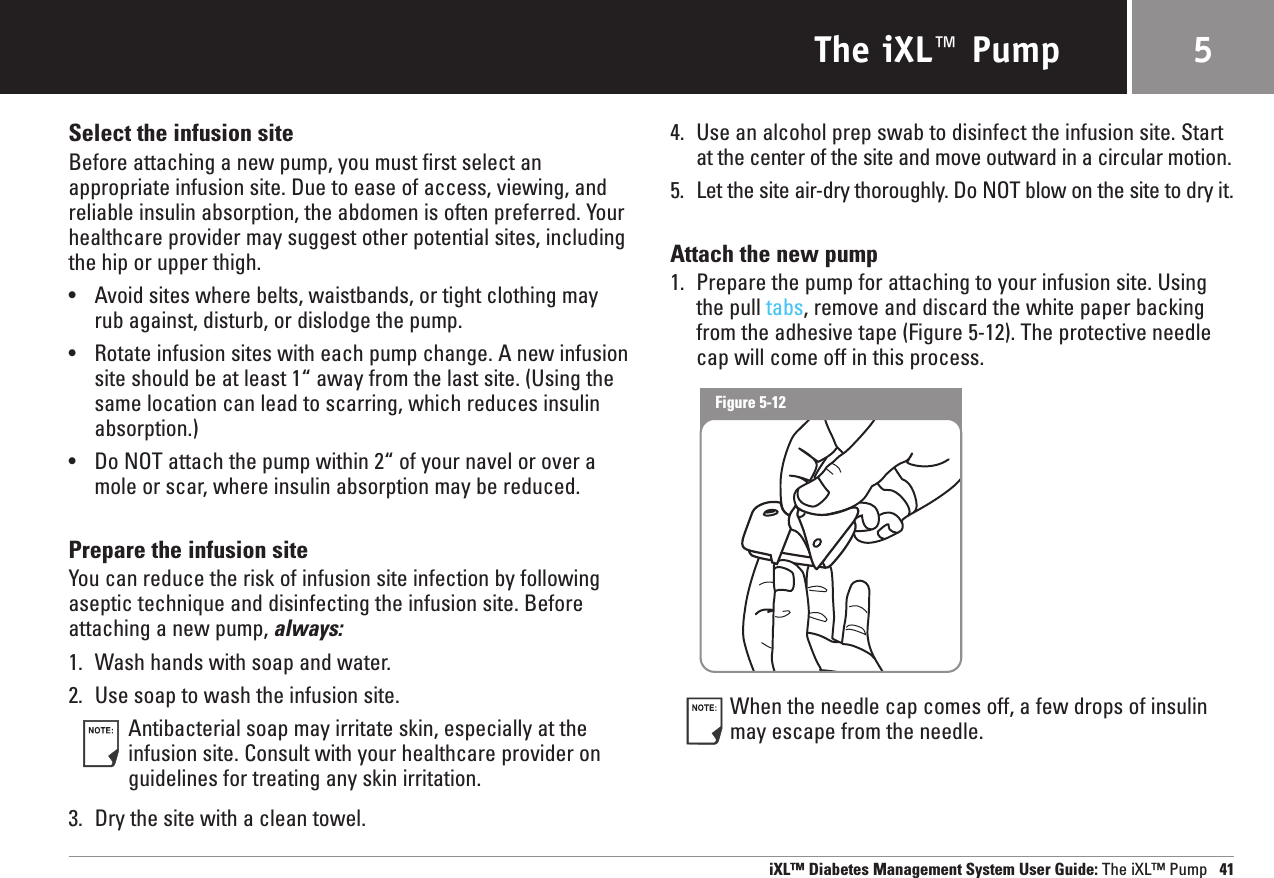
>
Users manual
Contents
1.
Users manual
2.
New FCC Notice
Users manual
Navigation menu
Upload a User Manual
Namespaces
Wiki Guide
HTML
PDF
Info
Views
User Manual
Discussion / Help
Navigation


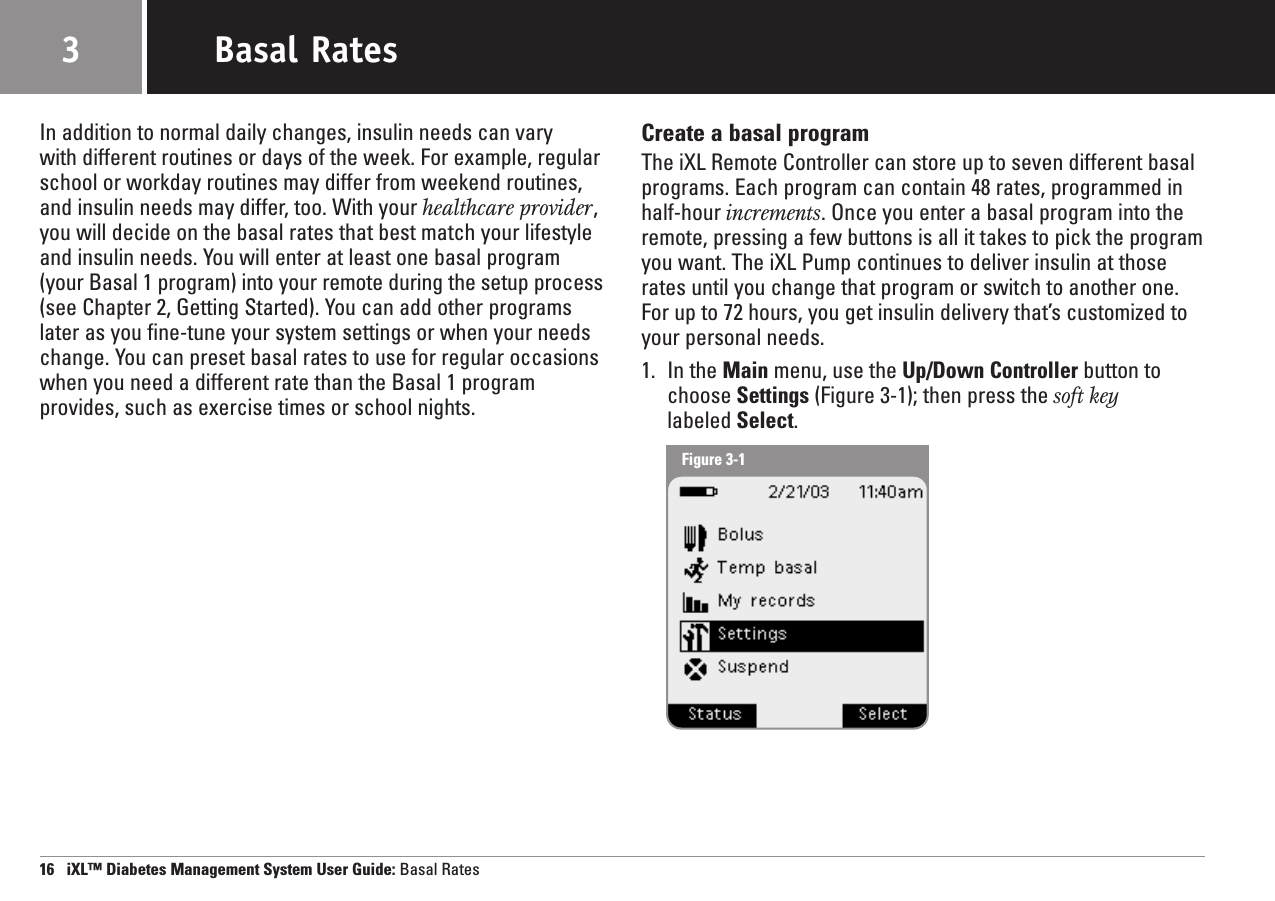
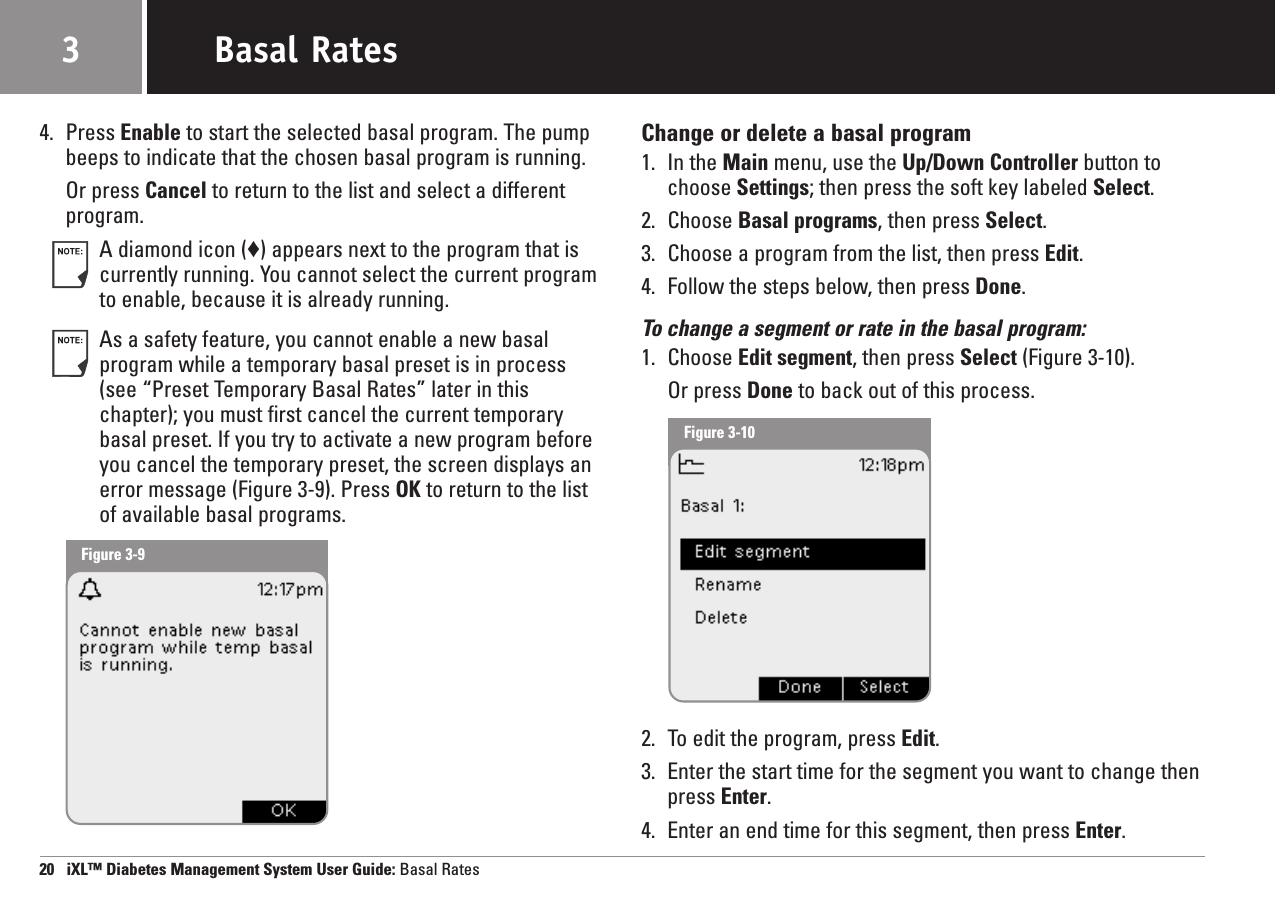
![Basal Rates2. Choose Basal programs (Figure 3-2), then press Select.3. Choose [new program] (Figure 3-3), then press Create.4. To use the iXL System’s default naming system, simply pressNext.The default naming system automatically assignsprogram names in numerical order, such as Basal 1, Basal 2,Basal 3.Or, to give a different name to the program:(a)Press the Up/Down Controller button to enter the characters that spell the name you want. An underscore (_)on the screen indicates which character you are changing.Press the soft key labeled with the arrow to move theunderscore to the next character. For example, if you haveschool three nights a week and eat early those nights, youmight enter S, c, h, o, o, l, space, N, i, g, h, t (Figure 3-4). (A blank character/space is the first and last option in thescrolling menu.)(b)Press Next. iXL™ Diabetes Management System User Guide: Basal Rates 173Figure 3-2Figure 3-3Figure 3-4](https://usermanual.wiki/Insulet/001.Users-manual/User-Guide-400559-Page-29.png)
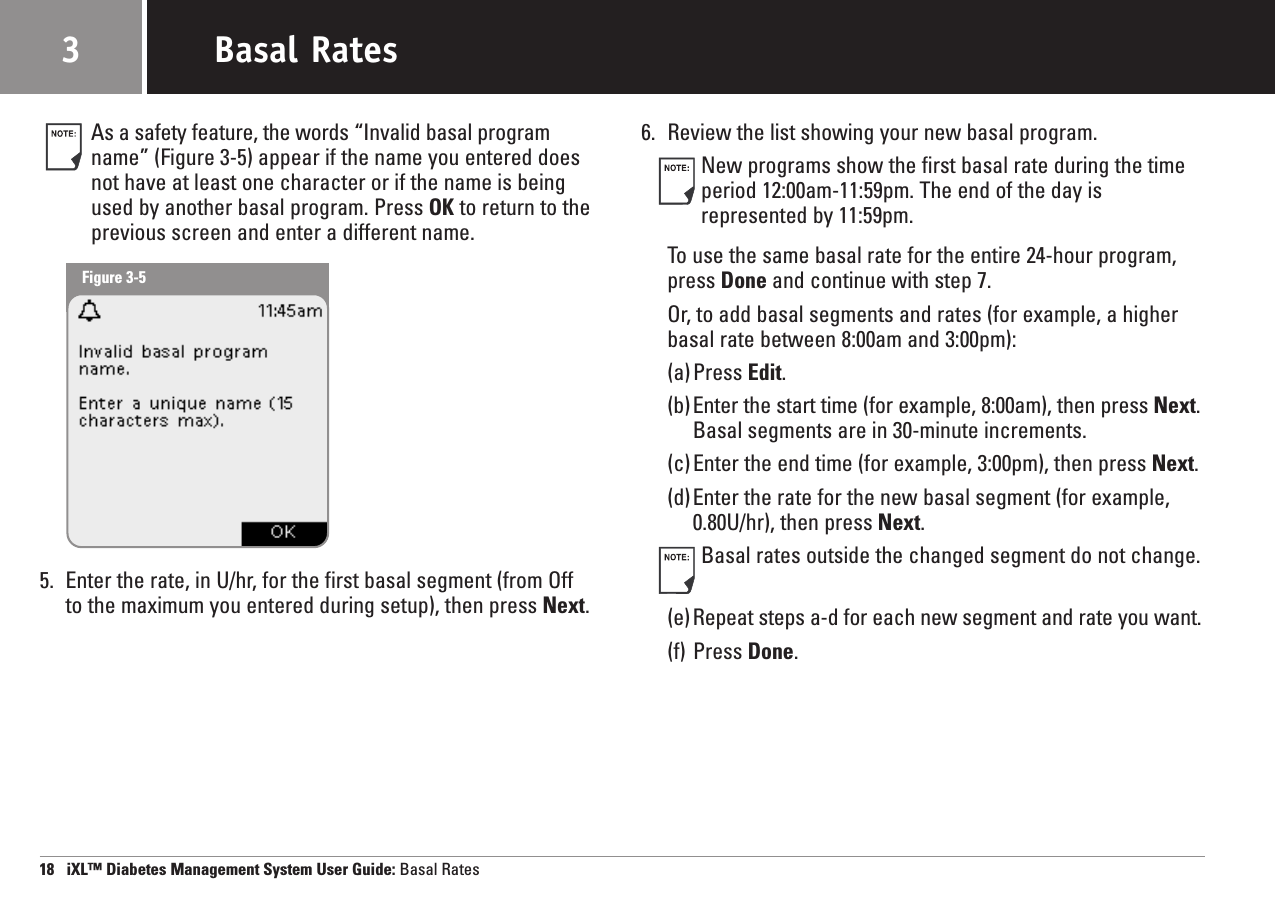

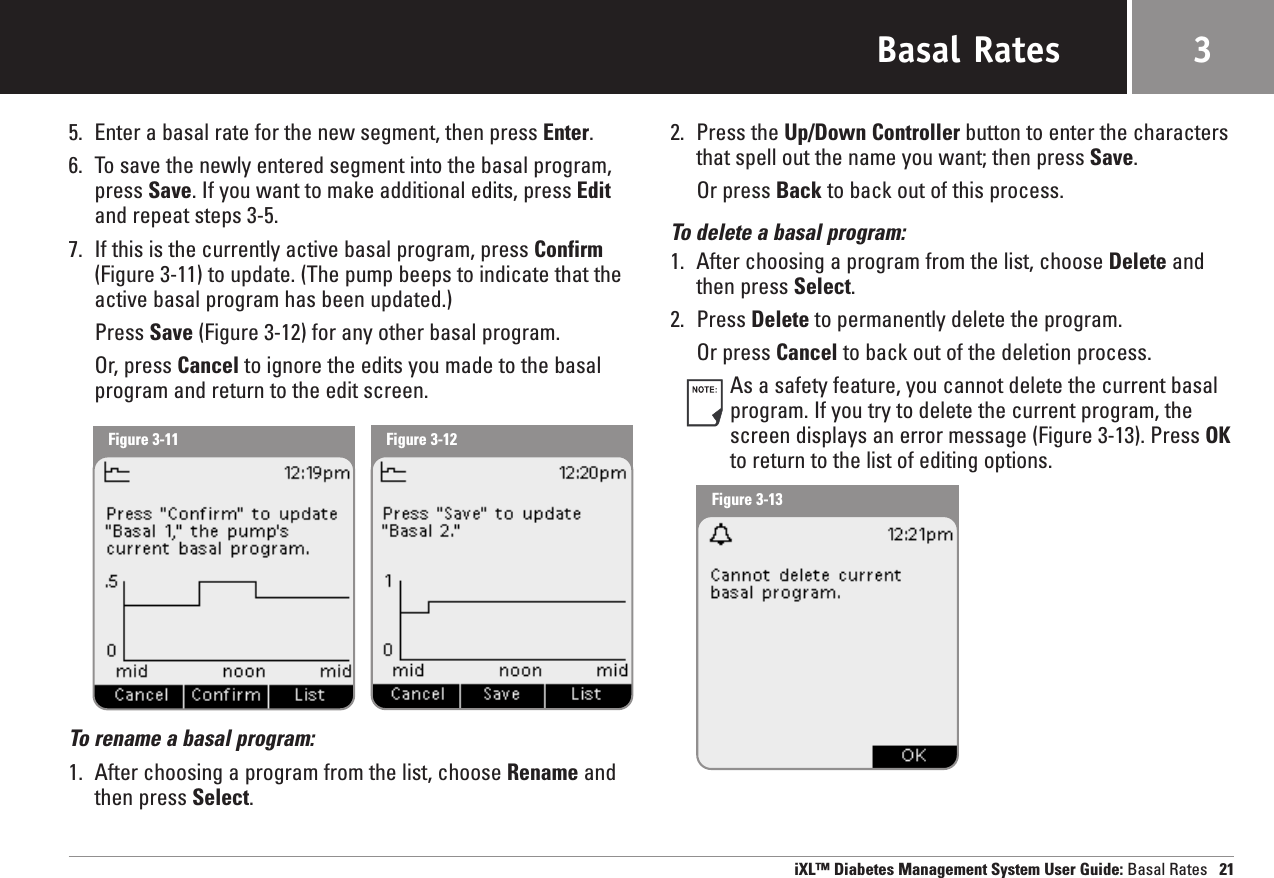
![Preset Temporary Basal RatesWhat is a temporary basal rate?A temporary basal rate lets you adjust your basal rate for a short period of time. If a temporary change later becomespermanent, you can create a new basal program for it. Sometemporary changes are easy to predict and respond to; theyhappen routinely and you may know from experience how theyaffect your insulin needs. For example, you might take the sameexercise class twice a week for eight weeks, or join a summersoccer league. For women, a monthly hormonal change thataffects blood sugars is an example of predictable change. Toeasily handle predictable but short-term changes, you can preseta temporary basal rate, so it is ready whenever you need it. Theremote can remember up to seven (7) temporary basal presets.Create a temporary basal preset1. In the Main menu, use the Up/Down Controller button tochoose Settings; then press the soft key labeled Select.2. Choose Temp basal presets, then press Select.3. Choose [new preset], then press Create.4. To use the iXL System’s default naming system, simply pressNext. The default naming system automatically assignsprogram names in numerical order, such as Temp basal 1,Temp basal 2, Temp basal 3.Or, to give a different name to the program:(a)Press the Up/Down Controller button to enter thecharacters that spell the name you want. An underscore(_) on the screen indicates which character you arechanging. Press the arrow key to move the underscore tothe next character. For example, if you take an aerobicsclass two nights a week, you might enter a, e, r, o, b, i, c, s(Figure 3-14).(b)Press Next.5. Enter the new temporary basal rate, from Off to the maximumbasal rate you entered during setup; then press Next.22 iXL™ Diabetes Management System User Guide: Basal RatesBasal Rates3Figure 3-14](https://usermanual.wiki/Insulet/001.Users-manual/User-Guide-400559-Page-34.png)
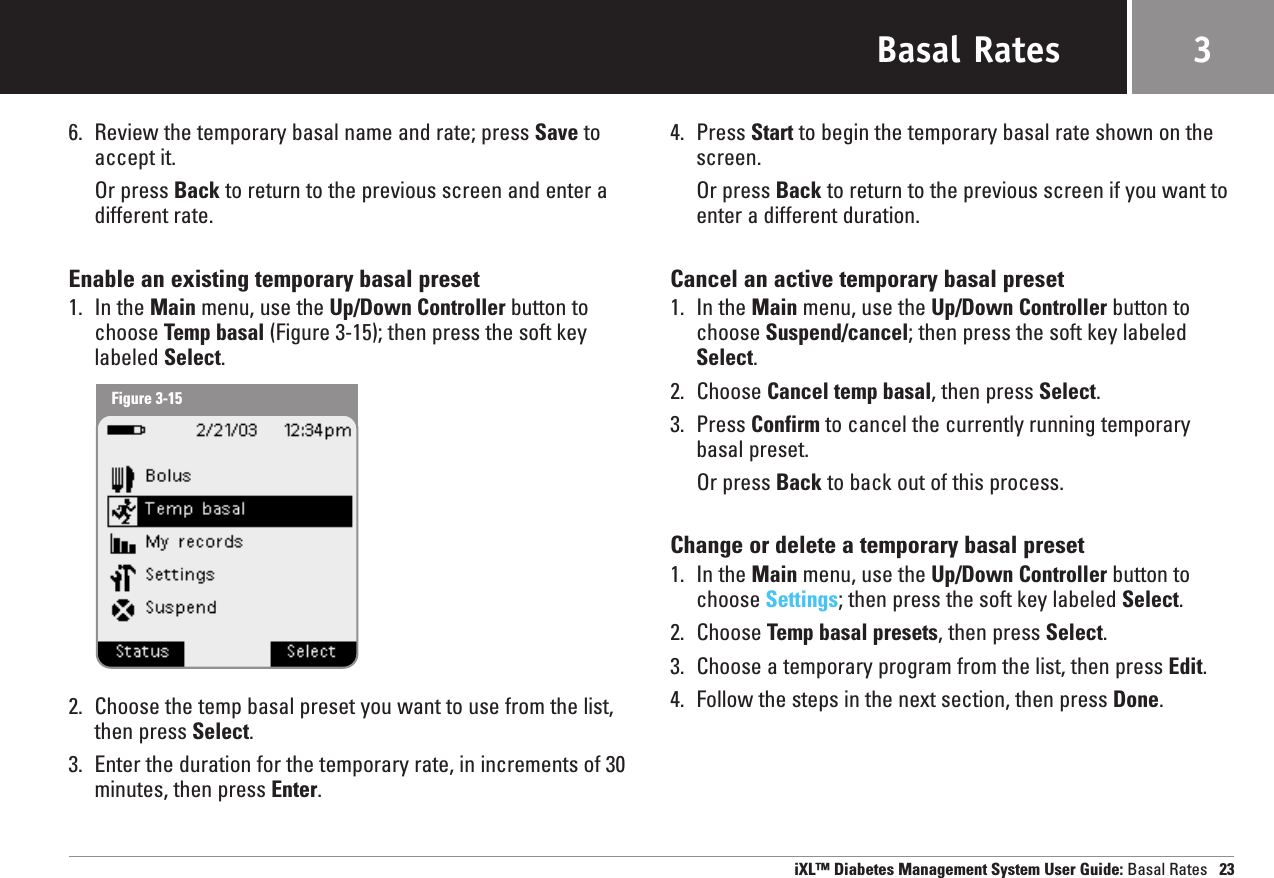
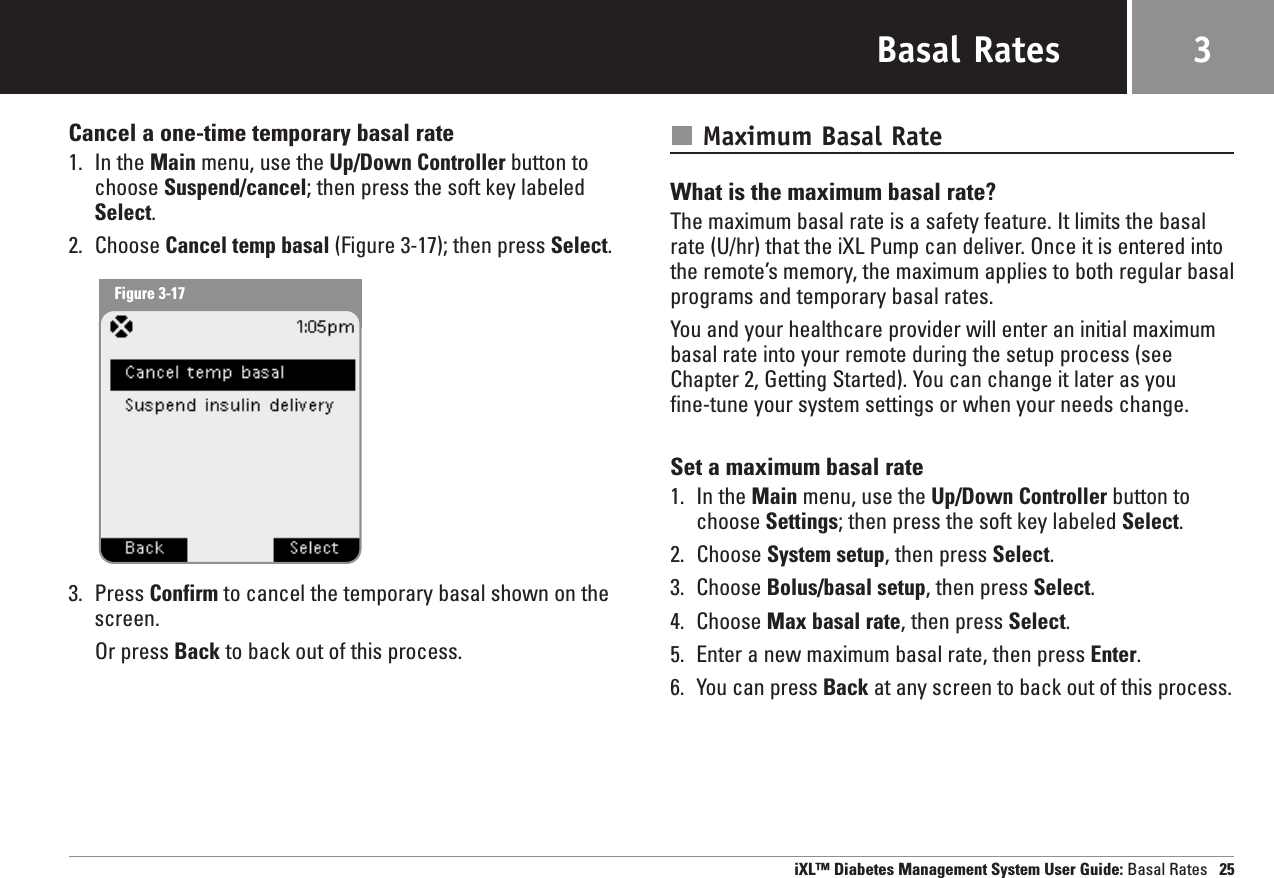
![To change a temporary basal preset:1. Choose Edit rate, then press Select (Figure 3-16).Or press Done to back out of this process.2. Enter a new rate for the program, then press Save.To rename a temporary basal preset:1. Choose Rename and then press Select.2. Press the Up/Down Controller button to enter the charactersthat spell out the name you want; then press Save.Or press Back to back out of this process.To delete a temporary basal preset:1. Choose Delete and then press Select.2. Press Delete to permanently delete the preset.Or press Cancel to back out of this process.One-Time Temporary Basal RatesOn occasion, you may need to change the current basal rate fora short time. For example, if you are going cross-country skiingfor several hours, you may want to lower the basal rate duringand after you exercise.Enable a one-time temporary basal rate1. In the Main menu, use the Up/Down Controller button tochoose Temp basal; then press the soft key labeled Select.2. Choose [enter manually] from the list of temp basal presets.(If you have not created any temp basal presets, the remoteskips this step.)3. Enter the temporary basal rate in units per hour, then pressEnter.4. Enter the length of time for the temporary rate, in incrementsof 30 minutes, then press Enter.5. Press Start to start the temporary basal rate shown on thescreen.Or press Back to back out of this process.24 iXL™ Diabetes Management System User Guide: Basal RatesBasal Rates3Figure 3-16](https://usermanual.wiki/Insulet/001.Users-manual/User-Guide-400559-Page-36.png)