Intel 18265NG Intel Tri Band Wireless-AC 18265 User Manual Intel Wireless Gigabit v2 6
Intel Mobile Communications Intel Tri Band Wireless-AC 18265 Intel Wireless Gigabit v2 6
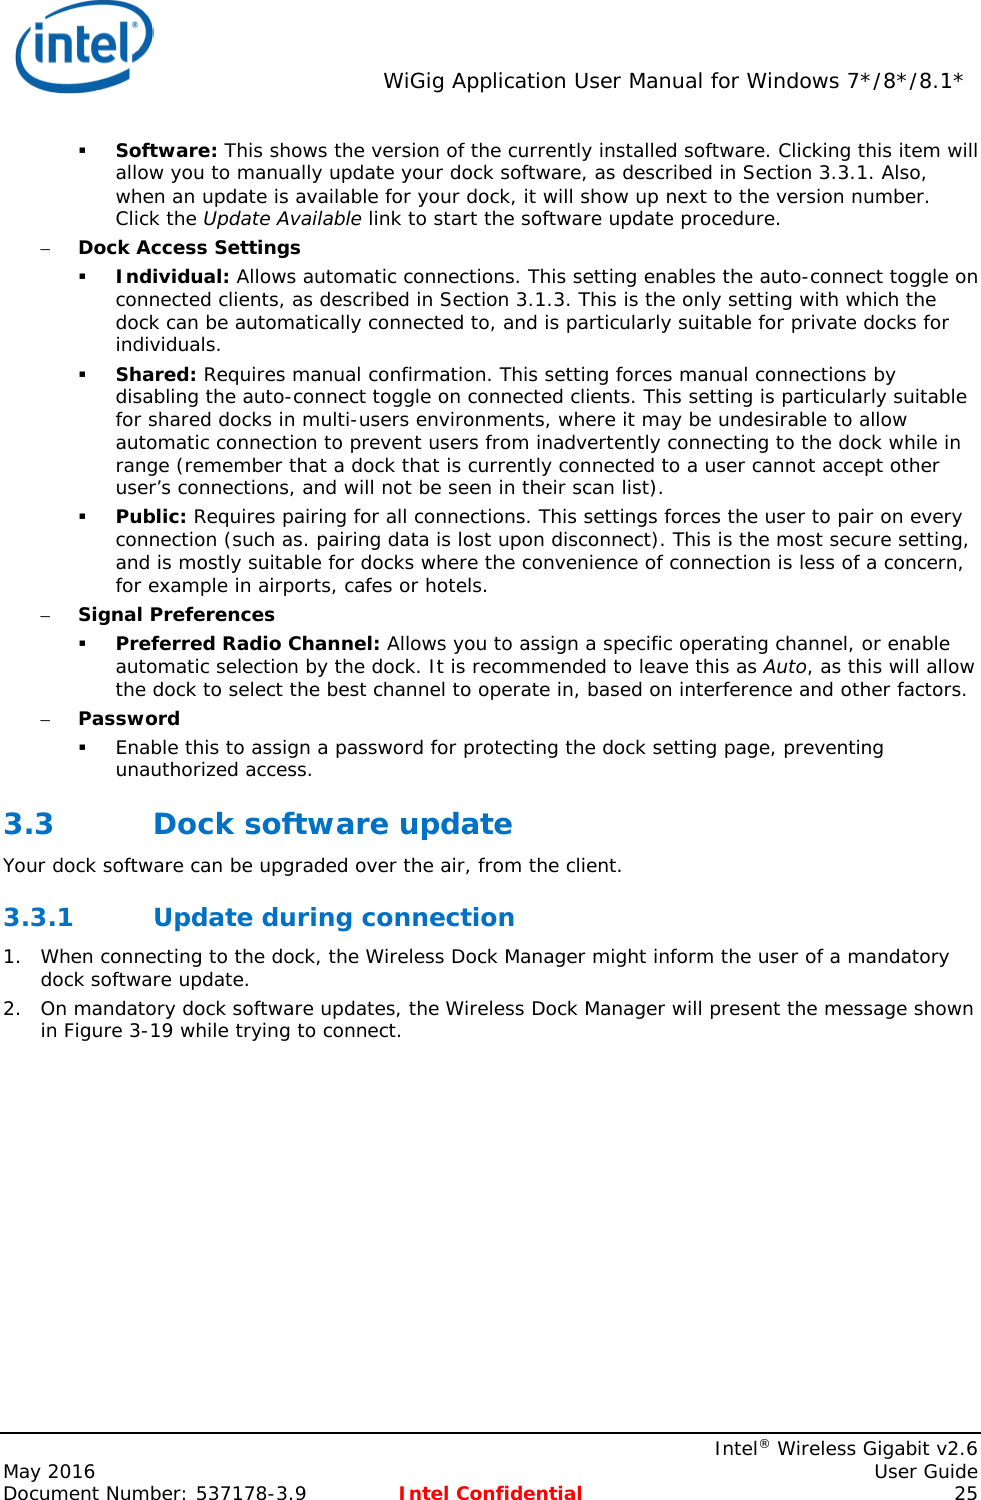
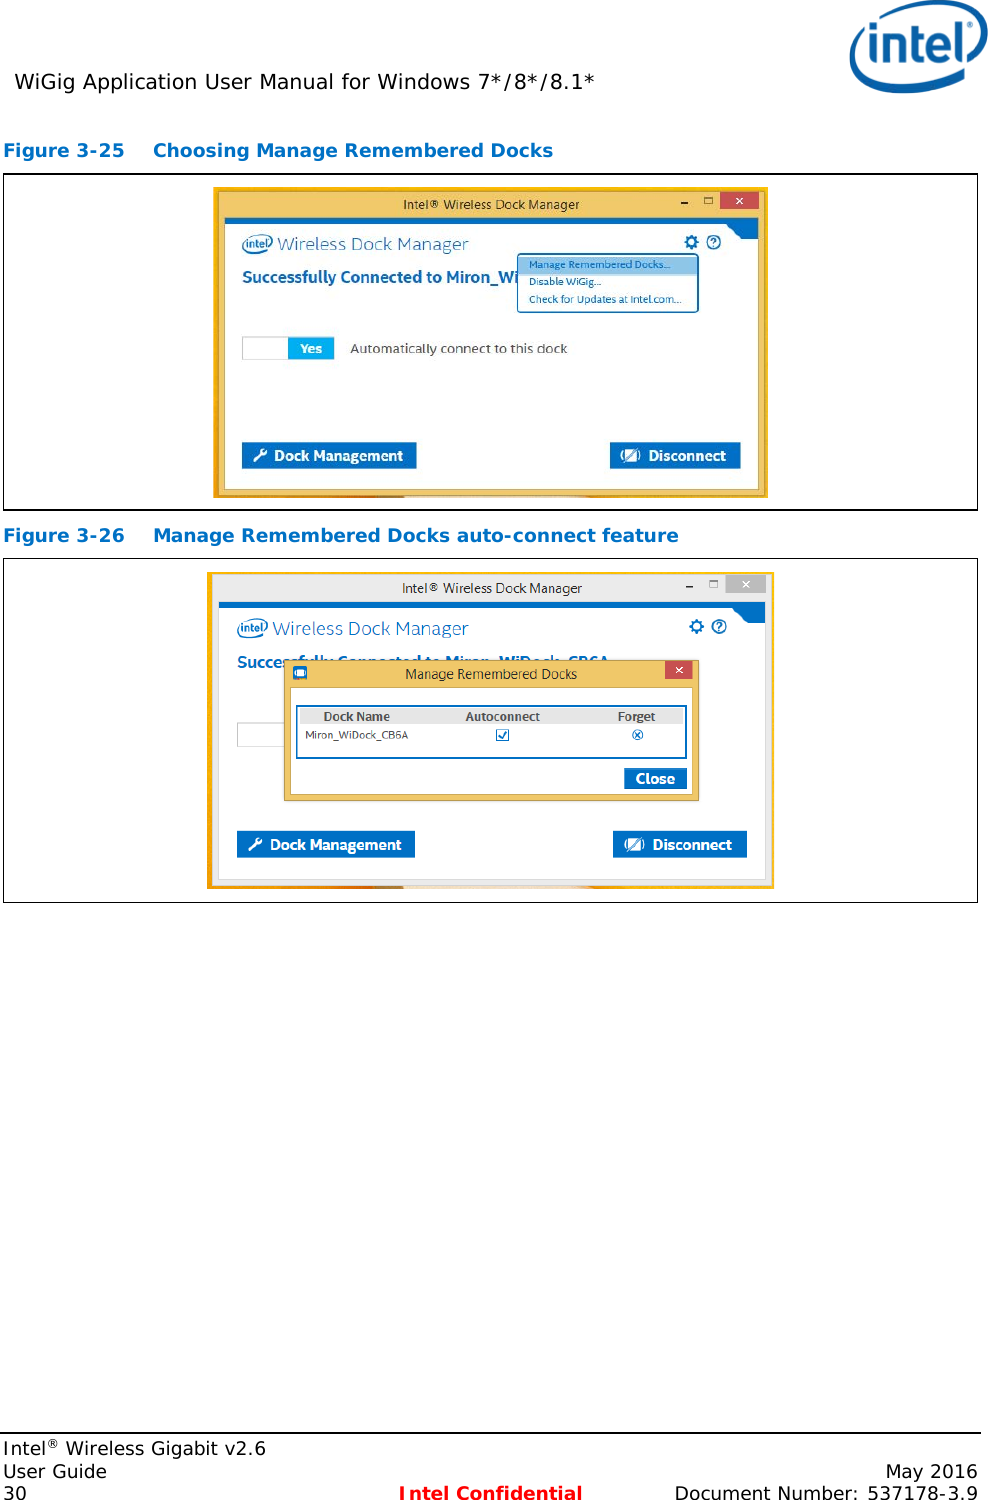
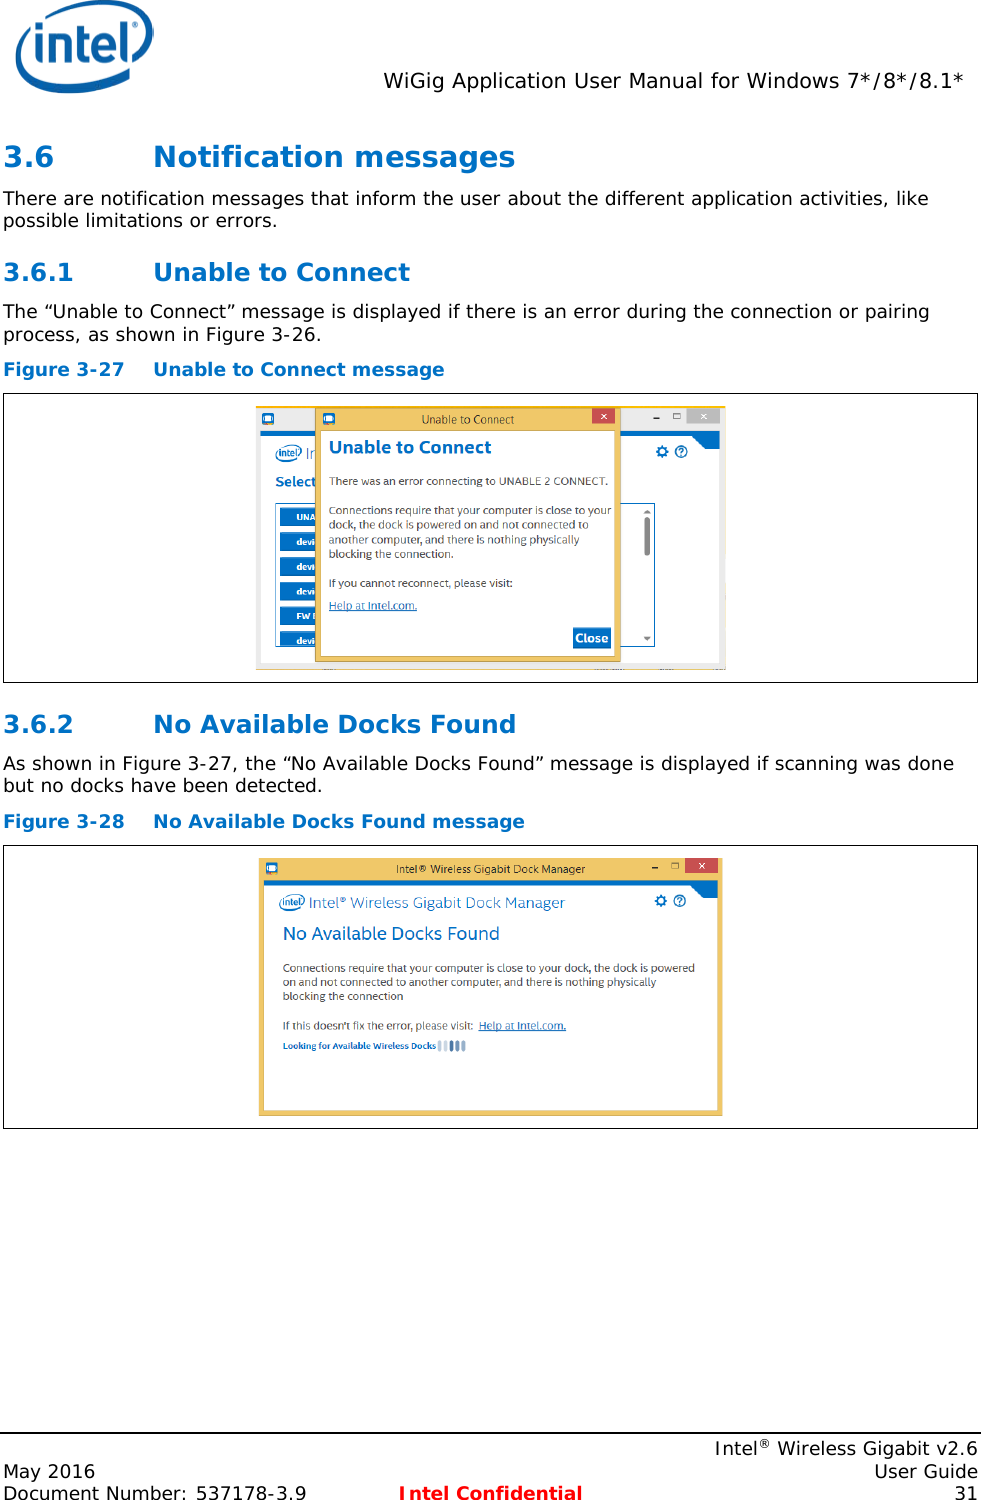
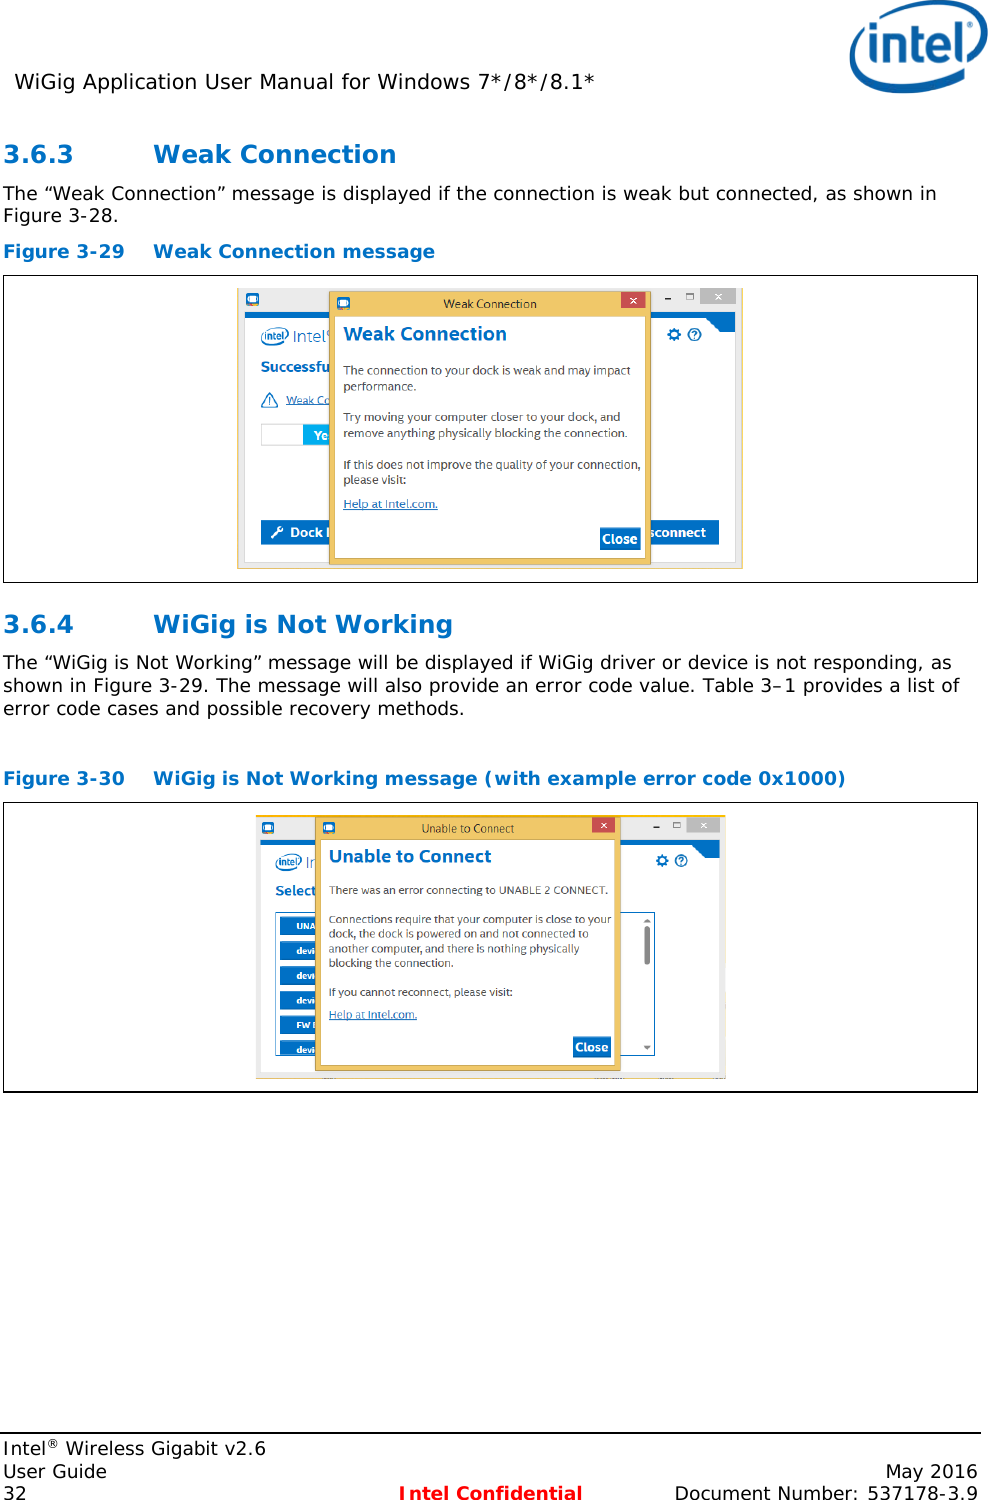
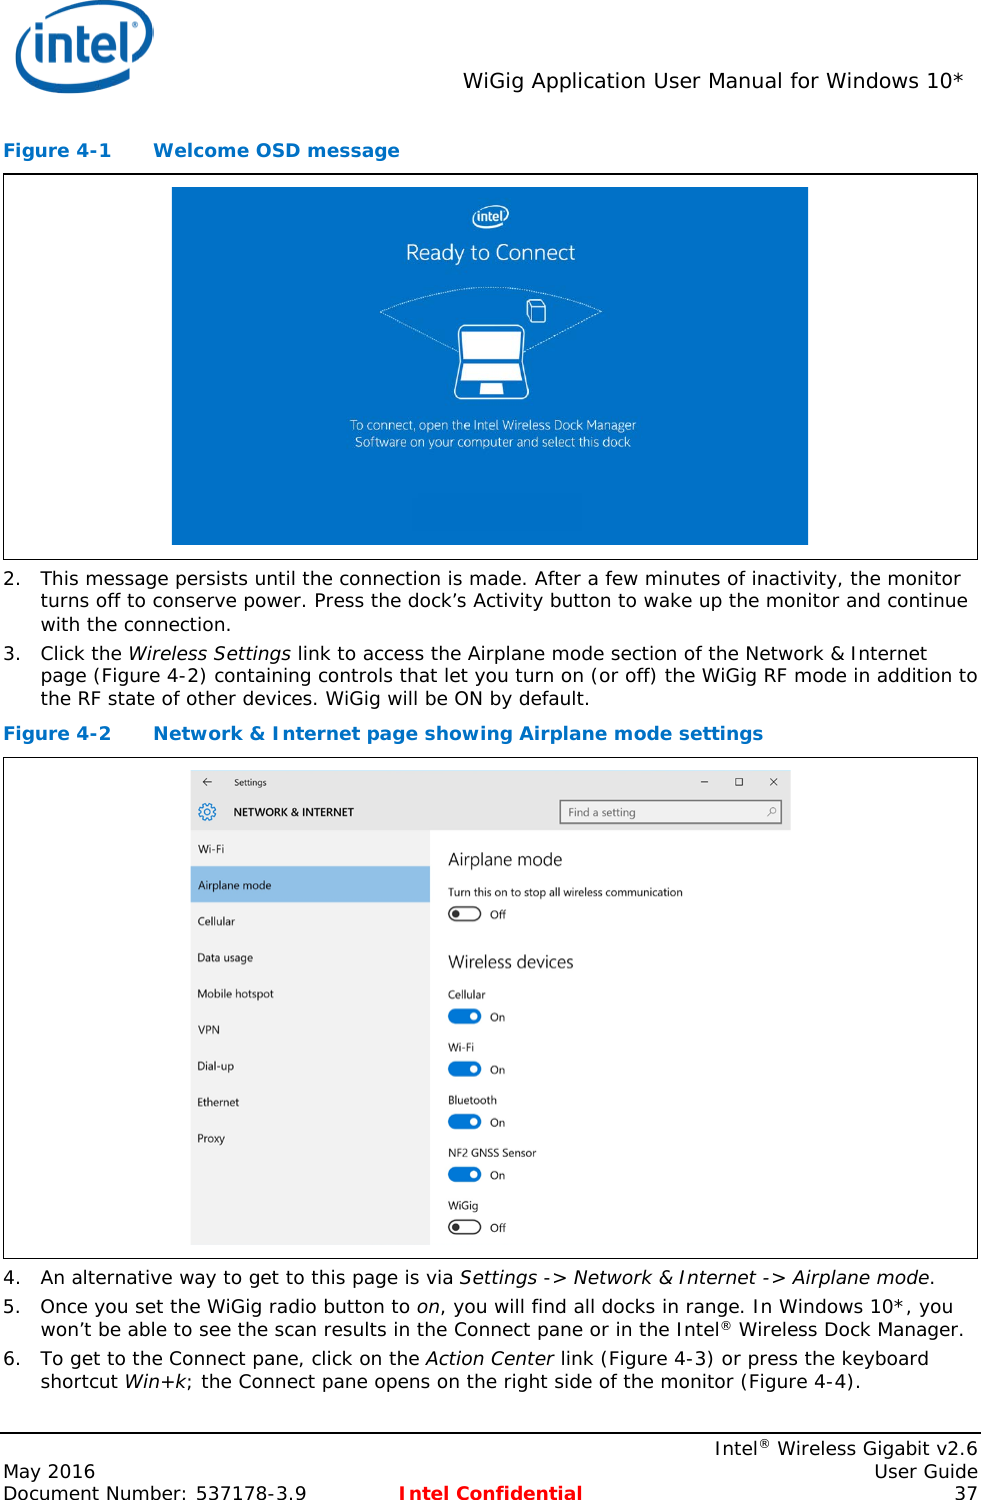
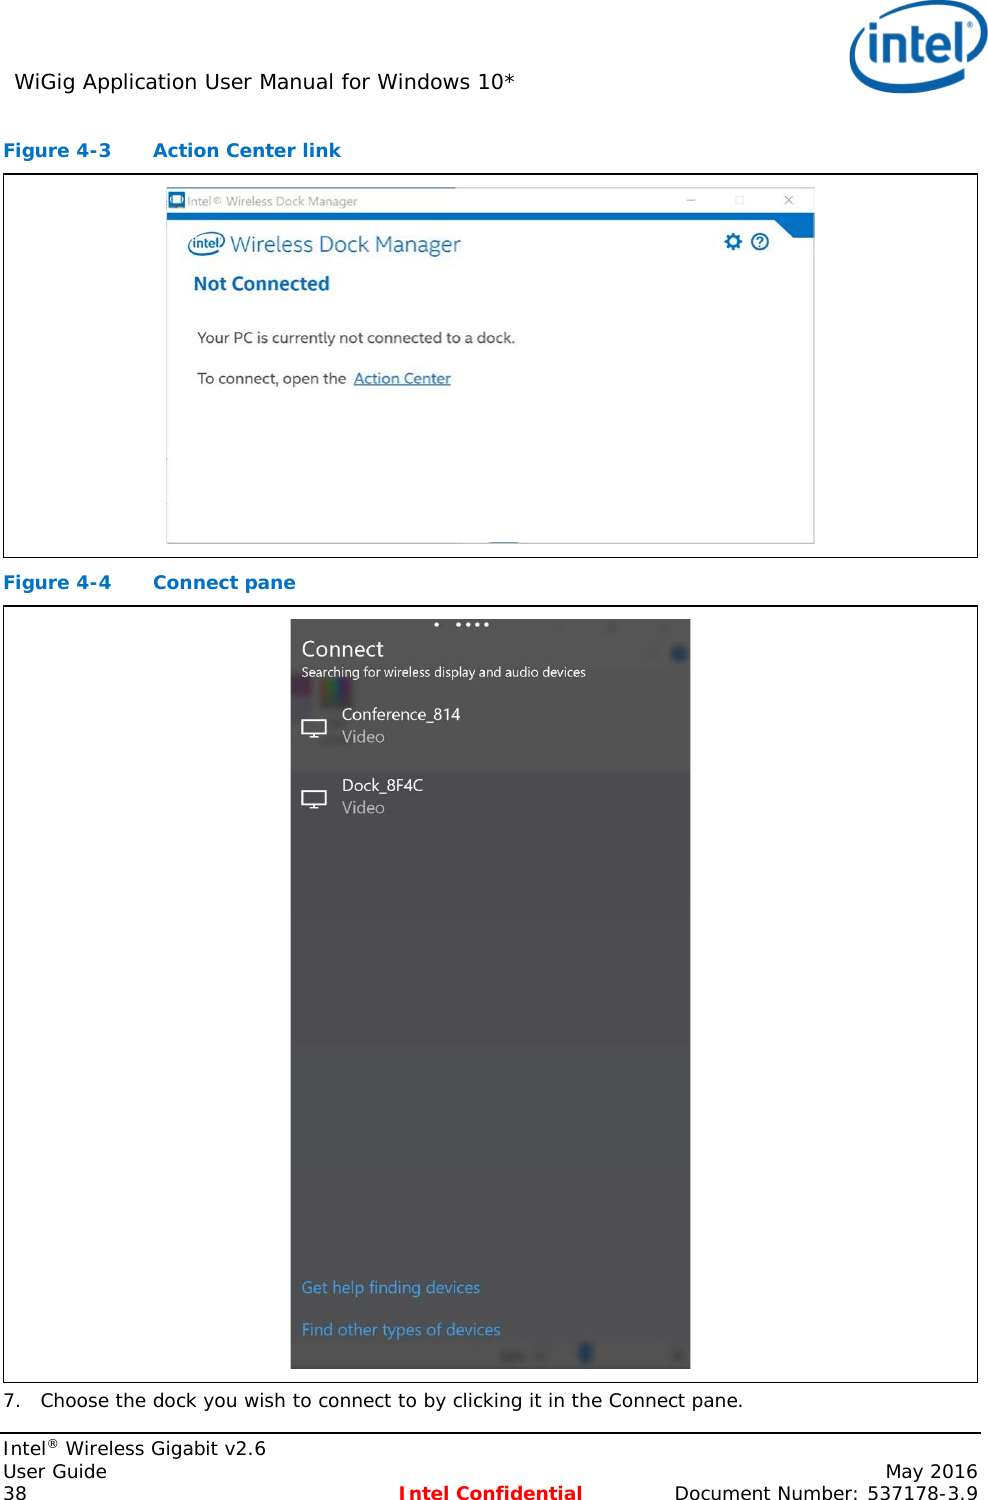
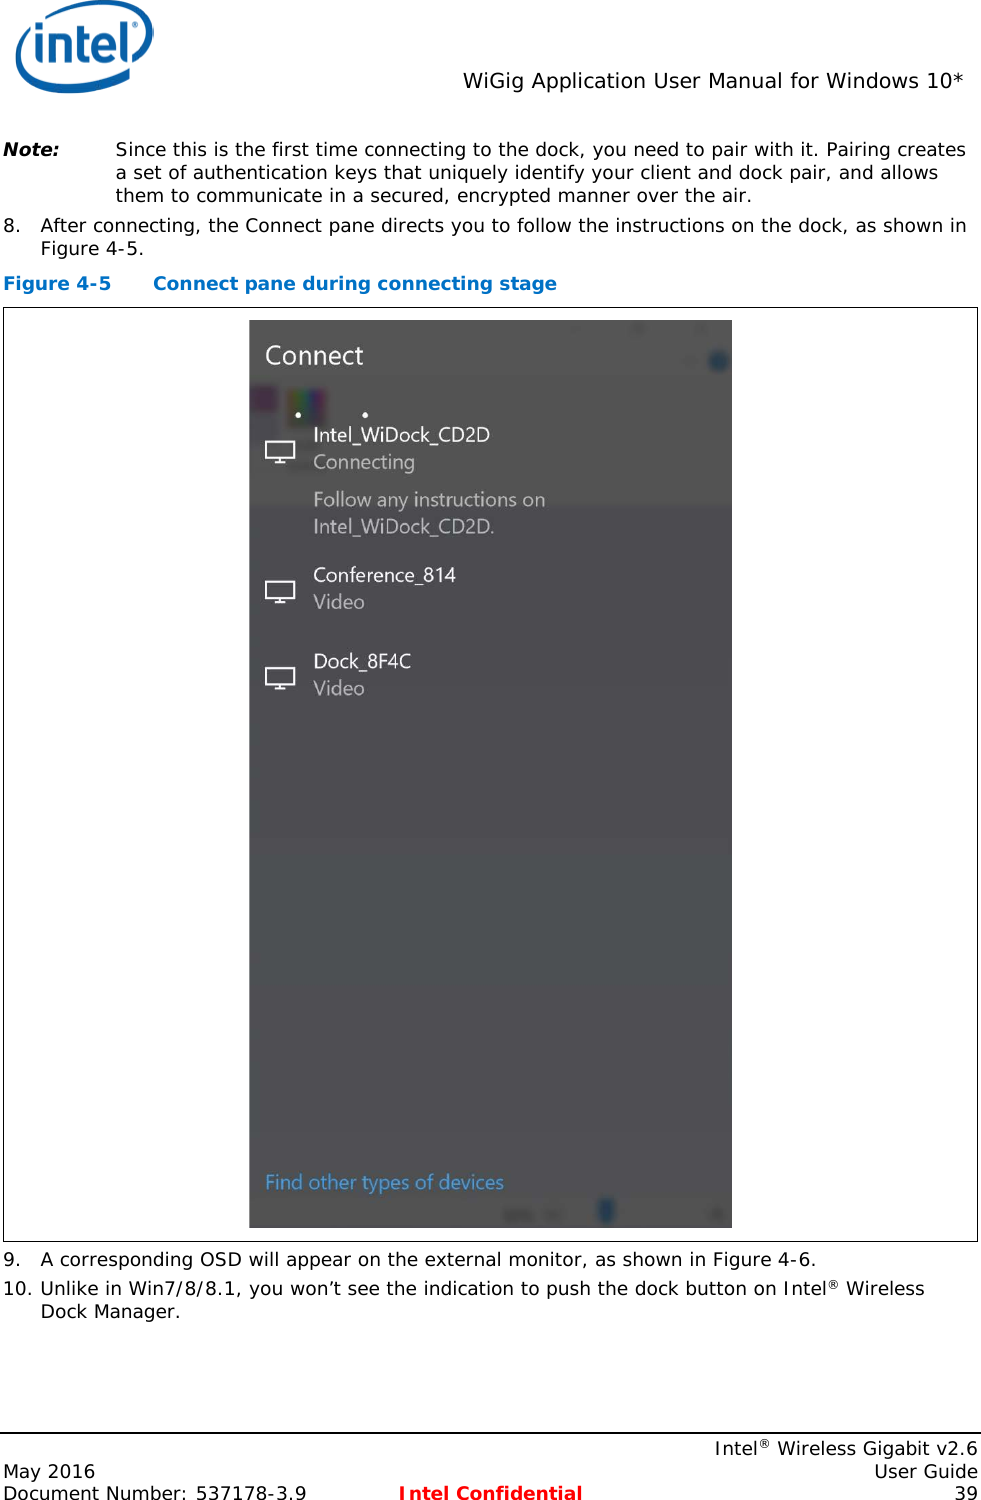
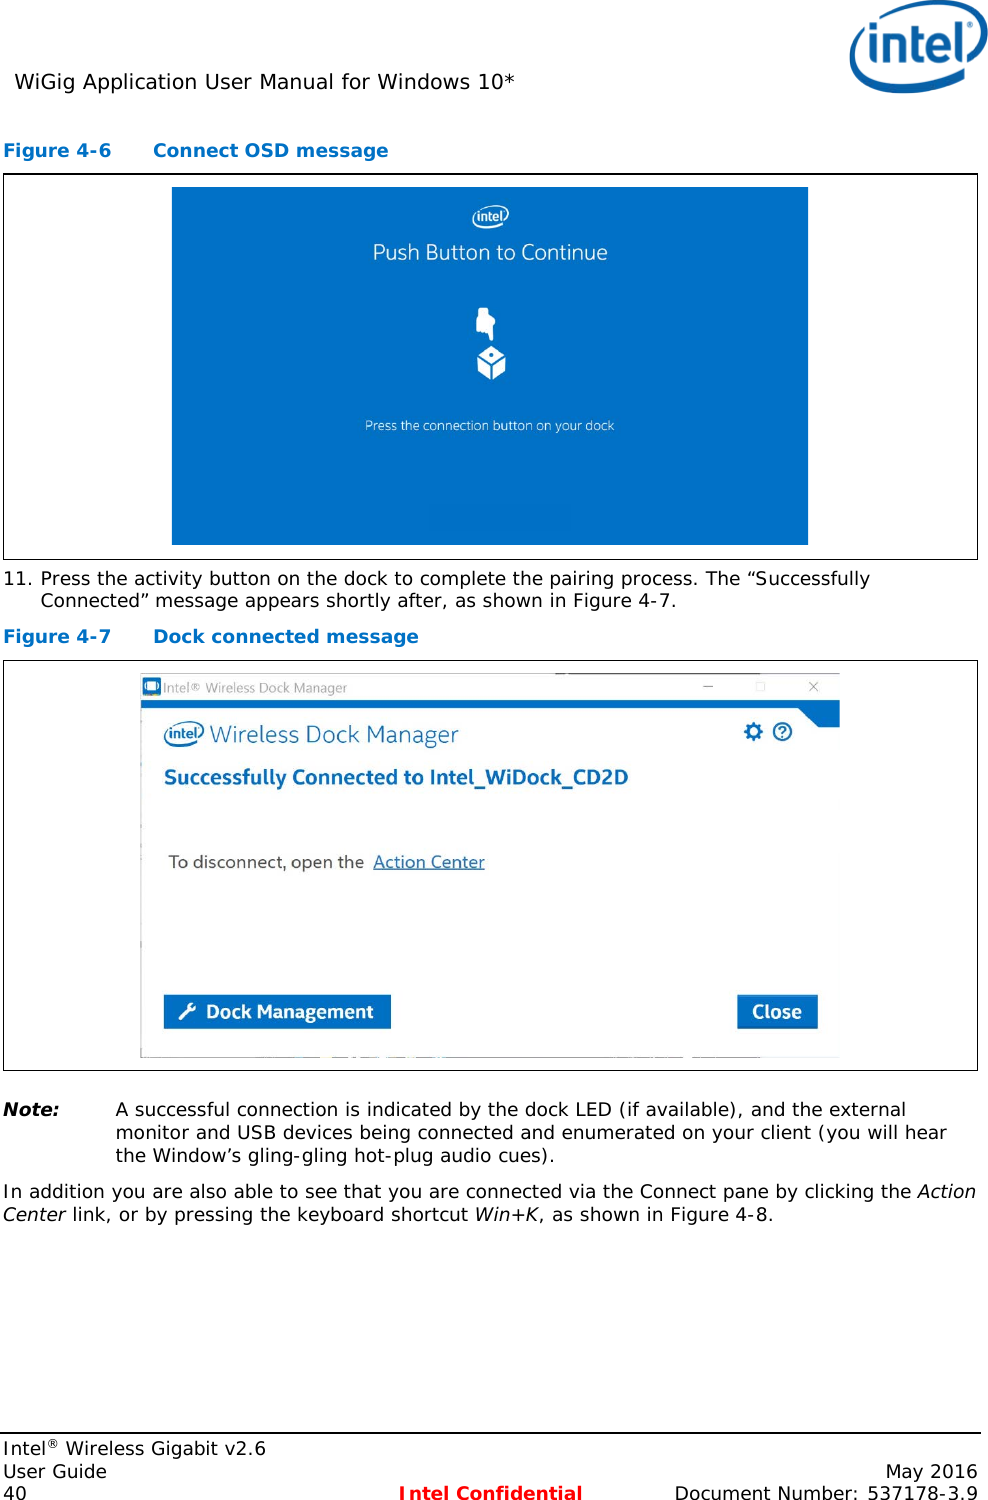
Intel >
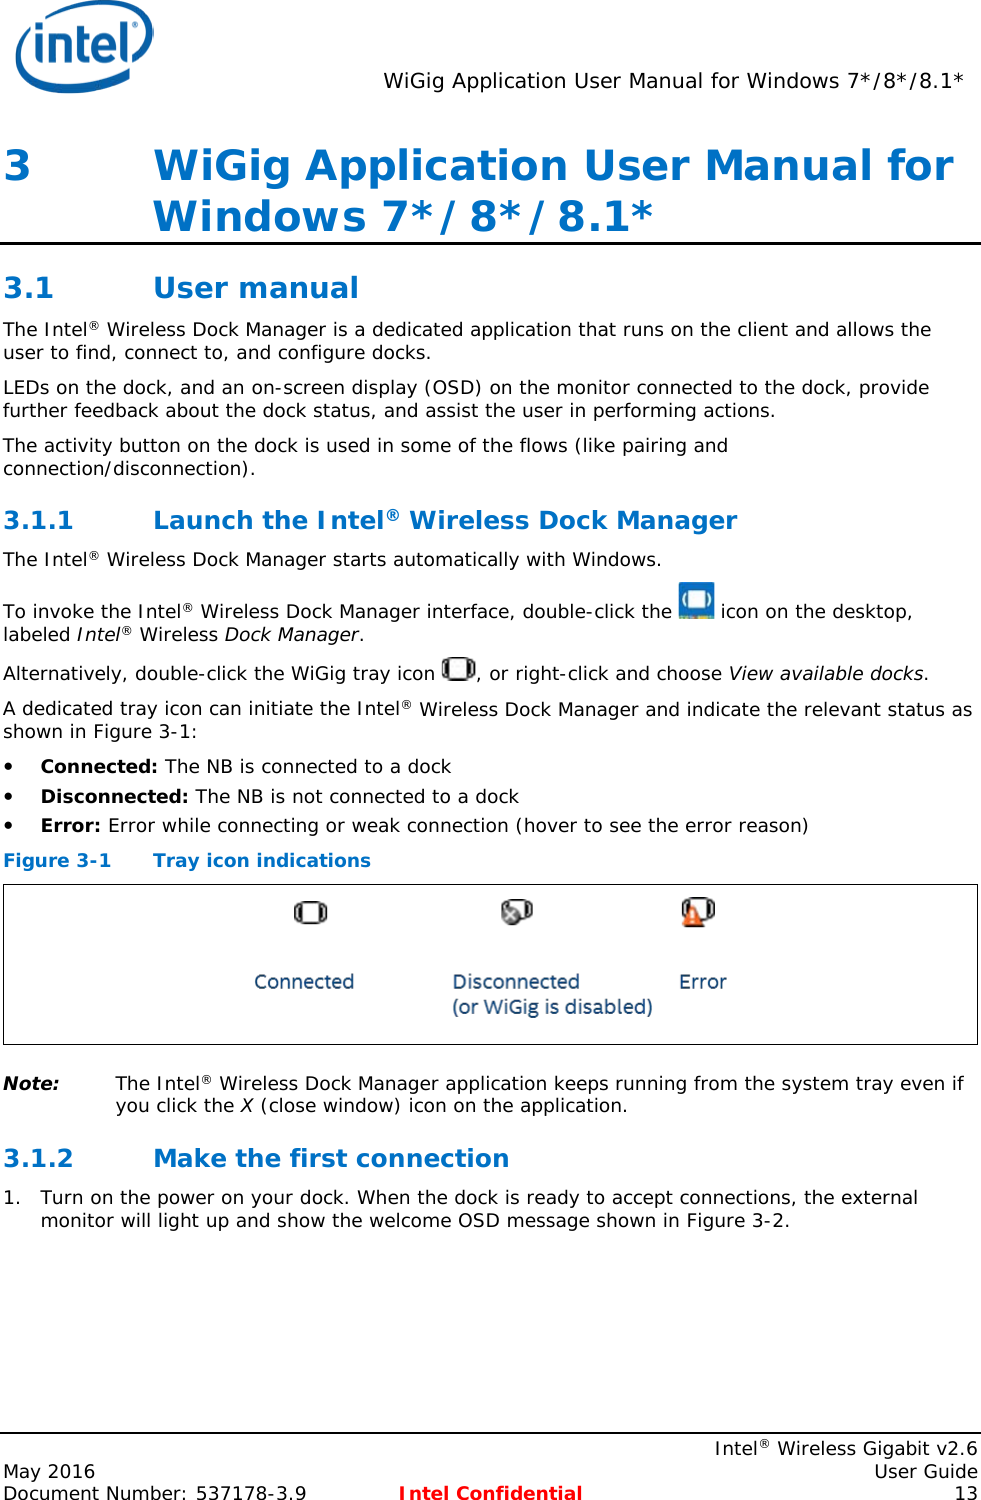
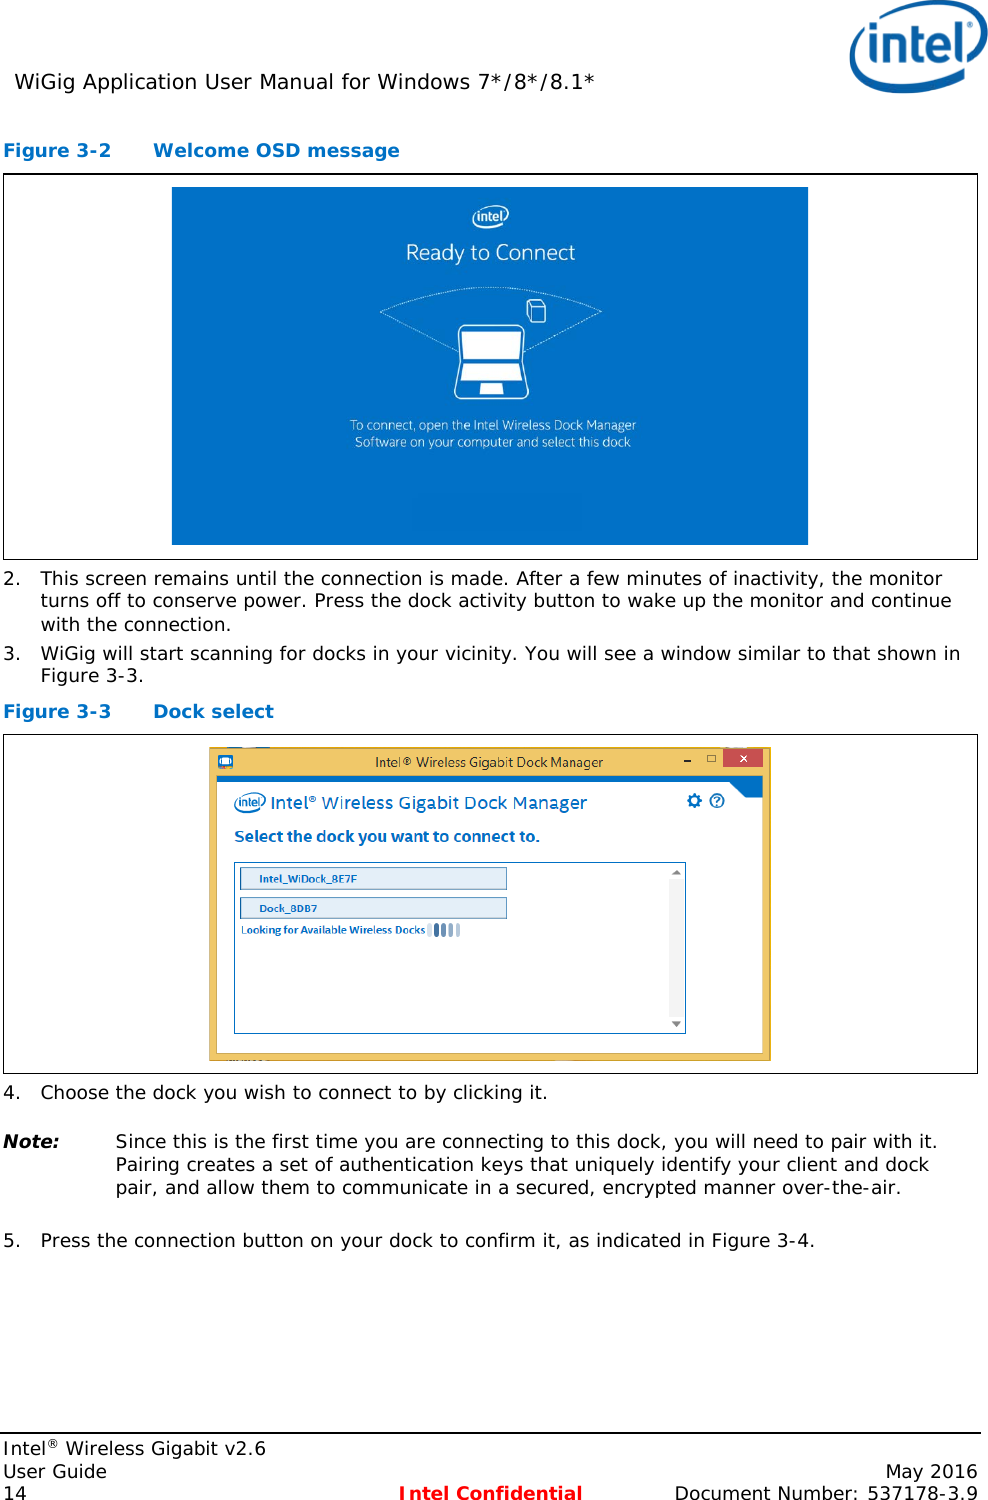
Contents
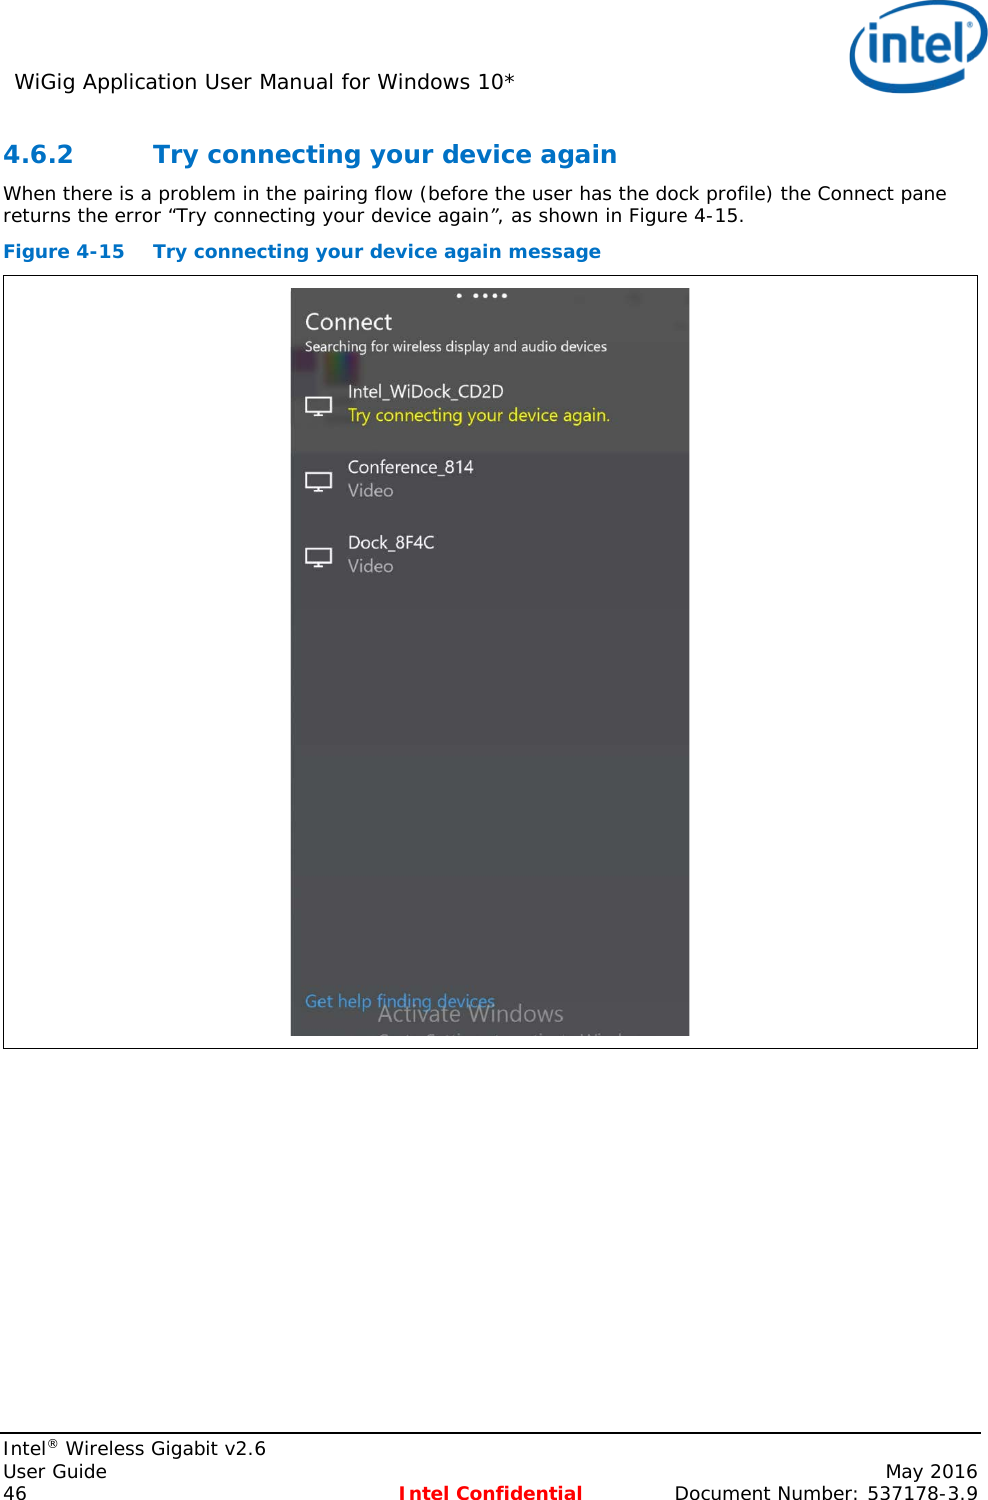
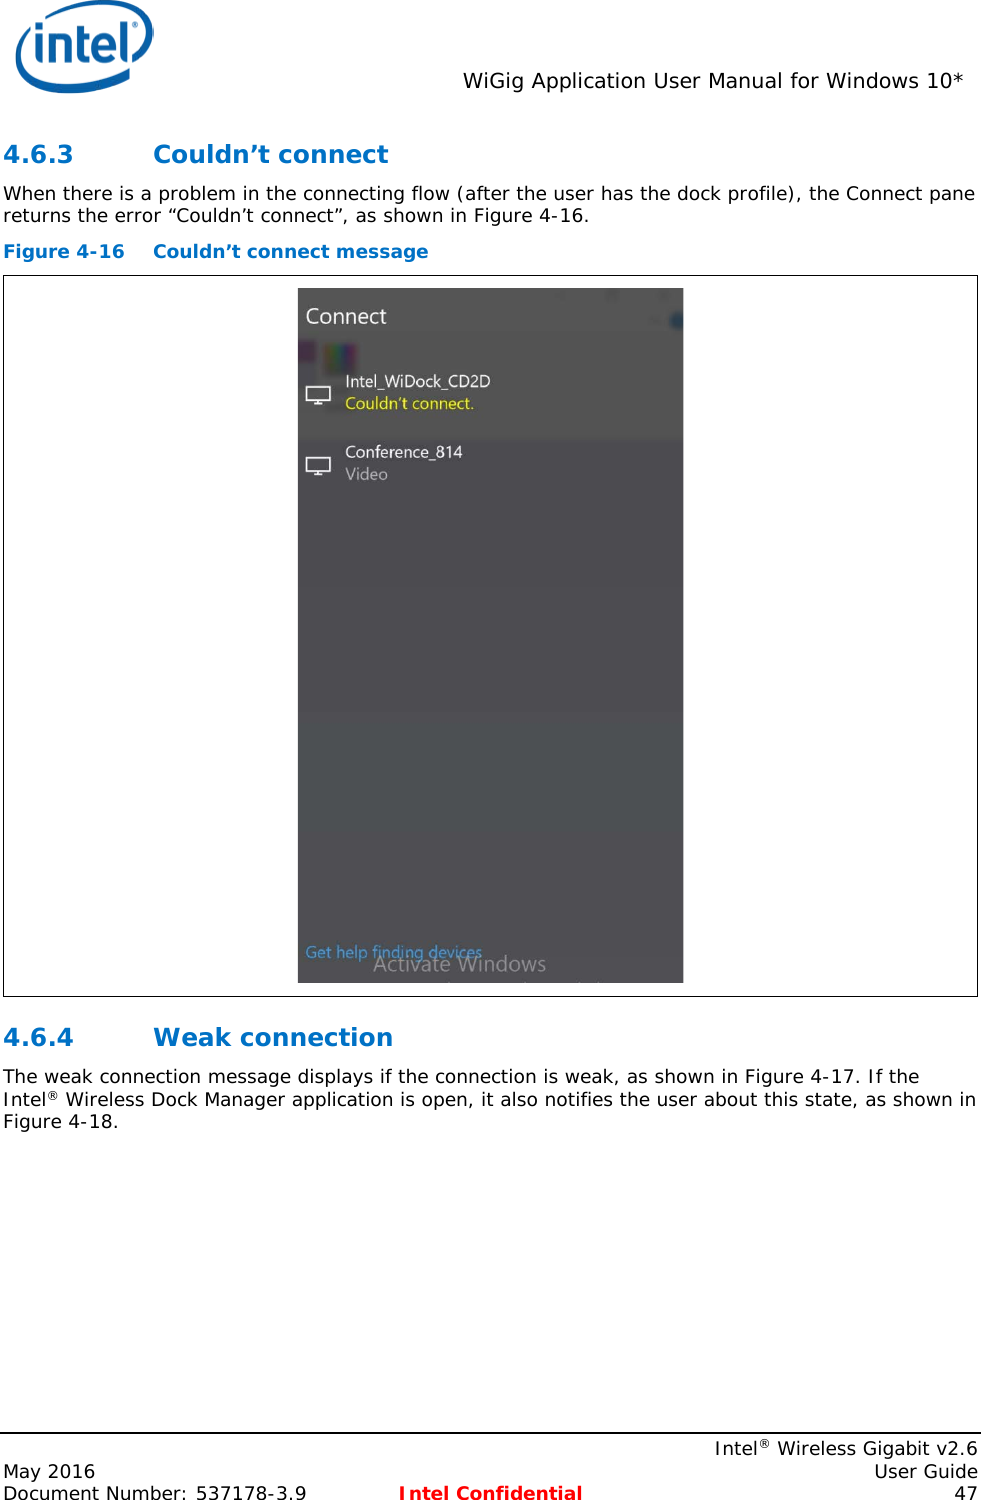
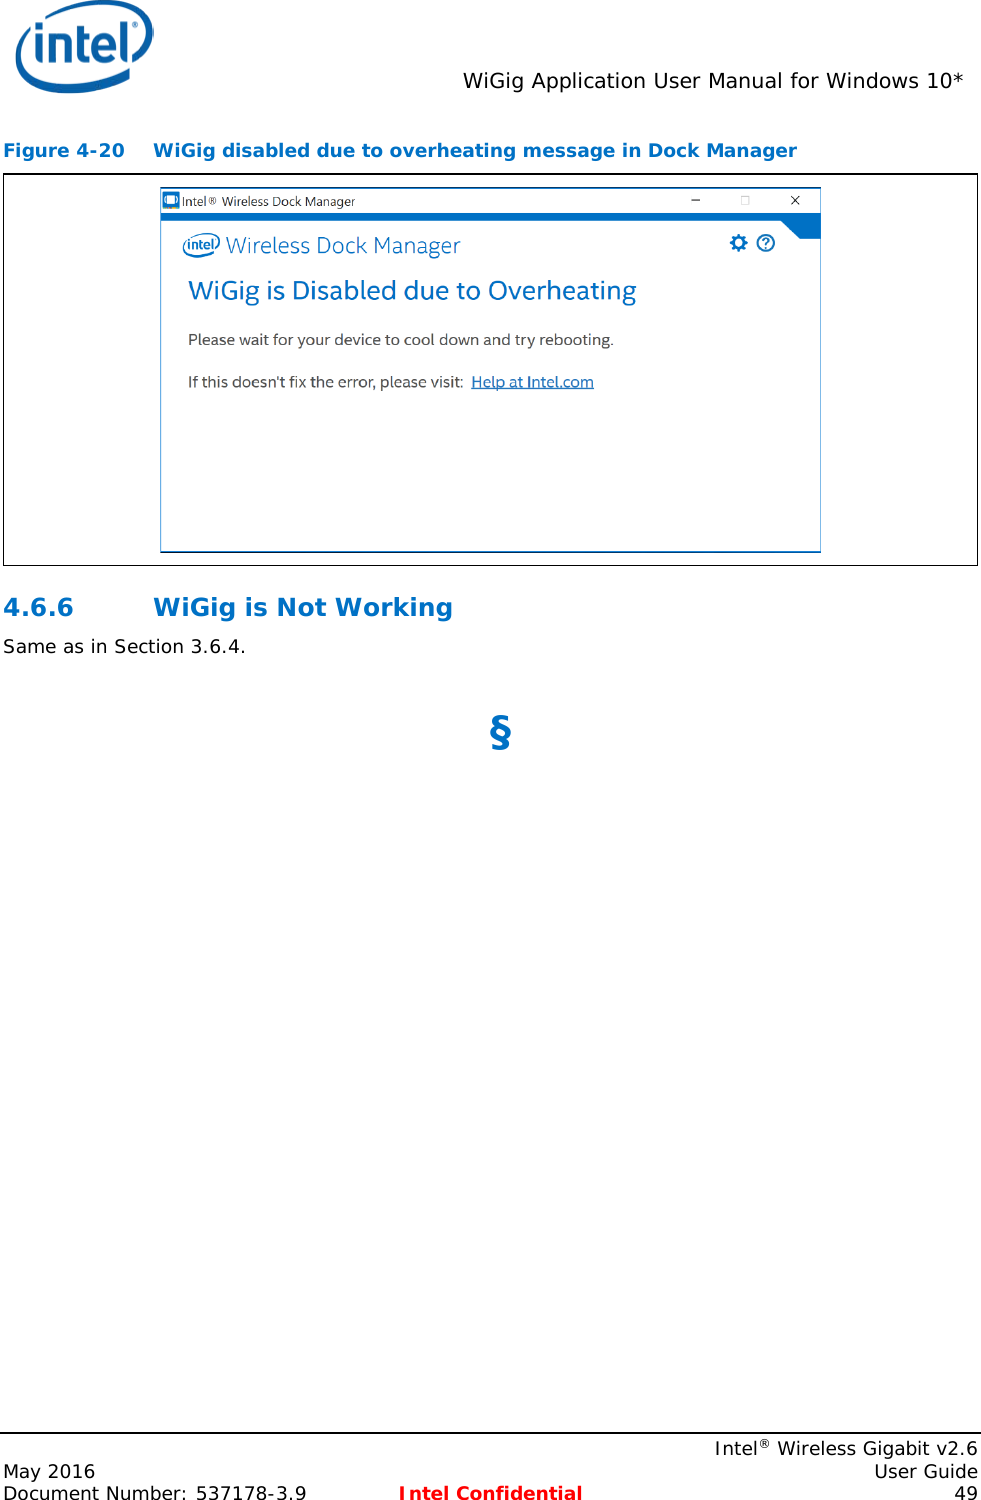
- 1. User Manual Regulatory Guide
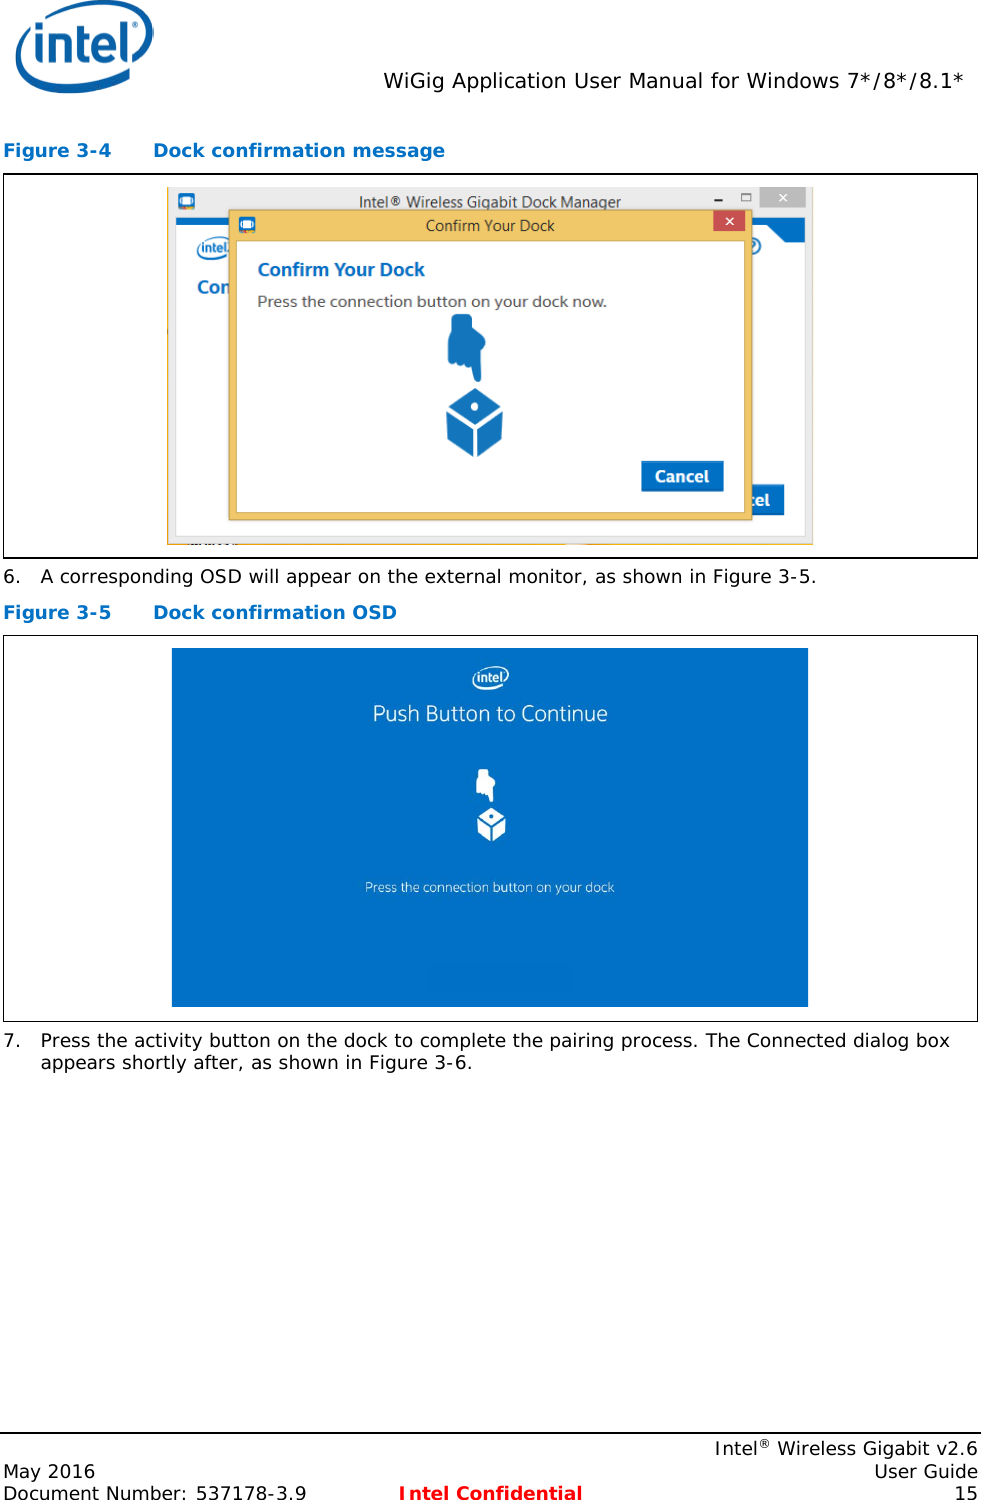
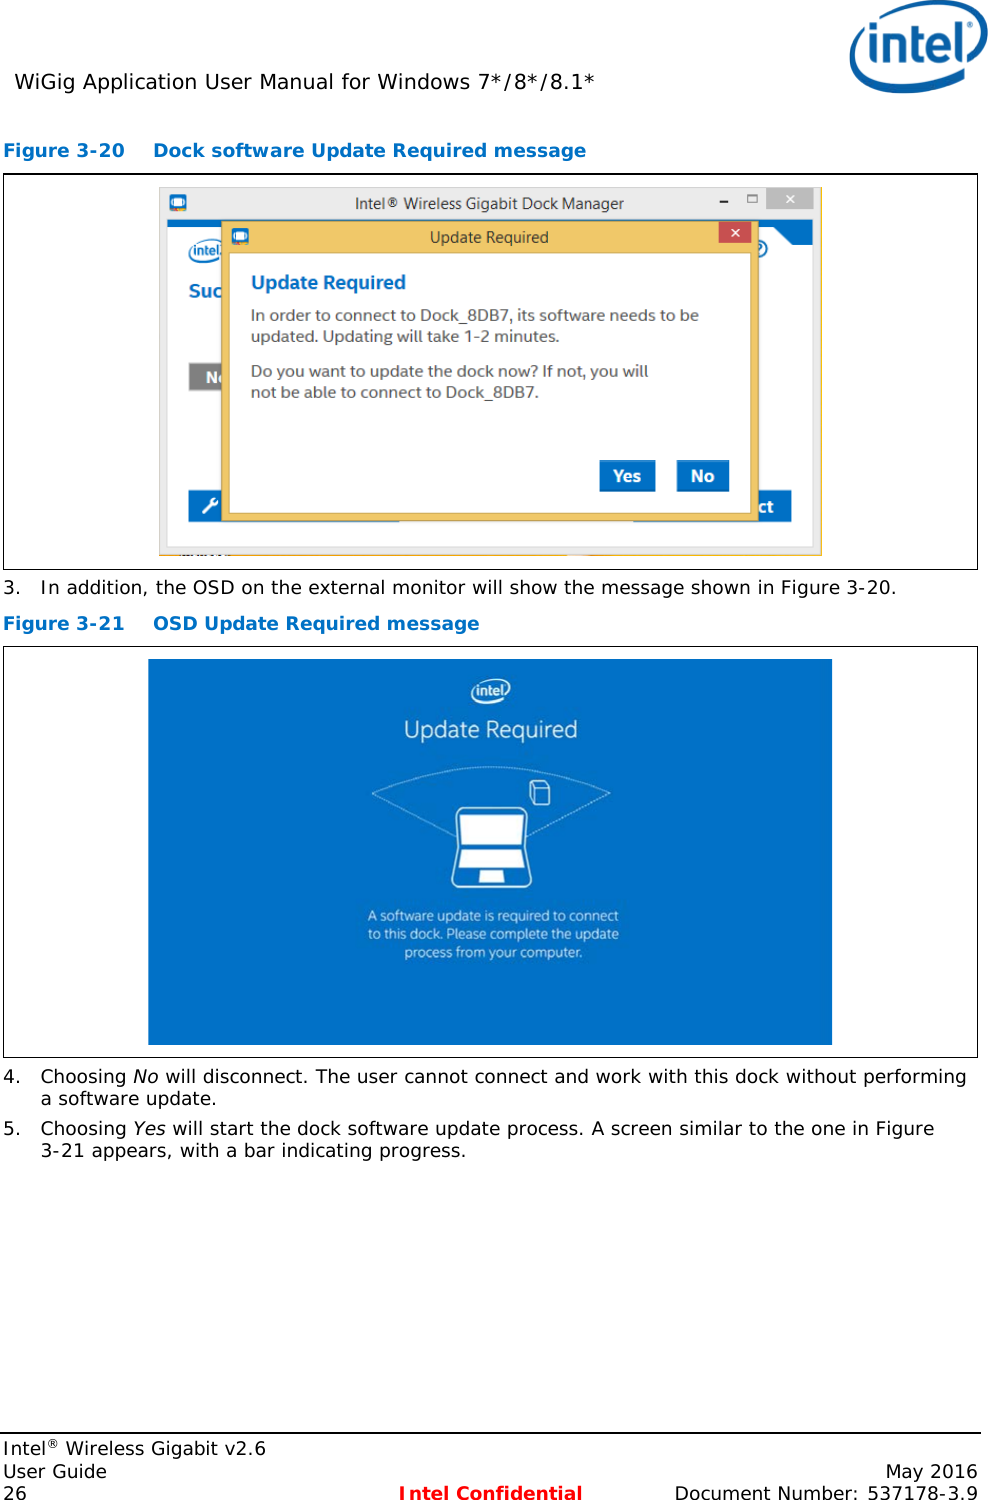
- 2. User Manual
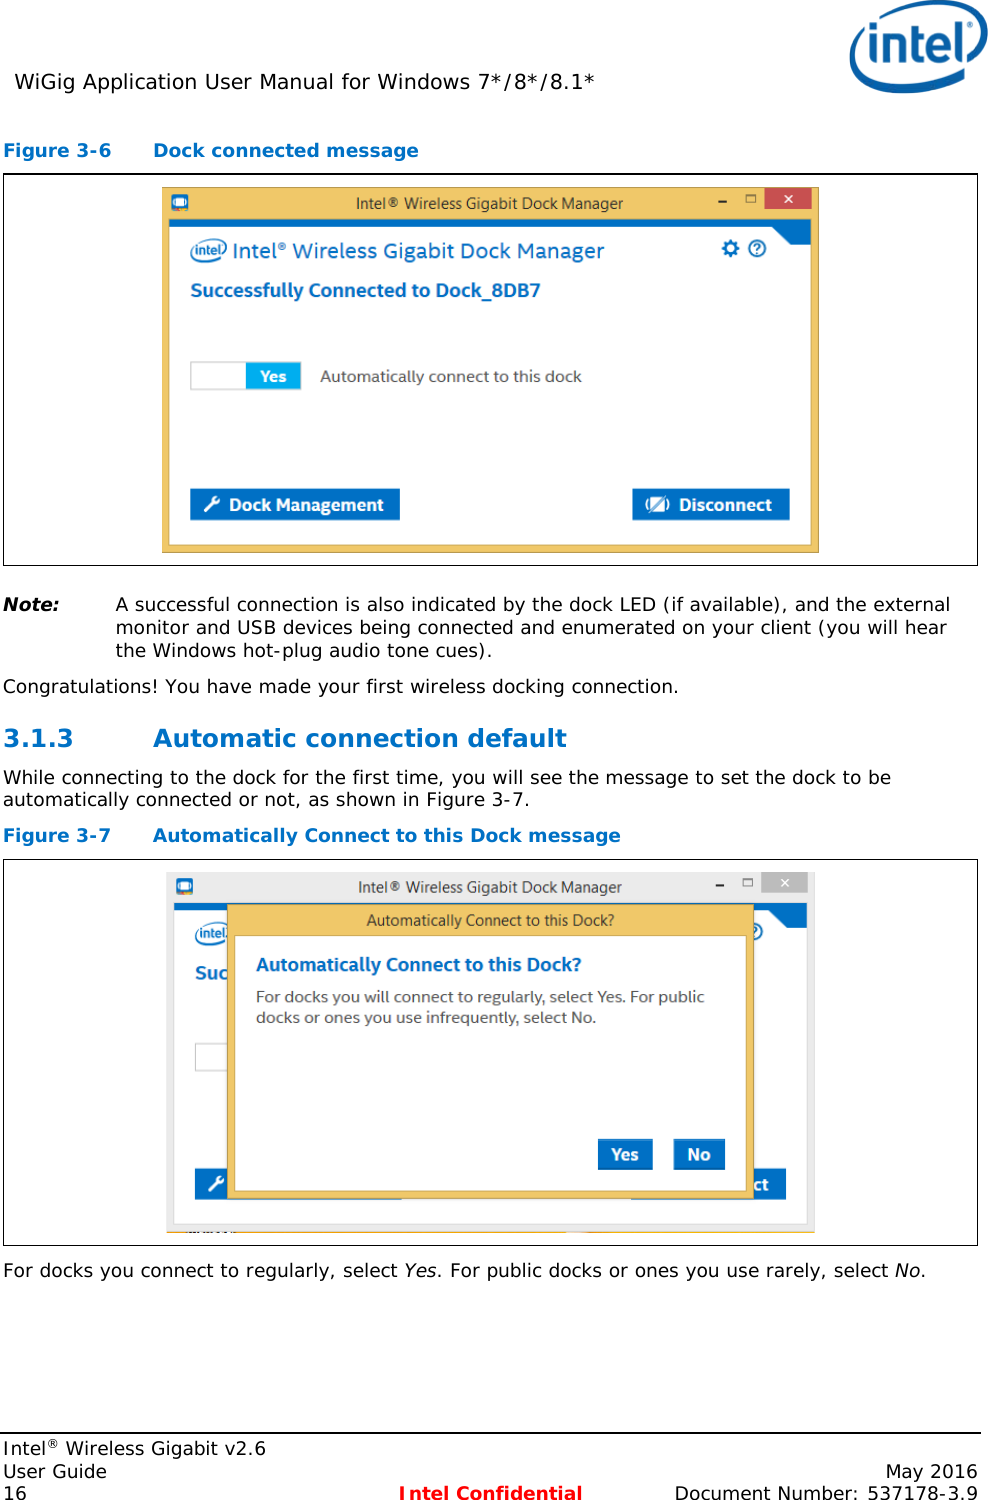
User Manual Regulatory Guide