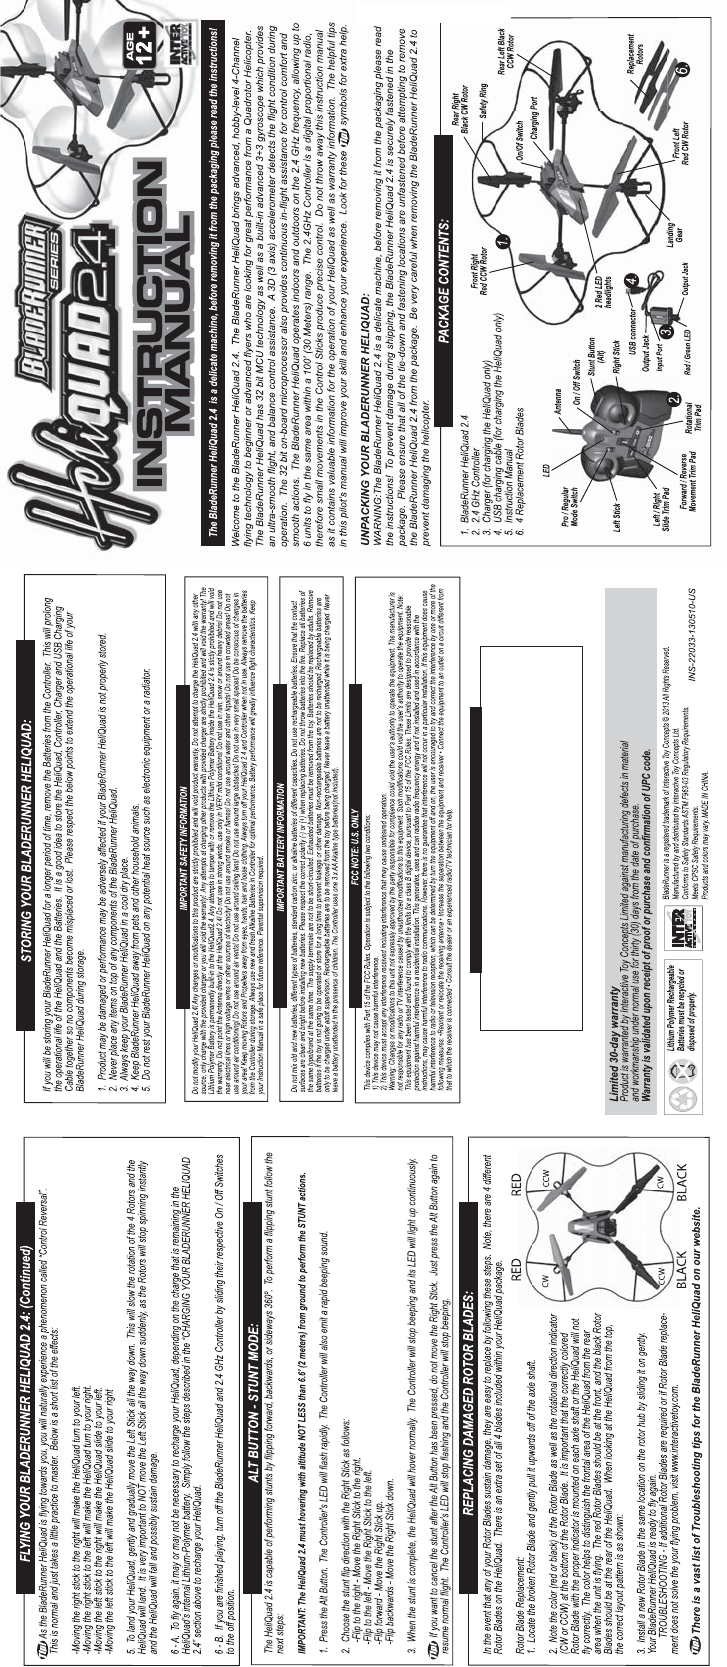
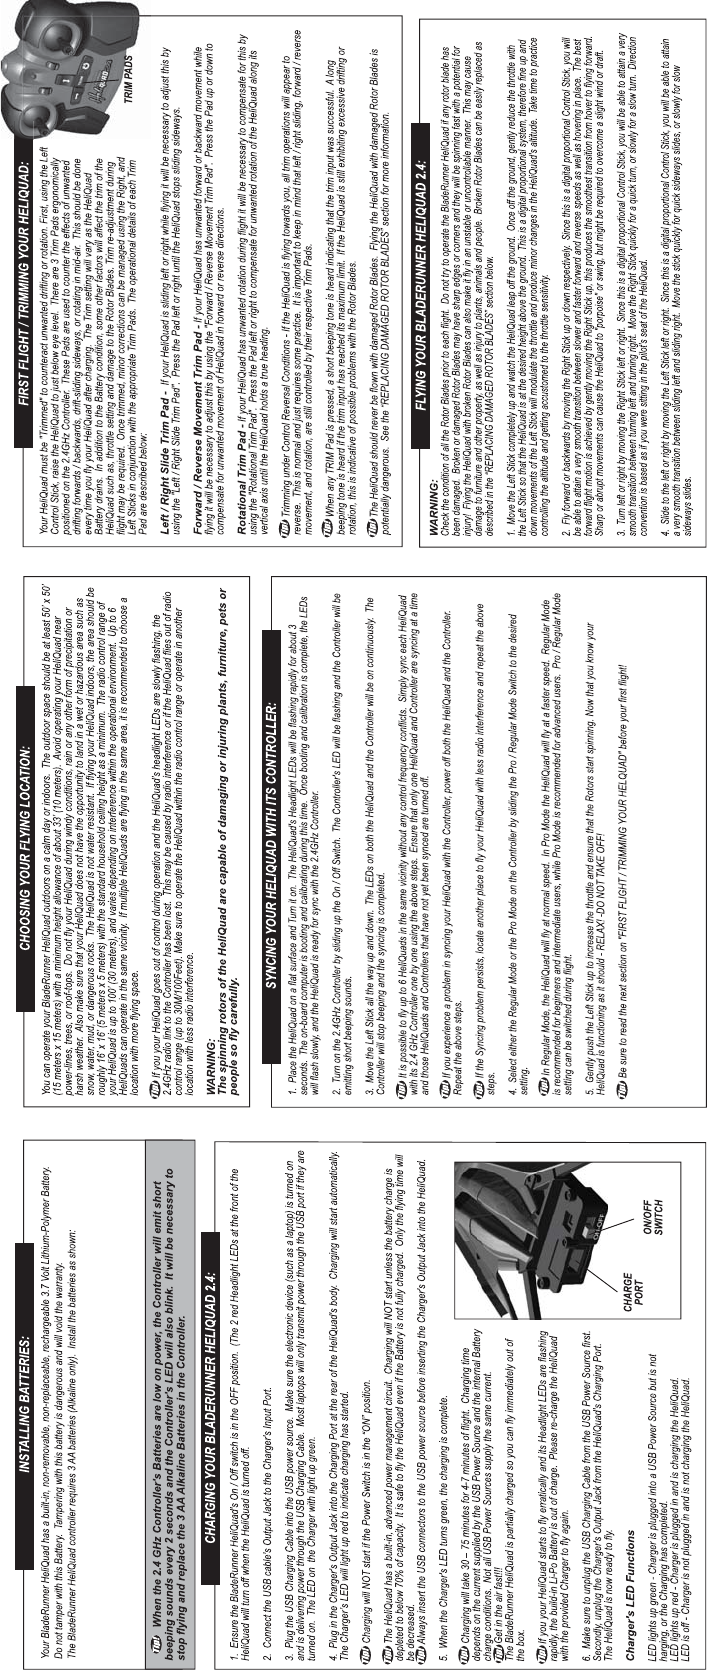
Interactive Toy Concepts 22033RX 2.4G Flier User Manual INS 22033 130510 US P1 outlined ai
Interactive Toy Concepts Limited 2.4G Flier INS 22033 130510 US P1 outlined ai
User manual

Industry Canada Notice: Canada only.
Avis d’Industrie Canada
Industry Canada Notice
7KLVGHYLFHFRPSOLHVZLWK,QGXVWU\&DQDGDOLFHQFHH[HPSW566VWDQGDUGV
2SHUDWLRQLVVXEMHFWWRWKHIROORZLQJWZRFRQGLWLRQV
WKLVGHYLFHPD\QRWFDXVHLQWHUIHUHQFHDQG
WKLVGHYLFHPXVWDFFHSWDQ\LQWHUIHUHQFHLQFOXGLQJLQWHUIHUHQFH WKDWPD\FDXVHXQGHVLUHGRSHUDWLRQRIWKHGHYLFH
&KDQJHVRUPRGLILFDWLRQVQRWH[SUHVVO\DSSURYHGE\WKHSDUW\UHVSRQVLEOH
IRUFRPSOLDQFHFRXOGYRLGWKHXVHU¶VDXWKRULW\WRRSHUDWHWKHHTXLSPHQW

1. Use a Philips screwdriver (not included) to unscrew the
Battery Compartment Door's retaining screw at the rear of
the HeliQuad Controller.
2. Open the Battery Compartment Door on the back of the
HeliQuad Controller by sliding it down.
3. Insert the 3 AA batteries as shown. Make sure to respect
the polarity.
4. Replace the Battery Compartment Door and tighten the
screw with your Philips Screwdriver.