Interactive Toy Concepts 50800RX 2.4G Helicopter User Manual INS 50800 130108 US C B outline
Interactive Toy Concepts Limited 2.4G Helicopter INS 50800 130108 US C B outline
User Manual

Item# 50800
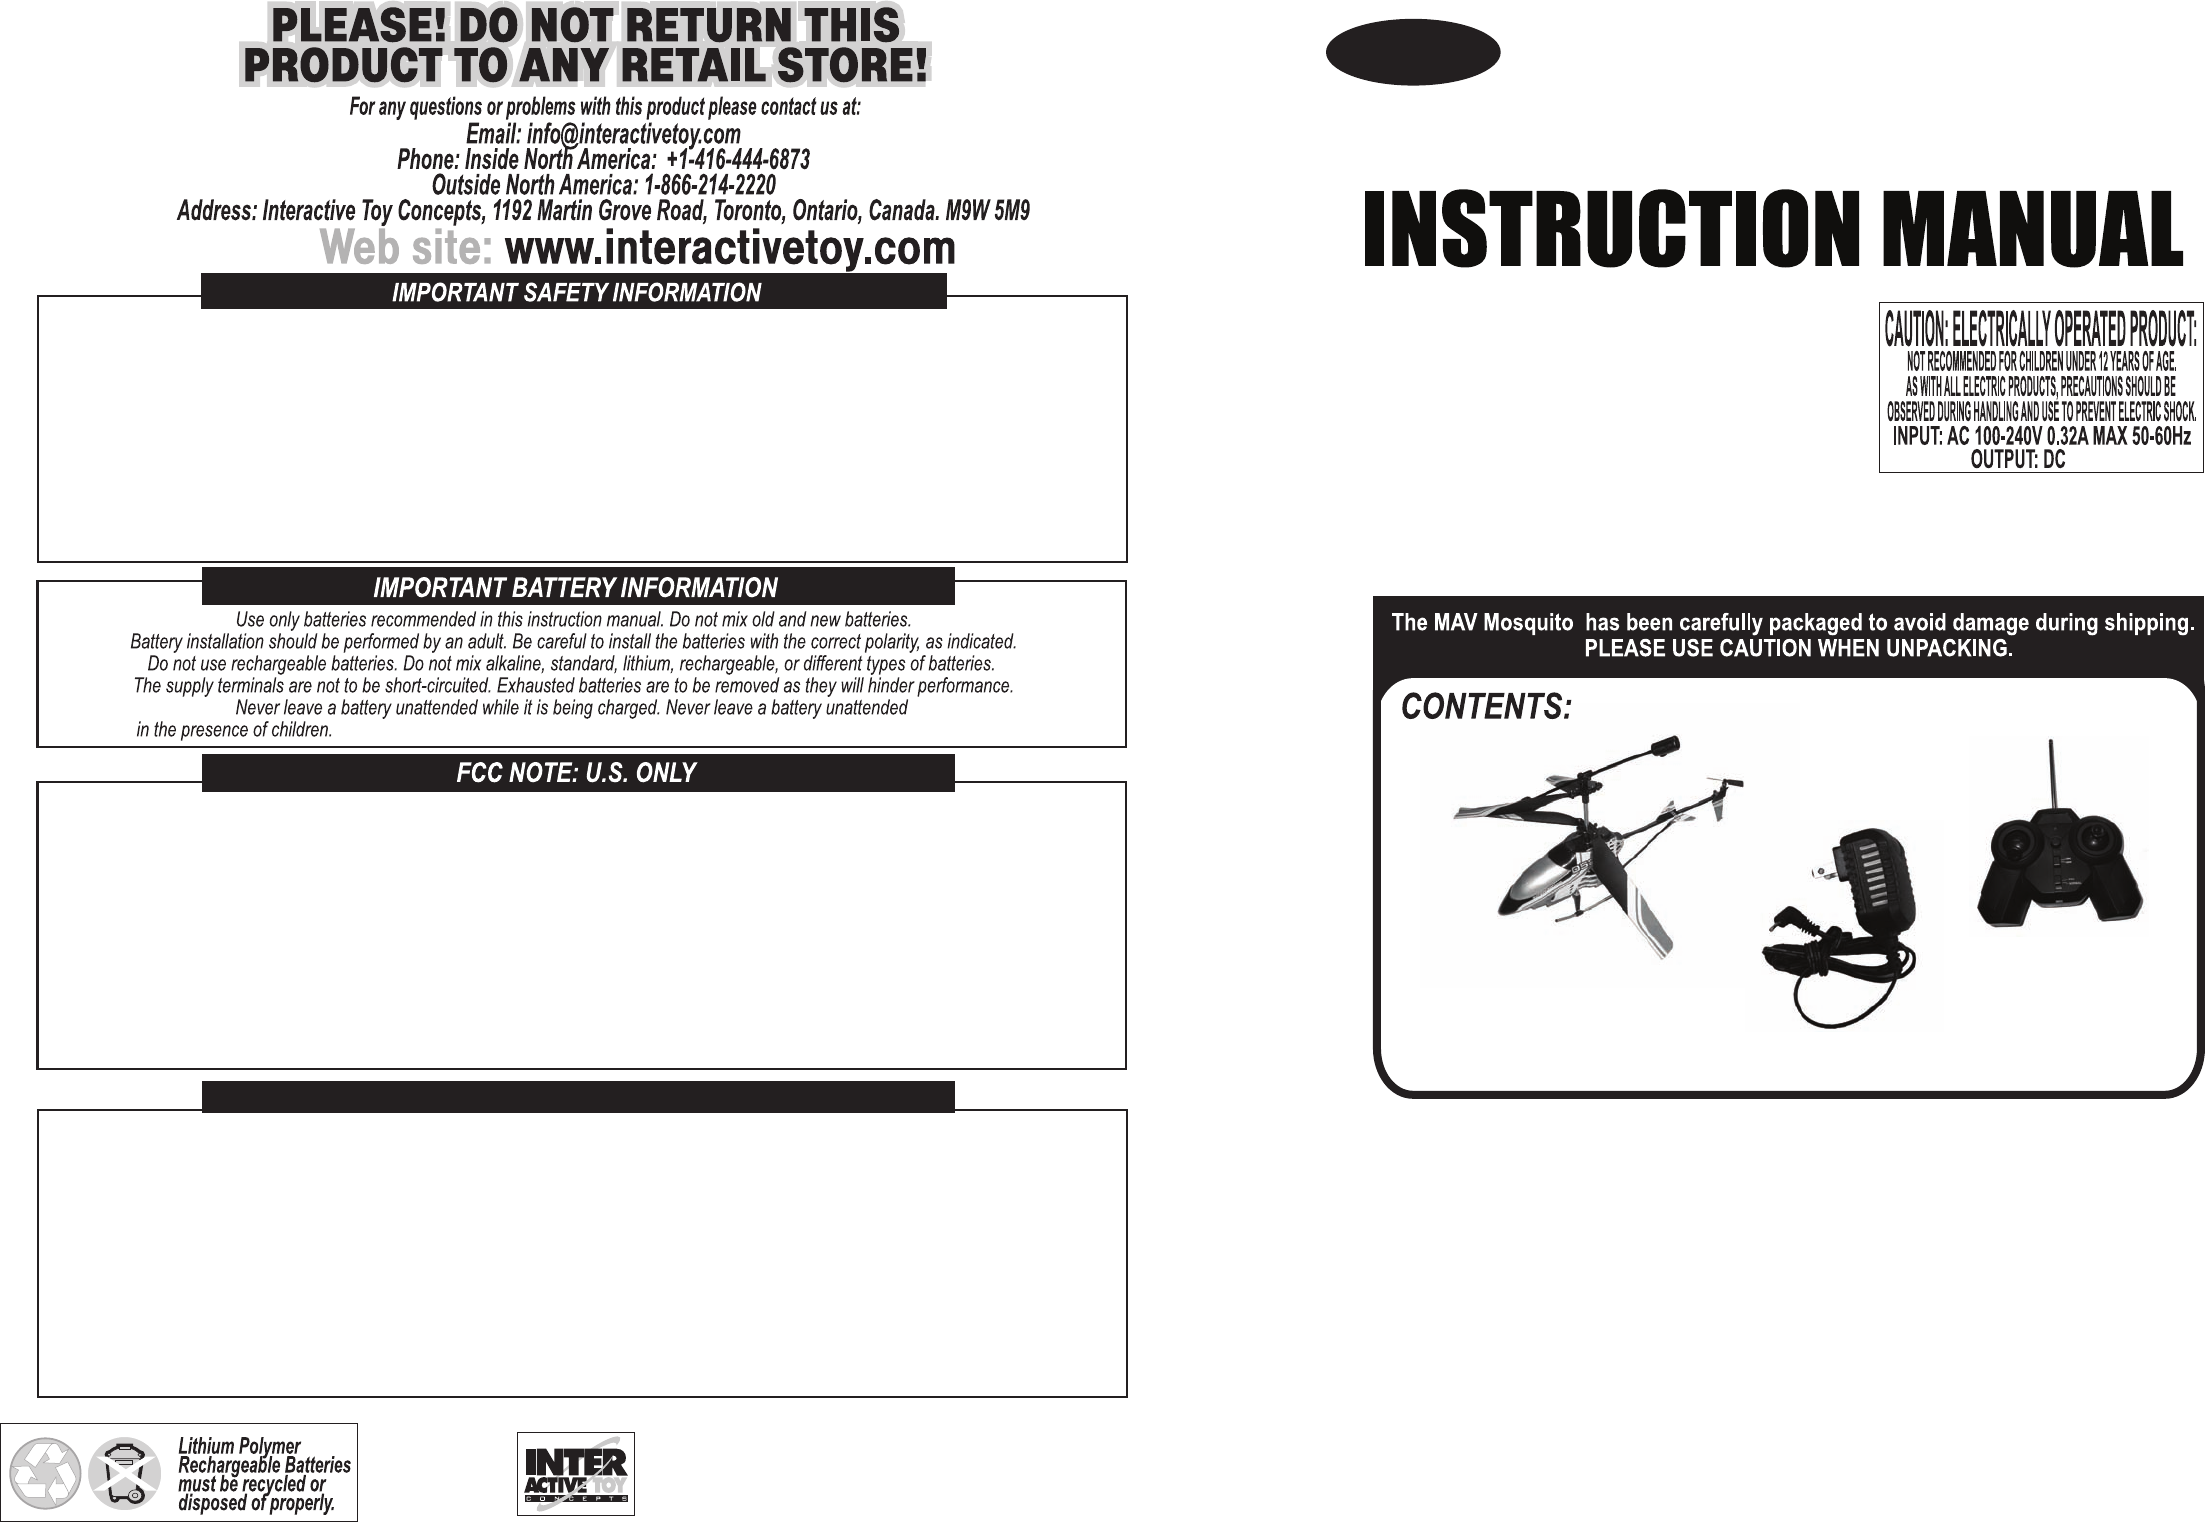
1 x HELICOPTER
1 x CONTROLLER
1 x AC Charger Adapter
Do not modify your Helicopter! Any changes or modifications to this product are strictly prohibited and will void product warranty.
Do not attempt to charge the Helicopter from any other source other than the AC charger provided to charge the Lithium
Polymer Battery or you will void the warranty! Any attempts at charging other products with the AC charger are strictly
prohibited and will void the warranty! The Lithium Polymer Battery is permanently built-in to the Helicopter. Any attempts to tamper
with or remove the Lithium Polymer Battery inside the Helicopter is stictly prohibited and will void the warranty. Do not point the
Antenna directly at the Helicopter! Do not use in strong winds, use only in VERY mild conditions! Do not use in rain, snow or around
heavy debris! Do not use near electrical lines or high voltage wires or other sources of electricity! Do not use around smoke or flames!
Do not use around water and other liquids! Do not use in crowded areas! Do not use around air conditioning! Do not use around air vents!
Do not use around ceiling fans! Do not use around large obstacles! Do not use in very small spaces! Do be conscious of changes in your area!
Keep moving Rotors and Propellers away from eyes, hands, hair and loose clothing. Always turn off your Helicopter and Controller when
not in use. Always remove the batteries from the Controller during storage. Always use new and fresh Alkaline Batteries in Controller for
optimal performance. Battery performance will greatly influence flight characteristics. Keep your Instruction Manual in a safe place for
future reference. Parental supervision required.
The Controller takes one 9V battery (Not included).
Industry Canada Notice: Canada only.
INS-50800-130108-US
This device complies with Part 15 of the FCC Rules. Operation is subject to the following two conditions: 1) This device may not cause harmful interference. 2) This
device must accept any interference received including interference that may cause undesired operation. Warning: Changes or modifications to this unit not expressly
approved by the party responsible for compliance could void the user’s authority to operate the equipment. The manufacturer is not responsible for any radio or TV
interference caused by unauthorized modifications to this equipment. Such modifications could void the user’s authority to operate the equipment. Note: This equipment
has been tested and found to comply with the limits for a Class B digital device, pursuant to Part 15 of the FCC Rules. These Limits are designed to provide reasonable
protection against harmful interference in a residential installation. This generates, uses and can radiate radio frequency energy and if not installed and used in accordance
with the instructions, may cause harmful interference to radio communications. However, there is no guarantee that interference will not occur in a particular installation.
If this equipment does cause harmful interference to radio or television reception, which can be determined by turning the equipment off and on, the user is encouraged to
try and correct the interference by one or more of the following measures: - Reorient or relocate the receiving antenna - Increase the separation between the equipment
and receiver - Connect the equipment to an outlet on a circuit different from that to which the receiver is connected - Consult the dealer or an experienced radio/TV
technician for help.
14+
9V 1.2A
Avis d’Industrie Canada
Le présent appareil est conforme aux CNR d'Industrie Canada applicables aux appareils radio
exempts de licence. L'exploitation est autorisée aux deux conditions suivantes : (1) l'appareil ne
doit pas produire de brouillage, et (2) l'utilisateur de l'appareil doit accepter tout brouillage
radioélectrique subi, même si le brouillage est susceptible d'en compromettre le fonctionnement.
%%&$%%
'%&$%$
Industry Canada Notice
This device complies with Industry Canada licence-exempt RSS standard(s).
1. Operation is subject to the following two conditions:
(1) this device may not cause interference, and
(2) this device must accept any interference, including interference that may cause undesired operation of the device."
2. Changes or modifications not expressly approved by the party responsible
for compliance could void the user’s authority to operate the equipment.

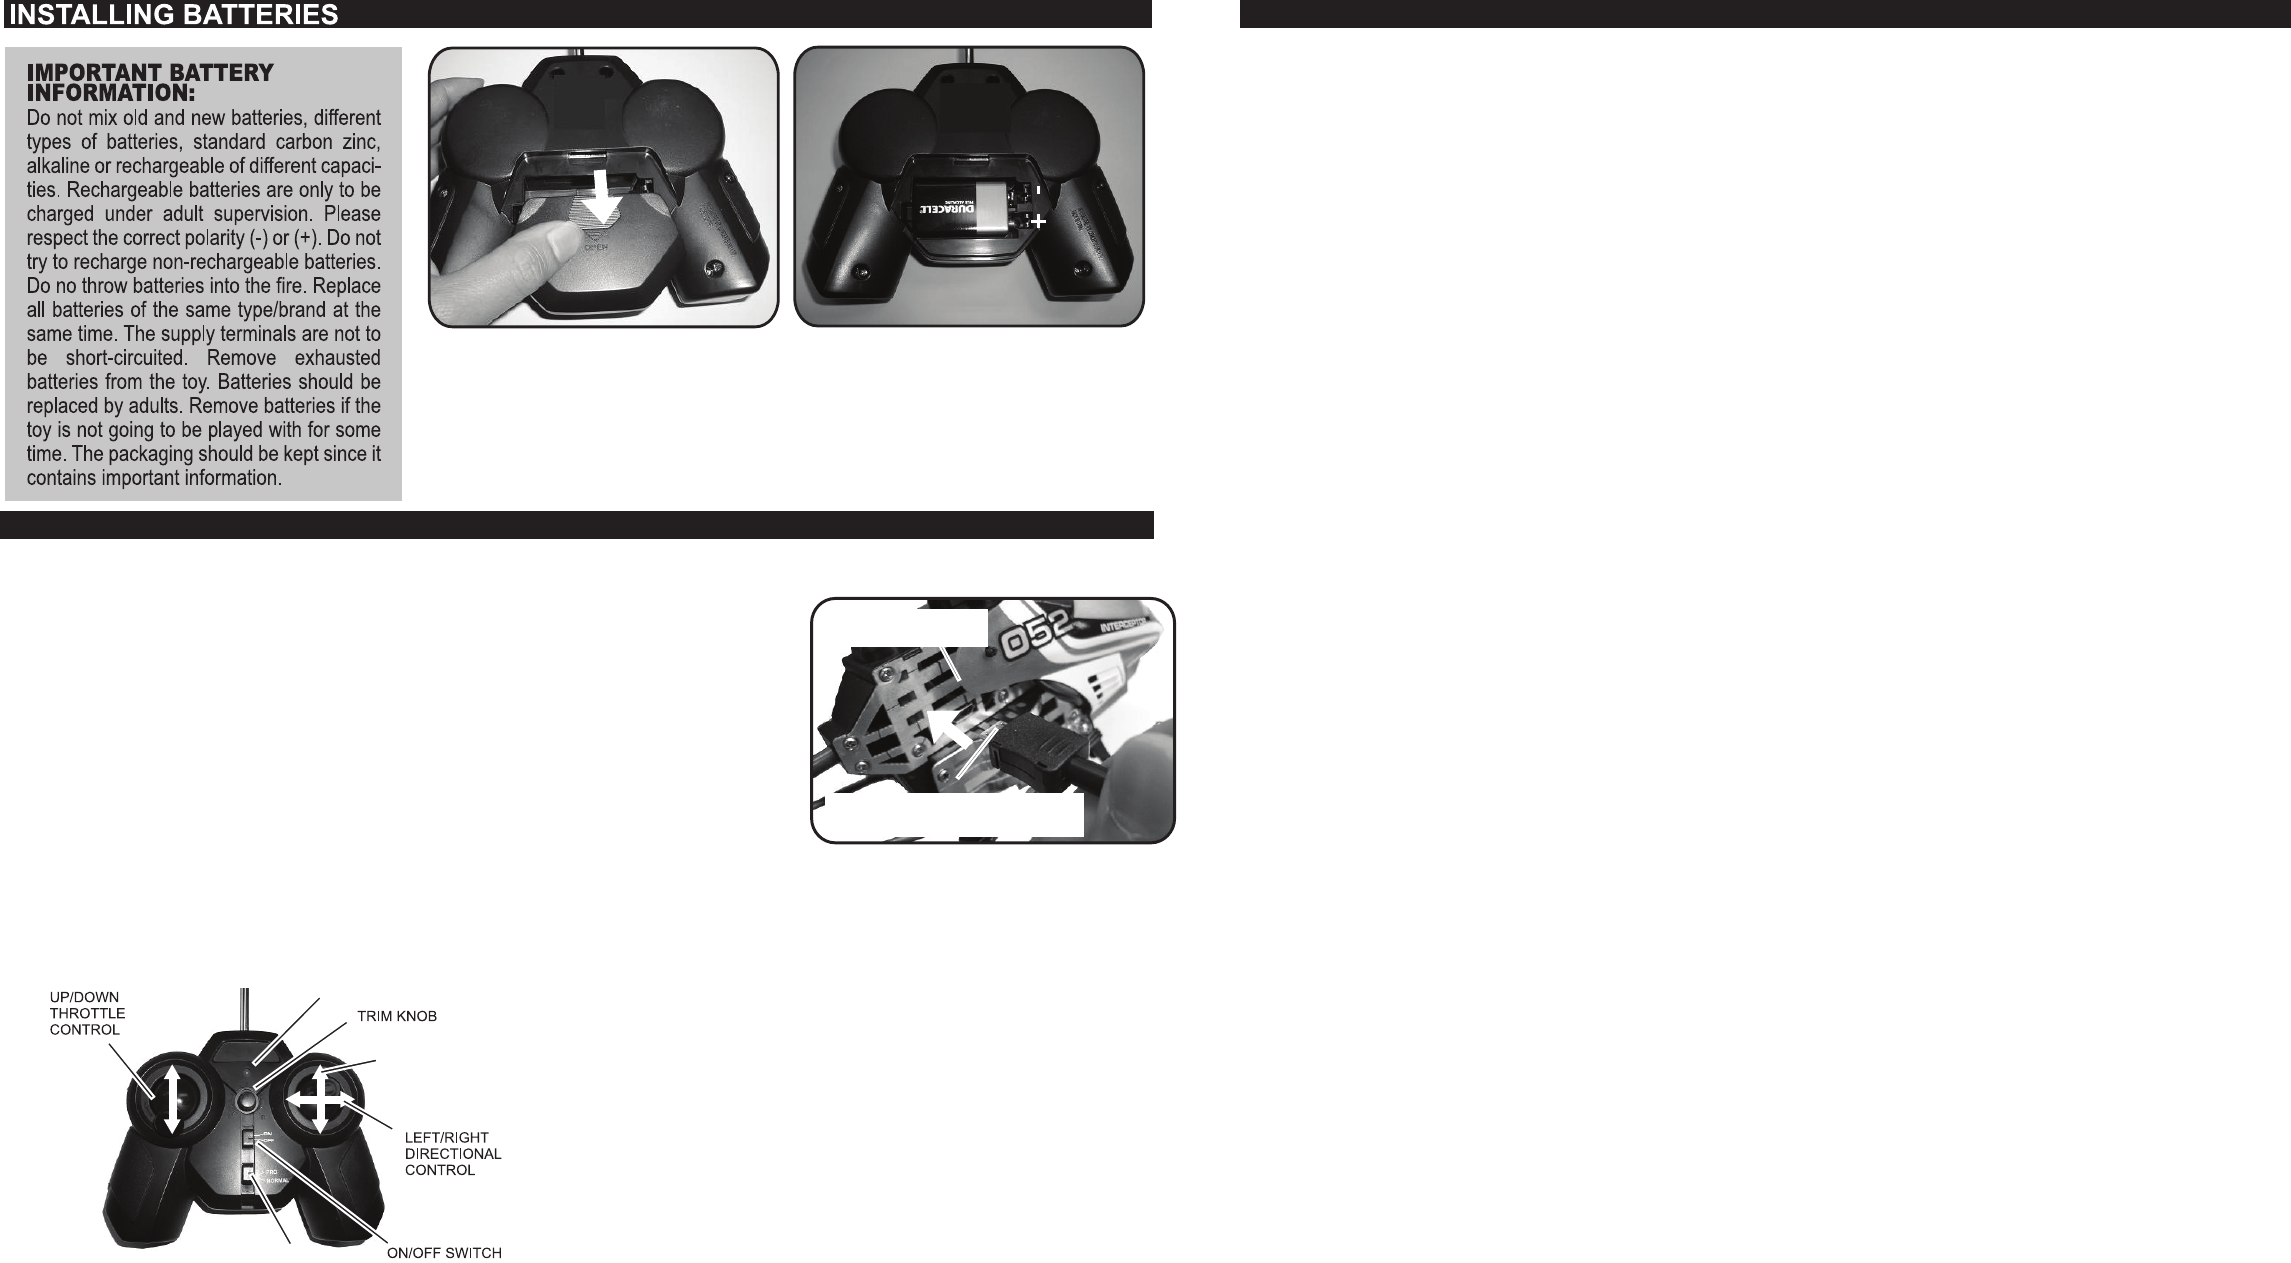
1. Slide to open the battery
compartment door.
2. Insert the 1 x 9V battery according to
the picture shown. Ensure that the
+ and - polarities match the illustrations
inside the battery compartment.
3. Replace the battery compartment door.
CHARGING THE HELICOPTER
Before ying the Helicopter for the rst time or if you have depleted the charge, you will
need to recharge it. A typical charge takes about 60 minutes and allows for approximately 4-6 minutes
of ying time.
MAKE SURE THE HELICOPTER IS TURNED OFF BEFORE THE RECHARGING CYCLE IS COMMENCED.
Note: During charging, both the RED LED on helicopter will light up. The LED will turn to GREEN
when the charge is complete.
1) Ensure the Helicopter is turned o. When the helicopter turn o, the LED turned o.
2) Insert the AC charger in to power outlet.
3) Insert the charging wire into the Helicopter charging port which located on the right side of the
Helicopter.
4) The charging LED of Helicopter turn on in RED. The Helicopter is charging. It takes 60 minutes to nish the
charging.
5) When the charging LED turn to GREEN, the charging is completed.
6) Gently remove the charging wire from the Helicopter.
ON/OFF LED
MODE SWITCH
FORWARD/BACKWARD
DIRECTIONAL CONTROL
USB charging port
in the Helicopter.
Insert the USB charging wire the USB
charging port in the Helicopter.
1. Turn the controller on by press the ON/OFF Button. The ON/OFF LED will light up.
2. Turn on the Helicopter on by slide ON/OFF switch located at the left side of the Helicopter as shown. The LED will light up.
3. Place the Helicopter on a at level surface for launch.
4. On the controller, push the left stick all the way up once, and bring it back down completely to activate the control.
5. Push the left stick up again to activate the main rotors of the Helicotper.
6. Check to make sure that the main rotors are spinning smoothly. Increase the rotational speed of the main rotors by pushing the
(throttle control) Left Stick up. The Helicopter can be launched from a horizontal surface.
7. Add more throttle by pushing up the Left Stick to increase altitude.
8. For maximum stability you may have to adjust the trim during ight as the Helicopter will likely begin to rotate in the air. Simply,
turn the Trim Knob on your controller to the left if your Helicopter is rotating to the right. Turn the Trim Knob on your controller to
the right if your Helicopter is rotating to the left.
9. To control the forward or backward move, simply slide the (Directional Control) Right Stick on the controller to Up or Down. Slide
the Right Stick to the Up to move forward, or slide the Right Stick to the Down to move backward.
10. To control the left or right turn, simply slide the (Directional Control) Right Stick on the controller to Left or Right. Slide the Right
Stick to the Left to turn left, or slide the Right Stick to the Right to turn right.
11. As the Helicopter is ying towards you, you will naturally experience a phenomenon called “Control Reversal”. Pushing the Right
Stick to the right will make the Helicopter y to the left as it ies towards you. Pushing the Right Stick to the left will make the
Helicopter y to the right as it ies towards you.
12. If you are ready to y more quickly, you can change to PRO mode. Slide the Mode Switch to PRO, then the forward or backward
speed increases.
13) The Helicopter can be landed on just about any at, stable surface. Gently release the (Throttle Control) Left Stick. The Left Stick
is spring-loaded so releasing it will cause it to go down all the way. As the Left stick is gradually released, the main rotors will
gradually slown down and stop rotating. The Helicopter will gradually land. It is important to not release the Left Stick suddenly
while the Helicopter is still in the air. Doing this will stop the Main Rotors completely and make the Helicopter fall out of the air.
14) To Recharge your Helicopter follow the steps as outlined in “CHARGING THE HELICOPTER”.
FLYING THE HELICOPTER
NOTE: YOU WILL NEED TO RE-ACTIVATE THE CONTROLS EVERY TIME YOU SWITCH
THE HELICOPTER ON AND OFF BY SLIDING THE LEFT STICK UP AND DOWN ONCE.