Intermec Technologies 08CN3 CN3 with DHIB and MC75 User Manual CN3UserManual
Intermec Technologies Corporation CN3 with DHIB and MC75 CN3UserManual
Contents
- 1. User Manual compliance insert
- 2. User manual part 1 of 6
- 3. User Manual 2 of 6
- 4. User Manual 3 of 6
- 5. User Manual 4 of 6
- 6. User Manual part 5 of 6
- 7. User Manual par6 of 6
- 8. User Manual Compliance Insert
- 9. Users Manual part 1 of 6
- 10. Users Manual 2 of 6
- 11. Users Manual 3 of 6
- 12. Users Manual 4 of 6
- 13. Users Manual 5 of 6
- 14. Users Manual 6 of 6
- 15. Manual
- 16. Radio Info
- 17. Compliance Insert
- 18. User Manual part 1
- 19. User Manual part 2
- 20. User Manual part 3
- 21. User Manual part 4
Users Manual 3 of 6


![Chapter 3 — Configuring the ComputerCN3 Mobile Computer User’s Manual 83Launching Your Application AutomaticallyYou can configure the various media used in the Windows Mobile system with a folder name and can change the media in the registry of the system. Many of the startup components rely on folder names to locate information files, applications, or other related data.The registry keys used by FolderCopy and other startup components to retrieve the folder names are as follows:Flash File Store[HKLM\Drivers\BuiltIn\FlshDrv]“FolderName”=“Flash File Store”SD Card (Storage Card)[HKLM\System\StorageManager\Profiles\SDMemory]“Folder”=“Storage Card”Disk On Chip[HKLM\System\StorageManager\Profiles\TRUEFFS_DOC]“Folder”=“DiskOnChip”During normal Windows Mobile system startup, there are Intermec-specific and non-Intermec components that require an orderly start to properly function. These non-Intermec components may also need to start themselves so the Windows Mobile device can function properly. Since there are possible configurations that come from using one or more optional built-in peripheral devices, the platform components starting on the next page are required to manage startup.RunAutoRunSystem components are installed and configured during the power up process from a single starting point. RunAutoRun (RunAutoRun.exe), built into the operating system image and located in the “\Windows\Startup” folder, checks for AutoExec (AutoExec.exe) in a “\SYSTEM” folder on a mounted volume in this order: miniSD, Object Store (or User Store), which may be non-volatile storage or RAM, Disk on Chip which may map as Object Store, and Flash File Store which may map as Object Store (default location for the AutoExec program in Intermec systems). Intermec system applications start from this folder. However, the ordering of mounted volumes does override this feature.Folder names used for the mounted volumes above are retrieved from the registry to maintain coherence with the naming of the mounted volumes on the platform. These folder names are not hard-coded. If AutoExec is Note: This describes the system component startup for Intermec provided components only. It does not describe the bootstrap loader process. It only describes the component installation process provided by Windows Mobile. It is assumed that you understand the Microsoft Mobile startup procedures and are familiar with how Microsoft components start up.](https://usermanual.wiki/Intermec-Technologies/08CN3.Users-Manual-3-of-6/User-Guide-834029-Page-55.png)
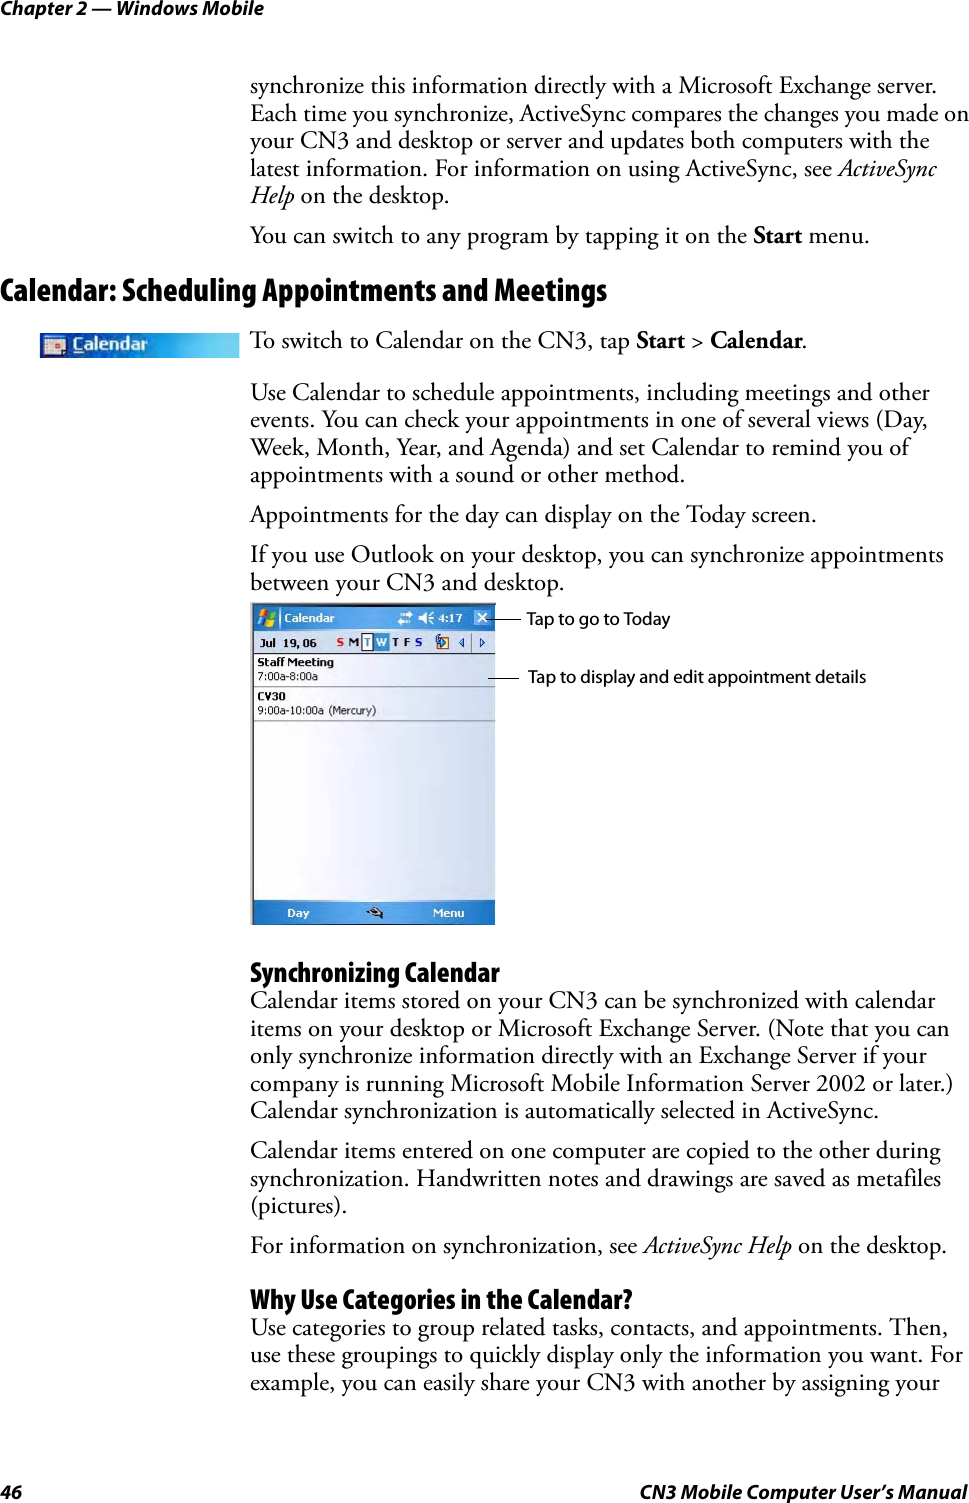
![Chapter 3 — Configuring the Computer84 CN3 Mobile Computer User’s Manualpresent in the “\SYSTEM” folder on any of these media, it executes the program only on the first media it is found on and no other.AutoExec is reserved for Intermec use to configure Intermec-specific applications. It launches the CAB installer, AutoCab (AutoCab.exe), to install platform cab files to the system, such as Intermec Data Collection.When the AutoExec is complete, RunAutorun then checks for the existence of AutoRun (AutoRun.exe) and executes this program from the first media it is found on. This order is the same as what is used by AutoExec.AutoRun is reserved for customer use to configure application launch sequences. It launches the AutoCab installer and any customer programs added to the AutoUser.dat file. Shown is the hierarchy of these files:AutoExecAutoExec (AutoExec.exe) automates operations such as pausing, launching processes, or signaling, and is configured through the AutoExec data file (AutoExec.dat). This script file must be in the same directory as the program itself. Usage: AutoExec [-%[W]] [-E=["X"]] [-F=["Y"]] [-LOG=] [-W=[Z]]Note: Intermec considers the usage of the AutoExec data file as “Intermec Private.” AutoExec installs Intermec applications such as Data Collection, Security Supplicants, Intermec Management, and shortcuts from components found in the Flash File System. Do not modify the AutoExec data file. Instead, use the AutoRun program to add software components.-% Passes an ID to use in a call to SignalStarted. This argument is useful only during system startup that relies on a SignalStarted to call. W is an integer value.-E Passes a signal event name to use when autoexec completes. X is a string value.-F Overrides the data file to use. This must be a fully qualified name. Default is “autoexec.dat” in the same location as the AutoExec.exe program. “Y” is a string value.-LOG Set to any value logs activity to AutoExec.txt (in the same location as the AutoExec.exe program). Default is disabled.runautorunautorunautoexecautocopy autoreg foldercopy autocab customer autocabapplications](https://usermanual.wiki/Intermec-Technologies/08CN3.Users-Manual-3-of-6/User-Guide-834029-Page-56.png)
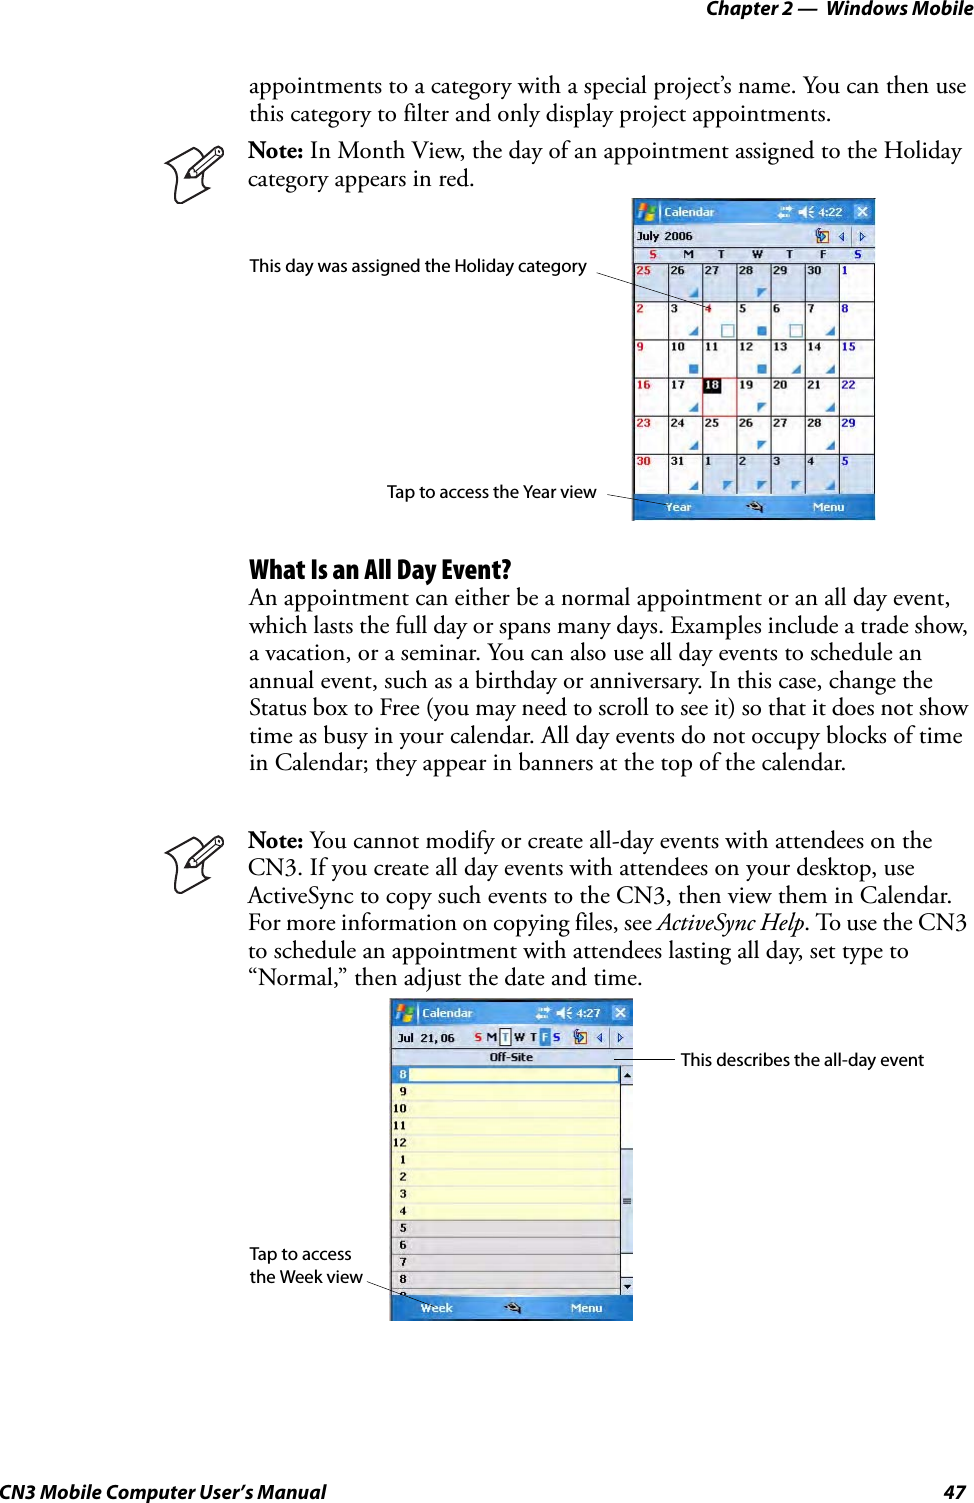
![Chapter 3 — Configuring the Computer86 CN3 Mobile Computer User’s ManualAutoRun supports the following script commands in AutoUser.dat and AutoRun.dat.AutoRun handles quoted file names for the first parameter to allow specifying path names or file names that contain white space. Note only one set of quotes per command is supported. AutoRun.dat entry examples:AutoCopyAutoCopy (AutoCopy.exe) copies/moves files between locations. It has no user interface and is configured through command line arguments. It has support for the following parameters, in no particular order:Usage: AutoCopy [-D["W"]] [-L["X"]] [-M[D]] [-Q[Y]] [-S["Z"]] Process return code uses standard error codes defined in WinError.h.Example:; use AutoCopy to copy the control panel from flash file store to windows. autocopy.exe -S"\Flash File Store\System\Audio.cpl" -D"\Windows\Audio.cpl"; use AutoCopy to move the control panel from flash file store to windows. autocopy.exe -M1 -S"\Flash File Store\System\Audio.cpl" -D"\Windows\Audio.cpl"AutoRegThe AutoReg (AutoReg.exe) component adds registry information to the Windows Mobile registry. It has no user interface and is configured through command line arguments. Note: If you need to add steps at boot time, add them to AutoUser.dat, not to AutoRun.dat. AutoRun.dat is provided by Intermec and is subject to change. AutoUser.dat is the designated place for the end user to add steps to the boot time process.EXEC Launches a specified program, waits for it to complete (up to 10 minutes).CALL Processes a specified file of commands and returns.CHAIN Processes a specified file of commands and does not return.RUN Loads a specified program and executes it.LOAD Loads a specified program and executes it.RUN “Flash File Store\Apps\some.exe” arg1, arg2, arg3CALL “Flash File Store\2577\usercmds.dat”-D Indicates the destination file name and must be fully qualified. W is a string value.-L Indicates a fully qualified file name for logging to enable. Default is disabled. X is a string value.-M Moves file to a destination rather than copies the file. Default value is disabled. D is an integer value. D=1 indicates enabled, 0 is disabled.-Q Indicates if a message box should appear when an error occurs. Default is disabled. Y is an integer value.-S Indicates a source file name and must be fully qualified. Z is a string value.](https://usermanual.wiki/Intermec-Technologies/08CN3.Users-Manual-3-of-6/User-Guide-834029-Page-58.png)
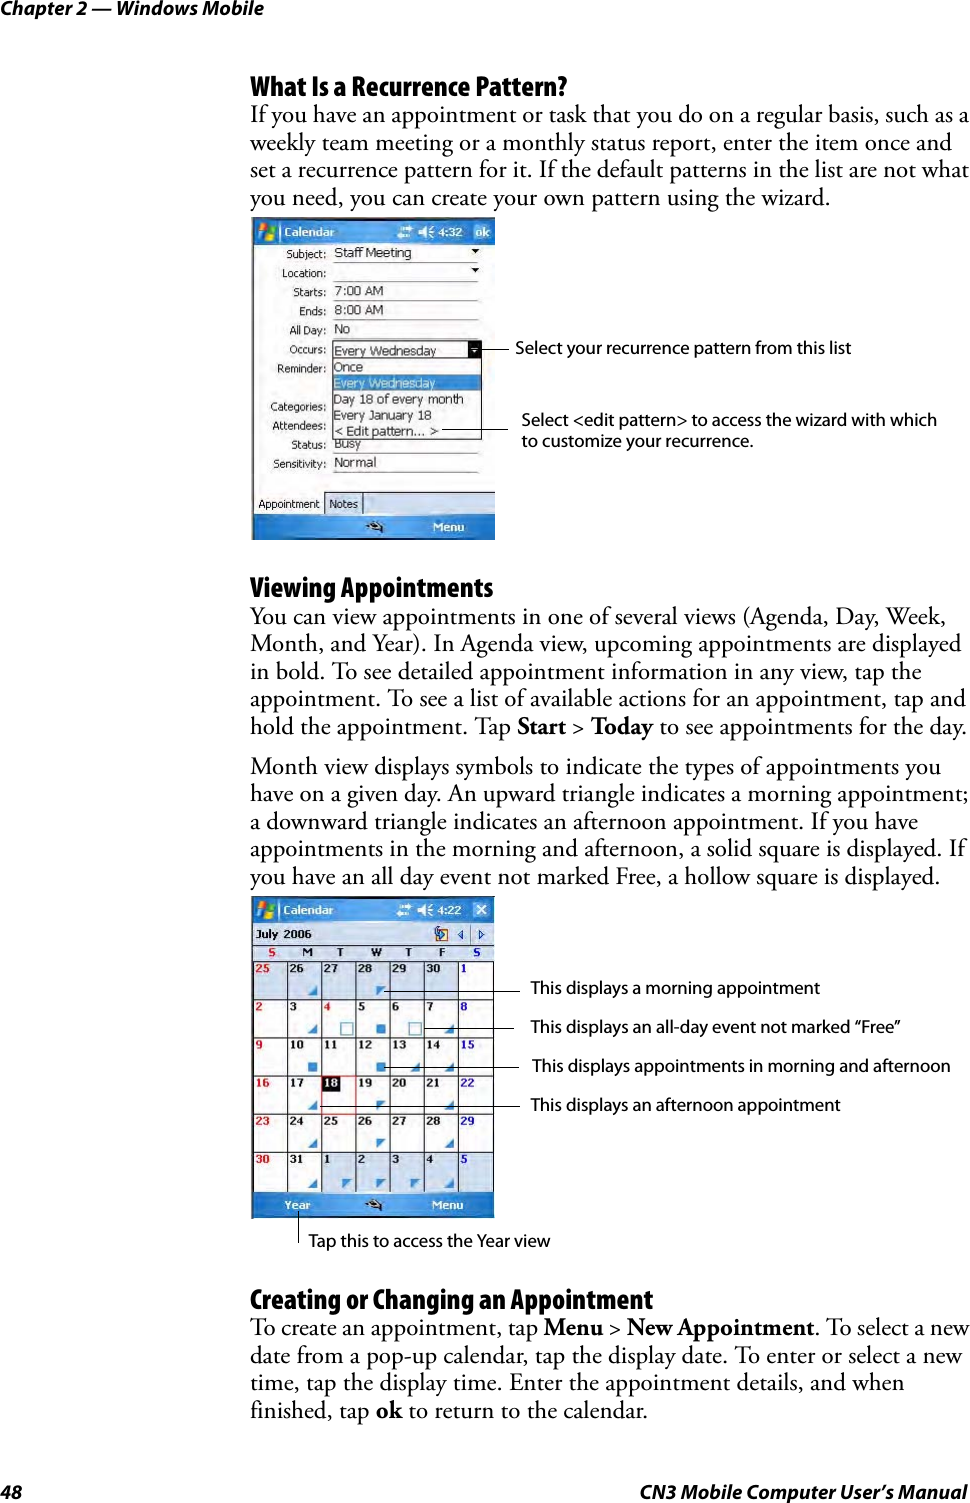
![Chapter 3 — Configuring the ComputerCN3 Mobile Computer User’s Manual 87Usage: AutoReg [-D] [-HKey] [-Q] “filename”Process return code uses standard error codes defined in WinError.h.Example:; use AutoReg to install this registry information.autoreg.exe "\Flash File Store\install.reg"; use AutoReg to install this registry information. Delete the file afterwards.autoreg.exe -D "\Flash File Store\install.reg"; use AutoReg to extract registry information to a file. autoreg.exe -HHKEY_LOCAL_MACHINE\Software\Intermec\Version "\version.reg"The format of the input file, in this example, is the standard registry format which should ease the creation of the input file since there are many publicly available utilities to generate a registry file besides Notepad. One example of a tool is the Microsoft Remote Registry Editor.AutoCabAutoCab (AutoCab.exe) extracts files, registry settings, and shortcuts from Windows Mobile cabinet (.cab) files. The Windows Mobile startup sequence invokes AutoCab as a part of AutoExec and AutoRun. During the Windows Mobile startup sequence, AutoCab processes all cab files in the “\CabFiles” directory relative to the current location of Autocab, unless the location is overridden by command line arguments. AutoCab can run as a stand-alone program to install a cab file or a directory of cab files.AutoCab only installs the cab file if it was not installed before by AutoCab. To track the installation of a cab file, AutoCab marks the cab file with the System attribute. This attribute is ignored if the device is performing a clean-boot on a non-persistent file system.AutoCab preserves the cab file after installation if the ReadOnly attribute is set. If not set, the cab file is deleted automatically after installation. Command line switches are described as follows.Usage:AutoCab [-ChkRst=][-File=][-Force][-Log=][-Move=][-Quiet=][-Show=][-Signal=]-D Deletes the registry file after successfully loading it. This allows for systems that have hives implemented.-H Saves the registry path, and all child entries, to the specific .REG registry file.-Q Indicates whether a message box should appear when a fatal error occurs.filename Fully qualified file name to read from or write to, encased in double quotes to support spaces in paths or file names. See examples below.-ChkRst= Set to 1 to configure AutoCab to check for the Reset flag after all cab files are installed. This file is created by cab files that want a clean reset after installation. Default is 0 (do not check for flag).-File= Specifies the cab files to extract. Note that the specified files need not end with the .cab extension.-Force Forces the specified cab files to extract regardless of whether it was previously extracted.-Log= Set to 1 to create a log file in the same folder that AutoCab is running. Useful for debugging cab installation. Default is 0 (disabled).](https://usermanual.wiki/Intermec-Technologies/08CN3.Users-Manual-3-of-6/User-Guide-834029-Page-59.png)