Intermec Technologies RC11 RC11 User Manual PD4xum
Intermec Technologies Corporation RC11 PD4xum
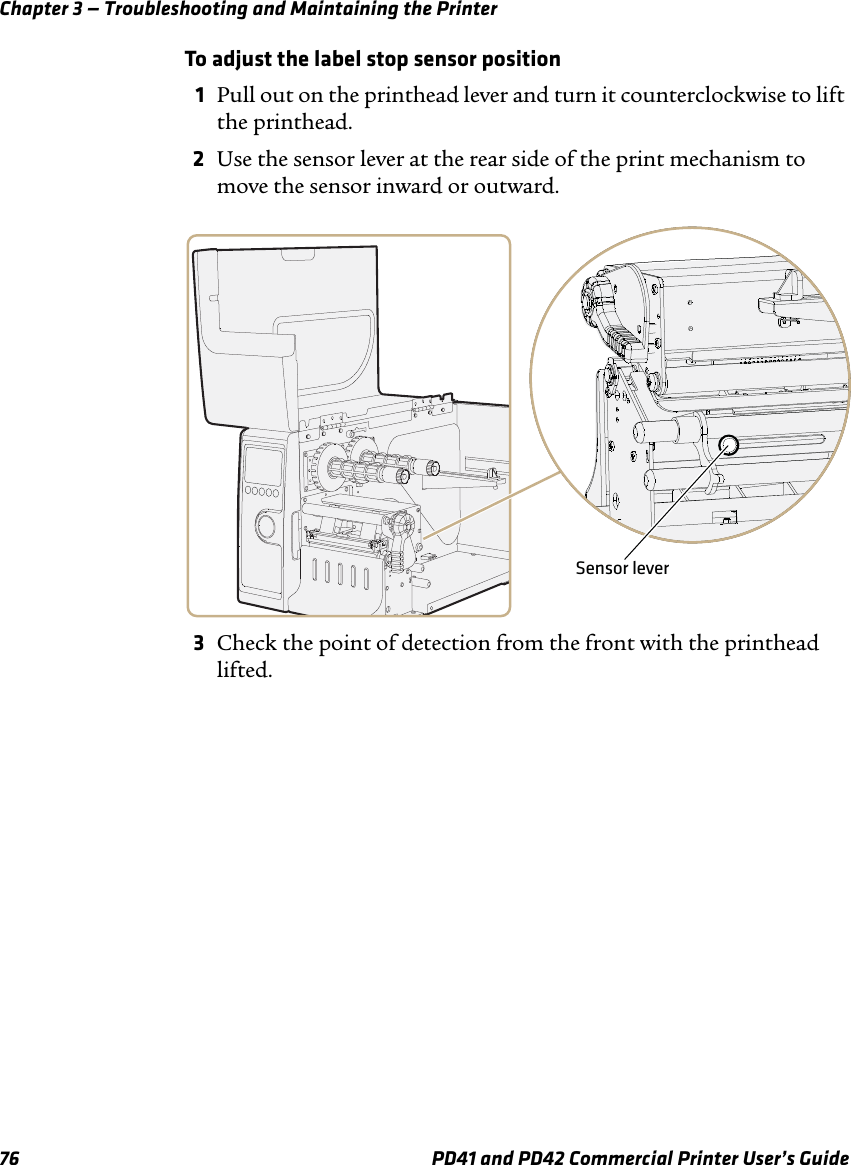
UserManual.wiki
>
Intermec Technologies
>
RC11 User Manual
>
User Manual part 2 of 4
Contents
1.
User Manual Module
2.
User Manual part 1 of 4
3.
User Manual part 2 of 4
4.
User Manual part 3 of 4
5.
User Manual part 4 of 4
6.
User Manual for Module
User Manual part 2 of 4
Navigation menu
Upload a User Manual
Namespaces
Wiki Guide
HTML
PDF
Info
Views
User Manual
Discussion / Help
Navigation
![Chapter 2 — Connecting and Configuring the Printer32 PD41 and PD42 Commercial Printer User’s Guide<STX><SI>ws,WPA2,ON<ETX><STX><SI>ws,WPA_PSK, <ETX>3Send these commands to configure the EAP_TYPE:<STX><SI>ws,EAP_TYPE,xxxx<ETX>where xxxx can be OFF, LEAP, PEAP, or TTLS.<STX><SI>ws,.EAP_USER,xxxx<ETX><STX><SI>ws,.EAP_PASS,xxxx<ETX>where xxxx is the unique username and the unique password for this protocol.4If you are using TTLS, you may need to send this command to set the TTLS outer name:<STX><SI>ws,TTLS_USER, xxxx <ETX>where xxxx is the outer name.5If you are using certificates for validation, here are some commands you may need to use.•Send the following commands to set a certificate and enable validation:<STX><SI>ws,CA_CERT,c:/testCA.pfx@export<ETX><STX><SI>ws,VALIDATE,ON<ETX>where c:/testCA.pfx is the location and name of the certificate and export is the passphrase.•Send the following commands to set a common name for server 1 and server 2:<STX><SI>ws, .SERVER_CN1,xxxxxxxxxx <ETX><STX><SI>ws, .SERVER_CN2,xxxxxxxxxx <ETX>where xxxxxxxxxx can be a value from 0 to 64 characters.•Send the following command to make sure your values match those used by the access point:<STX><SI>wt,[variable name]<ETX>All variables are returned with the exception of EAP_PASS which always returns “****” if configured and CA_CERT](https://usermanual.wiki/Intermec-Technologies/RC11.User-Manual-part-2-of-4/User-Guide-1161934-Page-10.png)
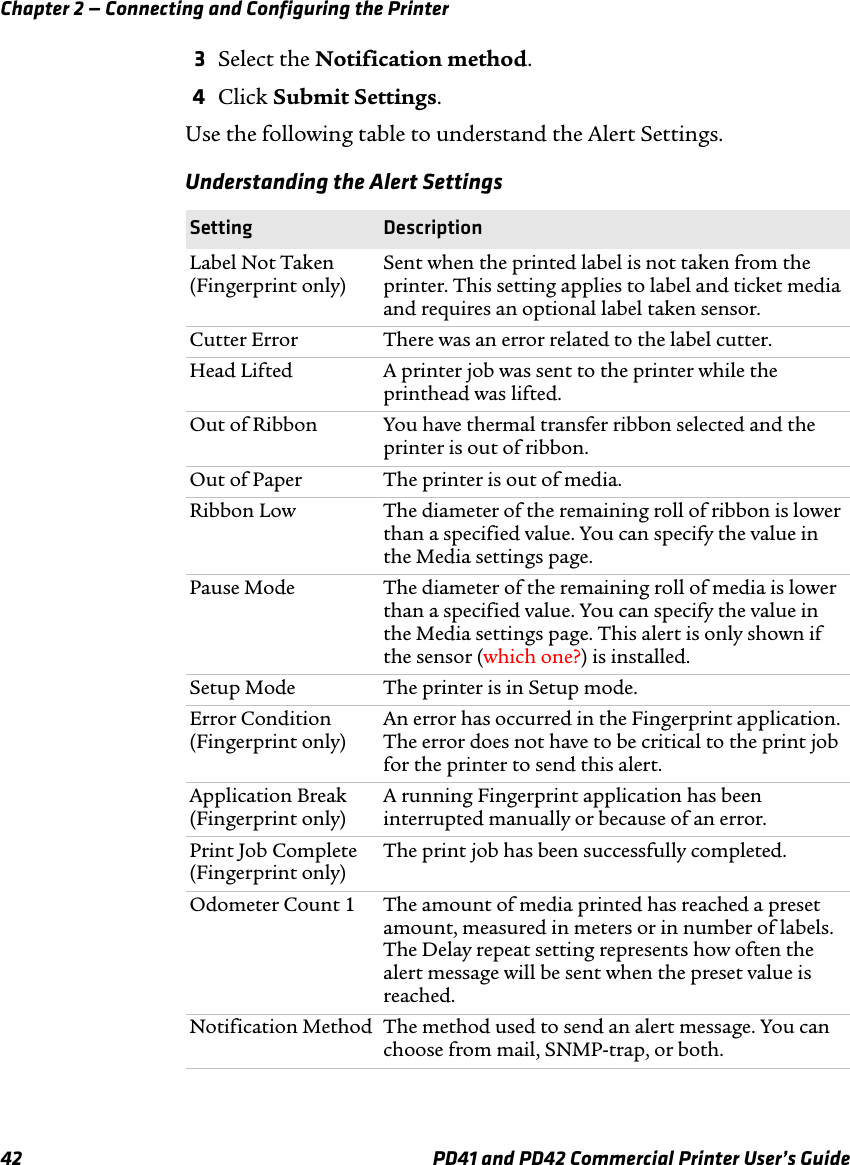
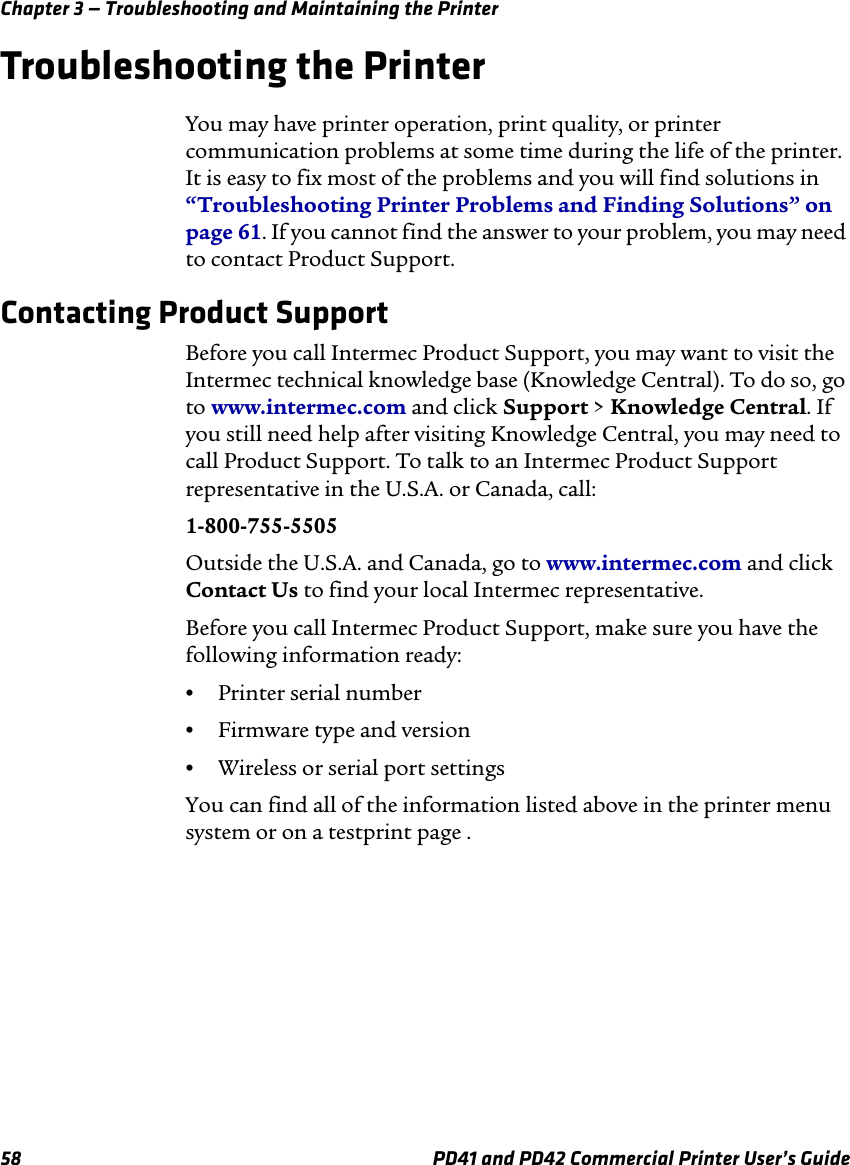
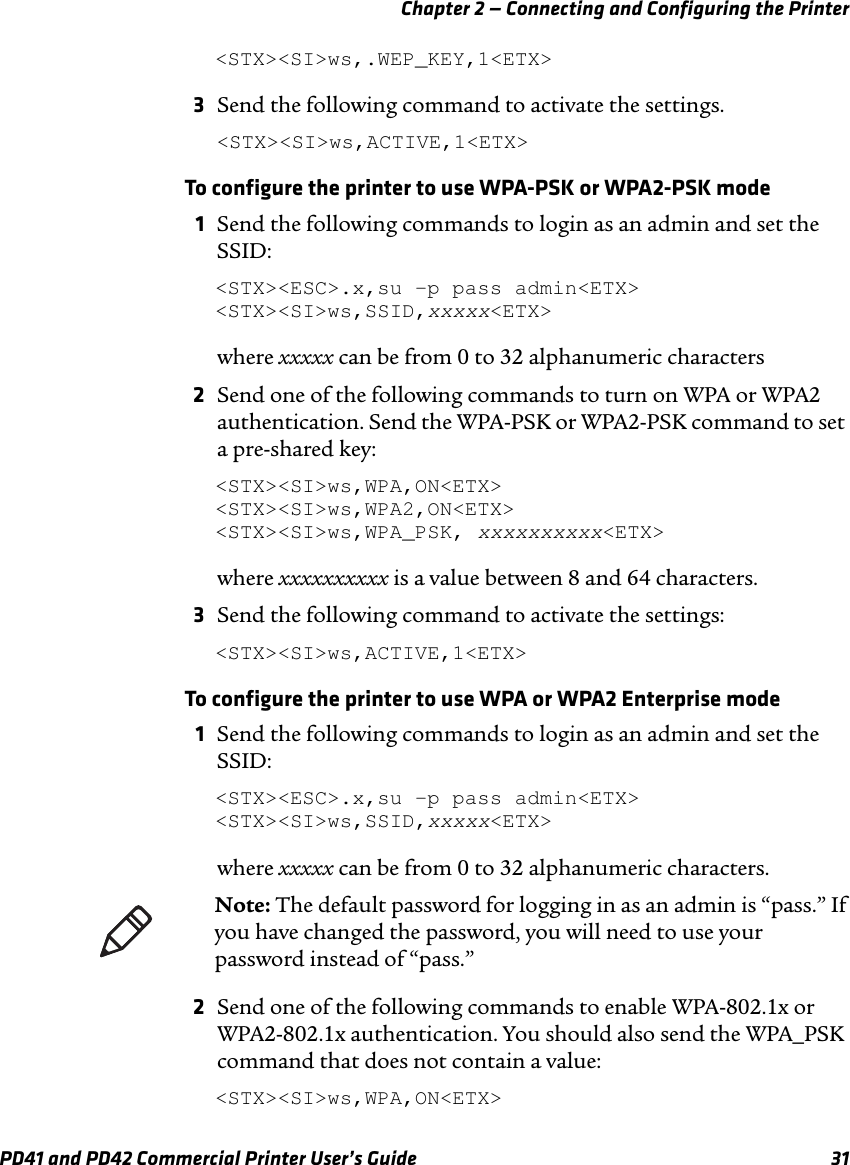
![Chapter 2 — Connecting and Configuring the PrinterPD41 and PD42 Commercial Printer User’s Guide 41Use the following table to understand the Web Shell settings.Configuring AlertsUse the Alerts page to view and change the printer alert settings.To configure alerts1Click Printer > Alerts.2Change the alert settings:•Choose Enabled or Disabled from the Setting list.•Specify a Delay repeat in the text field.•Select seconds or occurrences in the Delay Unit list.•Enter a message in the Message text field.Understanding the Web Shell SettingsSetting DescriptionTestfeed [value] Calibrates the label stop sensor performs a testfeed. Selecting this setting is equivalent to issuing the TESTFEED command on the printer.Ribbon Sensor [value] Calibrates the ribbon sensor. The ribbon sensor is also calibrated by the testfeed. You only see this setting if the ribbon sensor is installed in the printer.Default Setup Returns the printer to factory default settings. Passwords, alerts, and the selected application are not changed.Reboot Reboots the printer.Print Test Label Prints the predefined test label you choose.Command Language Sets the command language to Fingerprint, Direct Protocol, IPL, ESim, ZSim, or DSim. You need to reboot the printer for the change to take effect.Fingerprint Application Defines the application to run as the default on startup. You need to reboot the printer for the change to take effect.Standard I/O Defines the port the printer listens to. You need to reboot the printer for the change to take effect.](https://usermanual.wiki/Intermec-Technologies/RC11.User-Manual-part-2-of-4/User-Guide-1161934-Page-19.png)