Inventec V83 Pocket PC Mobile Phone User Manual 13
Inventec Corporation Pocket PC Mobile Phone 13
UserManual.wiki
>
Inventec
>
V83 User Manual
User Manual
Navigation menu
Upload a User Manual
Namespaces
Wiki Guide
HTML
PDF
Info
Views
User Manual
Discussion / Help
Navigation


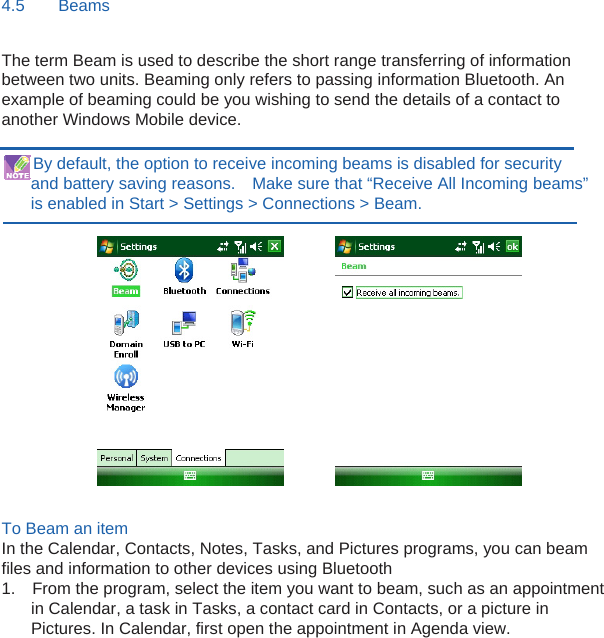
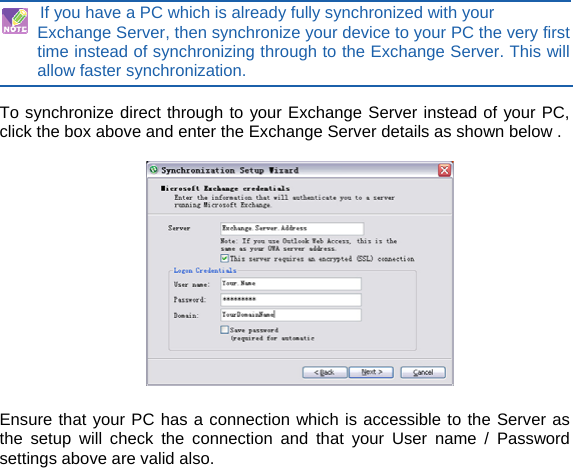
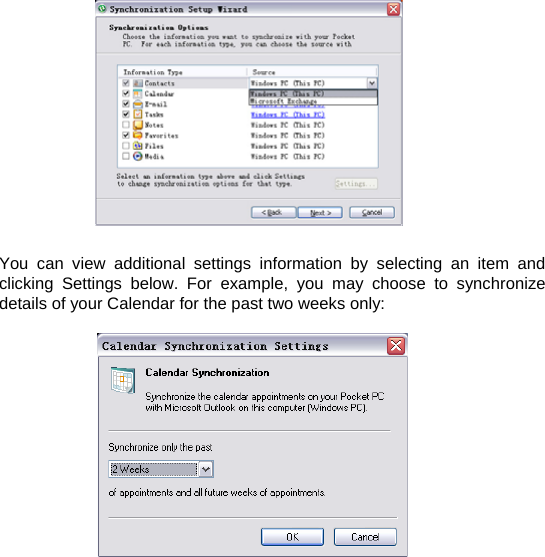
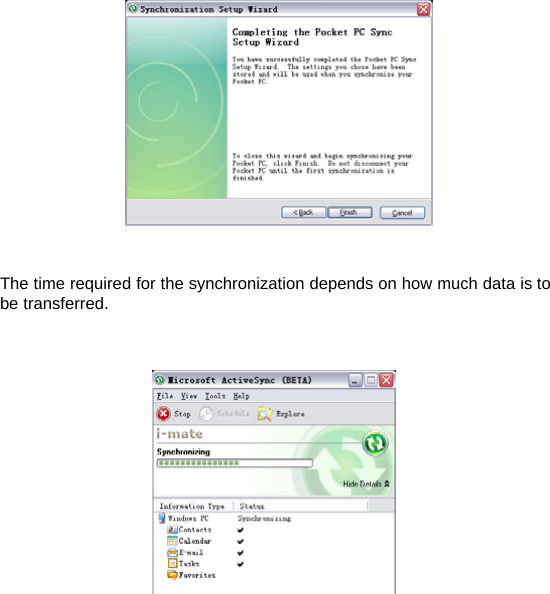
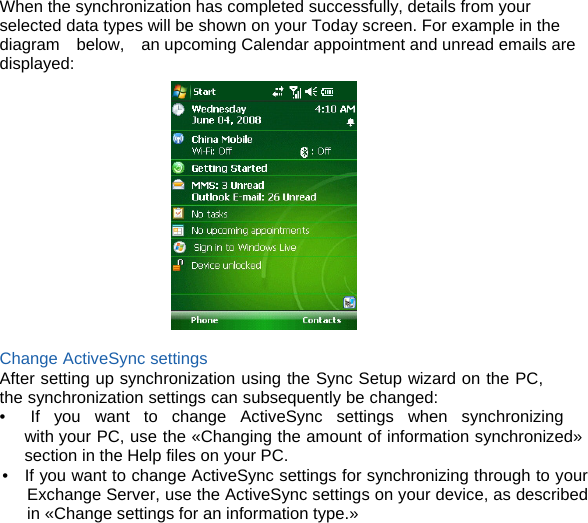
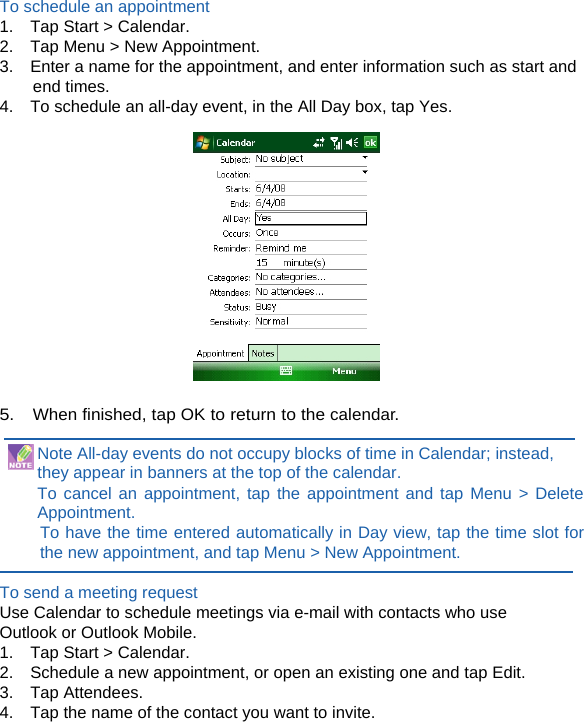
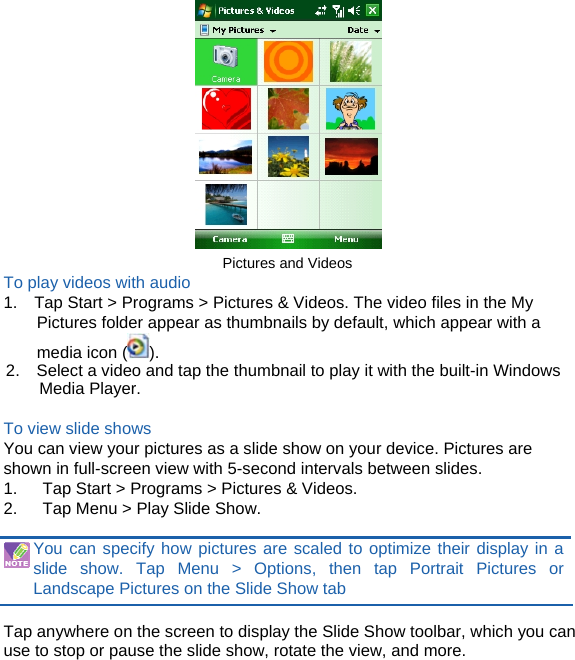
![2. Click Menu > Beam [type of item]. In the contacts application, you should go to Menu > Send Contact > Beam 3. Do one of the following: a. If using Bluetooth, select the device to which you want to send the item. b. If using infrared, align the infrared ports at close range until the target device name appears, and then select the device to which you want to send the item. 4. Tap on “Tap to Send”.](https://usermanual.wiki/Inventec/V83/User-Guide-1032973-Page-49.png)