Iriver Network Router Ons 15454 Sdh Users Manual E70ctcax.mif
ONS 15454 SDH to the manual fde01d68-6f56-424a-b943-436d4180df5d
2015-02-05
: Iriver Iriver-Network-Router-Ons-15454-Sdh-Users-Manual-396828 iriver-network-router-ons-15454-sdh-users-manual-396828 iriver pdf
Open the PDF directly: View PDF ![]() .
.
Page Count: 14

A-1
Cisco ONS 15454 SDH Procedure Guide, R7.0
November 2005
APPENDIX
A
CTC Information and Shortcuts
This appendix describes the Cisco Transport Controller (CTC) views, menu and tool options, shortcuts,
and table display options for the Cisco ONS 15454 SDH. This appendix also describes the shelf
inventory data presented in CTC. For more information about CTC, refer to the Cisco ONS 15454 SDH
Reference Manual.
Note If network discovery is enabled on the node, CTC searches each node in the network for more recent
versions of the CTC software. If a more recent version is discovered, CTC gives you the option of
downloading the newer version to your PC. Refer to the “Cisco Transport Controller Operations” chapter
in the Cisco ONS 15454 SDH Reference Manual for more information.
Display Node, Card, and Network Views
CTC provides four views of the ONS 15454 SDH and the ONS network:
•Node view appears when you first log into an ONS 15454 SDH. This view shows a graphic of the
ONS 15454 SDH shelf and provides access to tabs and subtabs that you use to manage the node.
•Card view provides access to individual ONS 15454 SDH cards. This view provides a graphic of the
card and access to tabs and subtabs that you use to manage the card.
•Network view shows all the nodes in a ring. A Superuser can set up this feature so each user will see
the same network view, and users can create a custom view with maps. This view provides access to
tabs and subtabs that you use to manage the network. Network view can contain domains. A domain
is used to isolate nodes or groups of nodes for easier maintenance. Double-clicking a domain shows
all the nodes in the domain; nodes connected to the domain are grayed out.
Table A-1 lists different actions for changing CTC views.

A-2
Cisco ONS 15454 SDH Procedure Guide, R7.0
November 2005
Appendix A CTC Information and Shortcuts
Display Node, Card, and Network Views
Node Icons on the Network View Map
Table A-2 lists the node icons on the network view map.
Table A-1 Change CTC Views
To Display: Perform One of the Following:
Node view •Log into a node; node view is the default view.
•In network view, double-click a node icon, or right-click the node and
choose Open Node from the shortcut menu.
•In network view, click a node icon, then choose Go to Selected Object
View from the View menu.
•From the CTC View menu, choose Go To Other Node, then choose a node
from the shortcut menu.
•Use the arrows on the CTC toolbar to navigate up or down among views.
For example, in network view, click a node and then click the down arrow.
Network view •In node view, click the up arrow or the Network View tool on the CTC
toolbar.
•From the View menu, choose Go To Network View.
Card view •In node view, double-click a card or right-click the card and choose
Open Card.
•In node view, single-click a card icon, then choose Go to Selected Object
View from the View menu.
•Use the arrows on the CTC toolbar to navigate up or down views. For
example, in node view, click a card, then click the down arrow.
A-3
Cisco ONS 15454 SDH Procedure Guide, R7.0
November 2005
Appendix A CTC Information and Shortcuts
Display Node, Card, and Network Views
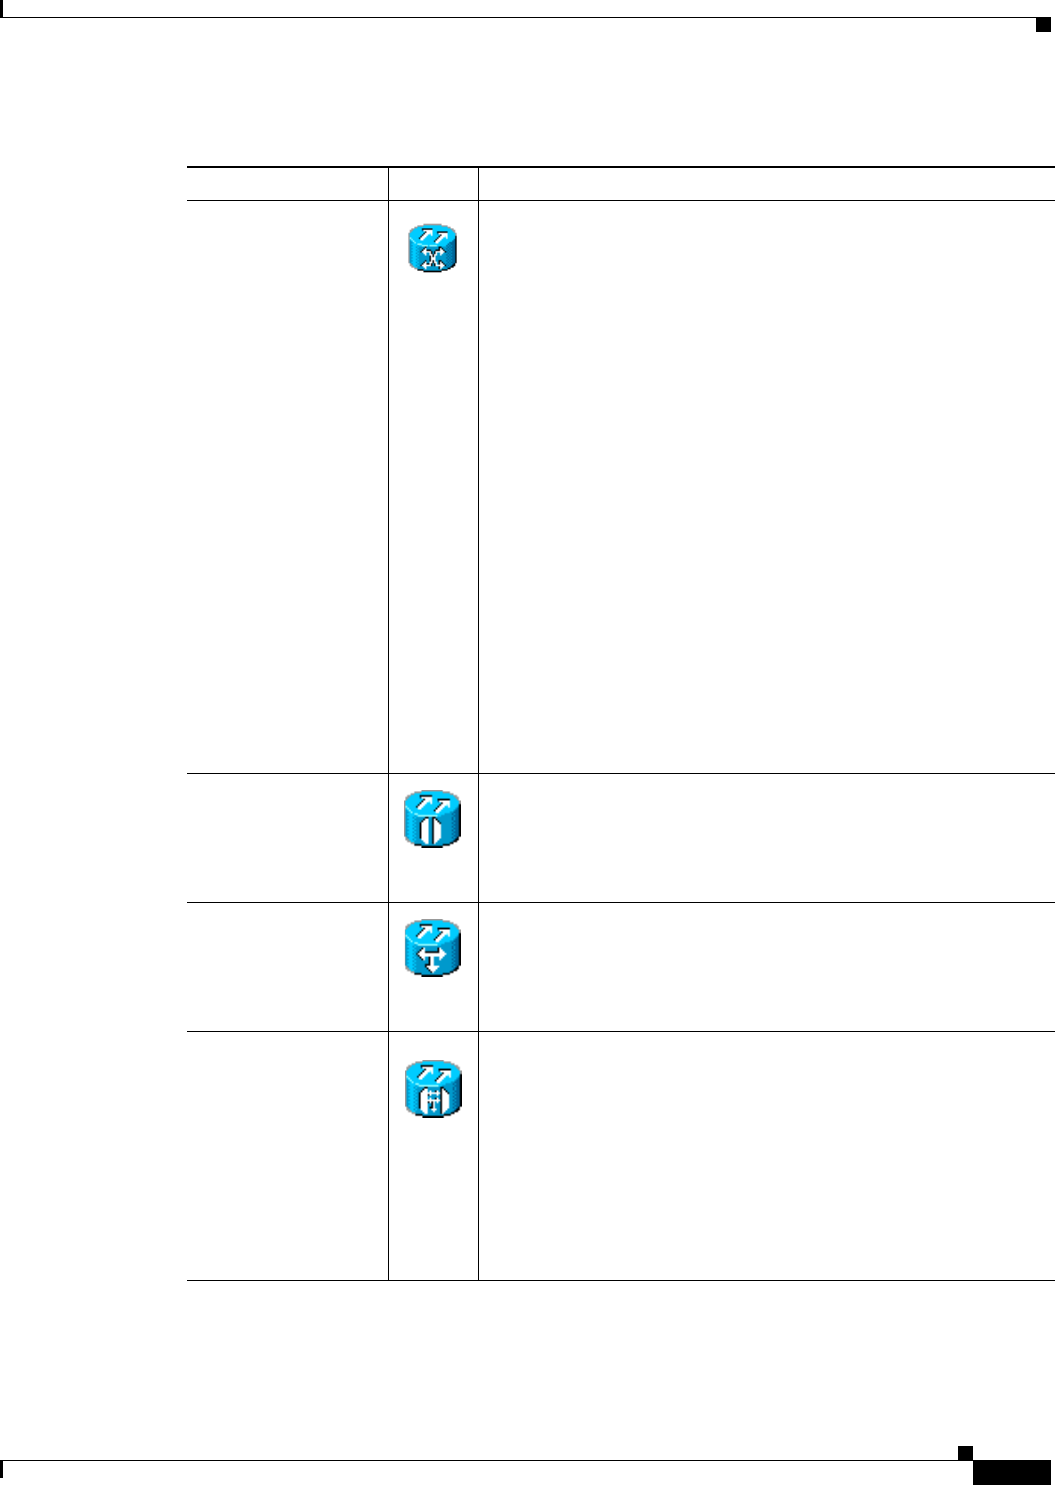
Table A-2 Description of Node Icons on Network View Map
Node Name Icon Description
SDH
Hybrid OADM
Hybrid line amplifier
Hybrid terminal
Passive hybrid
terminal
Amplified TDM
An SDH, hybrid, or amplified time-division multiplexing (TDM)
node icon are represented as a cylinder with crossed arrows.
•An SDH node can include STM-N cards, electrical cards,
cross-connects, and more.
•A hybrid optical add/drop multiplexer (OADM) node contains
at least one AD-xC-xx.x or one AD-xB-xx.x and two
TCC2/TCC2P cards. TDM cards can be installed in any
available slot.
•A hybrid line amplifier node contains amplifiers and both TDM
and dense wavelength division multiplexing (DWDM) cards.
For DWDM node information, refer to the Cisco ONS 15454
DWDM Reference Manual.
•A hybrid terminal node contains at least one 32MUX-O card,
one 32DMX-O card, amplifiers, two TCC2/TCC2P cards, and
TDM cards.
•A passive hybrid terminal node has the same equipment as the
hybrid terminal node, but does not contain amplifiers.
•An amplified TDM node increases the span length between two
ONS 15454 SDH nodes that contain TDM cards and optical
amplifiers. Amplified TDM nodes contain either OPT-BST
amplifiers or AD-1C cards.
Hub A DWDM hub node icon is represented as a three-dimensional
cylinder with amplifiers. A hub node contains at least two
32-channel demultiplexers and two 32-channel multiplexers. No
OADM cards are provisioned. For DWDM node information, refer
to the Cisco ONS 15454 DWDM Reference Manual.
OADM A DWDM OADM node icon is represented as a three-dimensional
cylinder with arrows. An OADM node contains at least one
AD-xC-xx.x or AD-xB-xx.x. No 32MUX-O, 32DMX-O, and
32DMX cards are provisioned. For DWDM node information, refer
to the Cisco ONS 15454 DWDM Reference Manual.
ROADM A reconfigurable OADM (ROADM) node icon is represented as a
three-dimensional cylinder with 2 amplifier symbols with arrows
between them. An ROADM node contains at least one 32WSS card.
A 32DMX or 32DMX-O can be installed, but is not required.
Transponders (TXPs) and muxponders (MXPs) can be installed in
Slots 6 and 12. If amplification is not used, TXPs or MXPs can be
installed in Slots 1 and 17. If OPT-BST are not installed, OSC-CSM
cards are installed in Slots 2 and 16 and Slots 8 and 10 are empty.For
DWDM node information, refer to the Cisco ONS 15454 DWDM
Reference Manual.

A-4
Cisco ONS 15454 SDH Procedure Guide, R7.0
November 2005
Appendix A CTC Information and Shortcuts
Manage the CTC Window
Manage the CTC Window
Different navigational methods are available within the CTC window to access views and perform
management actions. You can double-click and right-click objects in the graphic area and move the
mouse over nodes, cards, and ports to view popup status information.
CTC Menu and Toolbar Options
The CTC window menu bar and toolbar provide primary CTC functions. Table A-3 shows the actions
that are available from the CTC menu and toolbar.
Terminal (west) Terminal (west) nodes are represented as a three-dimensional
cylinder with one amplifier on the west side of the icon.
•A terminal node contains one 32DMX-O or 32DMX card, and
one 32MUX-O card. No OADM cards are provisioned.
•A flexible terminal node contains a series of OADM and
amplifier cards.
For DWDM node information, refer to the Cisco ONS 15454
DWDM Reference Manual.
Terminal (east) Terminal (east) nodes are represented as a three-dimensional square
with one amplifier on the east side of the icon.
•A terminal node contains one32DMX-O or 32DMX card, and
one 32MUX-O card. No OADM cards are provisioned.
•A flexible terminal node contains a series of OADM and
amplifier cards.
For DWDM node information, refer to the Cisco ONS 15454
DWDM Reference Manual.
Line Amplifier
OSC regeneration
Line amplifier and optical service channel (OSC) regeneration
nodes are represented as a three-dimensional cylinder with one
arrow pointing west and another arrow pointing east.
•A line amplifier node only has OPT-PRE or OPT-BST
amplifiers provisioned.
•An OSC regeneration node contains two OSC-CSM cards.
For DWDM node information, refer to the Cisco ONS 15454
DWDM Reference Manual.
Unknown An unknown DWDM node icon is represented as a
three-dimensional cylinder with one arrow pointing north. An
unknown node means that the provisioned cards do not allow the
node to fit into any of the defined DWDM node categories. For
DWDM node information, refer to the Cisco ONS 15454 DWDM
Reference Manual.
Table A-2 Description of Node Icons on Network View Map (continued)
Node Name Icon Description
A-5
Cisco ONS 15454 SDH Procedure Guide, R7.0
November 2005
Appendix A CTC Information and Shortcuts
Manage the CTC Window
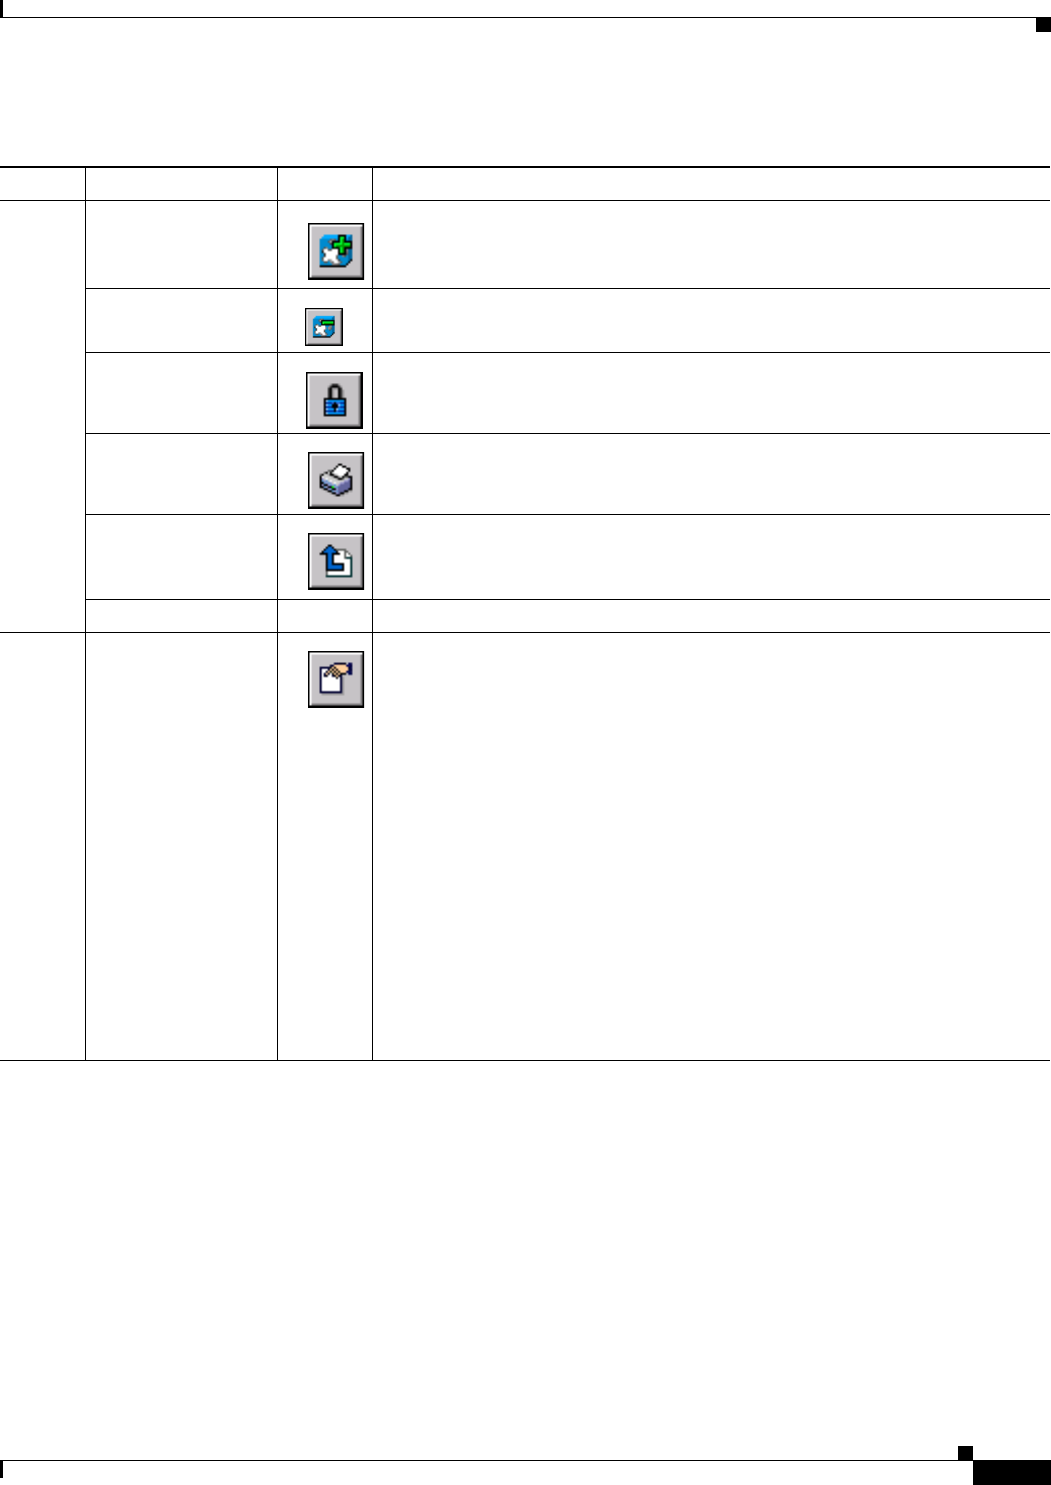
Table A-3 CTC Menu and Toolbar Options
Menu Menu Option Toolbar Description
File Add Node Adds a node to the current session. See the “DLP-D62 Add a Node to the Current
Session or Login Group” task on page 17-53.
Delete Selected
Node
Deletes a node from the current session.
Lock CTC Locks CTC without closing the CTC session. A user name and password are
required to open CTC.
Print Prints CTC data. See the “DLP-D146 Print CTC Data” task on page 18-36.
Export Exports CTC data. See the “DLP-D147 Export CTC Data” task on page 18-38.
Exit —Closes the CTC session.
Edit Preferences Displays the Preferences dialog box, which shows the following tabs:
•General—Allows you to change event defaults and manage preferences.
•Login Node Groups—Allows you to create login node groups. See the
“DLP-D61 Create Login Node Groups” task on page 17-51.
•Map—Allows you to customize the network view. See the “DLP-D145
Change the Network View Background Color” task on page 18-36 and the
“DLP-D268 Apply a Custom Network View Background Map” task on
page 19-73.
•Circuit—Allows you to change the color of circuit spans. See the
“DLP-D232 Change Active and Standby Span Color” task on page 19-28.
•Firewall—Sets the Internet Inter-ORB Protocol (IIOP) listener ports for
access to the ONS 15454 SDH through a firewall. See the “NTP-D27 Set Up
the ONS 15454 SDH for Firewall Access” procedure on page 4-8.
•JRE—Allows you to select another Java Runtime Environment (JRE)
version. See the “DLP-D422 Change the JRE Version” task on page 21-4.
A-6
Cisco ONS 15454 SDH Procedure Guide, R7.0
November 2005
Appendix A CTC Information and Shortcuts
Manage the CTC Window
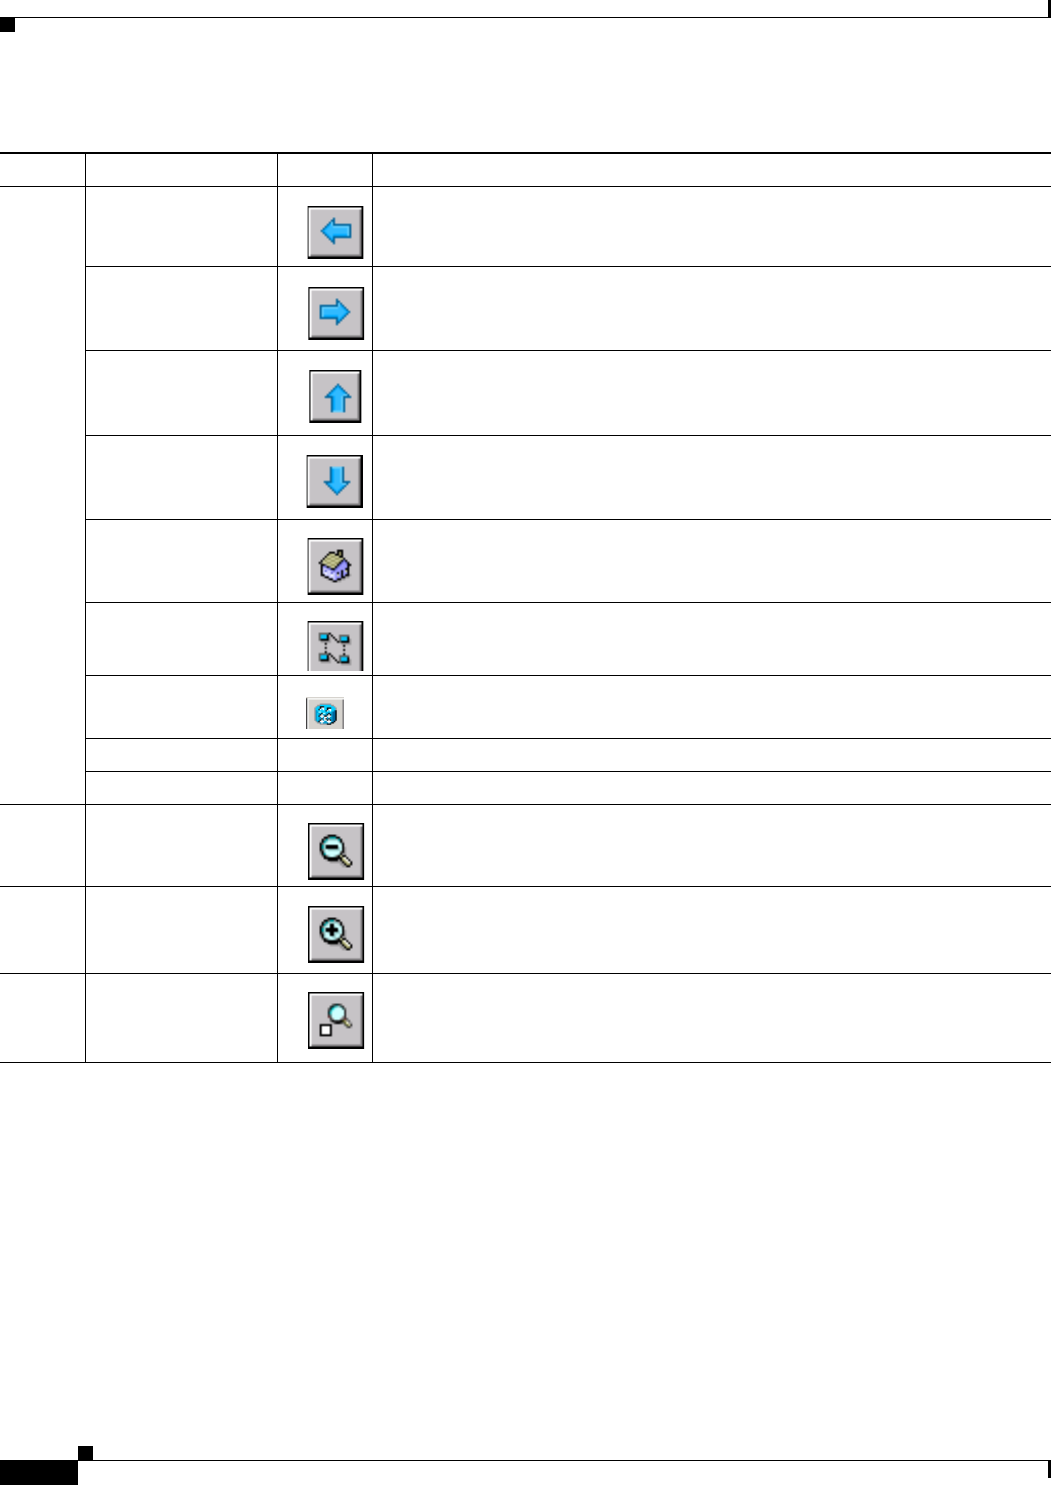
View Go To Previous View Displays the previous CTC view.
Go To Next View Displays the next CTC view. Available only after you navigate to a previous
view. Go to Previous View and Go to Next View are similar to forward and
backward navigation in a web browser.
Go To Parent View References the CTC view hierarchy: network view, node view, and card view. In
card view, this command opens the node view; in node view, the command opens
network view. Not available in network view.
Go To Selected
Object View
Displays the object selected in the CTC window.
Go To Home View Displays the login node in node view.
Go To Network View Displays the network view.
Go To Other Node Displays a dialog box allowing you to enter the node name or IP address of a
network node that you want to view.
Show Status Bar — Click this item to show or hide the status bar at the bottom of the CTC window.
Show Tool Bar — Click this item to show or hide the CTC toolbar.
— — (Toolbar only) Zooms out the network view area.
— — (Toolbar only) Zooms in the network view area.
— — (Toolbar only) Zooms in a selected network view area.
Table A-3 CTC Menu and Toolbar Options (continued)
Menu Menu Option Toolbar Description
A-7
Cisco ONS 15454 SDH Procedure Guide, R7.0
November 2005
Appendix A CTC Information and Shortcuts
Manage the CTC Window
Tools Circuits — Displays the following options:
•Repair Circuits—(ONS 15454 only) Repairs incomplete circuits following
replacement of the ONS 15454 SDH alarm interface panel (AIP). Refer to
the Cisco ONS 15454 SDH Troubleshooting Guide for more information.
•Reconfigure Circuits—Allows you to reconfigure circuits. For more
information, refer to the Cisco ONS 15454 SDH Reference Manual.
•Set Path Selector Attributes—Allows you to edit subnetwork connection
protection (SNCP) circuit path selector attributes. See the “DLP-D233 Edit
SNCP Circuit Path Selectors” task on page 19-29.
•Set Circuit State—Allows you to change a circuit state. See the “DLP-D230
Change a Circuit State” task on page 19-26.
•Roll Circuit—Allows you to reroute live traffic without interrupting service.
•Delete Rolls—Removes rolls that are not deleted by CTC after a roll has
been completed.
Overhead Circuits — Displays the Repair IP Tunnels option, which fixes circuits that are in the
PARTIAL status as a result of node IP address changes. See the “DLP-D30
Repair an IP Tunnel” task on page 17-25.
Topology Upgrade — Displays the following options:
•Convert SNCP to MS-SPRing—Converts SNCP to MS-SPRing. See the
“NTP-D210 Convert an SNCP to a Two-Fiber MS-SPRing Manually”
section on page 13-14.
•Convert Unprotected to SNCP—Converts a point-to-point or linear
add/drop multiplexer (ADM) to SNCP. See “NTP-D156 Convert a
Point-to-Point or Linear ADM to an SNCP Manually” section on
page 13-11
Manage VLANs — Displays a list of VLANs that have been created and allows you to delete
VLANs. See the “DLP-D34 Delete VLANs” task on page 17-27.
Open TL1
Connection
Displays the TL1 window, which allows you to enter TL1 commands.
Open IOS
Connection
Displays the Cisco IOS command line interface dialog box if a Cisco IOS
capable card (ML1000-2 or ML100T-12) is installed in the node. Refer to the
Ethernet Card Software Feature and Configuration Guide for the
Cisco ONS 15454, Cisco ONS 15454 SDH, and Cisco ONS 15327.
Update CTC —Allows you to update CTC to a newer version, if a newer version was found
during network discovery.
Help Contents and Index — Displays the online help window.
User Manuals — Displays the Cisco ONS 15454 SDH documentation.
About CTC — Displays the software version and the nodes in the CTC session.
Table A-3 CTC Menu and Toolbar Options (continued)
Menu Menu Option Toolbar Description

A-8
Cisco ONS 15454 SDH Procedure Guide, R7.0
November 2005
Appendix A CTC Information and Shortcuts
Manage the CTC Window
CTC Mouse Options
In addition to the CTC menu bar and toolbar, you can invoke actions by double-clicking CTC window
items with your mouse, or by right-clicking an item and choosing actions from shortcut menus.
Table A-4 lists the CTC window mouse shortcuts.
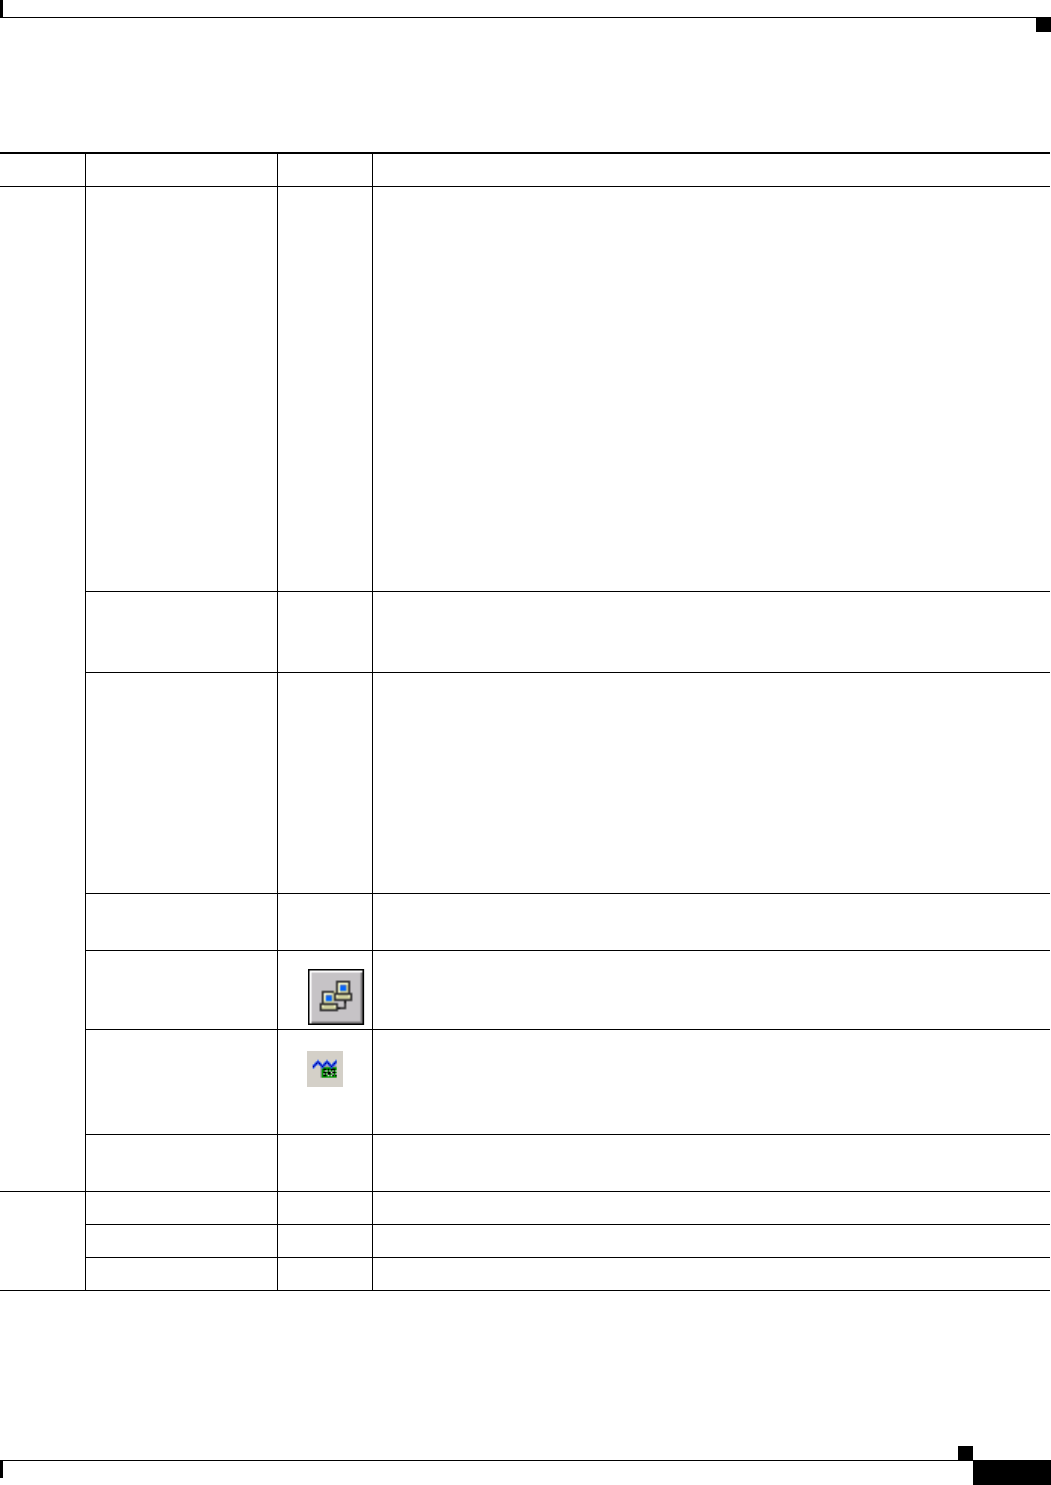
— Network Scope — Displays the selected network scope. The network view drop-down list has three
options: DWDM, TDM, or All. If you choose DWDM, only DWDM nodes
appear on the network view map. If you choose TDM, only TDM nodes appear
on the network view map. If you choose All, every node on the network appears
on the network view map.
— Link Filter Opens the Link Filter dialog box, which allows you to choose which link classes
display on the nondetail network map. The available classes vary according to
the selected network scope:
•ALL—DCC, GCC, OTS, PPC, server trail
•DWDM—GCC, OTS, PPC
•TDM—DCC, PPC, server trail
— — Opens the Collapse/Expand Links dialog box, which allows you to globally
expand or consolidate network view links based on link type.
— — Opens the CTC Alerts dialog box, which shows the status of certain CTC
background tasks. When the CTC Alerts toolbar icon contains a red triangle,
unread notifications exist. When there are no unread notifications, the CTC
Alerts toolbar icon contains a gray triangle. Notifications include:
•Network disconnection
•Send-PDIP inconsistency—CTC discovers a new node that does not have a
SEND-PDIP setting consistent with the login node.
•Circuit deletion status—The alert appears when the circuit deletion process
completes if you choose “Notify when complete” as described in the
“NTP-D288 Modify and Delete Overhead Circuits and Server Trails”
procedure on page 7-4. The CTC Alerts window always reports circuit
deletion errors.
•Conditions retrieval error
•Software download failure
You can save a notification by clicking the Save button in the CTC Alerts dialog
box and navigating to the directory where you want to save the text file.
By default, the CTC Alerts dialog box appears automatically. To disable
automatic popup, see the “DLP-D25 Configure the CTC Alerts Dialog Box for
Automatic Popup” task on page 17-20.
Table A-3 CTC Menu and Toolbar Options (continued)
Menu Menu Option Toolbar Description

A-9
Cisco ONS 15454 SDH Procedure Guide, R7.0
November 2005
Appendix A CTC Information and Shortcuts
Manage the CTC Window
Table A-4 CTC Window Mouse Shortcuts
Technique Description
Double-click •Node in network view—Displays the node view.
•Card in node view—Displays the card view.
•Domain in network view—Displays the nodes in a domain.
•Alarm/Event—Displays the object that raised the alarm or event.
•Circuits—Displays the Edit Circuit window.
Right-click •Network view graphic area—Displays a menu that you can use to create a
new domain; change the position and zoom level of the graphic image; save
the map layout (if you have a Superuser security level); reset the default
layout of the network view; set, change, or remove the background image
and color; and save or reset the node position.
•Domain in network view—Displays a menu that you can use to open a
domain, show the domain overview, rename the domain, and delete the
domain.
•Node in network view—Displays a menu that you can use to open the node,
reset the node icon position to the longitude and latitude set on the
Provisioning > General tab, delete the node, fix the node position for
auto layout, provision circuits, and update circuits with a new node.
•Span in network view—Displays a menu that you can use to view
information about the span’s source and destination ports, the protection
scheme, and the optical or electrical level. You can open the Circuits on
Spans dialog box, which shows additional span information and allows you
to perform SNCP protection switching. You can also perform span upgrades
from this menu.
•Over domain in network view—Displays domain name and the number of
nodes in the domain.
•Card in node view—Displays a menu that you can use to open, delete, reset,
and change cards. The card that is selected determines the commands that
appear.
•Card in card view—Displays a menu that you can use to reset the card or go
to the parent view (node view).
•Empty slot in node view—Displays a menu with cards that you can choose
to preprovision the slot.

A-10
Cisco ONS 15454 SDH Procedure Guide, R7.0
November 2005
Appendix A CTC Information and Shortcuts
Manage the CTC Window
Node View Shortcuts
Table A-5 shows actions on ONS 15454 SDH cards that you can perform by moving your mouse over
the CTC window.
Network View Tasks
Right-click the network view graphic area or a node, span, or domain to display shortcut menus.
Table A-6 lists the actions that are available from the network view.
Move mouse cursor •Over node in network view—Displays a summary of node alarms and
provides a warning if the node icon has been moved out of the map range.
•Over span in network view—Displays circuit bandwidth (node, slot, port)
and protection information. For DWDM spans, the optical direction and
optical ring ID appear. If the span terminates on the trunk port of a
transponder card (TXP/MXP), the associated DWDM wavelength also
appears.
•Over domain in network view—Displays domain name and the number of
nodes in the domain.
•Over card in node view—Displays card type, card status, and alarm profile
status. For DWDM cards, the number of bands or channels also appear,
depending on the card type.
•Over card port in node view—Displays card name, port service state, and
alarm profile status.
•Over card port in card view—Displays port service state, protection status
(if applicable), and alarm profile status. For DWDM cards, the port number
is labeled as channel, band, or line depending on the card type along with
the port service state and alarm profile status.
Table A-4 CTC Window Mouse Shortcuts (continued)
Technique Description
Table A-5 Performing Node View Card Shortcuts
Action Shortcut
Display card
information
In node view, move your mouse over cards in the graphic to display tooltips
with the card type, card status (active or standby), the highest level of alarm (if
any), and the alarm profile used by the card.
Open, reset, or delete
a card
In node view, right-click a card. Choose Open Card to display the card in card
view, Delete Card to delete it, or Reset Card to reset the card.
Preprovision a slot In node view, right-click an empty slot. Choose the card type that you want to
provision in the slot from the shortcut menu.
Change a card In node view, right-click an STM-N card and choose Change Card. In the
Change Card dialog box, choose the card type. Change card retains all card
provisioning, including data communications channel (DCC) terminations,
protection, circuits, and ring topology.

A-11
Cisco ONS 15454 SDH Procedure Guide, R7.0
November 2005
Appendix A CTC Information and Shortcuts
Manage the CTC Window
Table Display Options
Right-clicking a table column displays a menu. Table A-7 shows table display options, which include
rearranging or hiding CTC table columns and sorting table columns by primary or secondary keys.
Table A-6 Performing Network Management Tasks in Network View
Action Task
Open a node Any of the following:
•Double-click a node icon.
•Right-click a node icon and choose Open Node from the shortcut menu.
•Click a node and choose Go to Selected Object View from the View
menu.
•From the View menu, choose Go To Other Node. Choose a node from the
Select Node dialog box.
•Double-click a node alarm or event in the Alarms or History tab.
Move a node icon Press the Ctrl key and the left mouse button simultaneously and drag the node
icon to a new location.
Consolidate links Right-click on a link and choose Consolidate/Expand from the shortcut menu.
For more detailed instructions, refer to Chapter 11, “Change Node Settings.”
Reset node icon
position
Right-click a node and choose Reset Node Position from the shortcut menu.
The node icon moves to the position defined by the longitude and latitude fields
on the Provisioning > General tab in node view.
Provision a circuit Right-click a node. From the shortcut menu, choose Provision Circuit To and
choose the node where you want to provision the circuit. For circuit creation
procedures, see Chapter 6, “Create Circuits and Low-Order Tunnels.”
Update circuits with
new node
Right-click a node and choose Update Circuits With New Node from the
shortcut menu. Use this command when you add a new node and want to pass
circuits through it.
Display a link end
point
Right-click a span. From the shortcut menu, choose Go To [<node> | <port> |
<slot>] for the drop port you want to view. CTC displays the card in card view.
Display span
properties
Do any of the following:
•Move mouse over a span; the properties appear near the span.
•Click a span; the properties appear in the upper left corner of the window.
•Right-click a span; the properties appear at the top of the shortcut menu.
Perform an SNCP
protection switch for
an entire span
Right-click a network span and click Circuits. In the Circuits on Span dialog
box, switch options appear in the SNCP Span Switching field.
Display DWDM span
properties
Right-click a DWDM network span and click Circuits. The optical channel
network connection (OCHNC), optical direction, and circuit appear.
Upgrade a span Right-click a span and choose Upgrade Span from the shortcut menu.
Note For detailed span upgrade information and instructions, see
Chapter 12, “Upgrade Cards and Spans.”

A-12
Cisco ONS 15454 SDH Procedure Guide, R7.0
November 2005
Appendix A CTC Information and Shortcuts
Equipment Inventory
Equipment Inventory
In node view, the Inventory tab displays information about the ONS 15454 SDH equipment, including:
•Delete button—After highlighting a card with your mouse, use this button to delete the card from
node view.
•Reset button—After highlighting a card with your mouse, use this button to reset a card.
•Location—Identifies where the equipment is installed, either chassis or slot number.
•Eqpt Type—Displays the type of equipment but not the specific card name, for example, STM-4 or
E-1.
•Actual Eqpt Type—Displays the specific card name, for example, OC12 IR/STM4 SH 1310.
•Admin State—Changes the card service state unless network conditions prevent the change. For
more information about card states, refer to the “Enhanced State Model” appendix of the
Cisco ONS 15454 SDH Reference Manual.
–
Unlocked—Places the card in the Unlocked-enabled service state.
–
Locked,maintenance—Places the card in the Locked-enabled,maintenance service state.
Table A-7 Table Display Options
Task Click Right-Click Shortcut Menu
Resize column Click while dragging the column
header separator to the right or left.
—
Rearrange column order Click while dragging the column
header to the right or left.
—
Reset column order — Choose Reset Columns
Order/Visibility.
Hide column — Choose Hide Column.
Show column — Choose Show Column >
column_name.
Display all hidden
columns
— Choose Reset Columns
Order/Visibility.
Sort table (primary) Click a column header; each click
changes sort order (ascending or
descending).
Choose Sort Column.
Sort table (secondary
sorting keys)
Press the Shift key and
simultaneously click the column
header.
Choose Sort Column
(incremental).
Reset sorting — Choose Reset Sorting.
View table row count — View the number listed next to
“Row Count,” it is the last item on
the shortcut menu.

A-13
Cisco ONS 15454 SDH Procedure Guide, R7.0
November 2005
Appendix A CTC Information and Shortcuts
Equipment Inventory
•Service State—Displays the current card service state, which is an autonomously generated state
that gives the overall condition of the card. Service states appear in the format: Primary
State-Primary State Qualifier, Secondary State. For more information about card states, refer to the
“Administrative and Service States” appendix of the Cisco ONS 15454 SDH Reference Manual.
Card service states include:
–
Unlocked-enabled
–
Unlocked-disabled,automaticInService and mismatchOfEquipment
–
Unlocked-disabled,automaticInService and softwareDownload
–
Unlocked-disabled,automaticInService and notInstalled
–
Unlocked-disabled,mismatchOfEquipment
–
Unlocked-disabled,softwareDownload
–
Unlocked-disabled,notInstalled
–
Locked-disabled,mismatchOfEquipment and maintenance
–
Locked-disabled,mismatchOfEquipment and unassigned
–
Locked-disabled,maintenance and softwareDownload
–
Locked-disabled,maintenance and notInstalled
–
Locked-disabled,unassigned
–
Locked-disabled,unassigned and notInstalled
–
Locked-enabled,maintenance
•HW Part #—Displays the hardware part number; this number is printed on the top of the card or
equipment piece.
•HW Rev—Displays the hardware revision number.
•Serial #—Displays the equipment serial number; this number is unique to each card.
•CLEI Code—Displays the Common Language Equipment Identifier code.
•Firmware Rev—Displays the revision number of the software used by the application-specific
integrated circuit (ASIC) chip installed on the ONS 15454 SDH cards.
•Product ID—Displays the manufacturing product identifier for a hardware component, such as a fan
tray, chassis, or card. The Product ID column displays “N/A” for equipment existing before
Software Release 4.6.
•Version ID—Displays the manufacturing version identifier for a fan tray, chassis, or card. The
Version ID column displays “N/A” for equipment existing before Software R4.6.

A-14
Cisco ONS 15454 SDH Procedure Guide, R7.0
November 2005
Appendix A CTC Information and Shortcuts
Equipment Inventory
