Itron 100G Utility Meter Transceiver User Manual 100G Installation Guide
Itron, Inc. Utility Meter Transceiver 100G Installation Guide
Itron >
Contents
- 1. User Manual
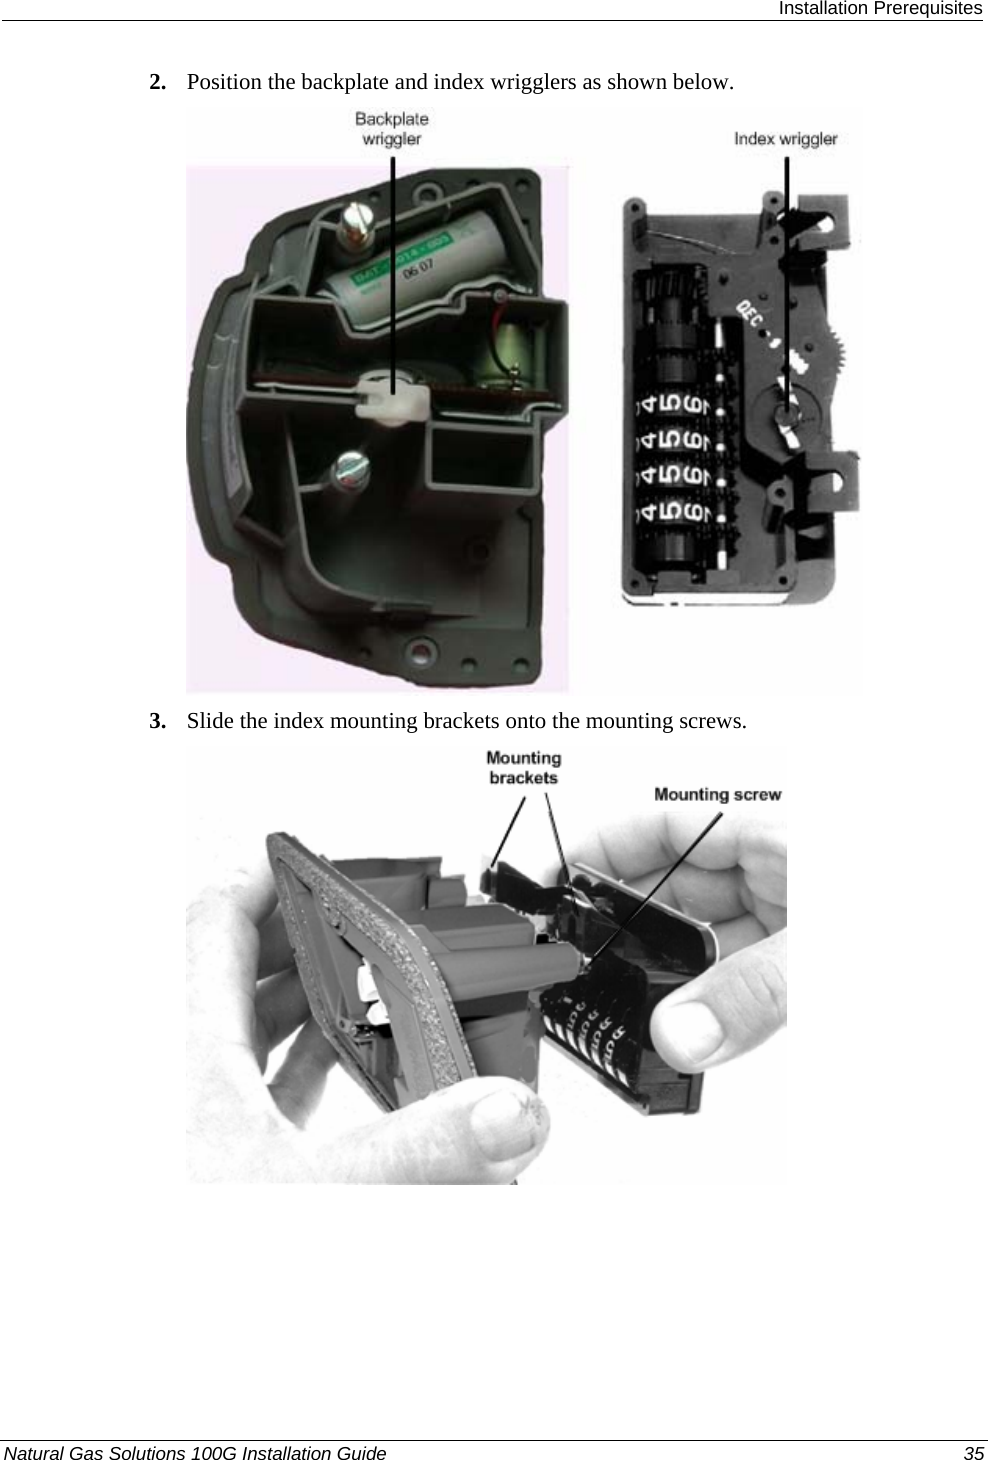
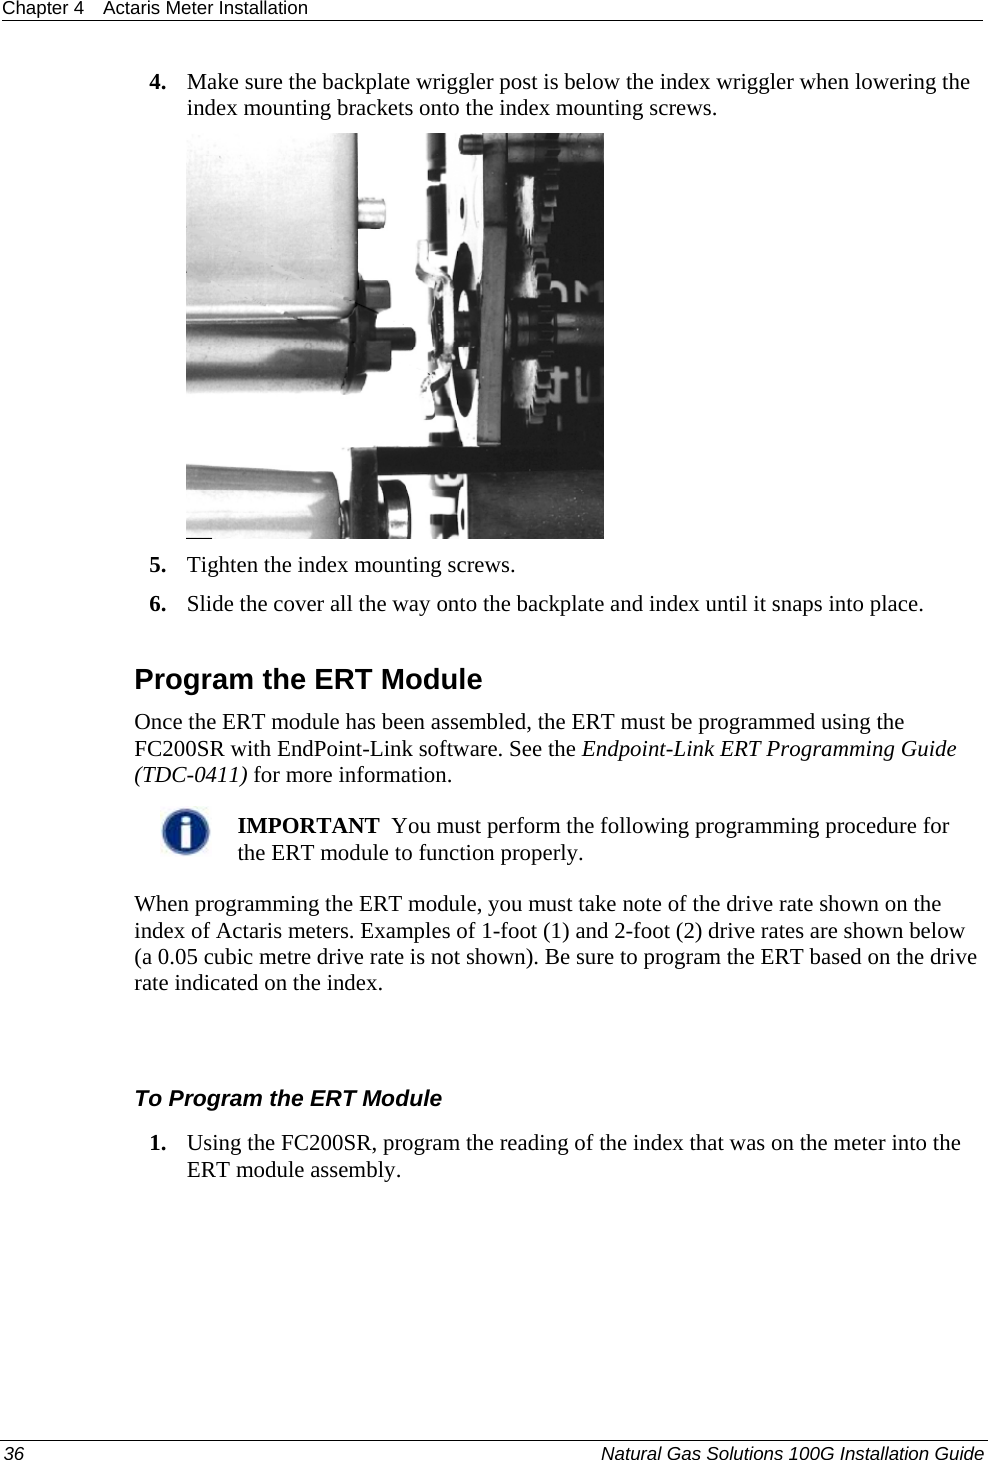
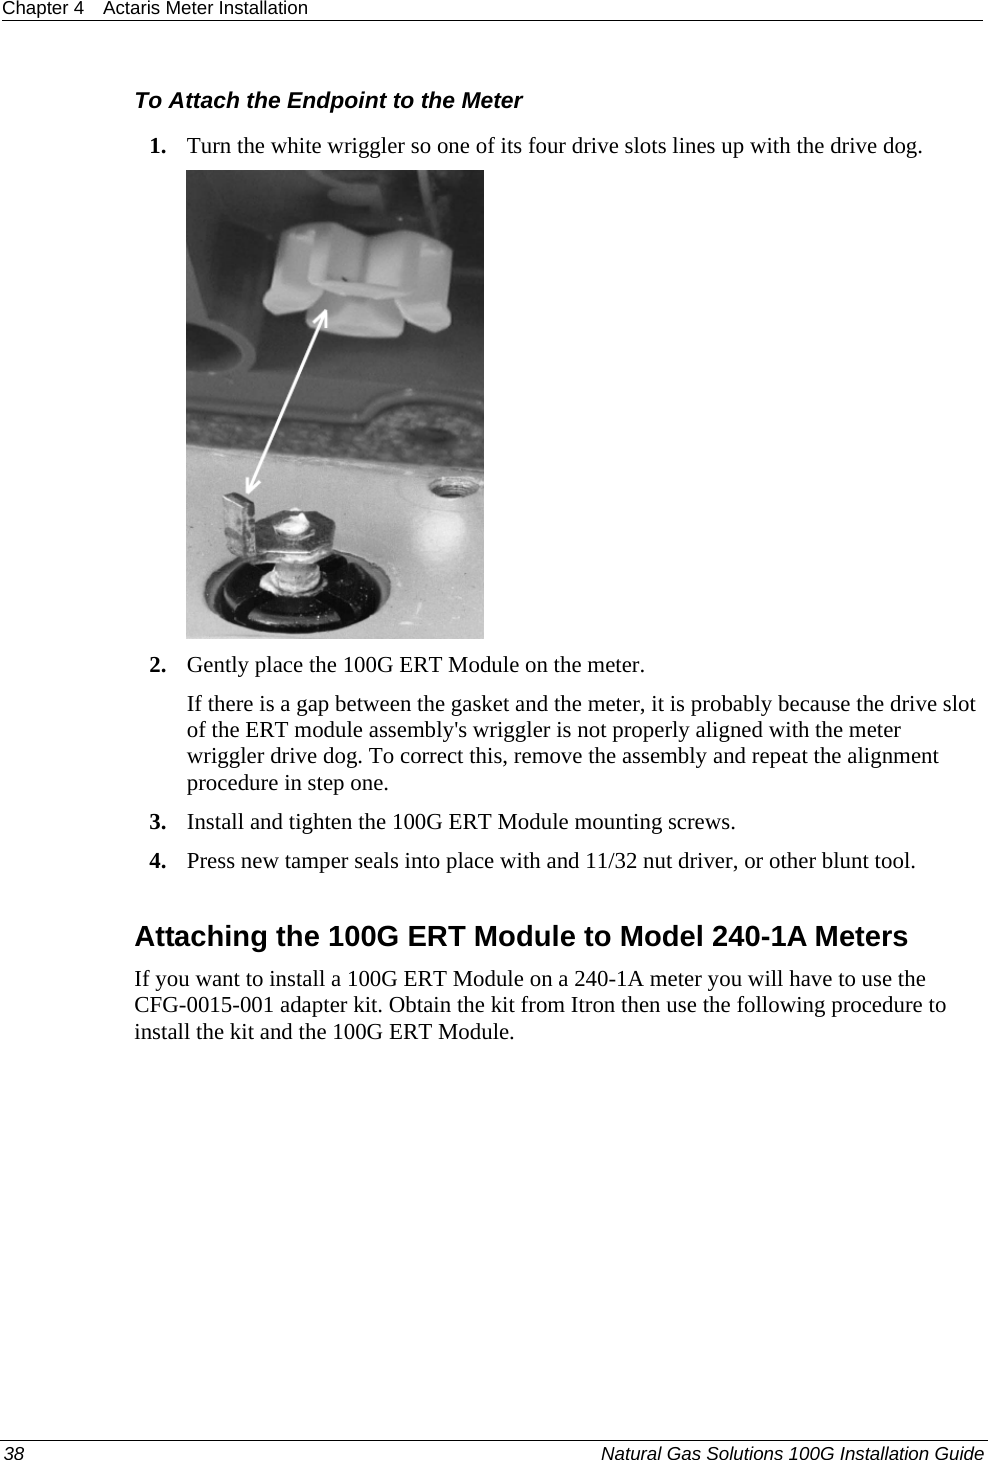
- 2. Instalation Guide Part 1
- 3. nstalation Guide Part 2
- 4. Users Manual 1
- 5. Users Manual 2
- 6. Users Manual 3
nstalation Guide Part 2