Itron FC200A Handheld AMR Endpoint Reader User Manual Small Ref
Itron, Inc. Handheld AMR Endpoint Reader Small Ref
UserManual.wiki
>
Itron
>
FC200A User Manual
Users Manual
Navigation menu
Upload a User Manual
Namespaces
Wiki Guide
HTML
PDF
Info
Views
User Manual
Discussion / Help
Navigation
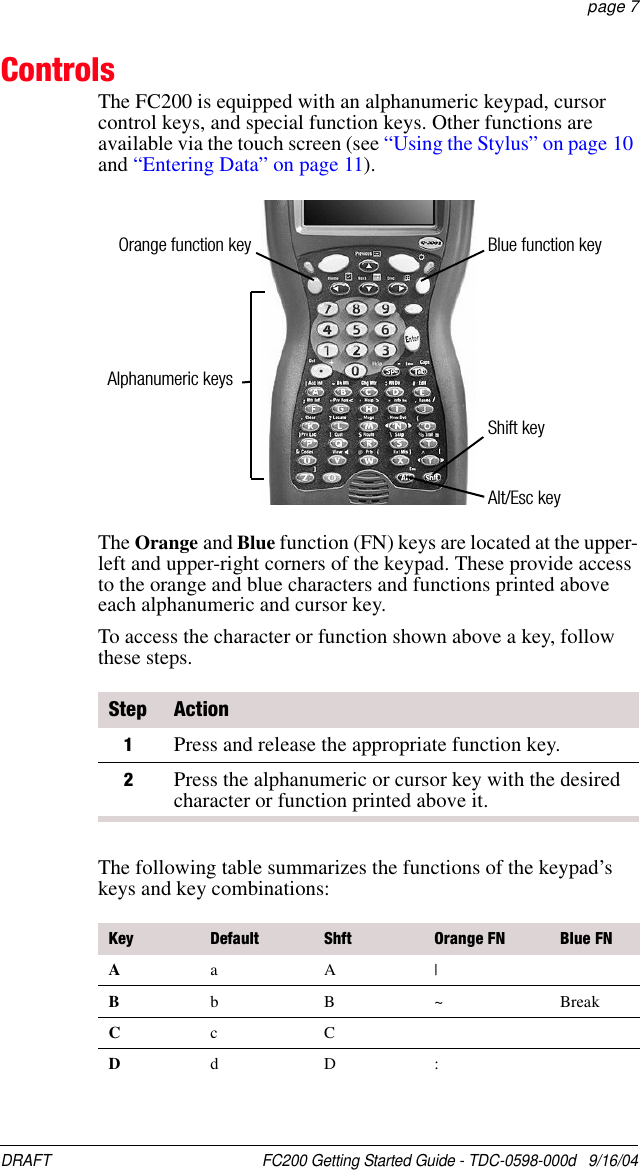
![FC200 Getting Started Guide - TDC-0598-000d 9/16/04 DRAFT page 8EeE#FfF;GgG“ <HhH‘ >IiI* InsJjJ, /KkK.LlL?MmMNnN‘OoO(PpP) PauseQqQ!Rr R $ Print ScreenSsS\ Scroll LockTtT% =UuU&VvV enter Volume Control*WwW@ {XxX }YyY^ [ZzZ ]11 ! F1 F1122 @ F2 F1233 # F3 F1344 $ F4 F1455 % F5 F1566 ^ F6 F1677 & F7 F1788 * F8 F18Key Default Shft Orange FN Blue FN](https://usermanual.wiki/Itron/FC200A/User-Guide-485546-Page-12.png)