JADAK a business unit of Novanta SR5E RFID Device User Manual ToolLink UserGuidev2
Trimble Navigation Limited RFID Device ToolLink UserGuidev2
Contents
- 1. Manual Product Literature
- 2. Manual User Guide
Manual User Guide
ToolLink
User Guide
ToolLink
User Guide

ToolLink User Guide
2
Government Limited Rights Notice: All documentation and manuals were developed at private
expense and no part of it was developed using Government funds.
The U.S. Government’s rights to use, modify, reproduce, release, perform, display, or disclose
the technical data contained herein are restricted by paragraph (b)(3) of the Rights in Technical
Data — Noncommercial Items clause (DFARS 252.227-7013(b)(3)), as amended from time-to-
time. Any reproduction of technical data or portions thereof marked with this legend must also
reproduce the markings. Any person, other than the U.S. Government, who has been provided
access to such data must promptly notify ThingMagic, Inc.
ThingMagic, Mercury, and the ThingMagic logo are trademarks or registered trademarks of
ThingMagic, Inc.
Other product names mentioned herein may be trademarks or registered trademarks of
ThingMagic, Inc. or other companies.
© Copyright 2000–2008 ThingMagic, Inc. All Rights Reserved
ThingMagic, Inc.
One Broadway, 5th floor
Cambridge, MA 02142
866-833-4069
First Edition
April, 2008

ToolLink User Guide
3
ToolLink User Guide
Communication Regulation Information
EMC FCC 47 CFR, Part 15
Federal Communications Commission Interference Statement
FCC Compliance: This equipment complies with Part 15 of the FCC rules for intentional
radiators and Class A digital devices when installed and used in accordance with the instruction
manual. Following these rules provides reasonable protection against harmful interference from
equipment operated in a commercial area. This equipment should not be installed in a
residential area as it can radiate radio frequency energy that could interfere with radio
communications, a situation the user would have to fix at their own expense.
Equipment Modification Caution: Equipment changes or modifications not expressly approved
by ThingMagic, Inc., the party responsible for FCC compliance, could void your authority to
operate the equipment and could create a hazardous condition.
Important User Information: In order to comply with FCC and IC requirements for RF exposure
safety, a separation distance of at least 20 cm (7.9 in) needs to be maintained between the
radiating elements of the antenna and the bodies of nearby persons.

ToolLink User Guide
4
Warnings
Antenna
This device has been designed to operate with the antennas provided with it (MTI MT-262024)
and having a maximum gain of 7dBic. Antennas not listed here or having a gain greater than
7dBic are strictly prohibited for use with this device. The required antenna impedance is 50
ohms.
To reduce radio interference to other users, the antenna type and its gain is chosen such that
the equivalent isotropically radiated power (EIRP) is not more than permitted for successful
communication.
Keep Antennas Connected at All Times
All ports MUST be connected to antennas when ToolLink is active. Operating the reader without
a proper load may damage the transmitter.
Don’t Block Antennas
DO NOT block antennas with metal objects. A large, conductive object directly in front of the
antenna may reflect back enough energy to damage the radio transmitter.
Best Practices
For best results, follow these guidelines when attaching tags to tools.
•
DO NOT place directly on metal.
o
Maintain at least 1/4" separation between tag and metallic/conductive objects.
o
Maximize separation from metal.
o
Avoid battery packs
•
Can't scan through metal containers
o
Metal drawers must be open at least 3" during scan.
o
Metal lockers must be open during scan.
•
Avoid high-traffic, high-contact areas
ToolLink User Guide
5
ToolLink User Guide
o
e.g., DO NOT place on a gripping surface
o
e.g., Place inside a carrying case, rather than outside.
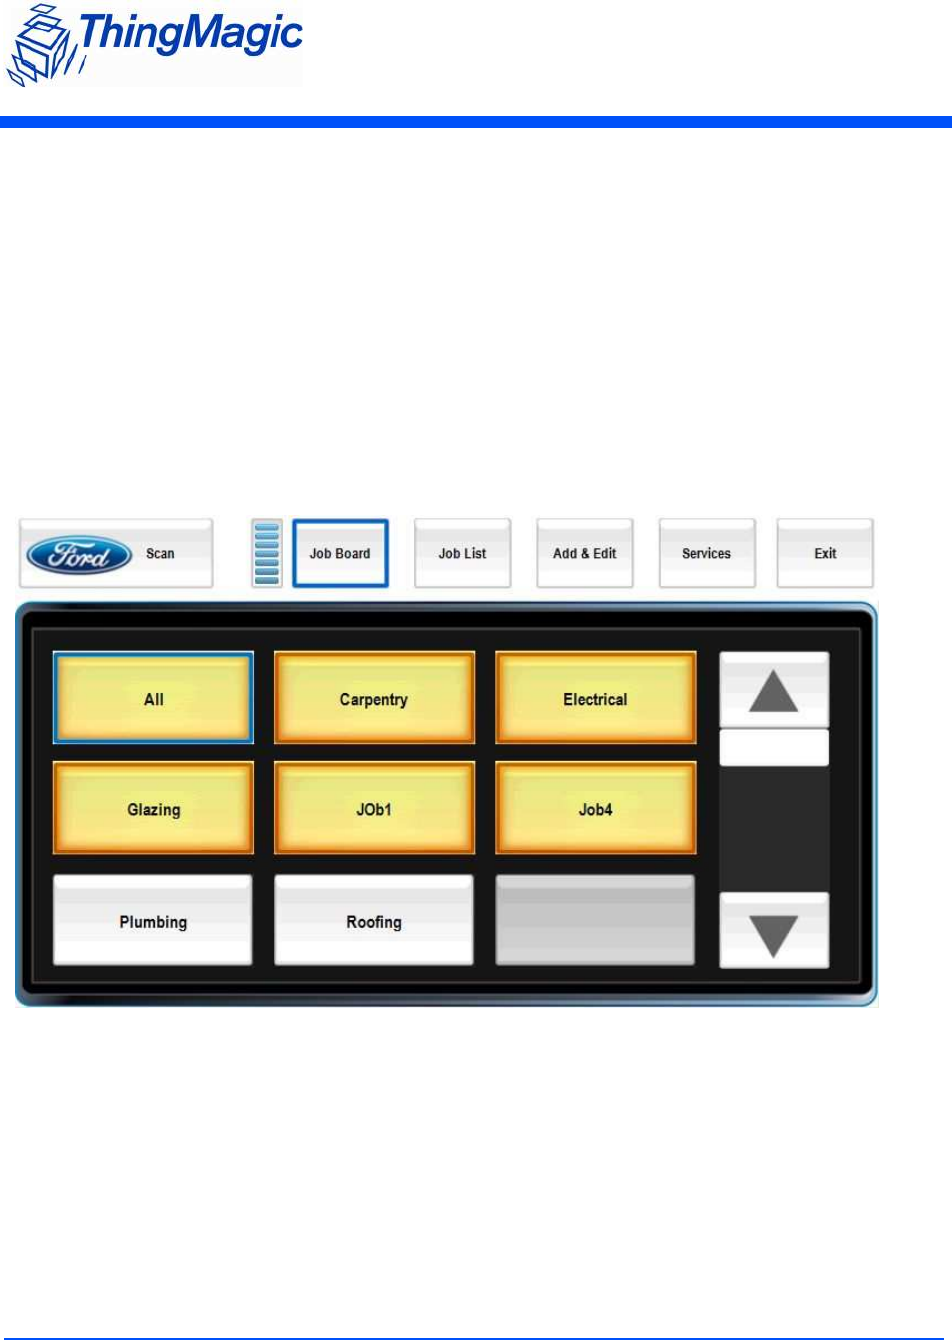
Job Board
ToolLink opens up in the Job Board screen, which provides an overview of tool inventory.
Each group of tools has its own button. Red buttons indicate that tools are missing from a
group. Silver buttons indicate that all tools are present.
Press Scan to run a fresh tool inventory.
ToolLink User Guide
6
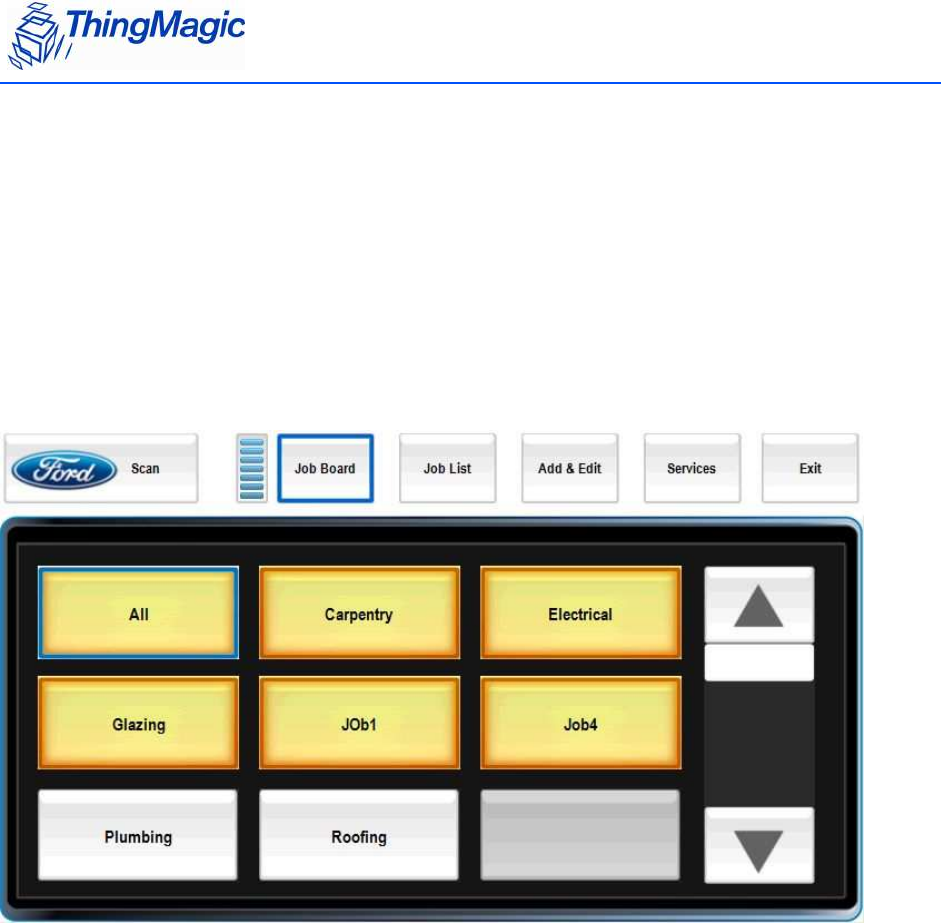
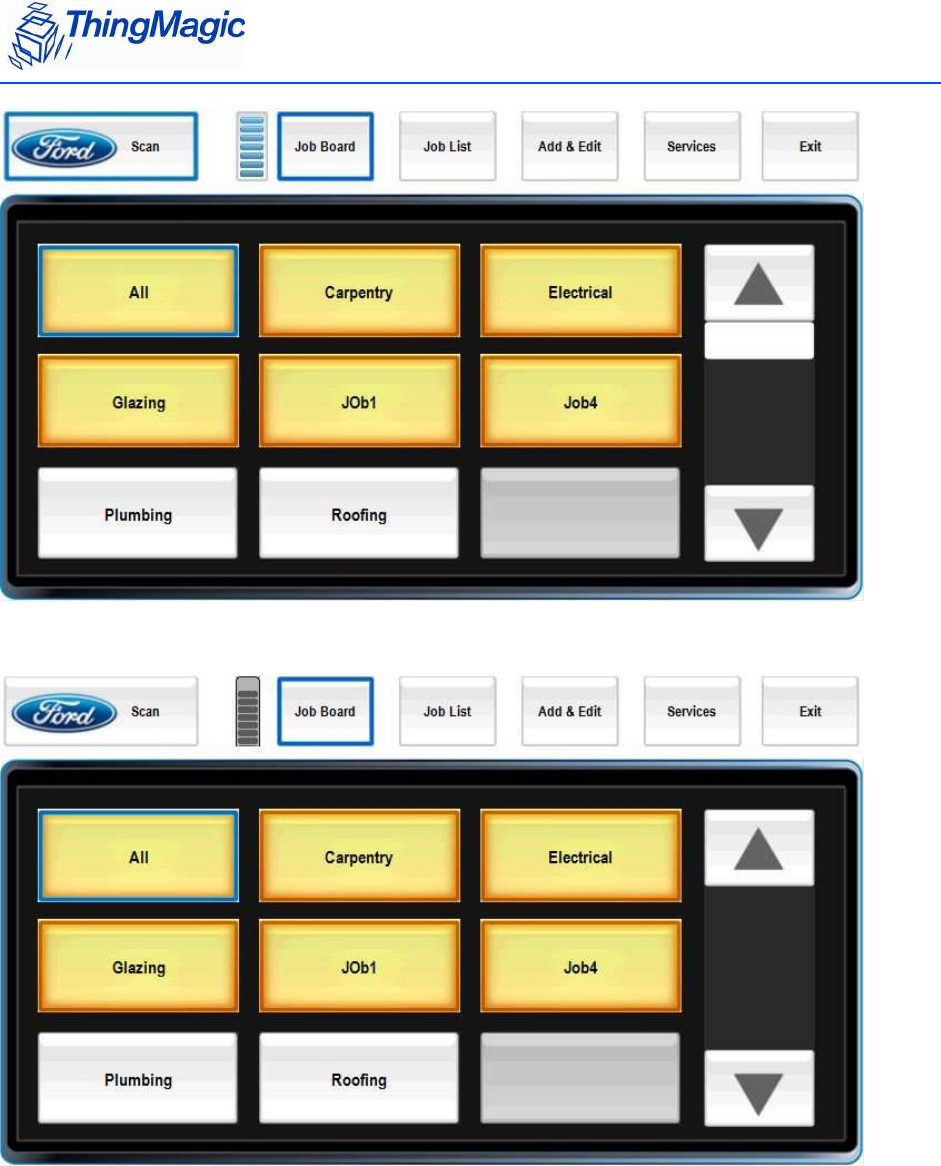
The inventory process takes about 5 seconds. The scan indicator changes color while the
inventory is still under way.
After scanning, the tool group buttons update to reflect the results of the inventory.
ToolLink User Guide
7
ToolLink User Guide
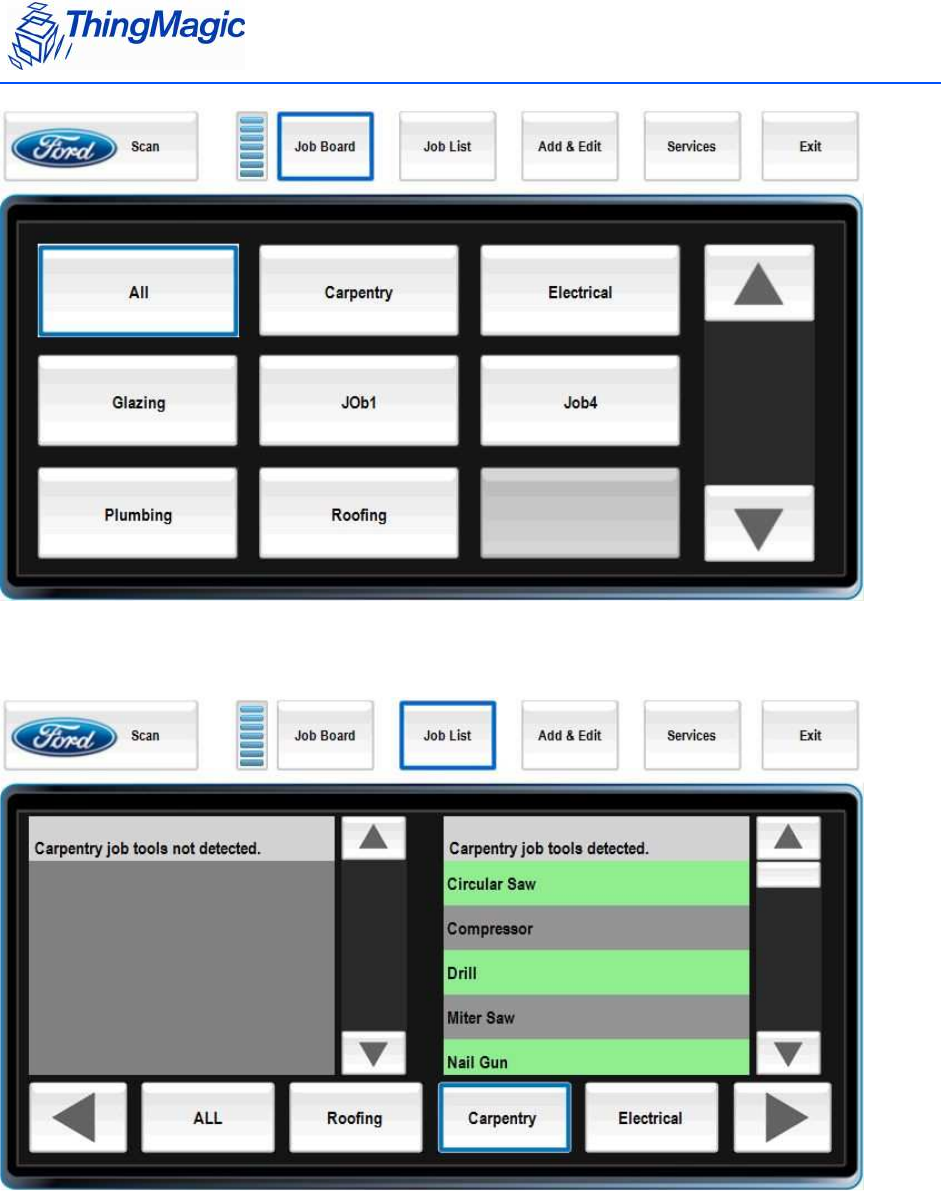
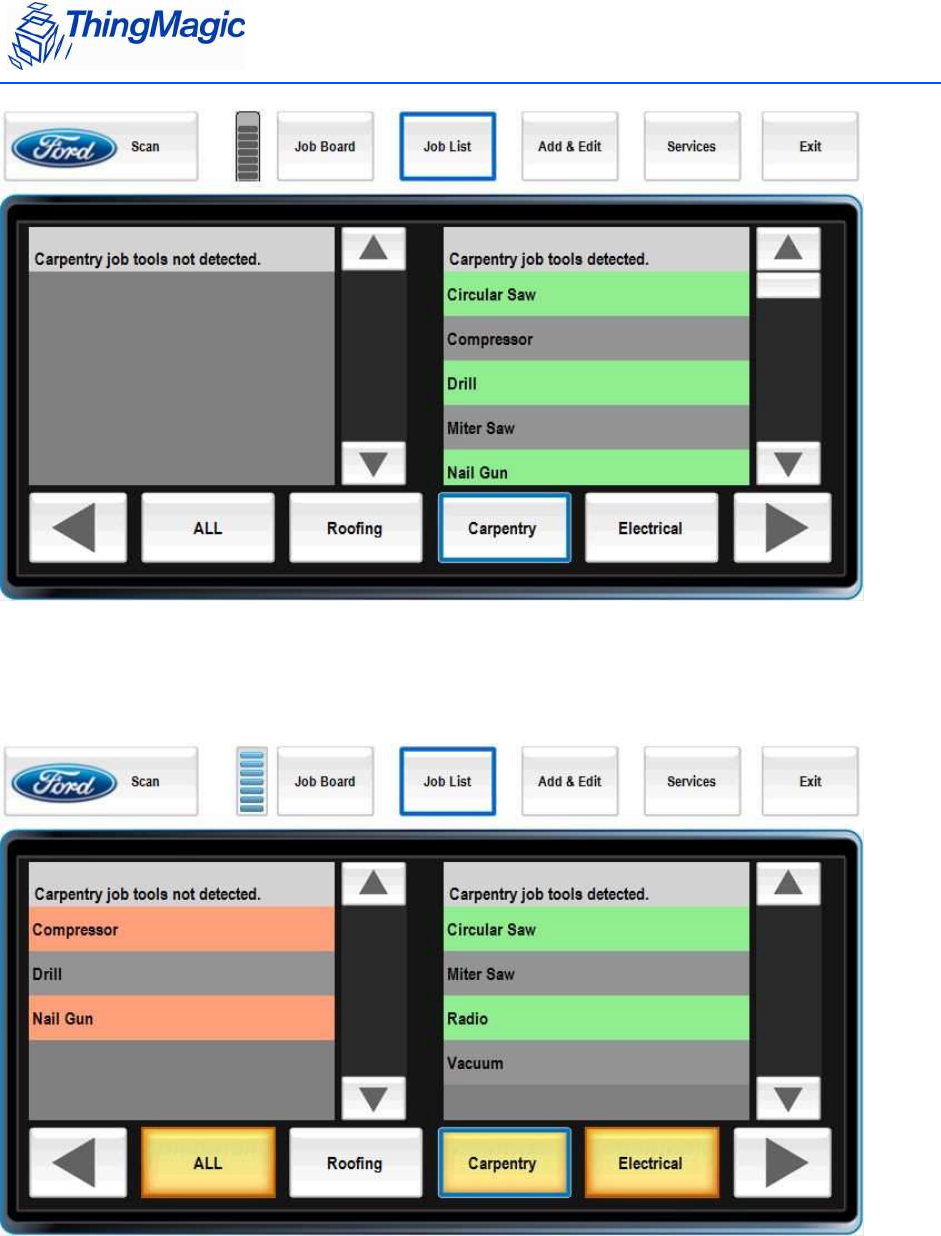
Job List
Switch to the job list screen for more detailed results; e.g., what tools are in a group?
Press Scan to update inventory status, just the same as the Job Board panel.
ToolLink User Guide
8
Missing tools appear in red on the left. Present tools appear in green on the right. Tool
group buttons appear in the same red and silver color codes as on the Job Board screen.
ToolLink User Guide
9
ToolLink User Guide
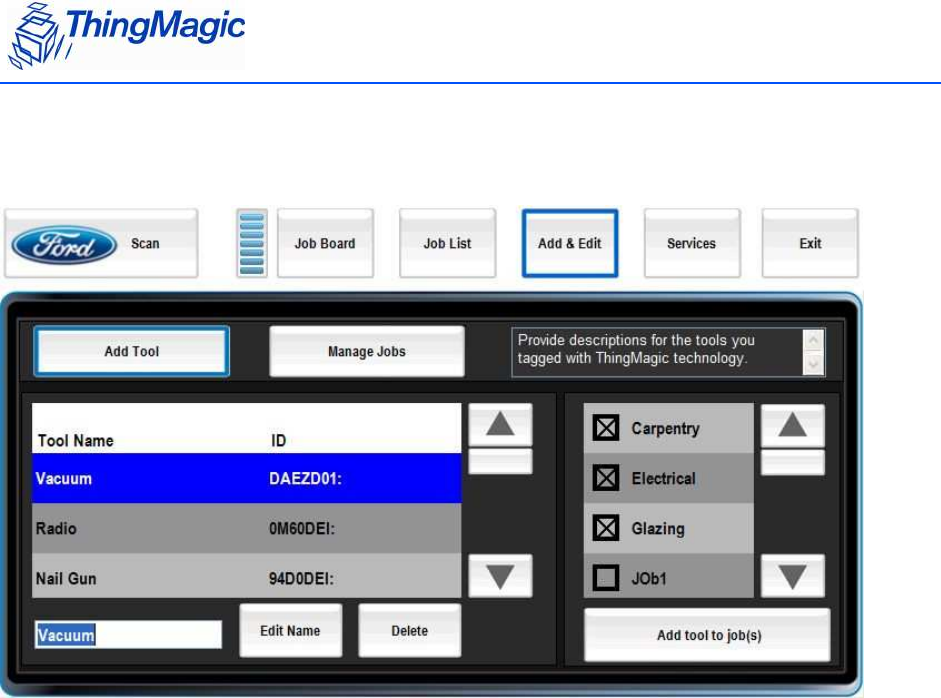
Add & Edit / Add Tool
To add new tools, search for their tag IDs in the Add Tool screen. Click on the row with the
right ID, type the tool’s name, and press Edit Name.
ToolLink User Guide
10
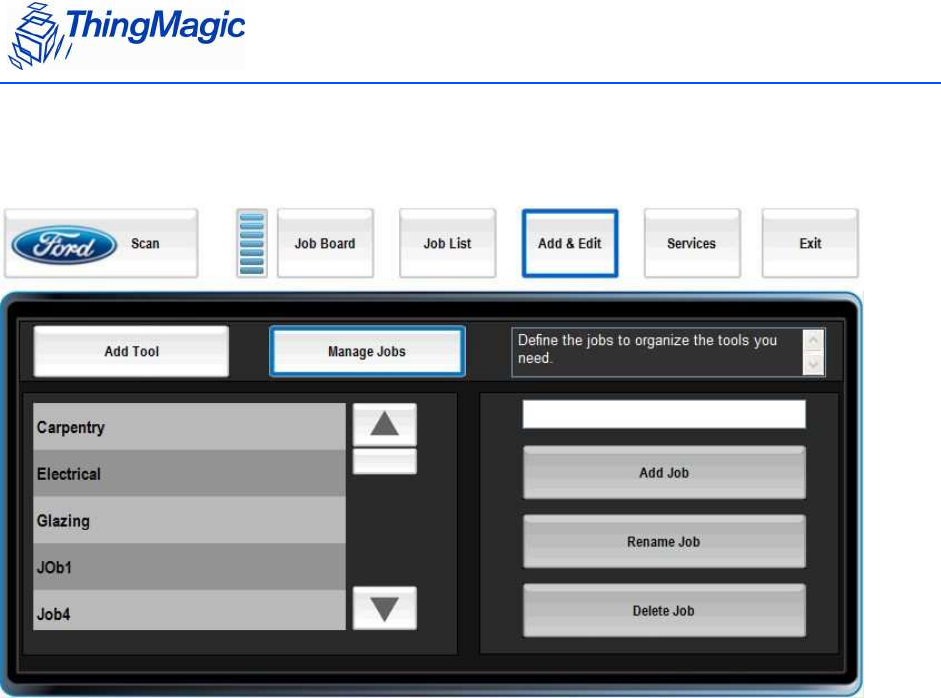
Add & Edit / Manage Jobs
To add new tool groups, enter a name in the Manage Jobs screen and press Add Job.
ToolLink User Guide
11
ToolLink User Guide
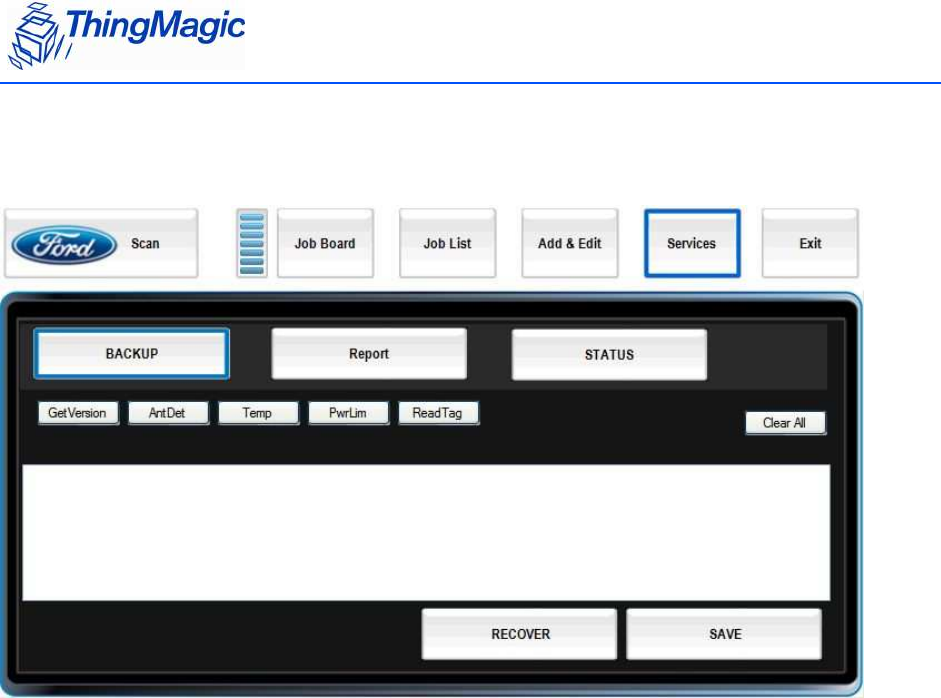
Services / Backup
To make a copy of your ToolLink information for safekeeping, go to the Services / Backup screen and
press Save. Your information will be saved to a file of your choosing.
To bring data back into ToolLink, press Recover in the Services / Backup screen and select a previously-
saved file.
ToolLink User Guide
12
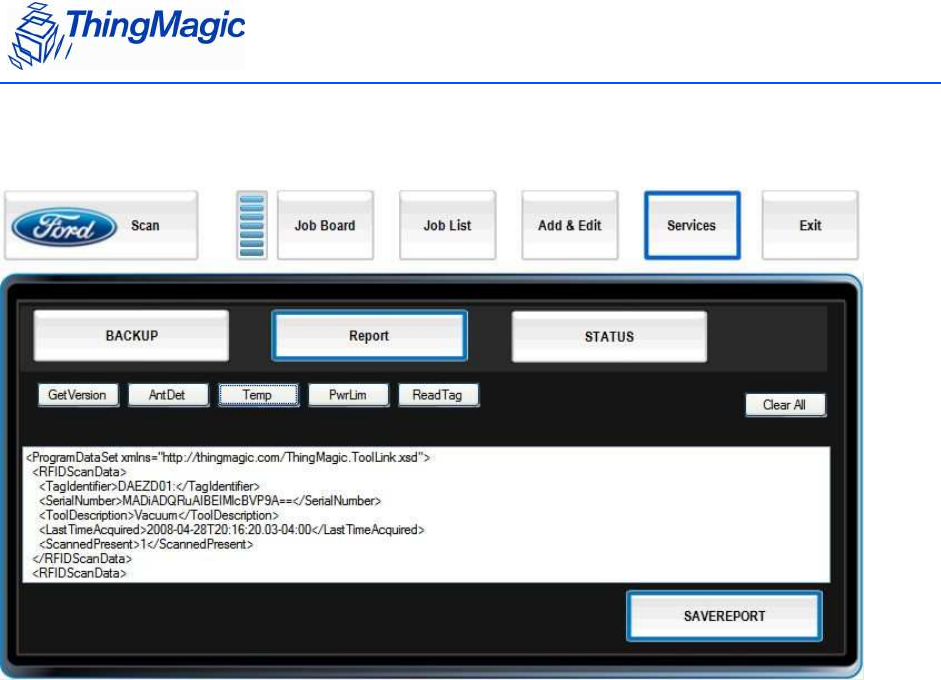
Services / Report
The Report screen produces an XML-formatted file containing all the ToolLink information. This file can
be read by other software.
ToolLink User Guide
13
ToolLink User Guide
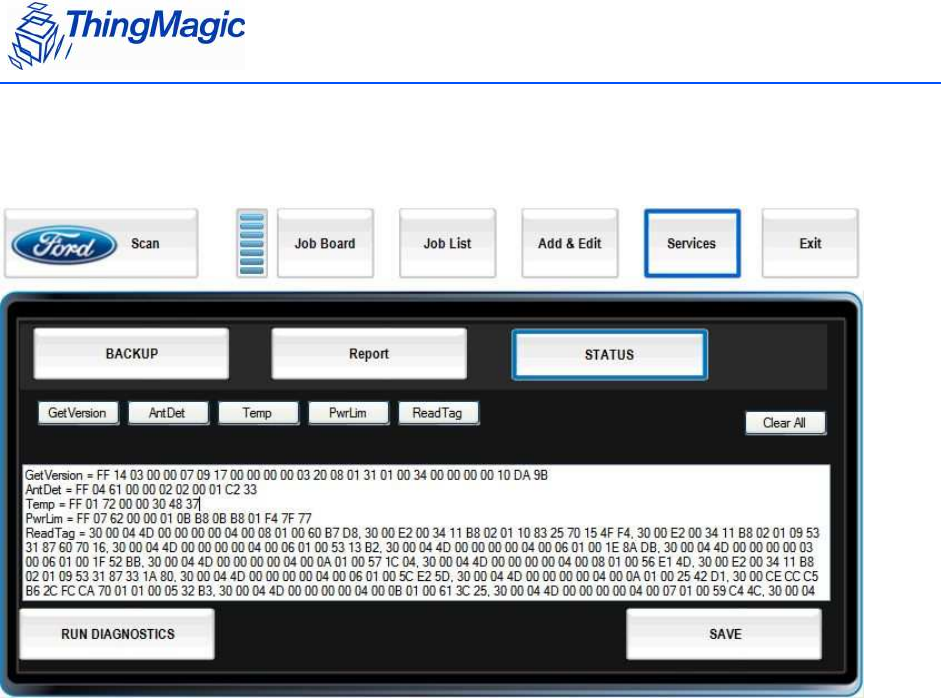
Services / Status
The Status screen shows diagnostic codes and runs tests to help troubleshoot ToolLink
problems.