JVC KENWOOD 378701 UHF Digital Transceiver User Manual
JVC KENWOOD Corporation UHF Digital Transceiver
UserManual.wiki
>
JVC KENWOOD
>
378701 User Manual
User Manual
Navigation menu
Upload a User Manual
Namespaces
Wiki Guide
HTML
PDF
Info
Views
User Manual
Discussion / Help
Navigation
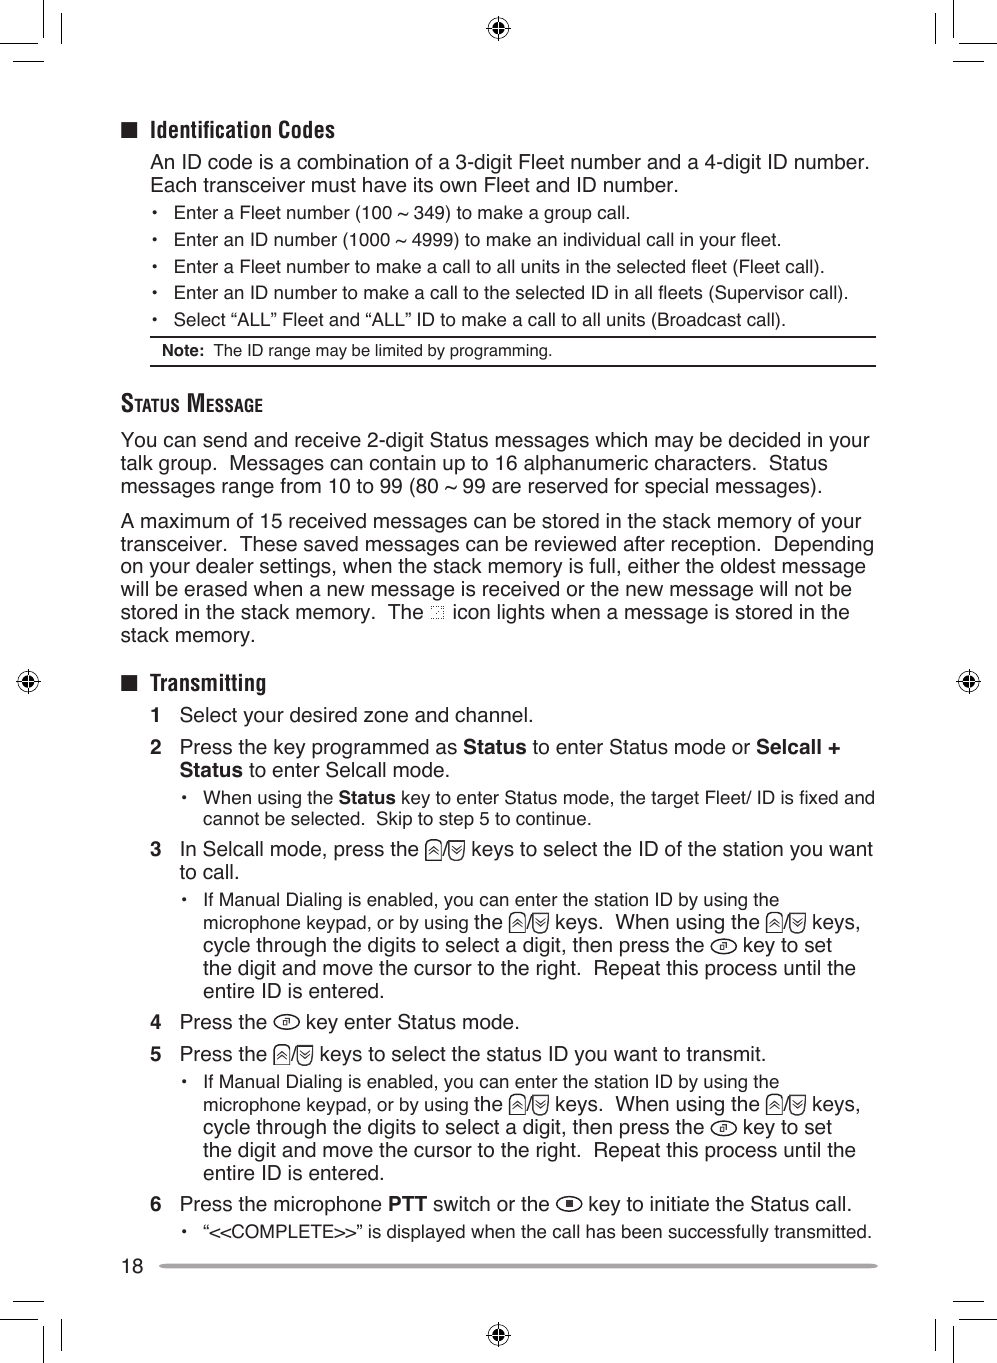
![14chArAcTer enTryThere are 2 methods available for entering characters: 1) pressing the / keys and 2) using the microphone keypad.When pressing the / keys, the displayed character entry cycles through A ~ Z, 0 ~ 9 and a space (default settings).You can also assign a character to an optional key and later press that key to recall the assigned character: A ~ Z, a ~ z, 0 ~ 9, or a space and characters.When using the microphone keypad, you can enter characters as shown in the table below:DTMF Key Default Character Cycle1 12 A > B > C > 23 D > E > F > 34 G > H > I > 45 J > K > L > 56 M > N > O > 67 P > Q > R > S > 78 T > U > V > 89 W > X > Y > Z > 90 [space] > 0](https://usermanual.wiki/JVC-KENWOOD/378701/User-Guide-998477-Page-18.png)