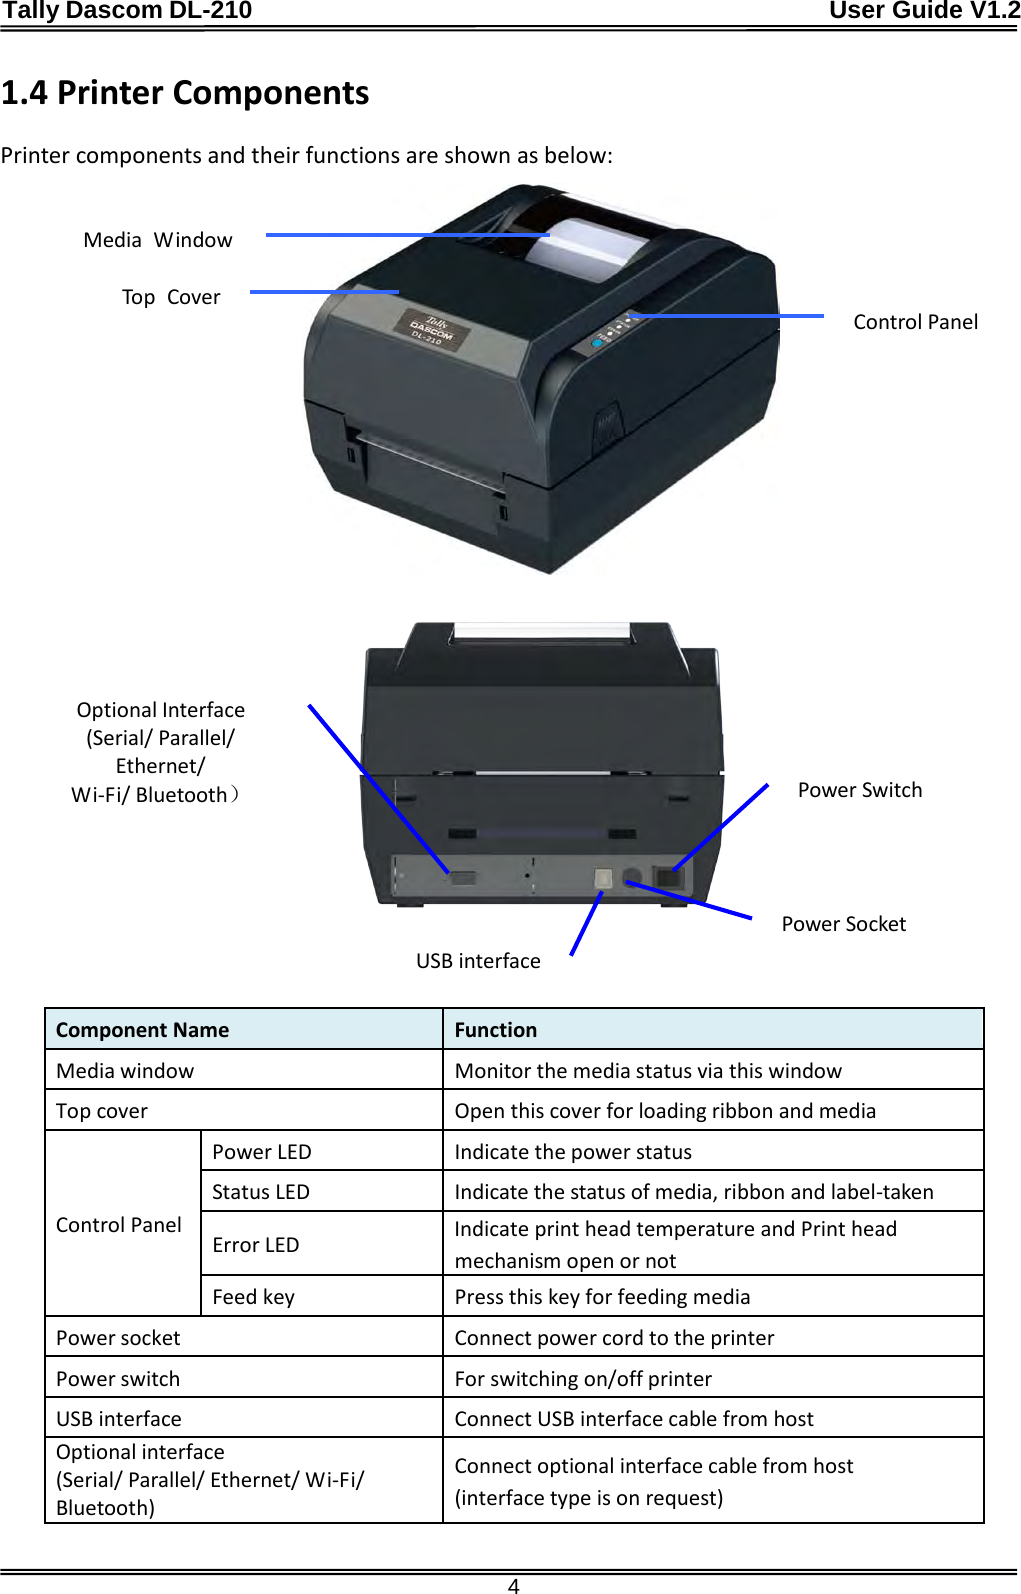
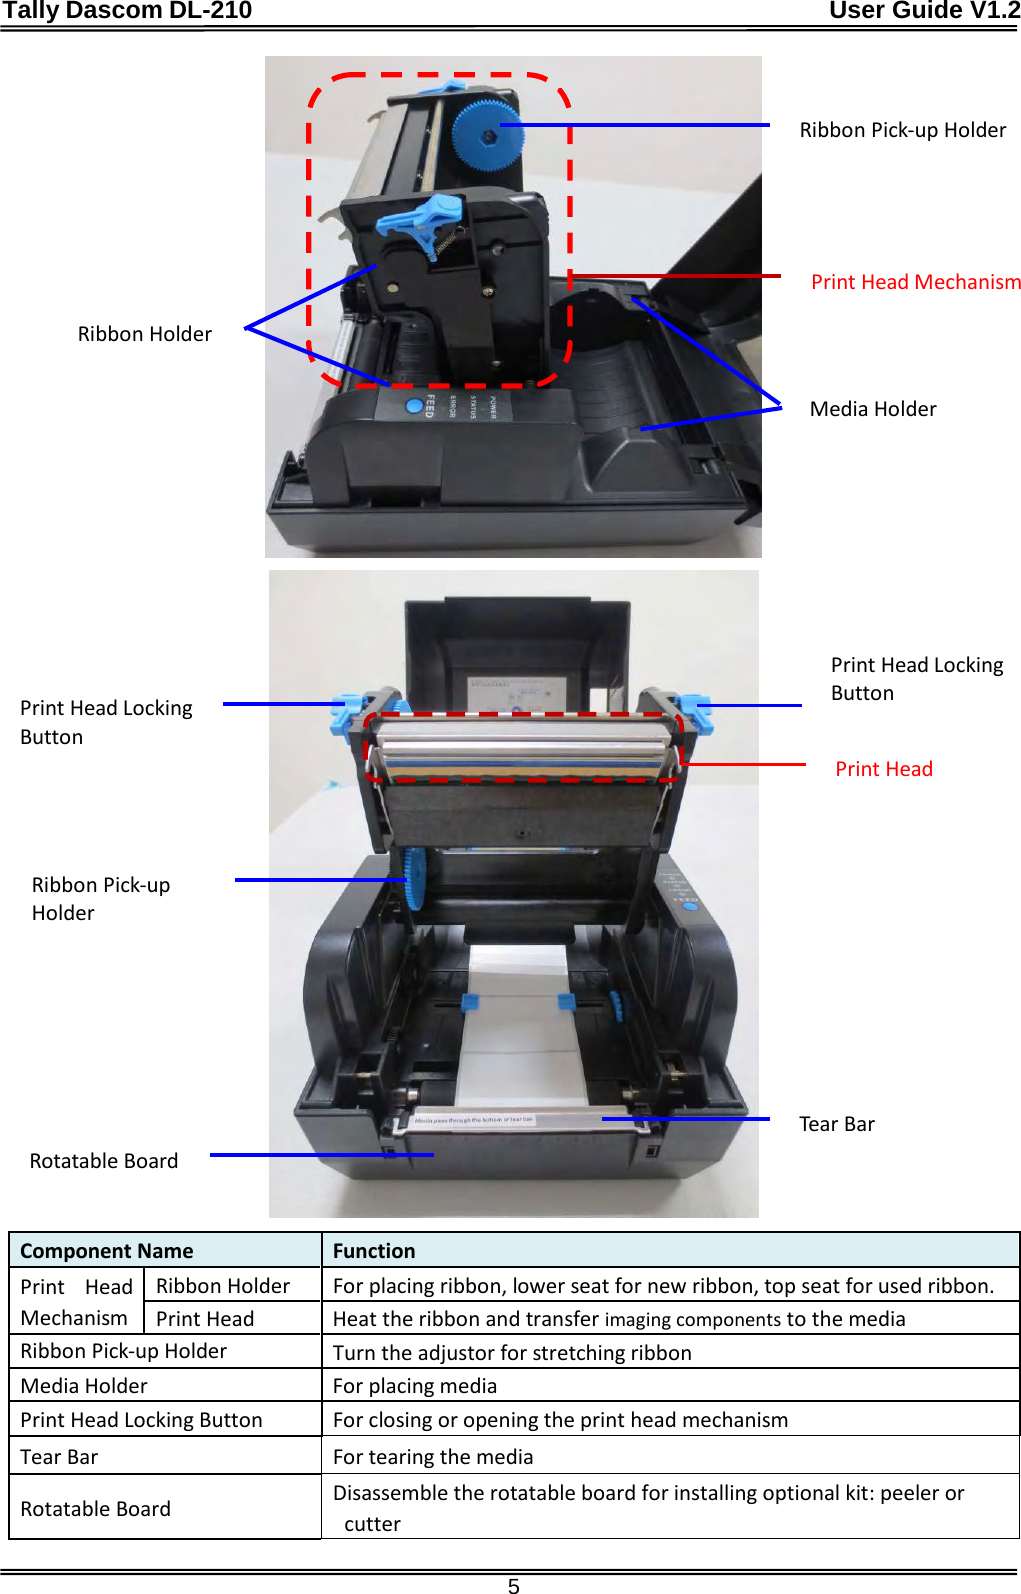
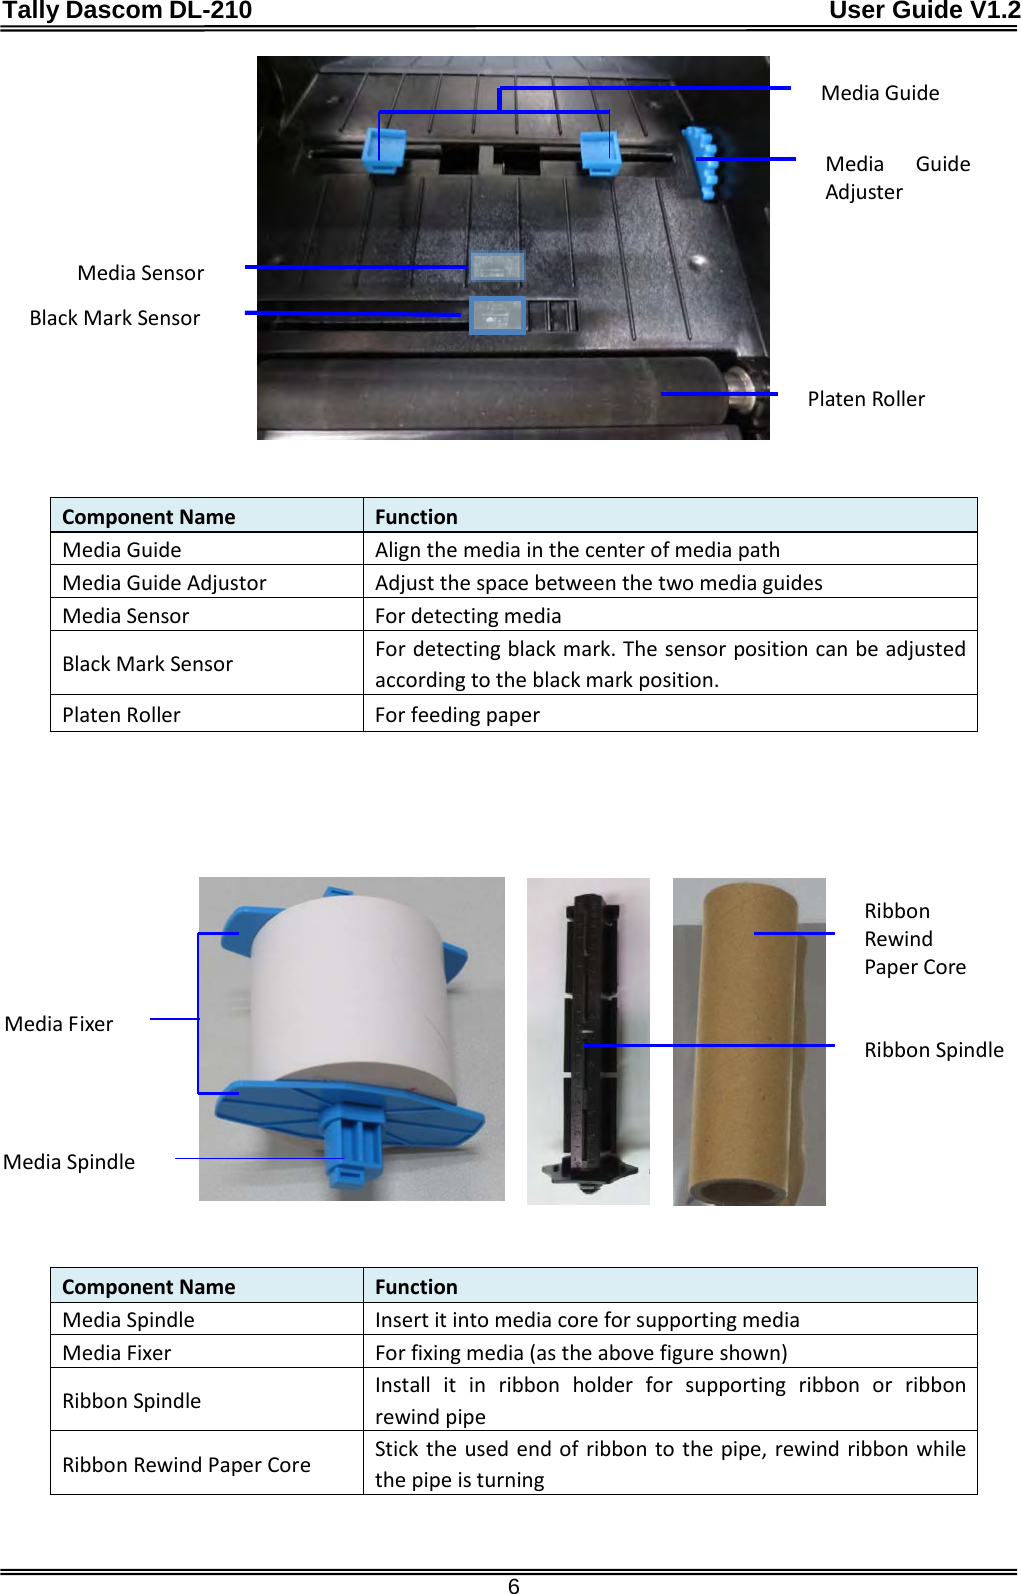
Jiangmen Dascom Computer Peripherals DL2100 Label & Barcode Printer User Manual Tally Dascom DT 210 230
Jiangmen Dascom Computer Peripherals Co.,Ltd. Label & Barcode Printer Tally Dascom DT 210 230
UserManual.wiki
>
Jiangmen Dascom Computer Peripherals
>
DL2100 User Manual
Users Manual
Navigation menu
Upload a User Manual
Namespaces
Wiki Guide
HTML
PDF
Info
Views
User Manual
Discussion / Help
Navigation

![Tally Dascom DL-210 User Guide V1.2 5.2.6 Parallel interface ........................................................................................................... 395.3 Power Supply ............................................................................................................................... 406 CODE PAGES ........................................................................................................................... 426.1 Common to all pages (International Character Set: USA) .......................................................... 426.2 International Character Sets ........................................................................................................ 436.3 [User-defined page] ..................................................................................................................... 446.4 [PC437: USA, Standard Europe] ................................................................................................... 456.5 [PC850: Multilingual] ................................................................................................................... 466.6 [PC852: Latin2] ............................................................................................................................. 476.7 [PC858: Euro] ............................................................................................................................... 486.8 [PC860: Portuguese] .................................................................................................................... 496.9 [PC863: Canadian-French] ........................................................................................................... 506.10 [PC865: Nordic] .......................................................................................................................... 516.11 [PC866: Cyrillic #2] ..................................................................................................................... 526.12 [PC720: Arabic] ........................................................................................................................... 537 COMMAND SETS .................................................................................................................... 547.1 ESC/POS Command Sets .............................................................................................................. 547.2 ZPL Command Sets ....................................................................................................................... 56Appendix: Installing the Cutter .................................................................................................. 62Disintall the Tear Bar .......................................................................................................................... 62Install the Auto Cutter ....................................................................................................................... 63Appendix: FCC STATEMENT ........................................................................................................ 66Appendix: DASCOM REPRESENTATIVES ...................................................................................... 67](https://usermanual.wiki/Jiangmen-Dascom-Computer-Peripherals/DL2100/User-Guide-2473936-Page-12.png)
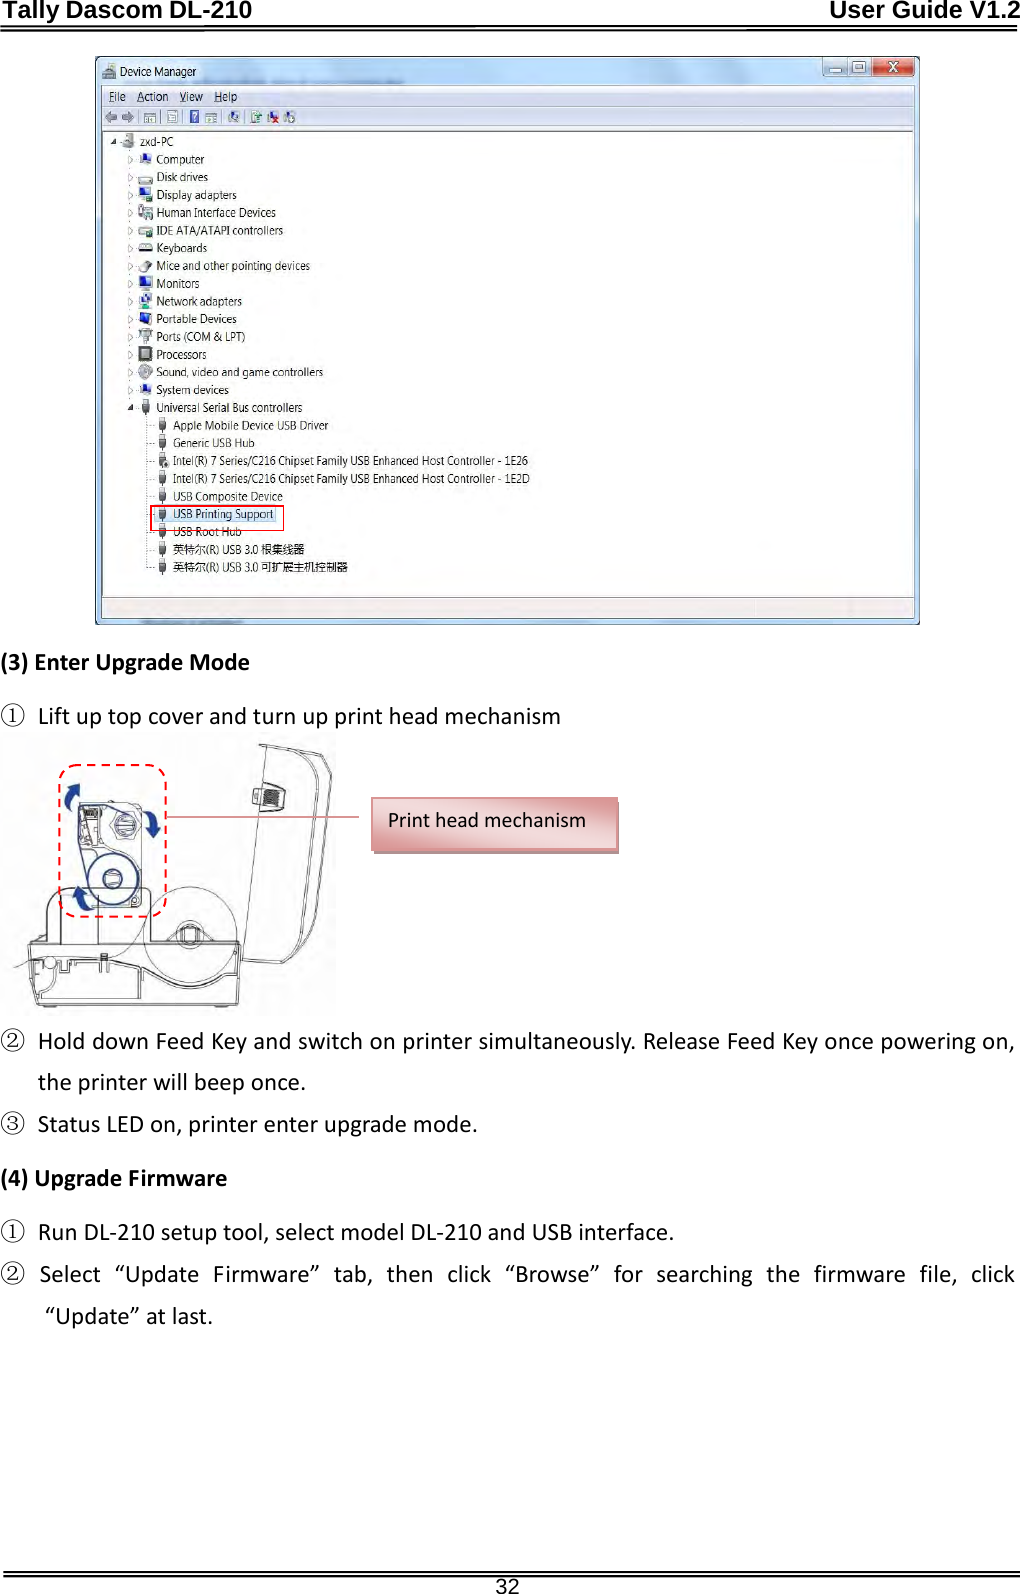

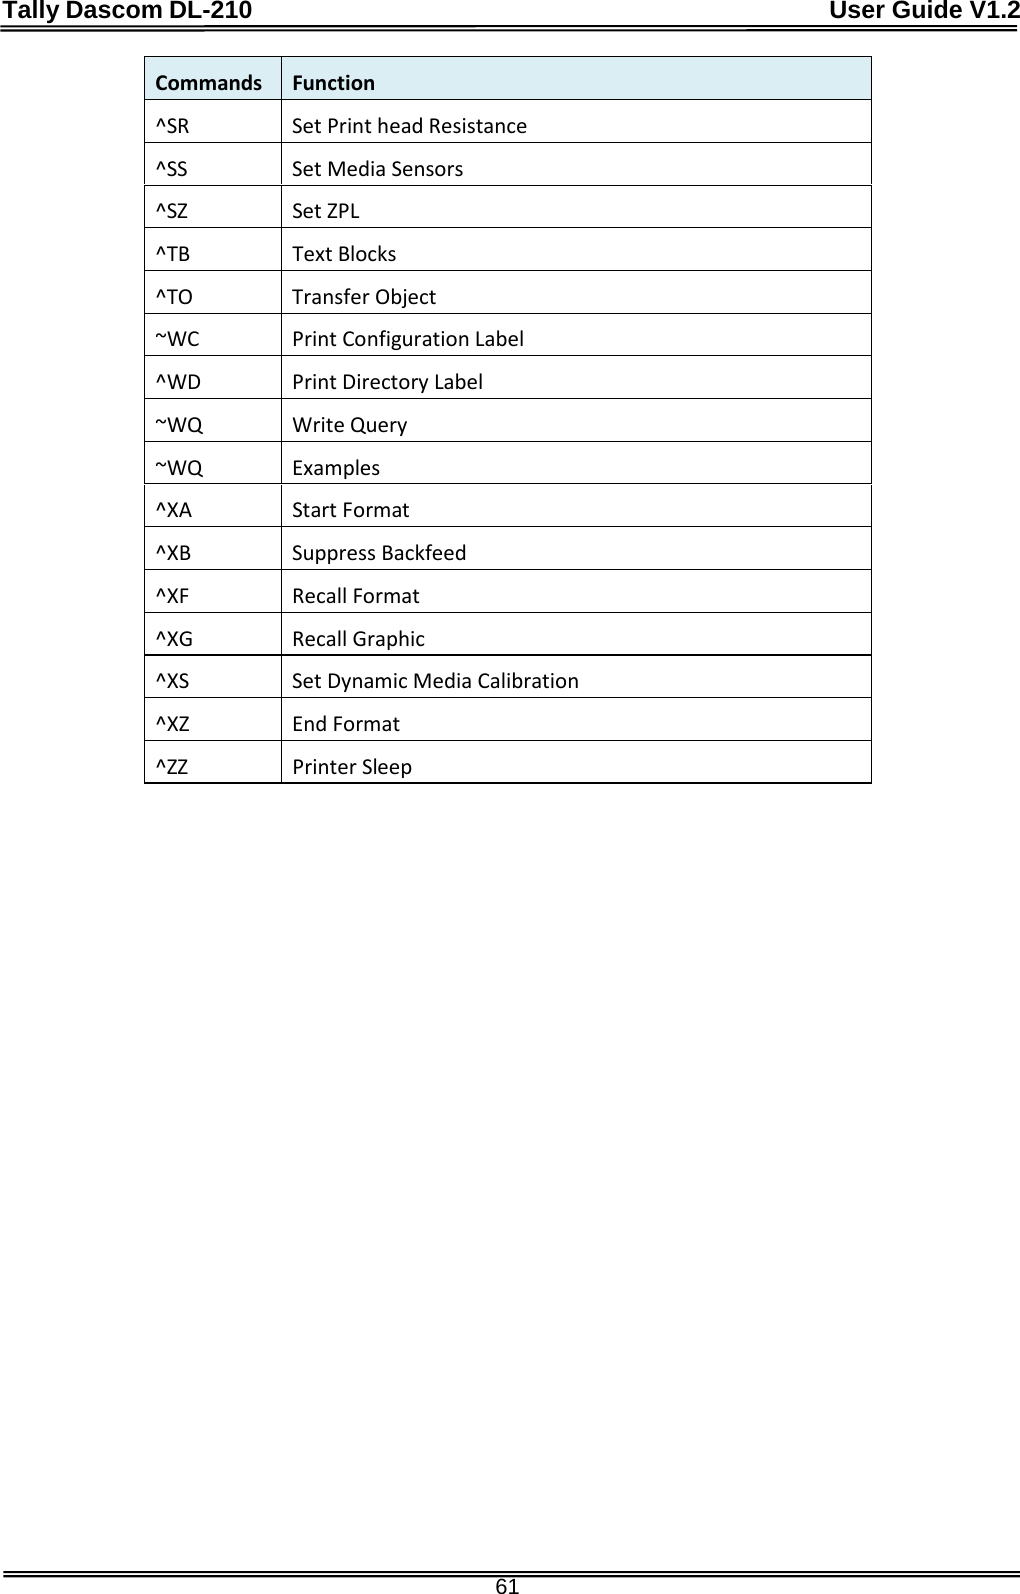
![Tally Dascom DL-210 User Guide V1.2 44 6.3 [User-defined page]](https://usermanual.wiki/Jiangmen-Dascom-Computer-Peripherals/DL2100/User-Guide-2473936-Page-56.png)
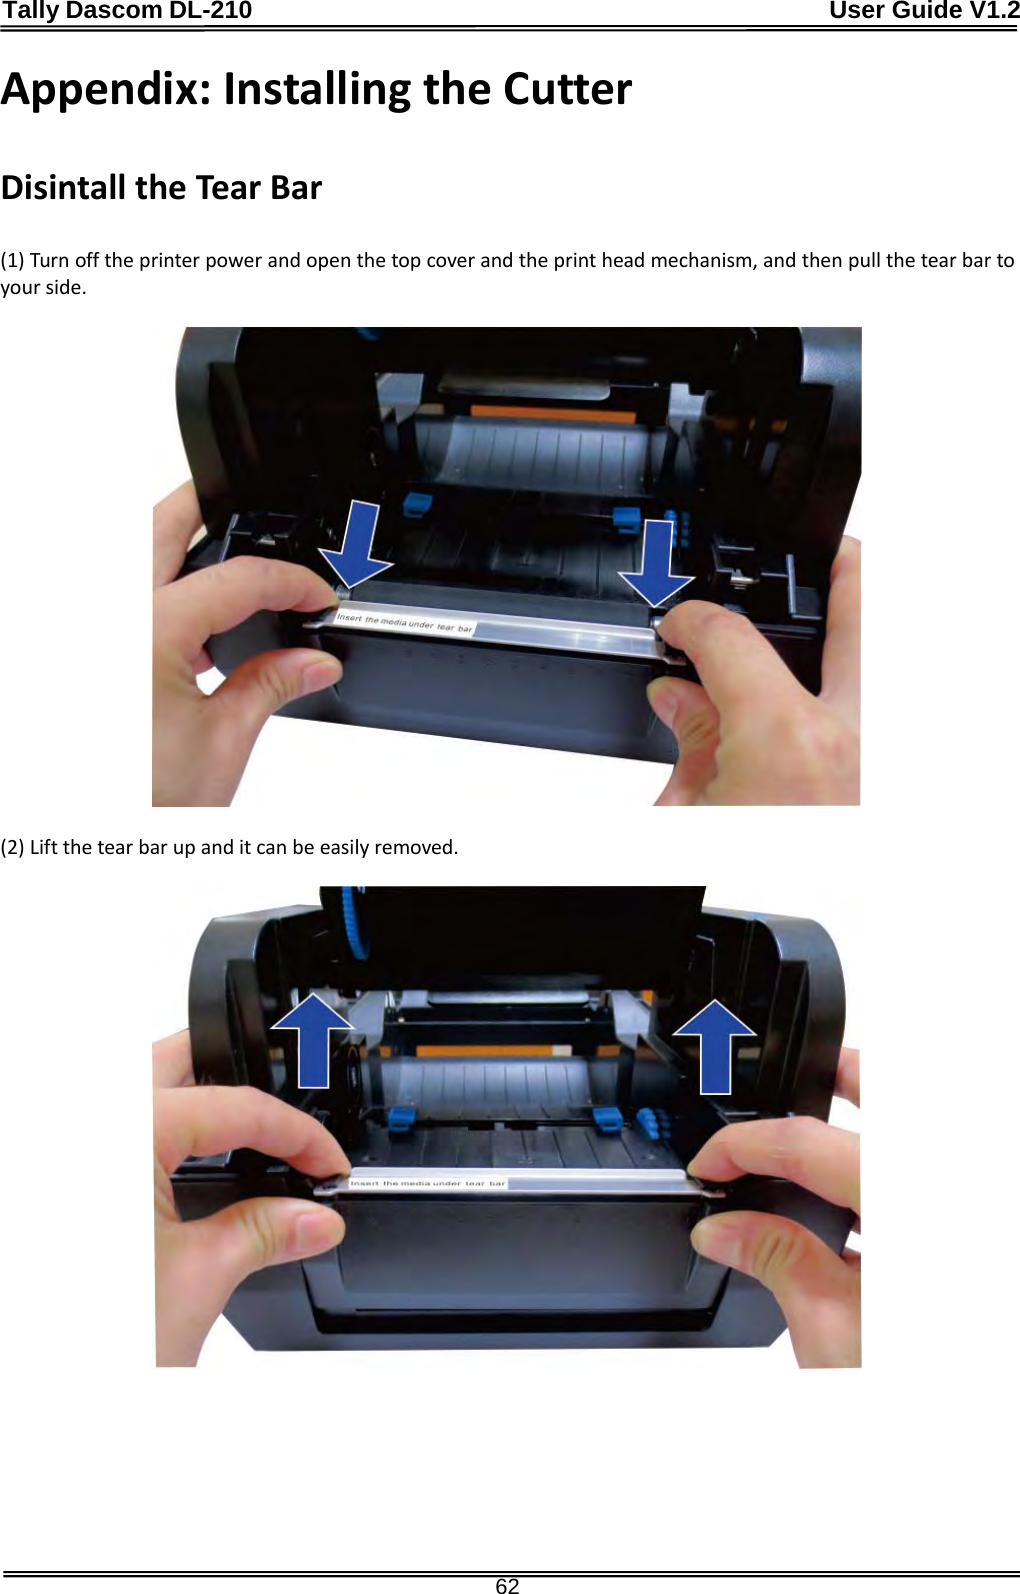
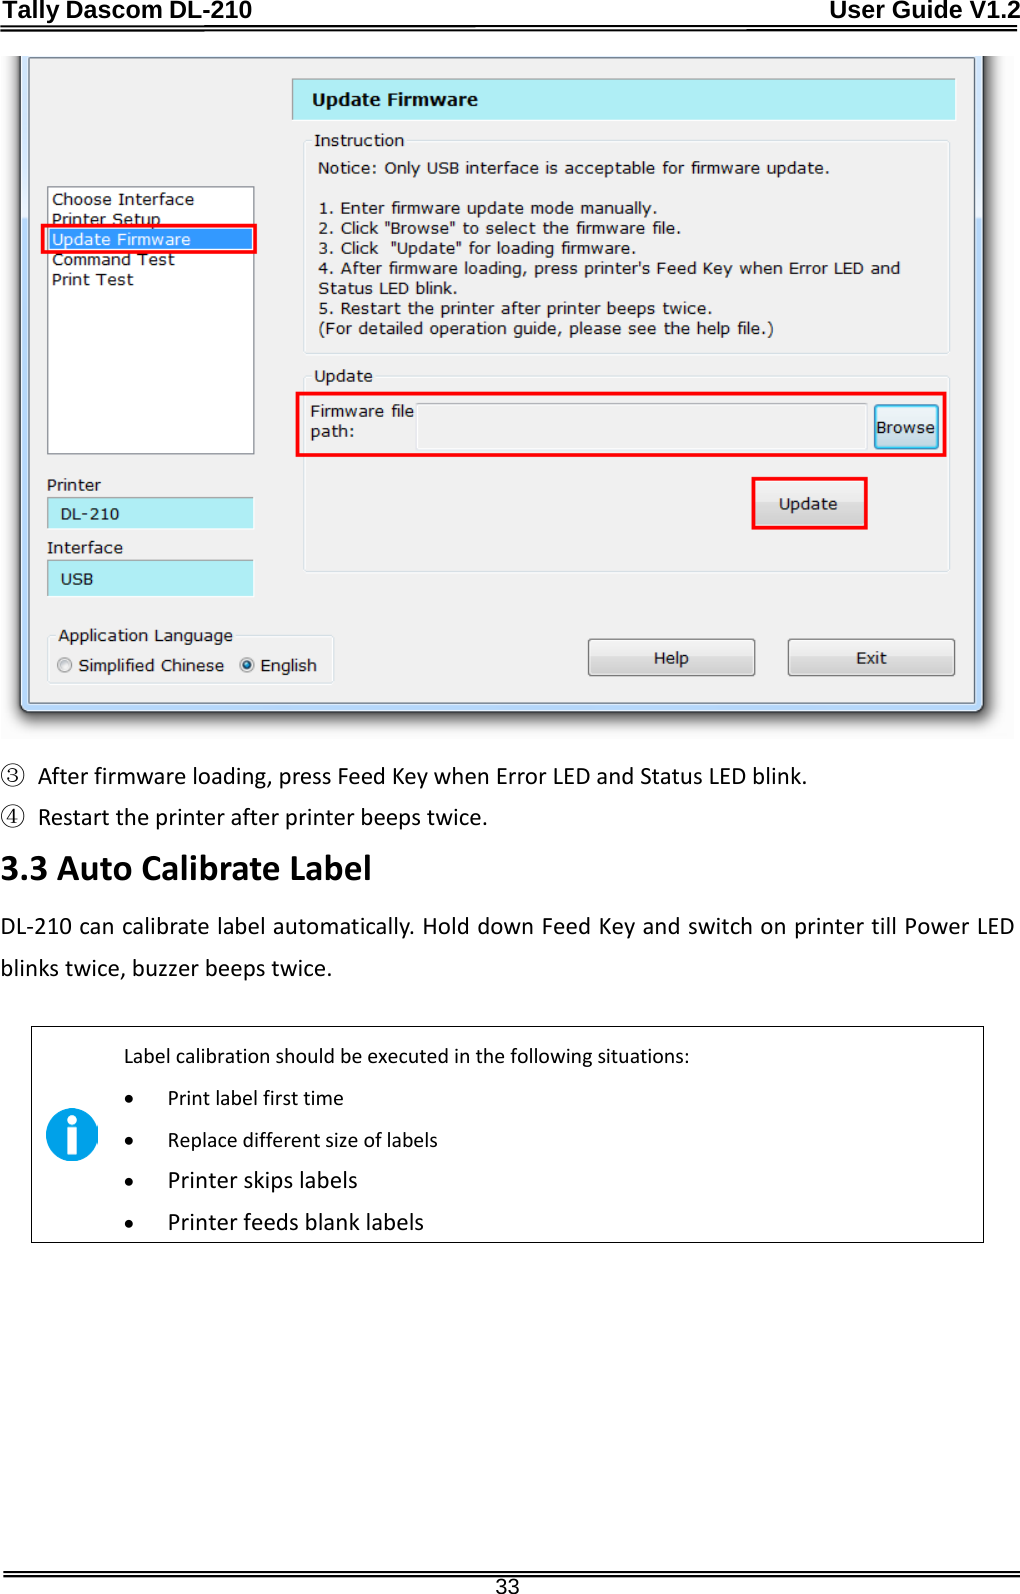
![Tally Dascom DL-210 User Guide V1.2 45 6.4 [PC437: USA, Standard Europe]](https://usermanual.wiki/Jiangmen-Dascom-Computer-Peripherals/DL2100/User-Guide-2473936-Page-57.png)
![Tally Dascom DL-210 User Guide V1.2 46 6.5 [PC850: Multilingual]](https://usermanual.wiki/Jiangmen-Dascom-Computer-Peripherals/DL2100/User-Guide-2473936-Page-58.png)
![Tally Dascom DL-210 User Guide V1.2 47 6.6 [PC852: Latin2]](https://usermanual.wiki/Jiangmen-Dascom-Computer-Peripherals/DL2100/User-Guide-2473936-Page-59.png)
![Tally Dascom DL-210 User Guide V1.2 48 6.7 [PC858: Euro]](https://usermanual.wiki/Jiangmen-Dascom-Computer-Peripherals/DL2100/User-Guide-2473936-Page-60.png)
![Tally Dascom DL-210 User Guide V1.2 49 6.8 [PC860: Portuguese]](https://usermanual.wiki/Jiangmen-Dascom-Computer-Peripherals/DL2100/User-Guide-2473936-Page-61.png)
![Tally Dascom DL-210 User Guide V1.2 50 6.9 [PC863: Canadian-French]](https://usermanual.wiki/Jiangmen-Dascom-Computer-Peripherals/DL2100/User-Guide-2473936-Page-62.png)
![Tally Dascom DL-210 User Guide V1.2 51 6.10 [PC865: Nordic]](https://usermanual.wiki/Jiangmen-Dascom-Computer-Peripherals/DL2100/User-Guide-2473936-Page-63.png)
![Tally Dascom DL-210 User Guide V1.2 52 6.11 [PC866: Cyrillic #2]](https://usermanual.wiki/Jiangmen-Dascom-Computer-Peripherals/DL2100/User-Guide-2473936-Page-64.png)
![Tally Dascom DL-210 User Guide V1.2 53 6.12 [PC720: Arabic]](https://usermanual.wiki/Jiangmen-Dascom-Computer-Peripherals/DL2100/User-Guide-2473936-Page-65.png)
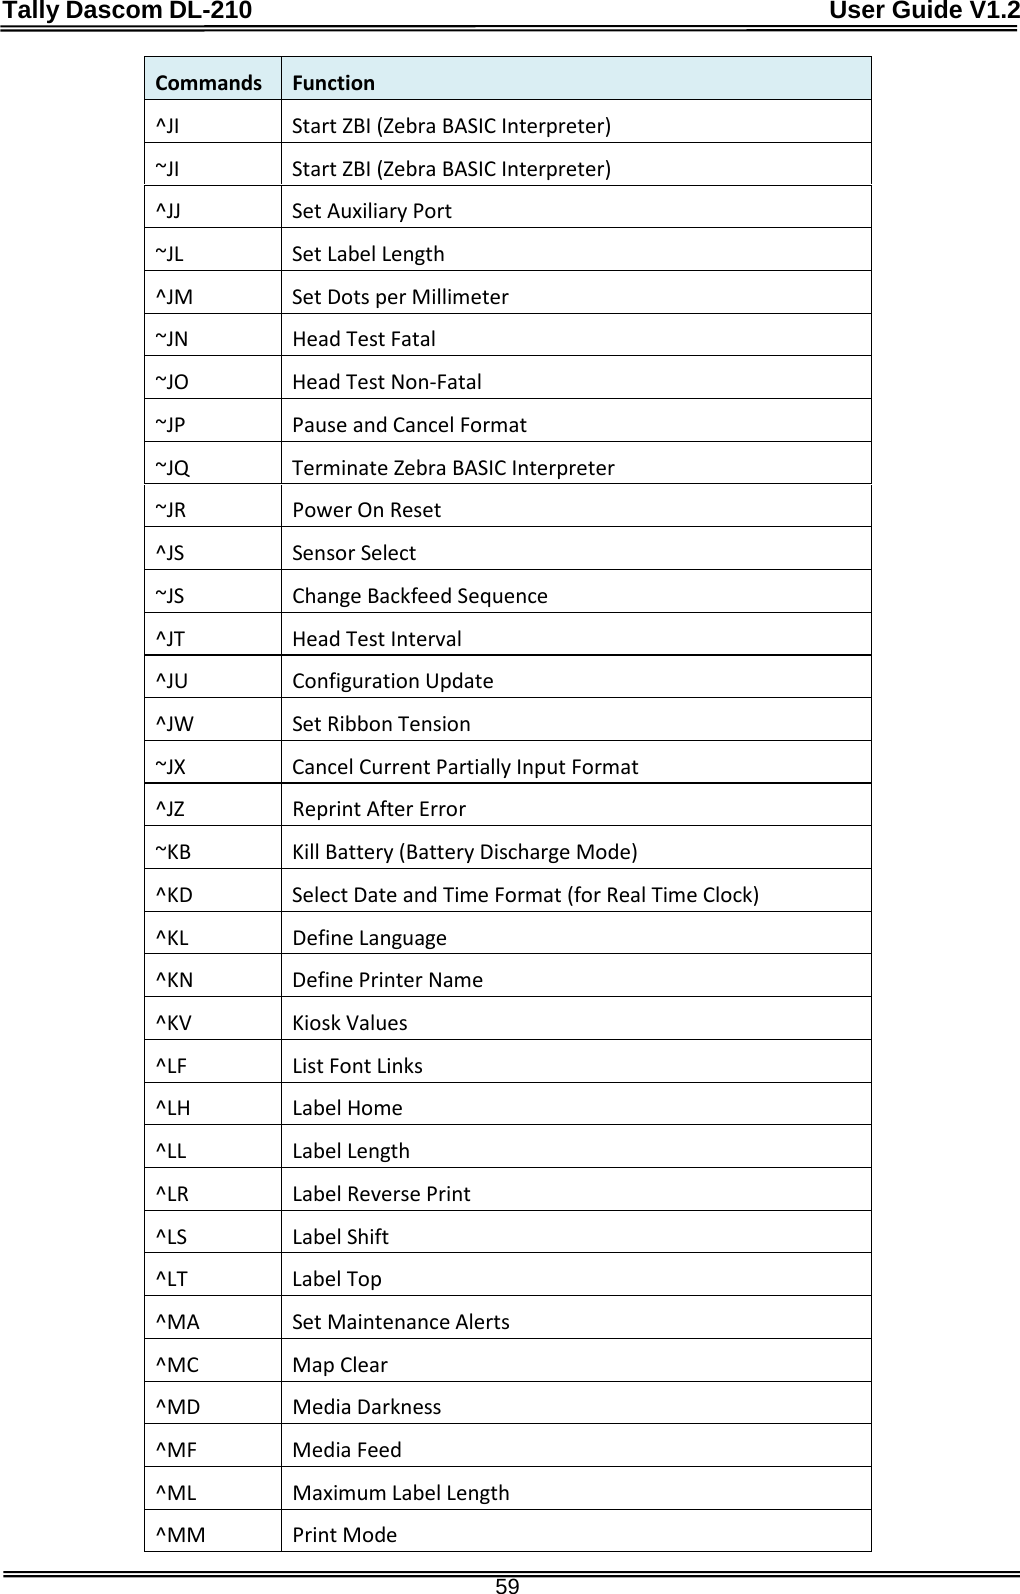
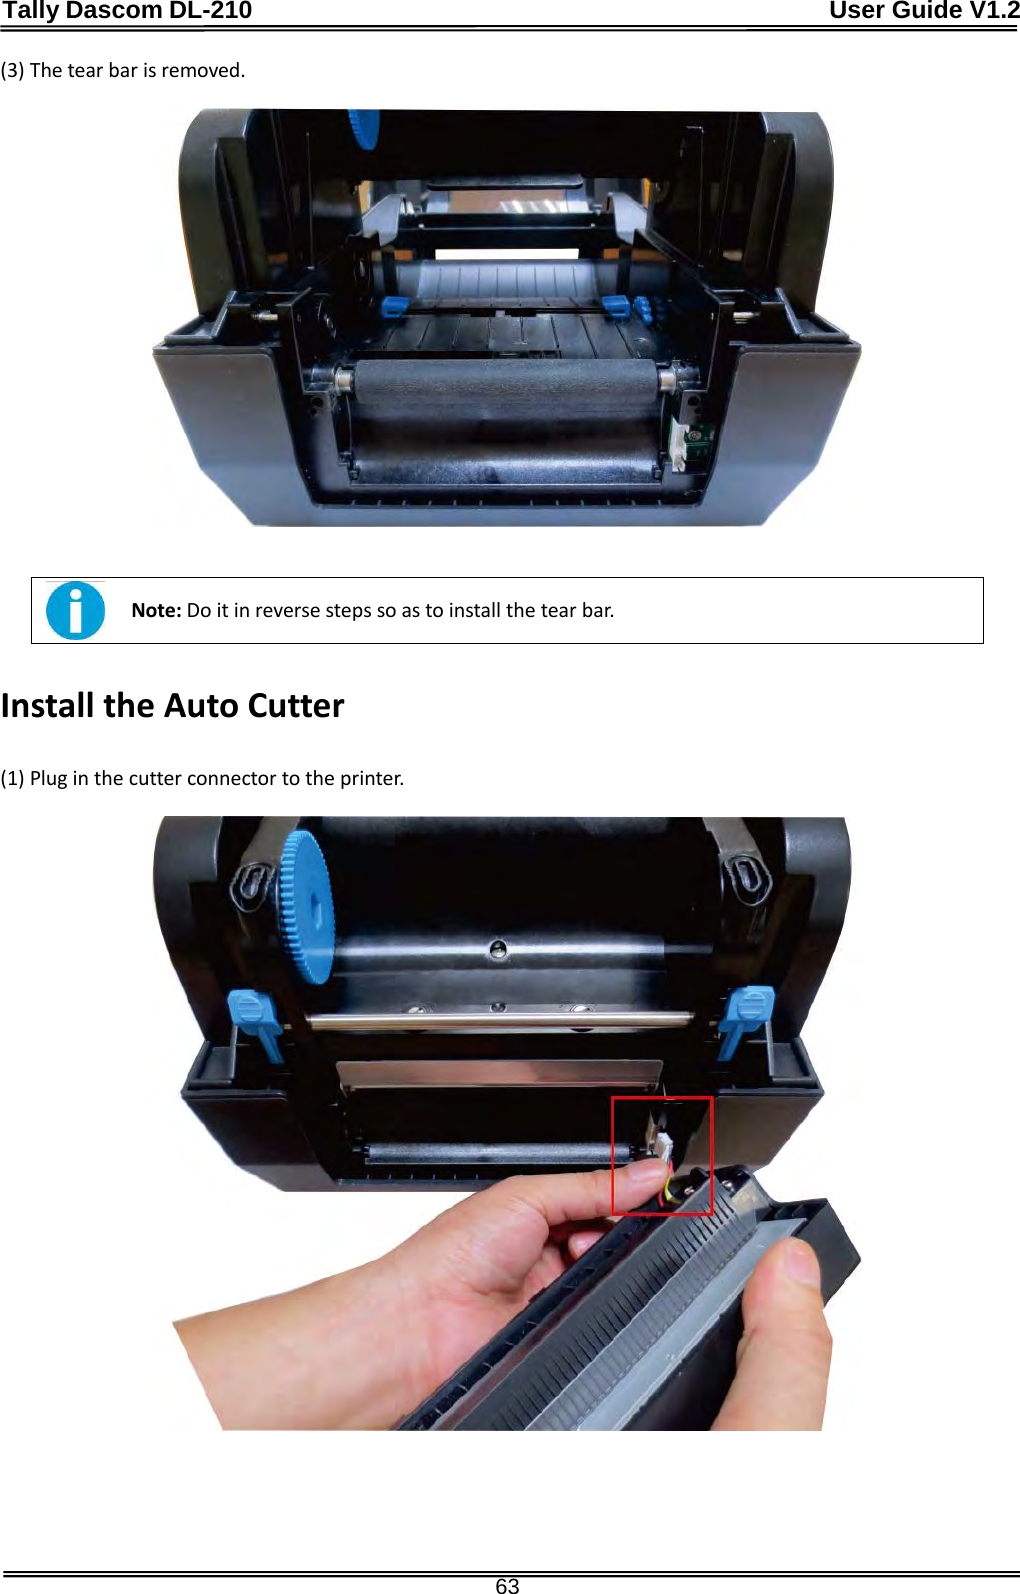
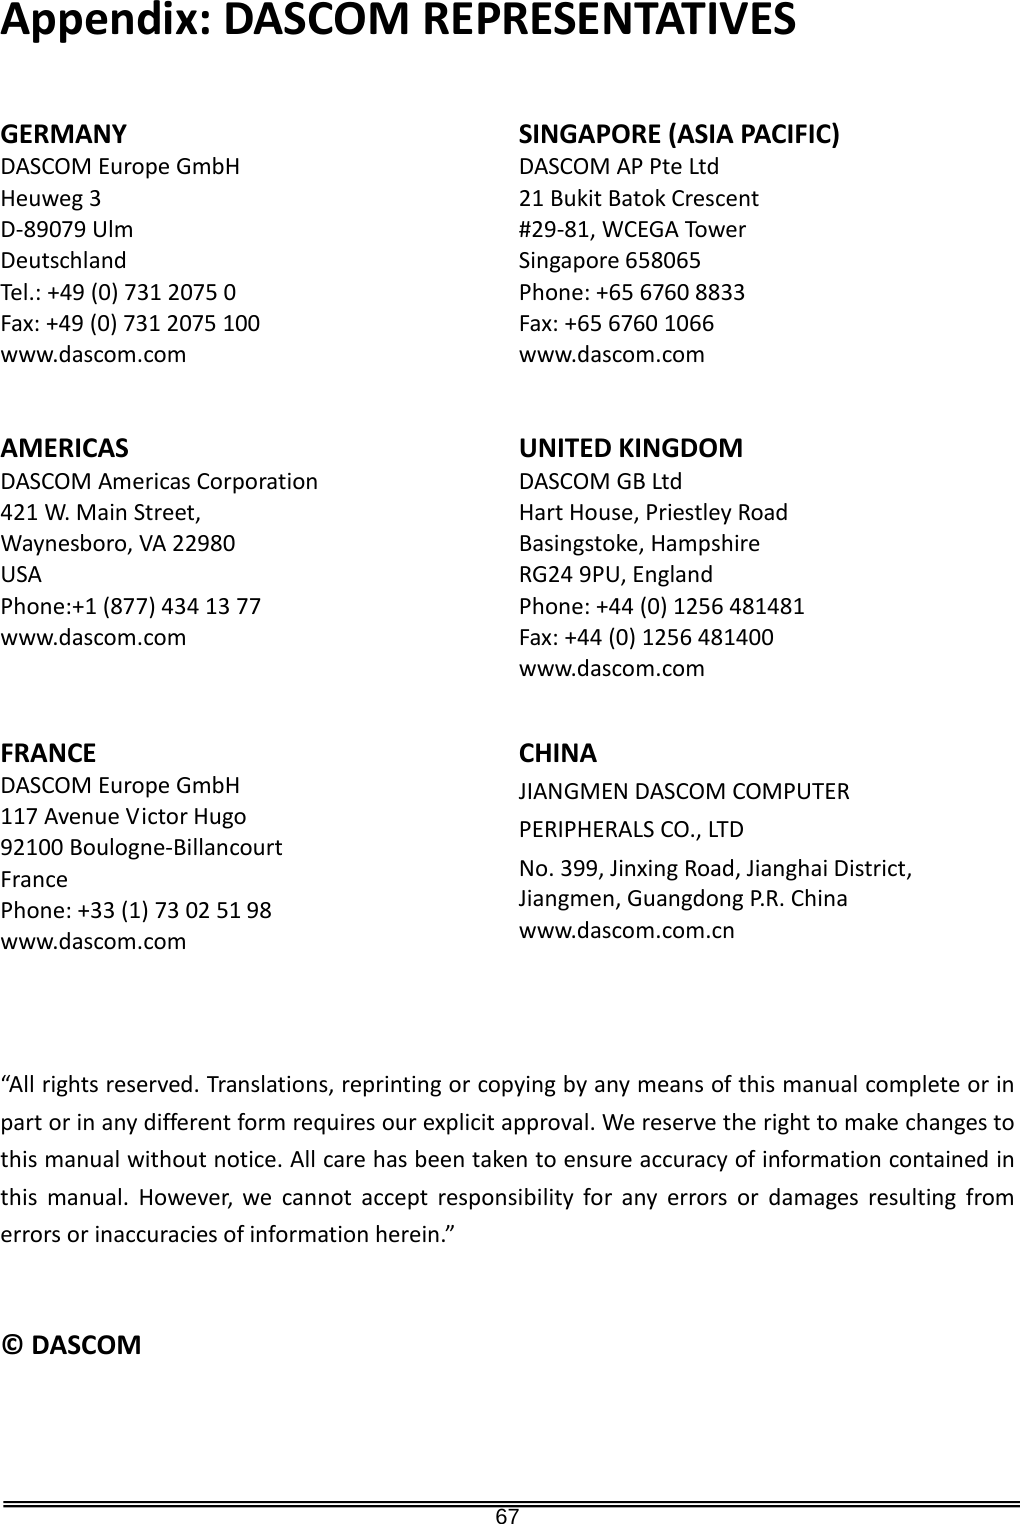
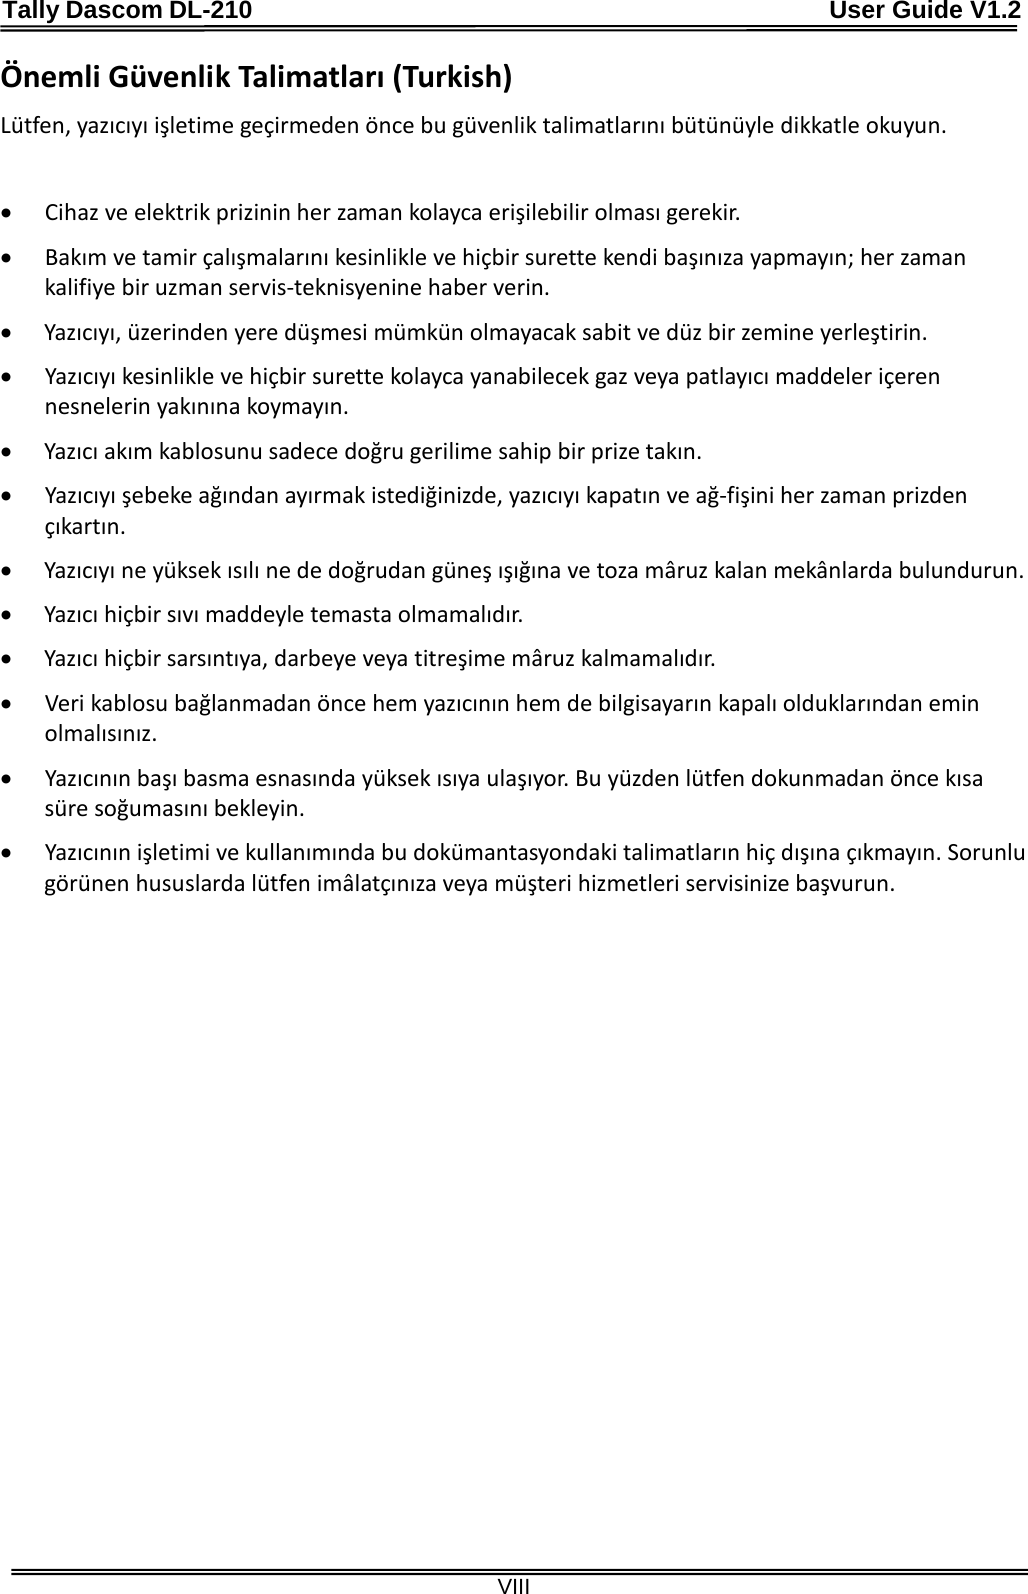
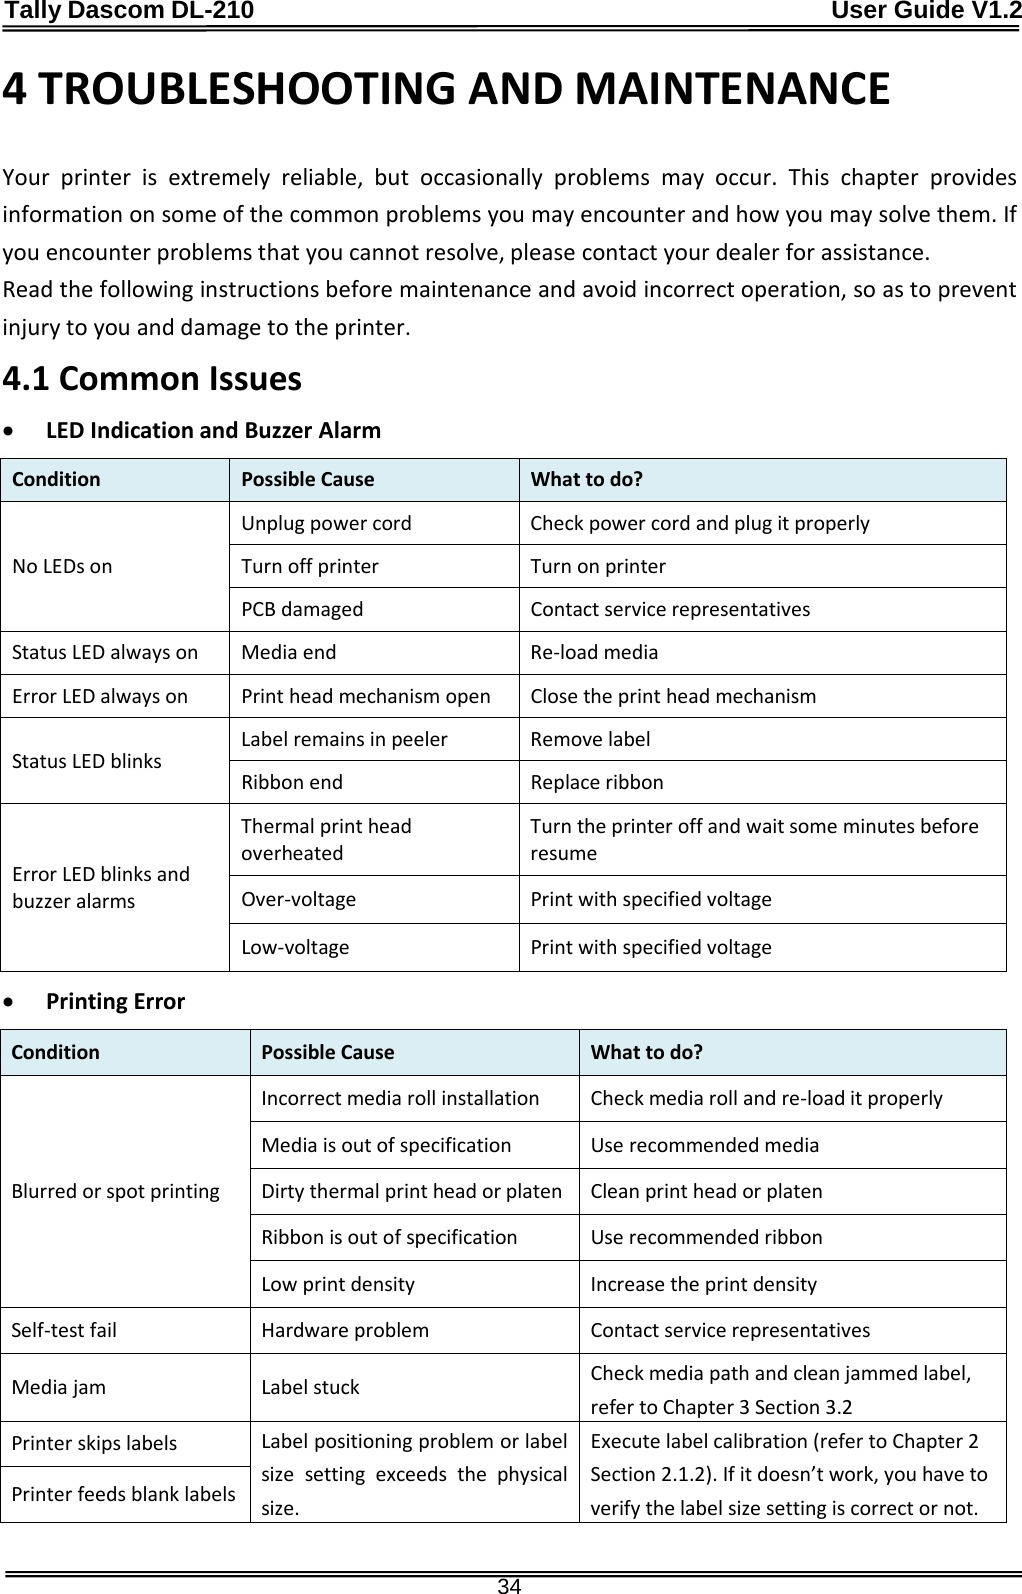
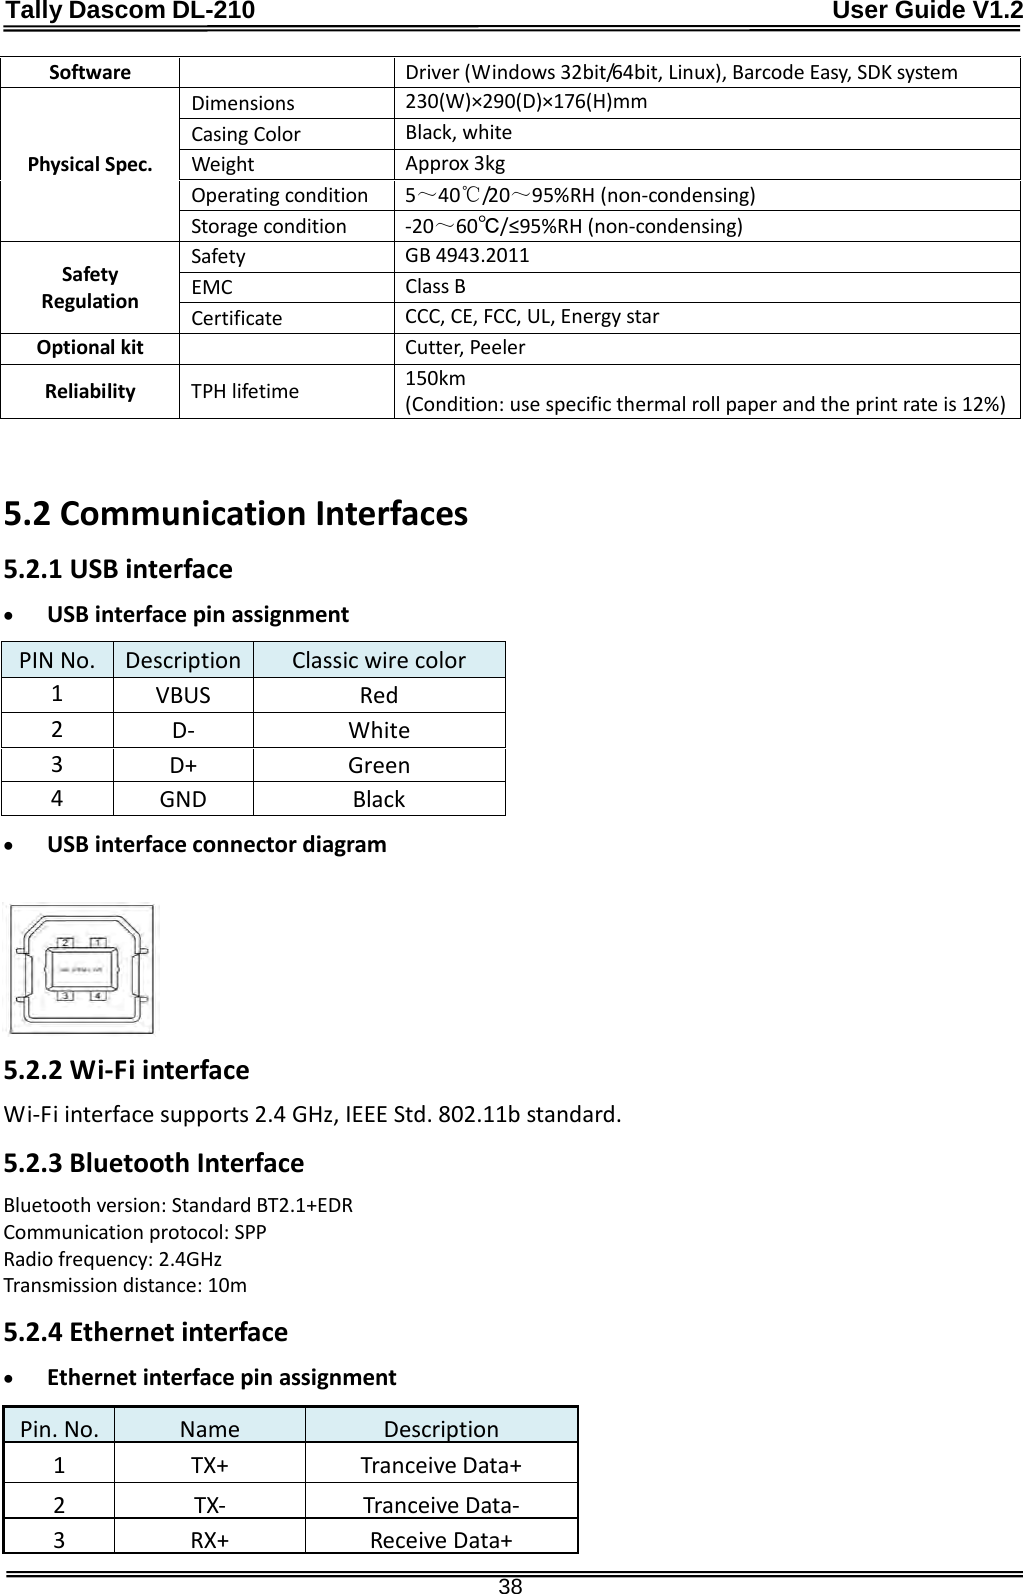
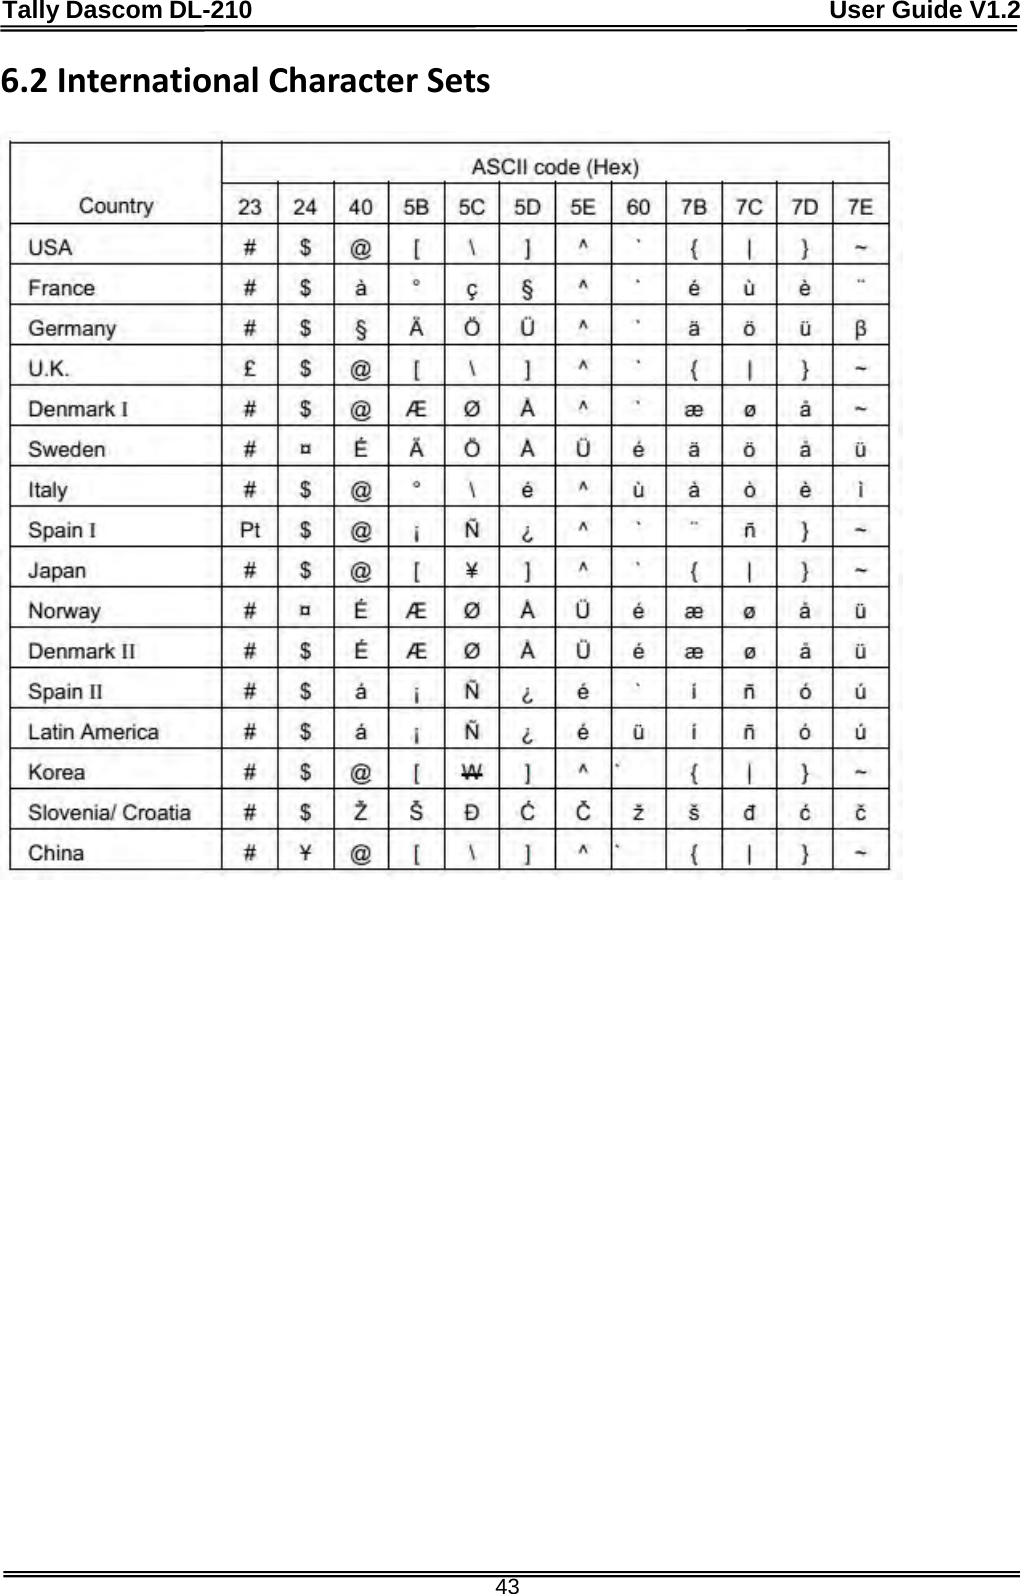
![Tally Dascom DL-210 User Guide V1.2 55 Category Commands Function Character control commands ESC SP n Set right-side character spacing ESC ! n Select print mode(s) ESC % n Select/cancel user-defined character set ESC & y c1 c2 [x1 d1...d(y × x1)]...[xk d1...d(y × xk)] Define user-defined characters ESC - n Turn on/off underline mode ESC ? n Cancel user-defined characters ESC E n Turn emphasized mode on/off ESC G n Turn double-strike mode on/off ESC M n Select character font ESC R n Select an international character set ESC V n Turn on/off 90 degrees clockwise rotation mode ESC { n Turn on/off upside-down print mode GS ! n Select character size GS B n Turn white/black reverse print mode on/off Barcode commands GS H n Select print position of HRI characters GS f n Select font for HRI characters GS h n Set bar code height ①GS k m d1...dk NUL ②GS k m n d1...dn Print bar code GS w n Set barcode width ESC Z m n k dL dH d1 …dn Print 2D barcode GS Z n Select 2D barcode type ①GS k m v r d1...dn NUL ②GS k m v r nL nH d1...dn Print 2D barcode Bit image commands ESC * m nL nH d1... Dk Select bit-image mode FS P n Print NV bit image GS * x y d1...d(x × y × 8) Define downloaded bit image](https://usermanual.wiki/Jiangmen-Dascom-Computer-Peripherals/DL2100/User-Guide-2473936-Page-67.png)