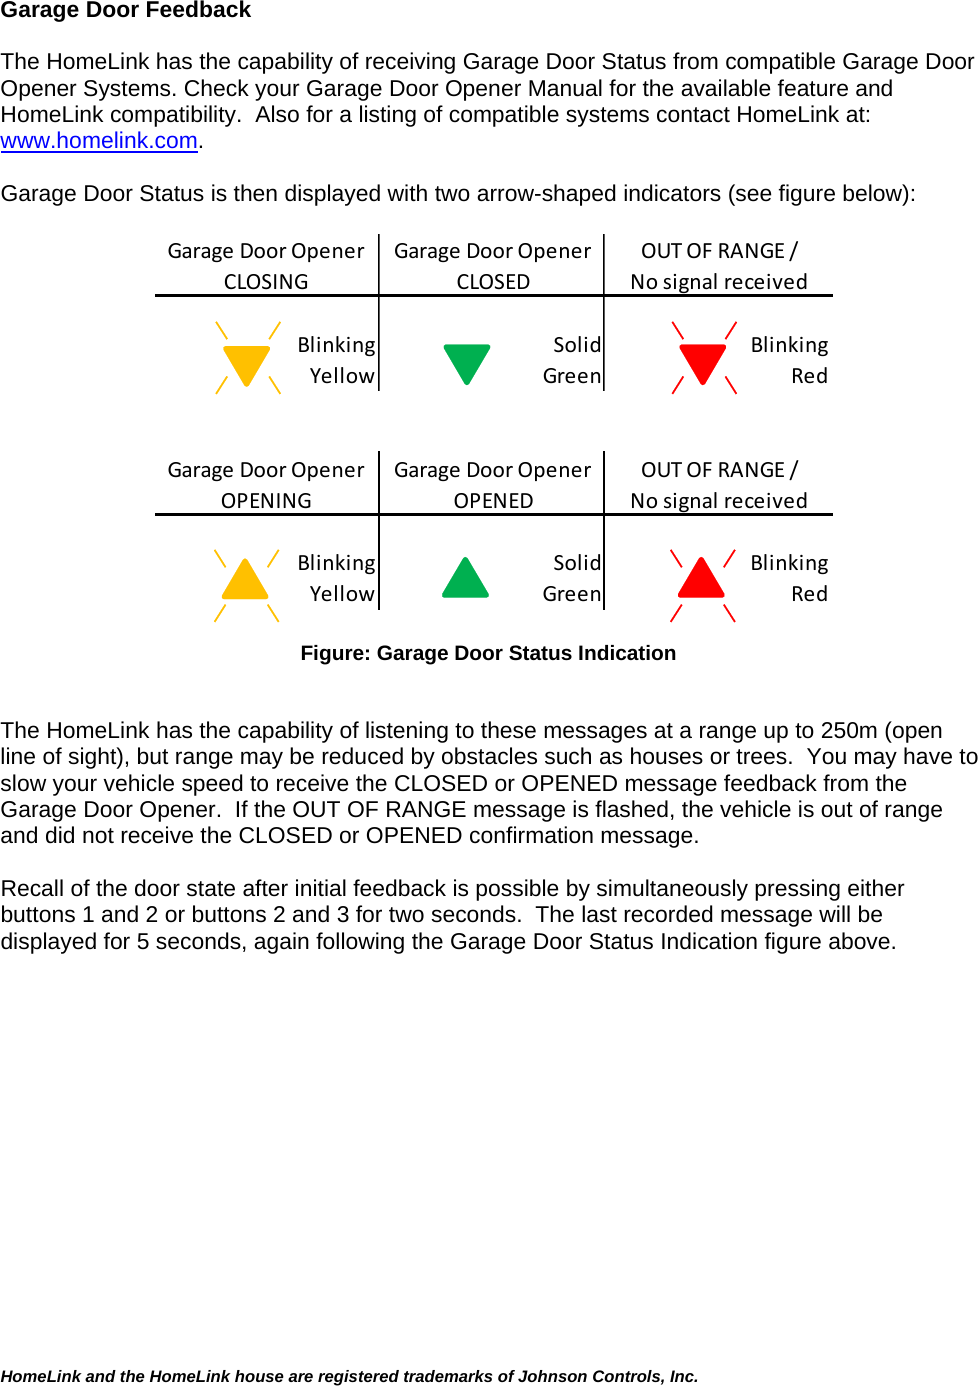
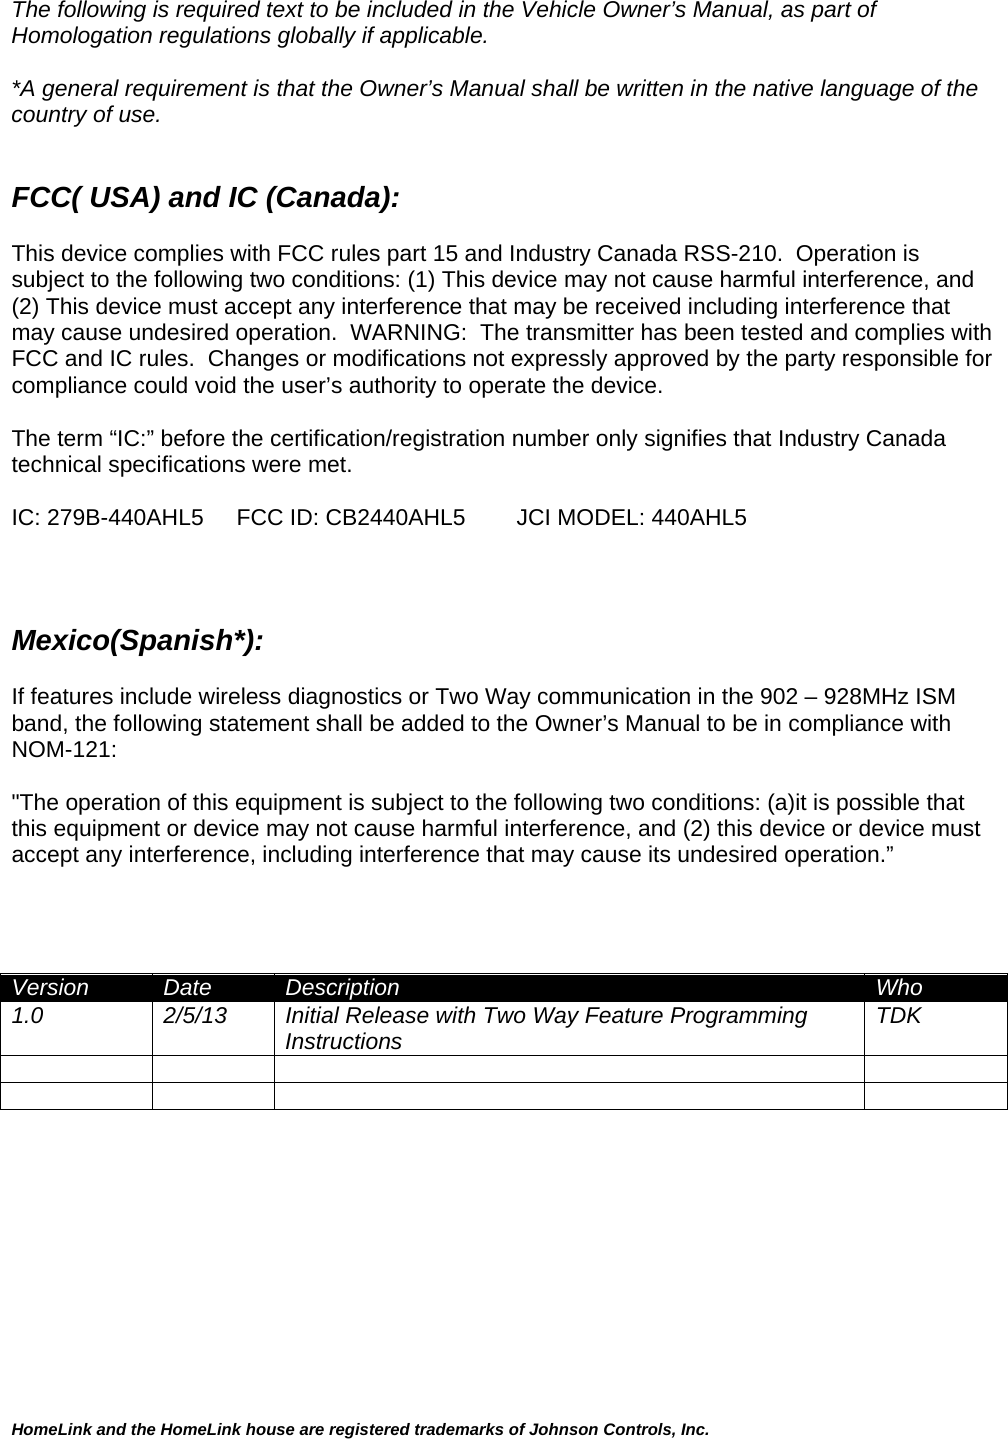
Johnson Controls Interiors 440AHL5 Universal Garage Door Opener TX w/ FHSS TX User Manual manual

Johnson Controls Interiors L.L.C. Universal Garage Door Opener TX w/ FHSS TX manual

manual

 HomeLink and the HomeLink house are registered trademarks of Johnson Controls, Inc.   Programming and Information Guide      The following is suggested text to be included in the vehicle Owner’s Manual, to assist the End User with functionality of their HomeLink Device.  The HomeLink Wireless Control System provides a convenient way to replace up to three hand-held radio-frequency (RF) transmitters used to activate devices such as gate operators, garage door openers, entry door locks, security systems, even home lighting.     Additional HomeLink information can be found on the Internet at www.homelink.com.  Product and vehicle specific programming videos and other HomeLink related information can also be found at YouTube.com listed at the end of this document.   Precautions!  Before programming HomeLink to a garage door opener or gate operator, make sure that people and objects are out of the way of the device to prevent potential harm or damage.  When programming a garage door opener, it is advised to park outside of the garage.  Do not use HomeLink with any garage door opener that lacks safety stop and reverse features as required by U.S. federal safety standards (this includes any garage door opener model manufactured before April 1, 1982). A garage door that cannot detect an object - signaling the door to stop and reverse - does not meet current U.S. federal safety standards. For more information, contact HomeLink at:  www.homelink.com.  Retain the original transmitter of the RF device you are programming for use in other vehicles as well as for future HomeLink programming.    It is also suggested that upon the sale of the vehicle, the programmed HomeLink buttons be erased for security purposes.  Refer to “Erasing HomeLink Buttons”.  Programming HomeLink  Note: Some vehicles may require the ignition switch to be turned on or to the second (“accessories”) position for programming and/or operation of HomeLink.  It is also recommended that a new battery be placed in the hand-held transmitter of the device being programmed to HomeLink for quicker training and accurate transmission of the radio-frequency signal.      1.  Position the end of your hand-held transmitter 1–3 inches (5–14 cm) away from the HomeLink button you wish to program while keeping the indicator light in view.  2.  Simultaneously press and hold both the chosen HomeLink and hand-held transmitter buttons until the HomeLink indicator light changes from a slow to either a rapid blink (rolling code) or solid ON state (fixed code).   If the indicator light has the multi color feature, the LED will also change from yellow to green.  Now you may release both the HomeLink and hand-held transmitter buttons.  Note:  Some devices may require you to replace this Programming Step 2 with procedures noted in the “Gate Operator / Canadian Programming” section.  If the HomeLink indicator
 HomeLink and the HomeLink house are registered trademarks of Johnson Controls, Inc.  light does not change to a rapidly blinking light after performing these steps, contact HomeLink at www.homelink.com.   3. Firmly press, hold for five seconds and release the programmed HomeLink button up to two separate times to activate the door.  If the door does not activate, press and hold the just-trained HomeLink button and observe the indicator light.      If the indicator light stays on constantly, programming is complete and your device should activate when the HomeLink button is pressed and released.      If the indicator light blinks continuously, continue with “Programming” steps 4-6 to complete the programming of a rolling code equipped device (most commonly a garage door opener).   4.  At the garage door opener receiver (motor-head unit) in the garage, locate the “Learn” or “Smart” Button.   This can usually be found where the hanging antenna wire is attached to the motor-head unit (see the Garage Door Opener manual to identify the “Learn Button”).     5.  Firmly press and release the “learn” or “smart” button.  (The name and color of the button may vary by manufacturer.)  There are typically 30 seconds to initiate step 6.   6.  Return to the vehicle and firmly press, hold for two seconds and release the programmed HomeLink button.  Repeat the “press/hold/release” sequence a second time, and, depending on the brand of the garage door opener (or other rolling code equipped device), repeat this sequence a third time to complete the programming process.  HomeLink should now activate your rolling code equipped device.   Gate Operator /  Canadian Programming  Canadian radio-frequency laws require transmitter signals to “time-out” (or quit) after several seconds of transmission – which may not be long enough for HomeLink to pick up the signal during programming.    Similar to this Canadian law, some U.S. gate operators are designed to “time-out” in the same manner.
 HomeLink and the HomeLink house are registered trademarks of Johnson Controls, Inc.  If you live in Canada or you are having difficulties programming a gate operator or garage door opener by using the “Programming” procedures, replace “Programming HomeLink” step 2 with the following:  Note:  If programming a garage door opener or gate operator, it is advised to unplug the device during the “cycling” process to prevent possible overheating.  2.  Continue to press and hold the HomeLink button while you press and release - every two seconds (“cycle”) your hand-held transmitter until the HomeLink indicator light changes from a slow to either a rapid blink (rolling code) or solid ON state (fixed code).   Now you may release both the HomeLink and hand-held transmitter buttons.  Proceed with “Programming” step 3 to complete.    Additional Steps for Programming a Door System with Feedback  The HomeLink has the capability of receiving Garage Door Status from compatible Garage Door Opener Systems. Check your Garage Door Opener Manual for the available feature and HomeLink compatibility.  Also for a listing of compatible systems contact HomeLink at:  www.homelink.com.  Within the first (10) HomeLink button presses after successful training (refer to Programming the Homelink above), the following must happen:    1.  Press the trained HomeLink button to activate the door.  You now have 1 minute in which to complete step 2 2.  Once the door has stopped, press the “Learn” or “Smart” Button on the Garage Door Opener to configure the HomeLink for feedback (refer to your GDO owner's manual for the location of the “Learn” button).     Using HomeLink   To operate, simply press and release the programmed HomeLink button.  Activation will now occur for the trained device (i.e. garage door opener, gate operator, security system, entry door lock, home/office lighting, etc.).  For convenience, the hand-held transmitter  of the device may also be used at any time.
 HomeLink and the HomeLink house are registered trademarks of Johnson Controls, Inc.  In the event that there are still programming difficulties or questions, please review the training video listed at the YouTube.com location listed below.  Erasing HomeLink Buttons  To erase programming from the three buttons (individual buttons cannot be erased but can be “reprogrammed” as outlined below), follow the step noted:    Press and hold the two outer HomeLink buttons until the indicator light  begins to flash-after 10 seconds.  Release both buttons. Do not hold for longer that 20 seconds.  HomeLink is now in the train (or learning) mode  and can be programmed at any time beginning with “Programming” - step 1.  Reprogramming a Single HomeLink Button  To program a device to HomeLink using a HomeLink button previously trained, follow these steps:  1.   Press and hold the desired HomeLink button. DO NOT release the button. 2.   The indicator light will begin to flash after 20 seconds.  Without releasing the      HomeLink button, proceed with “Programming” - step 1   For questions or comments, contact HomeLink at:  www.homelink.com or 1–800–355–3515.                                                                              For video training directions, please refer to the following YouTube location.  #1) Seach for YouTube.com #2) Then search for HomeLinkInstruction’s channel #3) Select the video HomeLink Programming Instructions – Garage Door Opener
 HomeLink and the HomeLink house are registered trademarks of Johnson Controls, Inc.    Garage Door Feedback  The HomeLink has the capability of receiving Garage Door Status from compatible Garage Door Opener Systems. Check your Garage Door Opener Manual for the available feature and HomeLink compatibility.  Also for a listing of compatible systems contact HomeLink at:  www.homelink.com.  Garage Door Status is then displayed with two arrow-shaped indicators (see figure below):   Figure: Garage Door Status Indication   The HomeLink has the capability of listening to these messages at a range up to 250m (open line of sight), but range may be reduced by obstacles such as houses or trees.  You may have to slow your vehicle speed to receive the CLOSED or OPENED message feedback from the Garage Door Opener.  If the OUT OF RANGE message is flashed, the vehicle is out of range and did not receive the CLOSED or OPENED confirmation message.  Recall of the door state after initial feedback is possible by simultaneously pressing either buttons 1 and 2 or buttons 2 and 3 for two seconds.  The last recorded message will be displayed for 5 seconds, again following the Garage Door Status Indication figure above.     BlinkingYellowSolidGreenBlinkingRedBlinkingYellowSolidGreenBlinkingRedGarageDoorOpenerCLOSINGGarageDoorOpenerCLOSEDOUTOFRANGE/NosignalreceivedGarageDoorOpenerOPENINGGarageDoorOpenerOPENEDOUTOFRANGE/Nosignalreceived
 HomeLink and the HomeLink house are registered trademarks of Johnson Controls, Inc.  The following is required text to be included in the Vehicle Owner’s Manual, as part of Homologation regulations globally if applicable.    *A general requirement is that the Owner’s Manual shall be written in the native language of the country of use.   FCC( USA) and IC (Canada):  This device complies with FCC rules part 15 and Industry Canada RSS-210.  Operation is subject to the following two conditions: (1) This device may not cause harmful interference, and (2) This device must accept any interference that may be received including interference that may cause undesired operation.  WARNING:  The transmitter has been tested and complies with FCC and IC rules.  Changes or modifications not expressly approved by the party responsible for compliance could void the user’s authority to operate the device.  The term “IC:” before the certification/registration number only signifies that Industry Canada technical specifications were met.  IC: 279B-440AHL5  FCC ID: CB2440AHL5        JCI MODEL: 440AHL5     Mexico(Spanish*):  If features include wireless diagnostics or Two Way communication in the 902 – 928MHz ISM band, the following statement shall be added to the Owner’s Manual to be in compliance with NOM-121:  "The operation of this equipment is subject to the following two conditions: (a)it is possible that this equipment or device may not cause harmful interference, and (2) this device or device must accept any interference, including interference that may cause its undesired operation.”     Version  Date  Description  Who 1.0  2/5/13  Initial Release with Two Way Feature Programming Instructions  TDK

Navigation menu