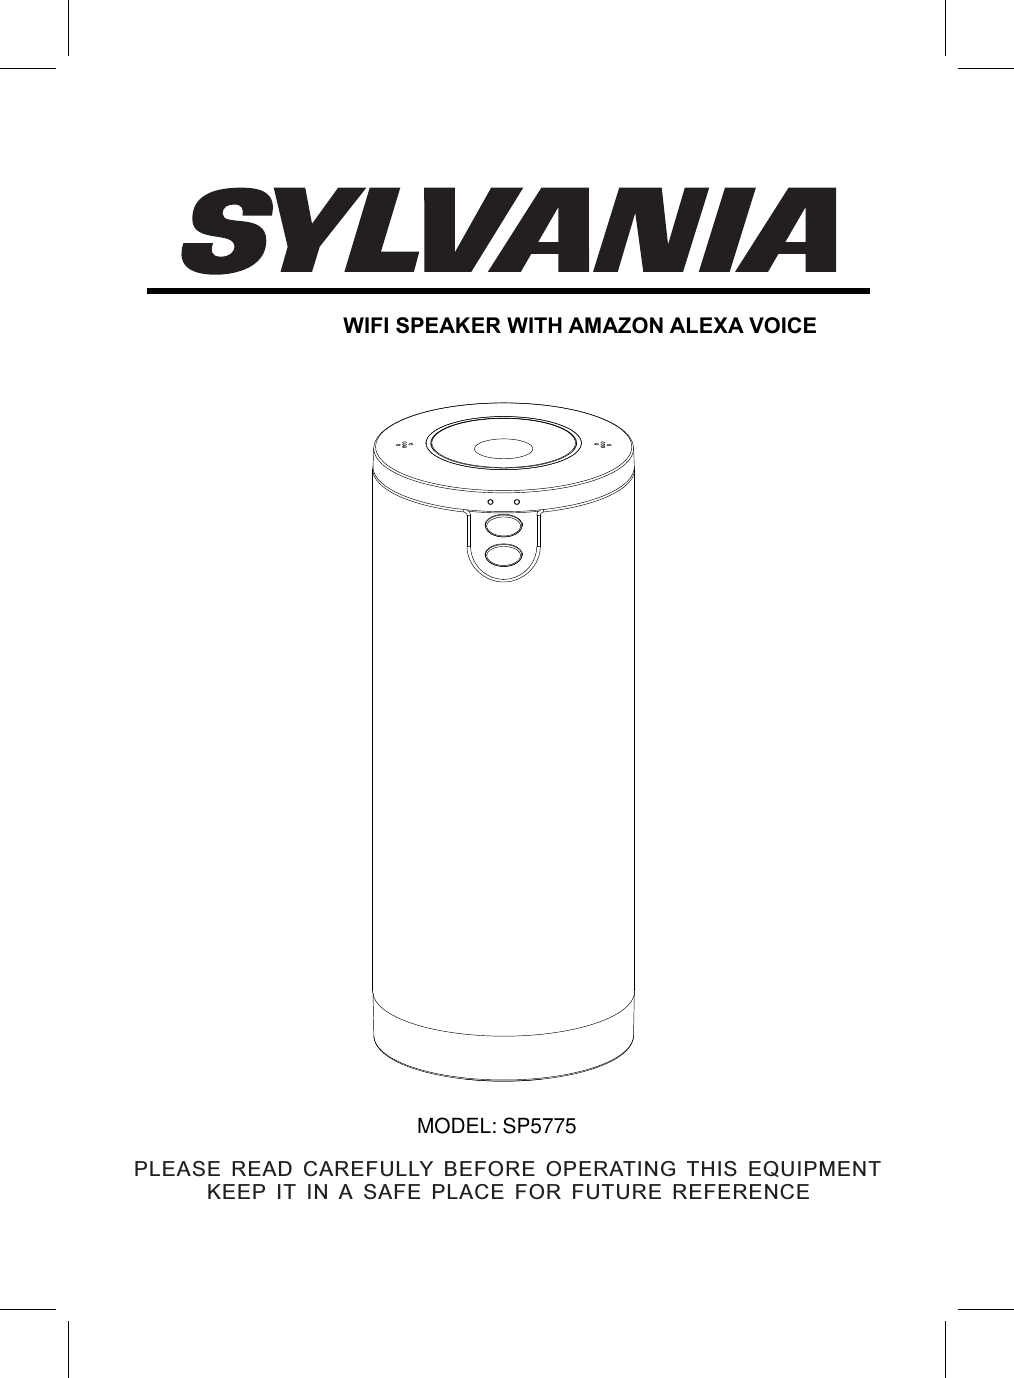
Junlan Electronic SP5775 WIFI SPEAKER WITH AMAZON ALEXA VOICE User Manual 1
Shenzhen Junlan Electronic Ltd WIFI SPEAKER WITH AMAZON ALEXA VOICE 1
UserManual.wiki
>
Junlan Electronic
>
SP5775 User Manual
Users Manual
Navigation menu
Upload a User Manual
Namespaces
Wiki Guide
HTML
PDF
Info
Views
User Manual
Discussion / Help
Navigation
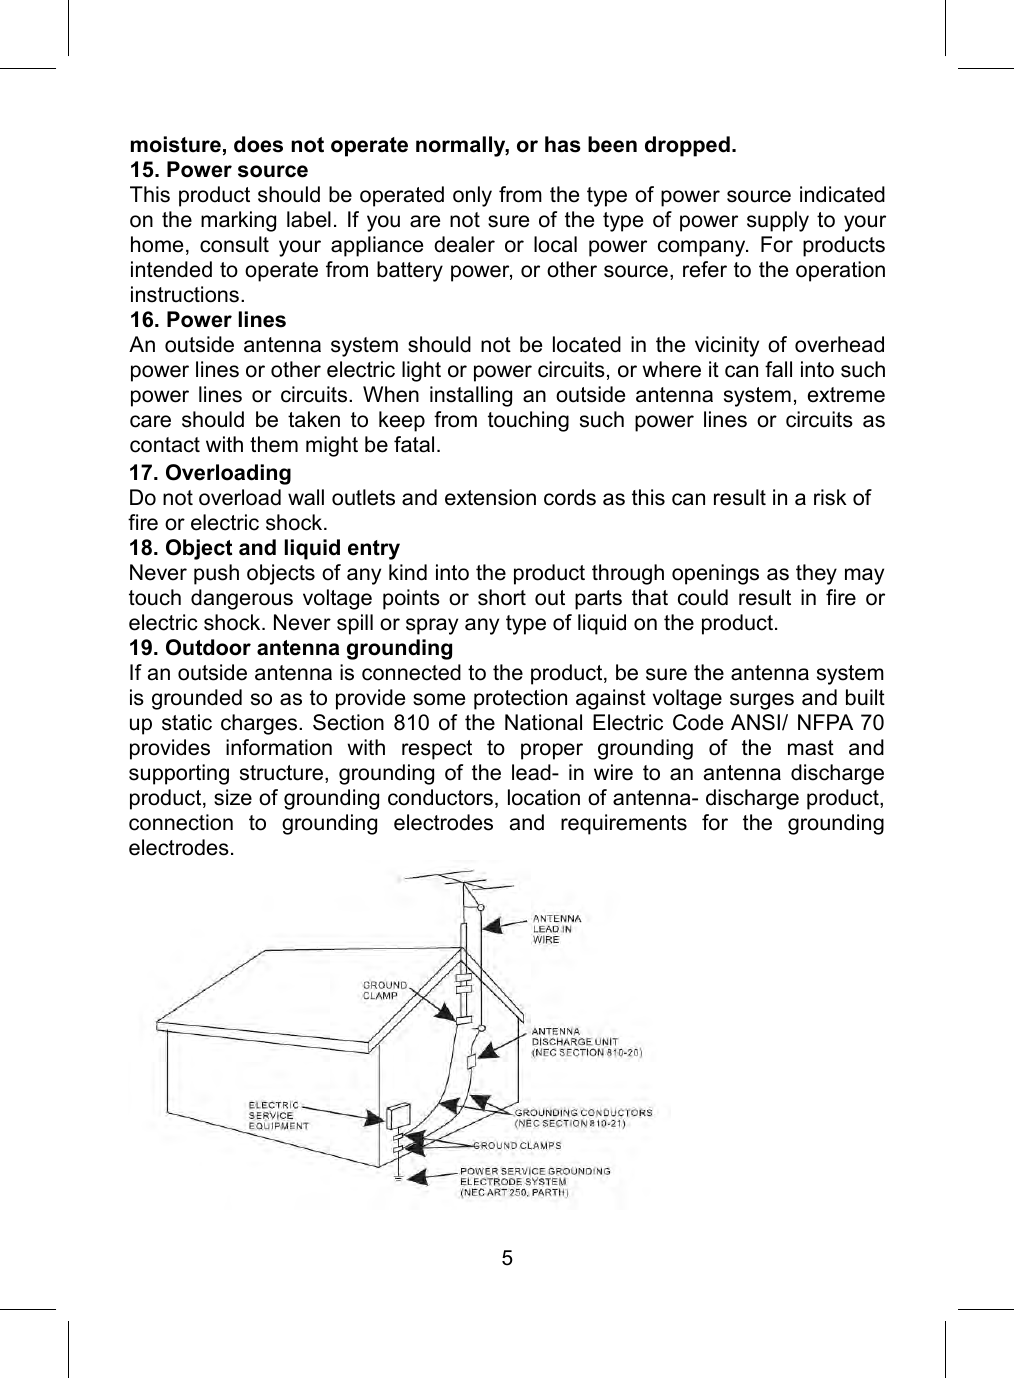
![IC Caution: This device complies with Industry Canada licence-exempt RSS standard(s). Operation issubject to the following two conditions:(1) this device may not cause interference,(2) this device must accept any interference, including interference that may causeundesired operation of the device.This Class [B] digital apparatus complies with Canadian ICE-003.Le présent appareil est conforme aux CNR d'Industrie Canada applicables aux appareilsradio exempts de licence. L'exploitation est autorisée aux deux conditions suivantes : (1)l'appareil ne doit pas produire de brouillage, et (2) l'utilisateur de l'appareil doit acceptertout brouillage radioélectrique subi, même si le brouillage est susceptible d'encompromettre le fonctionnement.Cet appareil numérique de la classe [B] est conforme à la norme NMB-003 du Canada.FCC STATEMENT: This device complies with part 15 of the FCC Rules. Operation is subject to thefollowing two conditions:(1)This device may not cause harmful interference, and(2)This device must accept any interference received, including interferencethat may cause undesired operation.This equipment should be installed and operated with minimum distance 20cm betweenthe radiator and your body.IC ID:10765A-SP5775](https://usermanual.wiki/Junlan-Electronic/SP5775/User-Guide-3654380-Page-3.png)