KCMobile TN200 Mobile Phone User Manual 200 UserMan
KCMobile Co., Ltd. Mobile Phone 200 UserMan
UserManual.wiki
>
KCMobile
>
TN200 User Manual
User Manual
Navigation menu
Upload a User Manual
Namespaces
Wiki Guide
HTML
PDF
Info
Views
User Manual
Discussion / Help
Navigation

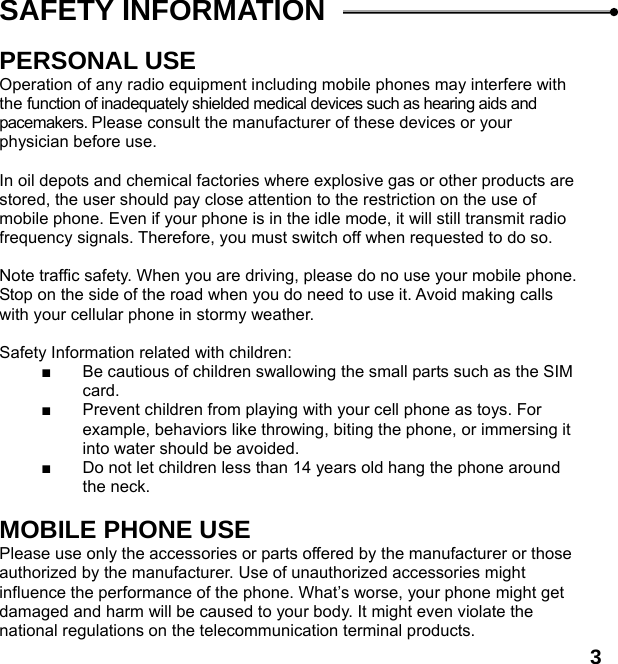

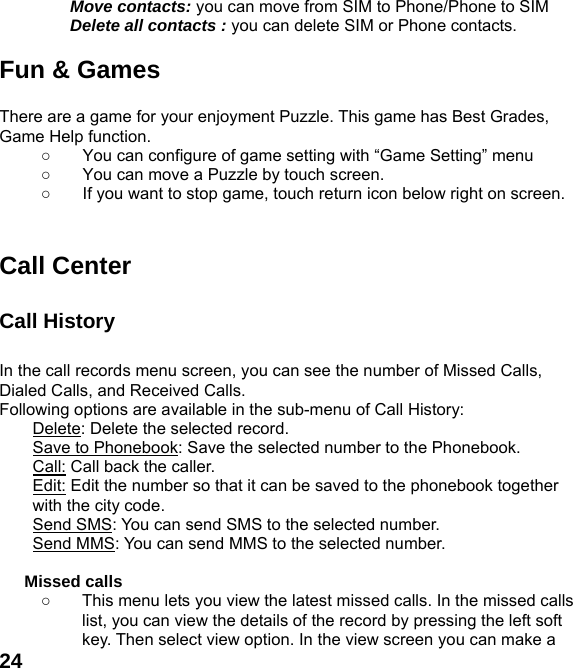
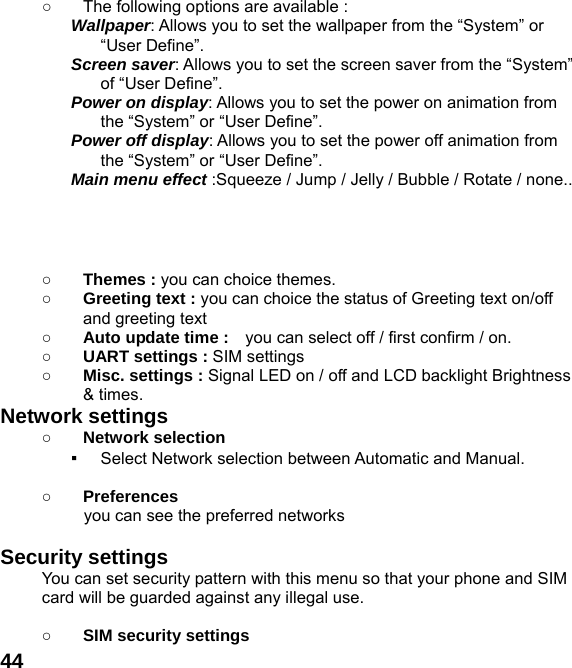
![15 ○ ! Note: About the SIM card The SIM card is a computer chip containing information about your subscription, security, Contacts etc. When you register as a subscriber with GSM, GPRS network operator, you are provided with the SIM card. Always handle the SIM card with care and insert with the gold contacts facing down. Power ON/OFF ○ Make sure that the battery is attached. You can switch your phone On/Off by long pressing the [end] key. ○ If you switch the phone on without a SIM card : The phone will promote “Insert SIM” ― In this case, you can make emergency call. The phone will promote “Network Emergency”― which means it is searching for network but has failed to link. ○ When the SIM card is in the due place, the phone will check the validity of the card automatically. Then the screen will promote in sequence: “Enter PIN”-- prerequisite: SIM card security code is enabled. “Enter Lock Code”-- Prerequisite: Phone Lock Code is enabled. “No Service”-- Network registration failure. In this case, you can not make a call. “Emergency Call Only”-- You phone has registered the other network and only emergency call is allowed. “Searching for Network”-- The phone will search for proper network to log on. You may make a call and send or receive SMS.](https://usermanual.wiki/KCMobile/TN200/User-Guide-1524461-Page-15.png)
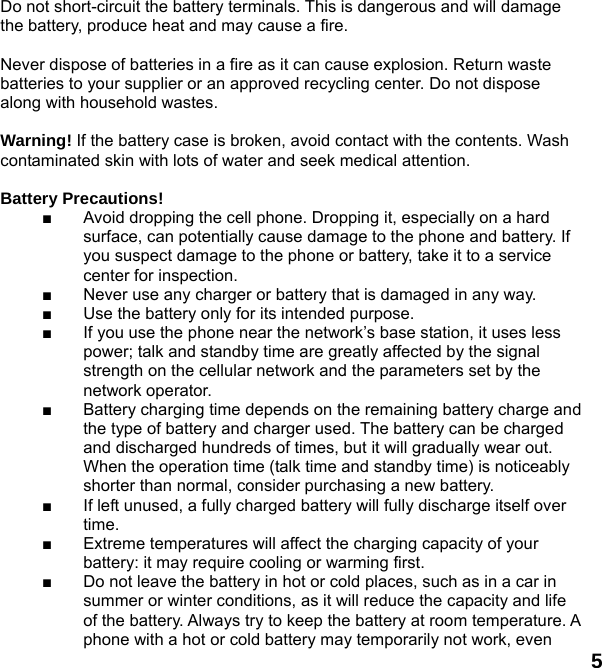
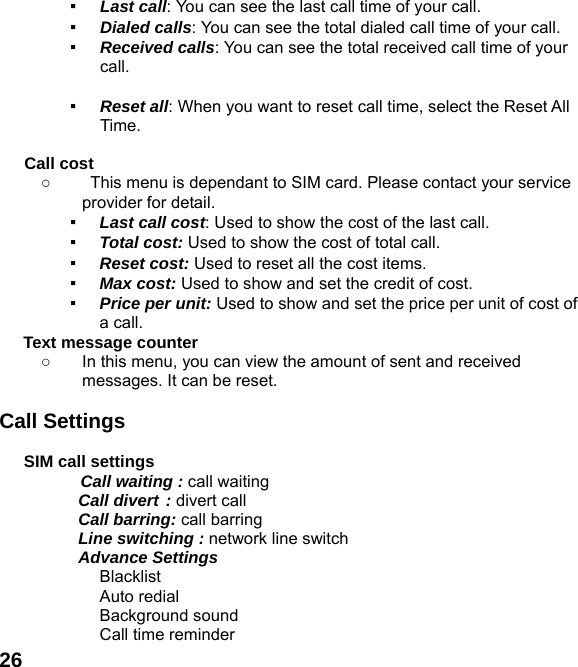
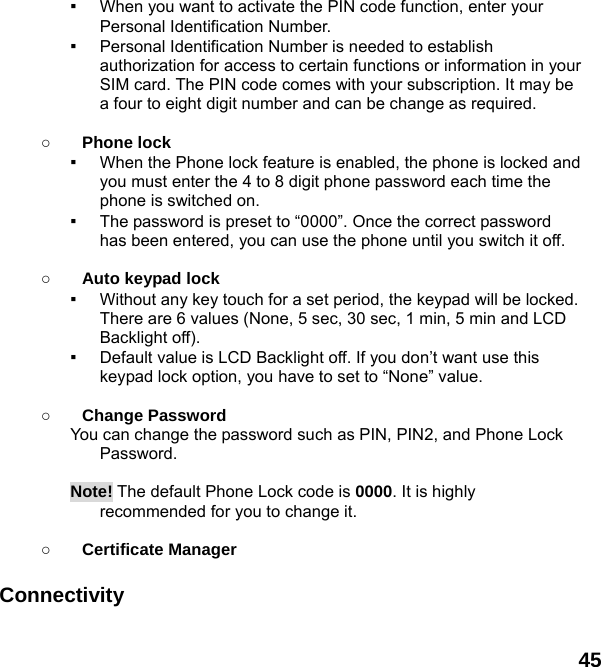
![16 PIN Code ○ A PIN code is adopted to prevent your SIM card from any illegal use. If a PIN code is activated, you are requested to input the PIN code to unlock the SIM card every time your phone is switched on. The user can also disable the PIN code. In this case, your phone will be open to illegal use. ○ When the PIN code is enabled, you can erase the wrong input by touching the Del key and confirm the code by pressing [#]or[Enter] key. ○ For example: If the PIN code is set to be 1234, you can enter the code as follow: 1234#. ○ If the PIN code is entered incorrectly more than 3 times in succession, PIN will be blocked and your SIM card will automatically lock-up. Once your SIM card is blocked, you will be asked for the PUK1 password. Note! A regular PIN code consisting of 4~8 digits will be offered to you by your network service provider. You are advised to change it into your private code set by yourself as soon as possible. Phone Lock ○ A Phone lock code can be set to prevent your Phone from any illegal use. If Phone Lock is activated, you are requested to input the phone lock code to unlock the phone every time your phone is power on. Only in this way can you make or receive a call. The user can also disable the phone lock code. In this case, your phone will be open to illegal use. ○ If you forget the phone lock code, you must contact your dealer or the local authorized maintenance center. Link the Network ○ If the SIM lock code is acknowledged, your phone will search for the registration network automatically or log on to other applicable](https://usermanual.wiki/KCMobile/TN200/User-Guide-1524461-Page-16.png)
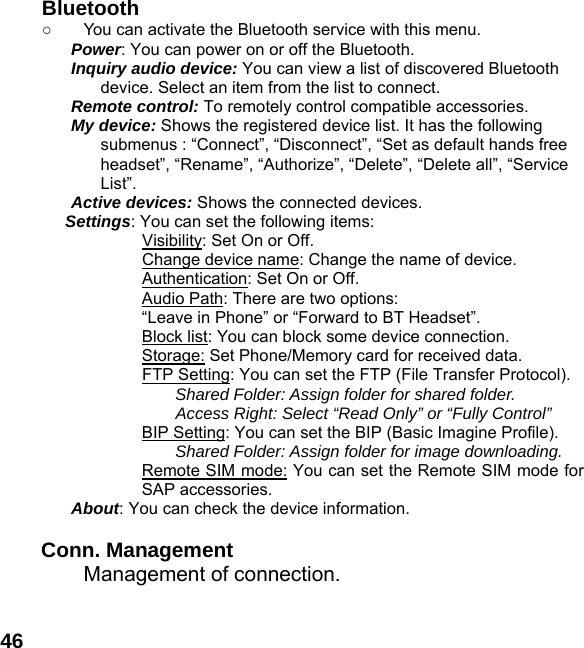
![19 by inserting a pause character “P” to indicate the extension number. Your phone will finish the entire dialing automatically. ○ The steps to dial an extension number: Area code + main number + “P” + extension number + [SEND] key ○ For example: If you want to dial 1234567 to call the tele-banking system with the balance inquiry number 7777 and password 0000, the dialing sequence will be: 1234567 + P +7777+ P + 0000. The first part is to call the banking system. When the call is answered, the phone will transmit 7777 to enquire the balance. International Call ○ You should press [*] key and hold for a while , until the symbol “+” appear on the screen. By doing so, you can make an international call in whatever country without having to input the international dialing code. After the prefix symbol is entered, you should input the country code and the telephone number. Country code is customarily fixed. When you are dialing an international call, you should omit the digit “0” before the city code. ○ To dial a fixed number: “+”International dialing code + complete number + [SEND] key Call from the List ○ Your phone automatically stores each number dialed or answered in its memory. In the call list, you can view recently called and answered numbers. The latest call will be listed in the very beginning. All the records are categorized into Missed Calls, Dialed Calls, and Received Calls. The list may be updated continually as new numbers are added to the beginning of the list and the oldest entries are removed from the bottom of the list. You can view the Dialed Call numbers by pressing [Send] key. You can also dial the numbers in the list by pressing [SEND] key.](https://usermanual.wiki/KCMobile/TN200/User-Guide-1524461-Page-19.png)
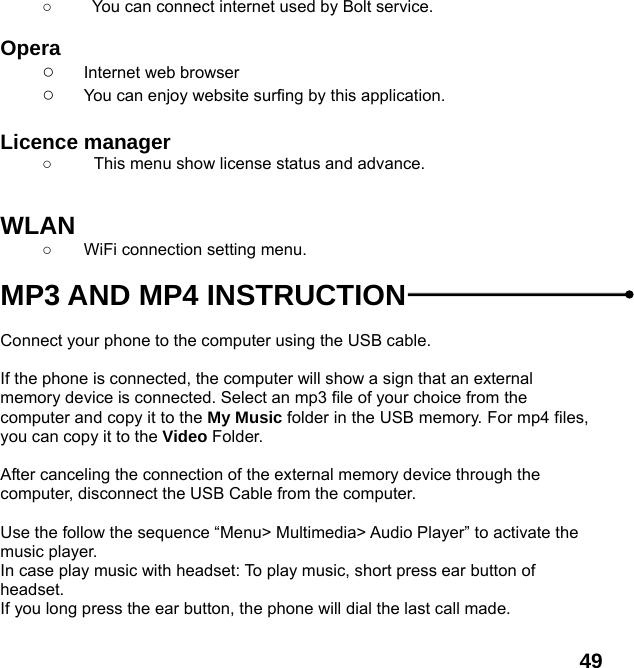
![20Emergency Call ○ In whichever countries covered by the digital GSM network, you can make an emergency call if you are within the coverage of the network. The network signal strength indictor will tell you whether you can make it or not. ○ ! Note: Some network may not allow the emergency call and may request to insert SIM card. Answer a call ○ Press the [SEND] key to answer a call as a default setting. ○ When there is an incoming call, the phone icon on the display screen will be displayed, and the melody will sound or the vibrator will work according to the setting. ○ If the caller is identified, the caller photograph, phone number/name (if stored in the Contacts), and caller group name is displayed on the screen. VIBRATOR MODE Vibrator mode is convenient, for example in a theater, when you wish to stop the phone from making noise. In the Idle mode, press volume down key until zero level , the model will be change to vibrator mode . In Vibrator mode, your phone will vibrate instead of ringing. SILENT MODE Silent mode is convenient, for example in a theater, when you wish to stop the phone from making noise. In Silent mode, your phone will not ring or vibrate.](https://usermanual.wiki/KCMobile/TN200/User-Guide-1524461-Page-20.png)
![25 call to the number by pressing the [SEND] key. Dialed calls ○ This menu lets you view the last some dialed calls. ○ In the dialed calls list, you can view the details of the record by pressing the left soft key. Then select view option. In the view screen you can make a call to the number by pressing the [SEND] key. Received calls ○ This menu lets you view the received calls. In the received calls list, you can view the details of the record by pressing the left soft key then select view option. In the view screen you can make a call to the number by pressing the [SEND] key. Delete call logs ○ You can delete the records of missed calls, dialed calls and received calls respectively without clearing the call time record. In order to avoid unnecessary deleting operation, the user should confirm his action before the record is deleted. ○ The following options are available. ▪ Missed calls: You can see the missed calls information and missed call lists. ▪ Dialed calls: You can see the dialed calls information and dialed call lists. ▪ Received calls: You can see the received calls information and lists. ▪ Delete all: If you want to delete all calls, selects the Delete All. Call timers ○ In this menu, you can view the last call time, total sent and total received. You can clear the all call time. ○ The following options are available.](https://usermanual.wiki/KCMobile/TN200/User-Guide-1524461-Page-25.png)
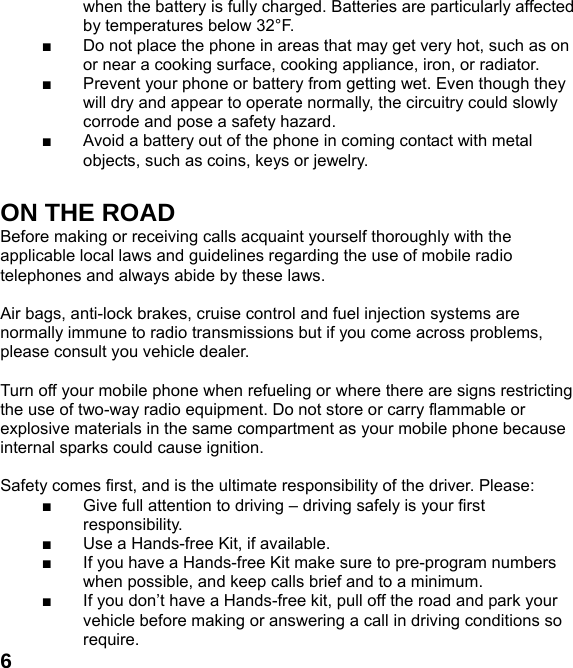
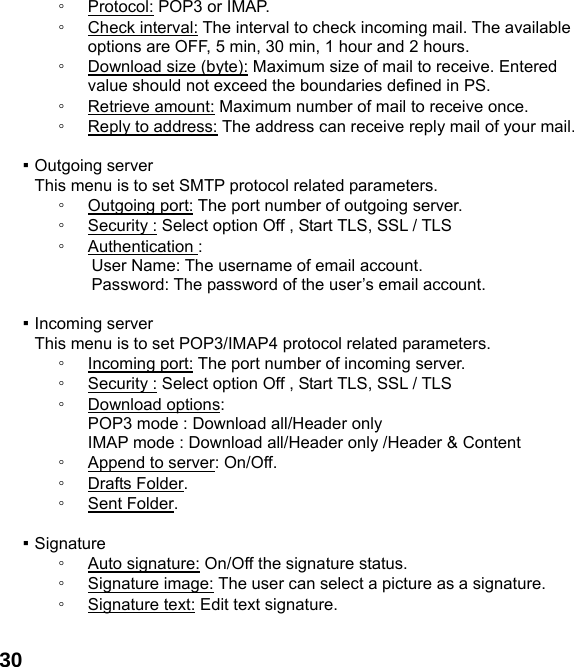
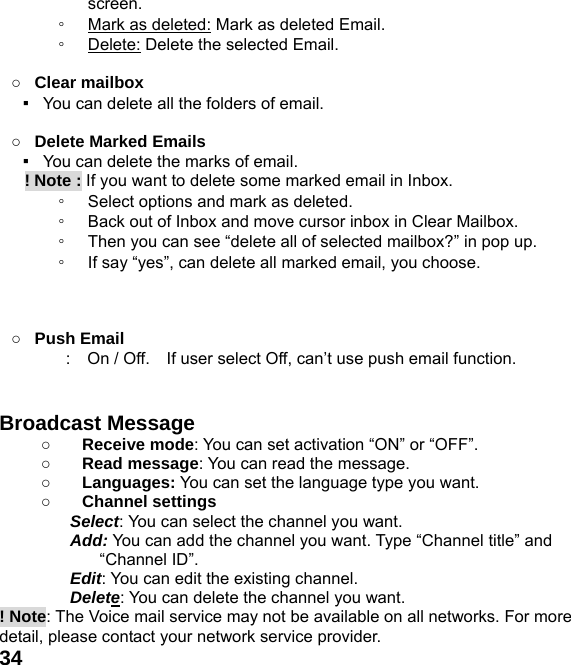
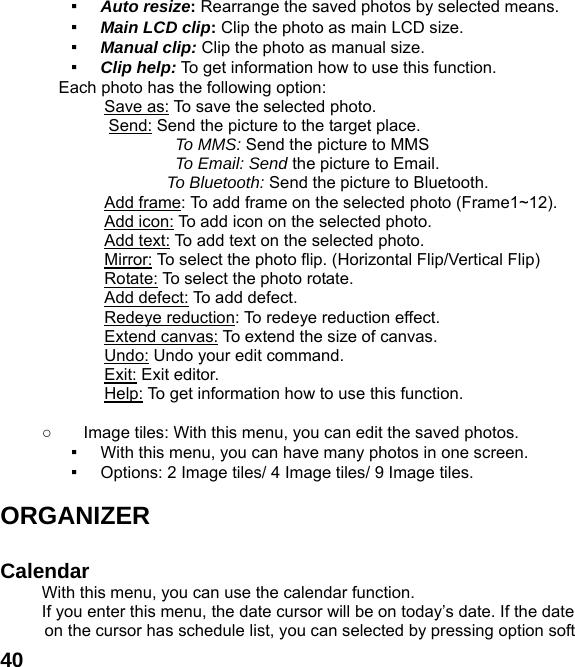
![27 Auto quick end Reject by SMS Answer mode MESSAGING Write message ▪ Your phone has 10 preset messages. You can also create your own text messages. You can add Text message the message module to the new message you are editing. You can input the number to which you wish to send your message by either pressing the numeric keys or retrieve it from the Contacts. The finished message can be sent immediately or saved for later editing. During the process of sending, you can see animation on the screen. If the message is successfully delivered, the screen will display “Successful Delivery”. Otherwise, “Failure!” will appear instead. The user should make a confirmation. The message could be saved automatically. That is, after the message is sent and return to the menu screen, the message will still be there. “Save and Send” option enables you to send the message successfully and save it in the “Sent”. The capacity of out-box is depend on memory size. Users can delete the messages one by one manually or Delete All. When there is new message, your phone will remind you with both animation and alert ring. (Menu> Settings> User profile> Customize> Tone Setup> Message Tone) If the inbox is full, corresponding icon will appear on the top of the screen. You can return to the idle screen by pressing the [END/POWER] key. ◦ Following options are available in the “Write Message” menu: Done, Insert templates, Insert object, Format text, Insert number, Insert](https://usermanual.wiki/KCMobile/TN200/User-Guide-1524461-Page-27.png)
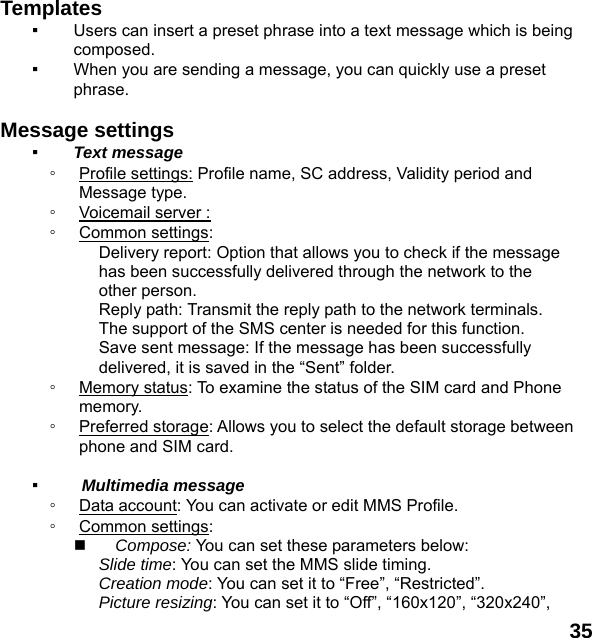
![28name and Insert bookmark. ◦ Each message may be composed of up to 1224 English characters. But in some cities or areas, messages should not be longer than 160 English characters. In the editing mode, you can select the text input symbols by pressing the [SYM] key. Short press the [Del] key to erase the character before the cursor. If you long press the [Del] key, all the characters on the screen will be erased. You can go back to the idle mode by pressing the [END/POWER] key. Select characters by the navigation key. Conversations ▪ You can check a message of conversations. Drafts ▪ All Drafted displayed in the descending time order. Out box ▪ If you choose “Save and Send”, the message will be saved to the Outbox after the message isn’t successfully send. The unsent messages are also saved to the Outbox and “No Number” is displayed, which indicates that there is no destination. ▪ In delivering a stored message, you can send to a person, many people or group. Archive Archived message be saved Delete messages ▪ Delete the records stored in the Inbox/Outbox/Sent messages/Drafts folder/All messages.](https://usermanual.wiki/KCMobile/TN200/User-Guide-1524461-Page-28.png)
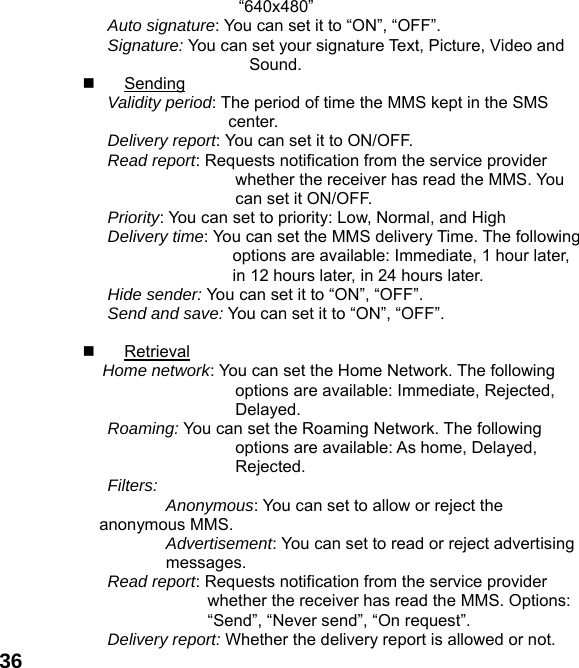
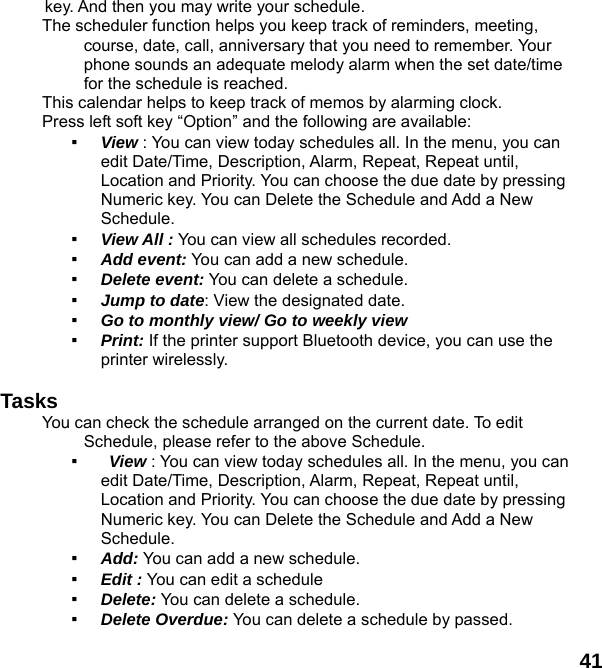
![29 Email Note : According to email numbers, the loading time can be take max 2min during phone turn on. [ Maximum capacity of Email is 250 per a account ] With this menu, you can send and receive Emails. You must set the “Email account” first for use this menu. ○ Send and receive Send any unsent mails present in the Outbox folder and receives the new mails, if any, from the POP3/IMAP4 server. If both send and receive are successful, will display number of mail sent and received. ○ Email accounts ▪ You can configure various server and profile related settings. ◦ Activate: Activate the selected Profile. ◦ Edit: Modify an existing profile. ◦ New account: Create a new account. ◦ Delete: Delete selected account. ▪ New Account ◦ Email address : write your email address [ mandatory @ ] ◦ Protocol : select option POP3 or IMAP4 ◦ Data Account : The name of data account selected by the user. ◦ Incoming Server : Input server name [ex_ imap.gmail.com][pop.xxx.com][mail.xxx.com ] ◦ Outgoing Server : Input server name [ex_smtp.gmail.com] ◦ User name : Input your email ID [ mandatory @ ] ◦ Password : Input your email account password. ◦ Account name : The name of the account. ! Note : need active email account to use. You can edit following settings in Edit > Advanced settings menu. ▪ Account settings ◦ Account name: The name of the account. ◦ Data Account: The name of data account selected by the user.](https://usermanual.wiki/KCMobile/TN200/User-Guide-1524461-Page-29.png)
![31 ! Note: How to set gmail account in IMAP mode [ google email ] 1. Setting your account [ abc@gmail.com ] refer to New Account 2. After setting your account, have to enter edit menu 3. Enter to advance settings in edit menu. 4. Setting value in Advance settings as followed. ▪ Outgoing server ◦ Security : select to SSL / TLS ◦ Authentication : select to ON ▪ Incoming server ◦ Security : select to SSL / TLS Finally, save all setting value and Activate the account. ○ Write Email ▪ You can edit ‘To’, ‘CC’, ‘BCC’, ‘Subject’, ‘Attachments’, ‘Priority’, and ‘Content’. After composing an email, following options are available: ◦ Send Now: Send immediately without saving to Sent folder. ◦ Send and save: Send immediately and save to Sent folder. ◦ Send later: Save to outbox and be sent when next send and receive ◦ Save To Drafts: Store the email to Draft folder, without sending it. ◦ Quit without saving: Quit without saving anything. ○ Inbox ▪ Email List : the following options are available: ◦ View: Read email ◦ Reply: Send the reply to the sender. ◦ Reply all : Reply to the sender and all recipients ◦ Forward : Forwards the email to other parties. ◦ Sort : Sort by date / Sort by sender / Sort by subject / Sort by size ◦ Mark As unread : Mark as unread Email](https://usermanual.wiki/KCMobile/TN200/User-Guide-1524461-Page-31.png)
![33 Auto scroll : Off / On Scroll speed : 1~5 Full Screen : Off / On Encoding : ASCII / UCS-2 / UTF-8 Alignment : Left / Right Note : Only first download is limit by 2KB. Tip : When read content [ Navi up/down] keys are for line scroll. [ Navi left / right ] keys are for page scroll. ○ Outbox ▪ All unsent mails displayed in the descending time order. Following options are available in Outbox folder: ◦ Send: Send immediately without saving to Sent folder. ◦ Send and save: Send immediately and save to Sent folder. ◦ Edit: Edit the current mail. Select this item will go the Write Email screen. ◦ Move to draft: Move the email to Draft folder. That is, the original is not in Unsent folder anymore. ◦ Mark as deleted: Mark as deleted Email. ◦ Delete: Delete the selected Email. ○ Sent ▪ All sent mails displayed in the descending time order. Following options are available for a mail in Sent folder: ◦ Forward: Edit the current mail. Select this item will go the Write Email screen. ◦ Mark as deleted: Mark as deleted Email. ◦ Delete: Delete the selected Email. ○ Drafts ▪ All Drafted mails displayed in the descending time order. Following options are available for a mail in Draft folder: ◦ Edit: Edit the current mail. Select this item will go the Write Email](https://usermanual.wiki/KCMobile/TN200/User-Guide-1524461-Page-33.png)
![38○ You can view the saved photos in the album menu. ○ The same as the option of Photos. Media player ○ In the video recorder main screen, you can make a video clip (MPEG4) or play the saved video clip. ○ To record a video or to pause the recording, press [OK] key. ○ You can set the corresponding options and enter the video player menu to see the saved video clip. ○ Now playing ▪ You can play MP3 media player ○ All songs You can see all songs to memorized on the phone. ○ Artists : you can see artists list ○ Albums : you an see albums list ○ Genres : you can sort of Genres , rock , other, unknown..etc ○ Playlists : you can see playlists ○ All videos : you can see all videos files. ○ Refresh library : you can refresh library ○ Settings Player settings : shuffle / repeat / sound effects Audio settings : Audio play speed / Display style Bluetooth settings : BT stereo output / BT stereo headset ○ Reset library FM radio ○ Press the left soft key for “Option” to bring the follow menus: ▪ Channel list: You can define 1~20 channel shortcut. ▪ Manual input: You can input the frequency manually. [.] key is assigned to point “.” ▪ Auto search: FM Tuner search all available channels for preset list.](https://usermanual.wiki/KCMobile/TN200/User-Guide-1524461-Page-38.png)
![39 ▪ Setting : ▪ You can select the following setting value: Background play/Loud speaker/Earmic button option Note! If the earphone is not connected, FM Radio cannot turn on. Tip! Press [navi up] key, turn on/off search algorism Press [ navi down ]key, turn on/off power Press [digit] key, go to preset channel ▪ Record : you can record FM radio. ▪ Append : you can check file manager ▪ File list : you can check file manager. Sound recorder ○ You can record a sound and play the saved sound. If there is no saved sound, you can have following options: ▪ New Record: New Record sound. ▪ List : you can see all saved file list ▪ Settings: Allows you to set the preferred storage, file format and audio quality If there is saved sound already, you can have the following additional options : ▪ Play: Play the saved sound file. ▪ Append: Add extra sound to the previous selected sound file. ▪ Rename: You can change the file name. ▪ Delete: You can delete the sound file. ▪ Delete all files: You can delete all of the sound files. ▪ Use as: Forward the selected sound file to: “To User profile”. ▪ Send: Forward the selected sound file to “As Multimedia Message”, “As Email”, ”Via Bluetooth” Photo editor ○ Photo artist: With this menu, you can edit the saved photos.](https://usermanual.wiki/KCMobile/TN200/User-Guide-1524461-Page-39.png)
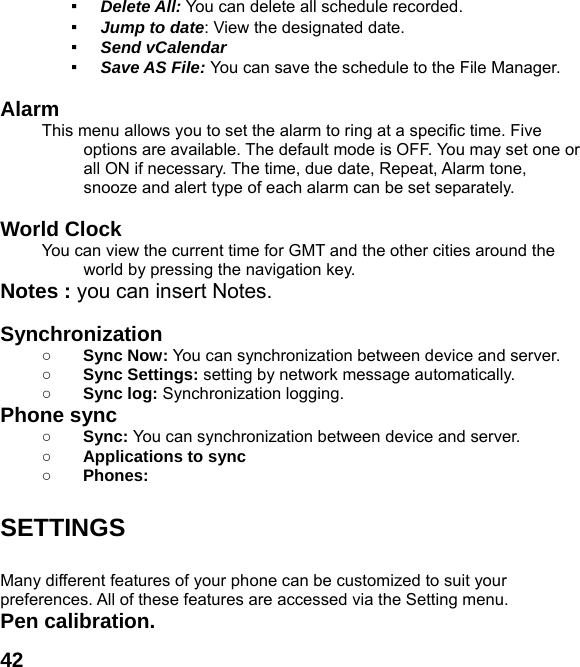
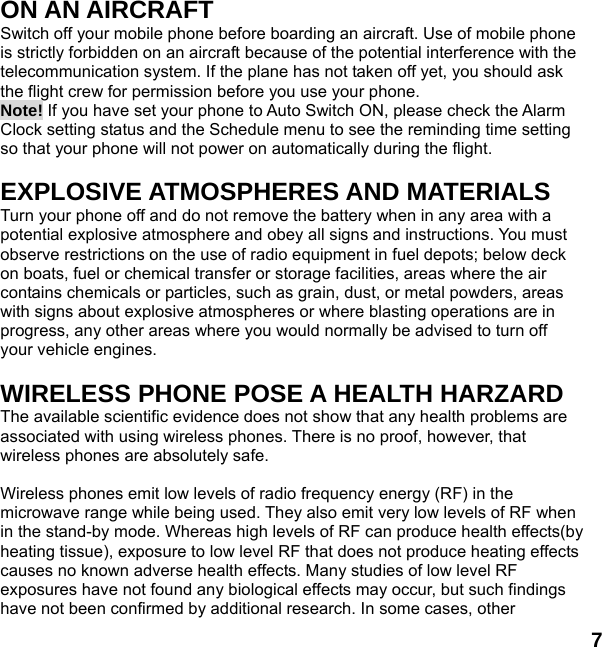
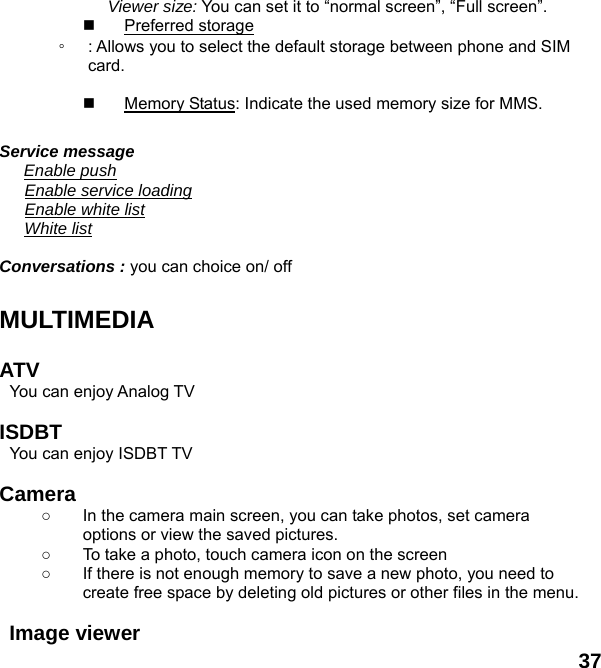
![47 Data Account ○ This menu allows you to change and edit the settings for the GSM and GPRS network services. For further details, contact your service provider. ○ Add PS account : This menu allows you to manage and edit the settings required by the CSD connection. Add CSD account : This menu allows you to manage and edit the settings required by the GPRS connection Restore factory settings ○ To use this option, first enter your phone password. All the settings will be restored to the factory setting. Please operate carefully. If you want, you have to input Phone lock code. Sound effects You can choice Audio effect. User profiles You can use the sound setting features to customize various settings such as ring type, vibrator, and volume depending on environments: General, Silent Meeting. Outdoor, My style. EXTRAS Calculator ○ Enter numbers by pressing [0]—[9]. Press [.] for a decimal point. Press the [Del] key to clear your input. ○ You can press the Up, Down, Left, Right navigation keys to enter](https://usermanual.wiki/KCMobile/TN200/User-Guide-1524461-Page-47.png)
![48the symbols of addition, subtraction, multiplication and division. ○ Clear the latest input digit or result by pressing the [Del] key. Long press the [Del] key to clear all the input or the result. ○ Press the [left soft] key to calculate and the result will appear on the screen. ○ Note! The precision of the calculator is limited for the round off error. Unit converter ○ You can convert one type of unit to another by this function. Such as weight, length, volume, temperature, velocity and surface. Currency converter ○ You can convert the currency at a given exchange rate. Stopwatch Your phone can be used as a typical stopwatch or nWay stopwatch. There are Split Timing and Lap Timing stopwatch functions in this typical stopwatch menu. You can view the record in this menu. E-Book reader ○ You can read E-Book with this menu. E-Book refers to “E-book” folder from phone or memory card in File Manager. You can have the following options: Clean up bookshelf: Refresh the file list. Global settings: Enables to set the following items: Font style/ Font size/ Scroll by/ Auto scroll/ Scroll speed/ Full screen/Encoding/Alignment/Select storage. Services Operator WAP browser](https://usermanual.wiki/KCMobile/TN200/User-Guide-1524461-Page-48.png)

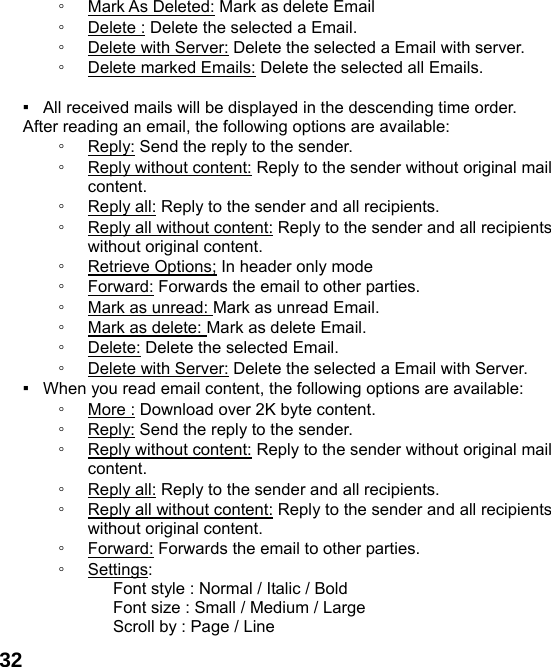
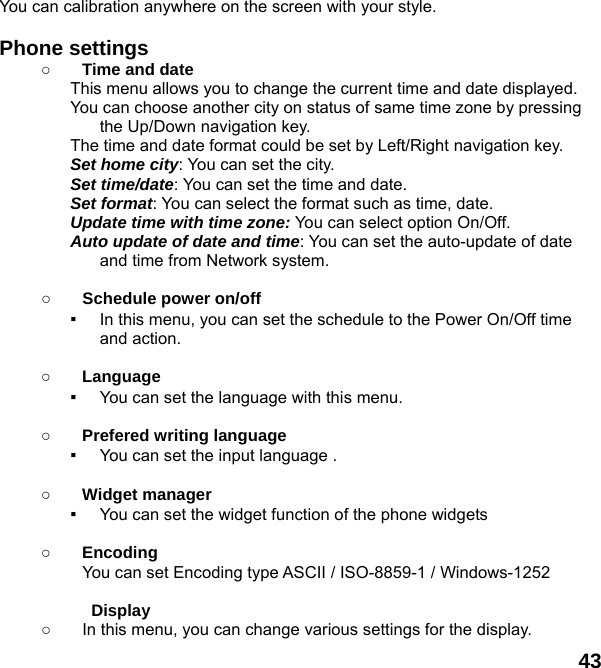
![51 network. You probably are in the coverage of another GSM, GPRS network but you are not allowed to be registered to the network. If any tone is not generated when you press a keypad… You need to check the mode setting. If you can find icon on the top of the main display screen it is vibrator mode. By pressing [volume up]key on the idle screen, you can switch it off. You need to check the Key Tone Type of Sound Setting menu. You need to check Key Tone Volume of the profile option that you have set on Profiles menu. If an audible alert is not made when a call is received… You need to check the mode setting. If you can find icon on top of the main display screen it is vibrator mode. By pressing [volume up]key on the idle screen, you can switch it off. You need to check Ring Type and Ring Volume of the profile option that you have set on Profiles menu. If an audible alert is not made when an alarm is expired… You need to check the mode setting. If you can find icon on top of the main display screen it is vibratore mode. By pressing [volume up]key on the idle screen, you can switch it off. If an outgoing call is not made… You have probably set an outgoing calls barring option. You need to check Call Barring menu. Otherwise, you have probably set to Hide Number in Caller Number menu of Call Setting menu. In some network, when you make a call with hiding the telephone number, the network does not allow to make the call. If an incoming call is not made… You have probably set an incoming calls barring option. You need to check Call Barring menu. If an outgoing SMS message is not sent…](https://usermanual.wiki/KCMobile/TN200/User-Guide-1524461-Page-51.png)
![52 You need to check the Message Center option in SMS Setting menu. If all audible key tones are muted and all audible alerts are changed to vibrator alert… You need to check the mode setting. If you can find icon on top of the main display screen it is vibrator mode. By pressing [volume up]key on the idle screen, you can switch it off. If some audible action is not prompted on a menu of Sound Setting menu… You need to check the mode setting. If you can find icon on top of the main display screen it is the vibrator mode. By pressing [volume up]key on the idle screen, you can switch it off. If the image on the screen is blurred when you try to take a picture… You need to check that the protection film is detached or the lens is clean. To remove fingerprints or other stains, wipe the lens with soft cloth.](https://usermanual.wiki/KCMobile/TN200/User-Guide-1524461-Page-52.png)