KITCHENAID Toaster Manual 98100035
User Manual: KITCHENAID KITCHENAID Toaster Manual KITCHENAID Toaster Owner's Manual, KITCHENAID Toaster installation guides
Open the PDF directly: View PDF ![]() .
.
Page Count: 12
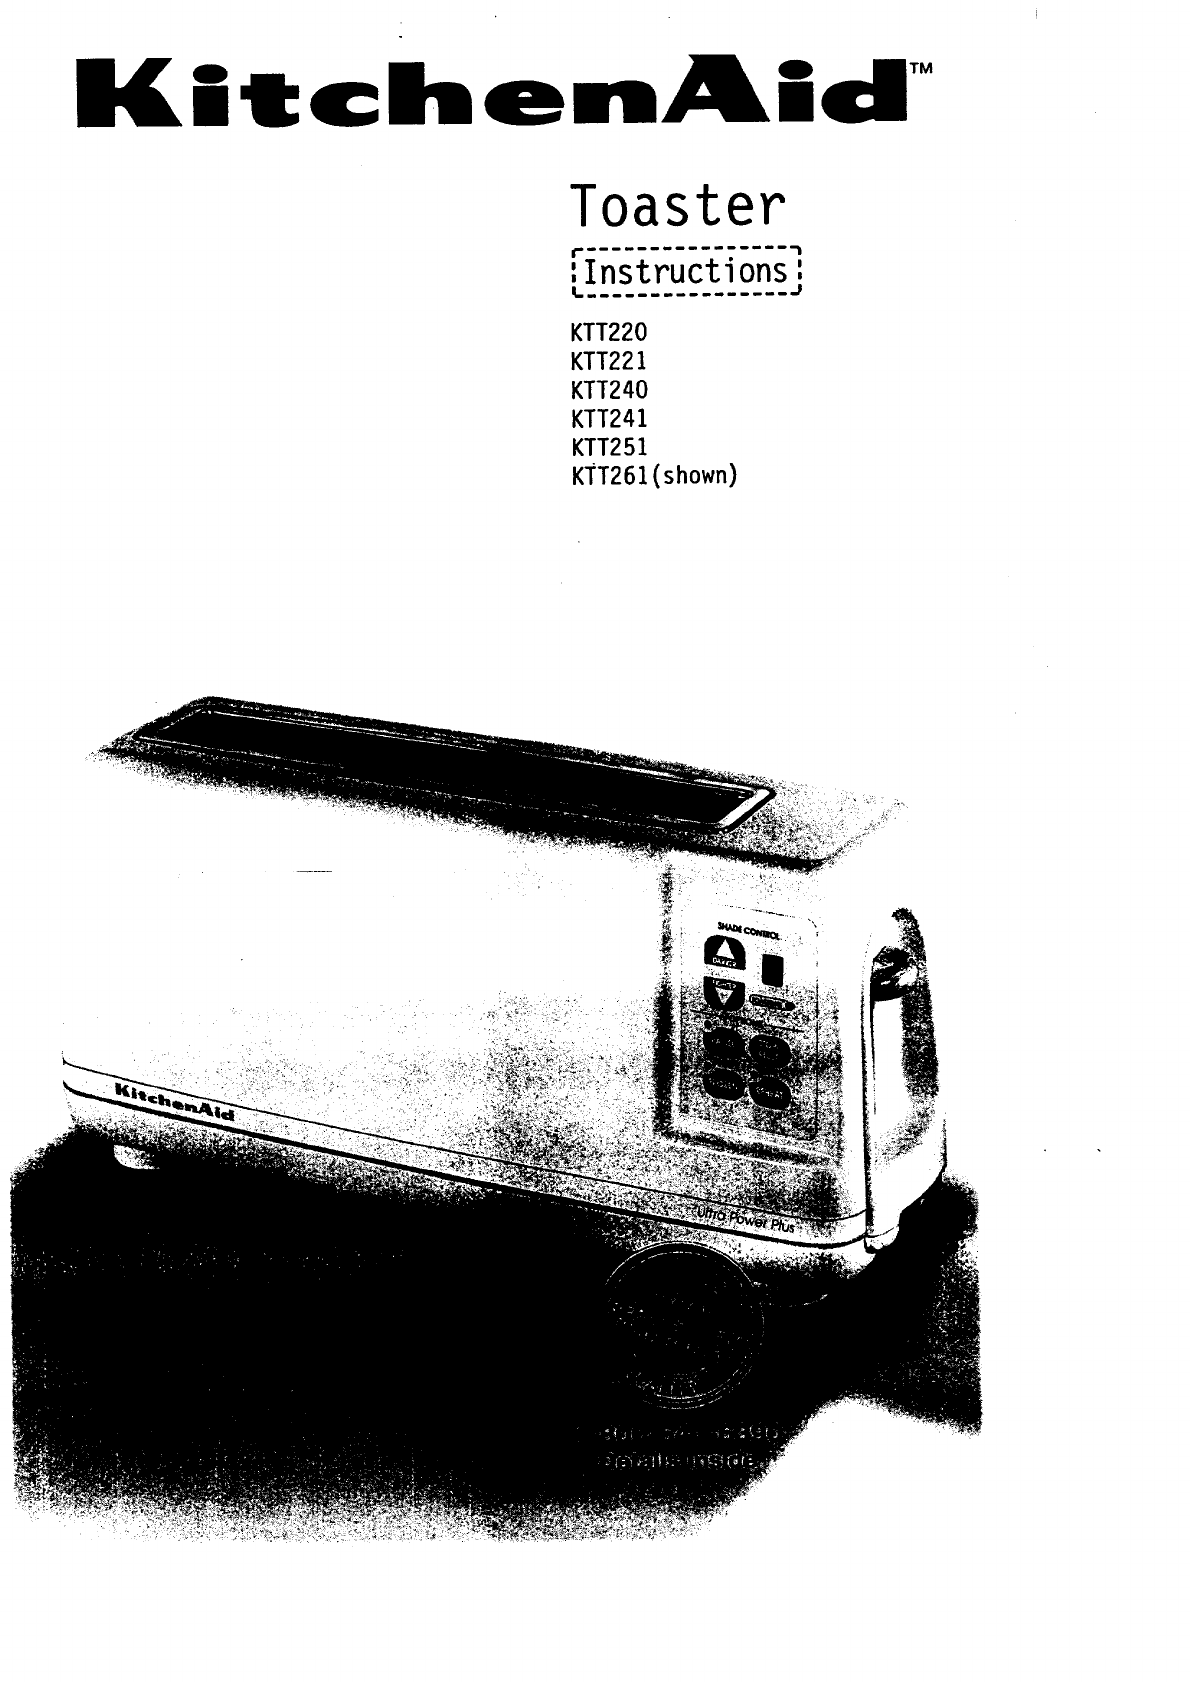
tche A d TM
Toaster
rmi_
:Instructions :
L. ................ J
KTT220
KTT221
KTT240
KTT241
KTT251
KTT261(shown)
Hassle-Free Replacement Warranty
We're so confident the . _ _ _ If you reside in the United States
quality of our products/_ _ - _..,_"_ and your KitchenAid" toaster sho_a_'l_i
rnt,'t;ls lh(; exacting //-_ _rt -,,,_\\ wilhin lhe fil,'st year of ownenski.u..:_ __
standards of {[_. __, .+ _} -rumply ca,J our wu-lm_ uu,tv_J_ _' +
KitchenAid that, if \_ _ r. _+/f + Satisfaction Canter at 1.80Q;541_+9_c._
your toaster should fail "_ _ E _._/'// Give [he consultant your compl_$: + .i. i_
within the first year of _ - _- :shlpph_gadd,,_ss, (1%P.O.-Box_'_'_:"
ownership, KitchenAid will arrange to Num_)_q_['_- ;
deliver an identical or comparable
replacement to your door free of charge - K_t&c,,?dd .d'2 aa_.g:, ta de_ _53'_
and arrange to have your "failed" toaster . replacement toaster and have lxmr,nr_. o
returned to us. Your replacement unit- i_ ed toaster returned to us. + ,,.
is covered by our one year full warrar_y. :_-_:- : .- ...... _ - _ i_,_
Please follow these instructions to Put your "failed" toaster in the original
receive this quality service, shipping carton along with a sheet of
paper with your name and address on it,
and proof of purchase (register receipt,
credit card charge slip, etc.)
2
Table of Contents
Hassle-Free Replacement Warranty ......................................................................... 2
Important Safeguards ................................................................................................ 4
Warranty .......................... .'........................................................................................ 6
HowTo Arrange For Service - USA Only .................................................... 6
Standard First Year Warranty ....................................................................... 7
HowTo Arrange For Service - Outside The USA ...................................... ..7
If You Need Service or Assistance ........................................................................... 7
Product Registration Card ........................................................................................ 8
Electrical Requirements ........................................................................................... 8
Toaster Features ....................................................................................................... 9
Using Your KitchenAid TM Toaster ............................................................................ 11
To Toast Bagels........................................................................................... 12
To Toast Frozen Bagels............................................................................... 12
To Toast Frozen Breads, Waffles or Pastries .............................................. 12
To Reheat Toast .......................................................................................... 12
Cleaning Your Toaster ............................................................................................ 12
3
IMPORTANTSAFEGUARDS
When using electrical appliances, basic safety precautions should always be
followed, including the following:
1. Read all instructions.
2. Do not touch hot surfaces. Use handles or knobs.
3. To protect against electrical shock, do not immerse cord, plugs, or toaster in
water or other liquid.
4. Close supervision is necessary when any appliance is used by or near children.
5. Unplug toaster from outlet when not in use and before cleaning. Allow to cool
before putting on or taking off parts.
6. Do not operate any appliance with a damaged cord or plug or after the
appliance malfunctions or has been damaged in any manner. Return appliance
to the nearest authorized service facility for examination, repair or adjustment.
7. The use of accessory attachments not recommended by the appliance
manufacturer may cause injuries.
8. Do not use outdoors.
9. Do not let cord hang over edge of table or counter, or touch hot surfaces.
10. Do not place on or near a hot gas or electric burner, or in a heated oven.
11. To disconnect, turn any control to "OFF," then remove plug from outlet.
12. Do not use appliance for other than intended use.
13. Oversize foods, metal foil packages, or utensils must not be inserted in toaster
as they may involve a risk of fire or electric shock.
14. A fire may occur if toaster is covered or touching flammable material, including
curtains, draperies, walls and the like, when in operation.
15. Do not attempt to dislodge food when toaster is plugged in.
16. This product is designed for household use only.
SAVETHESEINSTRUCTIONS
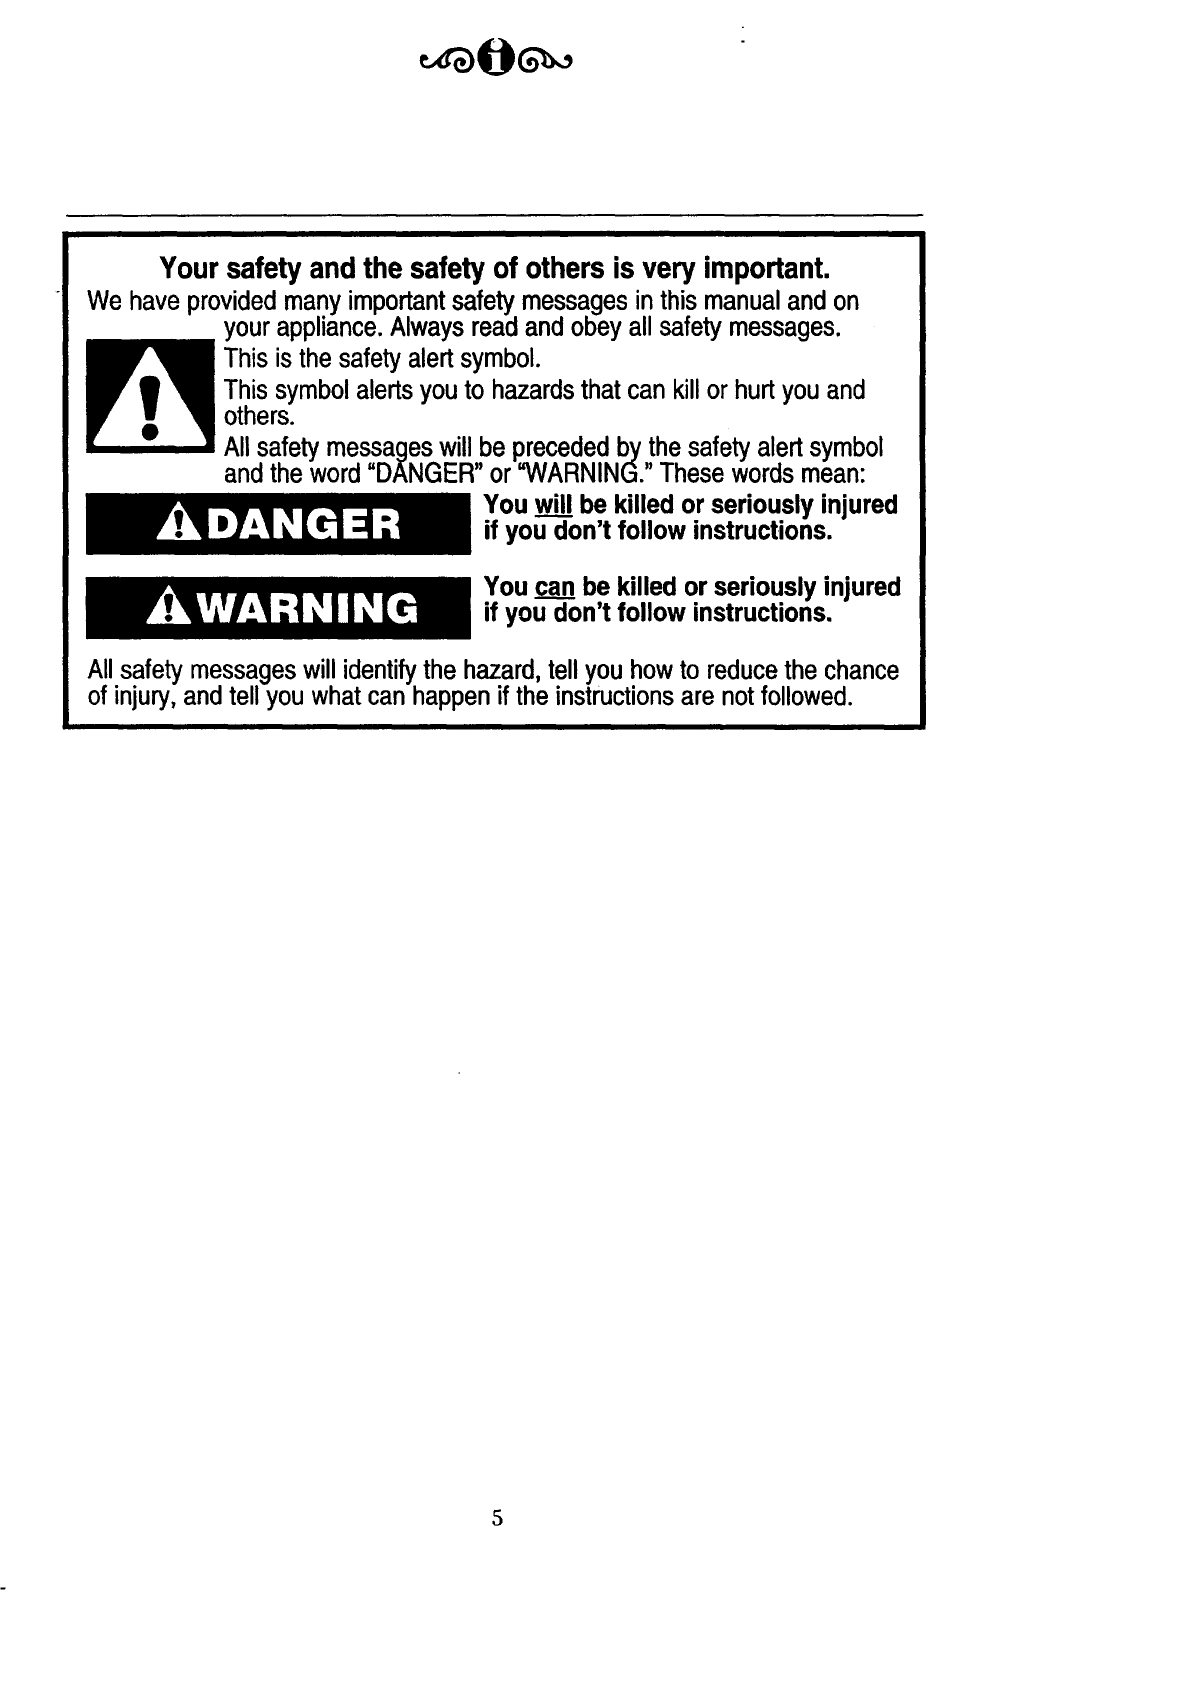
Your safety and the safety of others is very important.
We have provided many important safety messages inthis manual and on
your appliance. Always read and obey all safety messages.
This is the safety alert symbol.
This symbol alertsyou to hazardsthat can kill or hurt you and
others.
All safety messageswill be preceded by the safety alert symbol
and the word "DANGER" or "WARNING."These words mean:
You wil__lbe killed or seriously injured
if you don't follow instructions.
You ca__nnbe killed or seriously injured
if you don't follow instructions.
All safety messageswill identify the hazard, tell you how to reduce the chance
of injury, and tell you what can happen if the instructionsare not followed.
KitchenAid Toaster Warranty- USA
This warranty extends to the purchaser and any succeeding owner for toasters
operated in the 50 United States and the District of Columbia. For units operaled in
Puerto Rico, the Standard First Year Warranty applies (see page 7) and is a Limited
Warranty because you must pay to ship the toaster to an Authorized KitchenAid
Service Center.
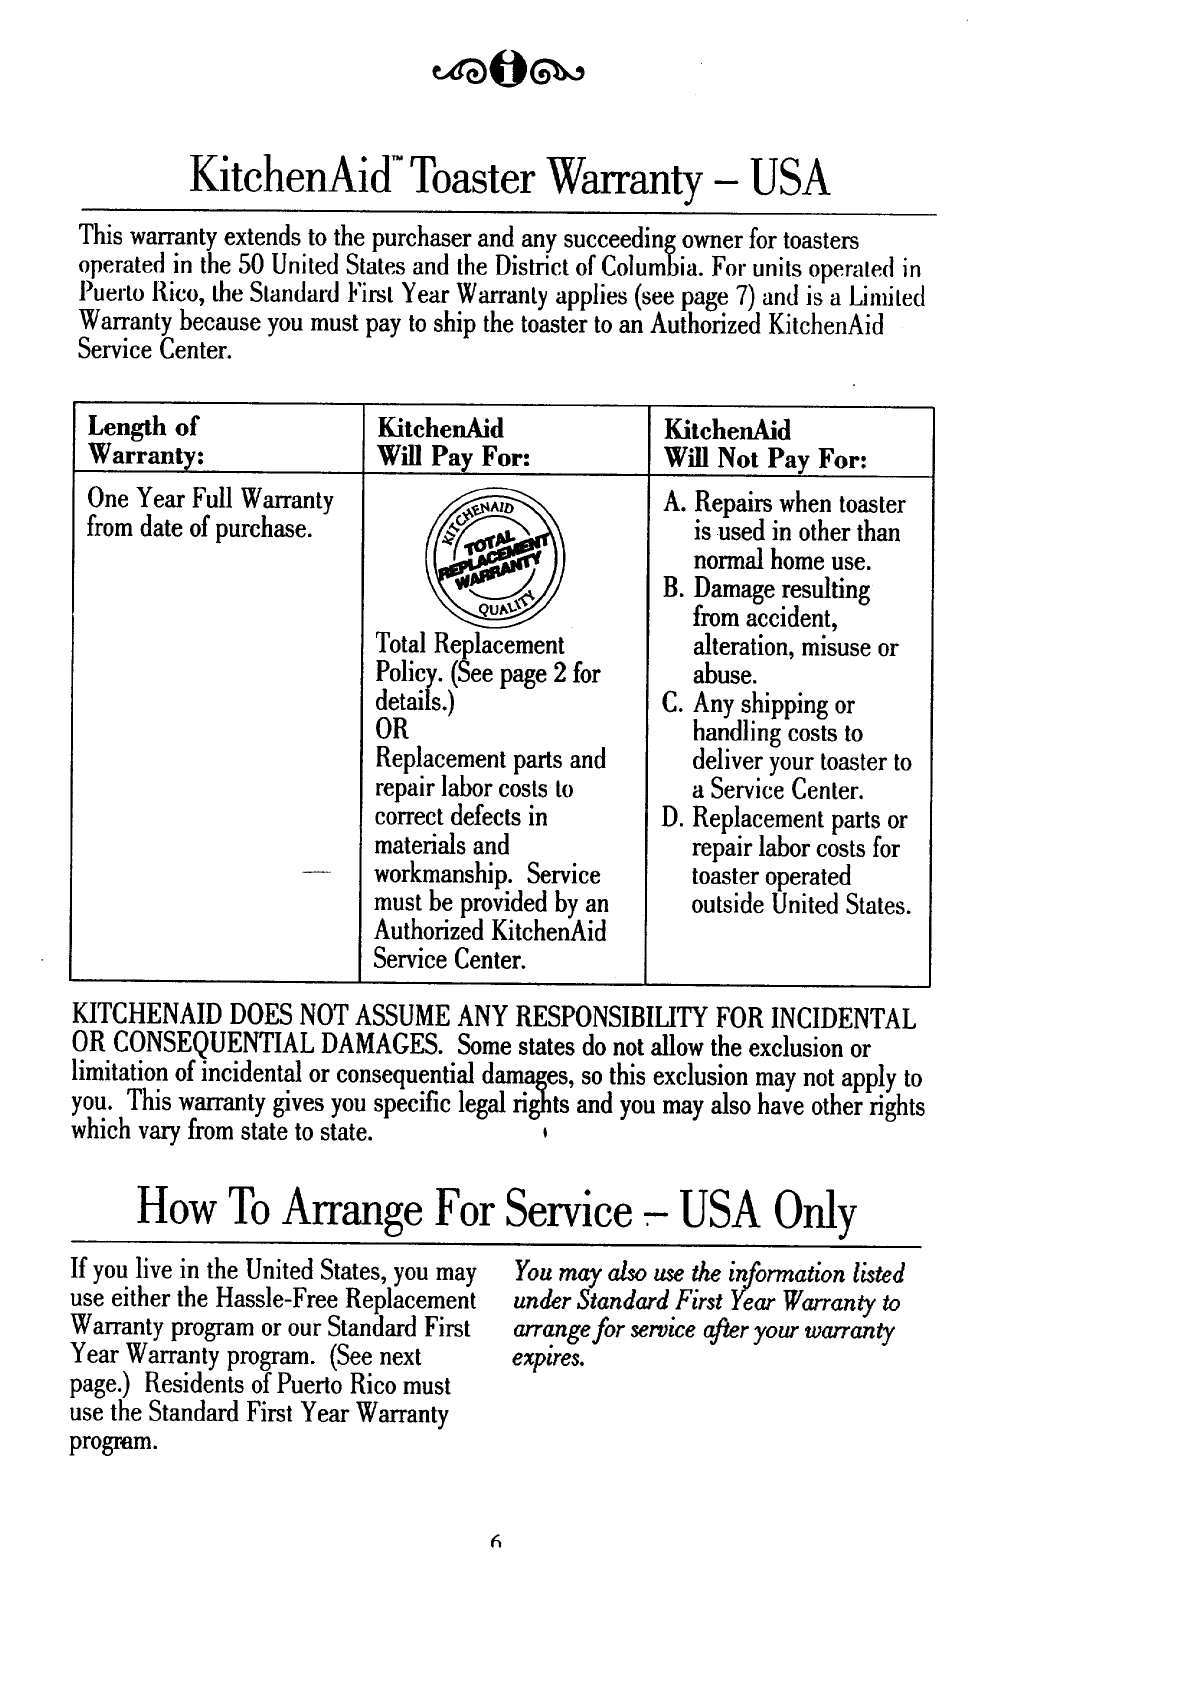
Length of Kitchen/Lid KitchenAid
Warranty: Will Pay For: Will Not Pay For:
One Year Full Warranty _ A. Repairs when toaster
from date of purchase. _ is used in other than
B.
Total Replacement
Policy. (See page 2 for
details.)
OR
Replacement parts and
repair labor costs to
correct defects in
materials and
workmanship. Service
must be provided by an
Authorized KitchenAid
Service Center.
Co
Dm
normal home use.
Damage resulting
from accident,
alteration, misuse or
abuse.
Any shipping or
handling costs to
deliver your toaster to
a Service Center.
Replacement parts or
repair labor costs for
toaster operated
outside United States.
KITCHENAID DOES NOT ASSUME ANY RESPONSIBILITY FOR INCIDENTAL
OR CONSEQUENTIAL DAMAGES. Some states do not allow the exclusion or
limitation of incidental or consequential damages, so this exclusion may not apply to
you. This warranty gives you specific legal rights and you may also have other rights
which vary from state to state.
HowToArrange For Service- USA Only
If you live in the United States, you may
use either the Hassle-Free Replacement
Warranty program or our Standard First
Year Warranty program. (See next
page.) Residents of Puerto Rico must
use the Standard First Year Warranty
program.
You may also use the information listed
under Standard First Year Warranty to
arrangefor service after your warranty
ext) lre3.
fi
Standard First Year Warranty
(Required Warranty Service for Puerto Rico)
Take the toasteror ship prepaid and
insured to the nearest Authorized
Service Center. Call toll-free 1-800-
541-6390 to learn the location of a
Service Center near you. Your repaired
toaster will be returned to you prepaid
and insured.
All local service should be handled by
an Authorized KitchenAid Service
Center. If you are unable to obtain
satisfactory service in this manner,
contact the Customer Satisfaction
Center, KitchenAid Portable
Appliances, P. O. Box 218, St. Joseph,
Michigan 49085-0218. Call toll-free:
1-800-541-6390.
HowToArrangeFor Service- OutsideThe USA
To arrange for service, consult your local
KitchenAid dealer or the store where
you purchased the toaster for information
on how to obtain service locally.
If YouNeed Service or Assistance
KEEP A COPY OF THE SALES
RECEIPT SHOWING-THE DATE OF
PURCHASE. PROOF OF PURCHASE
WILL ASSURE YOU OF
IN-WARRANTY SERVICE.
If your toaster should malfunction
or fail to operate, check the
following:
• Is the toaster plugged in? •
•Is the fuse in the circuit to the toaster'
in working order? If you have a
circuit breaker box, be sure the circuit
is closed.
• Try unpluggingand re-plugging the
toaster.
• Press the STOP/RESET button. If
toaster is not at room temperature,
wait until unit reaches room
temperature and retry.
(Except KTF220 & Kr13"221)
If the shade control display is
blinking:
- Unplug toaster and allow to cocrl.
- Re,p!ug in.
- Reset darkness control
- If display continues to blink, see
•"Warranty" on page 6.
: If the problem is not due to one of the
above items, see "Warranty" on
page 6.
•• DO NOT return the toaster to the
retai!er. Retailers do not provide
' _e_,ice.
7
Product Registration Card
Before you use your toaster, please fill
outand mail your product registration
card packed with the unit. This .card
will enable us to contact you in the
unlikely event of a product safety
notification and assist us in complying
with the provisions of the Consumer
Product Safety Act. THIS CARD DOES
NOT VERIFY YOUR WARRANTY.
Keep a copy of the sales receipt showing
the date of purchase of your toaster.
PROOF OF PURCHASE WILL
ASSURE YOU OF IN-WARRANTY
SERVICE.
Please completethe followingfor your
personalrecords:
Model Number
Serial Number
Date Purchased
Store Name
ElectricalRequirements
Volts: 120 A.C. only.
Watts: 1200
Hertz: 60
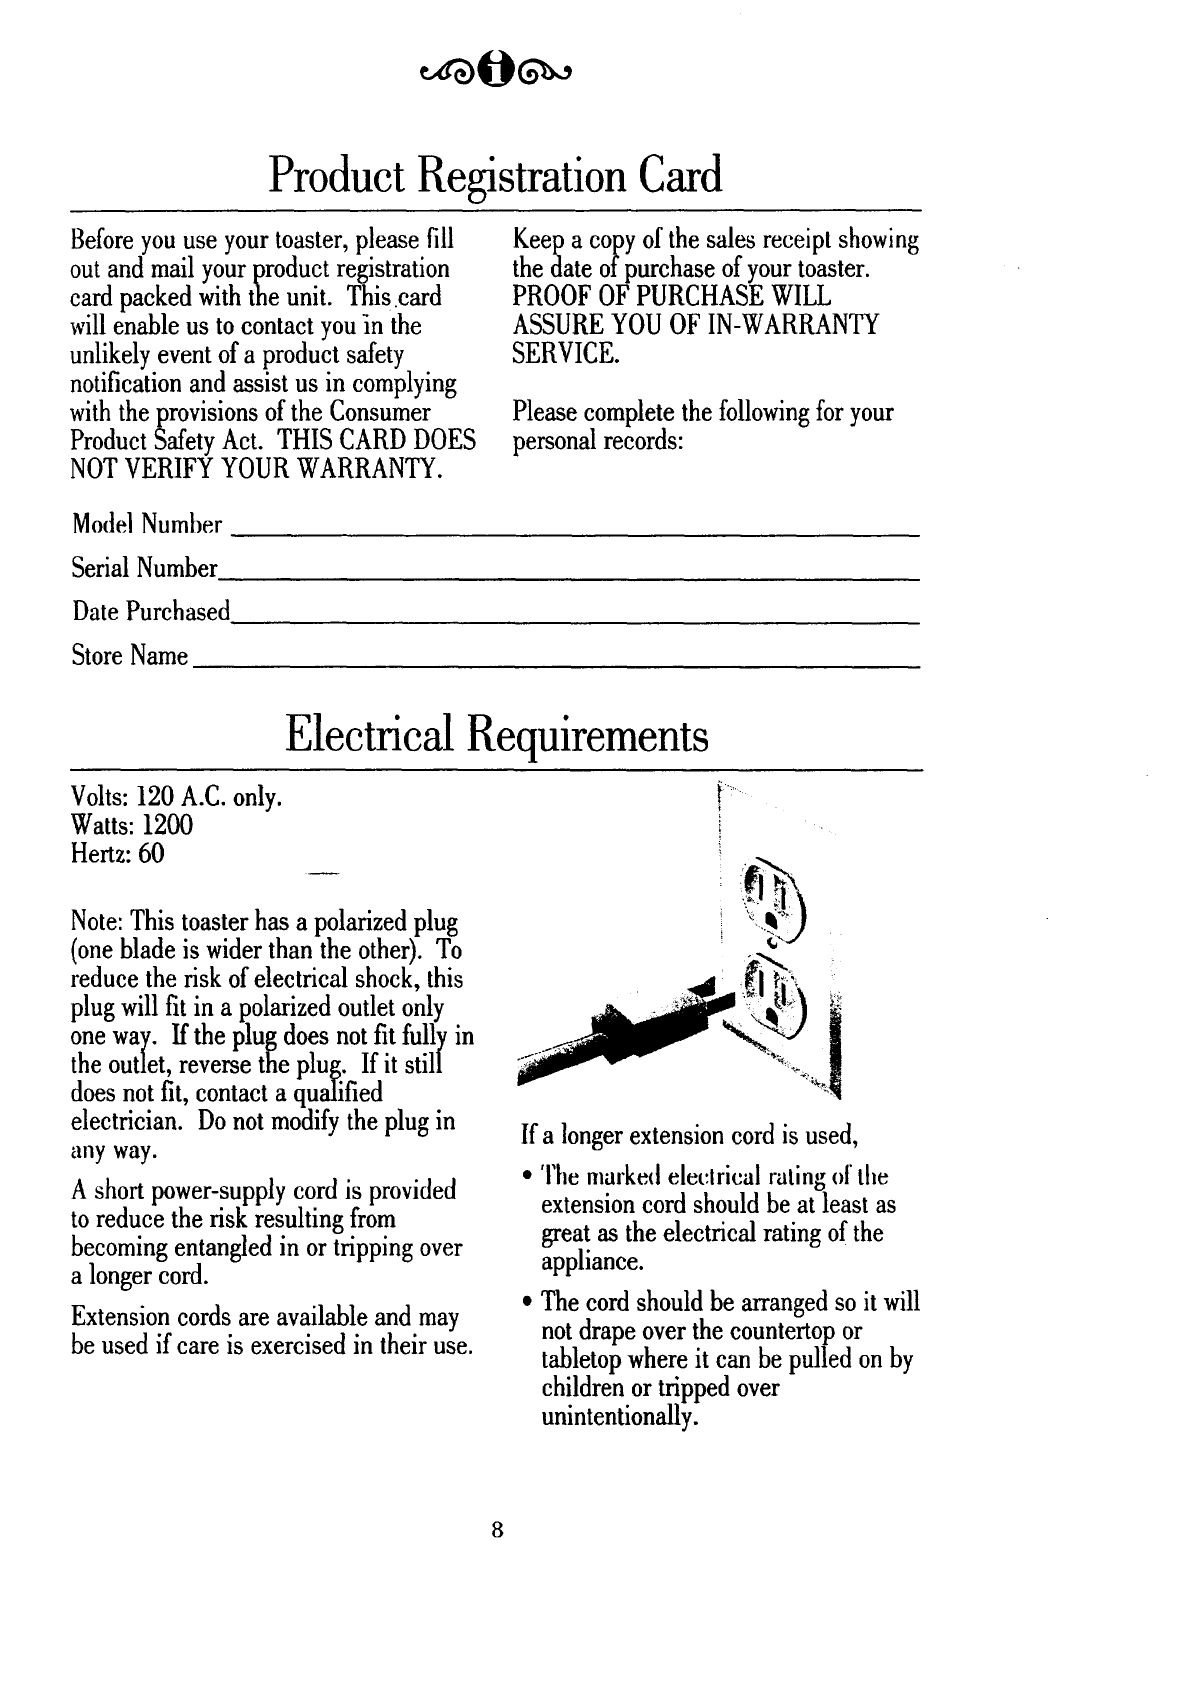
Note: This toaster has a polarized plug
(one blade is wider than the other). To
reduce the risk of electrical shock, this
plug will fit in a polarized outlet only
one way. If the plug does not fit fully in
the ouuet, reverse the plug. If it still
does not fit, contact a qualified
electrician. Do not modify the plug in
any way.
A short power-supply cord is provided
to reduce the risk resulting from
becoming entangled in or tripping over
a longer cord.
Extension cords are available and may
be used if care is exercised in their use.
If a longer extension cord is used,
• The marked electrical rating of the
extension cord should be at least as
great as the electrical rating of the
appliance.
• The cord should be arranged so it will
not drape over the countertop or
tabletop where it can be pulled on by
children or tripped over
unintentionally.
Toaster Features
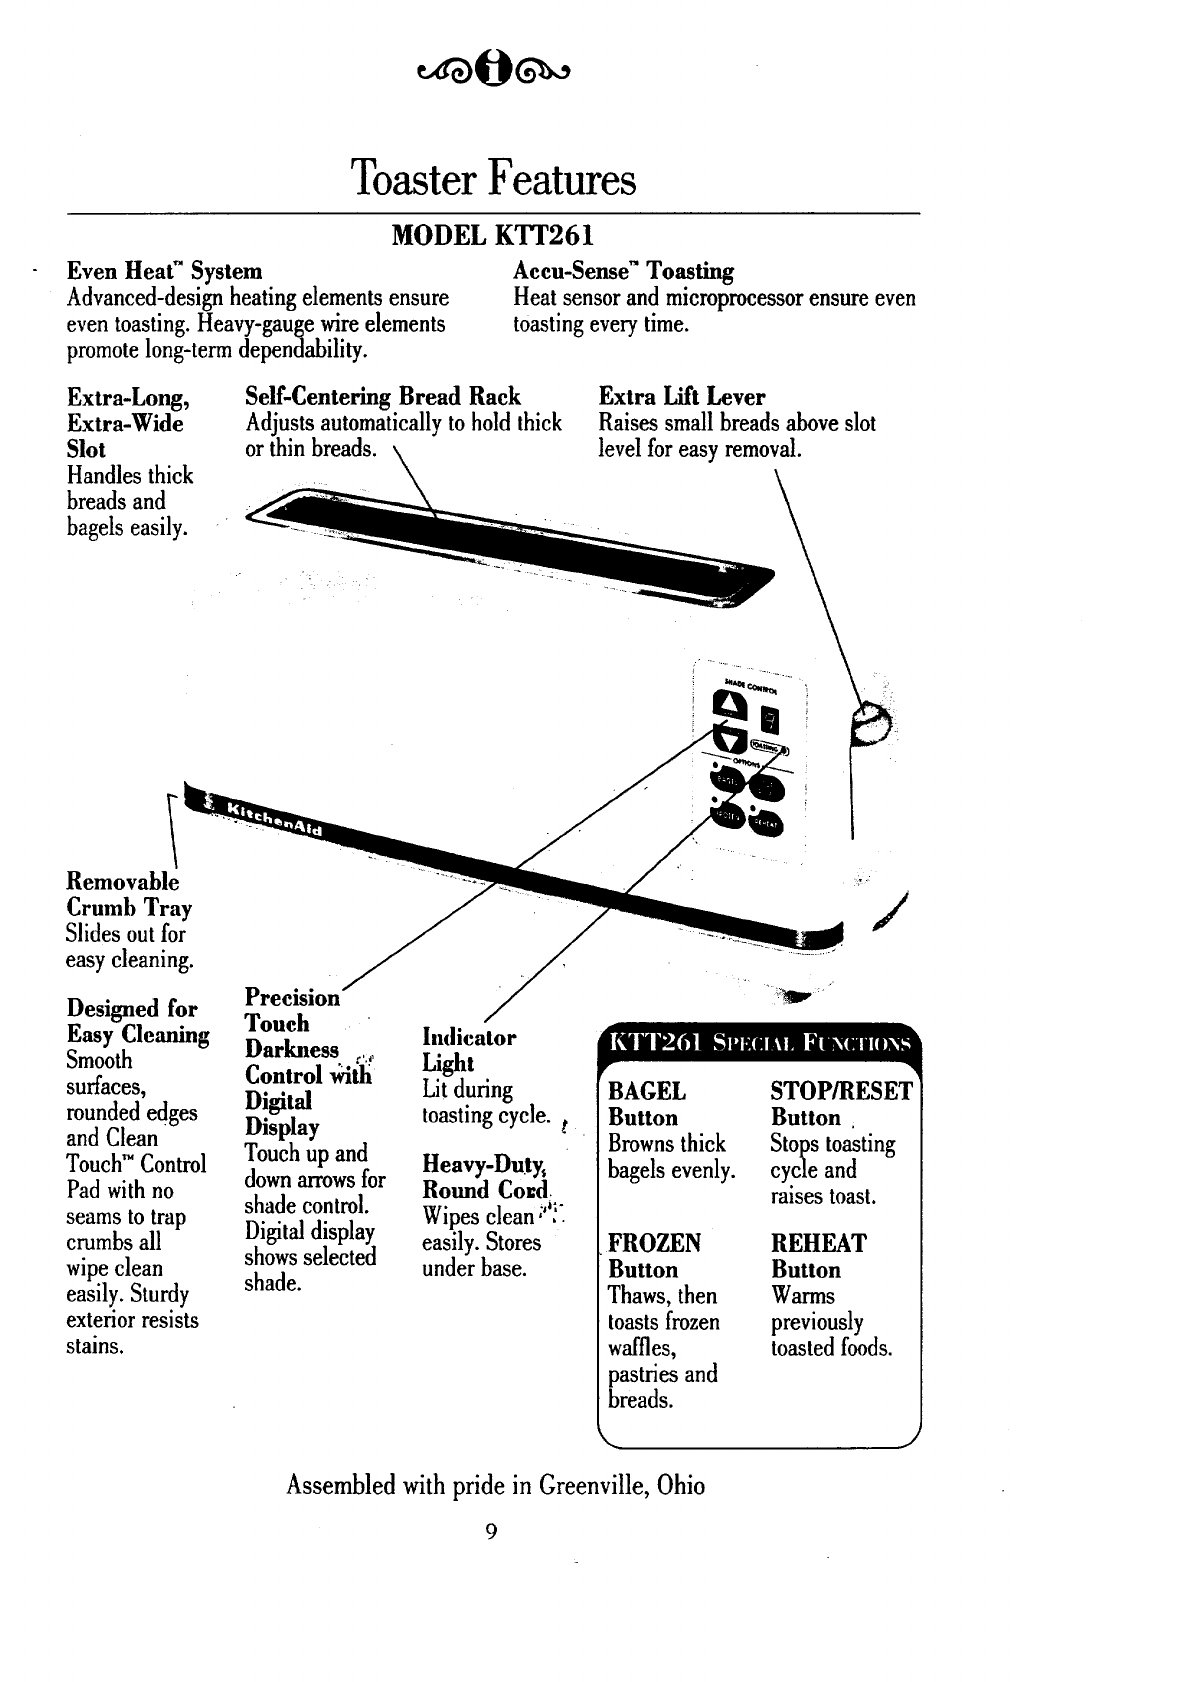
MODEL KTT261
Even Heat" System
Advanced-design heating elements ensure
even toasting. Heavy-gauge wire elements
promote long-term dependability.
Accn-Sense" Toasting
Heat sensor and microprocessor ensure even
toasting every time.
Extra-Long,
Extra-Wide
Slot
Handles thick
breads and
bagels easily.
Self-Centering Bread Rack
Adjusts automatically to hold thick
or thin breads.
Extra Lift Lever
Raises small breads above slot
level for easy removal.
Removable _ _ :_:
Crumb Tray J _ _/
Slides out for J /
easy cleaning. _ . J ///7 ...... /=(
Designed for Precision _:_ •
Easy Cleaning Touch
Smooth
surfaces,
rounded edges
and Clean
Touch" Control
Pad with no
seams to trap
crumbs all
wipe clean
easily. Sturdy
exterior resists
stains.
Darkness .,,_
Control _
Digital
Display
Touch up and
down arrows for
shade control.
Digital display
shows selected
shade.
Indicator
Light
Lit during
toasting cycle, t
Heavy-Duty,
Round Cord.
Wipes clean ;"_"
easily. Stores
under base.
BAGEL STOP/RESU[
Button Button,
Browns thick Sto_,s toasting
bagels evenly, cycle and
raises toast.
FROZEN REHEAT
Button Button
Thaws, then Warms
toasts frozen previously
waffles, toasted foods.
pastries and
breads.
Assembled with pride in Greenville, Ohio
9
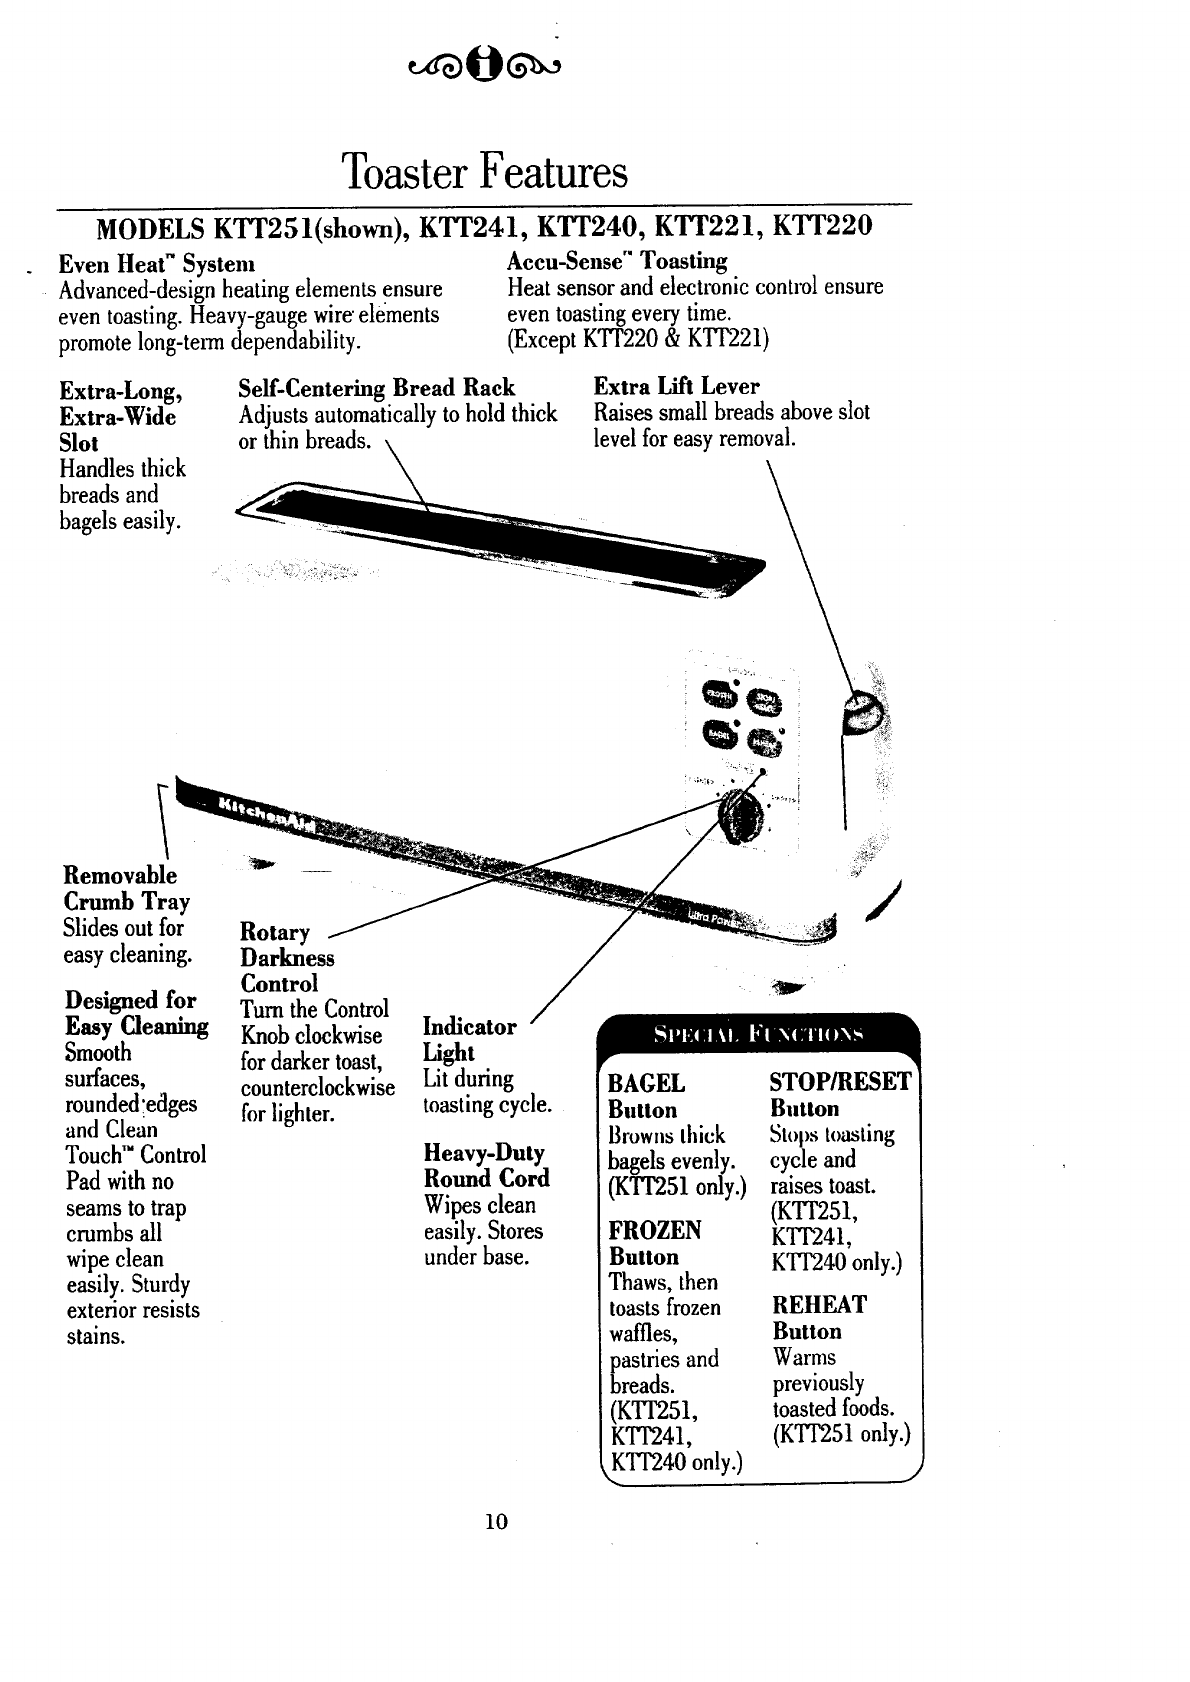
Toaster Features
MODELS KTT251(shown), KTT241, KTT240, KTT221, KTT220
Even Heat" System Accu-Sense °"Toasting
Advanced-design heating elements ensure Heat sensor and electronic control ensure
even toasting. Heavy-gauge wire"elements even toasting every time.
promote long-term dependability. (Except KTI'220 & KTT221)
Extra-Long,
Extra-Wide
Slot
Handles thick
breads and
bagels easily.
Self-Centering Bread Rack
Adjusts automatically to hold thick
or thin breads.
Extra Lift Lever
Raises small breads above slot
level for easy removal.
Removable
Crumb Tray
Slides outfor
easy cleaning.
Designed for
Easy Cleaning
Smooth
surfaces,
rounded:edges
and Clean
Touch" Control
Pad with no
seams to trap
crumbs all
wipe clean
easily.. Sturdy
exterior resists
stains.
Rotary
Darkness
Control
Turn the Control
Knob clockwise
for darker toast,
counterclockwise
for lighter.
Indicator /
Light
Lit during
toasting cycle.
Heavy-Duty
Round Cord
Wipes clean
easily. Stores
under base.
/
BAGEL
Button
Browns thick
bagels evenly.
(KTr'251 only.)
FROZEN
Button
Thaws, then
toasts frozen
waf_es,
pastries and
breads.
(KrlT251,
KTl'241,
KTl'240 only.)
STOP/RESET
Button
Stops toasting
cycle and
raises toast.
(KT1"251,
KTI'241,
K'IT240 only.)
REHEAT
Button
Warms
previously
toasted foods.
(KTT251 only.)
10
Using YourKitchenAid" Toaster
Before using your toaster, check the
Extra-Wide, Extra-Long Slot and
remove any packing or printed material
that may have fallen inside during
shipping or handling.
You may see light smoke the first time
you use the toaster. Do not be alarmed.
The smoke is harmless and will soon
disappear.
Note: Lift toaster by handles only. Do
not probe inside toaster with metal
object.
TO USE:
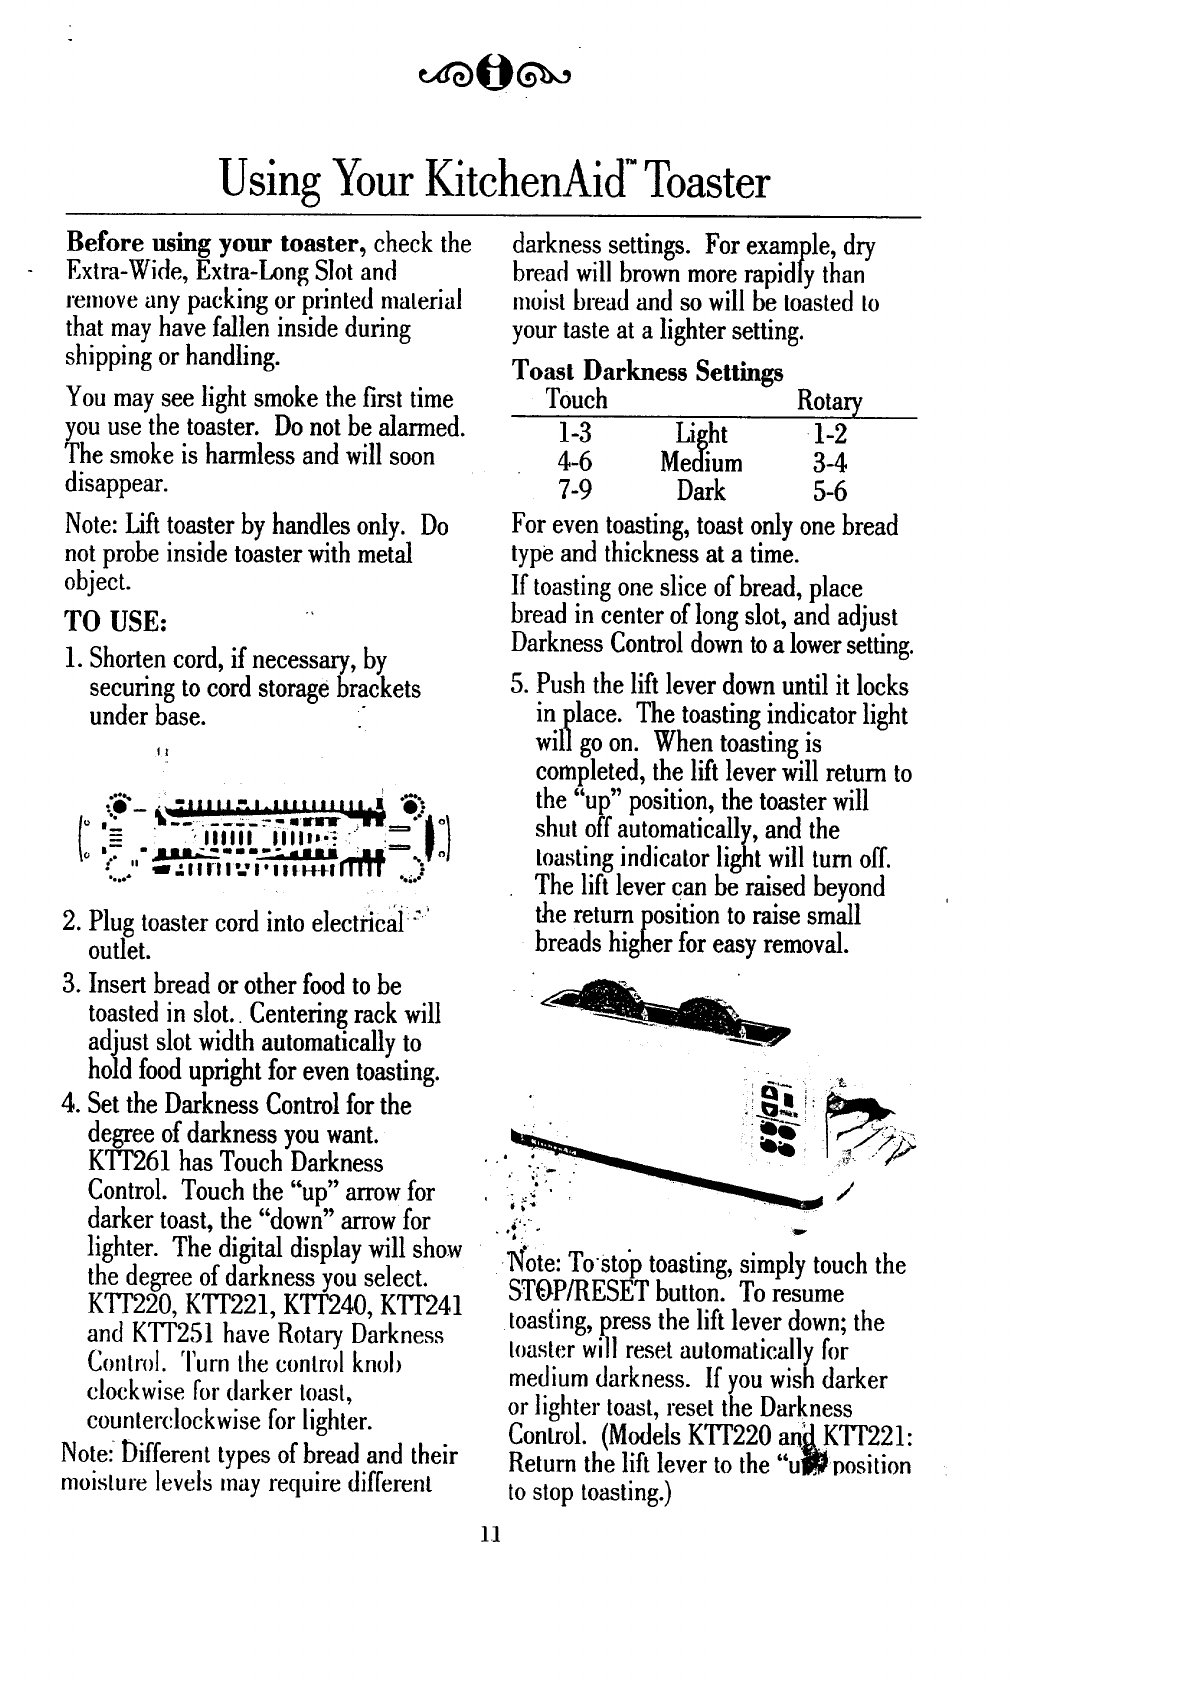
1. Shorten cord, if necessary, by
securing to cord storage brackets
under base.
II
=i " llllll ilII,,;-.: :" :==, I
I_ ii -_immm mmm, _ : •
... ,, _ L-%;..I.I.I-IAiilJi .._
•..... _r'IIIII'.'I'IIIH-I-IIIIII ....}
2. Plug toaster cord into electrical_:'
outlet.
3. Insert bread or other food to be
toasted in slot.. Centering rack will
adjust slot width automatically to
hold food upright for even toasting.
4. Set the Darkness Control for the
degree of darkness you want.
K'l'T261 has Touch Darkness
Control. Touch the "up" arrow for
darker toast, the "down" arrow for
lighter. The digital display will show
the degree of darkness you select.
KrfT220, K'IT221, KTT240, KTI'241
and KT]'251 have Rotary Darkness
Control. Turn tile control knol)
clockwise for darker toast,
counlerclockwise for lighter.
Note"Different types of bread and their
moislure levels may require different
darkness settings. For example, dry
bread will brown more rapidly than
moist bread and so will be toasted to
your taste at a lighter setting.
Toast Darkness Settings
Touch Rotary
1-3 Light 1-2
4-6 Medium 3-4
7-9 Dark 5-6
For even toasting, toast only one bread
type and thickness at a time.
If toasting one slice of bread, place
bread in center of long slot, and adjust
Darkness Control down to a lowersetting.
5. Push the lift lever down until it locks
in place. The toasting indicator light
will go on. When toasting is
completed, the lift lever will return to
the "up" position, the toaster will
shut off automatically, and the
toastingindicator light will turn off.
The lift lever can be raised beyond
the return position to raise small
breads higher for easy removal.
"Note:Tosto'p toasting, simply touch the
STOP/RESET button. To resume
toasting, press the lift lever down; the
Ioasterwill reset automatically fi)r
medium darkness. If you wish darker
or lighter toast, reset the Darkness
Control. (Models KTl'220 aff_LKTr221:
Return the lift lever to the ui_position
to stop toasting.)
11
UsingYourKitchenAidTM Toaster
TO TOAST BAGELS:
Models KT1"251and KTr261 only:
1. Insert bagel in bread slot..
2. Push the lift lever down until it locks.
3. Touch the BAGEL button.
Note: If you wish to clear this setting
touch the STOP/RESET button and reset
the Darkness Control.
TO TOAST FROZEN BAGELS:
Model KTT261: Touch both FROZEN
and BAGEL buttons to brown thick
bagels.
Model KTl'251: Touch FROZEN only.
TO TOAST FROZEN BREADS,
WAFFLES OR PASTRIES:
Your KitchenAid" Toaster will toast
frozen breads, wafflesor pastries just the
way you want them, first thawing, then
toasting, all automatically. (All models
except KTr220 and KTT221.)
1. Insert frozen product in bread slot.
2. Set the Darkness Control for the
degree of darkness desired in the
finished product.
3. Push the lift lever down until it locks.
4. Touch the FROZEN button. Frozen
product will thaw, then toast
automatically.
Note: ff you wish to clear this setting
touch the STOP/RESET button and reset
the Darkness Control.
TO REHEAT TOAST:
The REHEAT setting on your
KitchenAid" Toaster warms toast
quickly, without retoasting or burning.
(KT]'251, KTr261 only.)
1. Insert already toasted product in
bread slot.
Note: Do not place bread with butter or
any other topping in the toaster. Use
REHEAT for dry bread and bagels only.
2. Push the lift lever down until it locks.
3. Touch the REHEAT button.
Note: If you wish to clear this setting
touch the STOP/RESET button and reset
the Darkness Control.
Cleaning YourToaster
1. Unplug the toaster and let it cool
before cleaning.
2. Slide out crumb tray; shake into waste
container to remove excess crumbs,
clean after each use. Tray will be hot
immediately followingtoasting cycle.
3. Wipe toasterwith a soft, damp cotton
cloth. DO NOT use paper towels,
•abrasive cleansers or liquid cleaning
.products. DO NOT immerse toaster
m water.
Note: If grease or oil splatters on the
toaster, wipe splatters away immediately
using a clean, damp cotton cloth.
4. Return crumb tray to toaster. Press it
in firmly until it clicks into position.
DO NOT use the toaster without the
crumb tray in proper position.
Note: KitchenAid does not recommend
the use of a toaster cover.
•q
9704077 Rev. B
KitchenAid"
rMTrademark of KitchenAid, U.S.A.
Printed in USA (dZw 598)
