Kenxinda Technology S-8000 MOBILE PHONE User Manual User Guide
SHENZHEN KENXINDA TECHNOLOGY CO.,LTD MOBILE PHONE User Guide
UserManual.wiki
>
Kenxinda Technology
>
S 8000 User Manual
User Manual
Navigation menu
Upload a User Manual
Namespaces
Wiki Guide
HTML
PDF
Info
Views
User Manual
Discussion / Help
Navigation

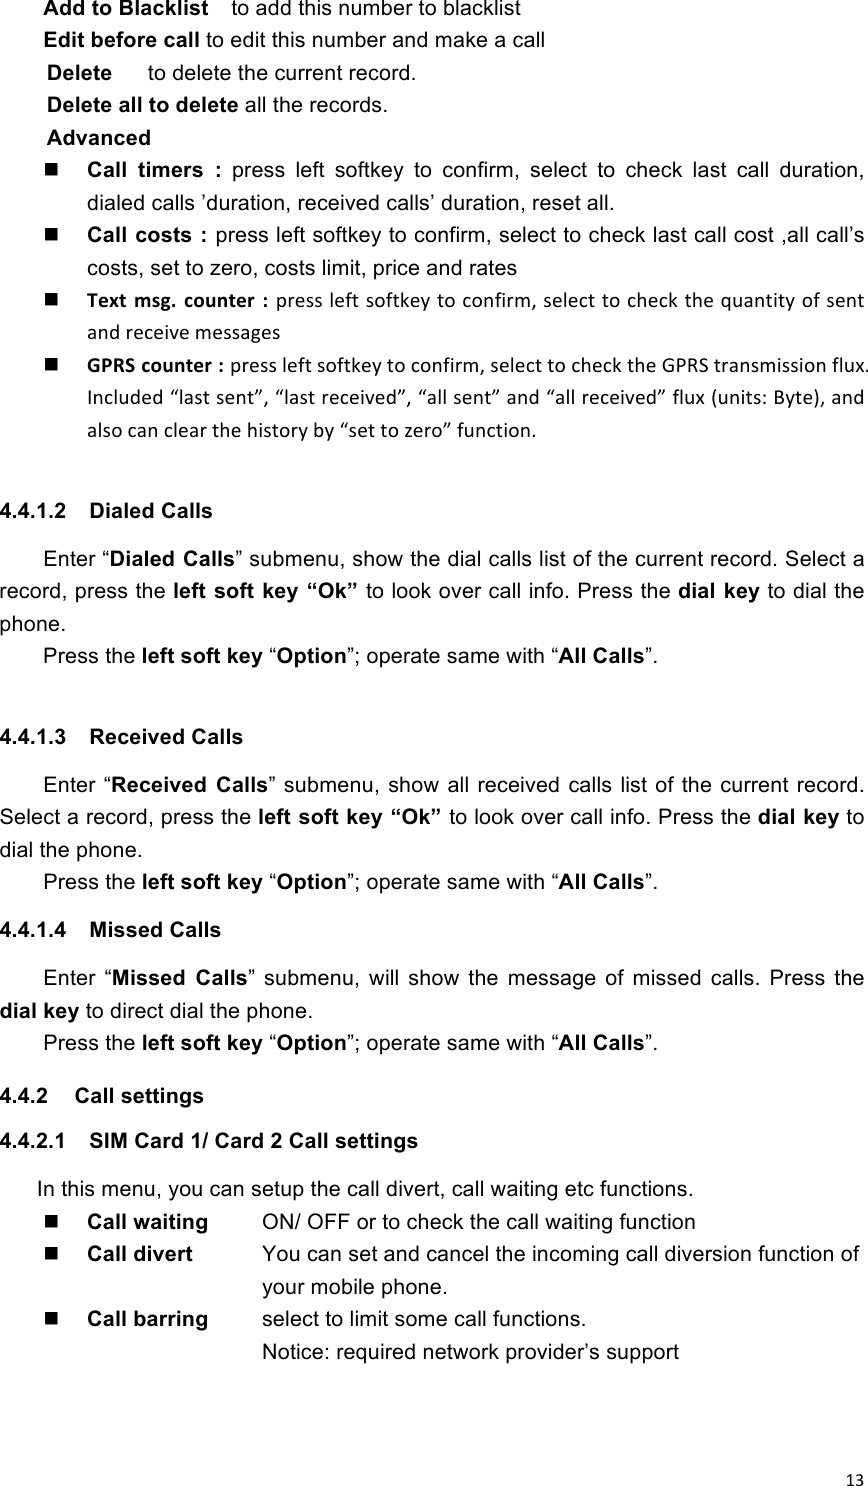
![!11!4 Function Menu 4.1 Files manager Enter into the files management menu, the screen display the mobile phone and memory card icon (make sure the card has been inserted). The screen will show the storage capacity and available space of above two storage devices. In this menu, press ok key “options” to operate: Open open the folder which you selected New folder create a new folder Format format the memory Notice: you will lose all the information in the file system after format. 4.2 Phone book You can use the phonebook function to save name card information such as Name, Number, Home number, Company name, Email address, Office number, Fax number Associate picture, Associate sound, Caller group. Note: This phone is able to save up to 500 phone book records, and the record storage of SIM card is decided by the capacity of the SIM card. When the cusor stay at add new contact, press ok key into option: Select to add a new record to the phonebook. You can select save the number in the “To SIM1/2” or the “To phone”. A new record is added to the Phone Book, except Name, Number, Home number, Office number, Fax number, you can add the content as follows: Company name: to edit company name of linkman. Email address 1/2: to edit email address. Office number: to edit office number Fax number: to edit office number Caller picture: to set a personalized picture for the current phone entry. You can select the picture of mobile telephone preediting, or can select the picture, succeed preview and appropriate size, from the [File manager]. Caller ringtone: to set a personalized ring tone for the current phone entry. You can control the scroll bar to select personalized income ring tones from inner ring of mobile telephone systemic. Note: When the file is sent to user profile in the [File Manager], you can selected it to become the associate sound Caller group: You can enter the telephone numbers saved in the phonebook into different groups according to your relation to the people. Phonebook settings Preferred Storage You can set a default setting for the storage of telephone numbers to be saved to “SIM” or “Phone”, and allow the user to choose when adding a new phone entry . Speed dial Setup whether to activate the function of speed dial, and](https://usermanual.wiki/Kenxinda-Technology/S-8000/User-Guide-1508756-Page-11.png)
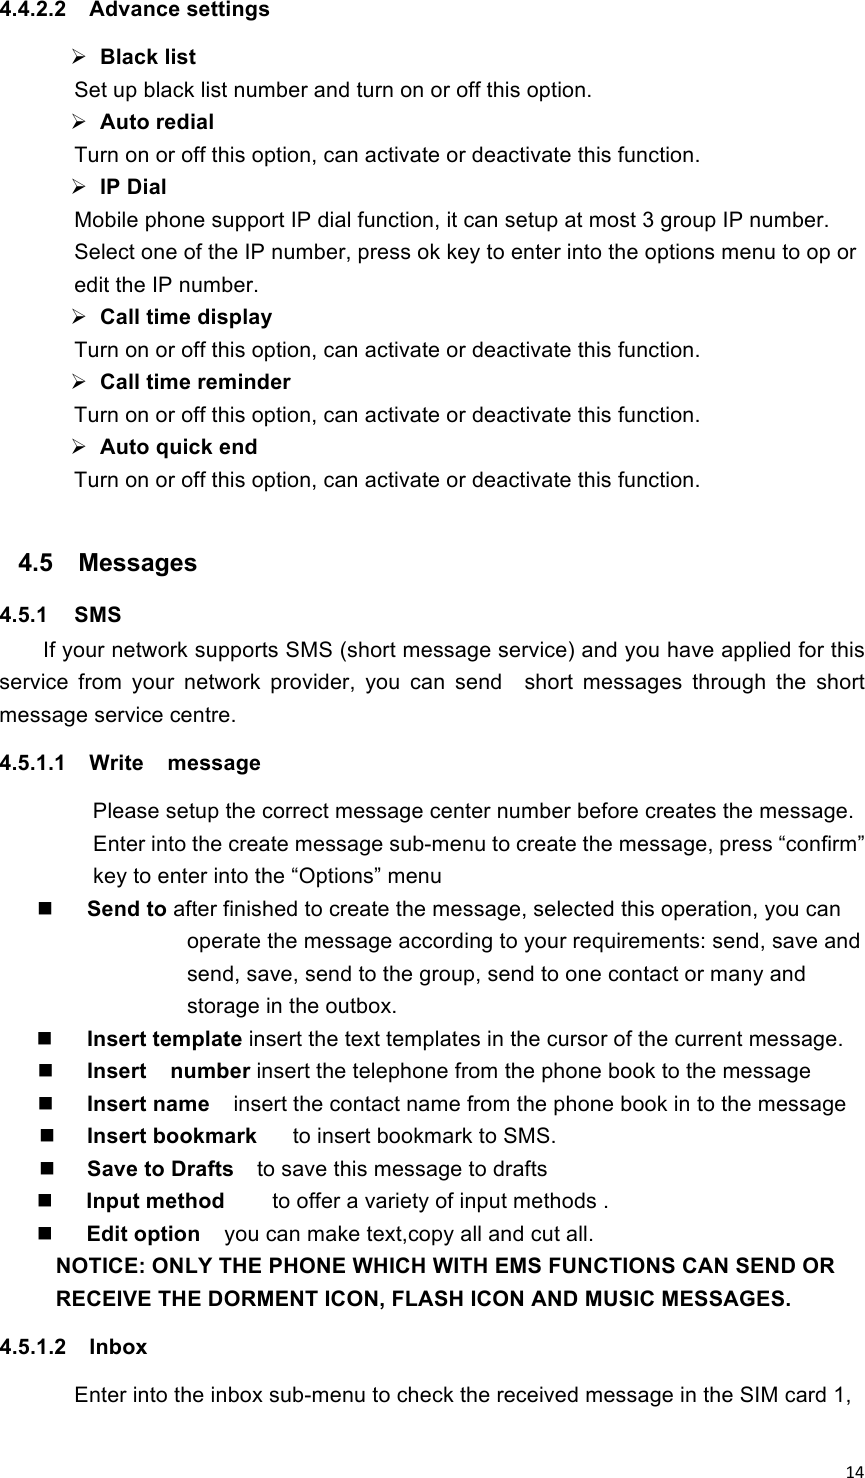
![!17! Memory status to display the memory by n/m form in the SIM card and phone, thereinto, “n” denote the current memory message, “m” denote the most message capability in the SIM card or phone. Your mobile-phone can save 100 items(include Inbox and Outbox) SMS at most. SMS numbers are decided with SIM card capability in the SIM card. Preferred storage to select to save the messages to “SIM” or “Phone”. 4.5.2 MMS (MMS) Multimedia messaging services, the most outstanding feature is that it can support multimedia message functions. It can send text, sound, picture message etc. The MMS service is provided by the network provider, please confirm if your SIM card support this function or not, or consult your SIM card about relevant information. Your support MMS function, after the necessary settings, you can send and receive MMS. 4.5.2.1 Writing MMS message You can select the recipients, CC, BBC, subject, text and attachment while writing the MMS message. Press “ok” key to enter into the options menu. To setup the recipient’s telephone number or email address CC selects the telephone number or email address which you want to send carbon copy. BCC select the telephone number or email address which you want to send blind carbon copy. Subject edit the MMS subject Edit content edit the MMS text, user can setup the text, insert, preview, page. When you select “Edit content”, press the left soft key “Edit” to enter edit content interface, you can input content. After finishing it, press the left soft key “Options”, have options as follows: Done Complete editing of the current MMS. Input method to choose one kind as acquiescence characters editor. Add picture to select a picture from [File manager] submenu and insert into the current page. Edit picture to displace the current image. Remove picture to delete the current image. Add audio to select a audio from [File manager] submenu and insert into the current page. Edit audio to displace the current audio. Remove audio to delete the current audio. Add video to select a video from [File Manager] submenu and insert into the current page. Edit video to displace the current video. Remove video to delete the current video.](https://usermanual.wiki/Kenxinda-Technology/S-8000/User-Guide-1508756-Page-17.png)
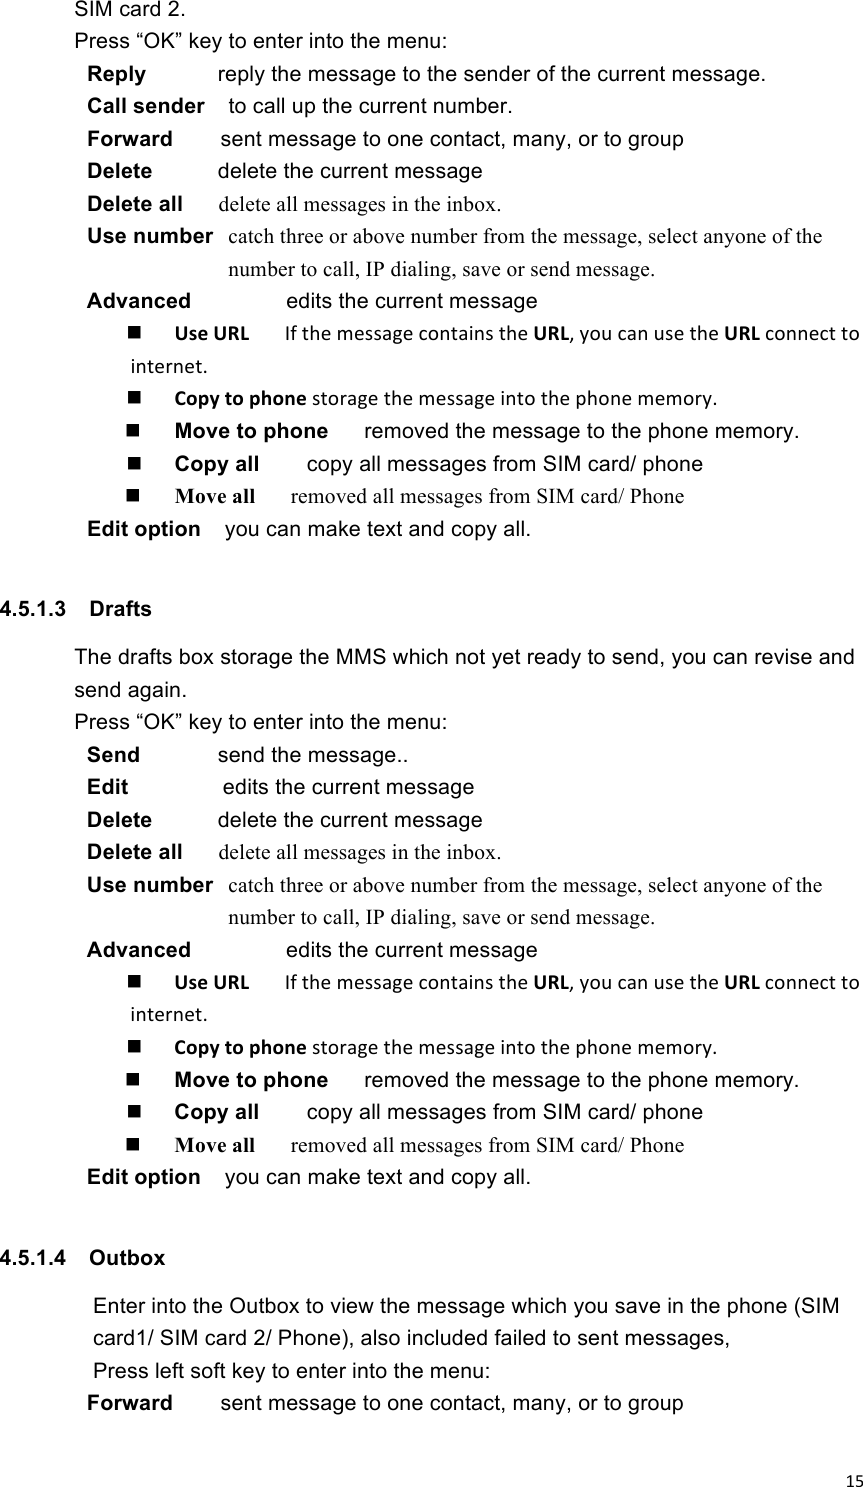
![!18! Add attachment to add the attachment to the current page from the [File manager]. Edit attachment to displace the current attachment. Remove attachment to delete the current attachment. Add slide before to insert the new slide before the current page. Add slide after to insert the new slide after the current page. Delete slide* to delete the current page. Previous slide* to return to the previous page. Next slide* to enter the next page. Add bookmark text to insert the bookmark to the current page. Preview to preview the current MMS. Slide time to set the display time with the current page, the different page can set the different display timing. After finished editing, you can select to send or save the message in the MMS editing interface. NOTICE: The size of the MMS, the unit is KB, in the editing interface, the screen will show the current page number, total number of pages/ and the size of the MMS 4.5.2.2 Inbox The phone will storage the MMS in inbox Select one MMS and press ok key “options” to the following operation: View view the MMS Reply to reply MMS to the sender Reply by SMS reply SMS to the sender Reply all to edit the MMS to reply all, at the same time, subject change to "Re:" and old subject. Forward forward the selected MMS to other contact Delete delete the MMS Delete All delete all SMS in the inbox Save as template to save the MMS as template Properties: to can look over the sender's number, subject, and sent time and date, MMS Size and so on. Use numbers catch the selected number to save in the SIM card or mobile phone or to call. 4.5.2.3 Outbox This menu allows you to save the implementation of the "Save and send" after the MMS. The operation is same as inbox’s 4.5.2.4 Drafts The drafts box storage the MMS which not yet ready to send, you can revise and send again. The operation is same as outbox’s.](https://usermanual.wiki/Kenxinda-Technology/S-8000/User-Guide-1508756-Page-18.png)
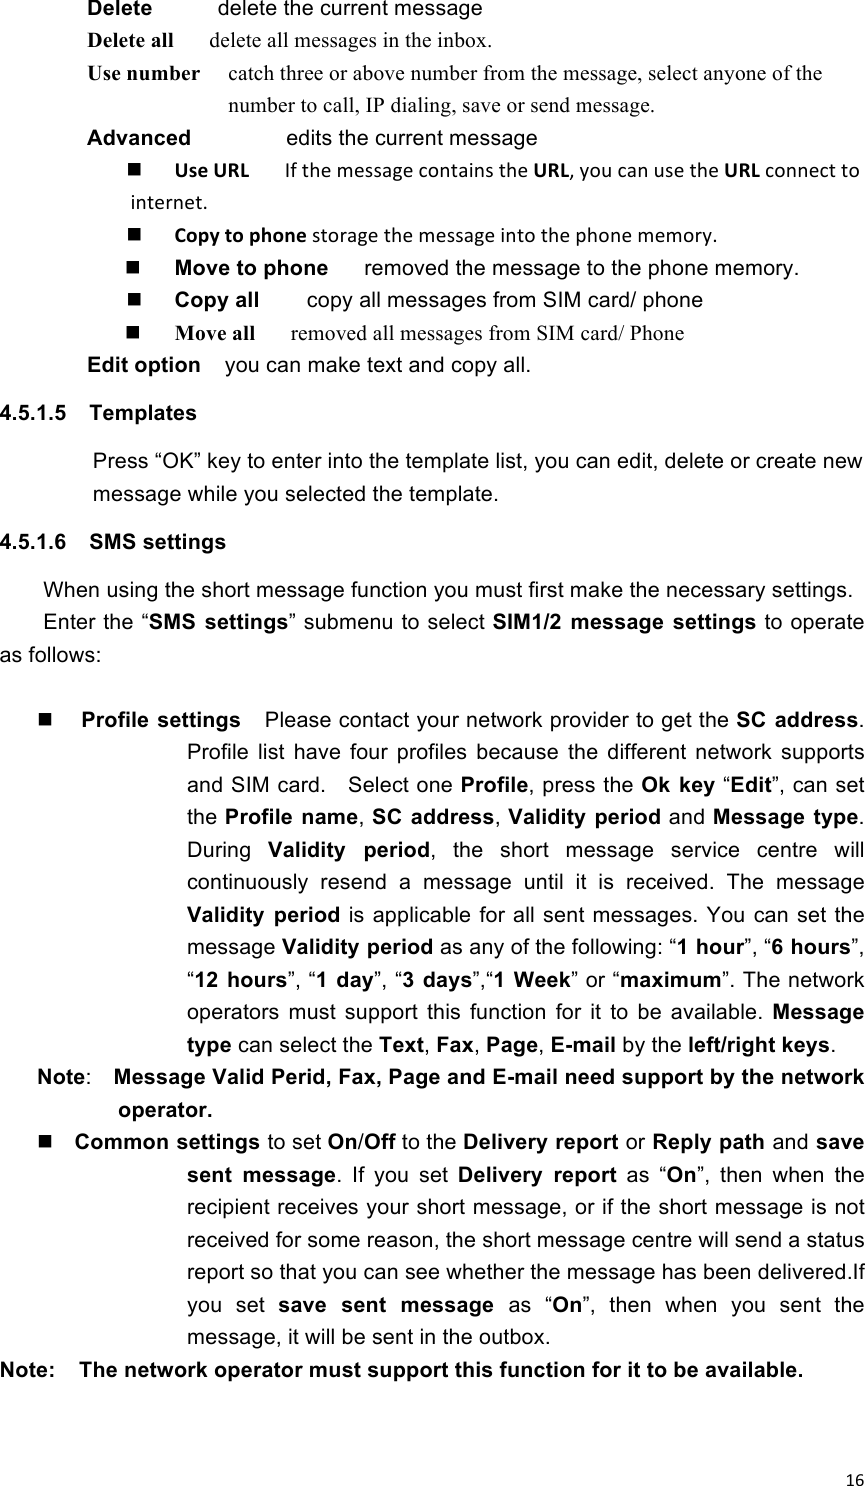
![!27!press ok key to search hand-free devices, such as Bluetooth headset, if nearby there is an active Bluetooth device, the phone will find out the device, press “connect”, and enter the Bluetooth password to connect successful. My name too revise the device name Advanced Audio path select to leave in the phone or Forward to BT device. Storage select to save file in the phone or memory card Sharing permission select to share permission My address to show the Bluetooth address. 4.10.2 Calculator Your mobile phone provides a calculator with 4 basic functions to facilitate simple calculations. 4.11 Services In the main menu interface, press the navigation key to select “Services”. 4.11.1 SIM1/2 STK* Press the up/down keys to select “STK”. Press the Ok key to enter the “STK” main menu. Here you can use the value-added services provided by your network operator. Your mobile phone supports STK functions. This service is provided by your network operator. If your SIM card and network operator do not provide this service, then you will not be able to use this function. For more information please contact your network operator. 4.11.2 Internet sevice Your mobile phone supports wireless application protocol (WAP) service. You can access many different WAP services such as news, weather reports, flight information, and others. These services are especially designed for mobile phones and maintained by WAP service providers. Network support is necessary for WAP services. Please contact your network provider and/or the service provider of the desired service. The service provider will also provide instructions about how to use their service. In the services main menu, press the up/down keys to scroll and select “WAP” and press the Ok key to enter menu Here you will see the following menu options: “Homepage”, “Bookmarks”, “Recent pages”, “Offline pages”,“Input address”, “Service inbox” and “Settings”. 4.11.2.1 Homepage Select “Homepage” to enter the home page, use this menu to connect your phone to the network and load the home page of the wireless web service provider.The Home page is the WAP site set by you in the activated connection method. Home is setted in the [Settings]\[Edit Profile]\[Homepage].](https://usermanual.wiki/Kenxinda-Technology/S-8000/User-Guide-1508756-Page-27.png)
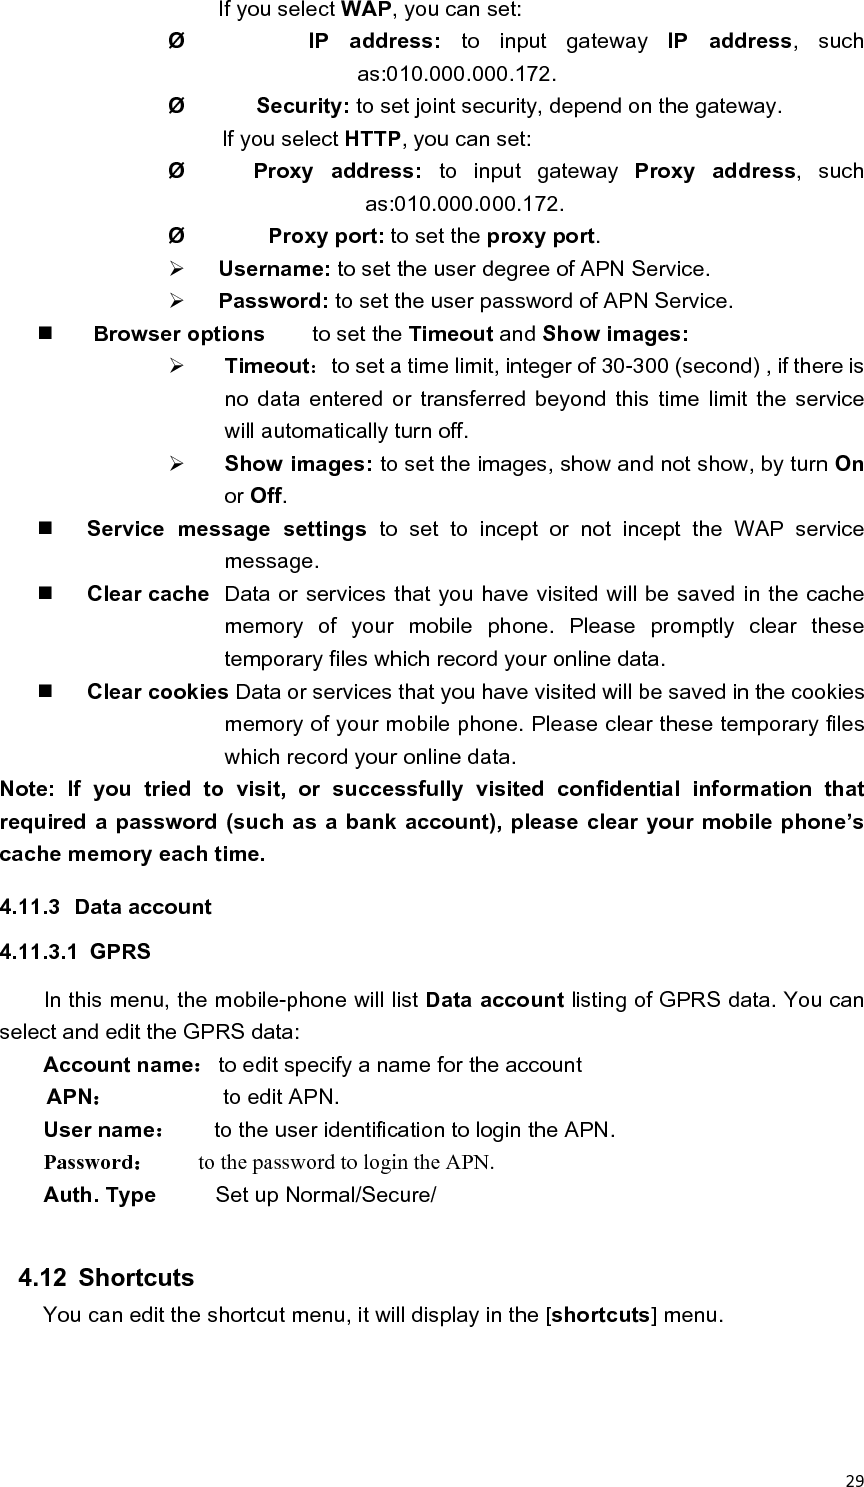
![!29! If you select WAP, you can set: Ø IP address: to input gateway IP address, such as:010.000.000.172. Ø Security: to set joint security, depend on the gateway. If you select HTTP, you can set: Ø Proxy address: to input gateway Proxy address, such as:010.000.000.172. Ø Proxy port: to set the proxy port. Username: to set the user degree of APN Service. Password: to set the user password of APN Service. Browser options to set the Timeout and Show images: Timeout:to set a time limit, integer of 30-300 (second) , if there is no data entered or transferred beyond this time limit the service will automatically turn off. Show images: to set the images, show and not show, by turn On or Off. Service message settings to set to incept or not incept the WAP service message. Clear cache Data or services that you have visited will be saved in the cache memory of your mobile phone. Please promptly clear these temporary files which record your online data. Clear cookies Data or services that you have visited will be saved in the cookies memory of your mobile phone. Please clear these temporary files which record your online data. Note: If you tried to visit, or successfully visited confidential information that required a password (such as a bank account), please clear your mobile phone’s cache memory each time. 4.11.3 Data account 4.11.3.1 GPRS In this menu, the mobile-phone will list Data account listing of GPRS data. You can select and edit the GPRS data: Account name: to edit specify a name for the account APN: to edit APN. User name: to the user identification to login the APN. Password: to the password to login the APN. Auth. Type Set up Normal/Secure/ 4.12 Shortcuts You can edit the shortcut menu, it will display in the [shortcuts] menu.](https://usermanual.wiki/Kenxinda-Technology/S-8000/User-Guide-1508756-Page-29.png)