Keyence 0823A Bluetooth Scanner User Manual BL N90 F E
Keyence Corporation Bluetooth Scanner BL N90 F E
UserManual.wiki
>
Keyence
>
0823A User Manual
User Manual
Navigation menu
Upload a User Manual
Namespaces
Wiki Guide
HTML
PDF
Info
Views
User Manual
Discussion / Help
Navigation


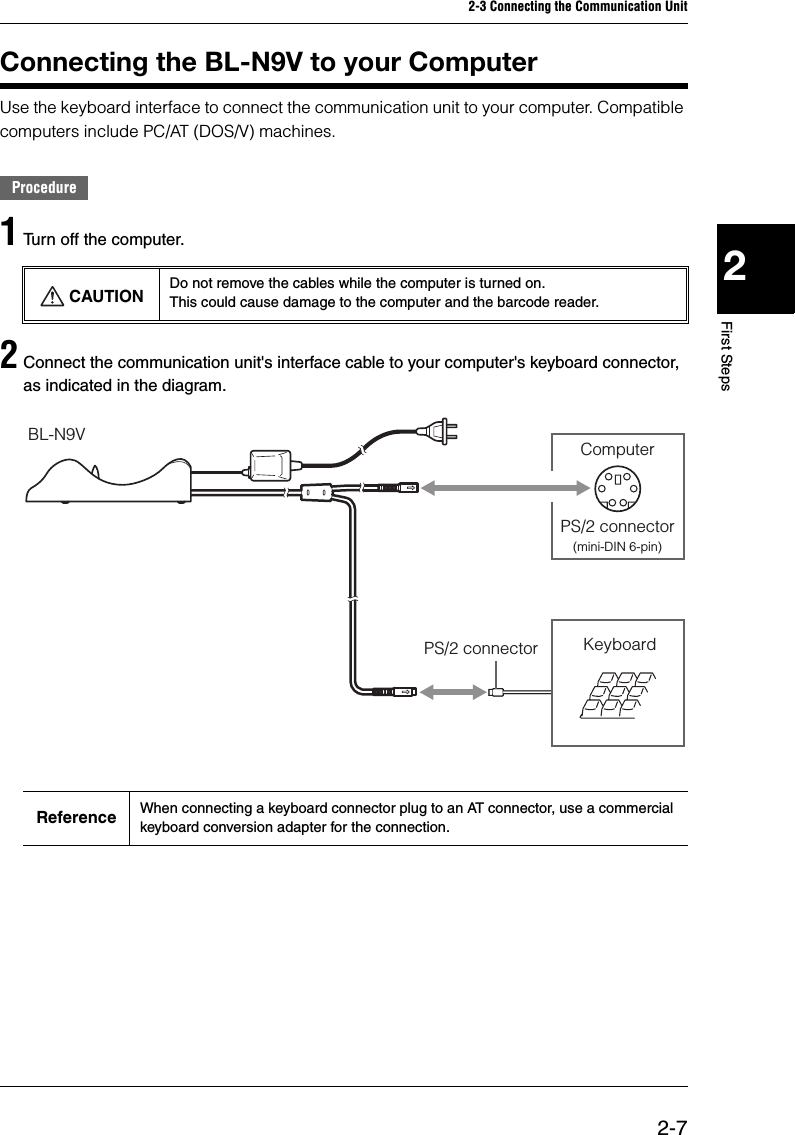
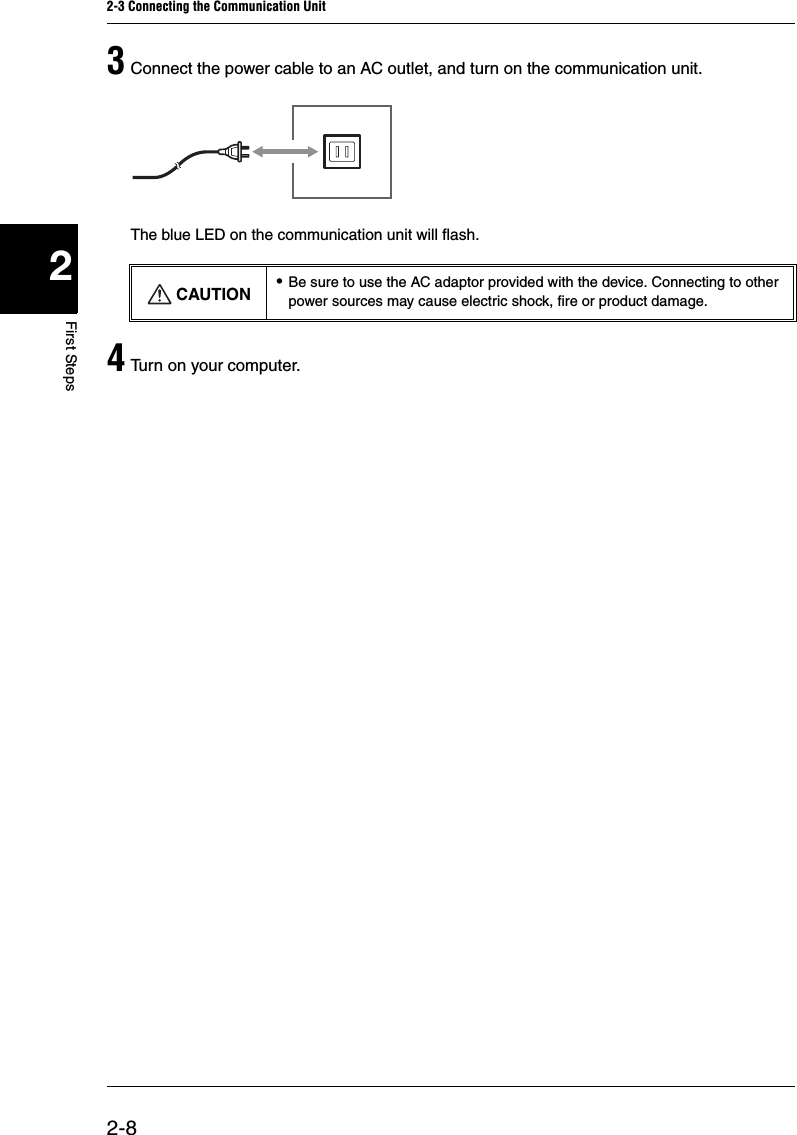
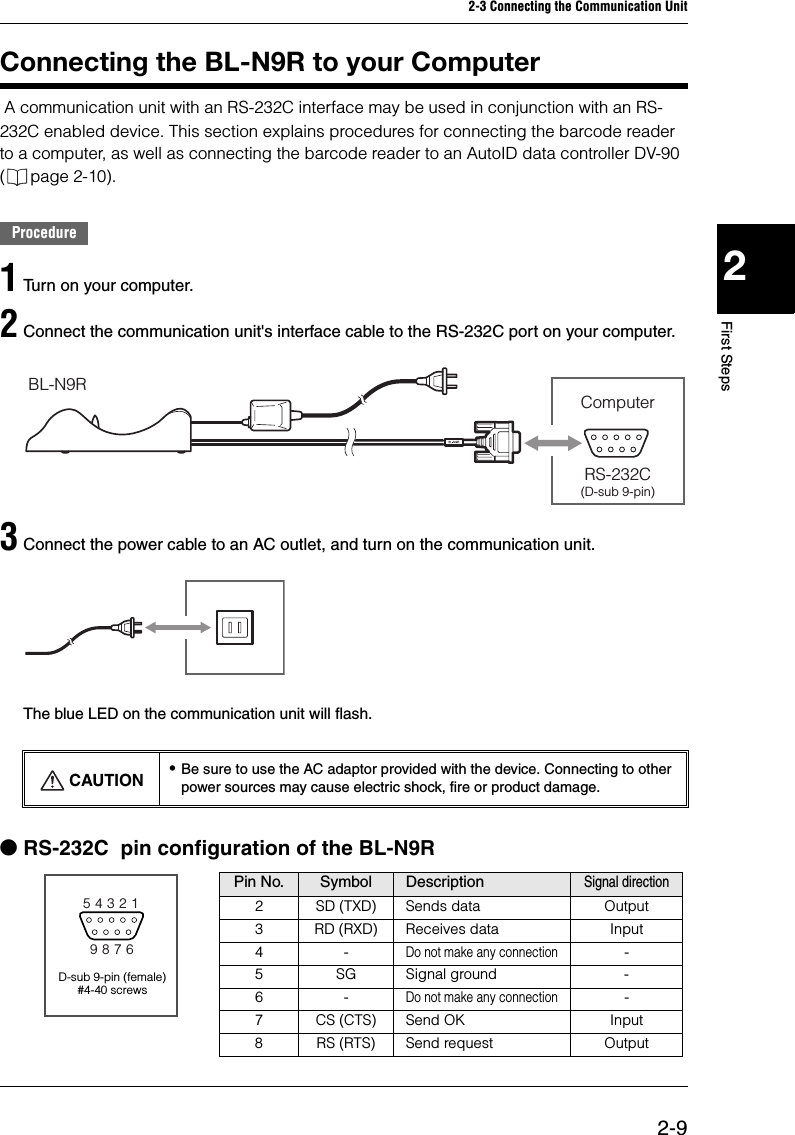
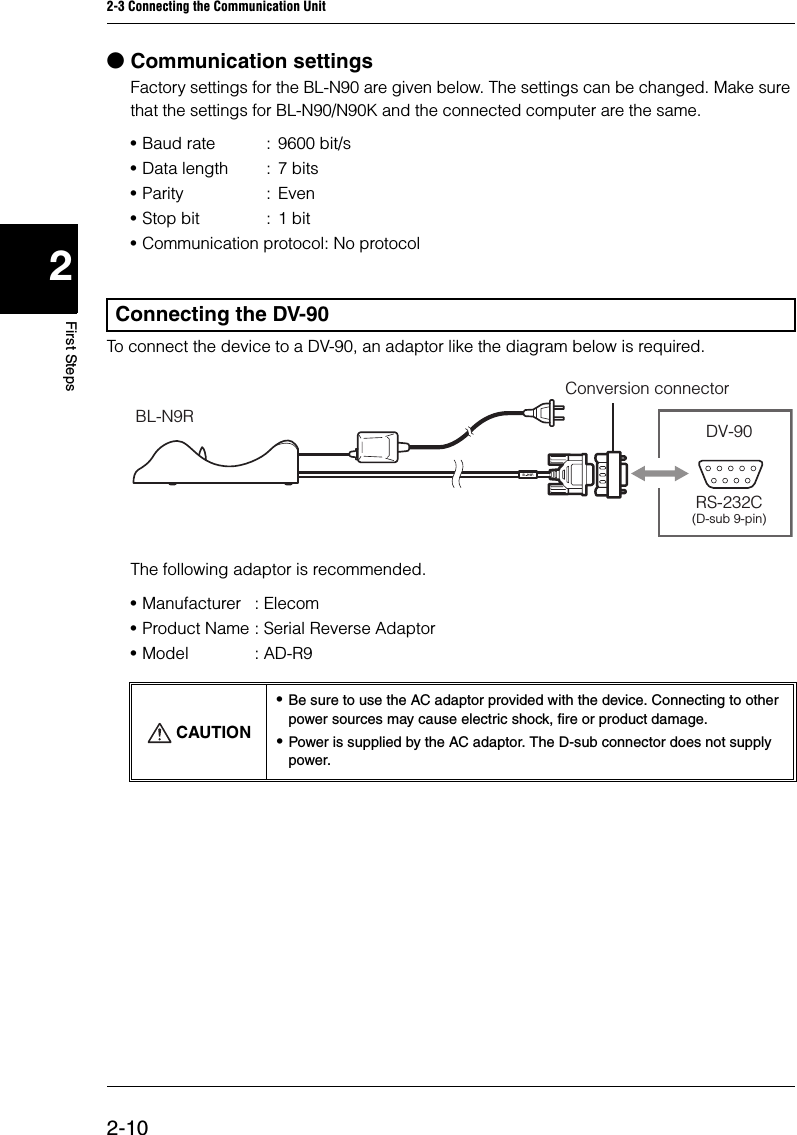
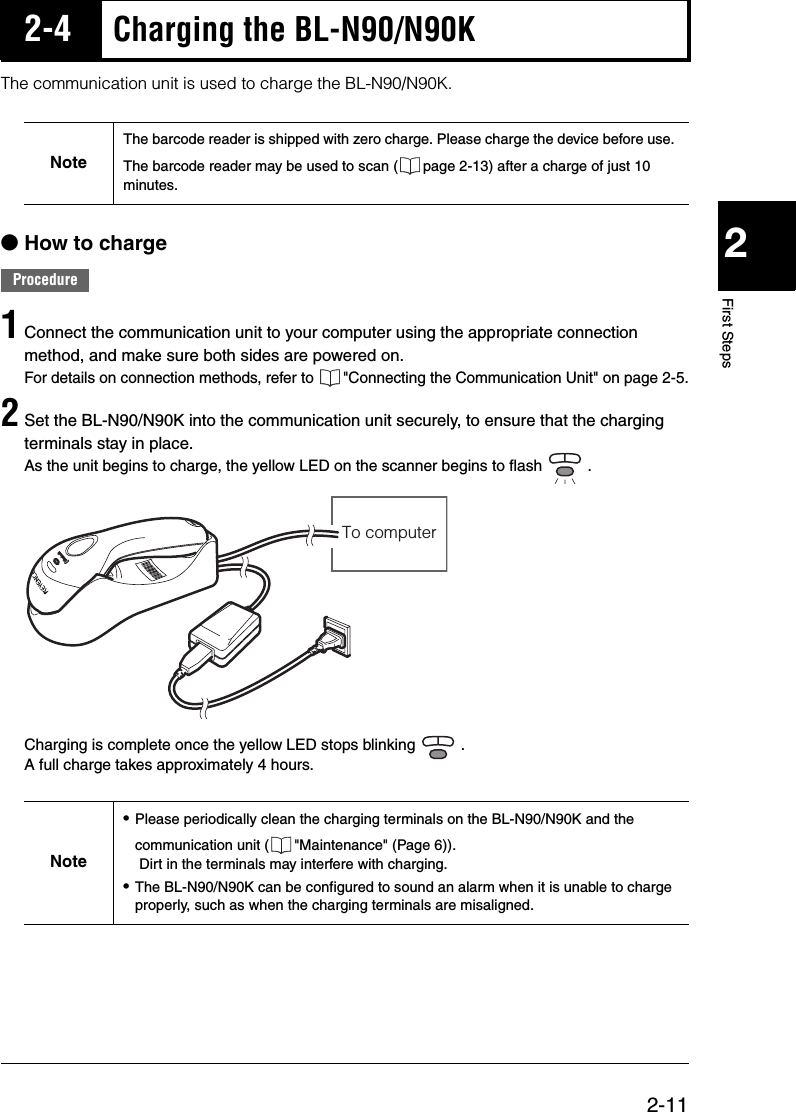
![2-3 Connecting the Communication Unit2-62First StepsWhen BL-N9UB is first connected to a computer running Windows 98, the USB driver installation screen appears. Install the driver by following the directions given on the screen.(This procedure is not necessary when using a computer running Windows XP/2000).Procedure1The "Add New Hardware Wizard" dialog appears and the message "This window searches for new drivers for:USB human interface device" is displayed. Click on the [Next] button.2The message "What do you want Windows to do?" is displayed. Select [Search for the best driver for your device (Recommended).] and click on the [Next] button.3Click on the [Next] button. "USB human interface device" is displayed and the message "Windows driver search for the device:" appears. Click on the [Next] button.4Windows begins installing the driver. When installation is complete, the message "Windows has finished installing the software that your new hardware device requires." appears. Click on the [Finish] button.Installing the USB DriverNote Connect the barcode reader after turning on the computer. If the barcode reader is connected with the power off, turn the computer on.Note The CD-ROM (Windows) may be required depending on the computer environment.](https://usermanual.wiki/Keyence/0823A/User-Guide-710178-Page-20.png)