Kintech PC1018 tablet pc User Manual KW GPS 4301
Kintech Co. Ltd tablet pc KW GPS 4301
UserManual.wiki
>
Kintech
>
PC1018 User Manual
UserMan
Navigation menu
Upload a User Manual
Namespaces
Wiki Guide
HTML
PDF
Info
Views
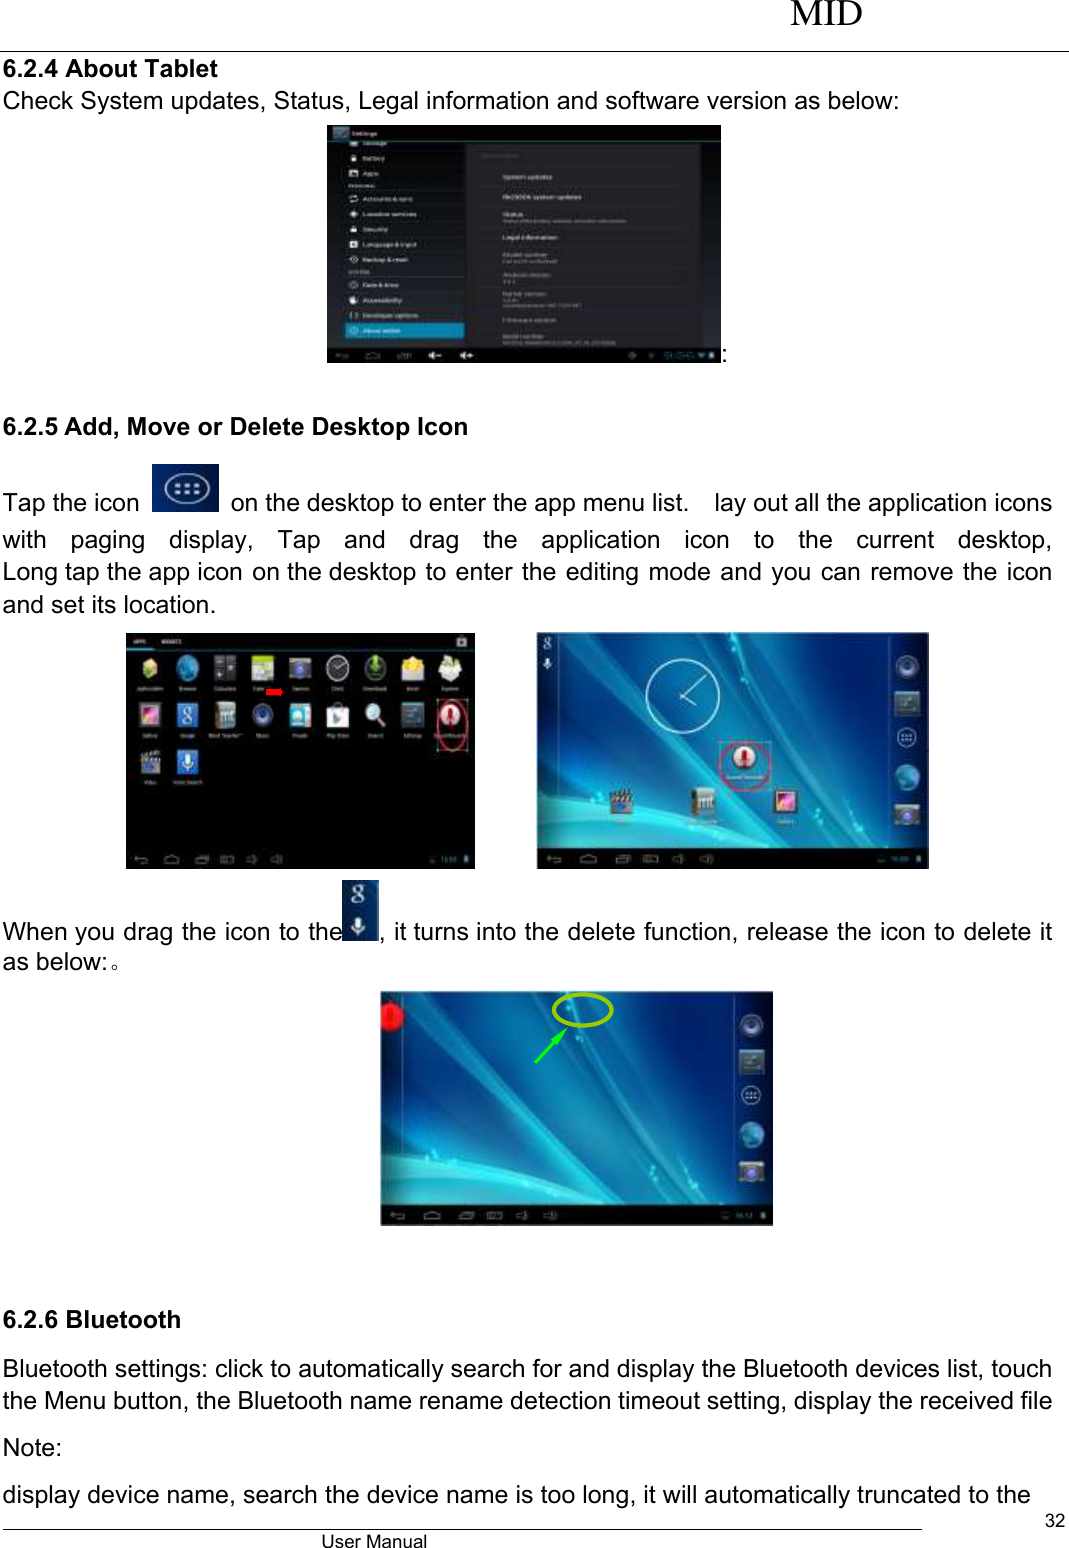
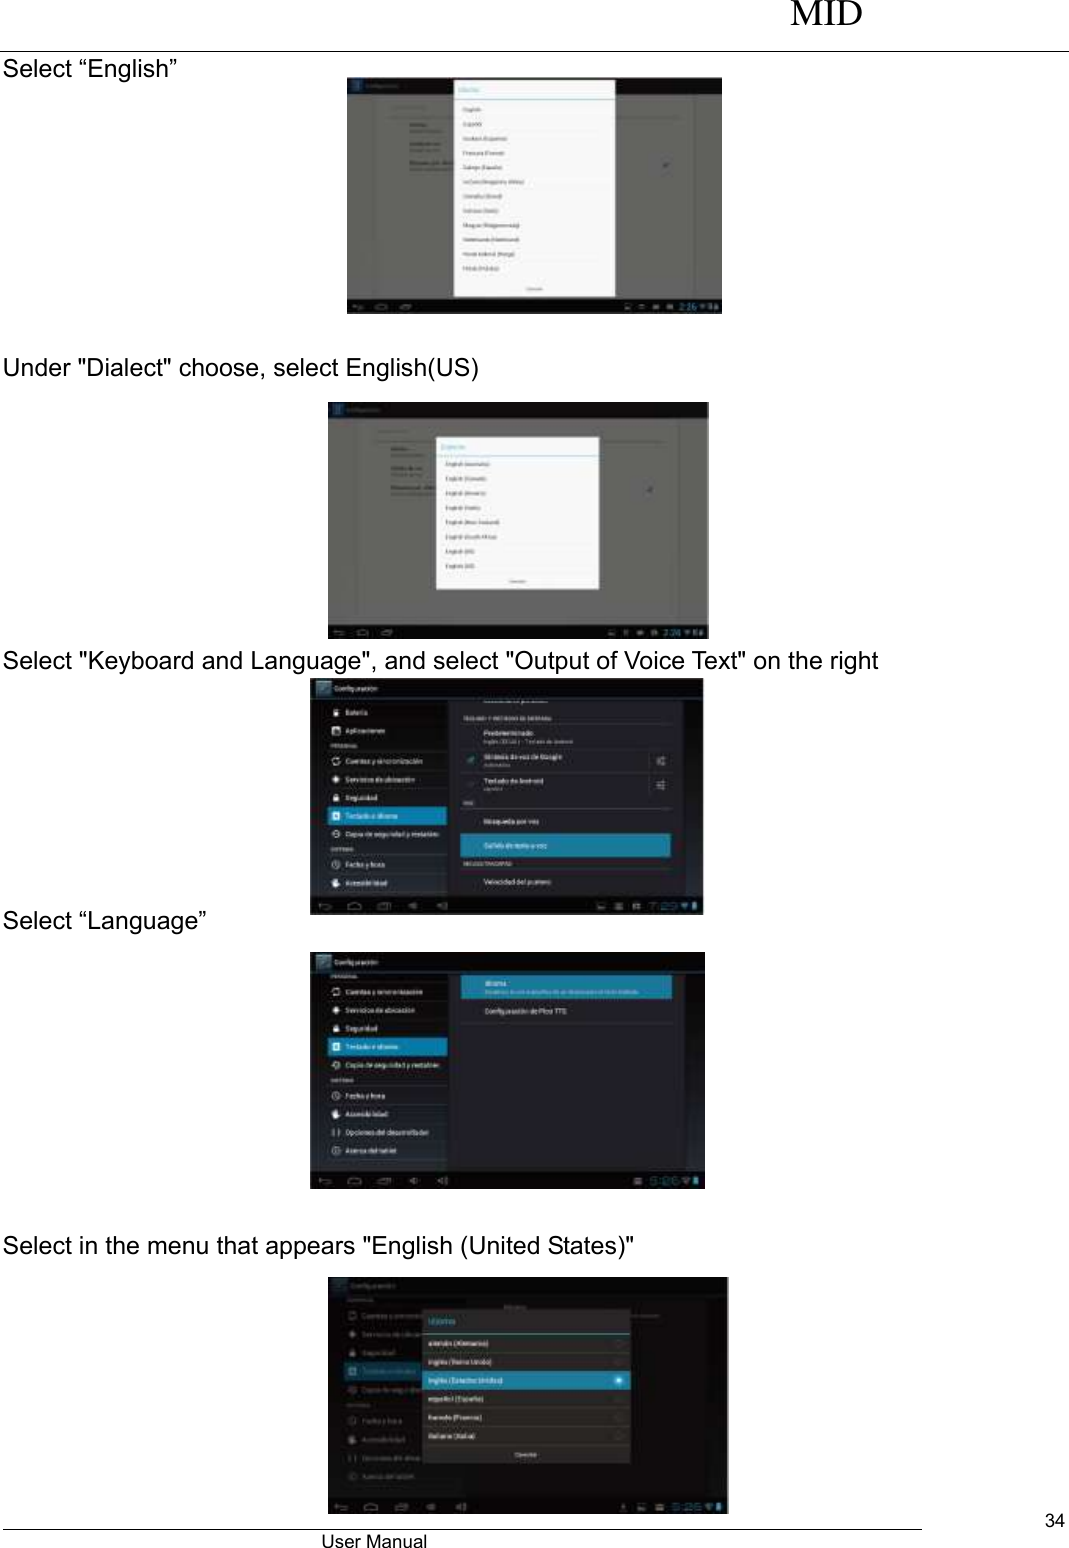
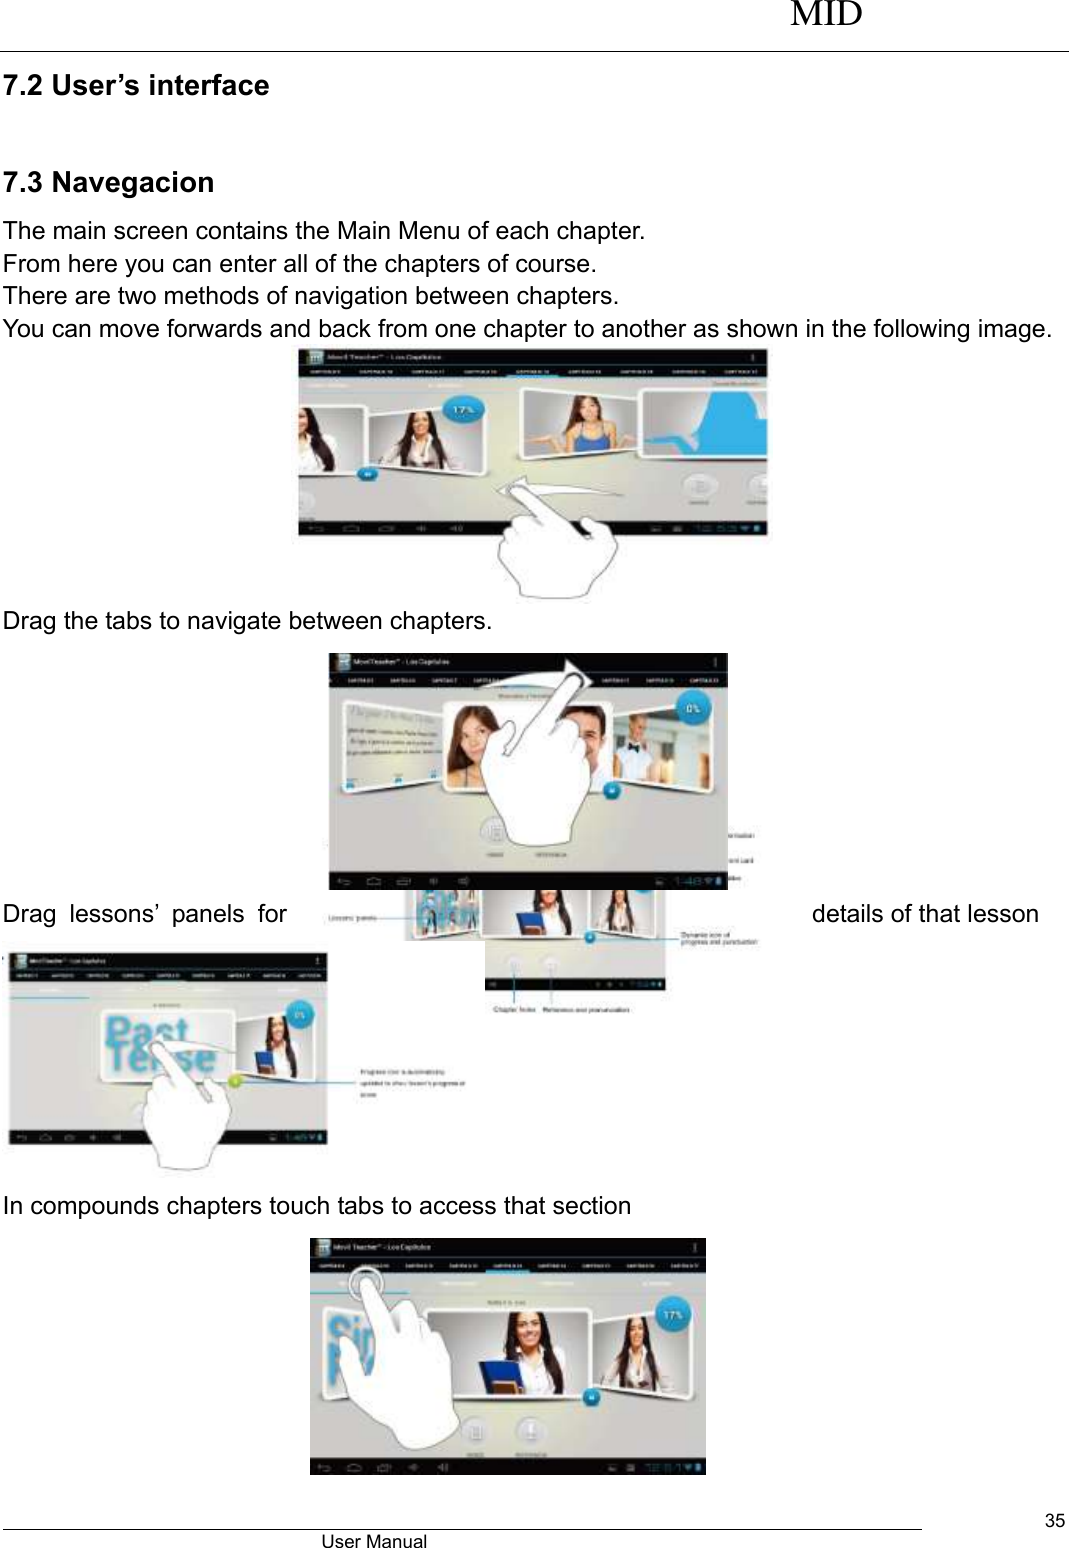
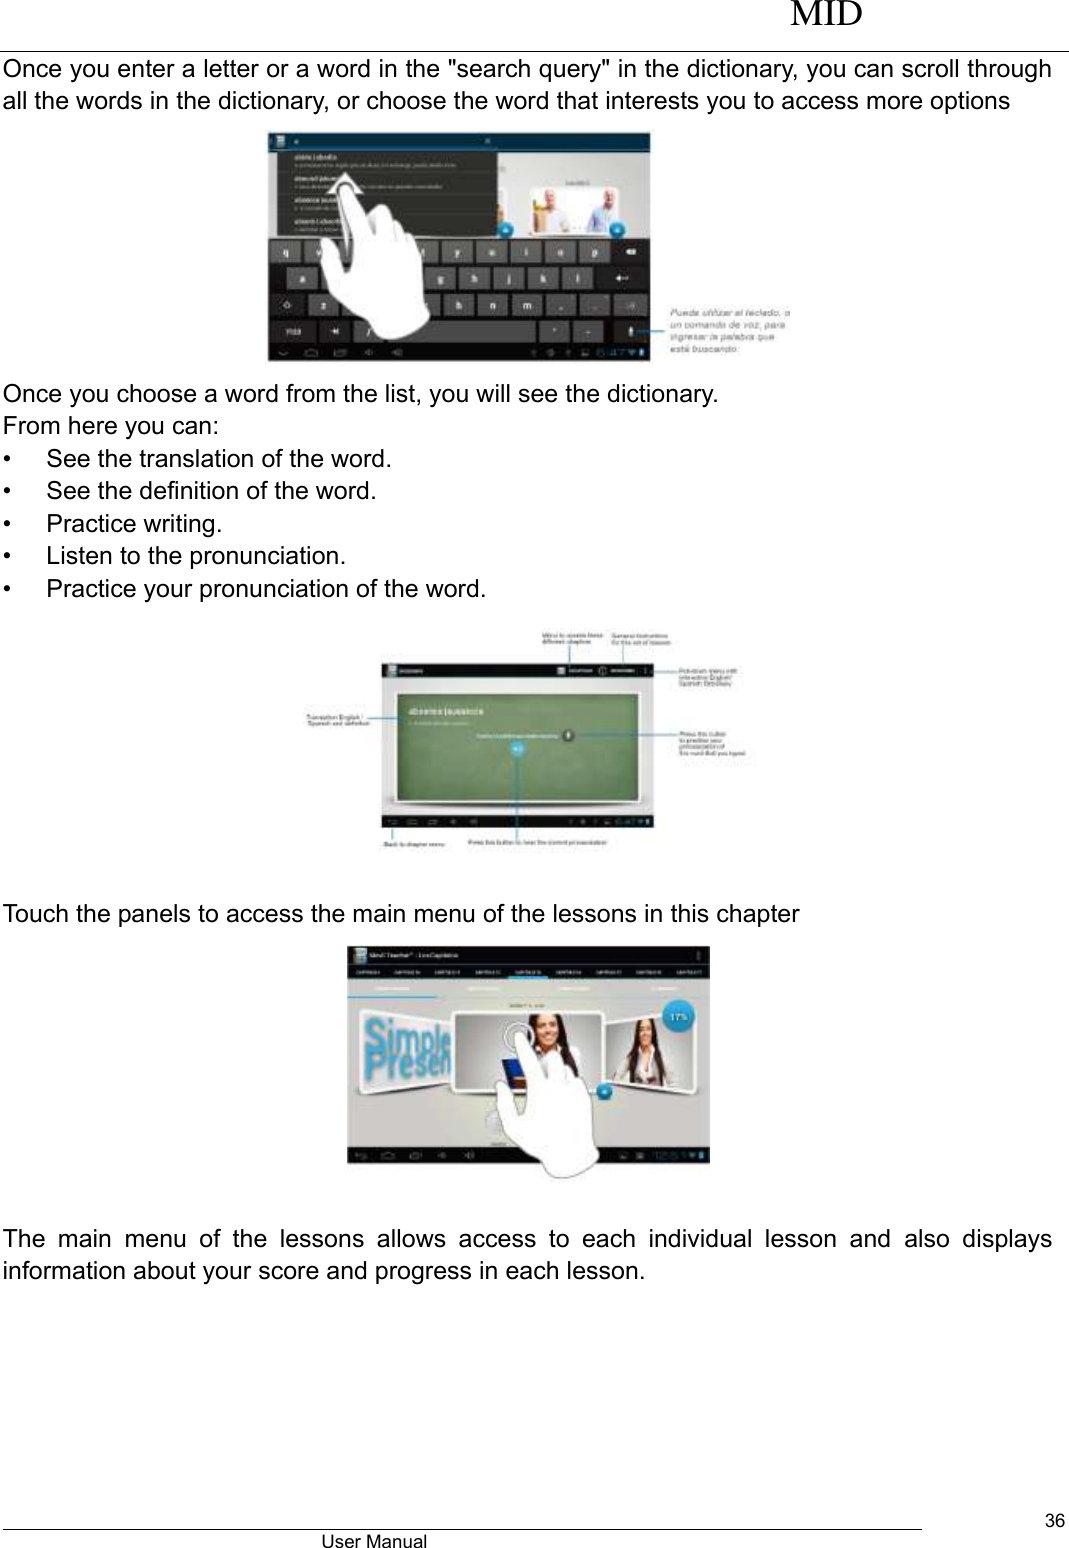
User Manual
Discussion / Help
Navigation

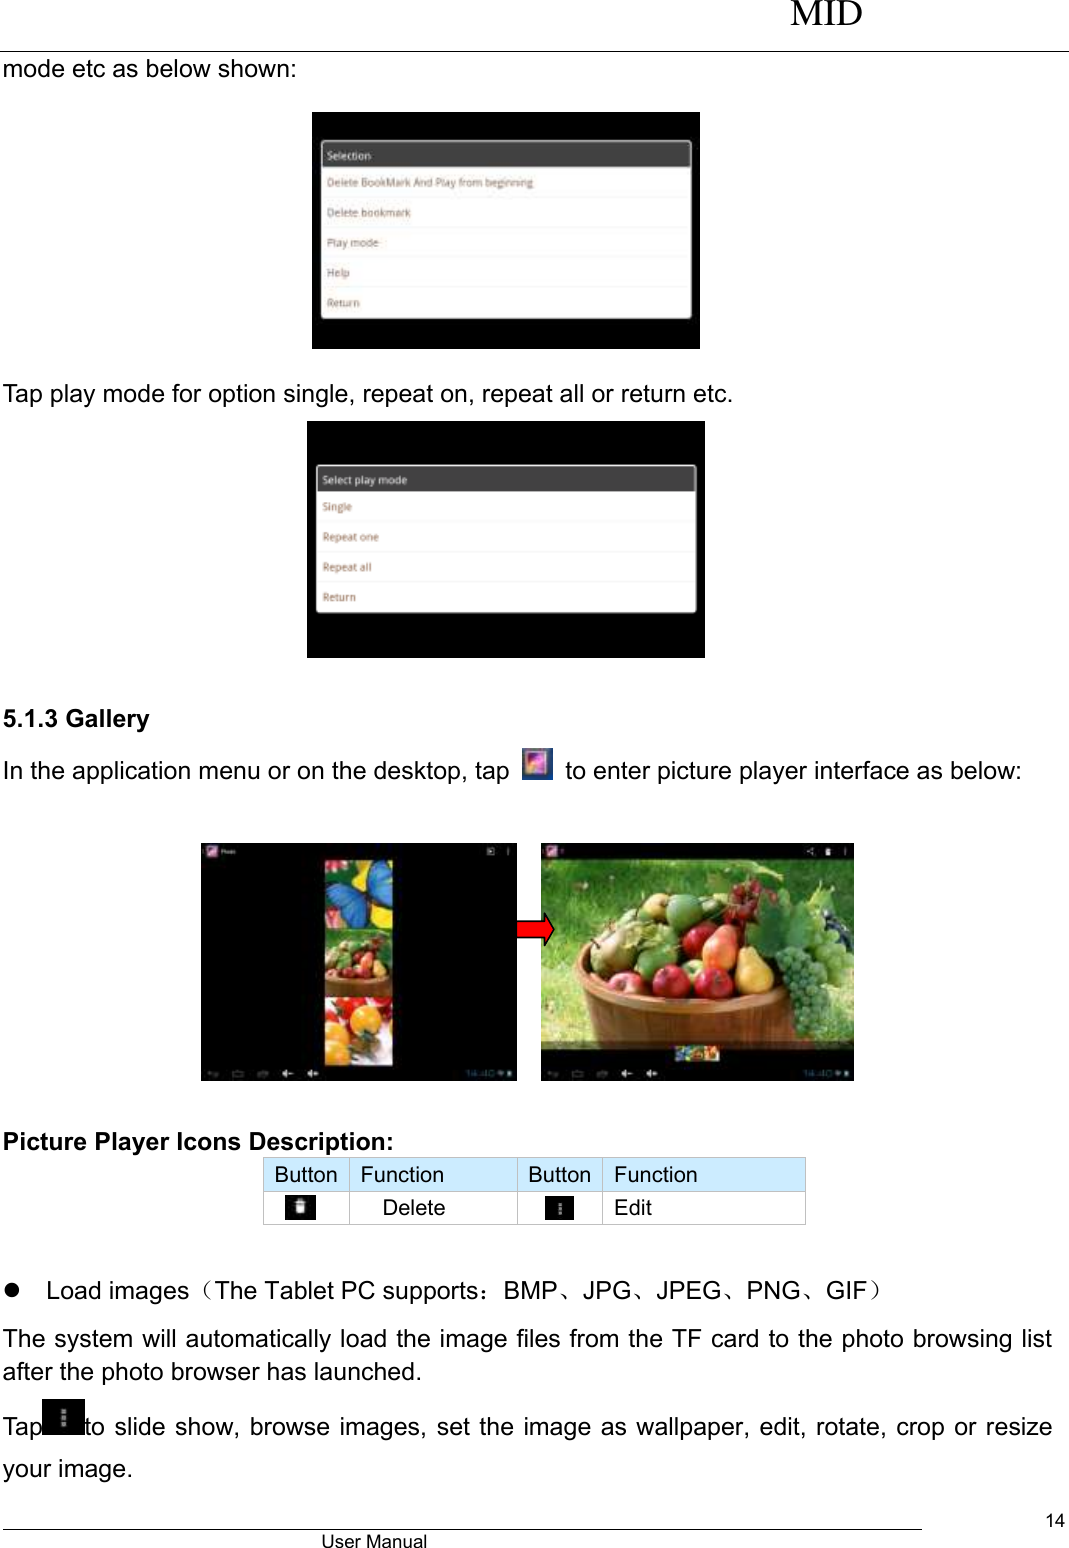
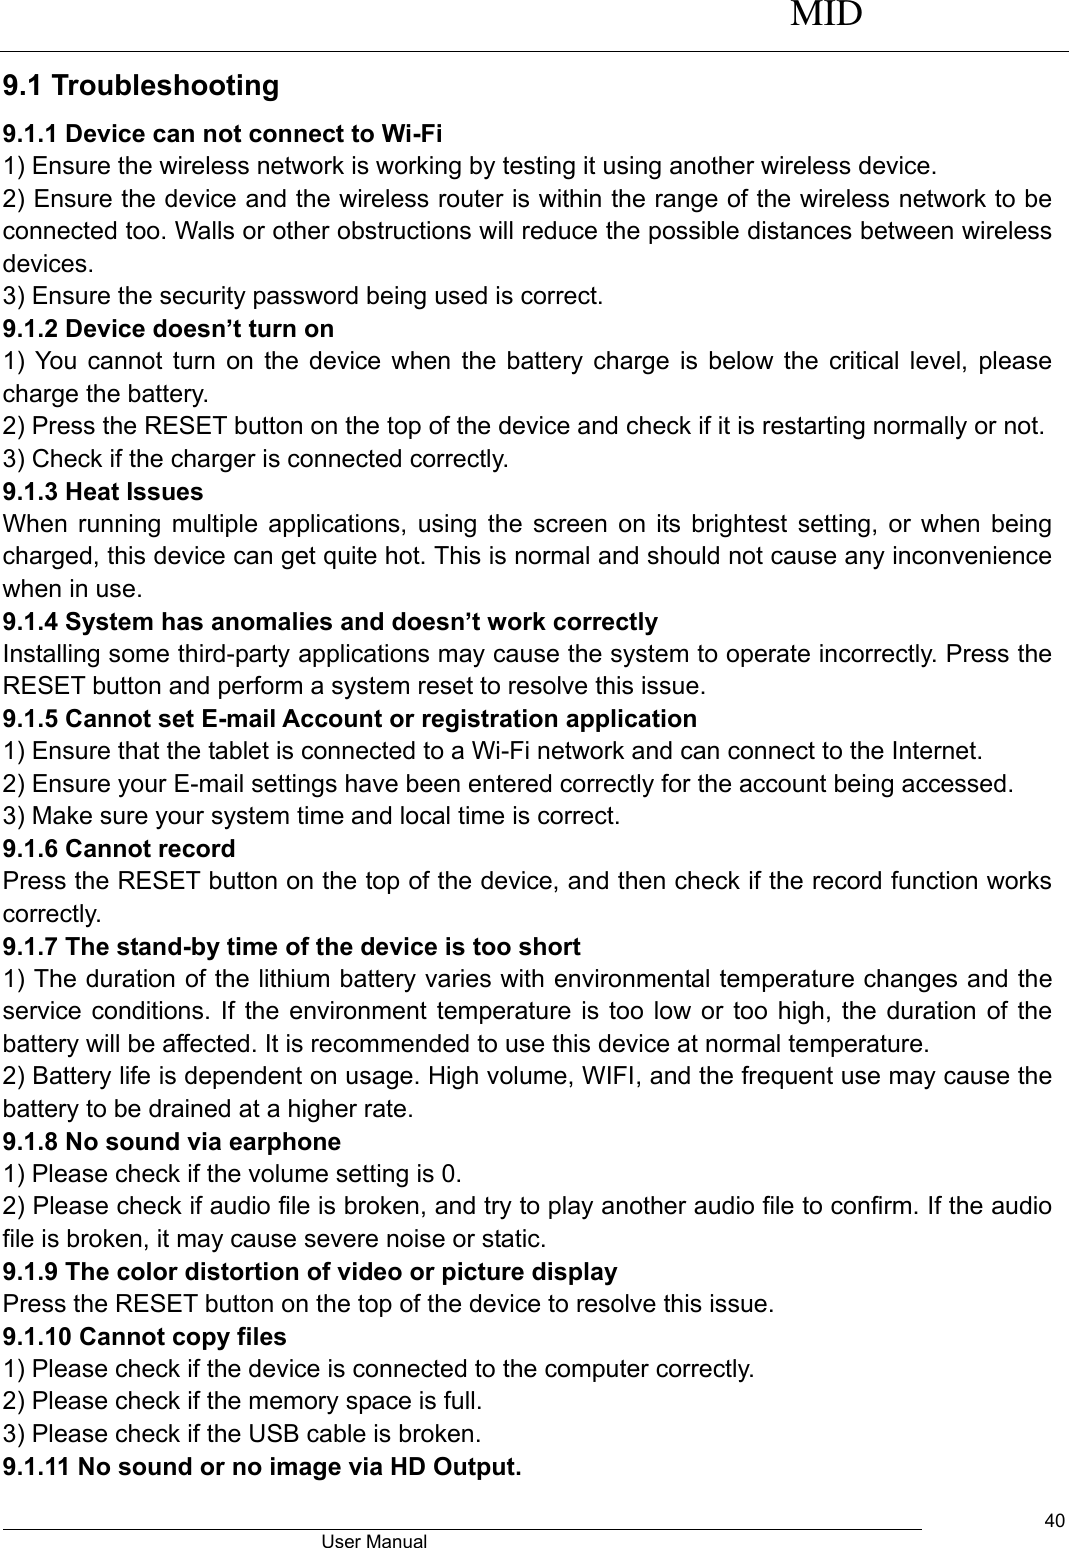
![MID User Manual 23 6.1.3 Sound Tap the icon to enter the sound setting interface as below: a. [Silent mode]: click into volumes settings ,tablet will be no sound.. b. [Volume]: Click into the volume Settings as shown in figure: Set the media, the alarm clock, notify the volume; C Ring setting In the setting interface, tap “Ring notice” to enter into Ring setting interface: System indicator sound setting: A touch indicator sound ( tap the touch screen) B Lock indicator sound (lock and unlock the screen broadcast voice](https://usermanual.wiki/Kintech/PC1018/User-Guide-2651843-Page-23.png)
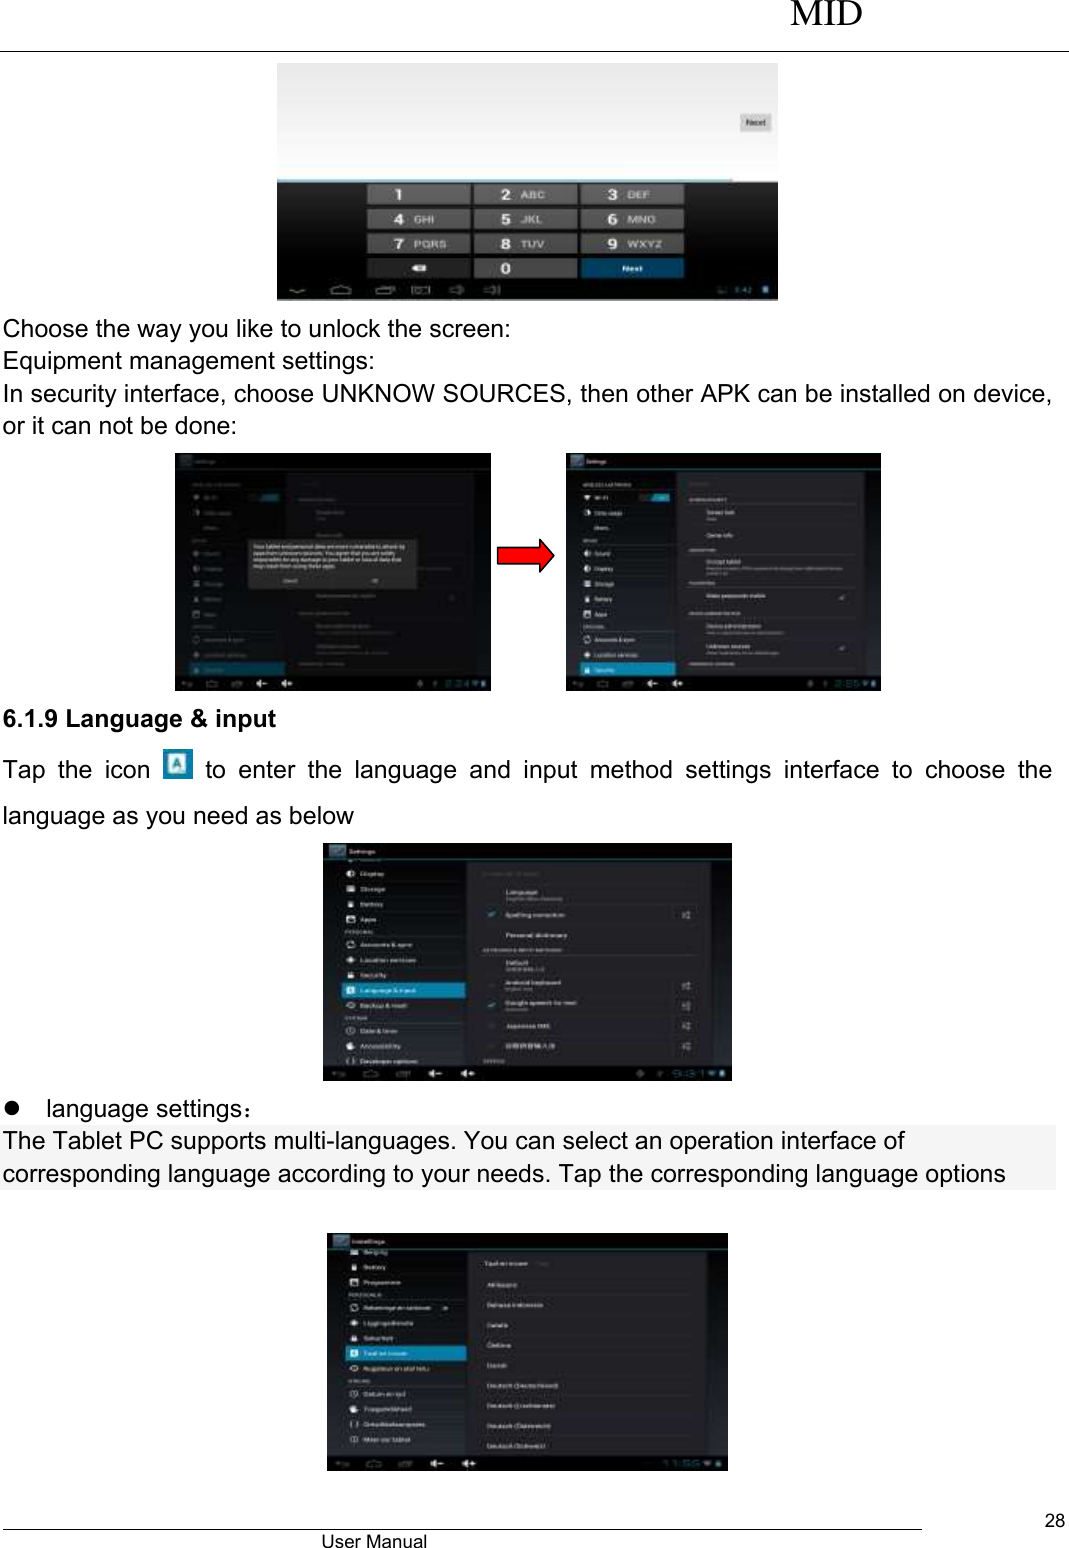
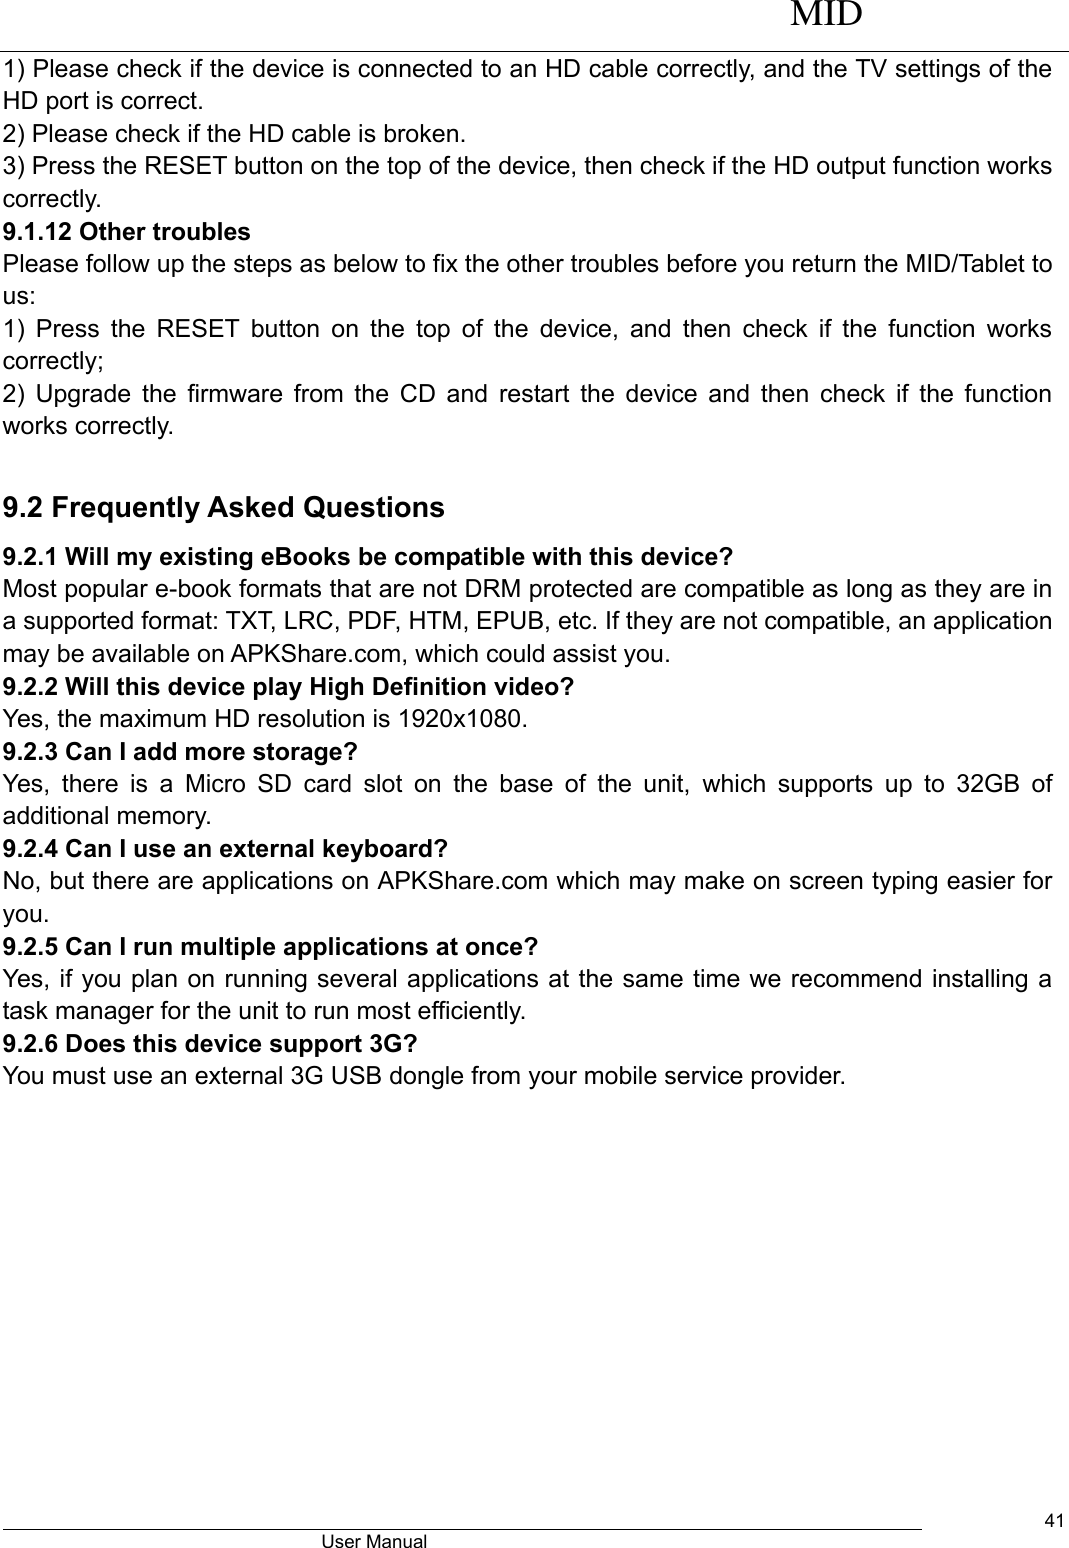
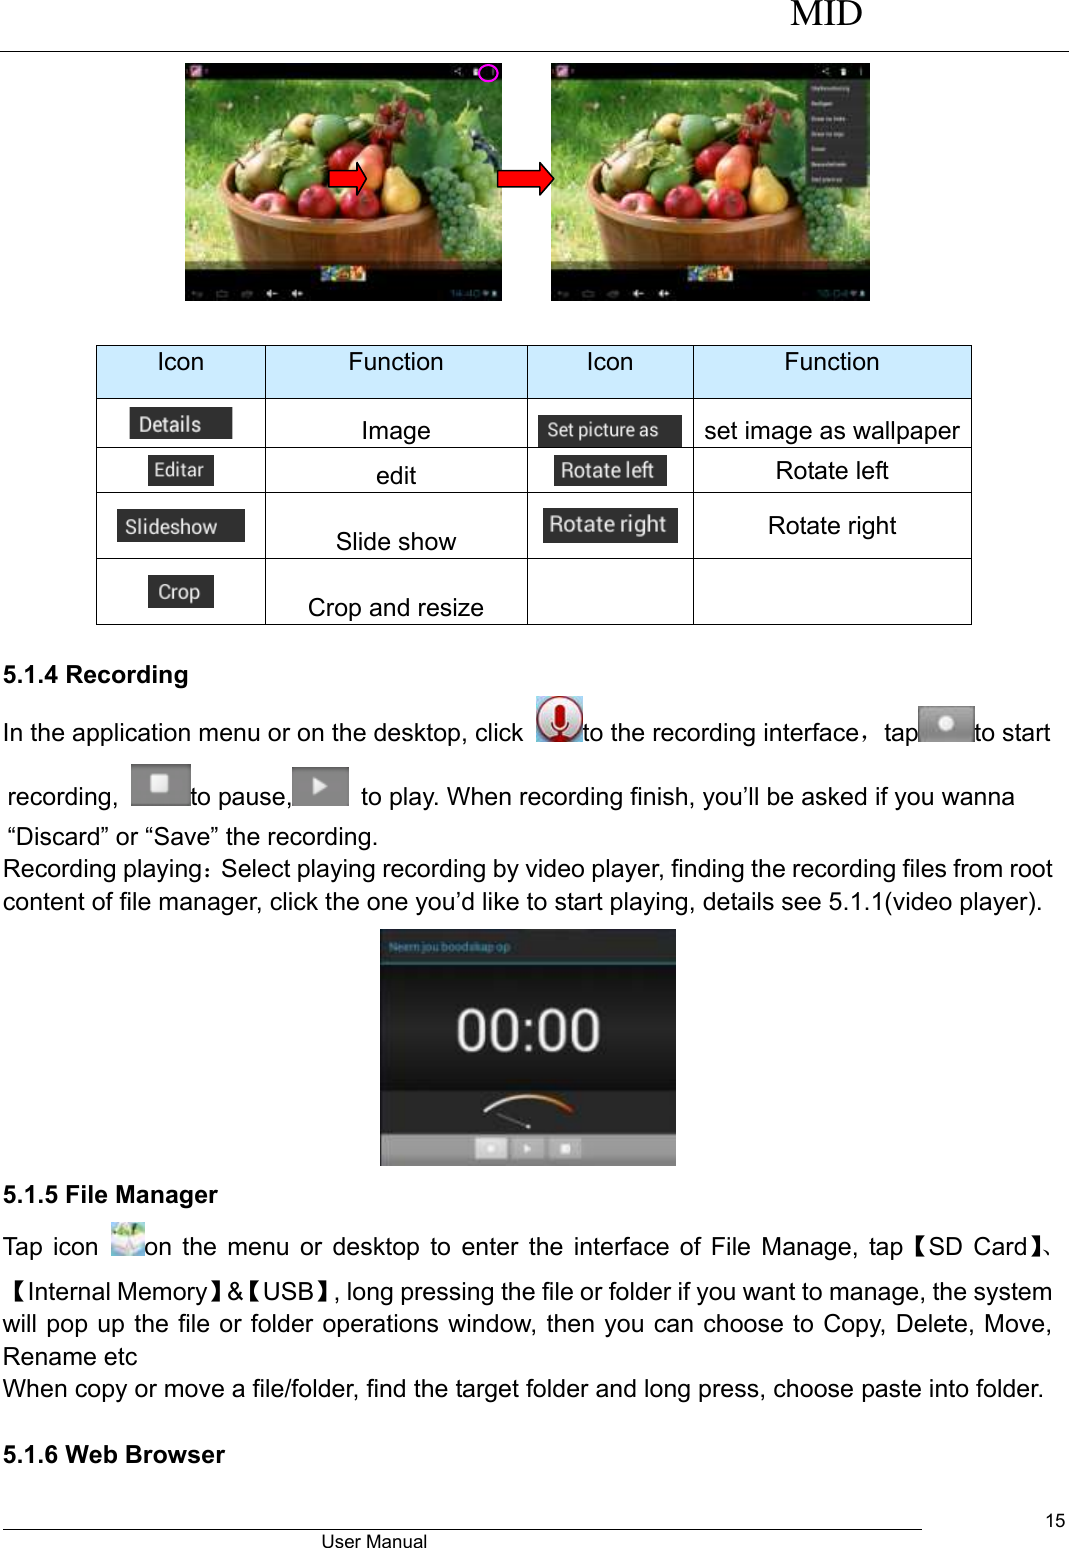
![MID User Manual 27 Screen Lock Settings: 1.None 2.Slide 3. Face Unlock 4.Pattern 5.PIN 6.Password 【Pattern settings】Enter Settings-security-choose Pattern to set password for screen as below: Choose at least four points when set pattern pass word, click NEXT STEP to finish the setting procedure. [PIN settings]: Set PIN pass word: Click OK button after input four pass words, and remember pass word for later use. It will inform you to input password when device boot ups:](https://usermanual.wiki/Kintech/PC1018/User-Guide-2651843-Page-27.png)