Kintech PC7076ME tablet pc User Manual KW GPS 4301
Kintech Co. Ltd tablet pc KW GPS 4301
UserManual.wiki
>
Kintech
>
PC7076ME User Manual
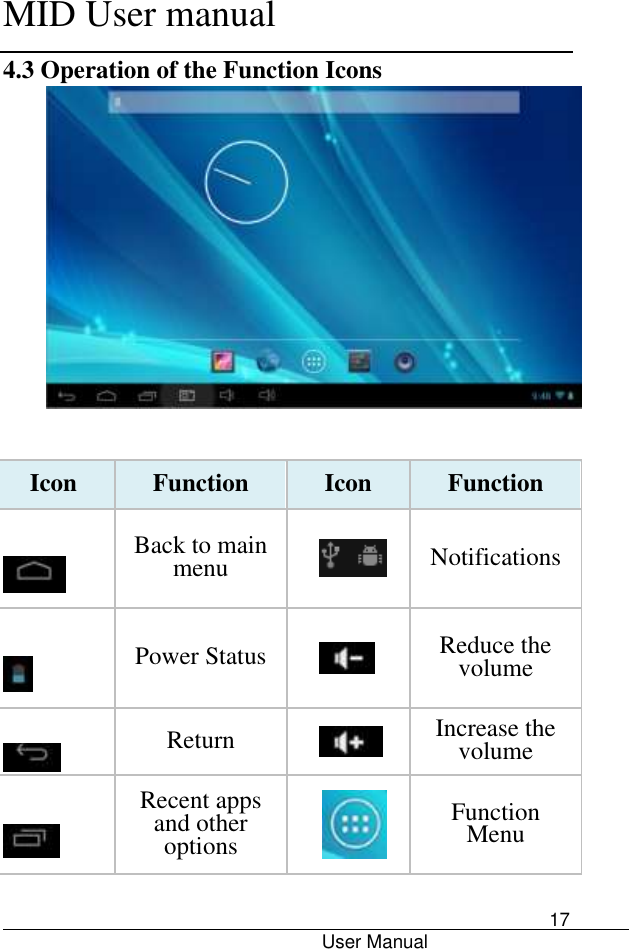
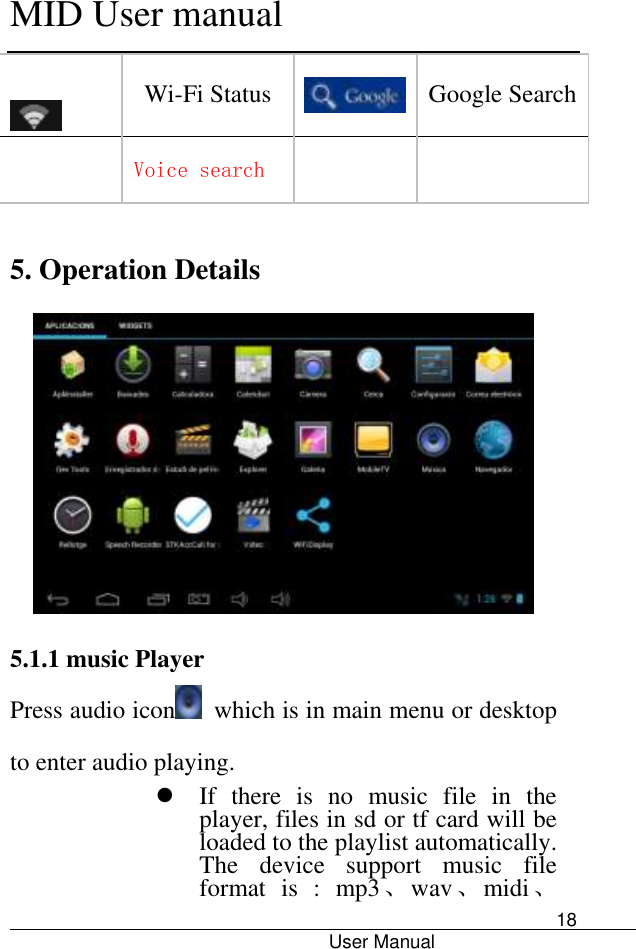
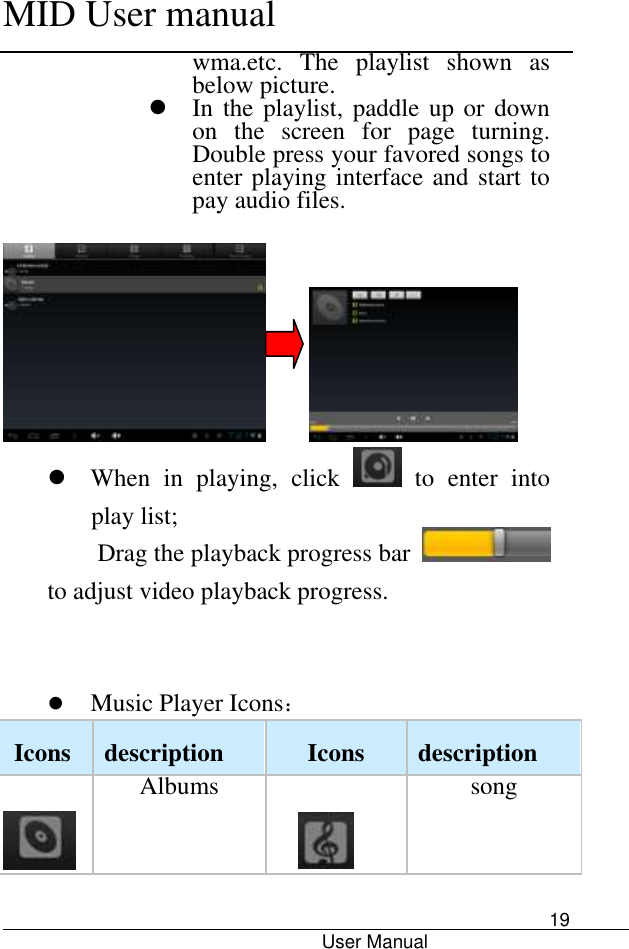
User Manual
Navigation menu
Upload a User Manual
Namespaces
Wiki Guide
HTML
PDF
Info
Views
User Manual
Discussion / Help
Navigation

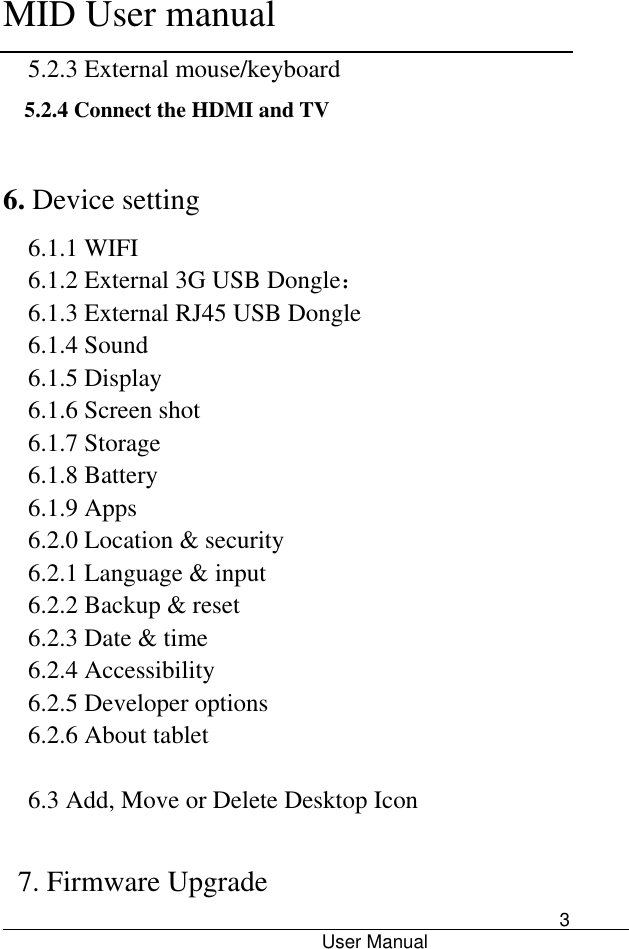


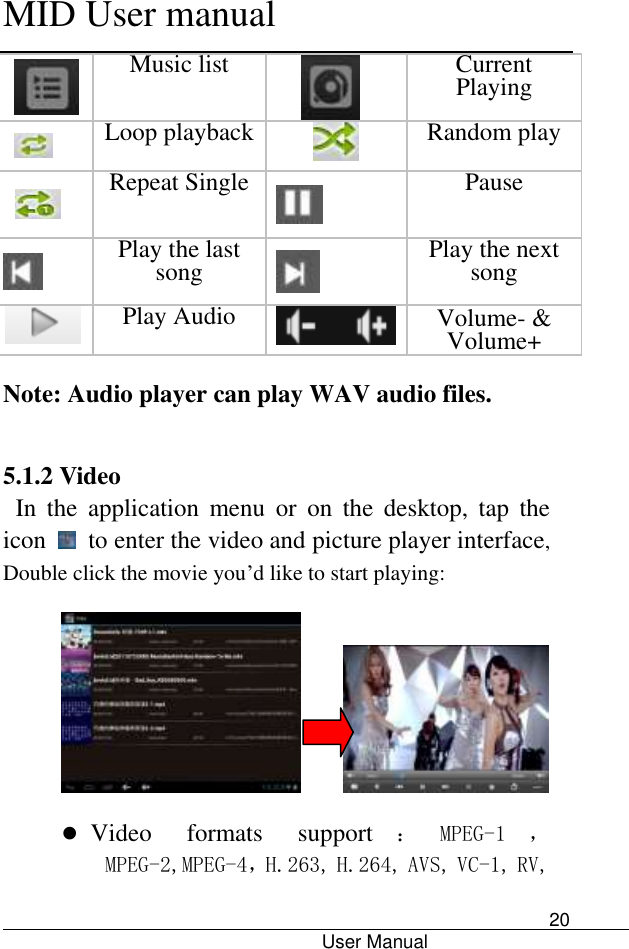
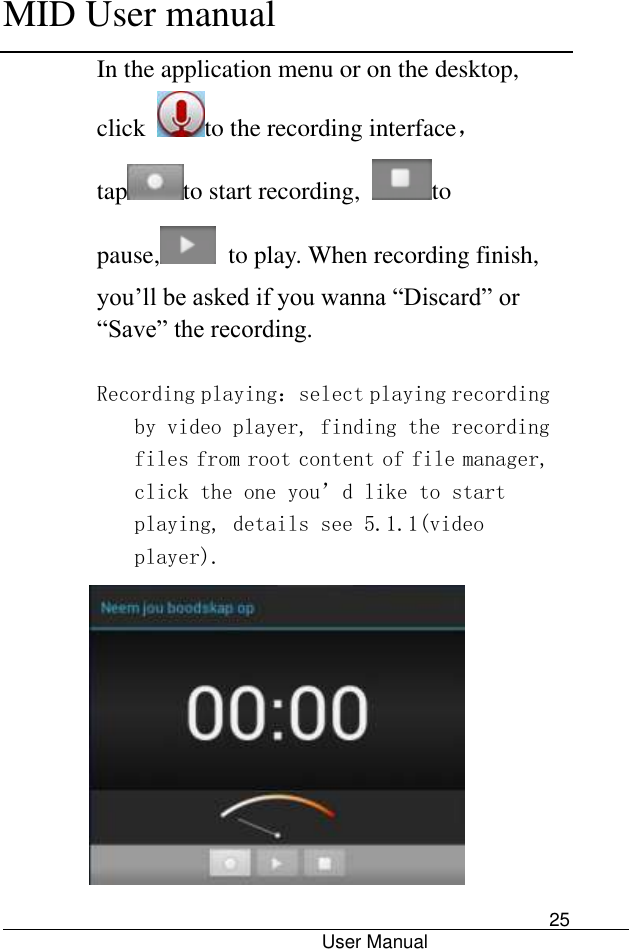
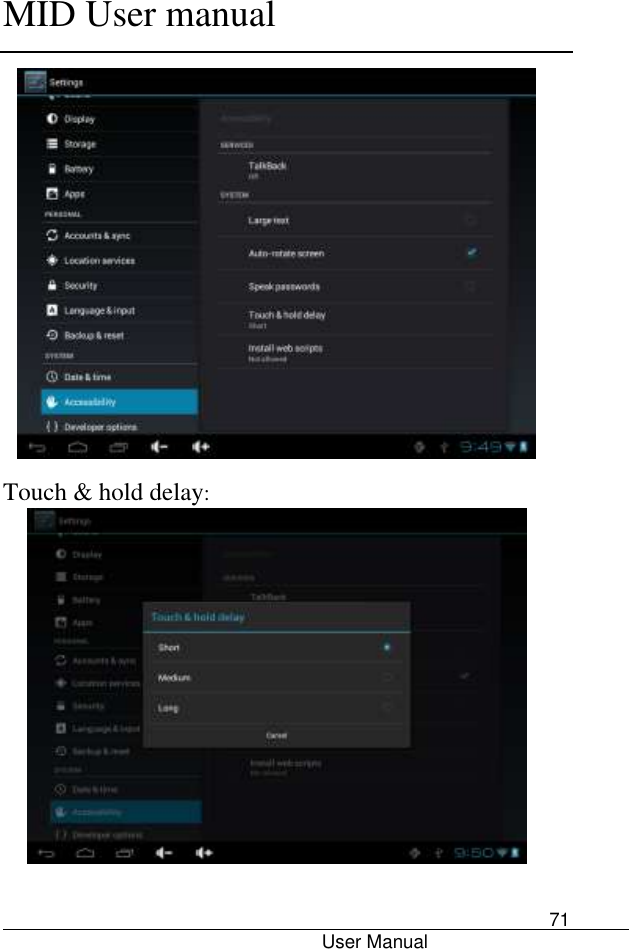
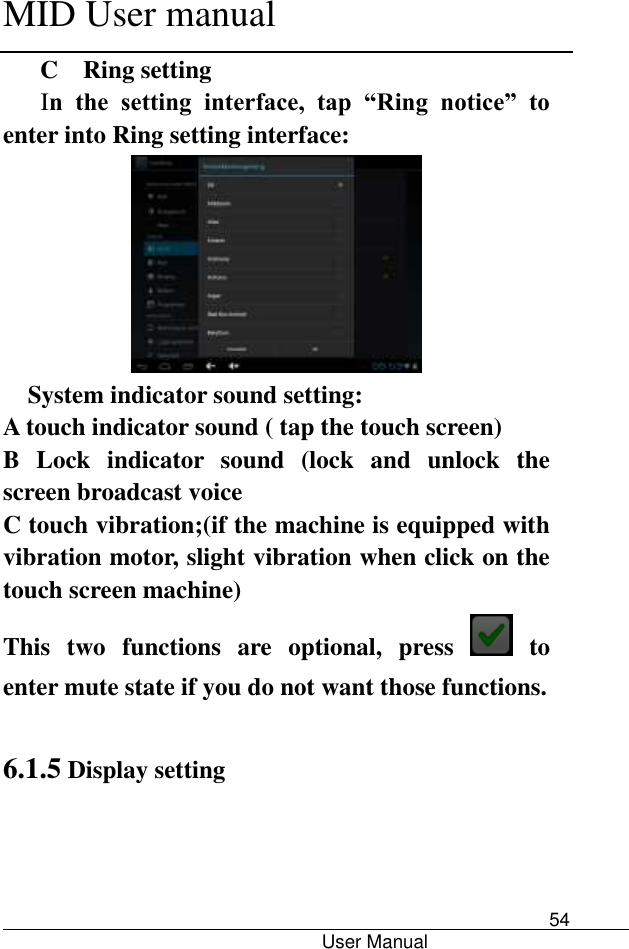
![MID User manual User Manual 27 icon enter to the Web Browser interface; tap the address bar of the browser and input the website and enter. Note: The IE Explorer uses the popular third-party IE Explorer software; please follow the IE Explorer's standard operating mode to operate. Voice Search In the application menu or on the desktop, tap the icon [ ]and enter into the voice search page:](https://usermanual.wiki/Kintech/PC7076ME/User-Guide-2219605-Page-27.png)


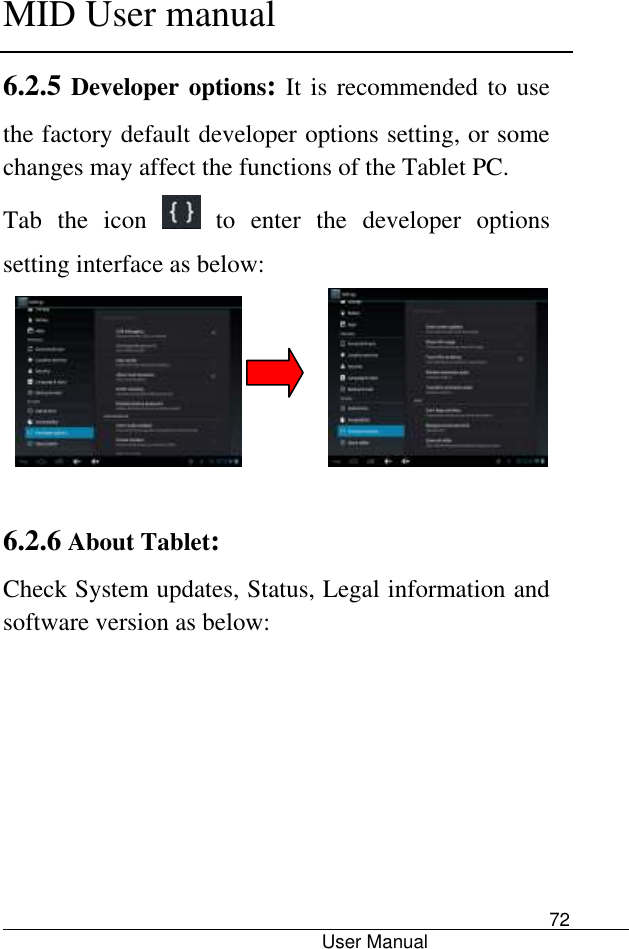
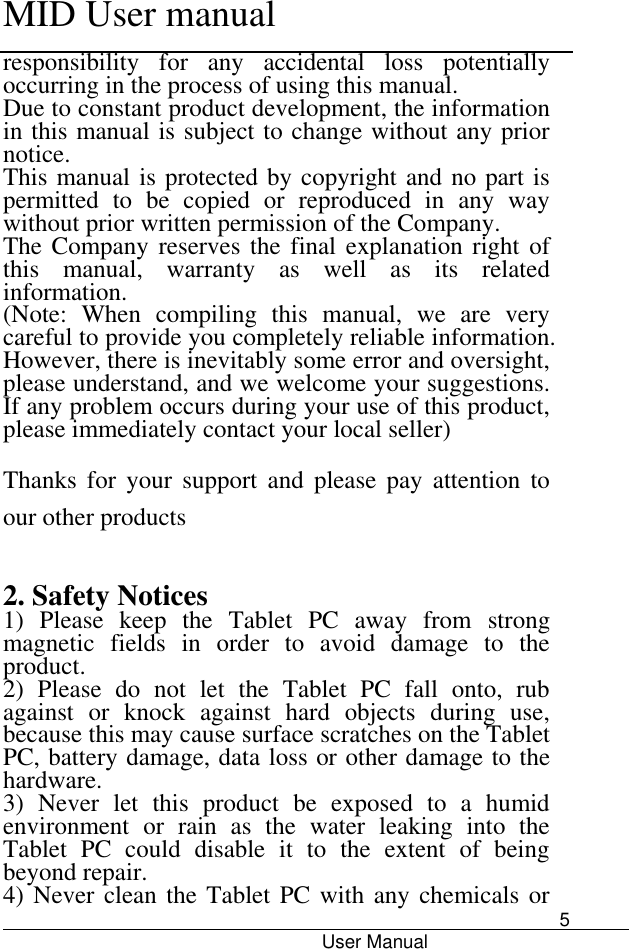
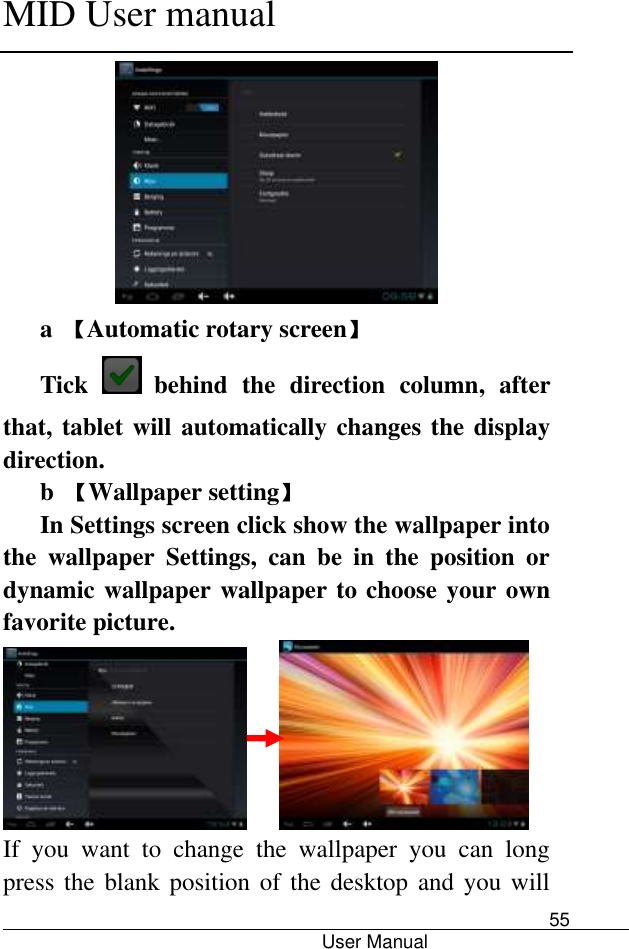
![MID User manual User Manual 53 a. [Silent mode] :click into volumes settings ,tablet will be no sound.. b. [Volume] : Click into the volume Settings as shown in figure: Set the media, the alarm clock, notify the volume;](https://usermanual.wiki/Kintech/PC7076ME/User-Guide-2219605-Page-53.png)
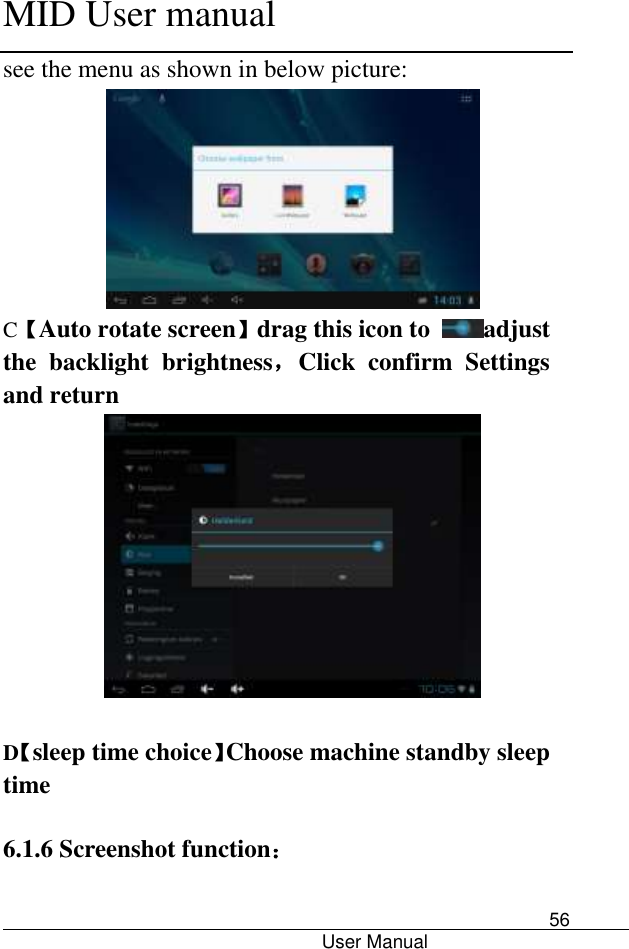
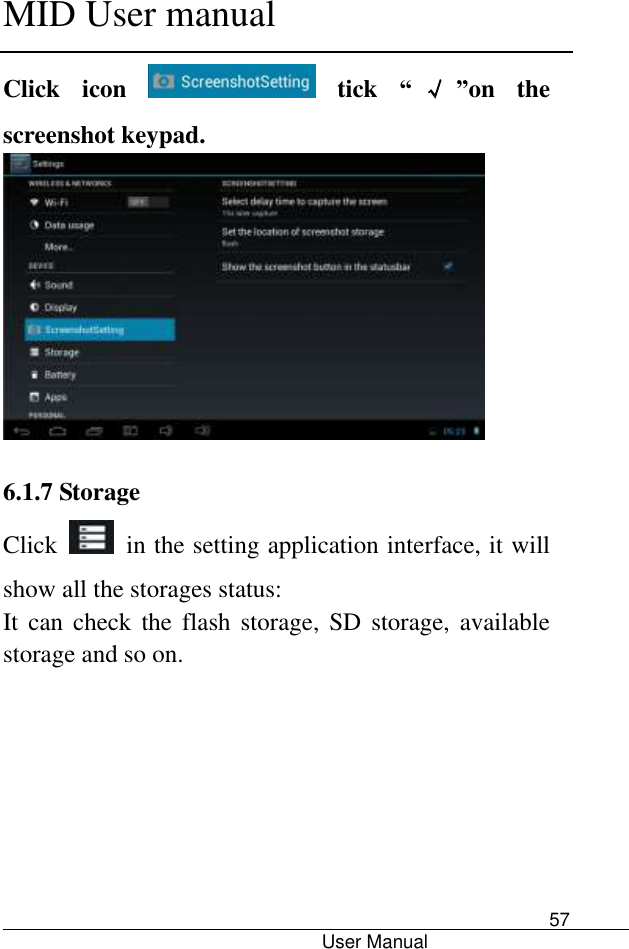
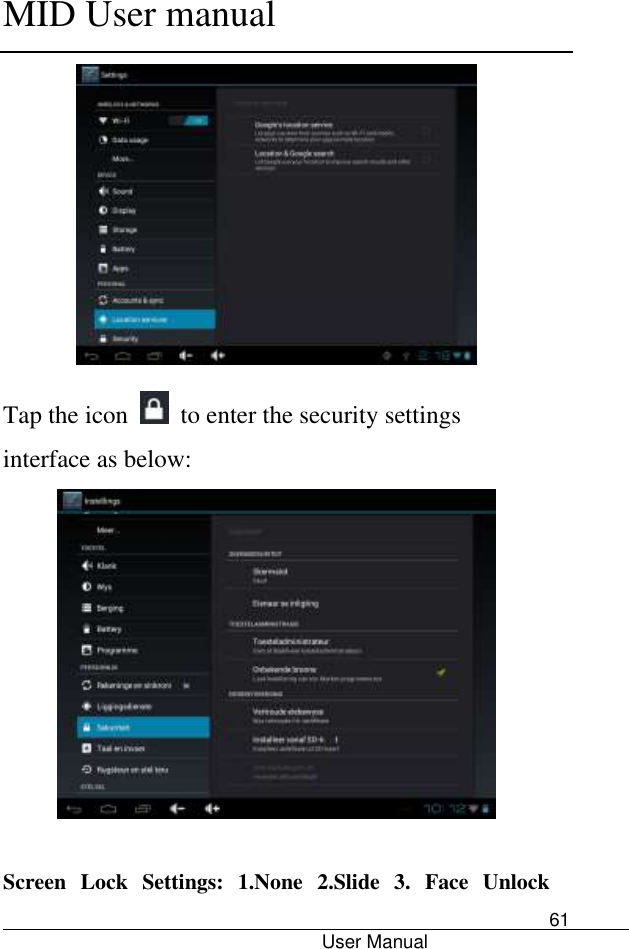
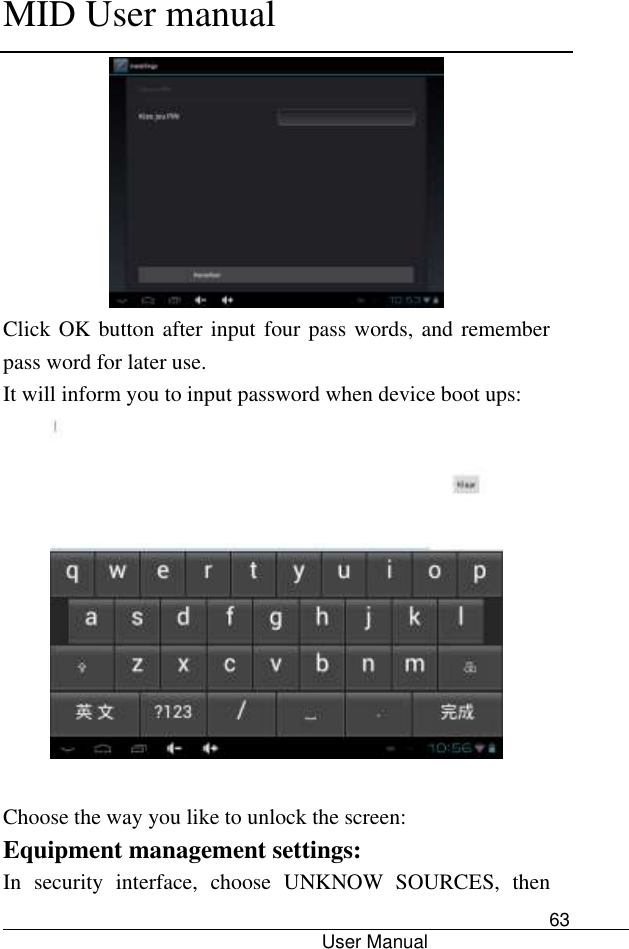
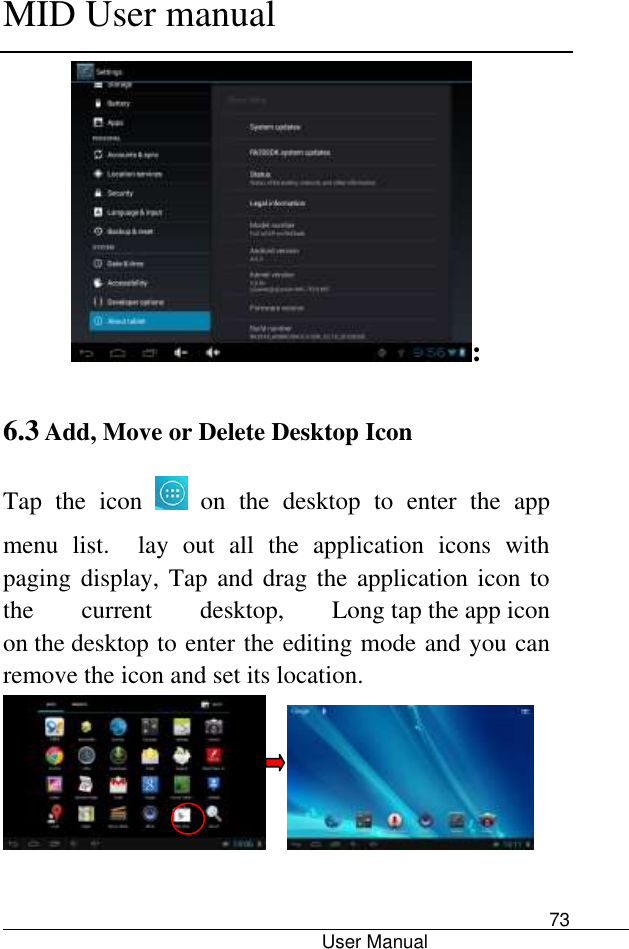
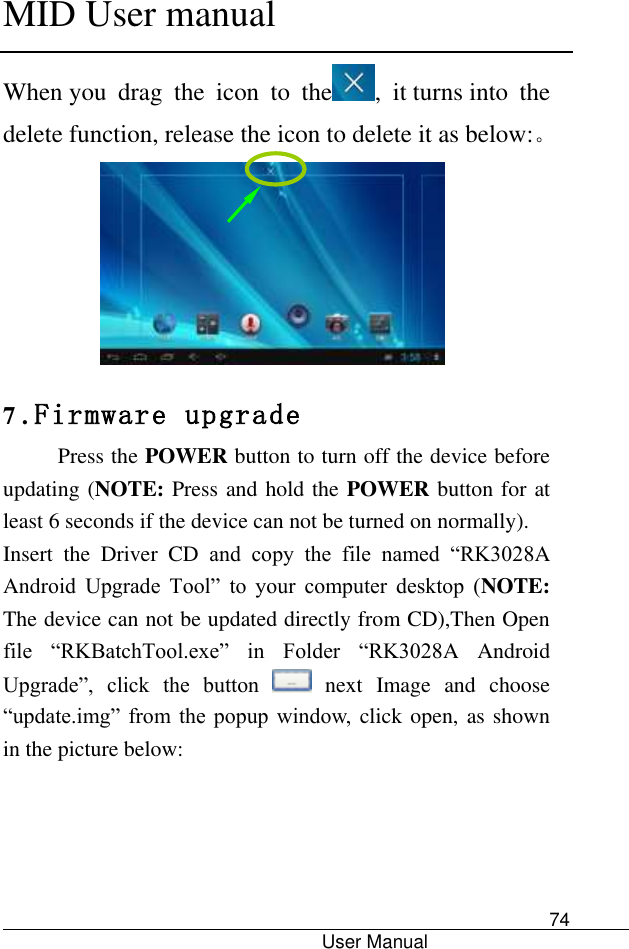
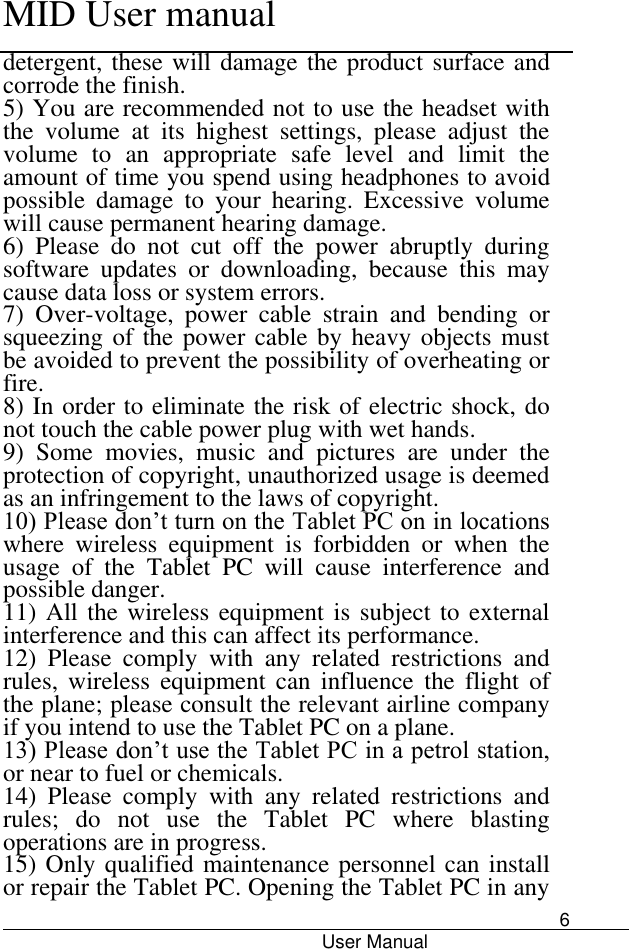
![MID User manual User Manual 62 4.Pattern 5.PIN 6.Password 【Pattern settings】Enter Settings-security-choose Pattern to set password for screen as below: Choose at least four points when set pattern pass word, click NEXT STEP to finish the setting procedure. [PIN settings]: Set PIN pass word:](https://usermanual.wiki/Kintech/PC7076ME/User-Guide-2219605-Page-62.png)