Kintech PC7810ME Tablet User Manual PC7810H
Kintech Co. Ltd Tablet PC7810H
UserManual.wiki
>
Kintech
>
PC7810ME User Manual
user manual
Navigation menu
Upload a User Manual
Namespaces
Wiki Guide
HTML
PDF
Info
Views
User Manual
Discussion / Help
Navigation
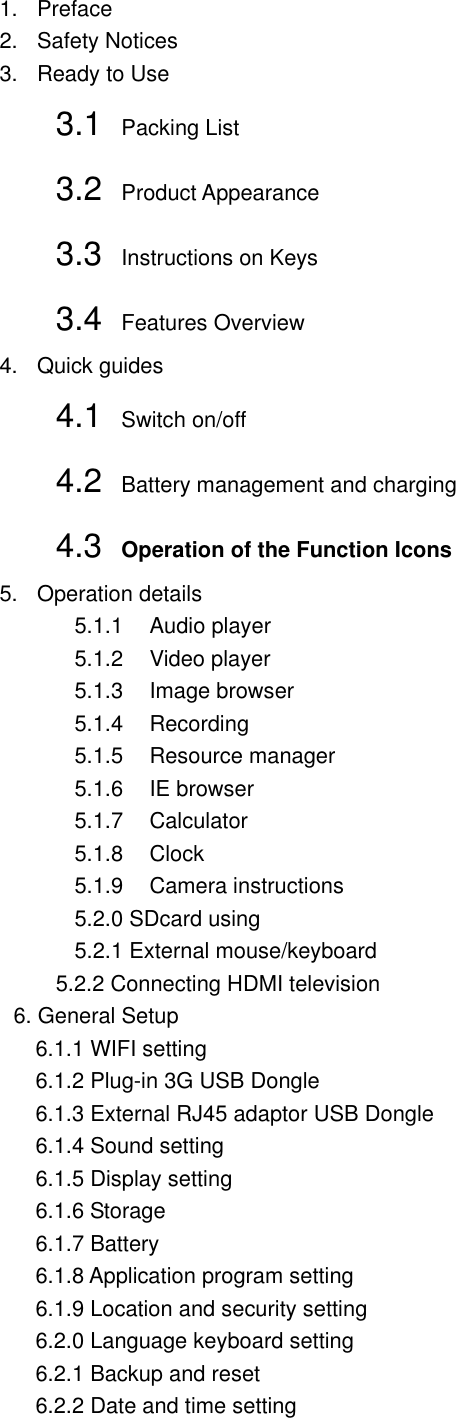

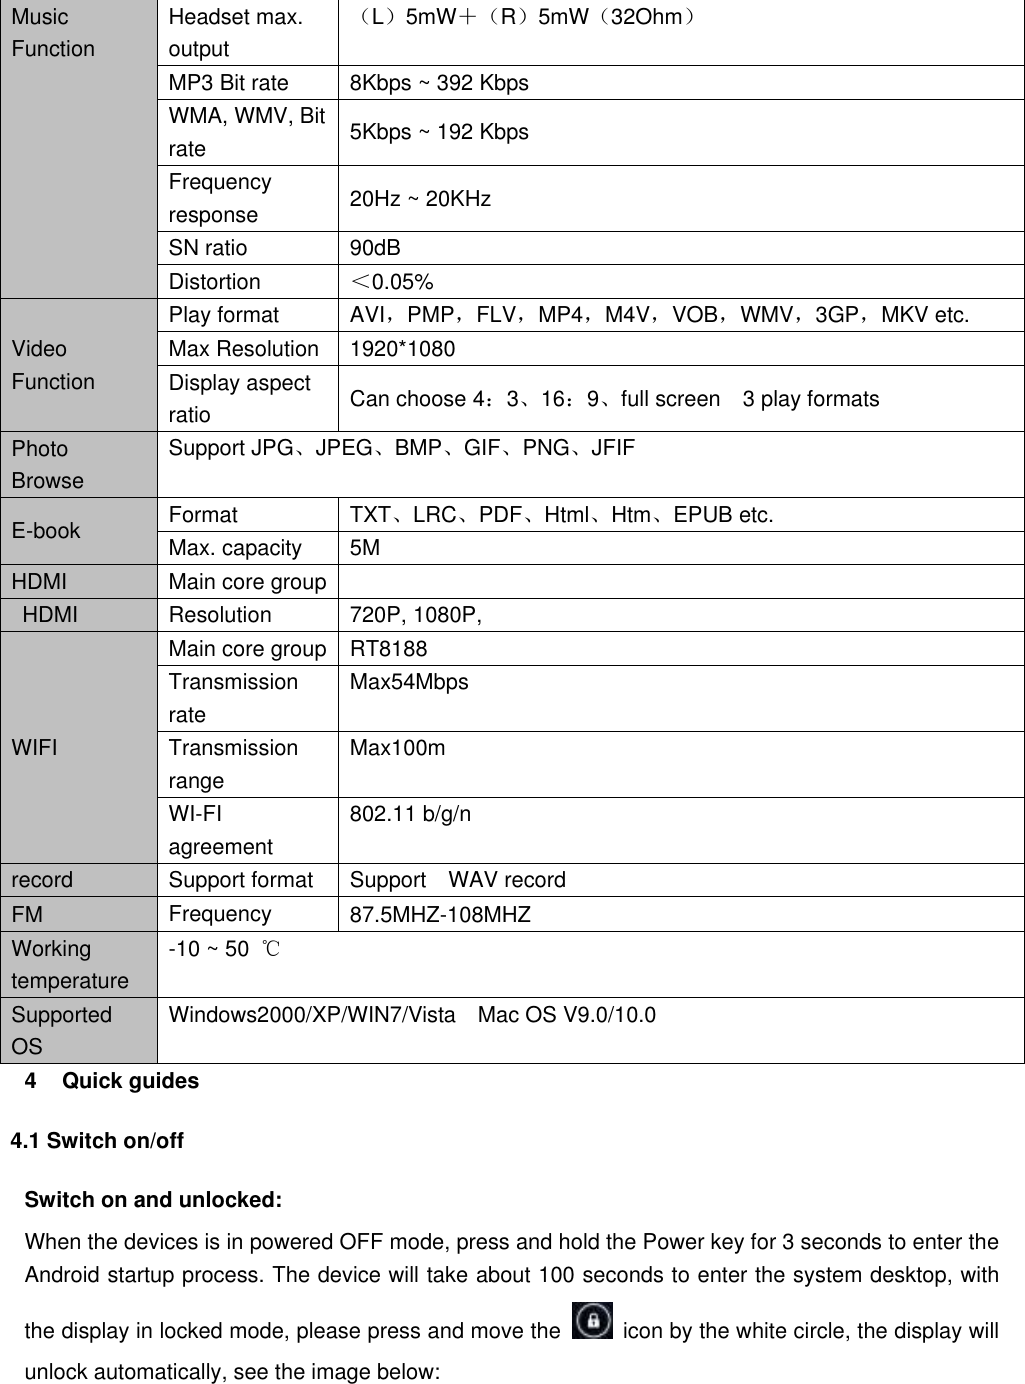
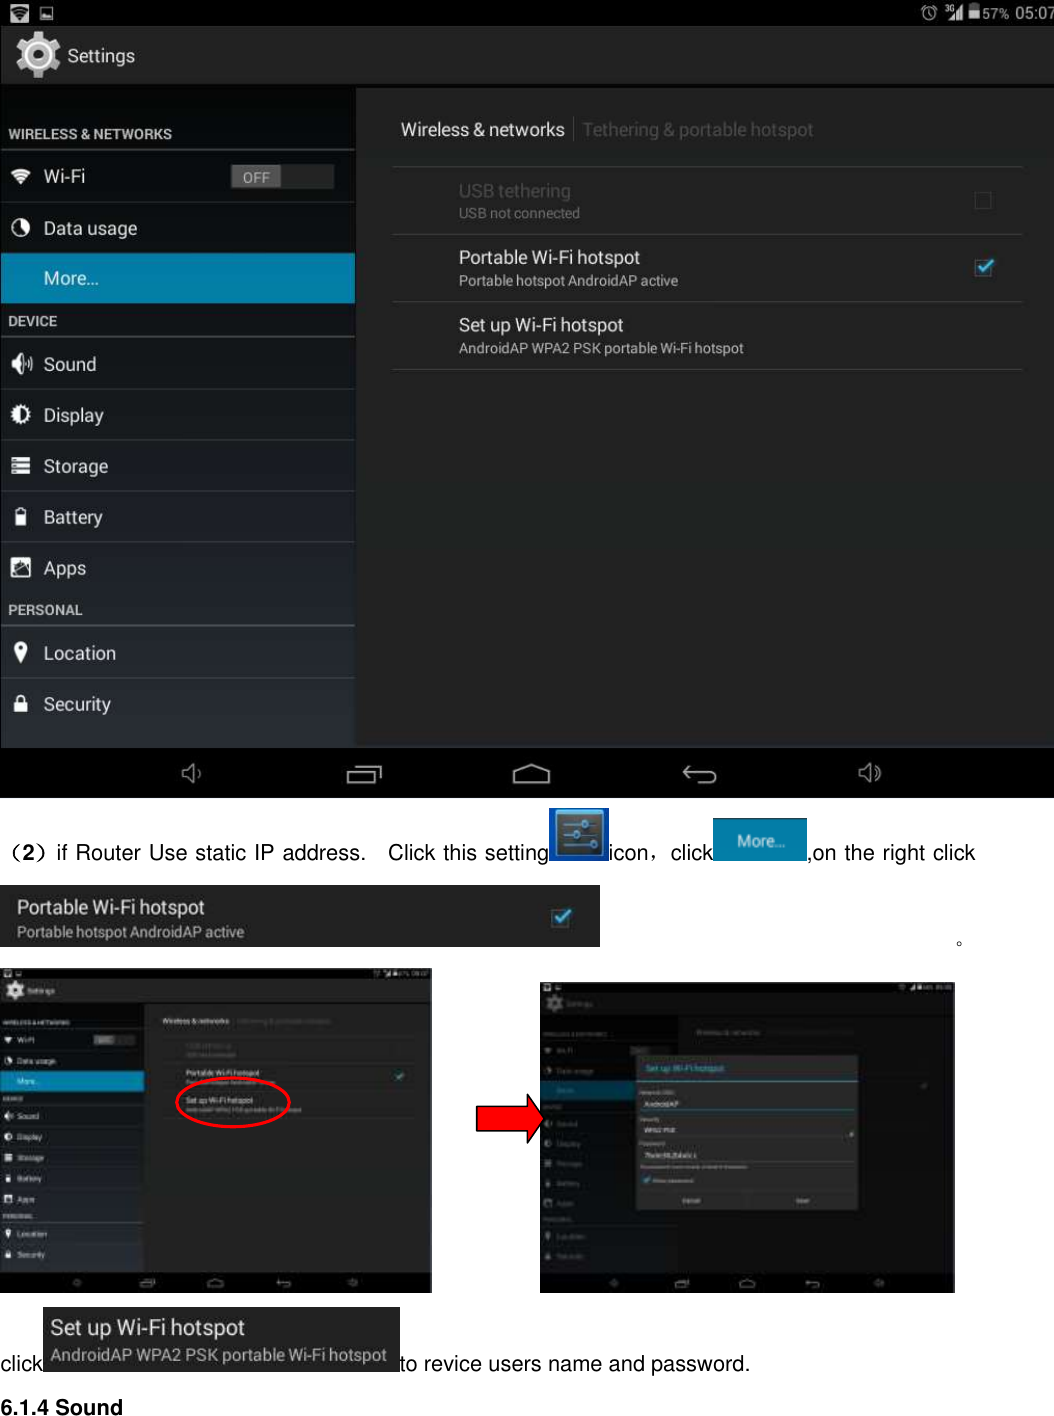
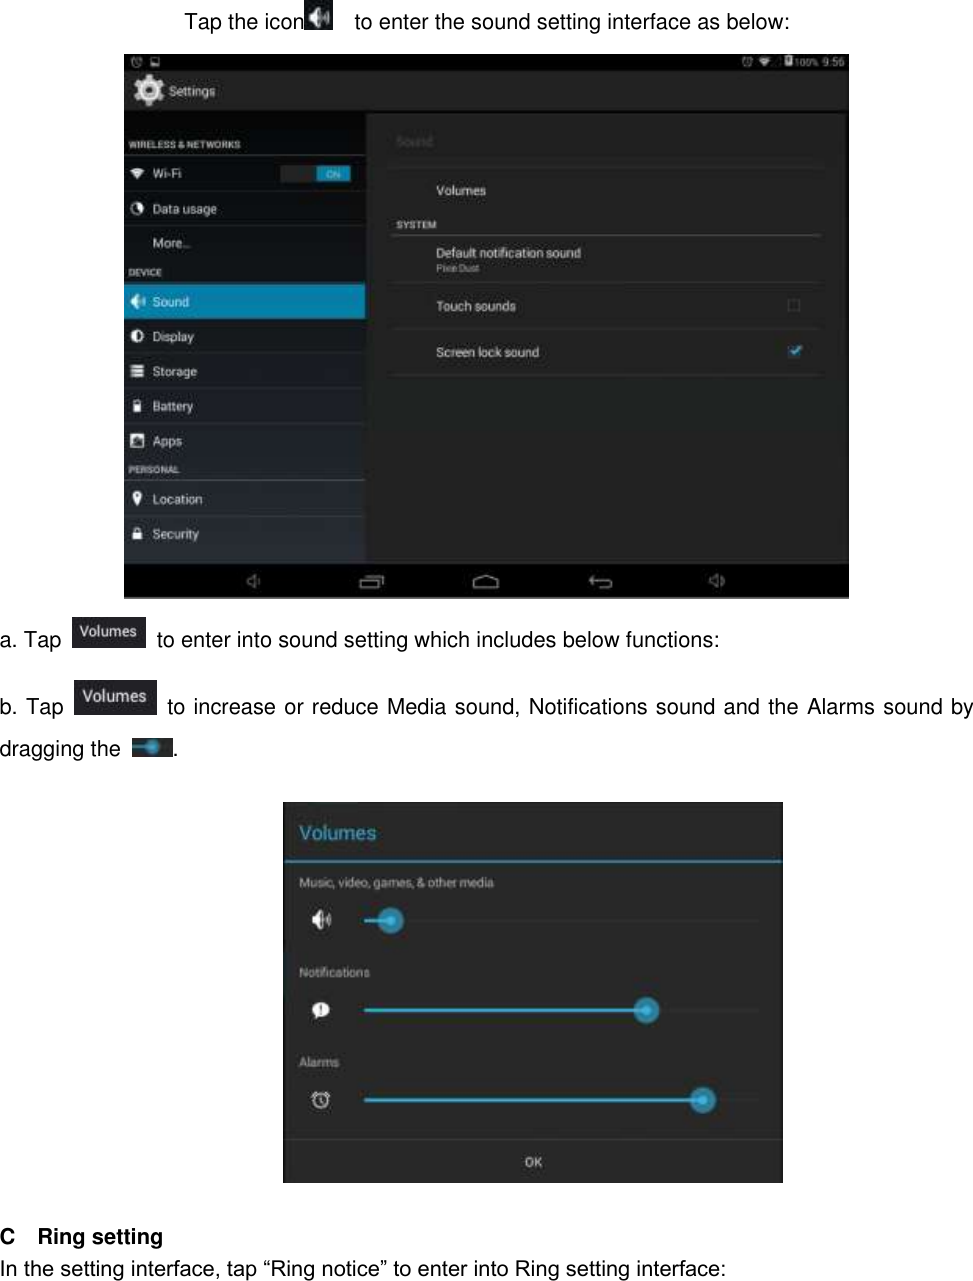
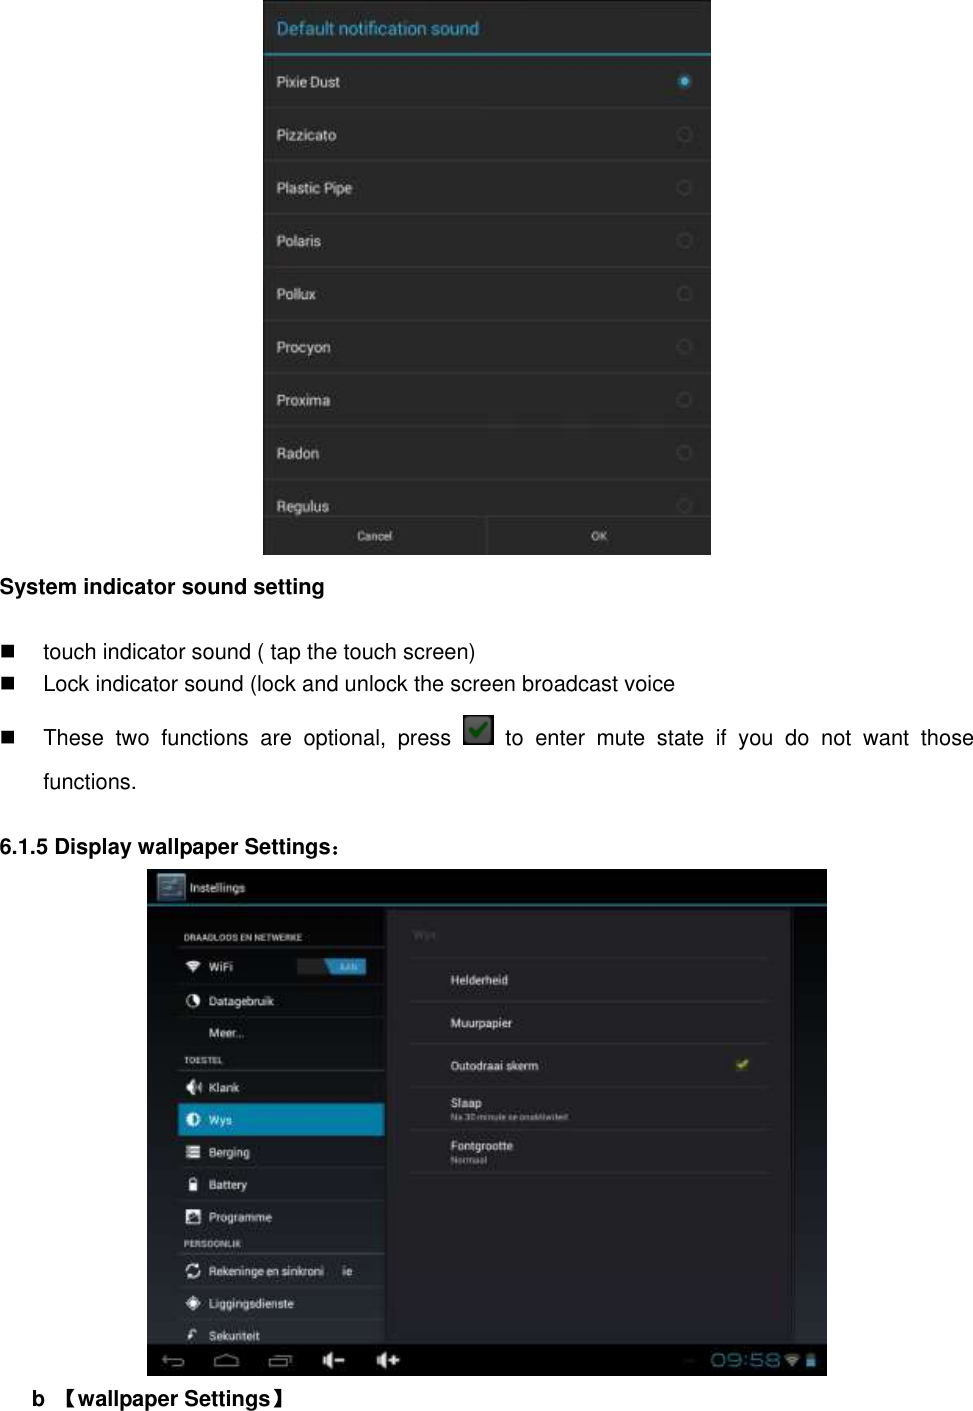
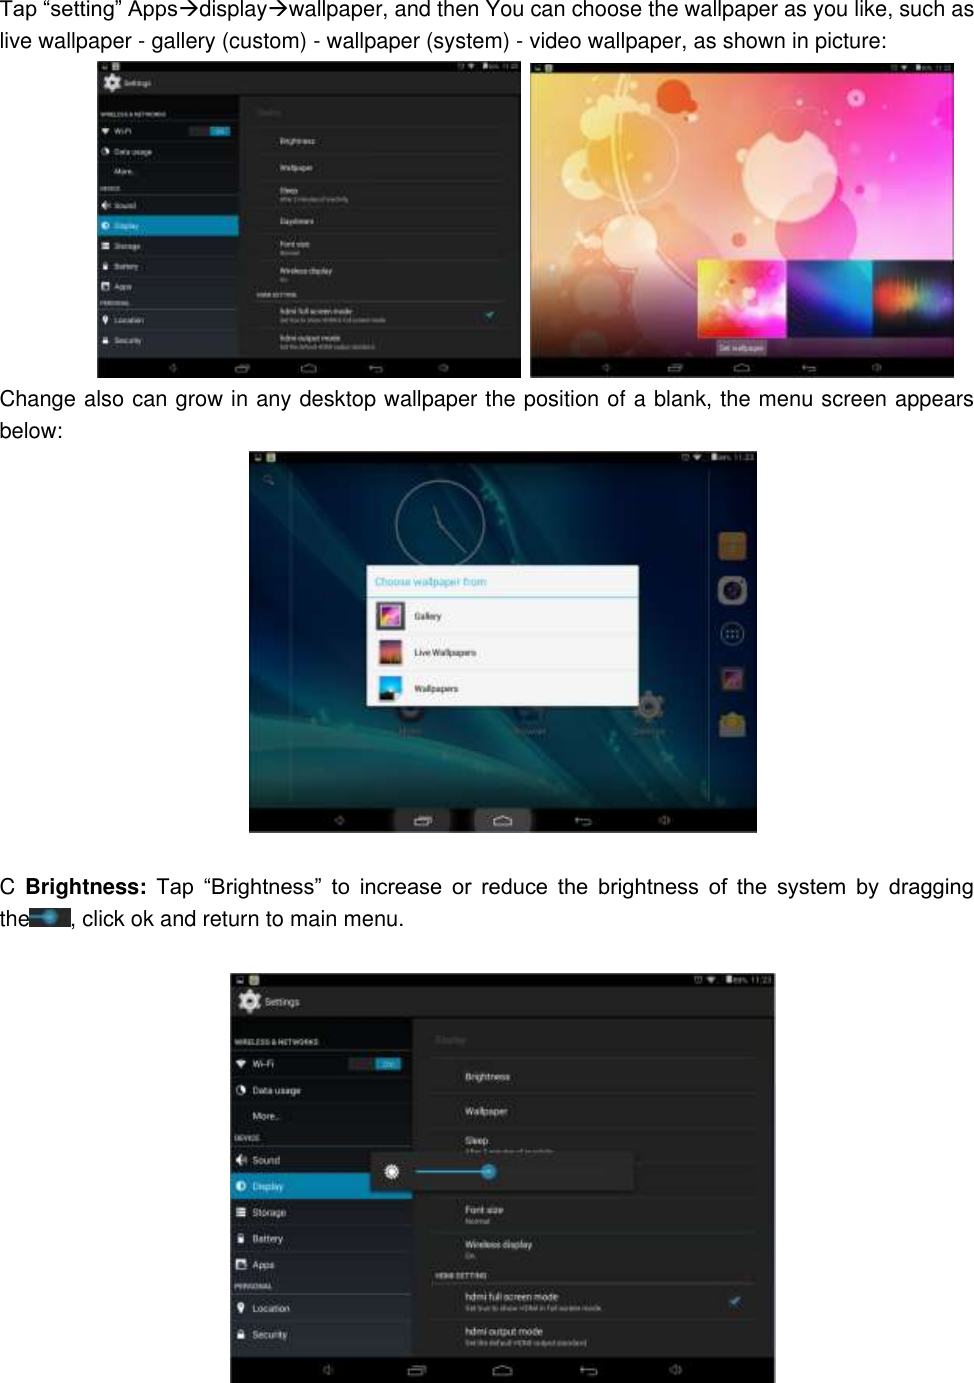
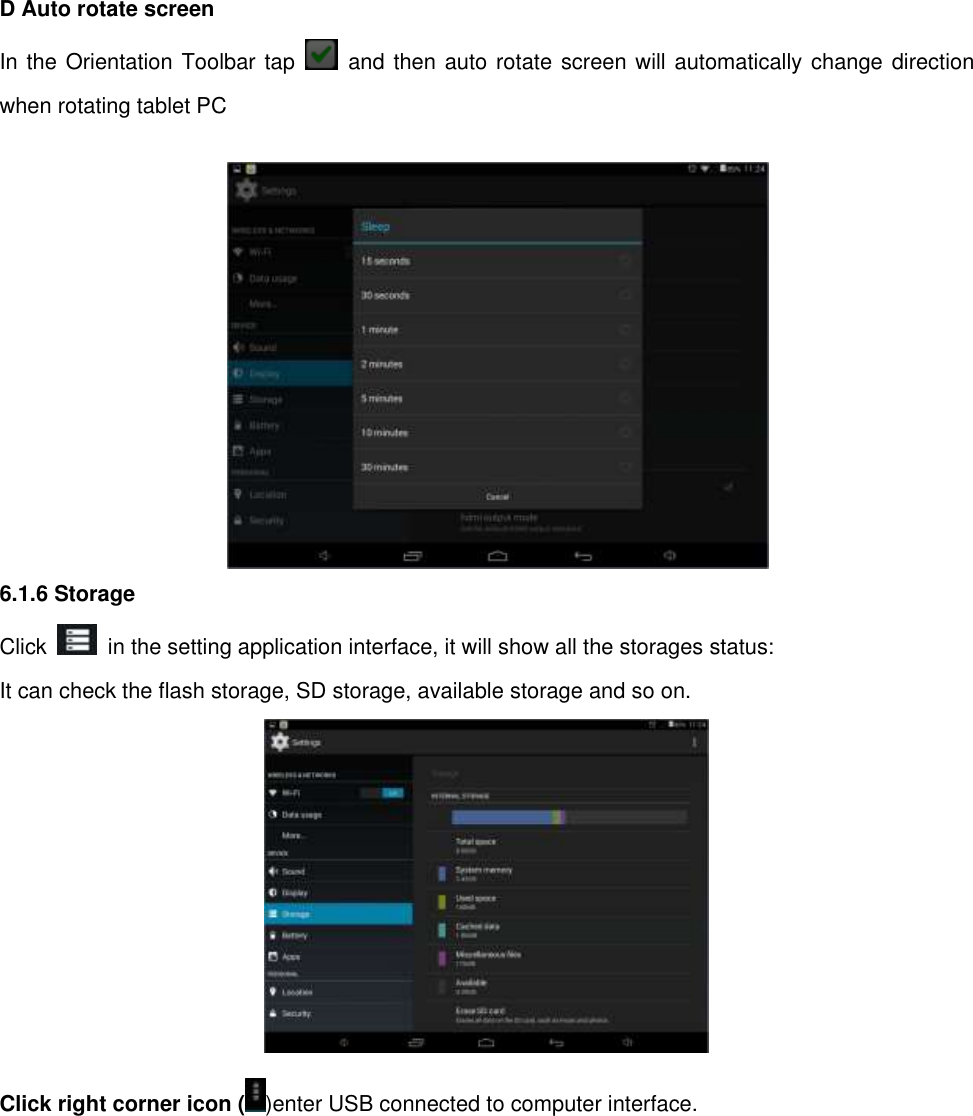
![Lock screen: After the device turns on, press and hold the POWER key shortly to enter into the SLEEP power-saving mode. The screeen comes into black and locks at the same time. Press the POWER key again to wake up the screen. The system will restore bright screen within 1S and then drag up to unlock. Switch off: 1. When the device is in use, press and hold the POWER key for 3 seconds, the screen will display the power off interface, choose the power off option to confirm your selection and the system will shut down automatically. Note : If the device is in crash or blank sreen, please press and hold the POWER key for 6 seconds to let the system power off automatically, and then turn it on. 2. [Note]: When the device is running low on battery power, it will sound an alarm and then shut down automatically if it isn’t plugged into a power source to start charging. If the device cannot start up please check if the battery power is too low by charging the device. 4.2 Battery management and charging a. Charge the battery about 8-12 hours to make sure the battery is fully charged for the first time. Insert the adaptor into the DC slot on the Tablet PC, and connect the other side with the power socket. Then the Power indicating lamp of the Tablet PC will be high lighted blue, the desktop](https://usermanual.wiki/Kintech/PC7810ME/User-Guide-2274282-Page-8.png)


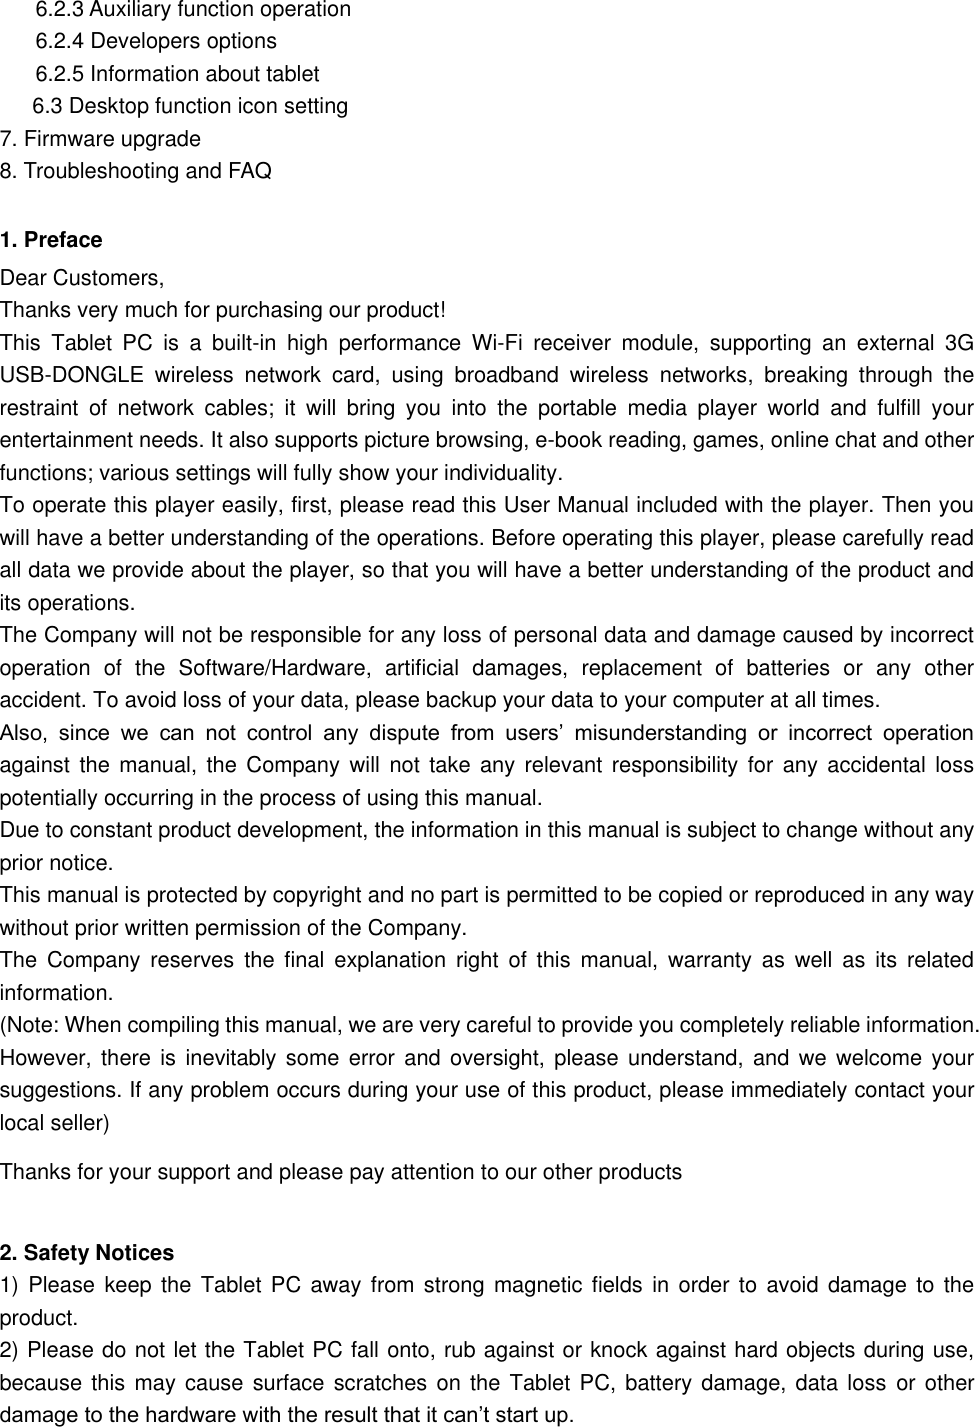
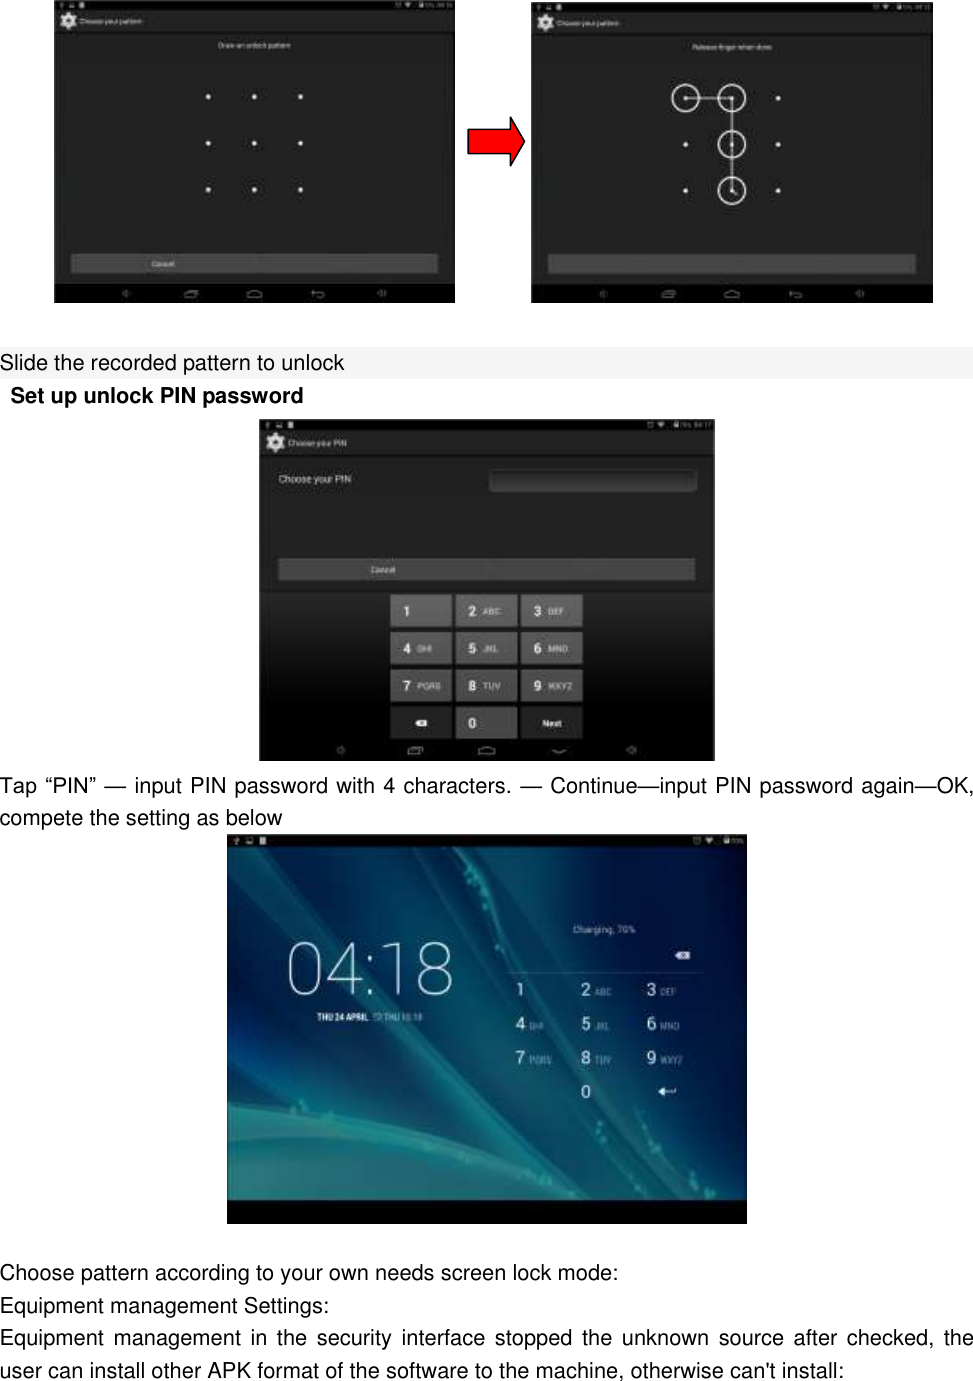
![Tap the icon to enter the security settings interface as below: Screen Lock 1.None, 2.Slide, 3. Face Unlock, 4.Pattern, 5.PIN and 6.Password 【Setting unlock pattern】unlock pattern for the screen password. Enter setup interface of the safety lock screen click [pattern] according to prompt Setting as below.](https://usermanual.wiki/Kintech/PC7810ME/User-Guide-2274282-Page-31.png)


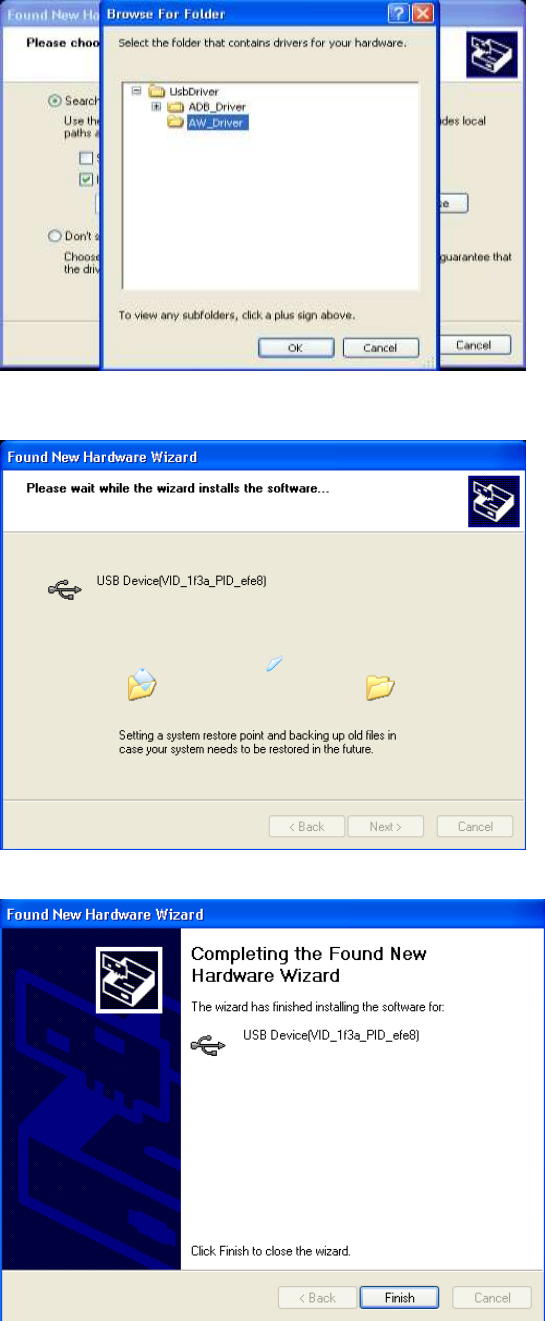
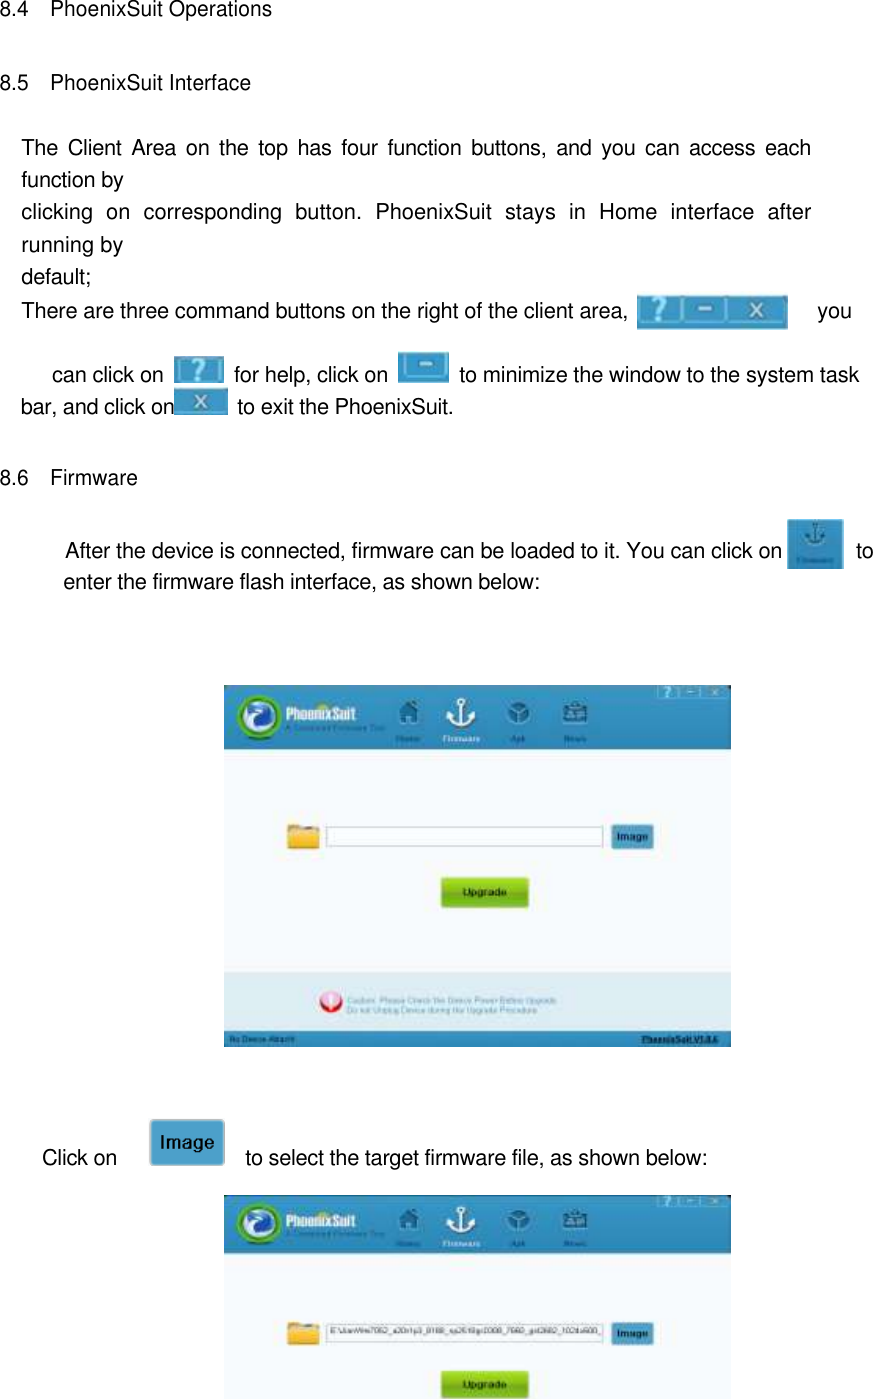
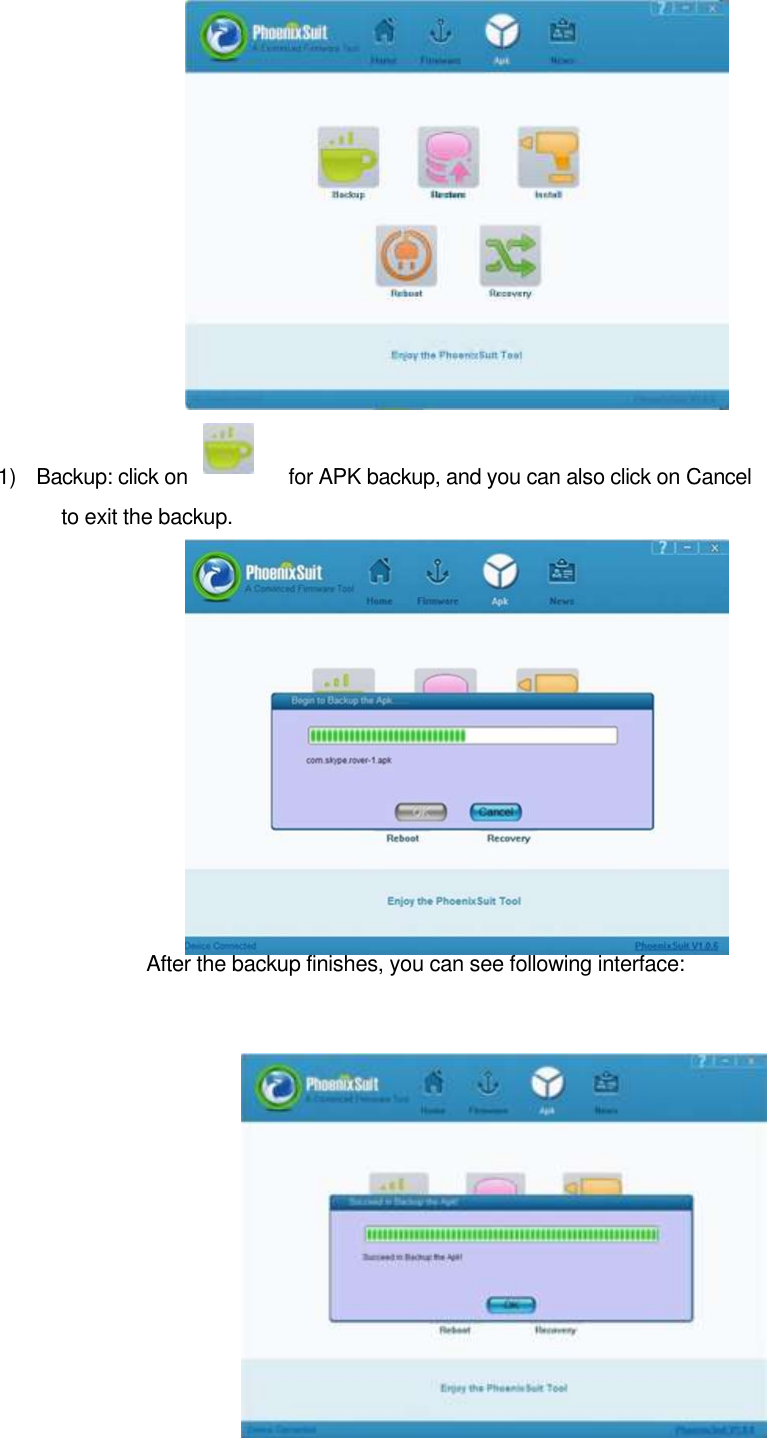
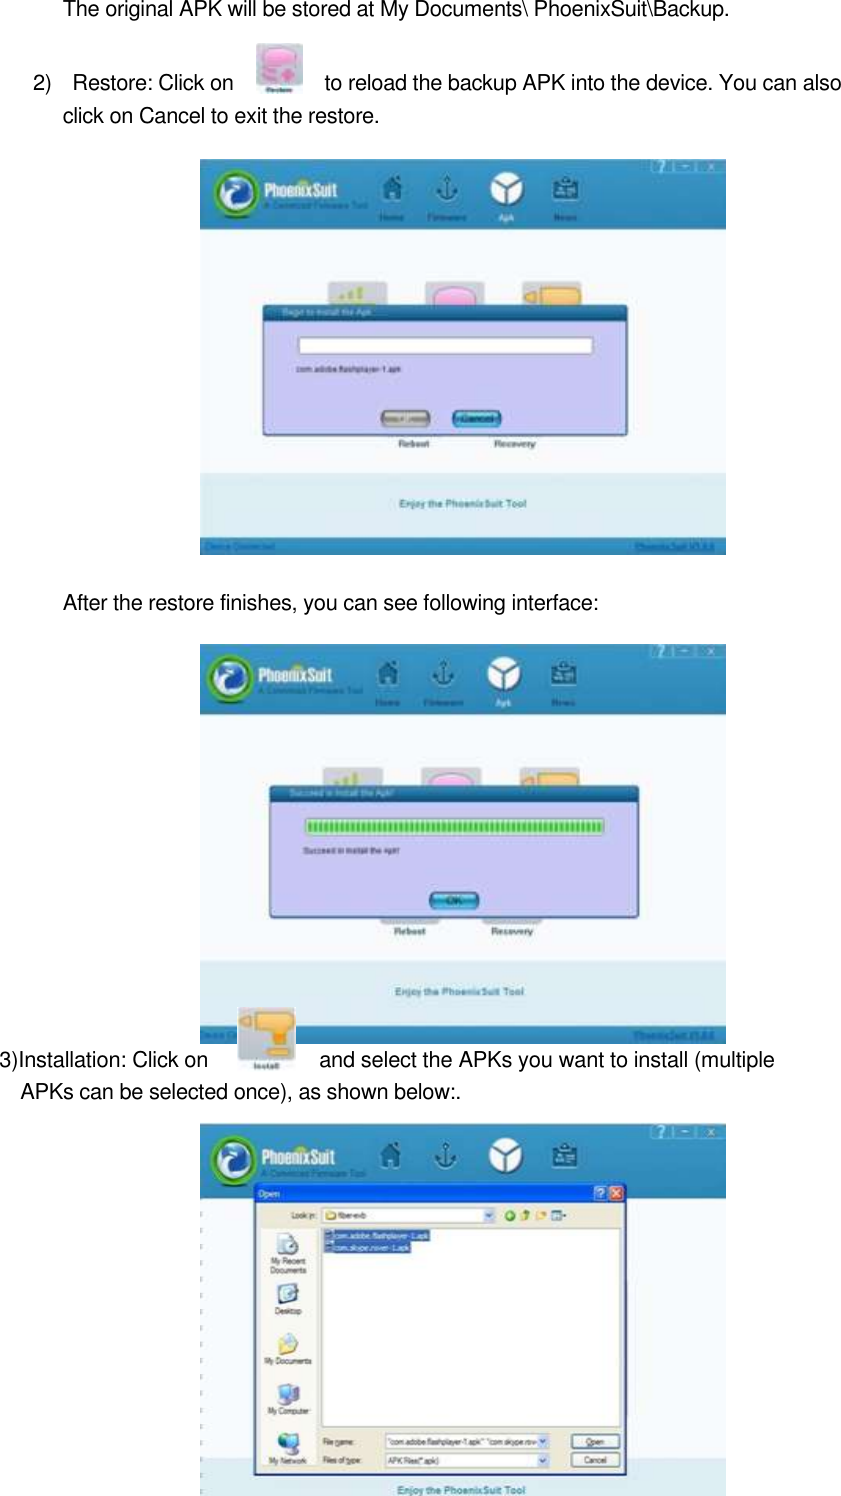
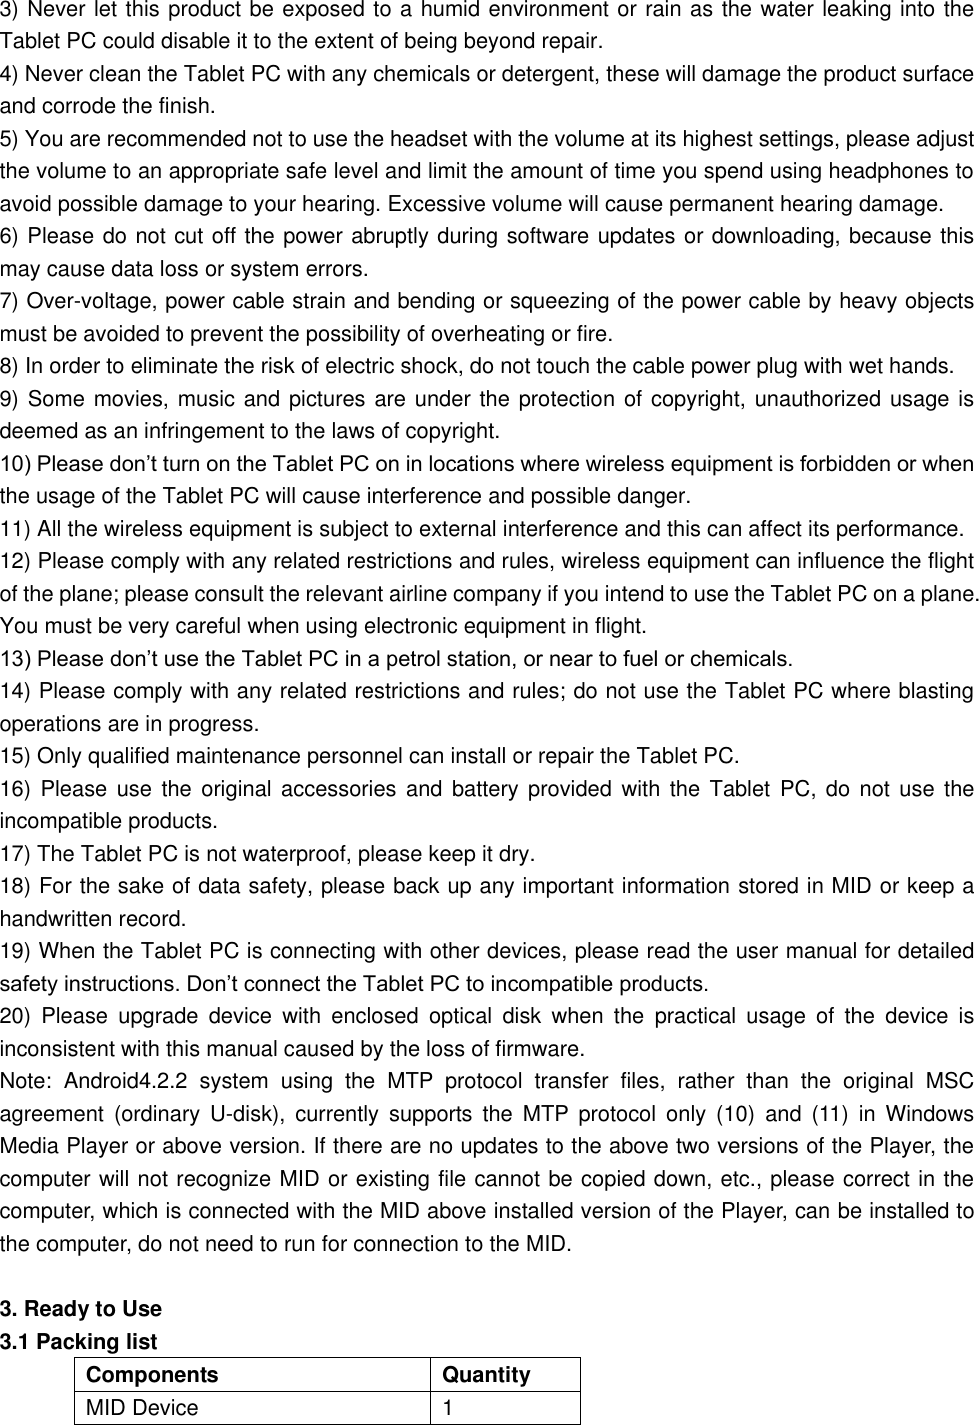
![After select the firmware, click on to load firmware into the device, as shown below: ] Note that: 1) Do not disconnect the device during the firmware loading; 2) If the firmware fails to be loaded to the device, following steps can be taken to make it: a. Select the target firmware; b. Press and hold the power key for above 10 seconds to power the device off, then release the power key; c. Press and hold any key (except the power key), connect the device to PC, and press and release the power key for five to ten times, and then release all keys, you will find that the device automatically enters the upgrade mode; d. If it doesn’t work, repeat Step a to c again; 8.7 APK The PhonenixSuit supports apk backup, restore, installation, device reboot and recovery. Click on to enter the APK interface, as shown below:](https://usermanual.wiki/Kintech/PC7810ME/User-Guide-2274282-Page-49.png)