Kobian Canada M702 E-Book User Manual HS M702 2GBWF English Rev
Kobian Canada Inc., E-Book HS M702 2GBWF English Rev
UserManual.wiki
>
Kobian Canada
>
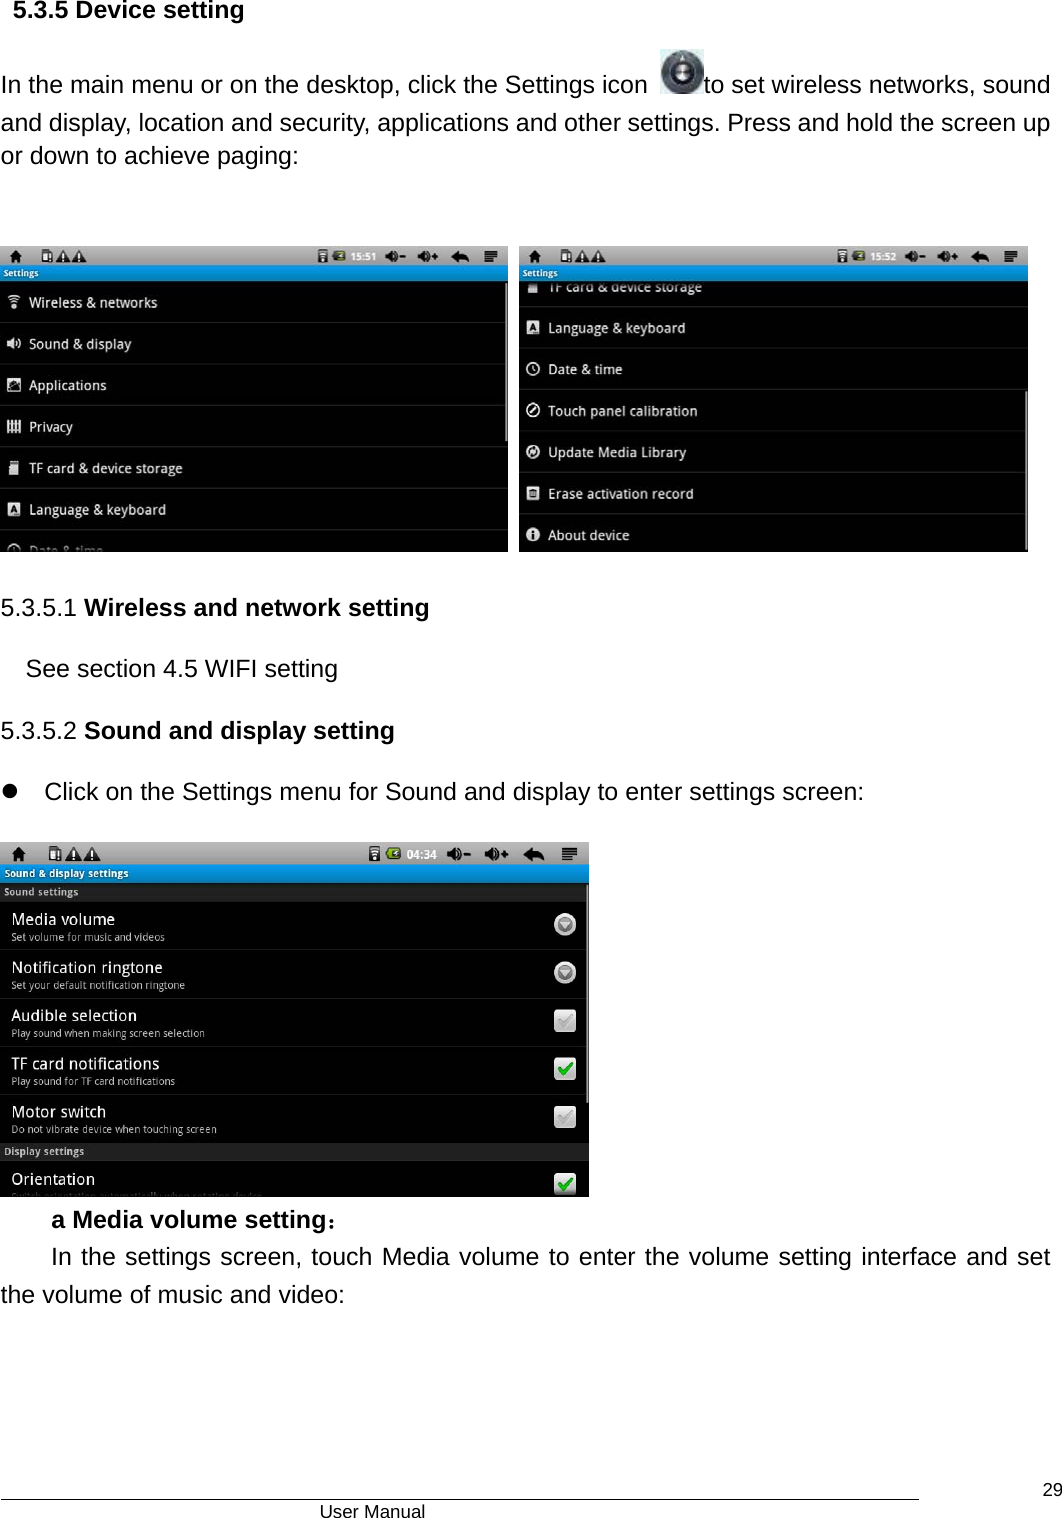
M702 User Manual
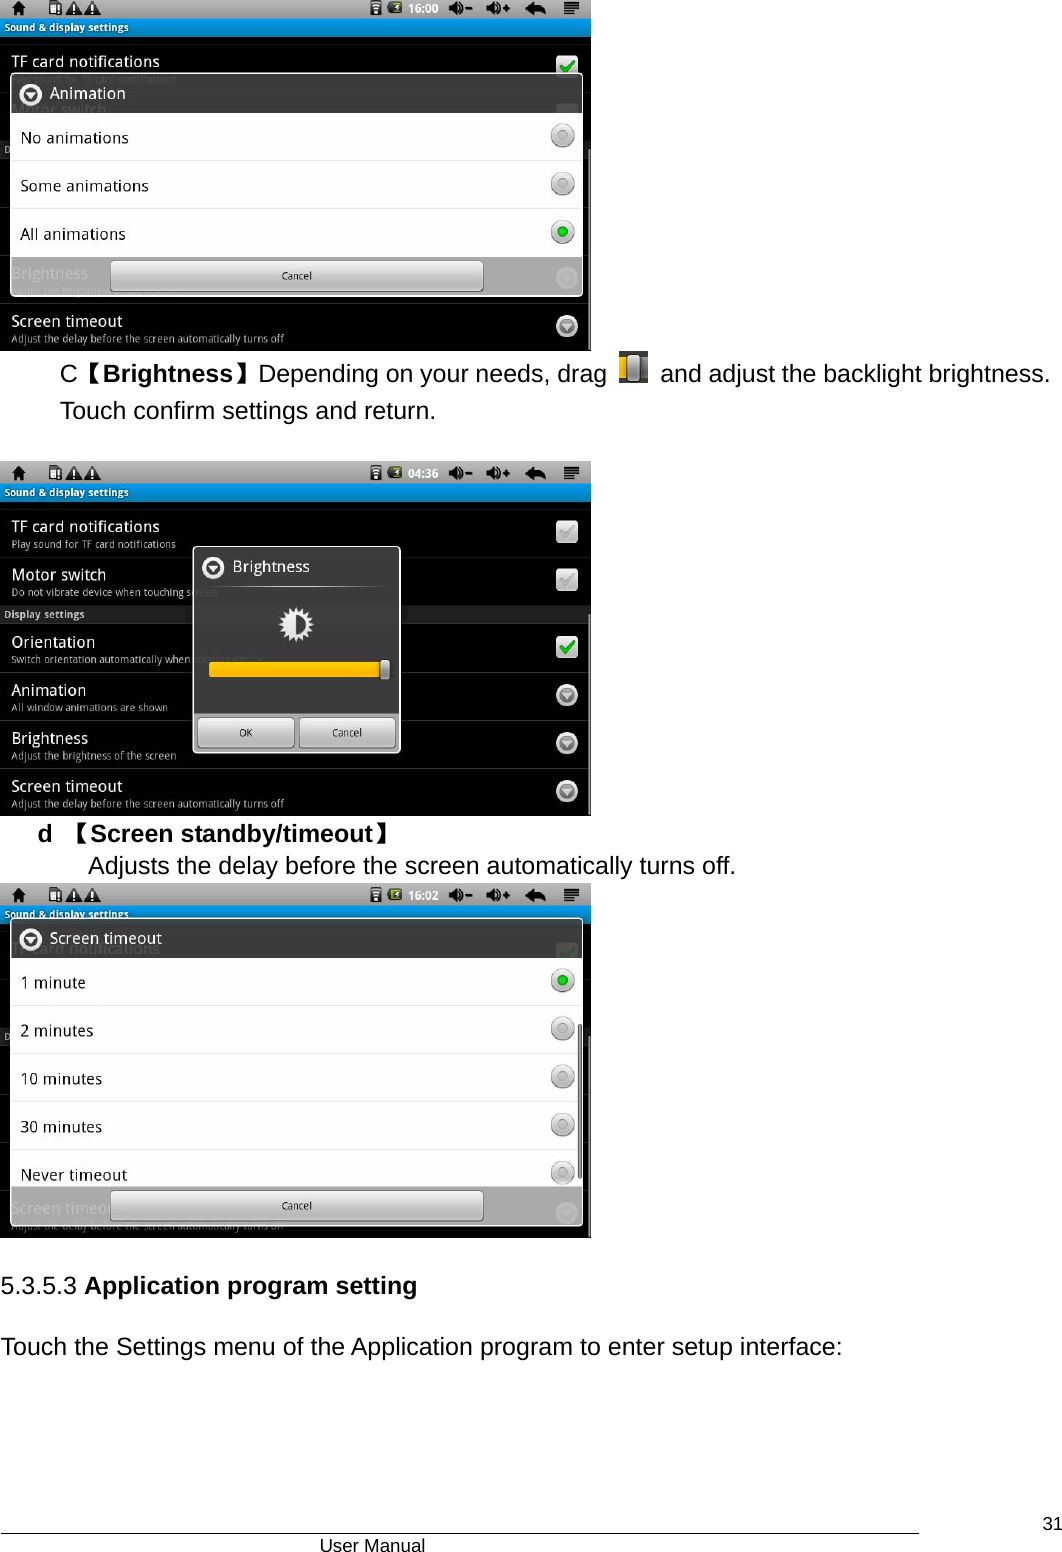
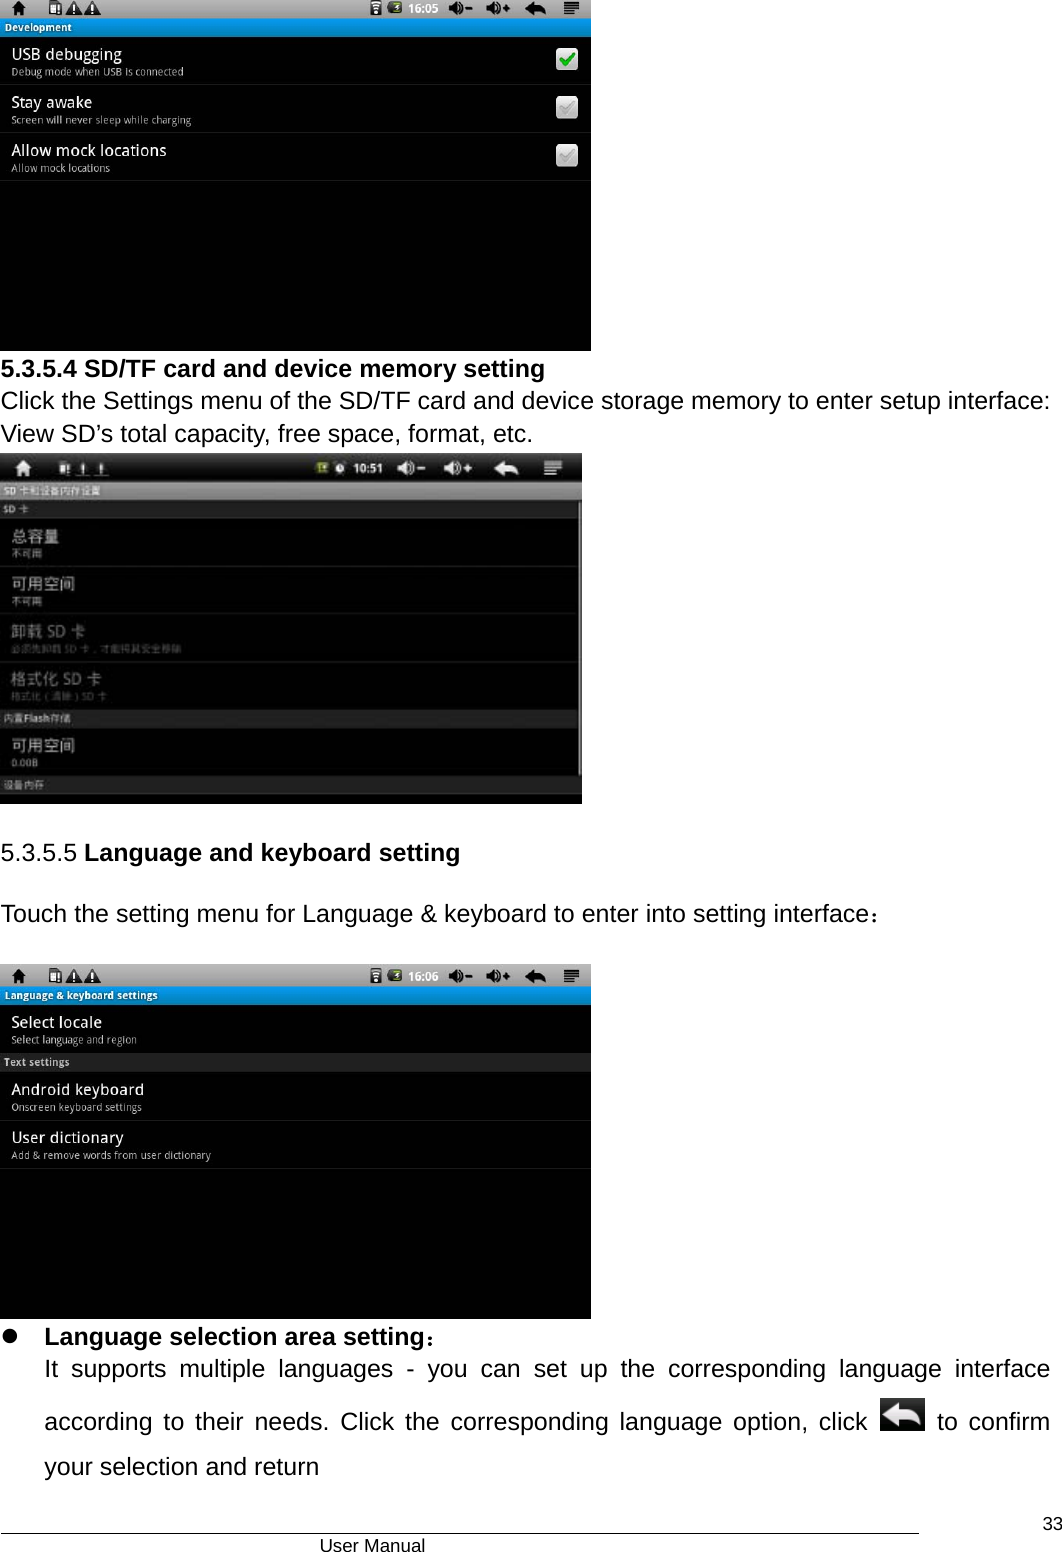
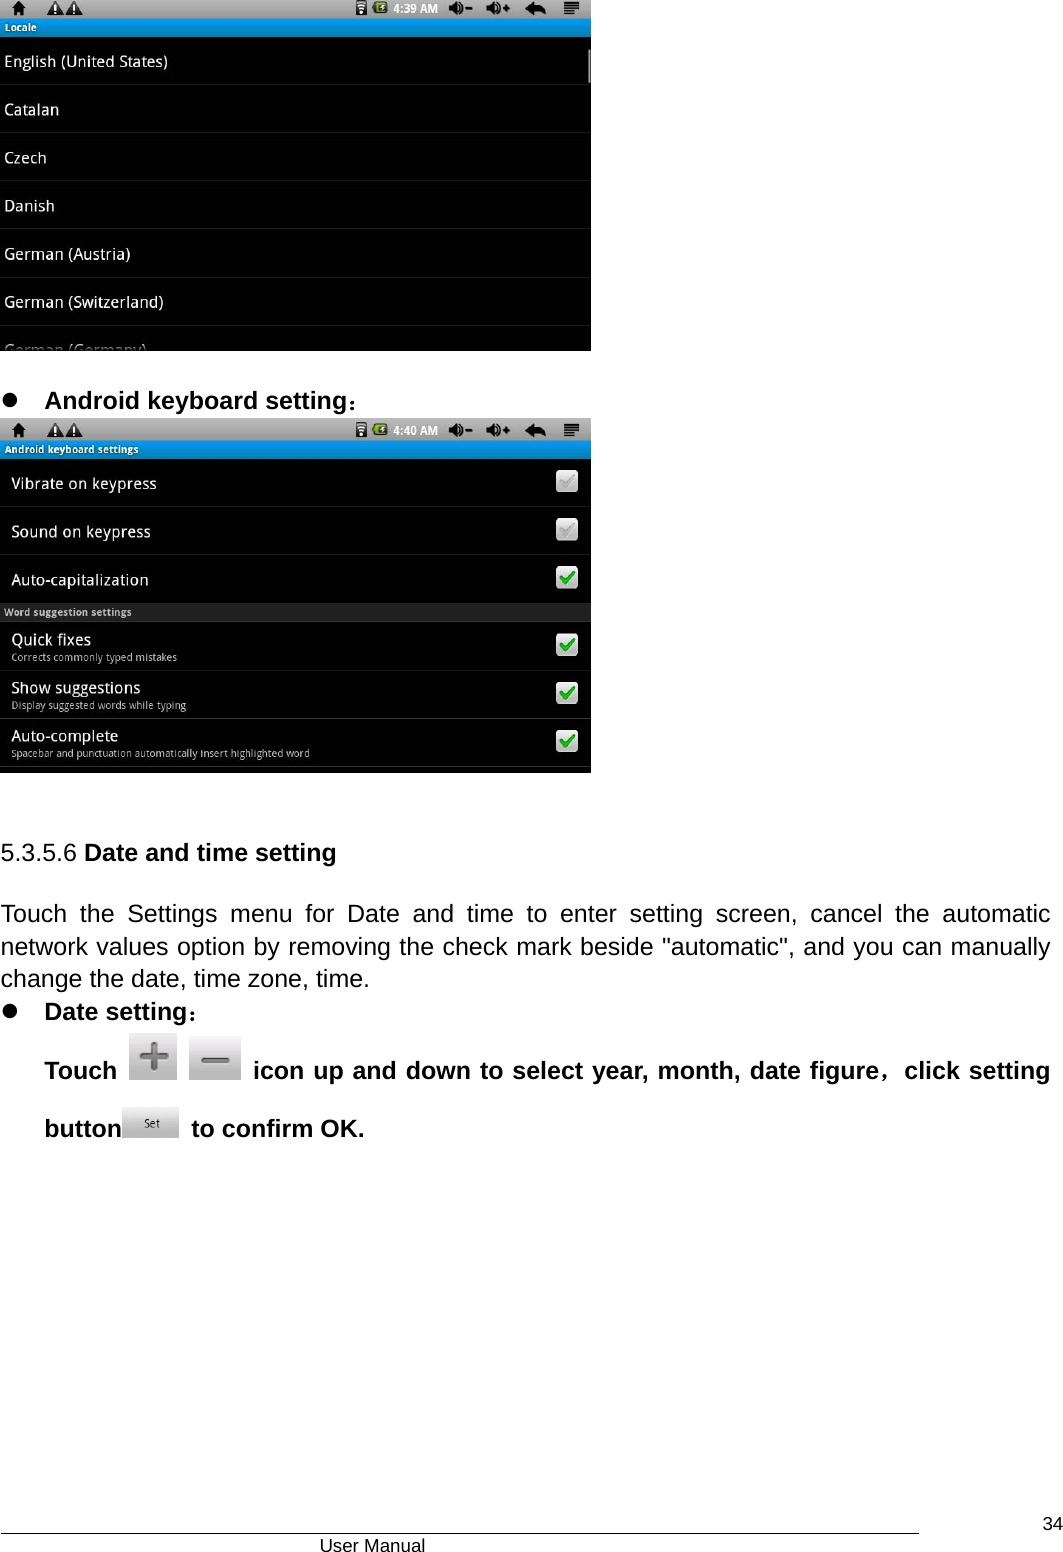
User manual
Navigation menu
Upload a User Manual
Namespaces
Wiki Guide
HTML
PDF
Info
Views
User Manual
Discussion / Help
Navigation
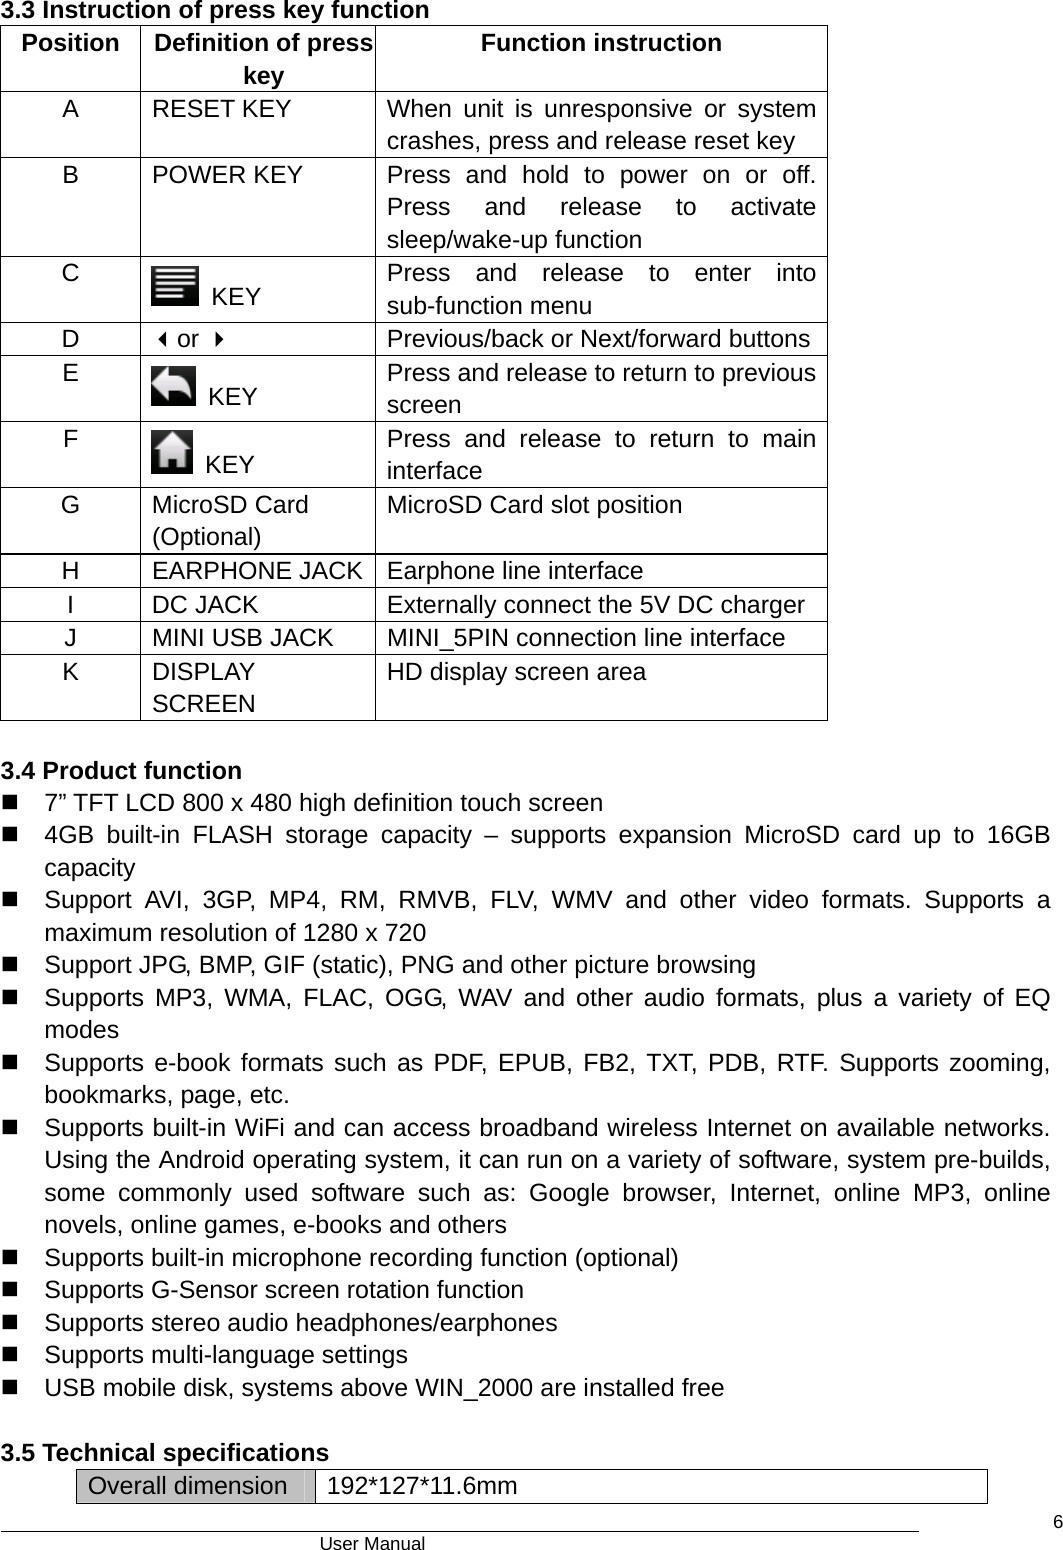
![User Manual 9fingertip, rather than the flat pad of the finger. z Touch any of the icons on the Main Graphic Interface to open that Option. z Touch icon or press the 2 button to return to previous screen or exit. Adding memory to the device This device has an expansion slot on the bottom for a Micro SD memory card (Memory Card not included). It will accept 1GB, 2GB, 4GB, 8GB, and 16GB size cards. Adding one of these cards will increase space for storing data. Inserting the Card: The card will only go in one way. Do not force it. Insert it carefully into the slot labeled “MICRO SD”. Press it in to lock it into place. When using the memory card, do not remove it without ending the operation in progress as there may be data errors created. Avoid storing the memory card in high temperatures or high humidity. Keep away from liquids and corrosive materials. Removing the Card: Press the card in to unlock and release it. Do not pull it out by force without releasing first. 4.2 On/Off On: Press and hold the Power Button [ ] until the unit turns on. Please be patient while the unit starts up. When the unit powers up, it will enter into the eBOOK main interface as follows: Power saving mode and lock desktop screen: When the device is on, press and release "POWER" button to enter the SLEEP power mode. The screen will go black entering the locked screen state. To reverse this, press and release the "POWER" button and the system will restore the bright screen within one second. Note: Originally selected operating functions will not be interrupted in the power-saving mode and will continue to work. If you are listening to music then it will continue playing. If you are watching a video it will pause and then resume after you have exited the power saving mode. Off: Press and hold the Power Button [ ] for three seconds. The screen will show the Device](https://usermanual.wiki/Kobian-Canada/M702/User-Guide-1831305-Page-9.png)
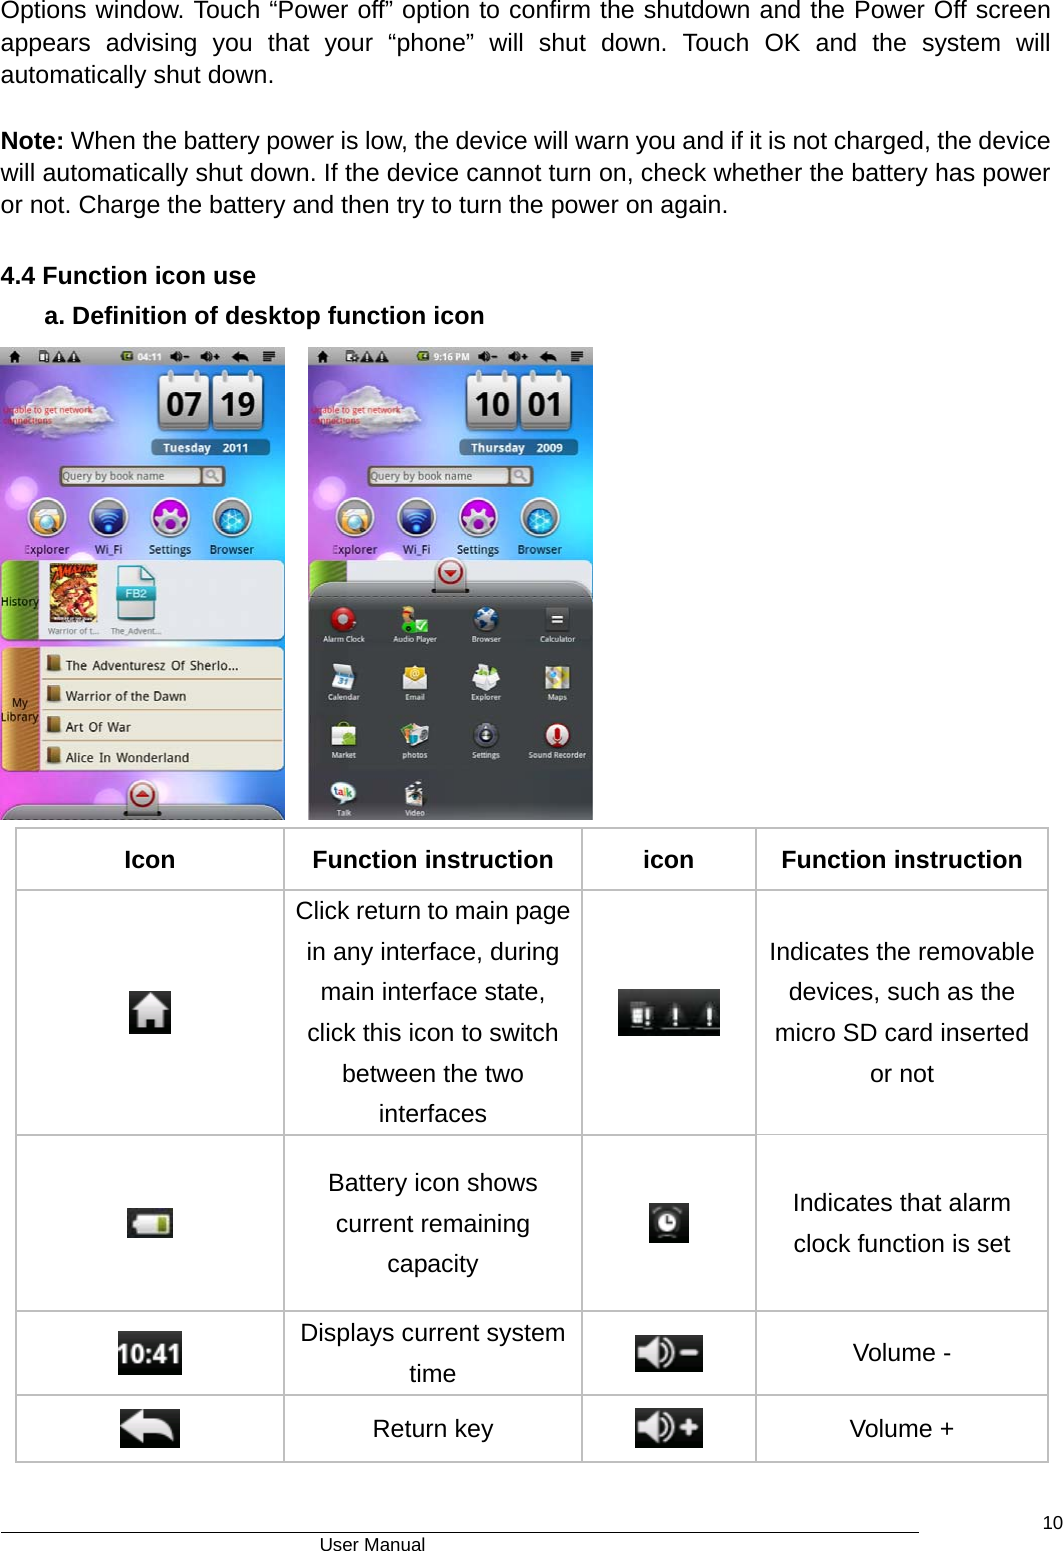
![User Manual 11 Menu Function module menu WIFI on and off switch tool bar Music / Video media library updated b. Input settings Press the search box to display the input method - see as follows: c. Search function To search for specific e-books stored in the device, you can enter partial names or the name of the full title - then touch the search icon [ ] and the results will appear. d. Shortcut toolbar Touch any one of these icons for quick access to relevant functions such as music, videos, pictures and documents.](https://usermanual.wiki/Kobian-Canada/M702/User-Guide-1831305-Page-11.png)