Kyocera C6730 Kyocera Phone User Manual USERS MANUAL
Kyocera Corporation Kyocera Phone USERS MANUAL
UserManual.wiki
>
Kyocera
>
C6730 User Manual
USERS MANUAL
Navigation menu
Upload a User Manual
Namespaces
Wiki Guide
HTML
PDF
Info
Views
User Manual
Discussion / Help
Navigation
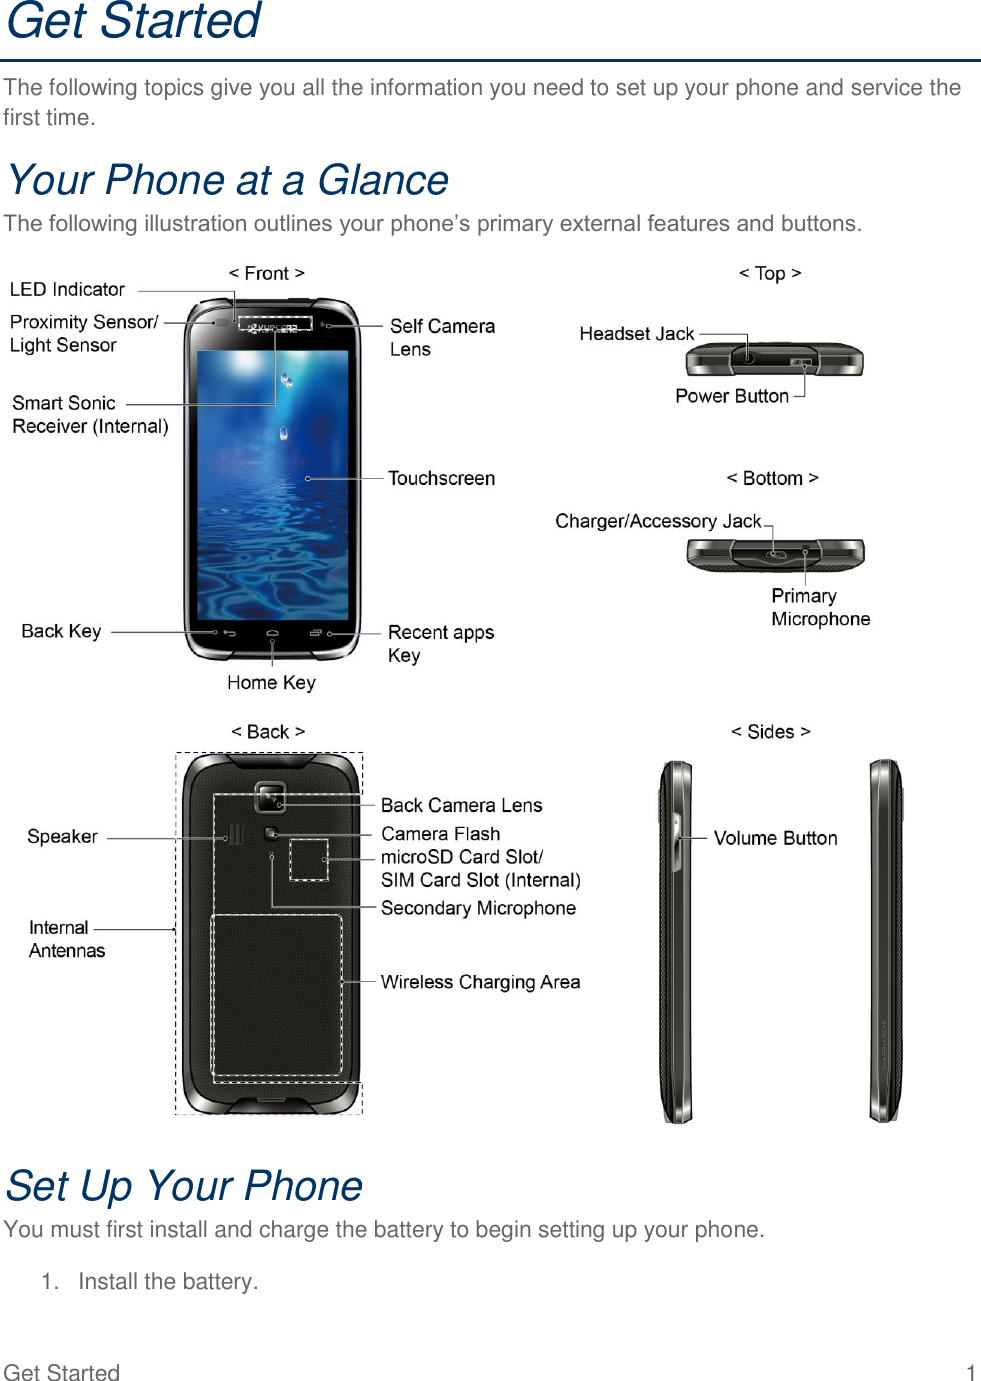
![User Guide [UG template version 13a]C6730](https://usermanual.wiki/Kyocera/C6730/User-Guide-2238673-Page-1.png)
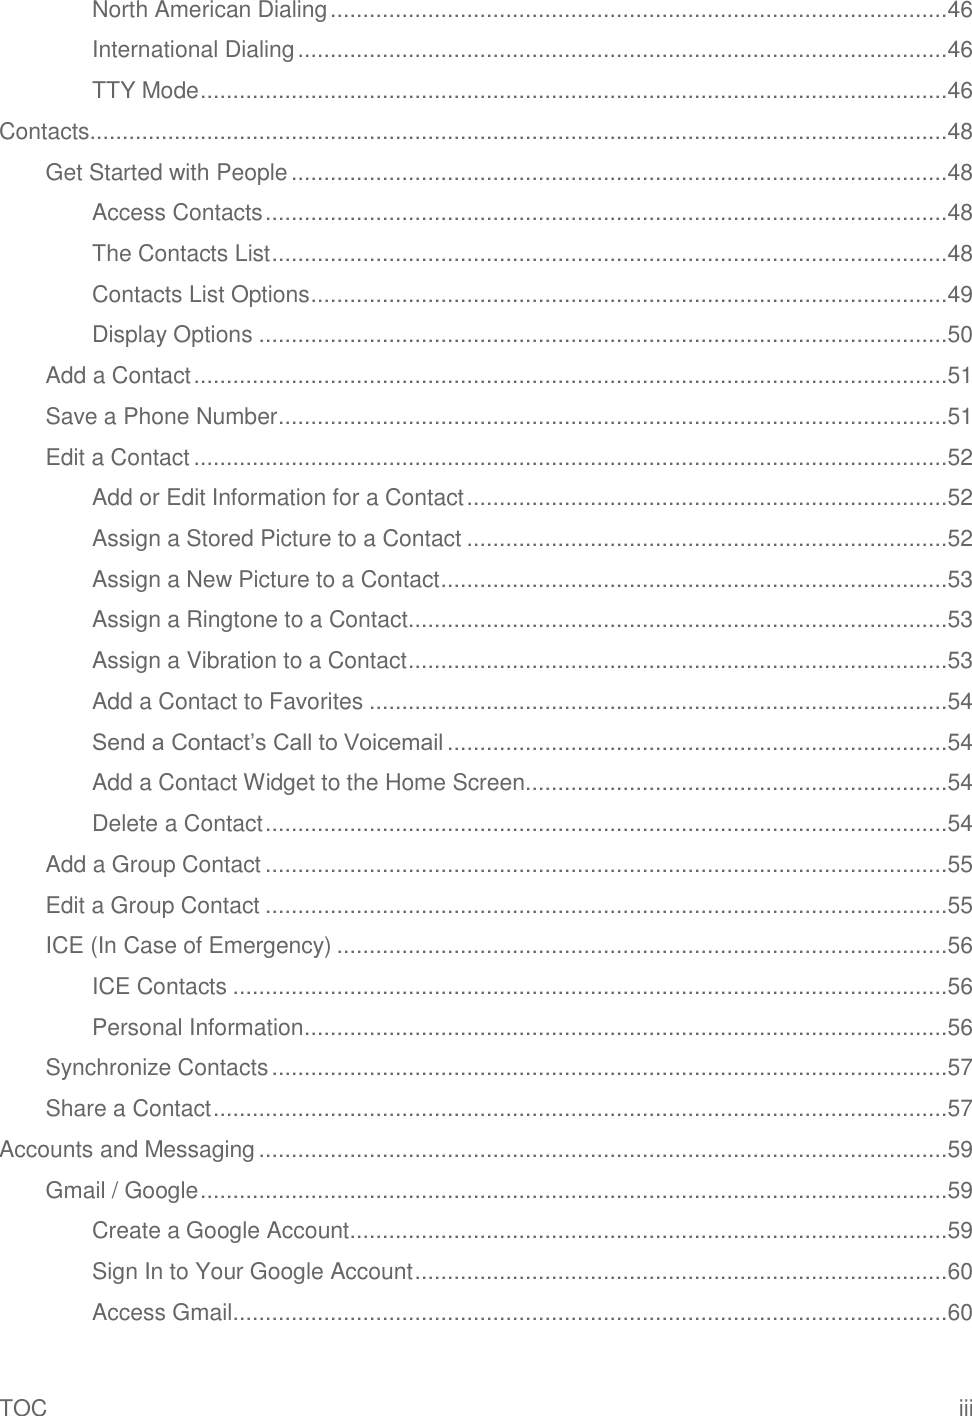
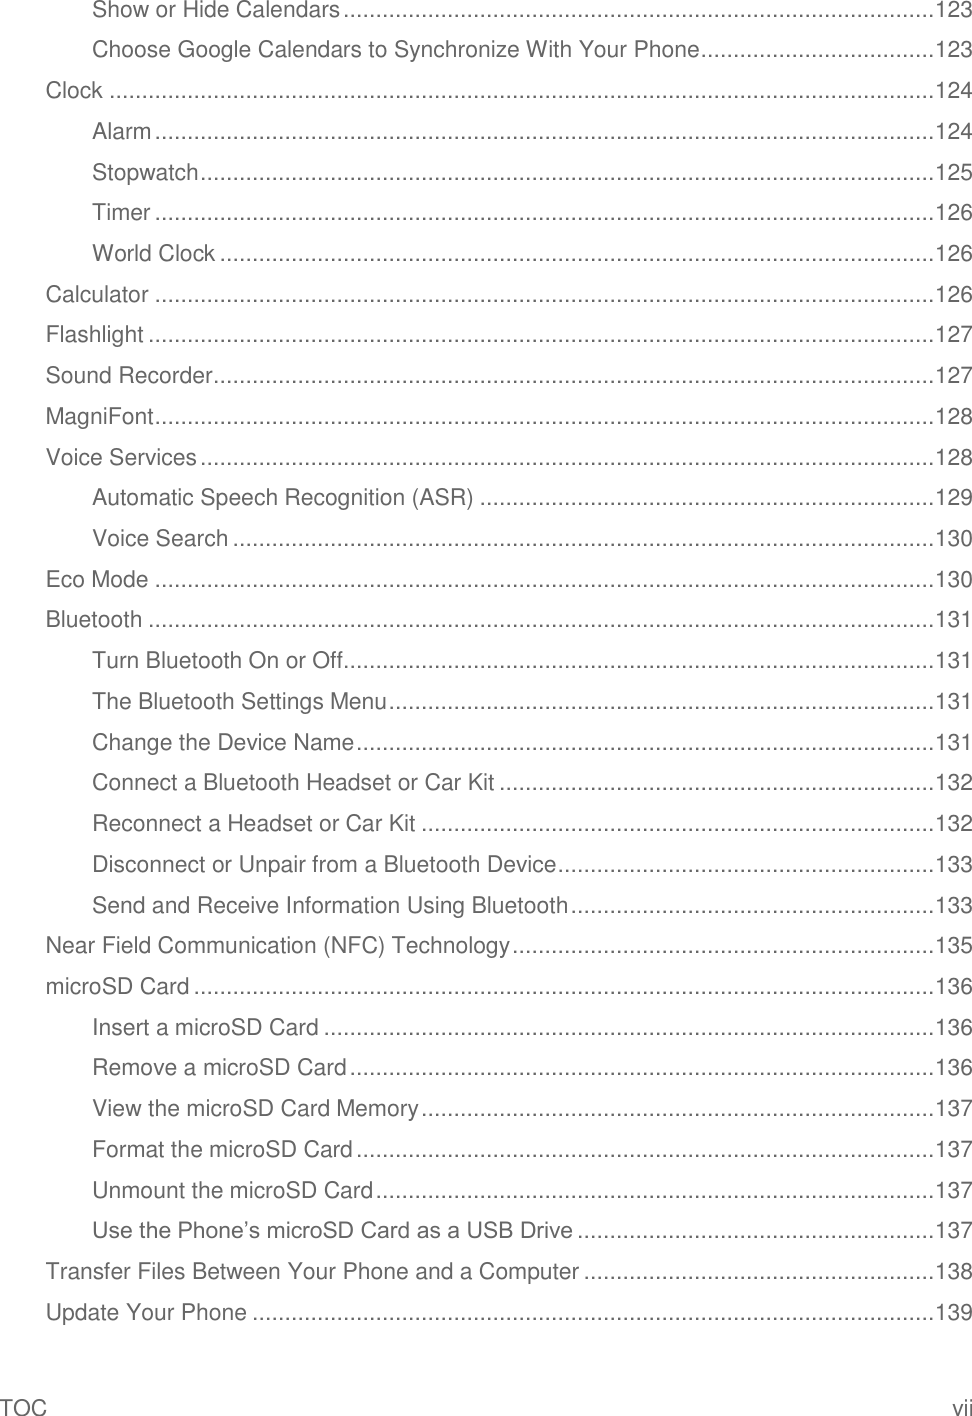

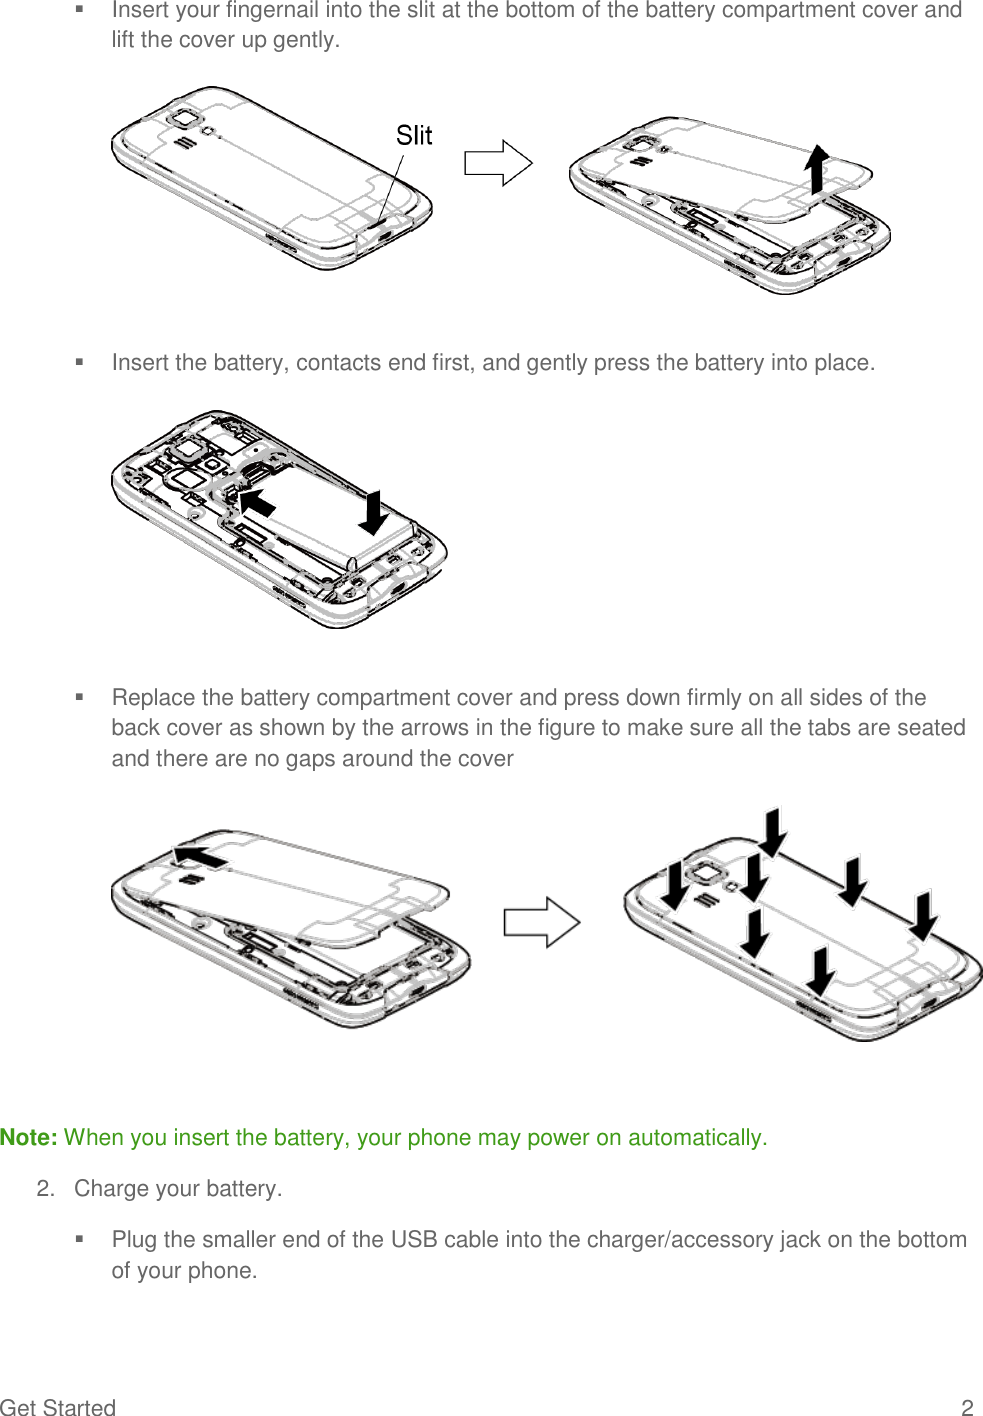


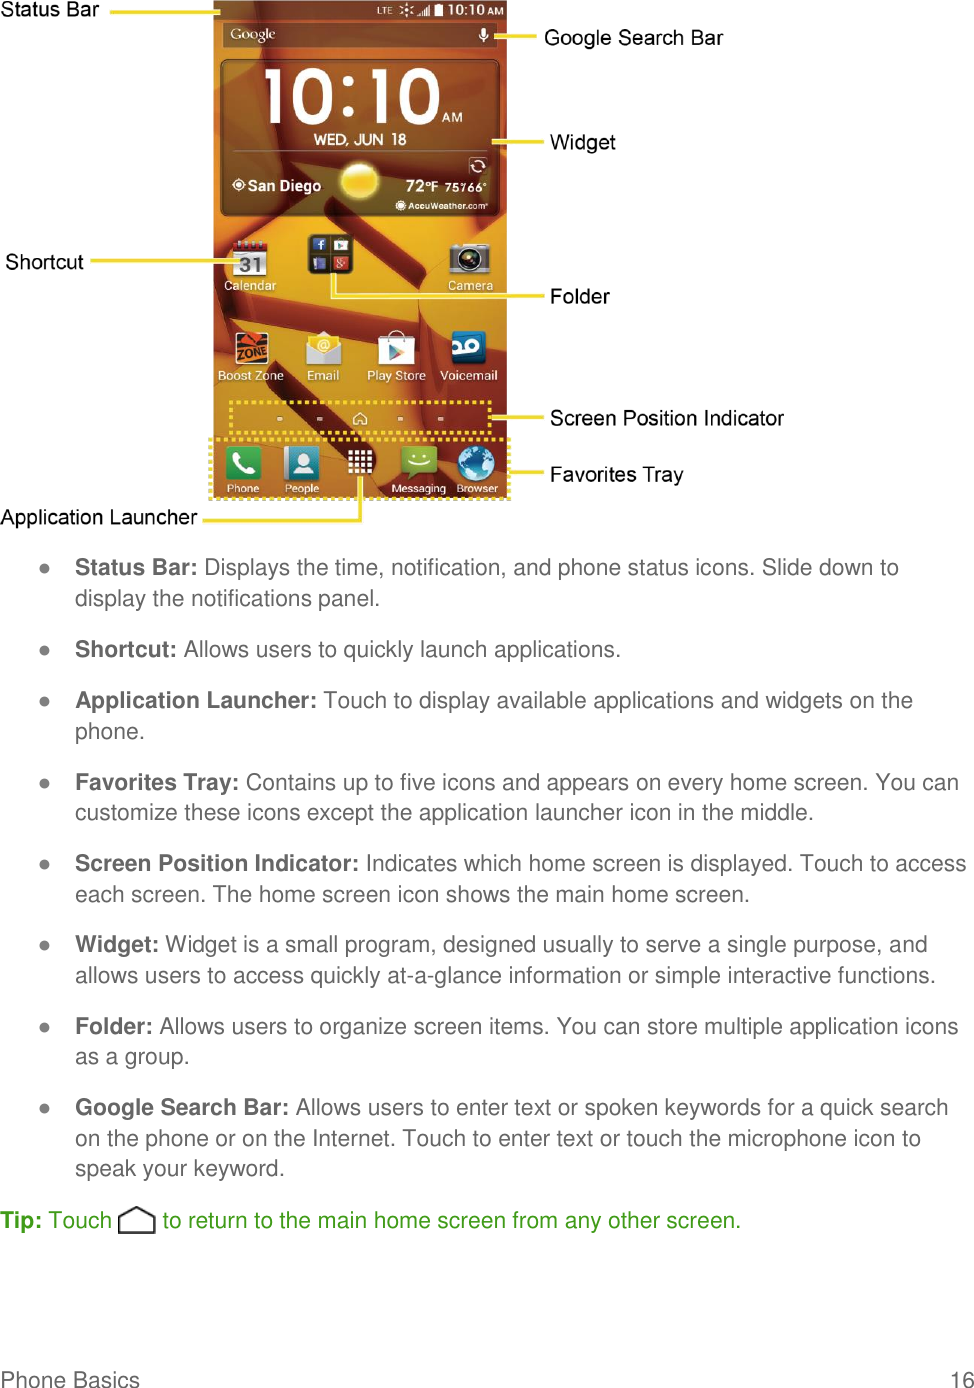

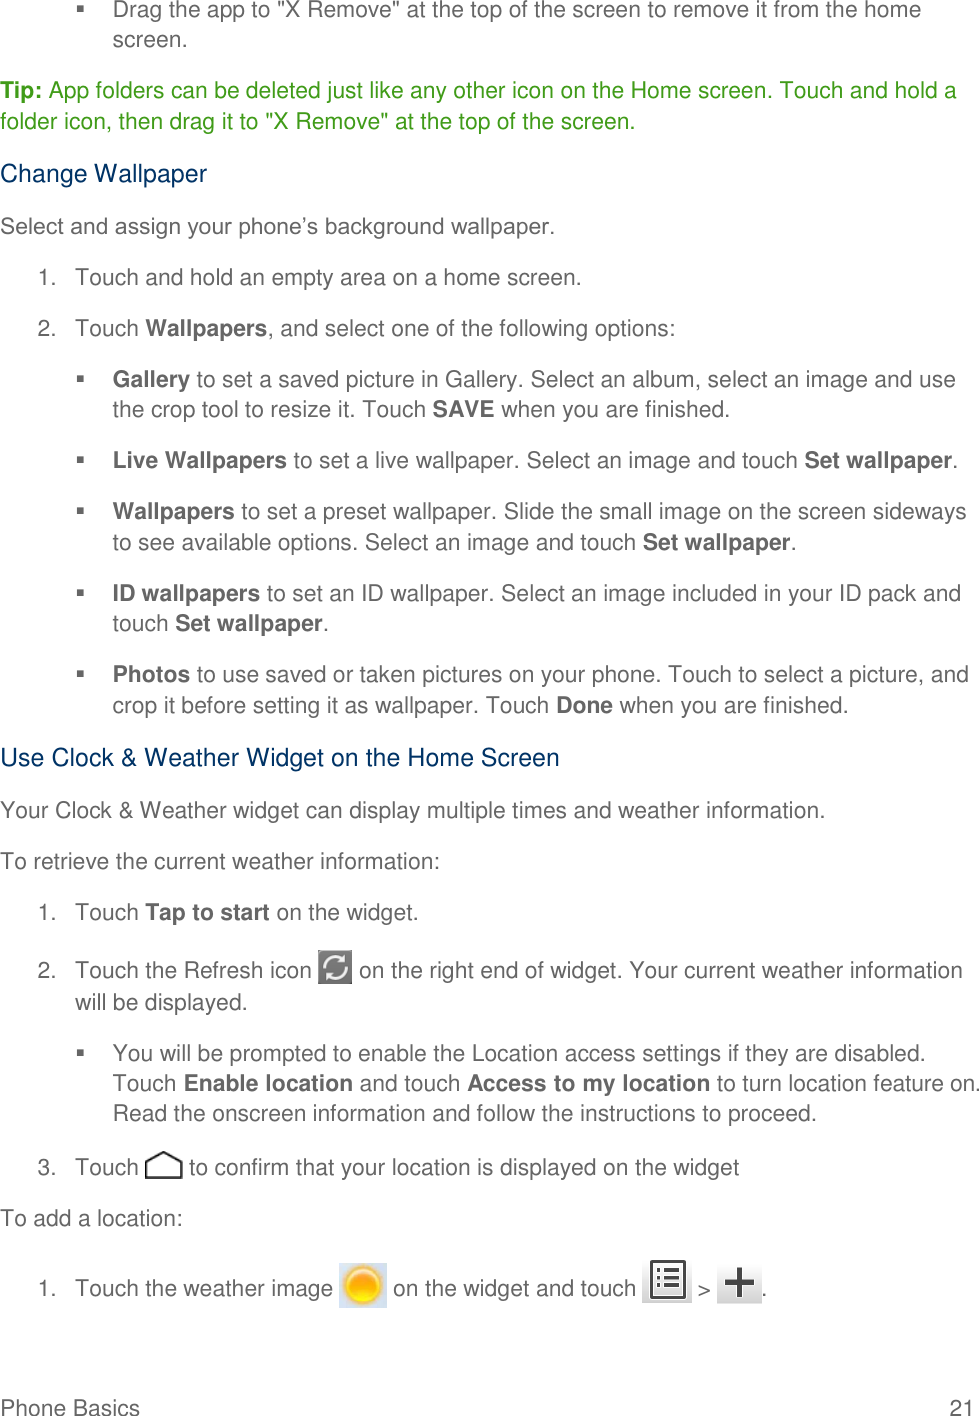
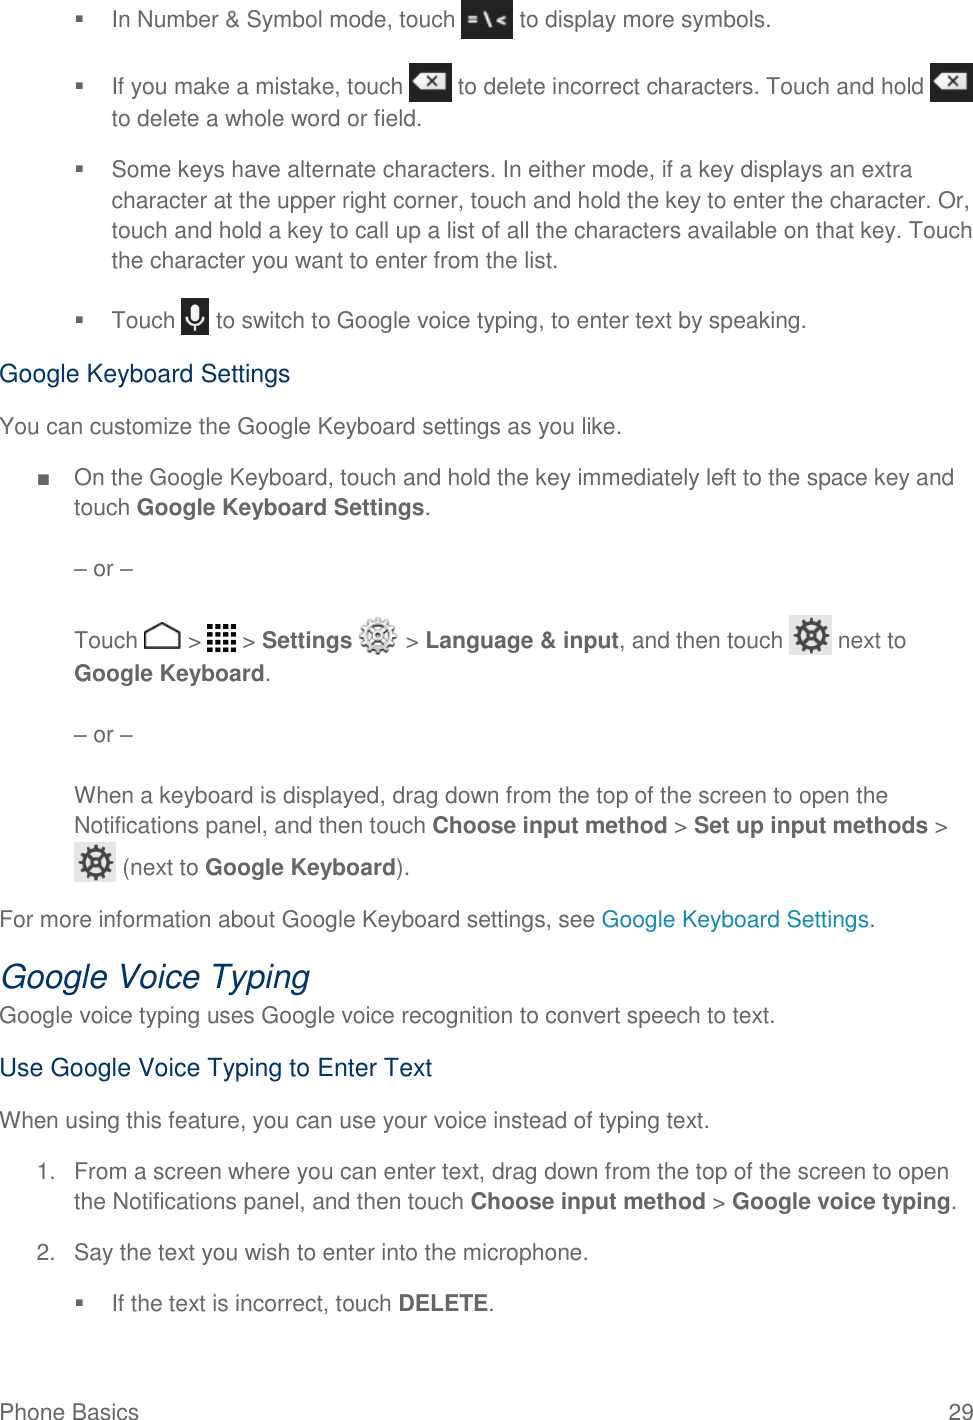
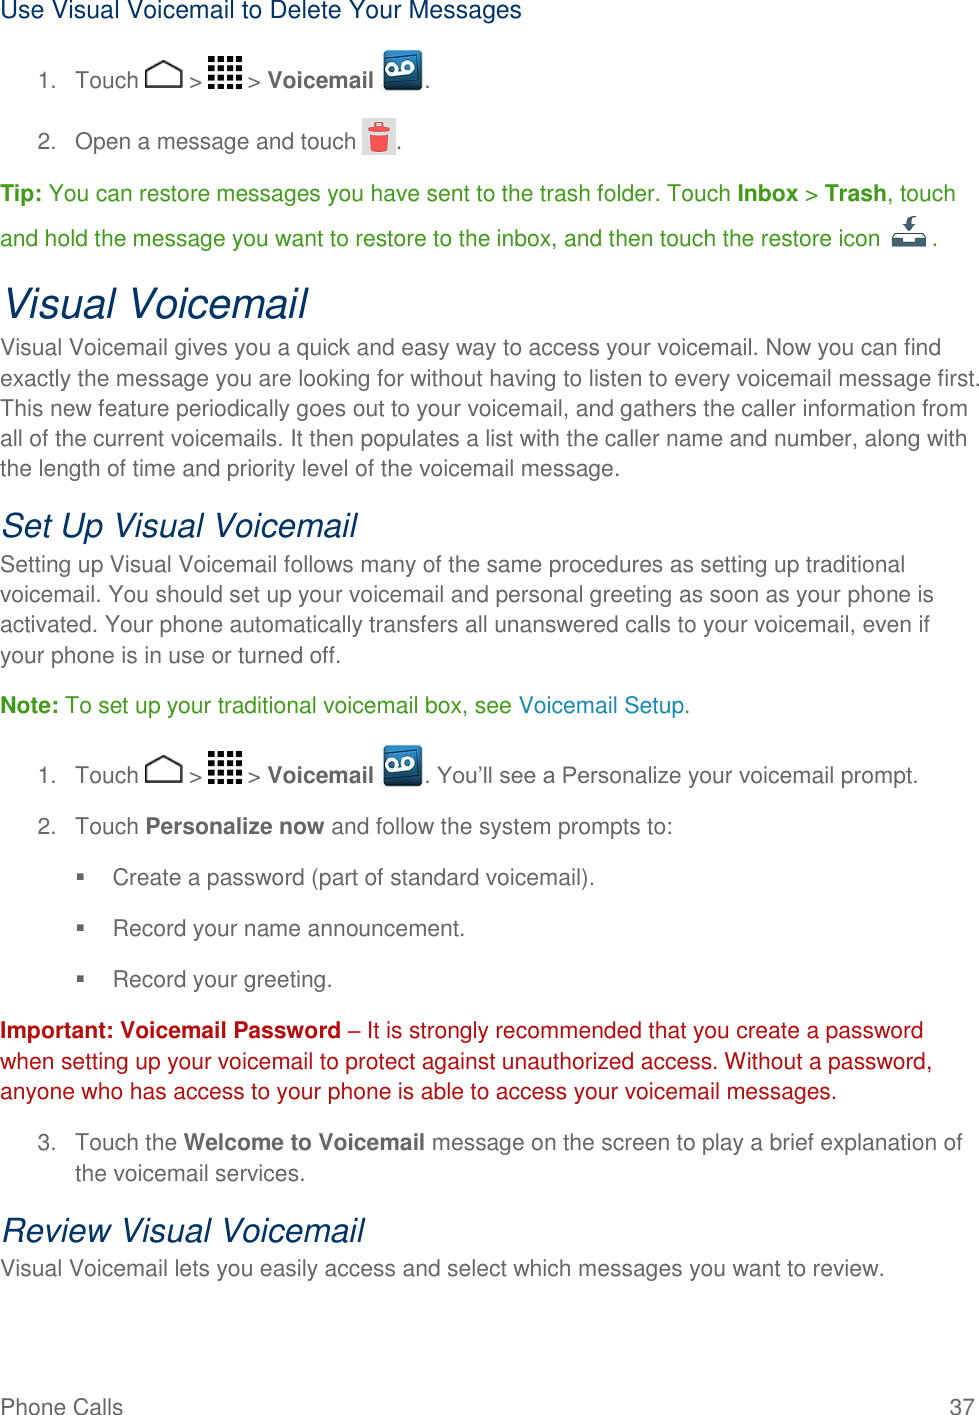
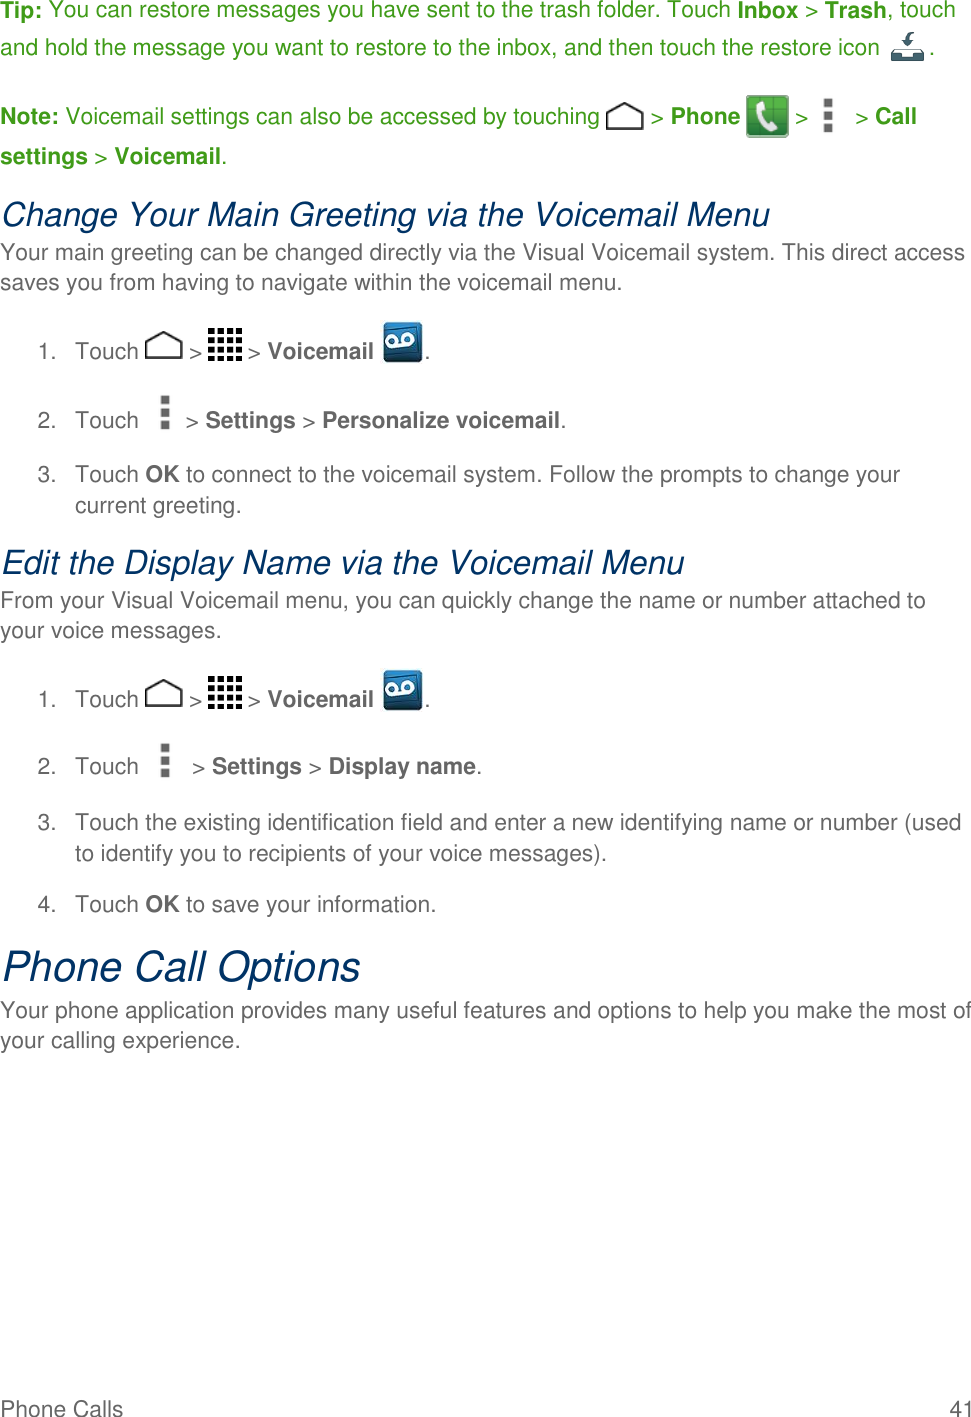
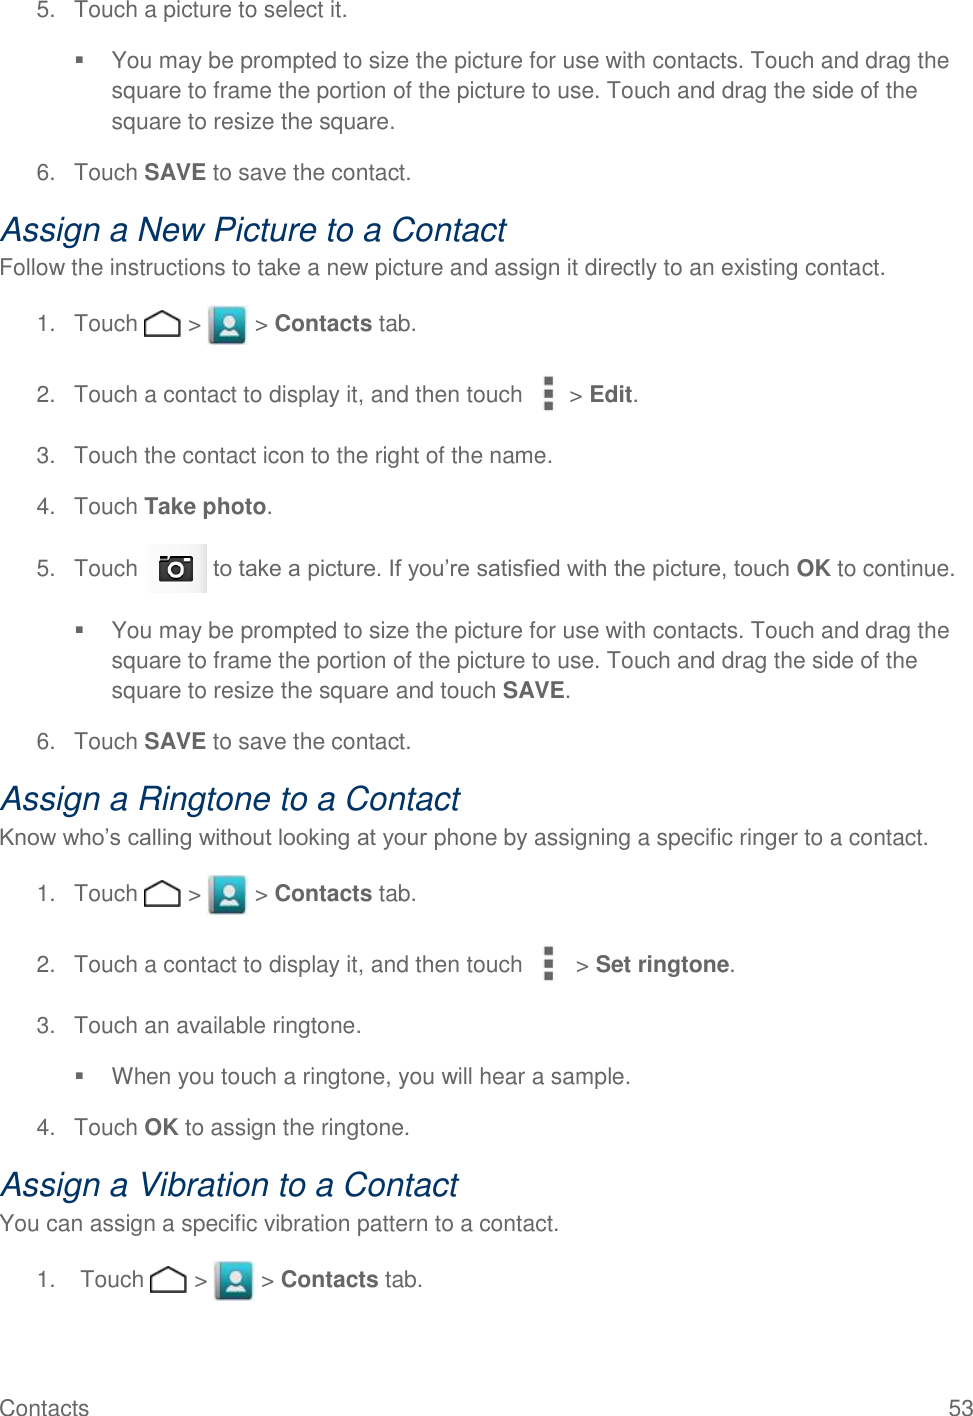

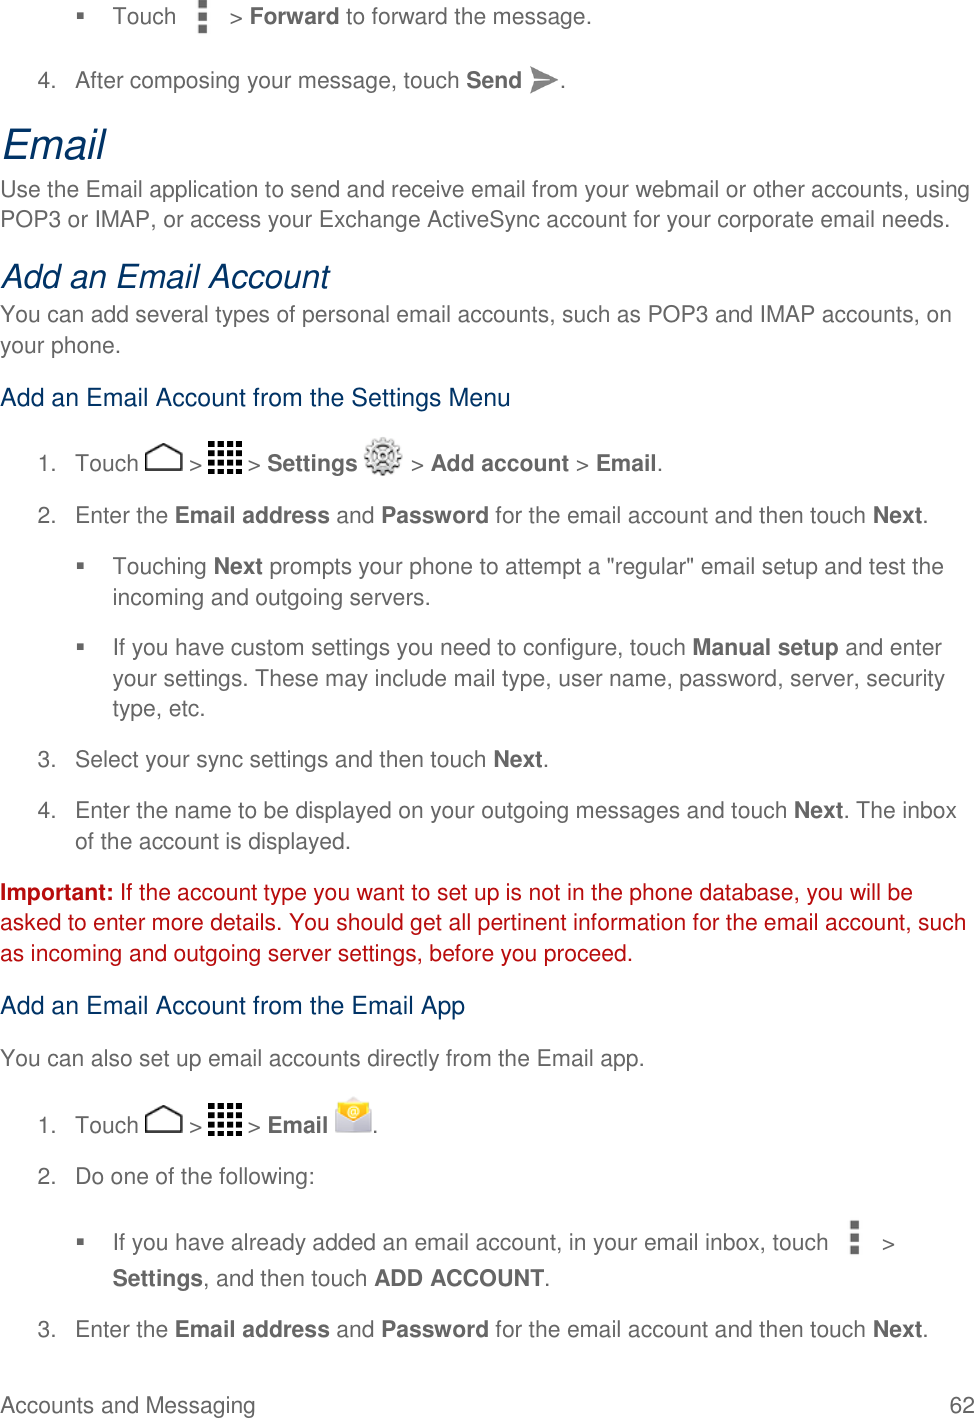
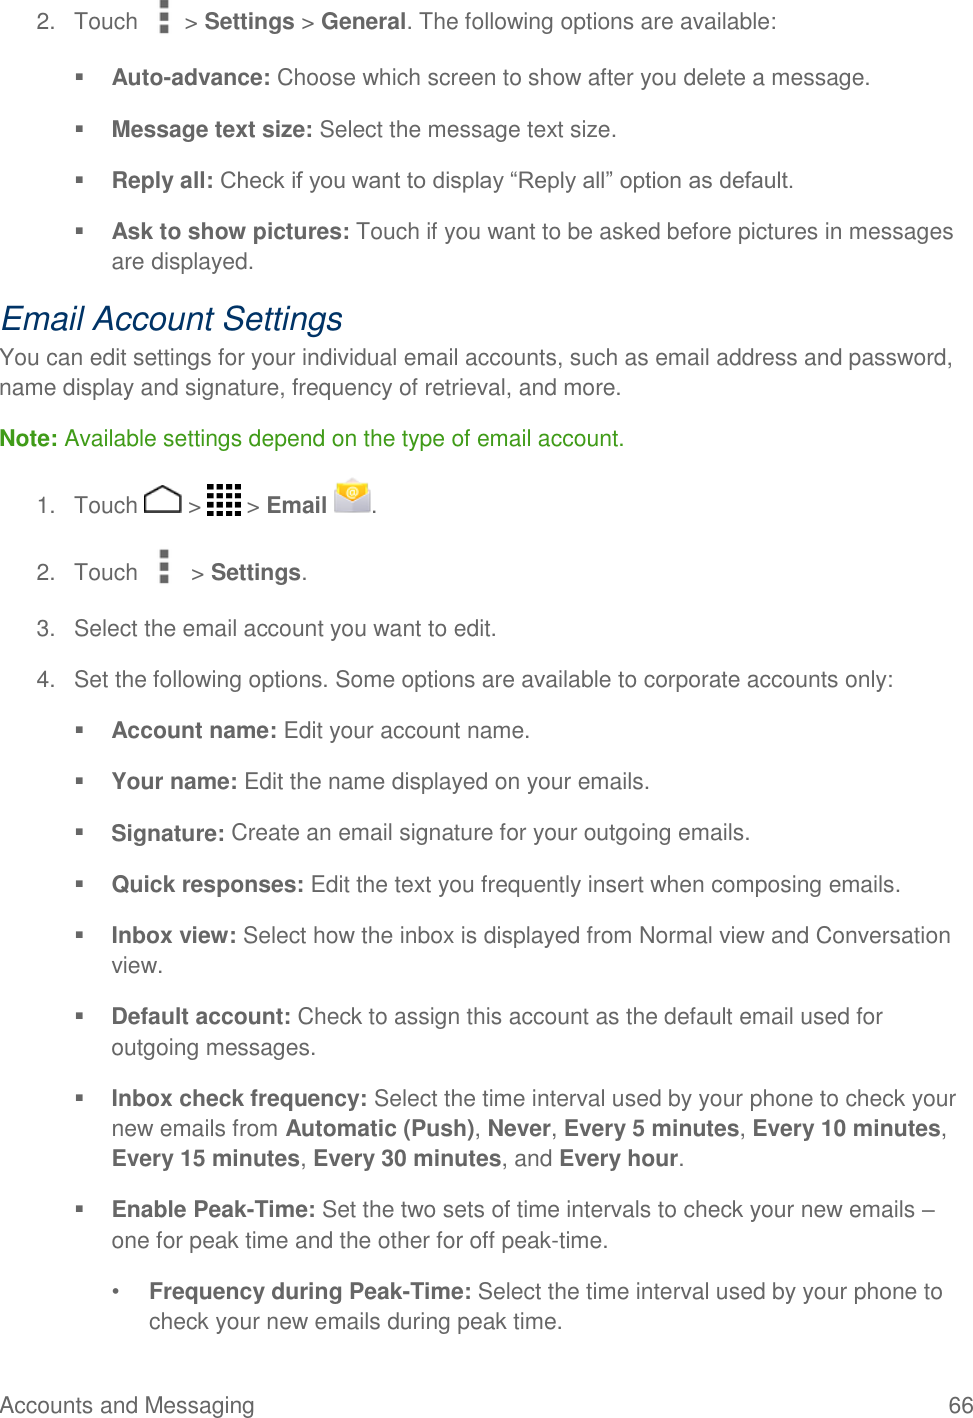
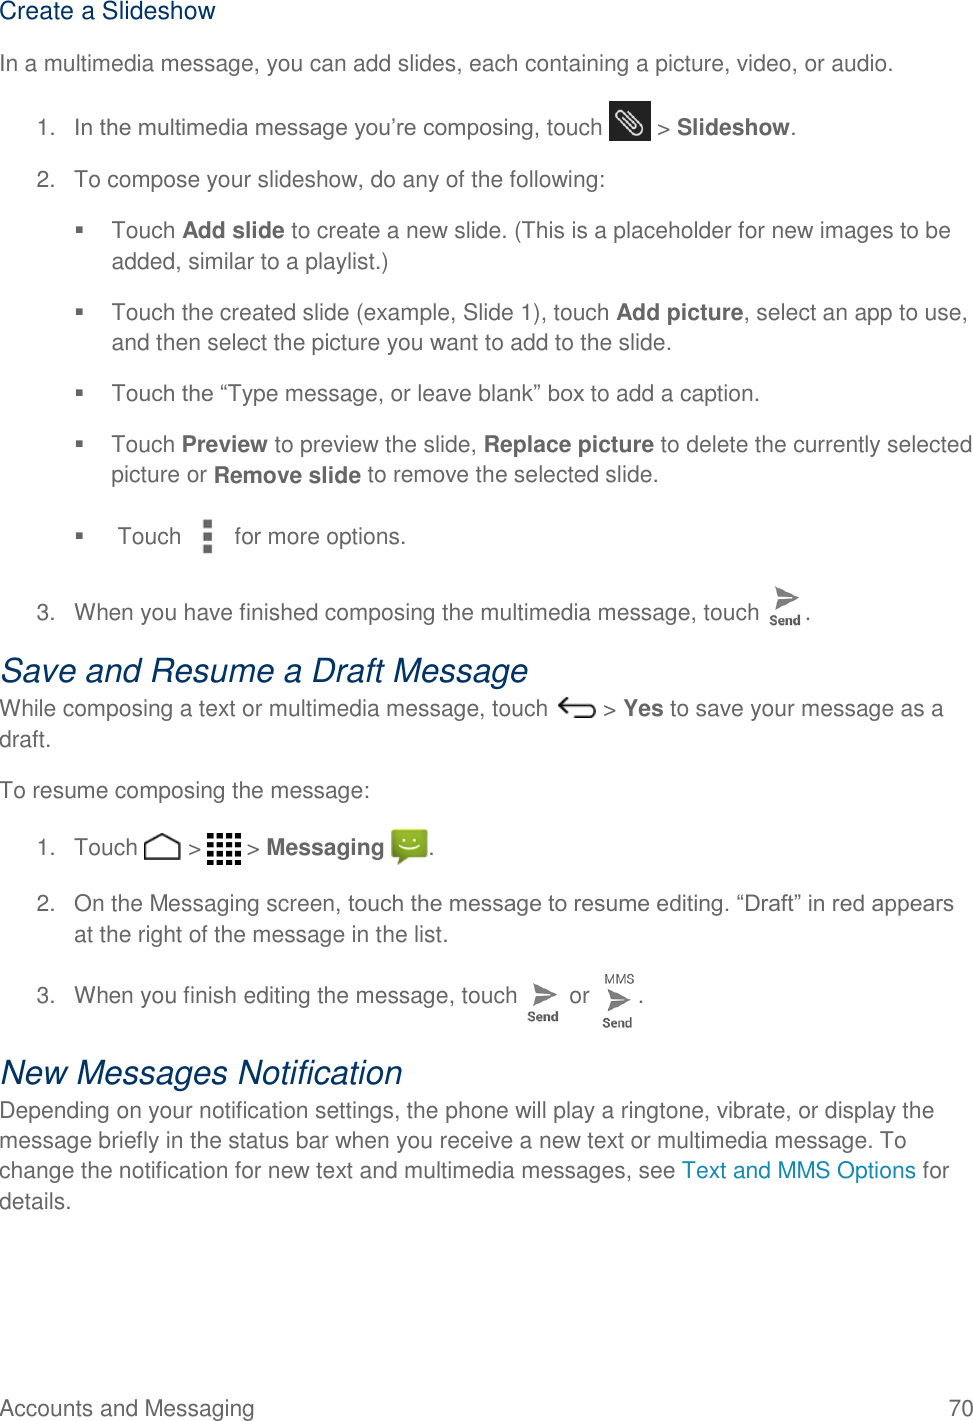
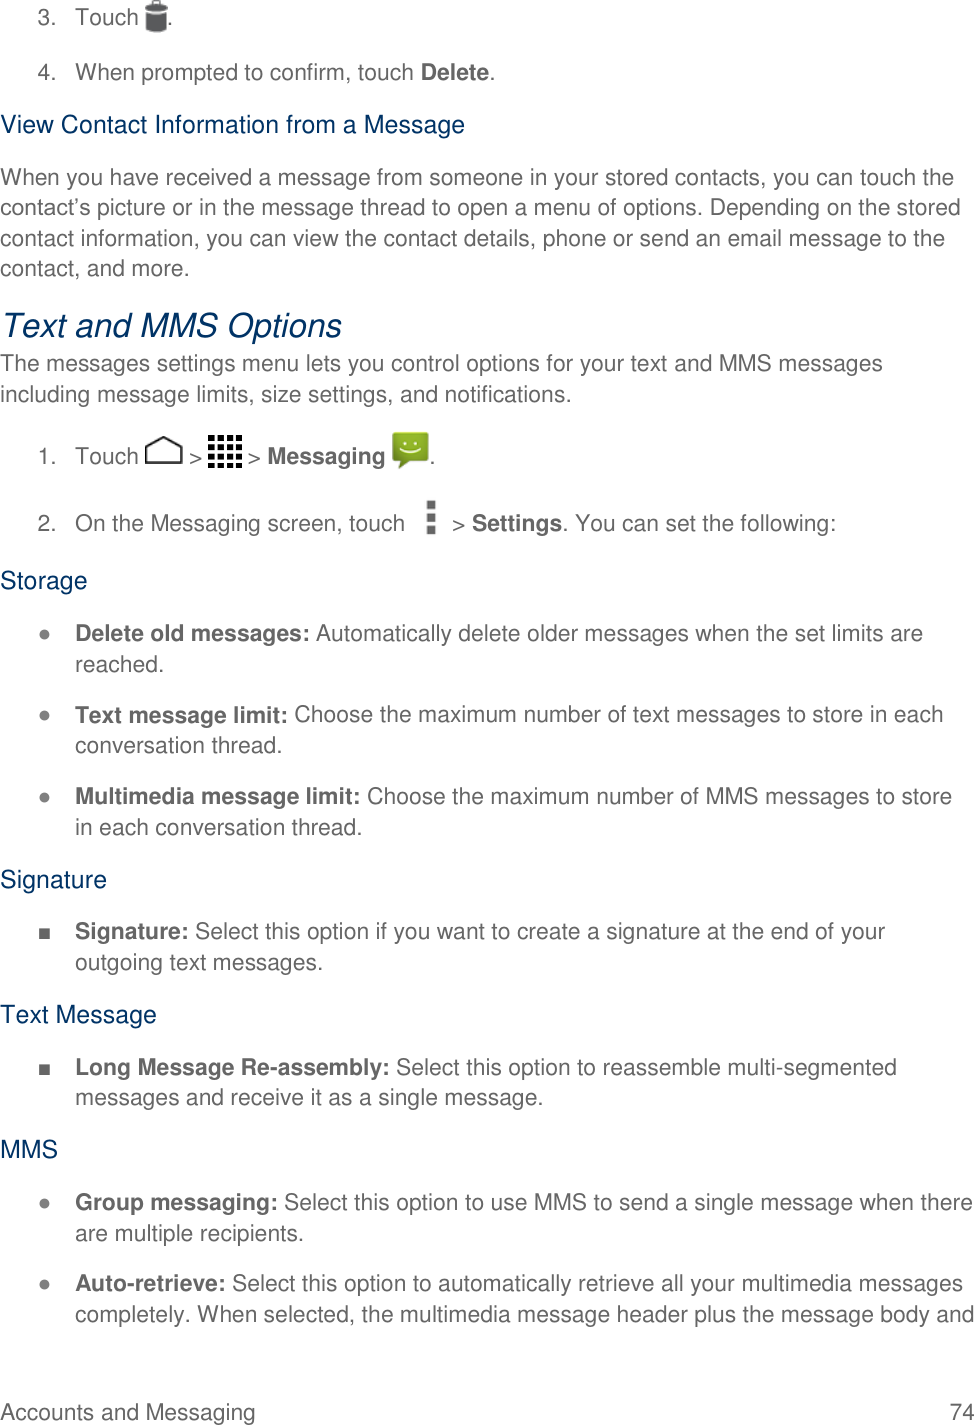
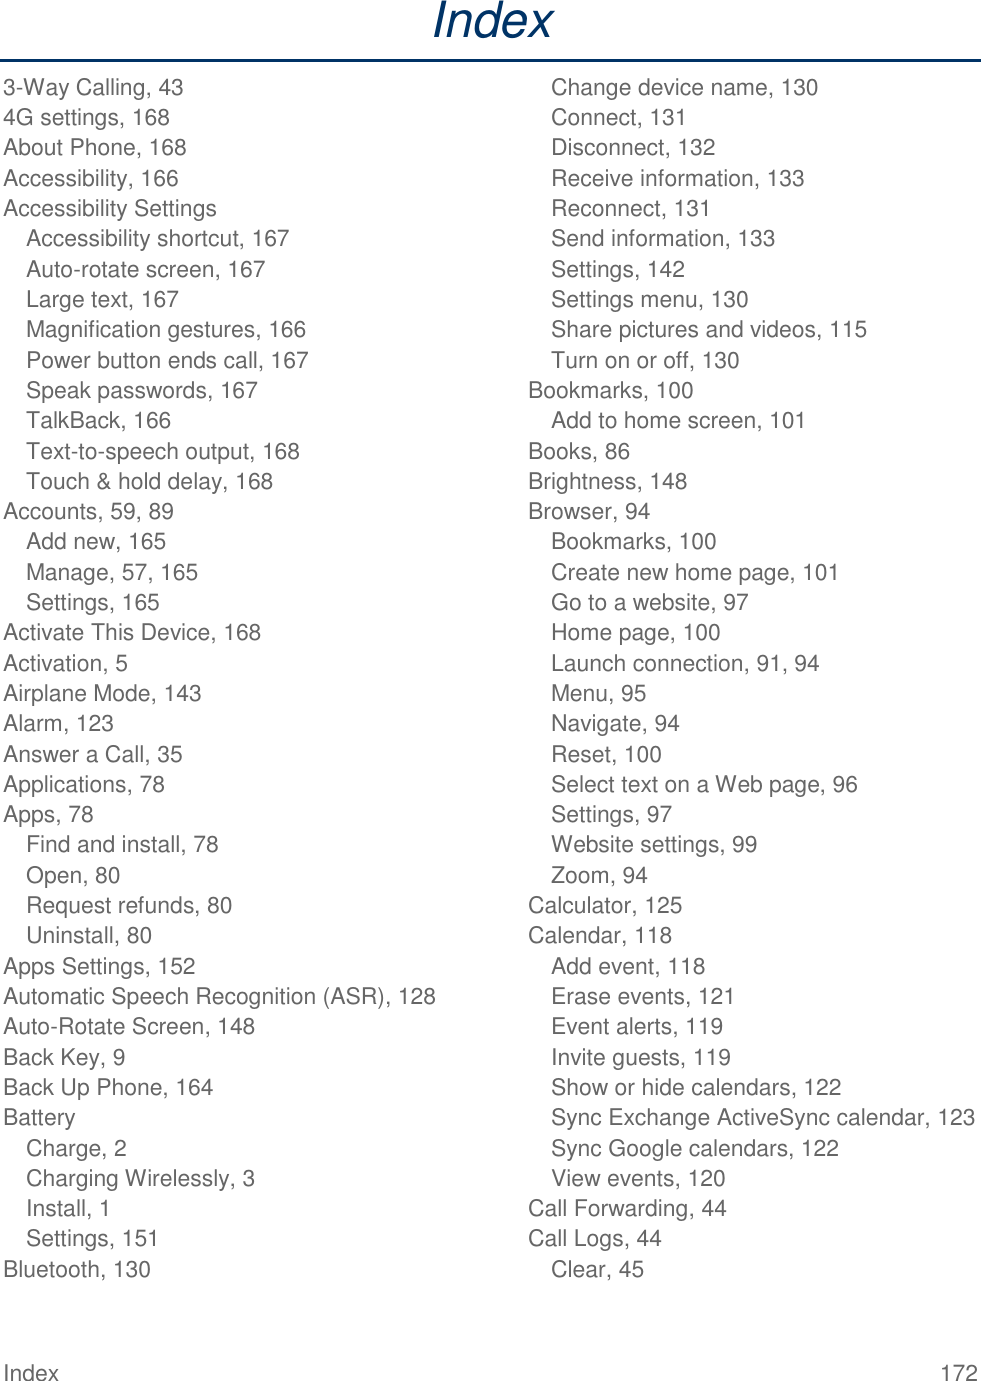
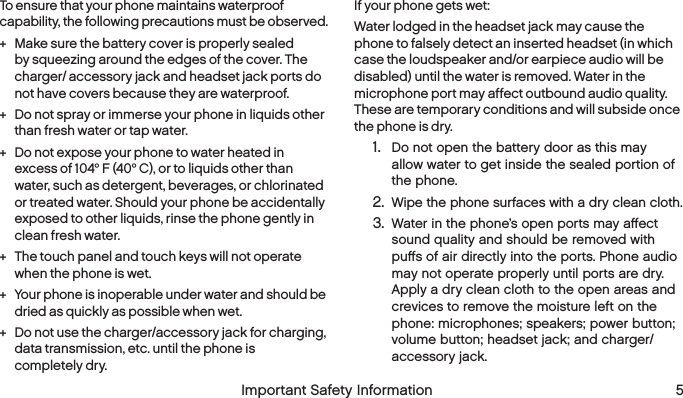
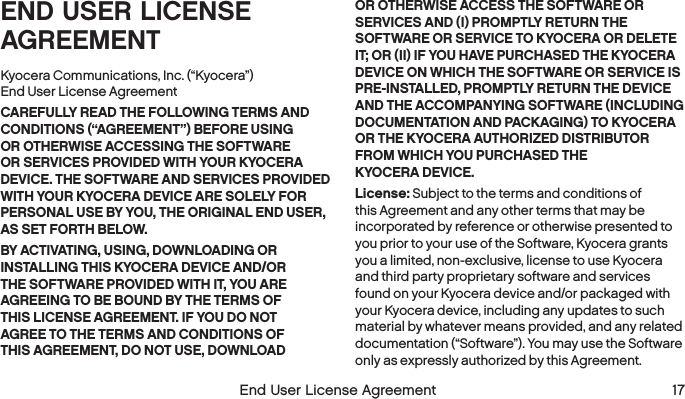
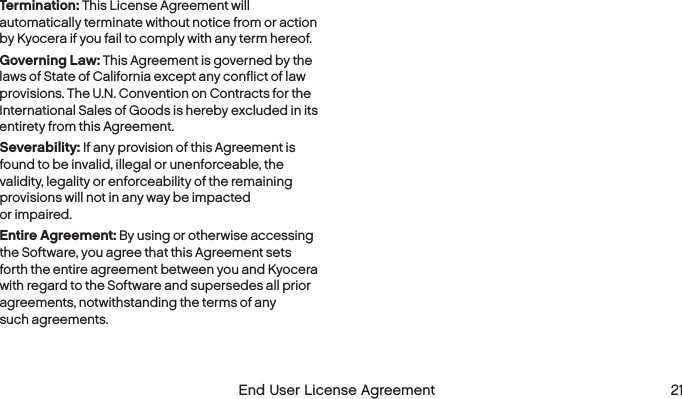
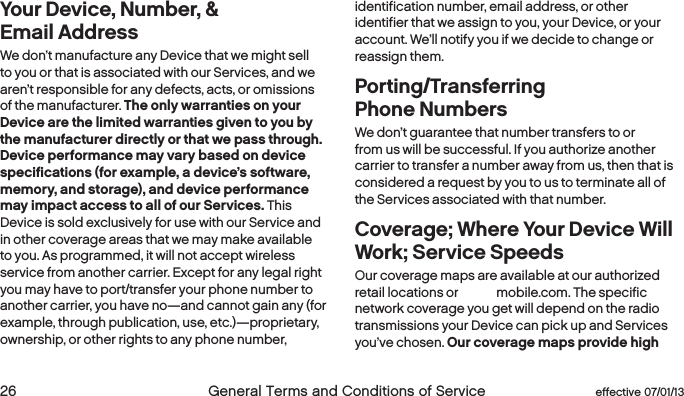
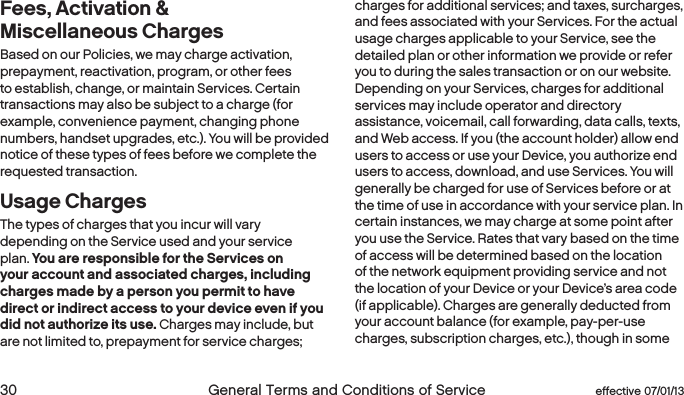
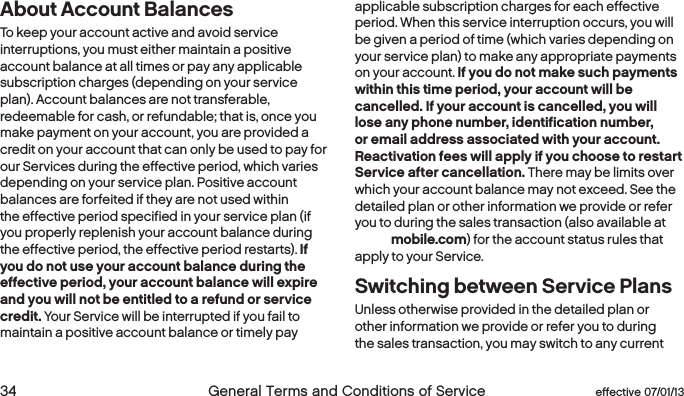
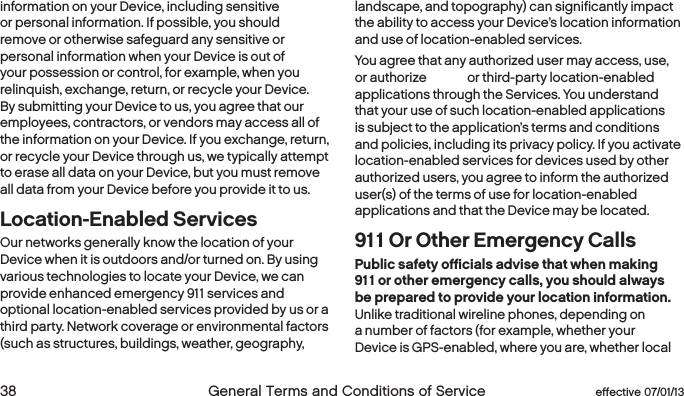
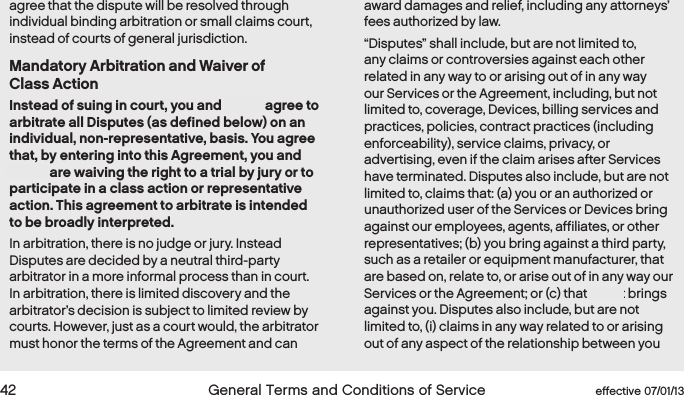
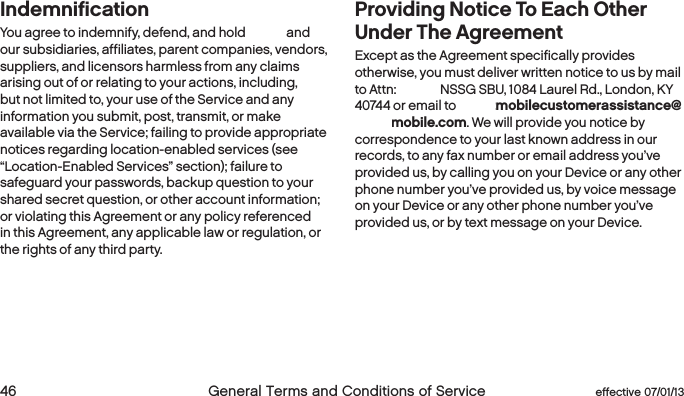
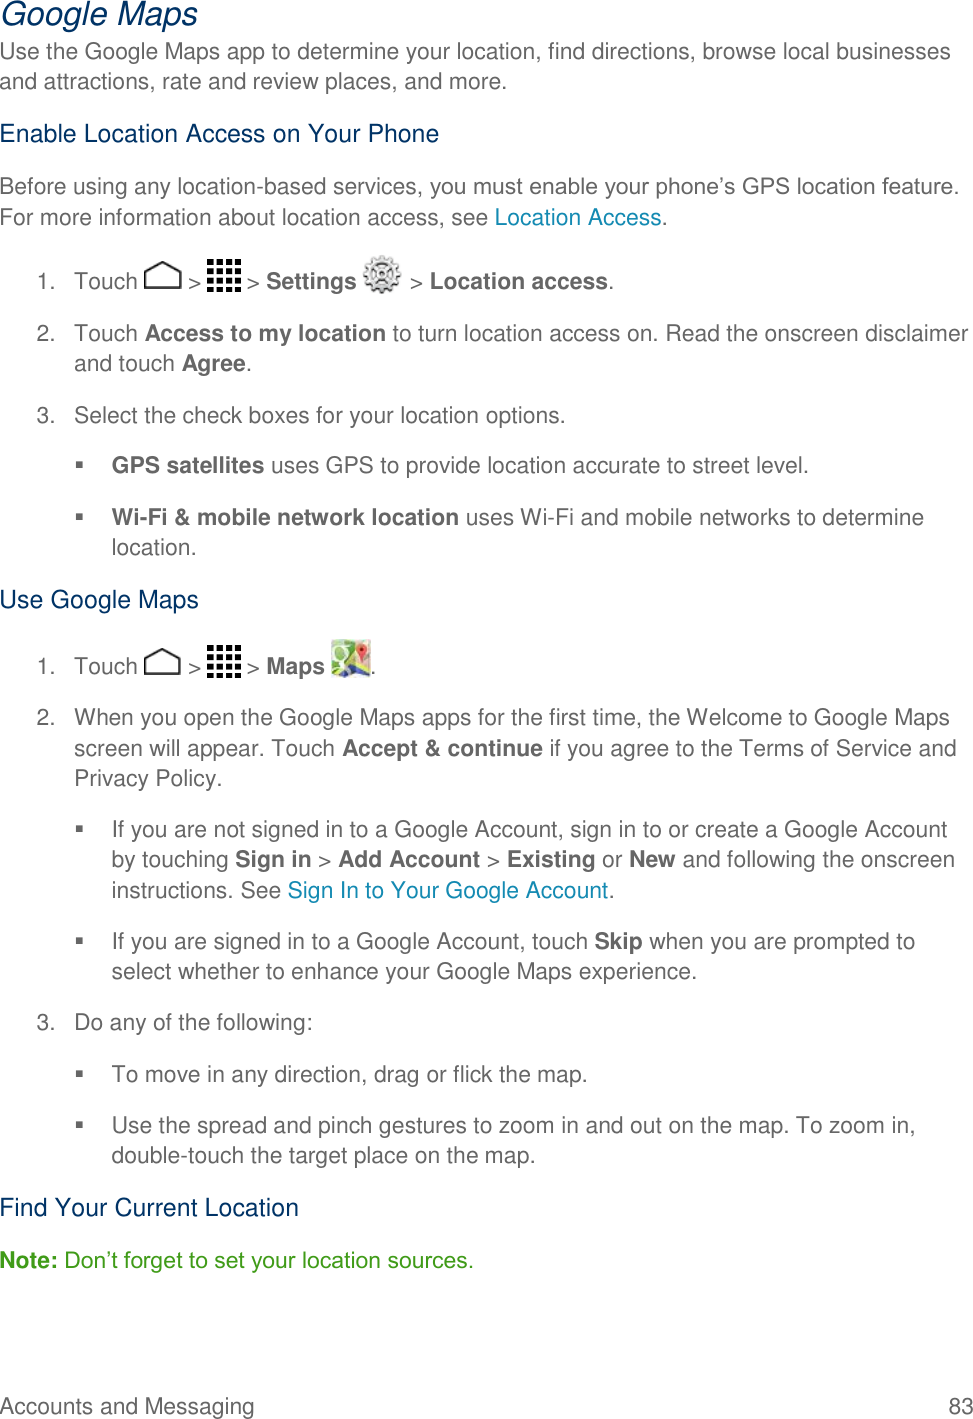
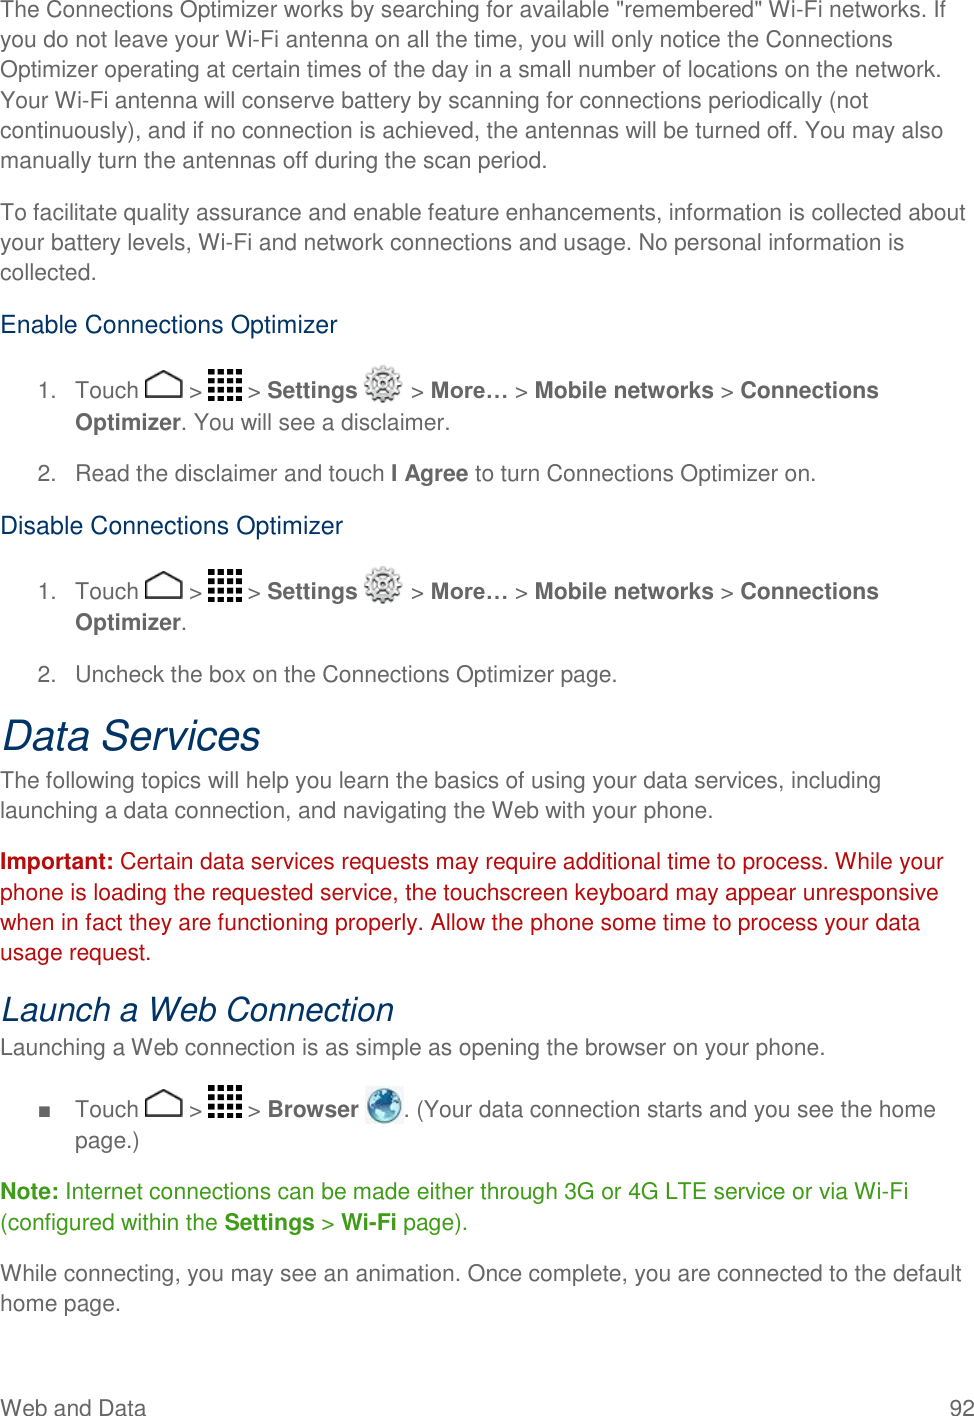
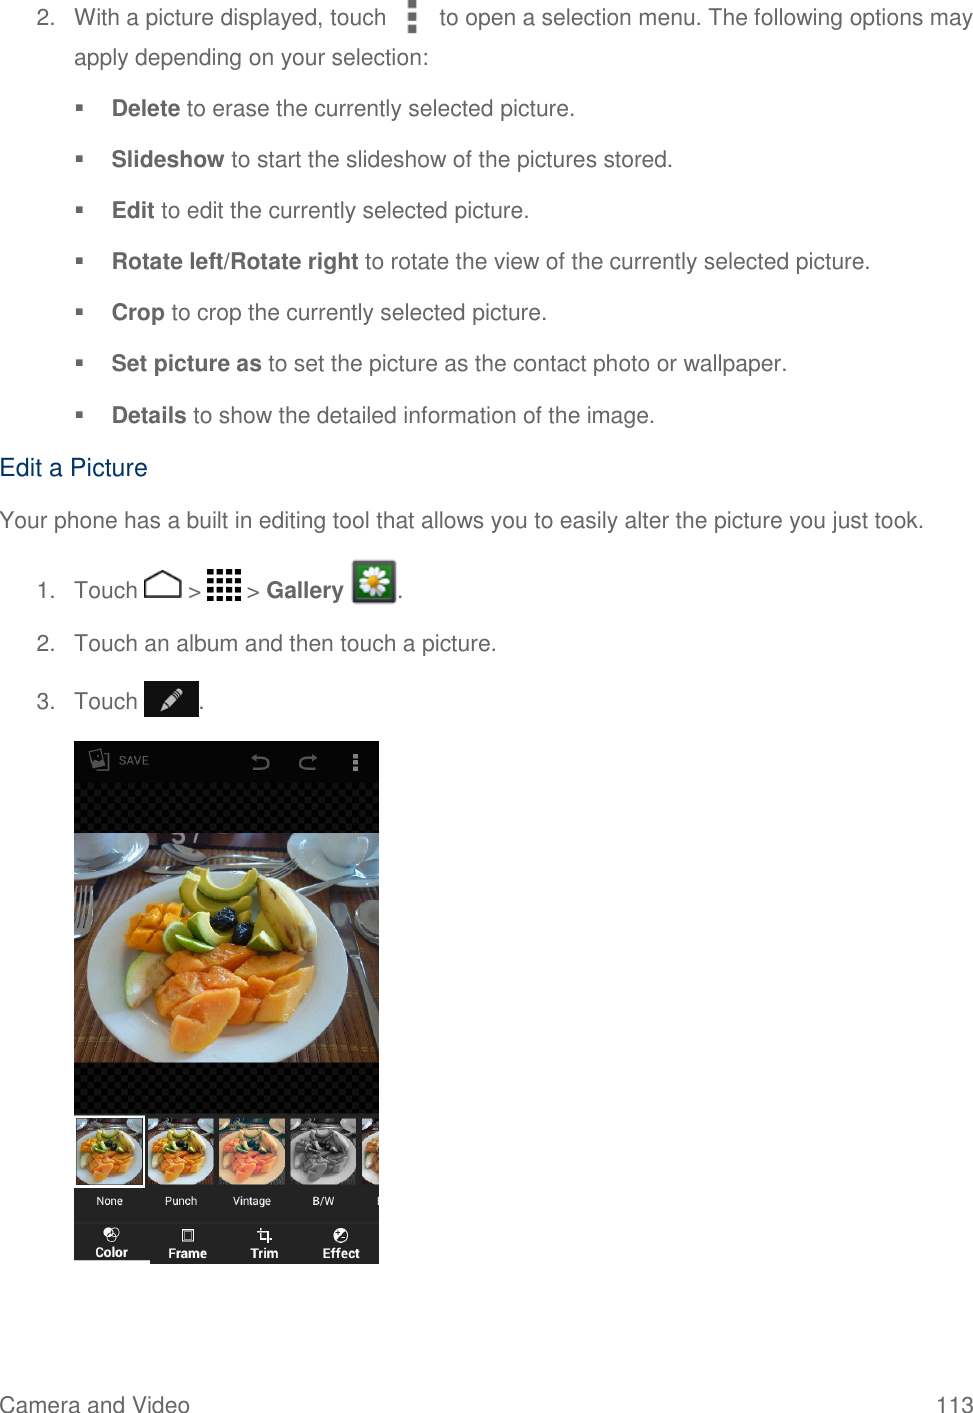
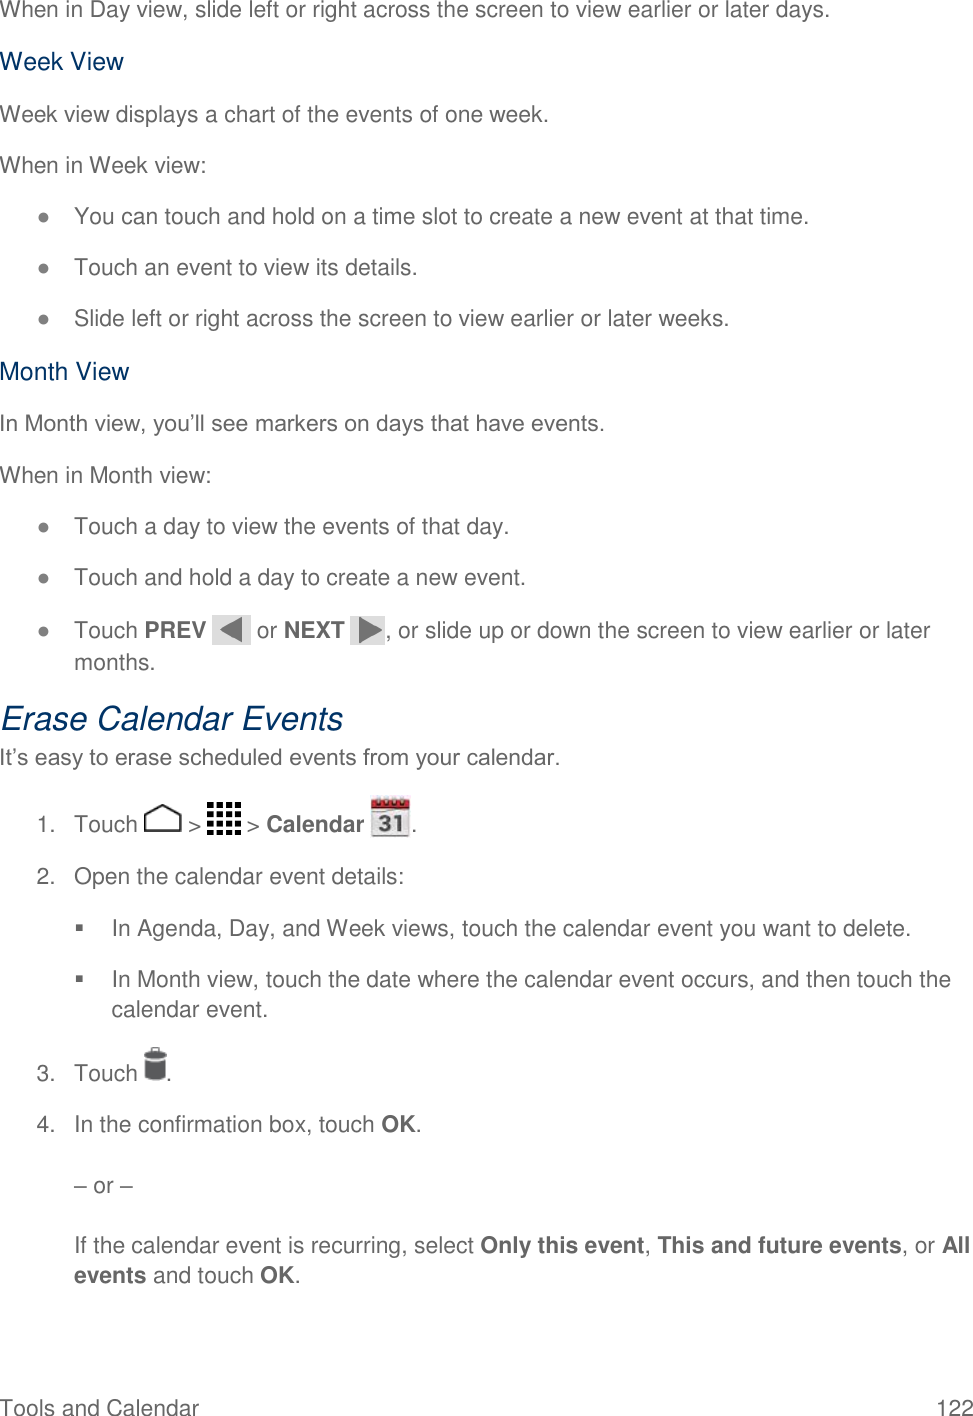
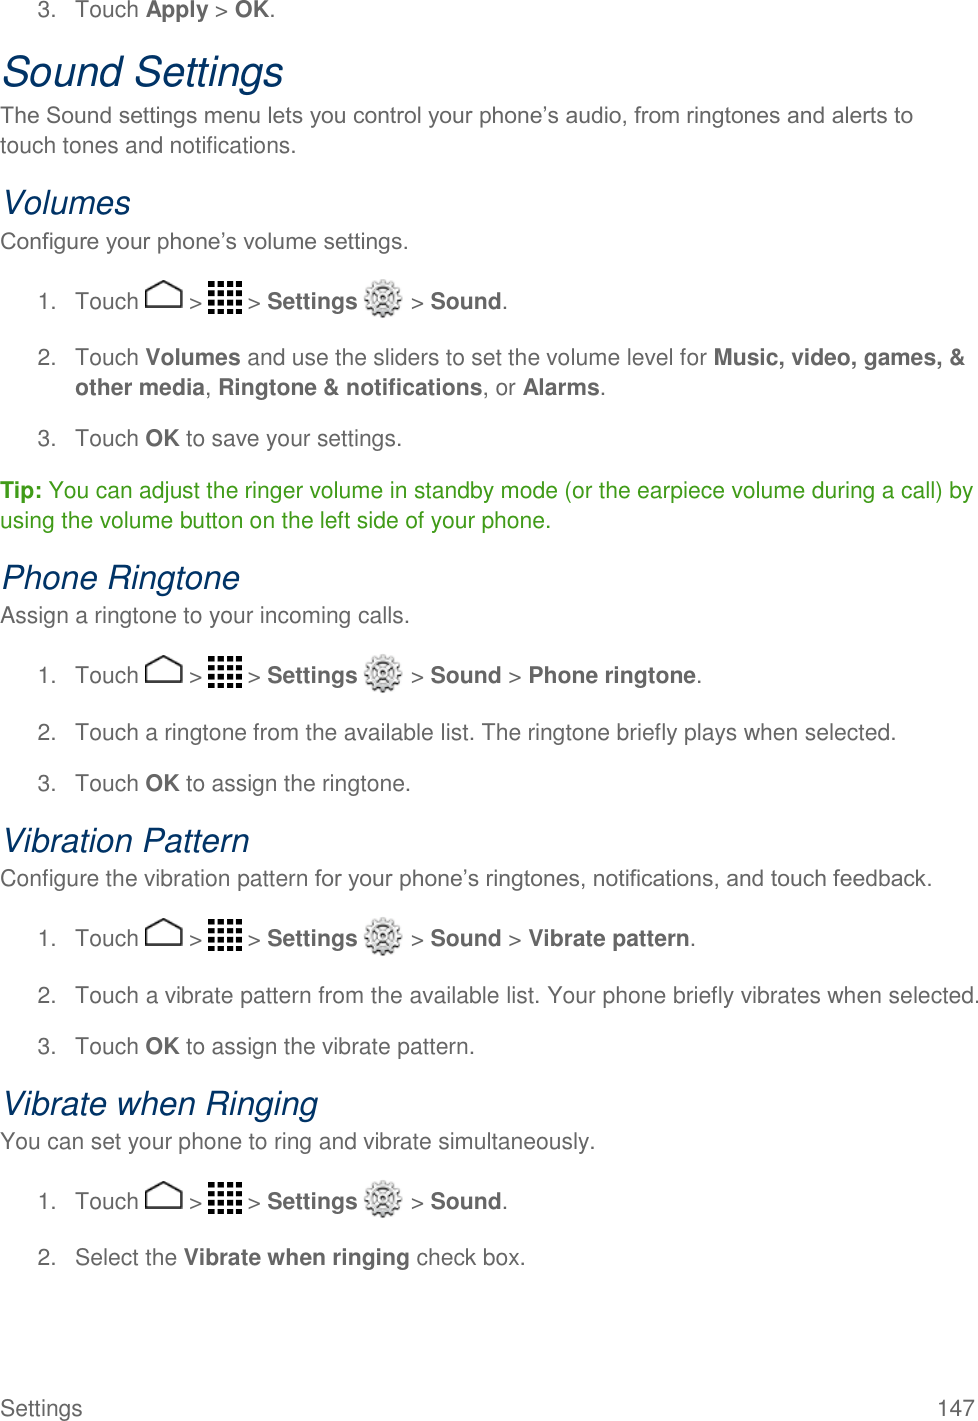
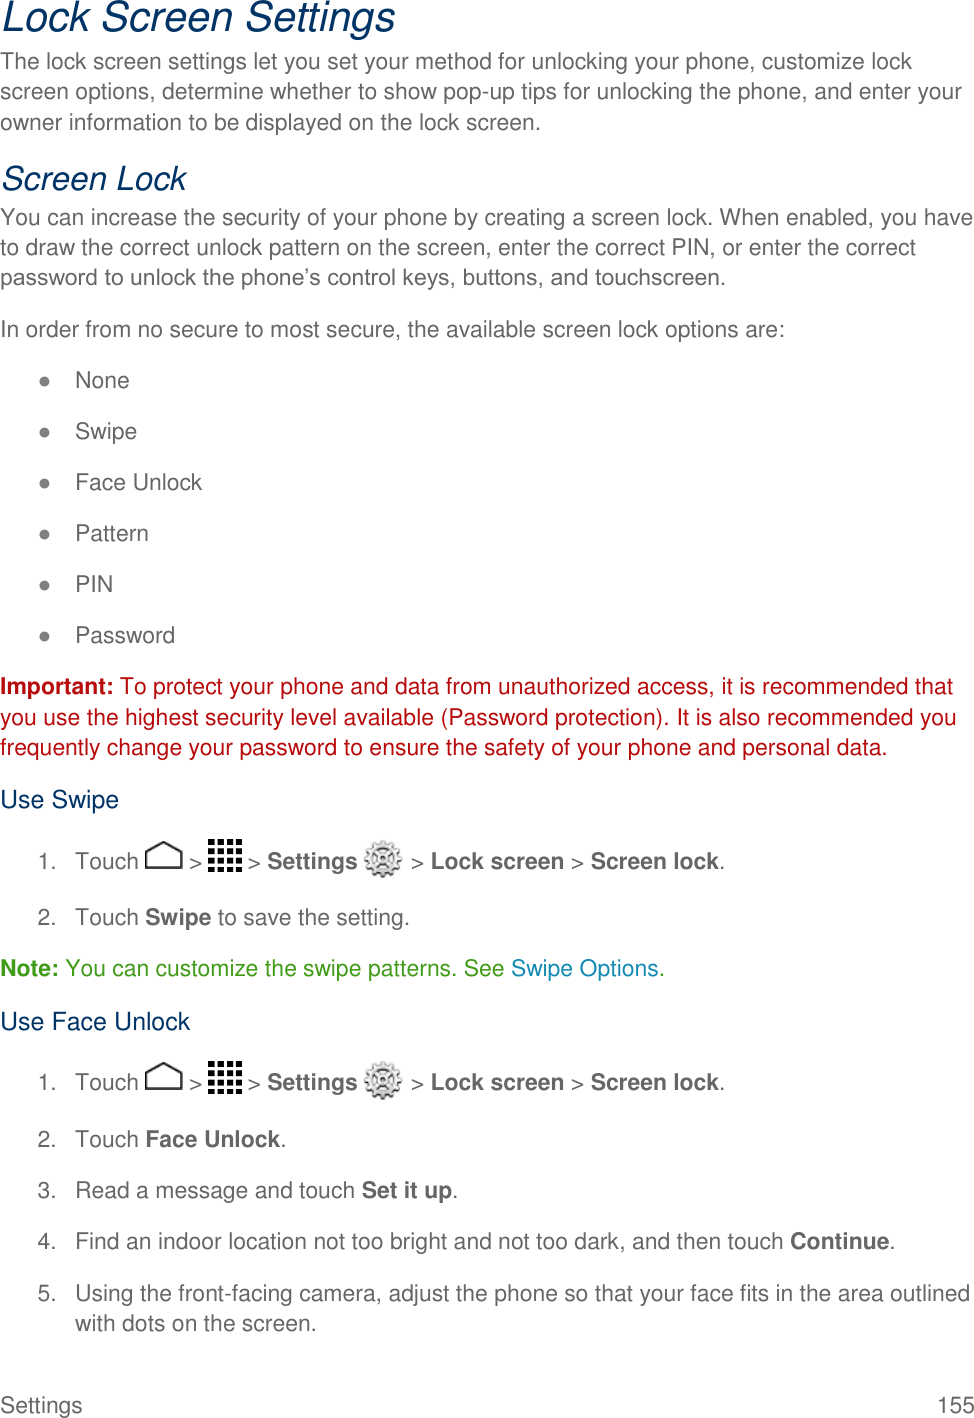
![Accounts and Messaging 75 attachments will automatically download to your phone. If you clear this check box, only the multimedia message header will be retrieved and shown in your Messaging screen. Notifications ● Notifications: Select this option if you want to receive a notification in the status bar when a new text or multimedia message arrives. ● Sound: Select a ringtone that is specific to new text and multimedia messages. Note that the ringtone briefly plays when selected. ● Vibrate: Select this option if you want the phone to vibrate when a new text or multimedia message arrives. Set Emergency Alerts Your phone is compatible with federally supervised cell phone alert services to send out broadcast SMS messages for public warning. 1. Touch > > Emergency Alerts . – or – Touch > > Messaging , and then touch > Emergency Alerts. 2. Touch > Settings. You can set the following: Presidential: Receives an emergency presidential alert. (Presidential is always grayed out [not selectable] and cannot be excluded.) Imminent Threat - Extreme: Select this option if you want to receive emergency alerts of extreme emergency situations (extraordinary threats to life or property). Imminent Threat - Severe: Select this option if you want to receive emergency alerts of severe emergency situations (significant threats to life or property). Amber: Select this option if you want to receive alerts related to missing or endangered children. Emergency Alerts Test: Select this option if you want to receive a test message to make sure that the alert messages can be successfully received. Emergency Alerts Exercise: Select this option if you want to receive a test message to make sure that the alert messages can be successfully received. Help: Displays the help information for Emergency Alerts.](https://usermanual.wiki/Kyocera/C6730/User-Guide-2238673-Page-86.png)
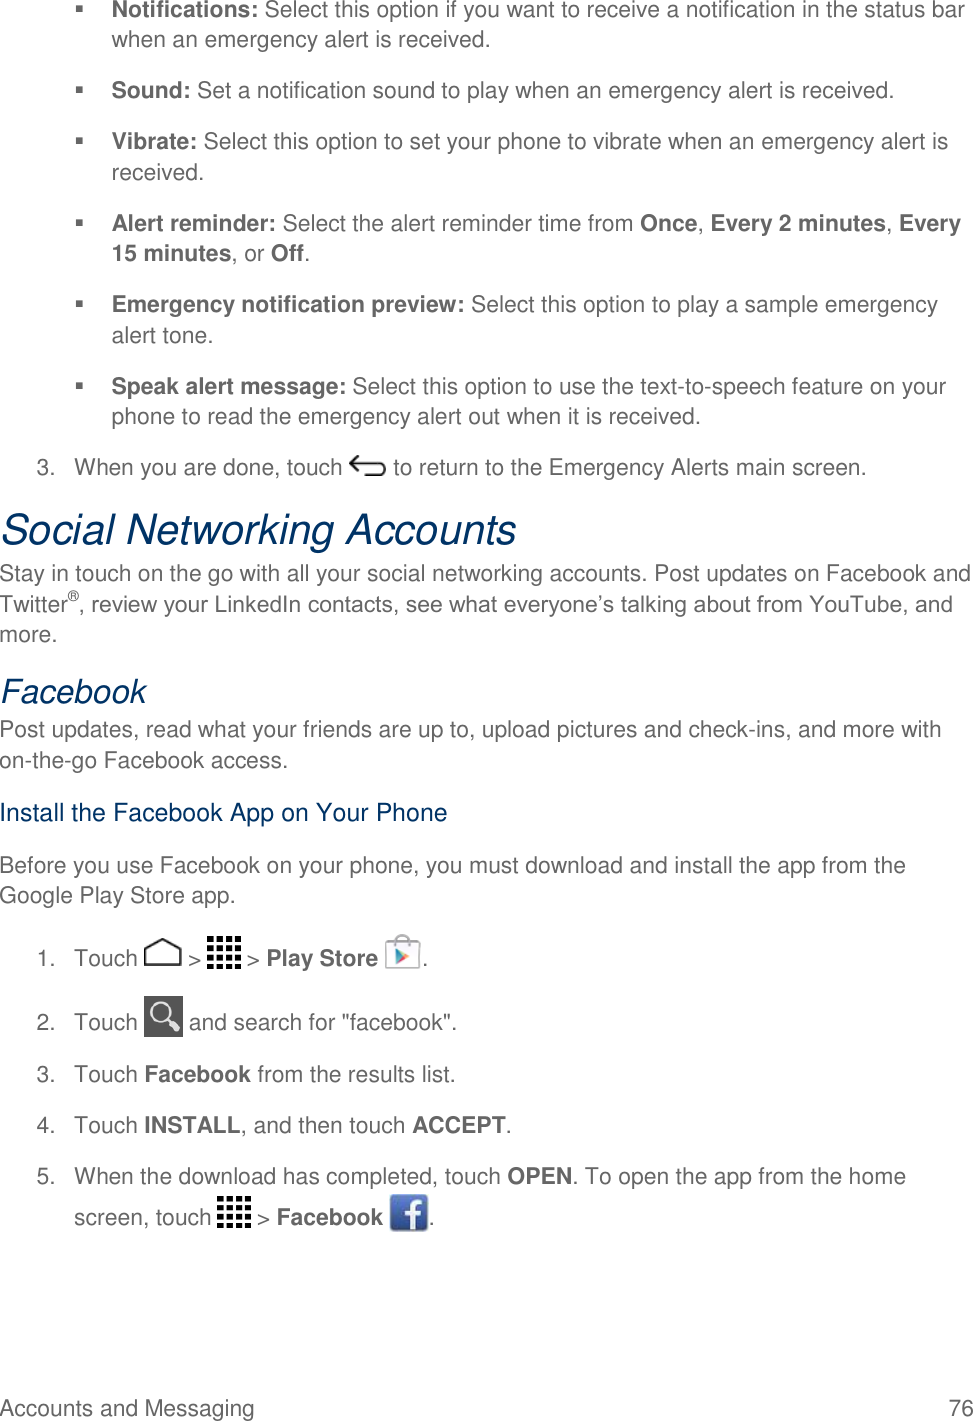
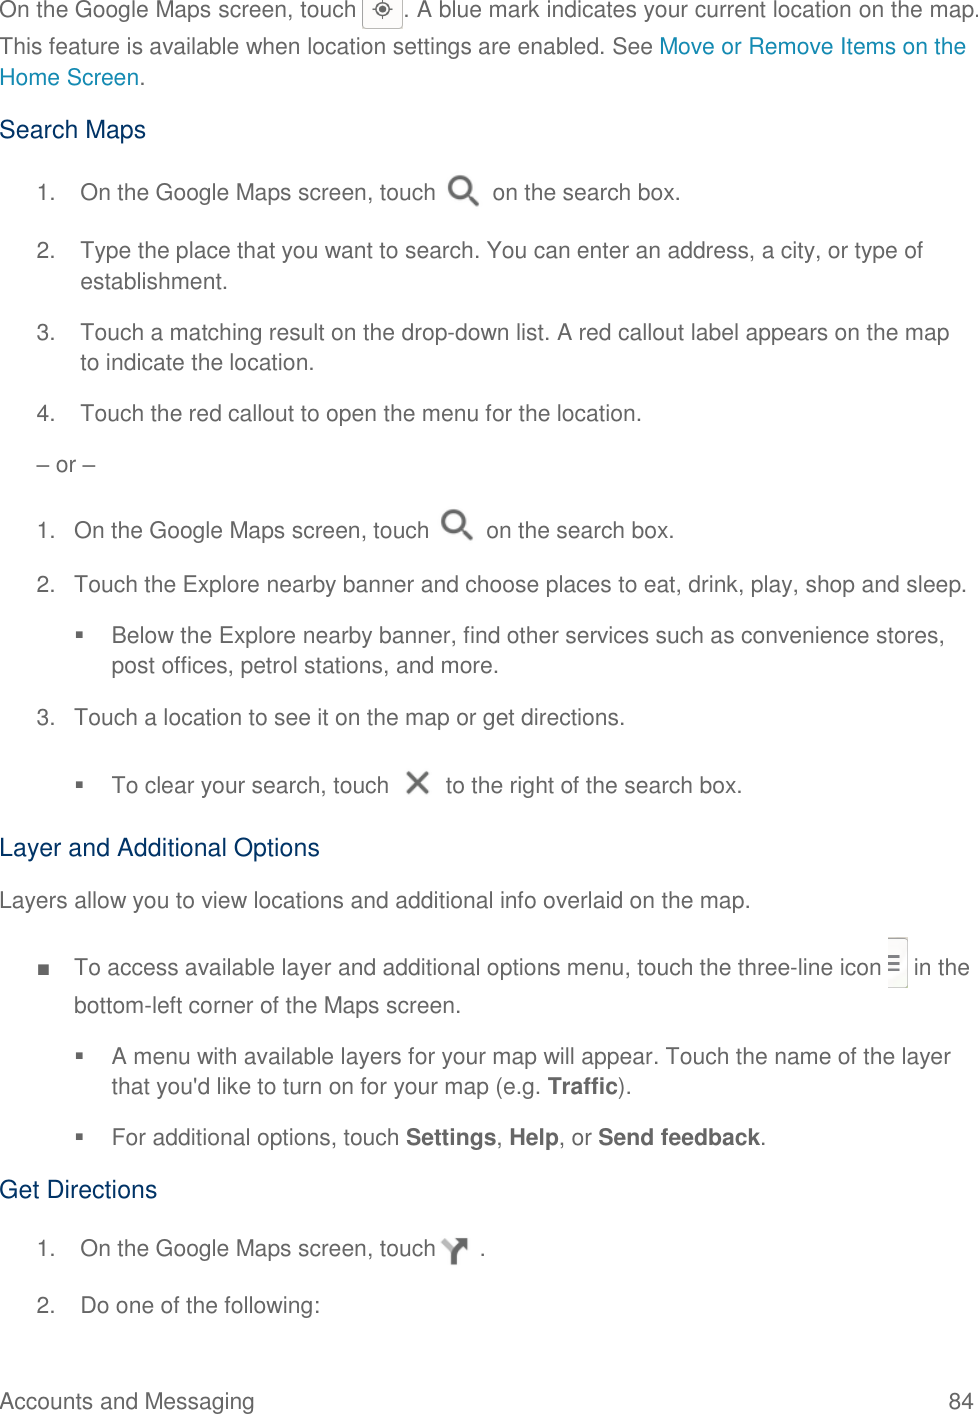

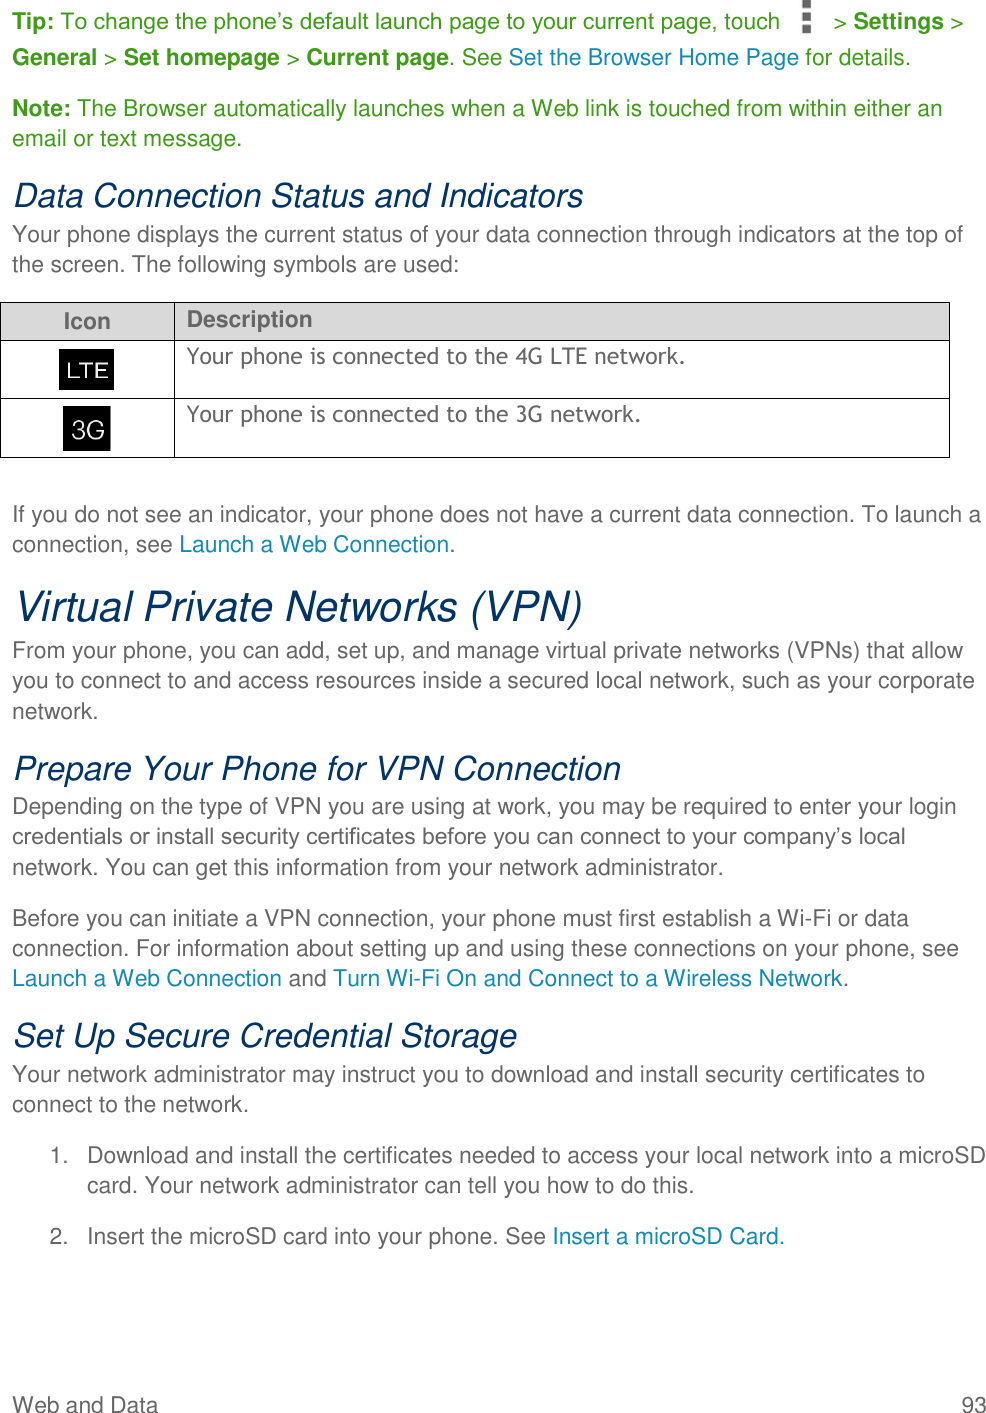

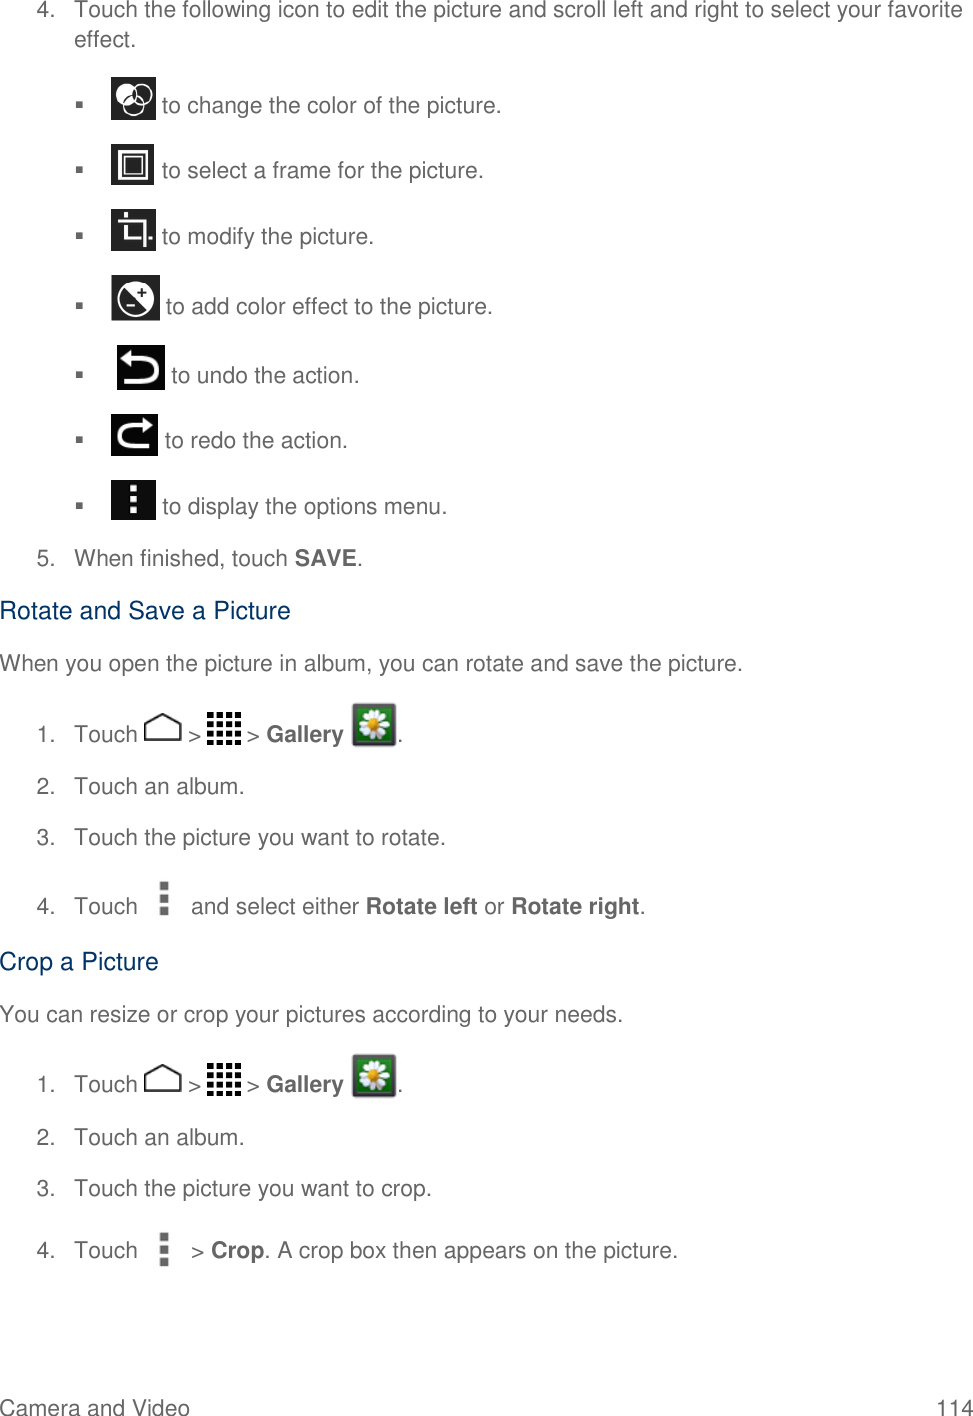

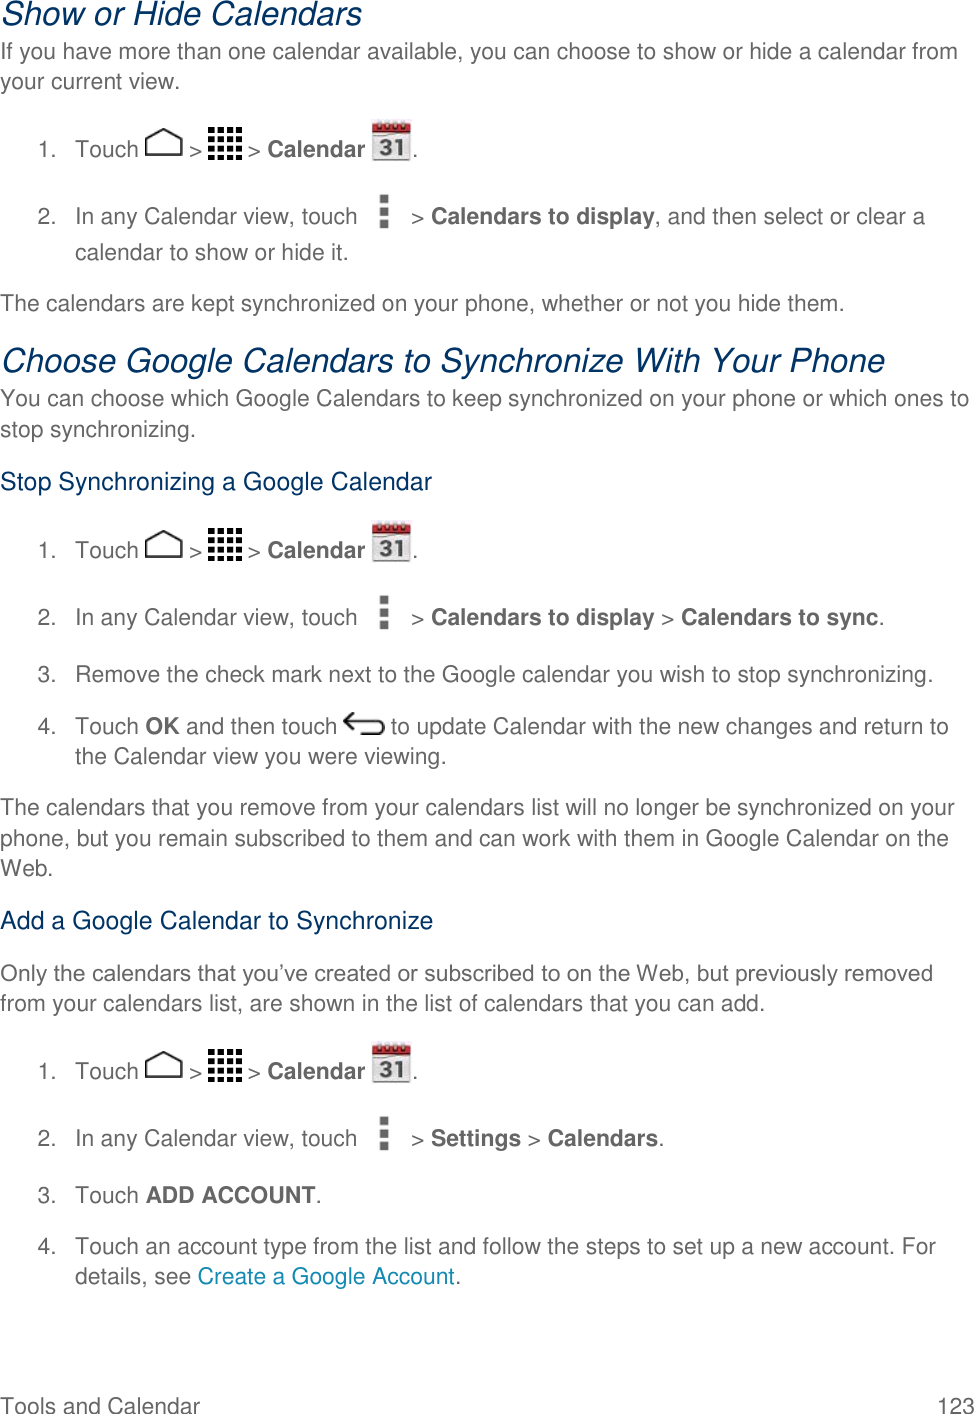
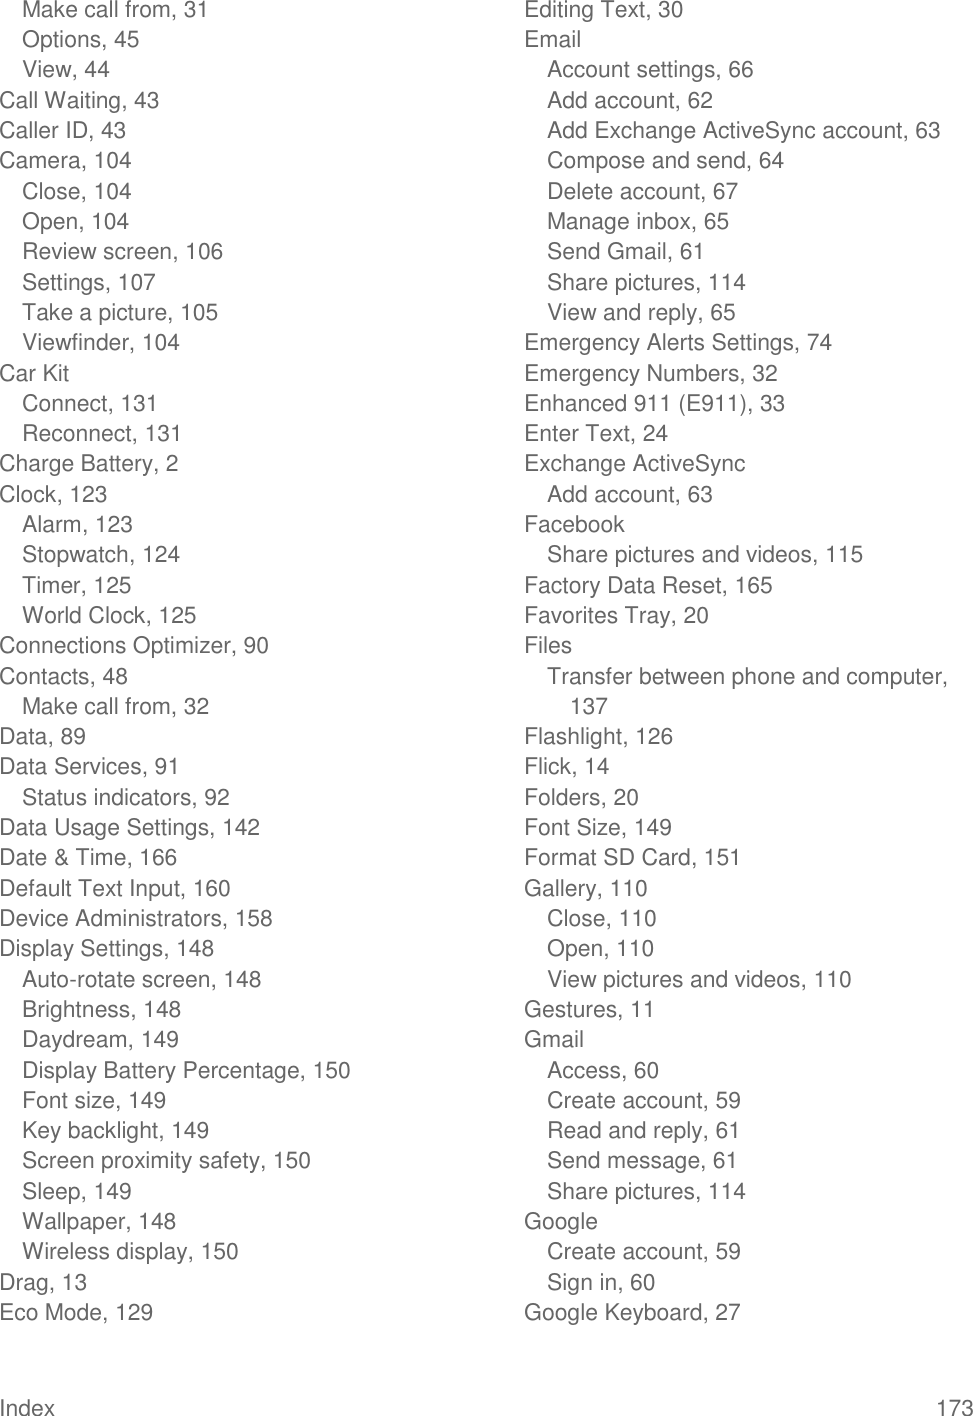
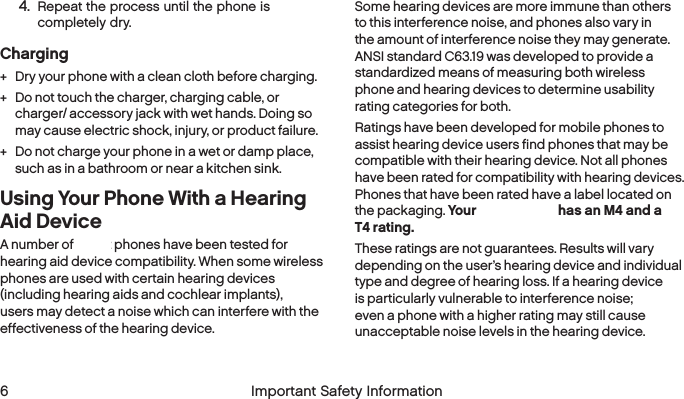
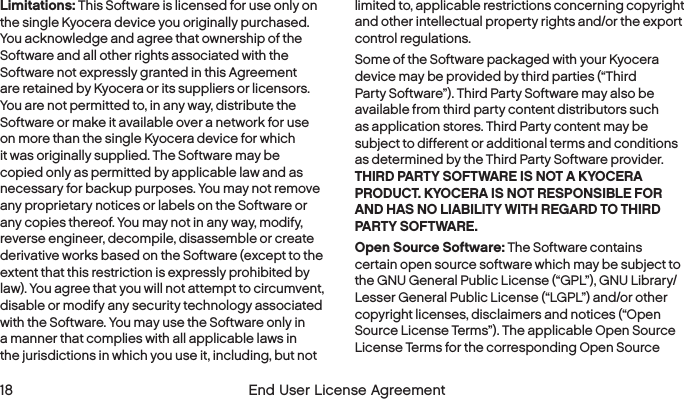
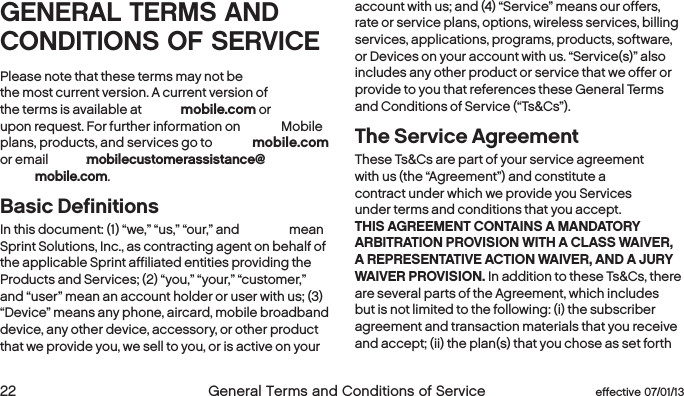
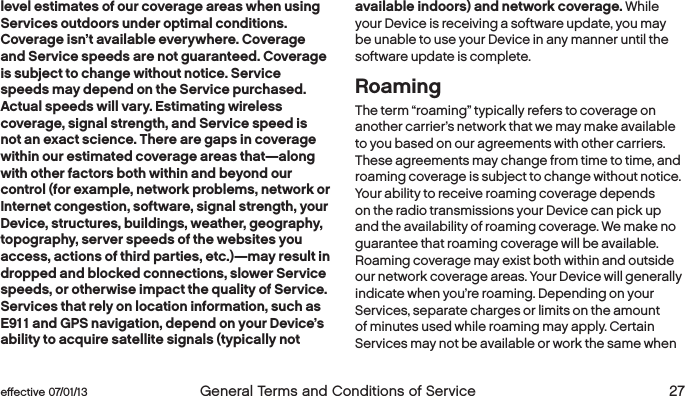
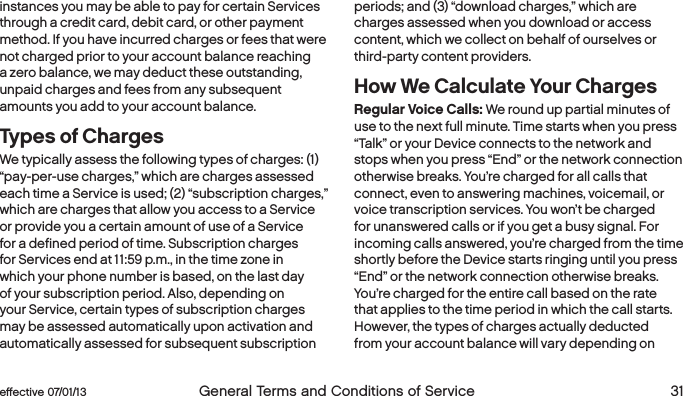
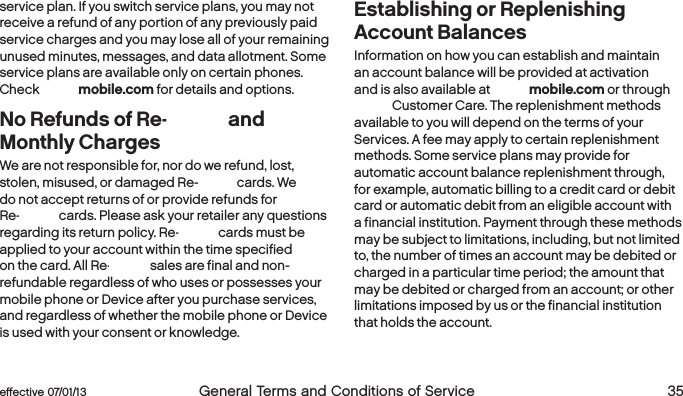
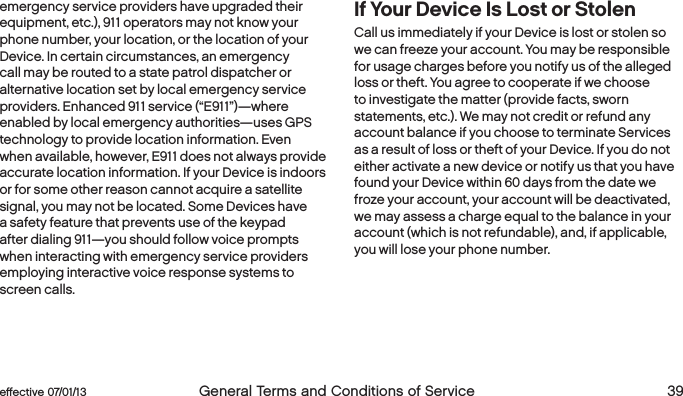
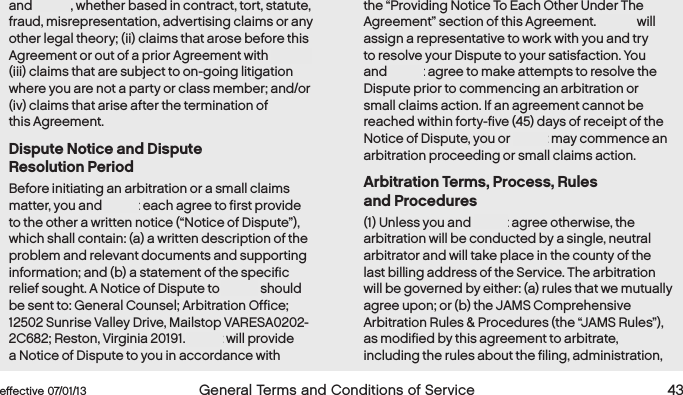
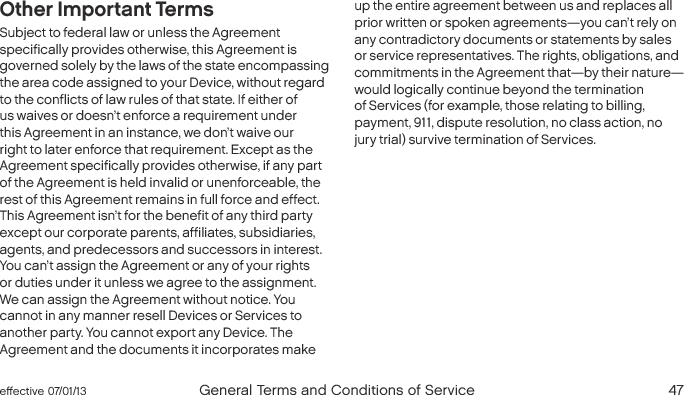
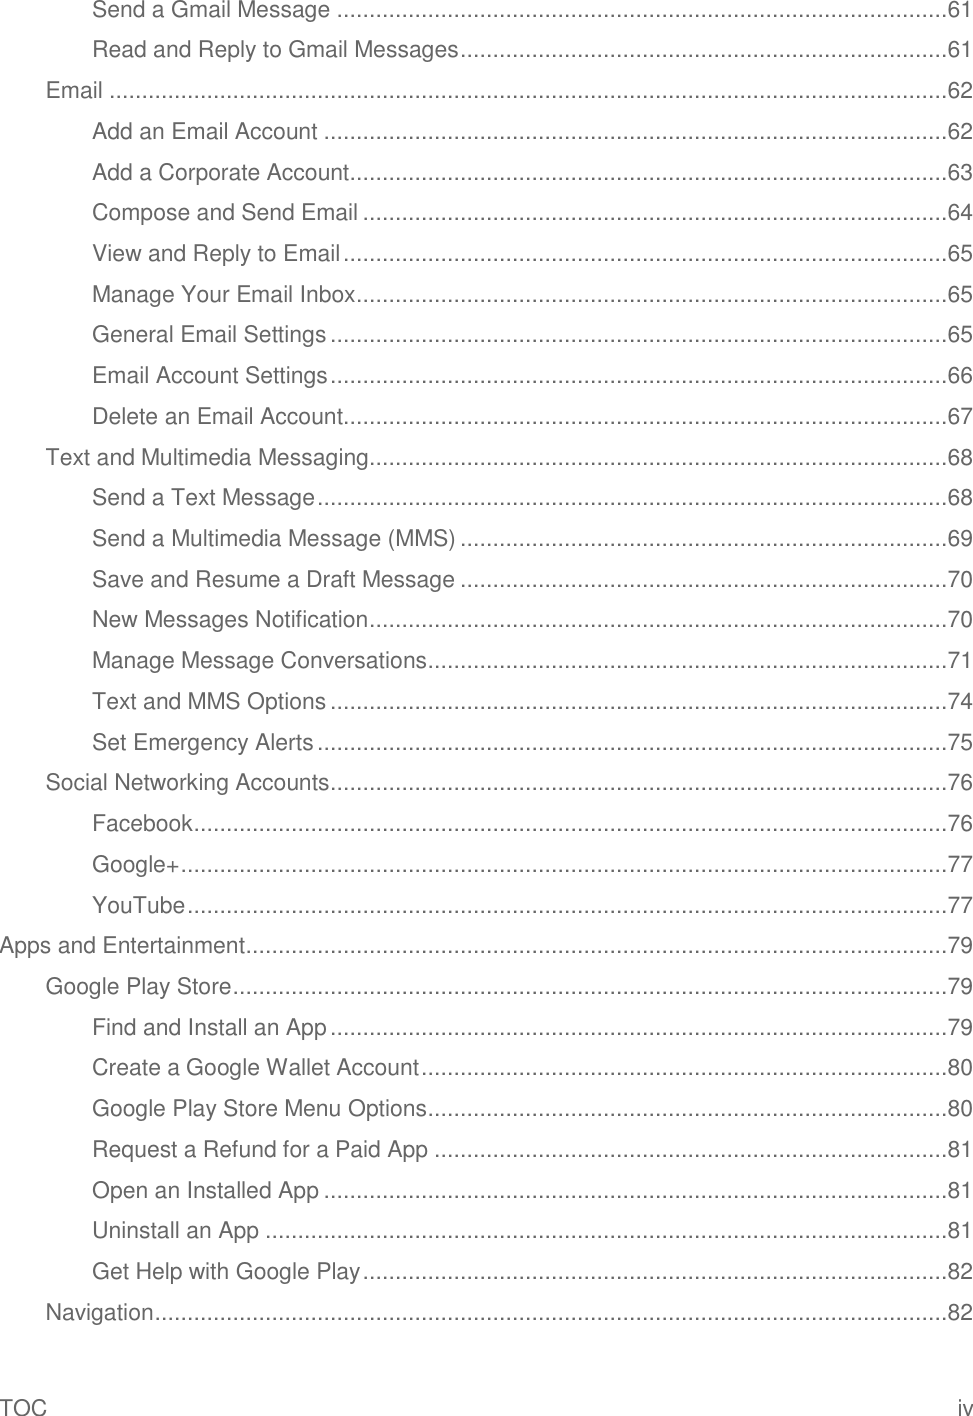
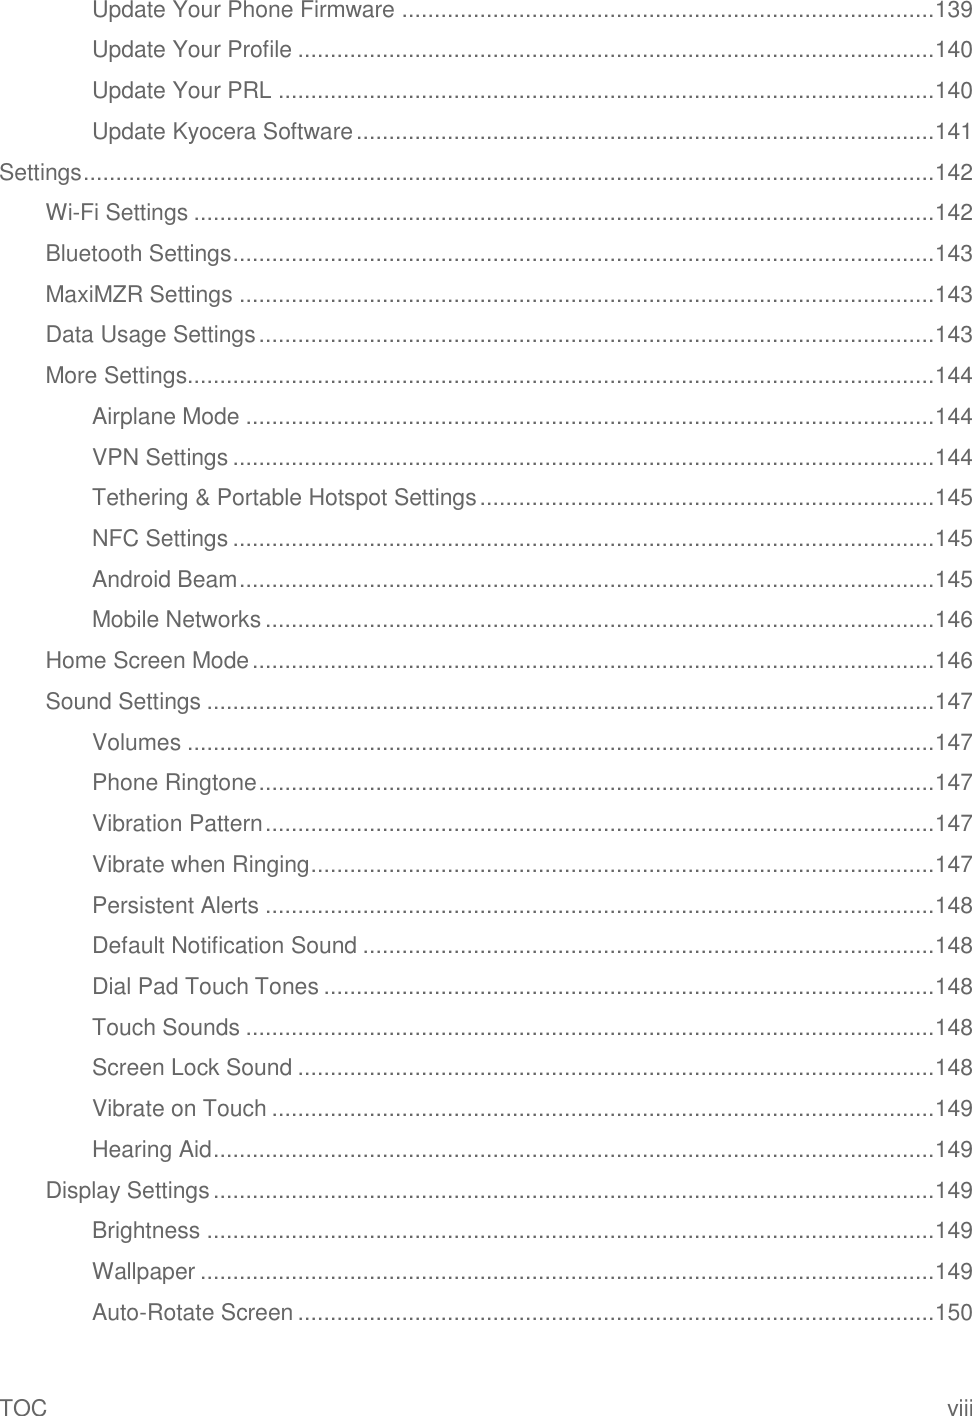
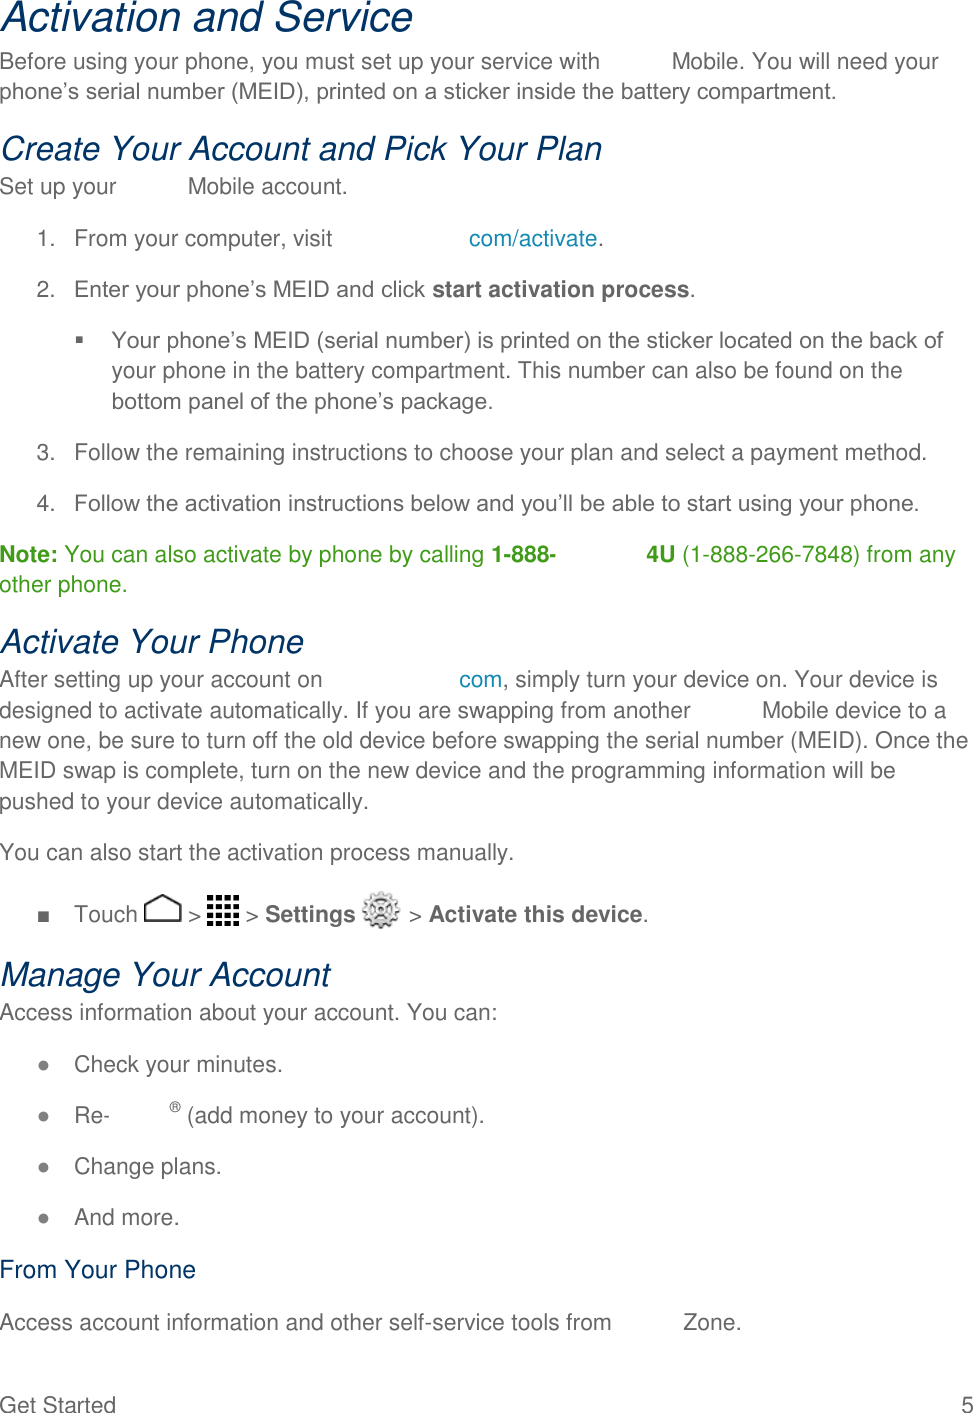
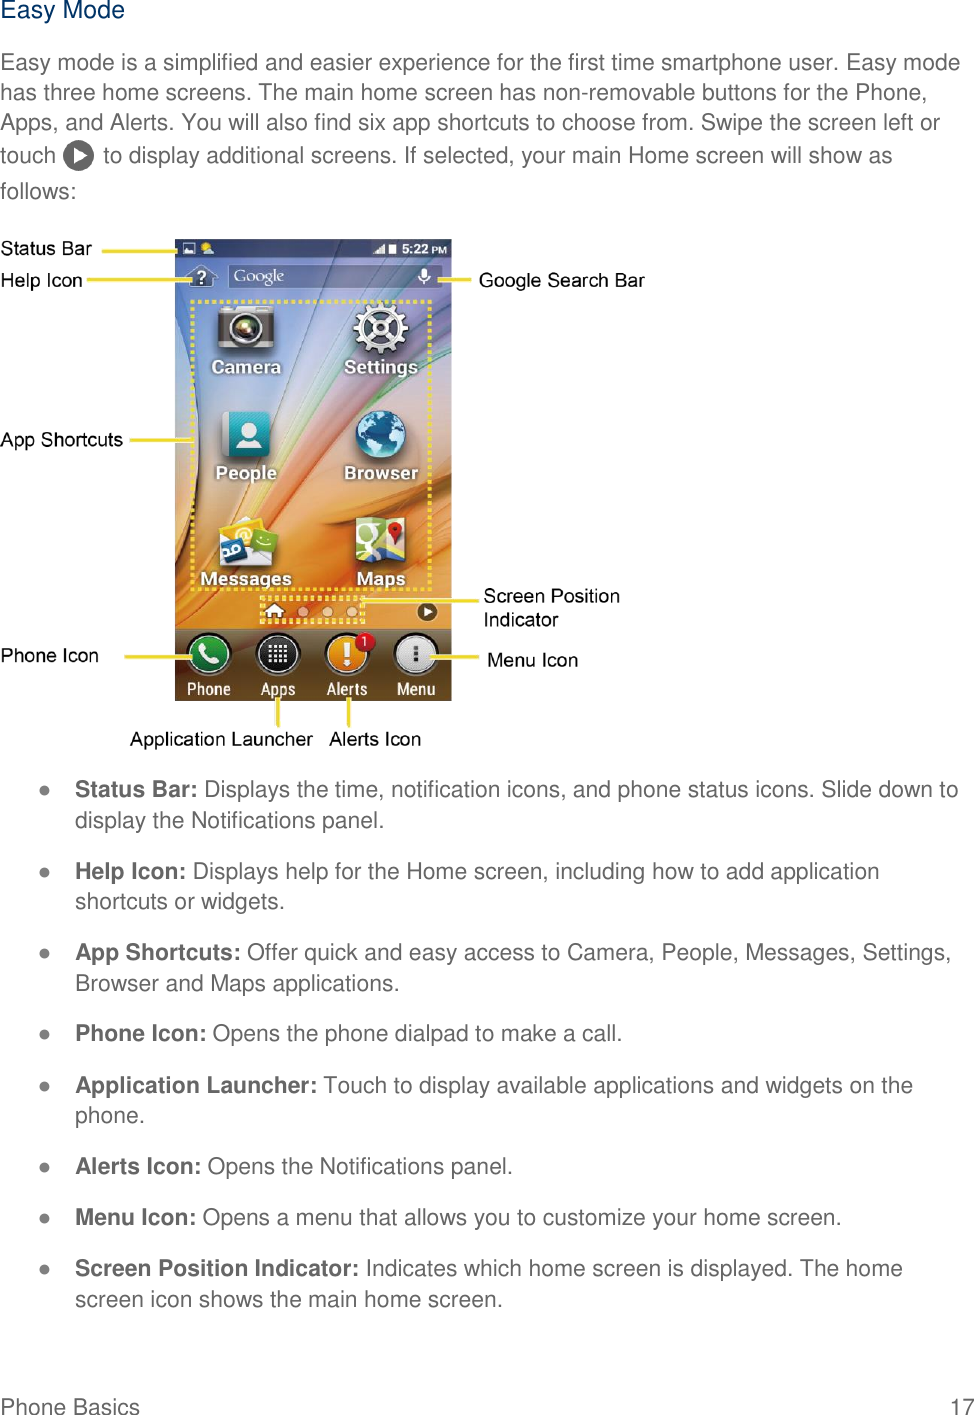
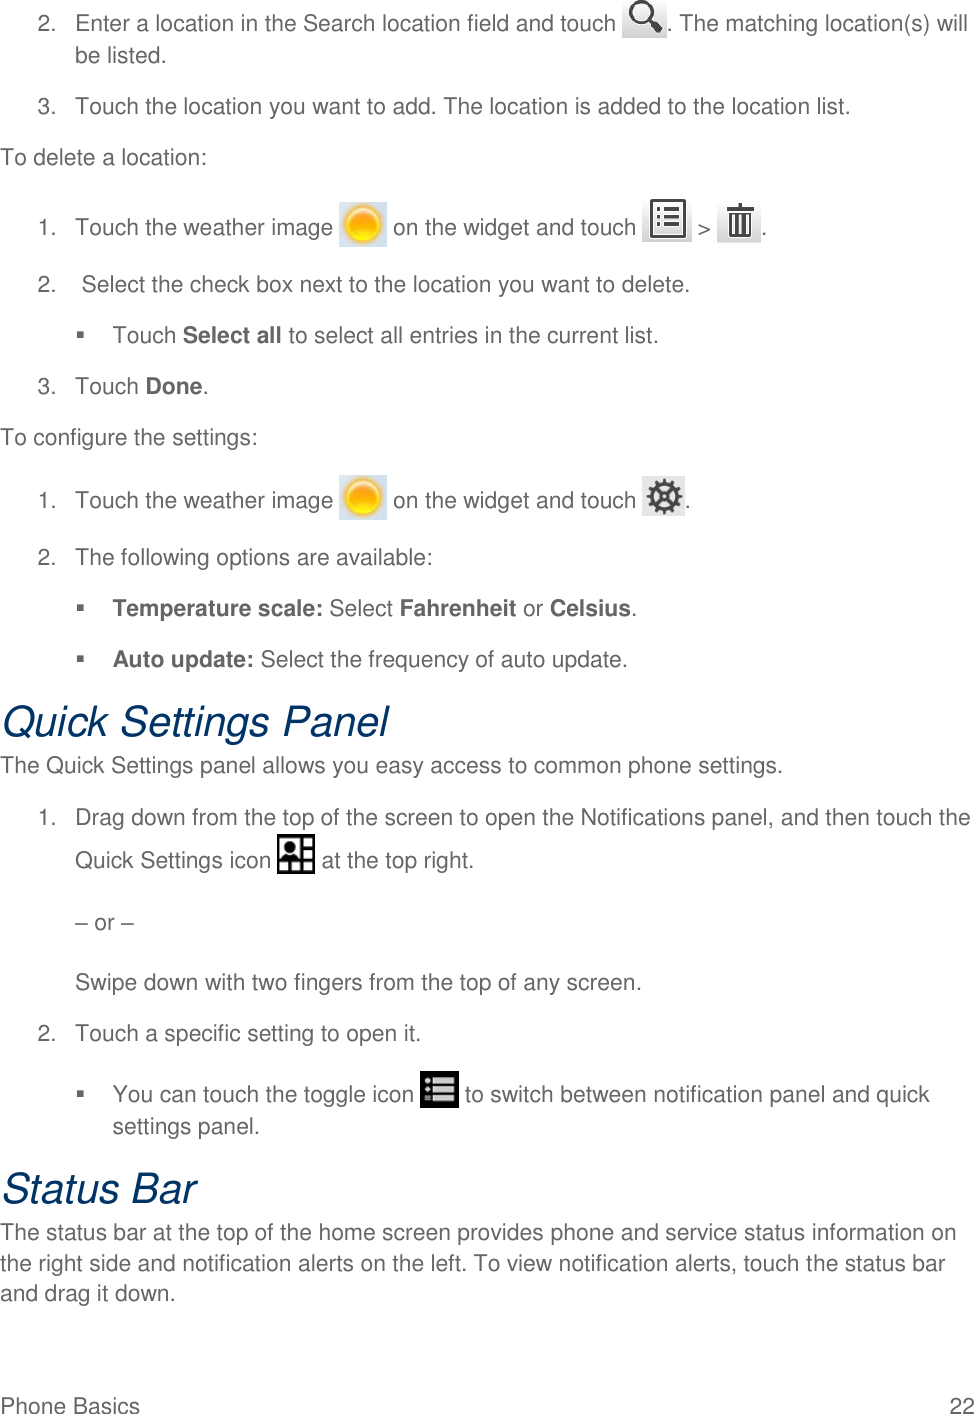
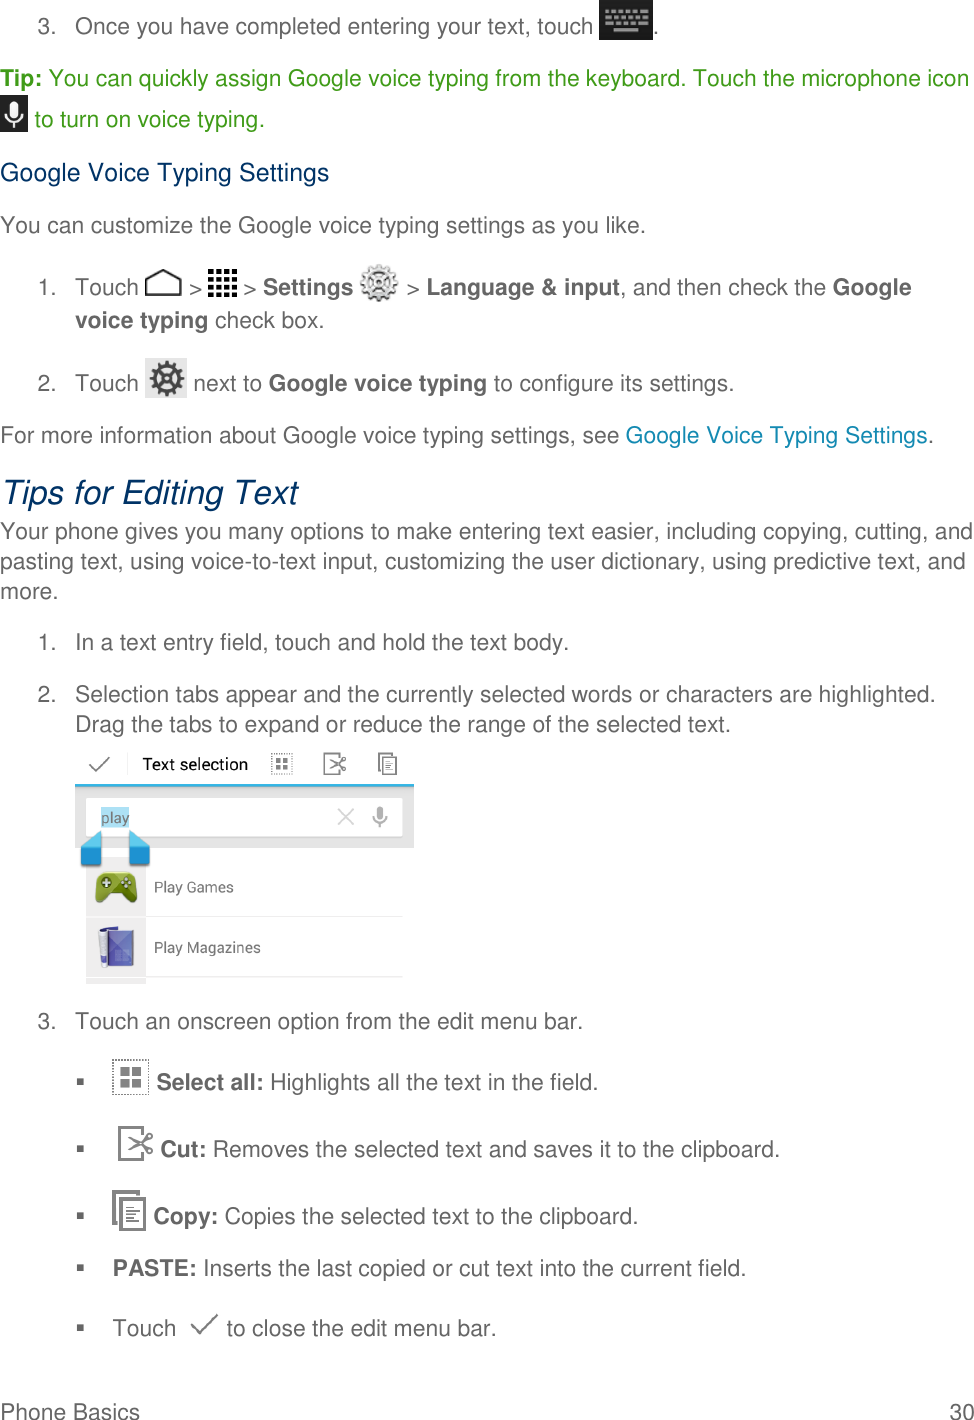
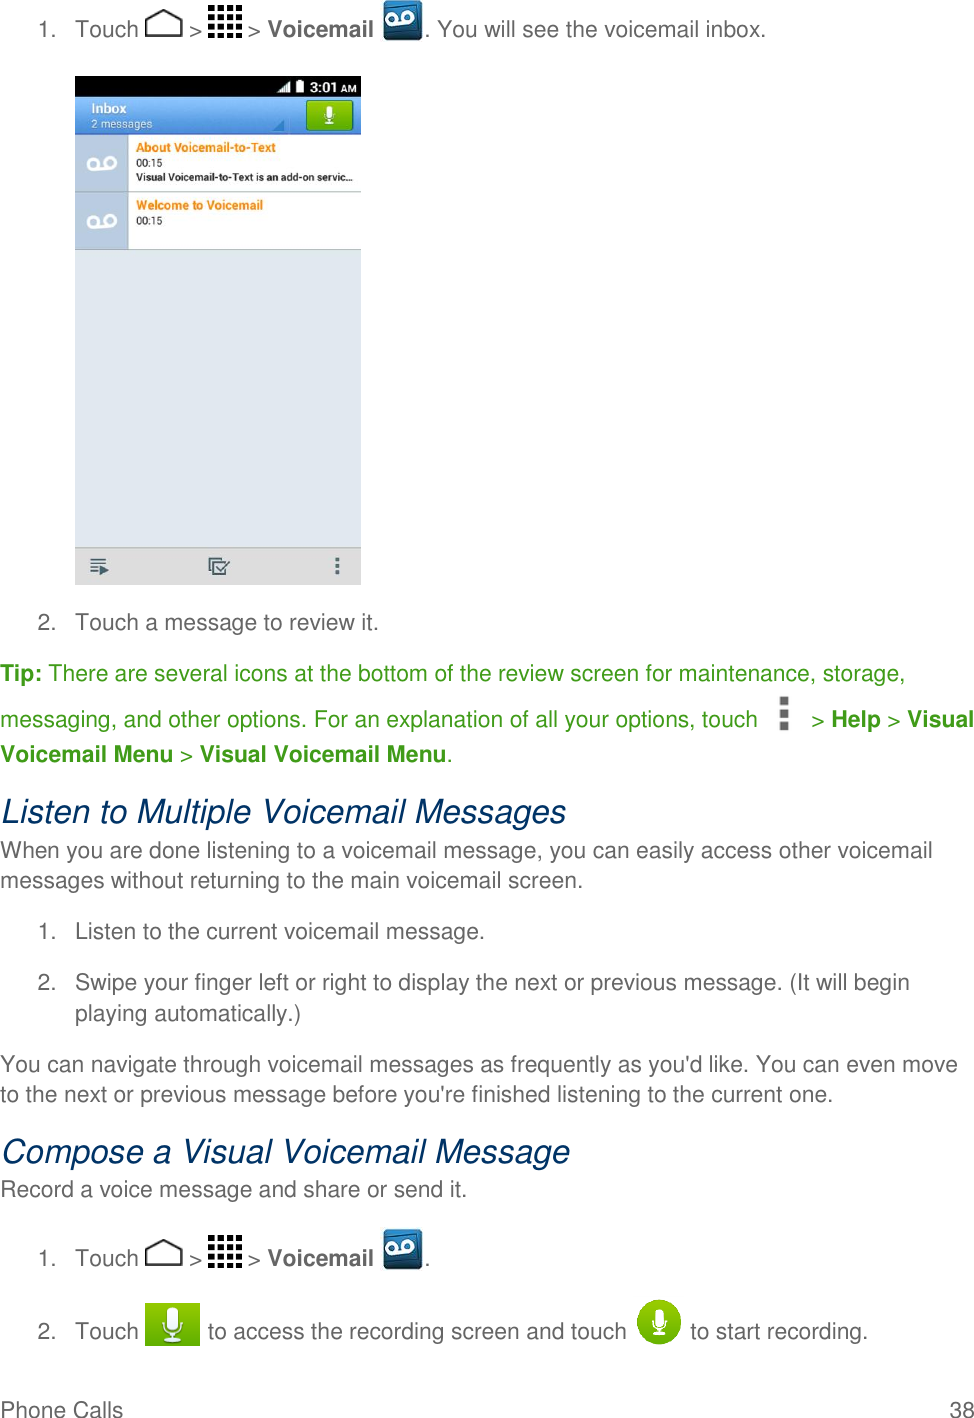
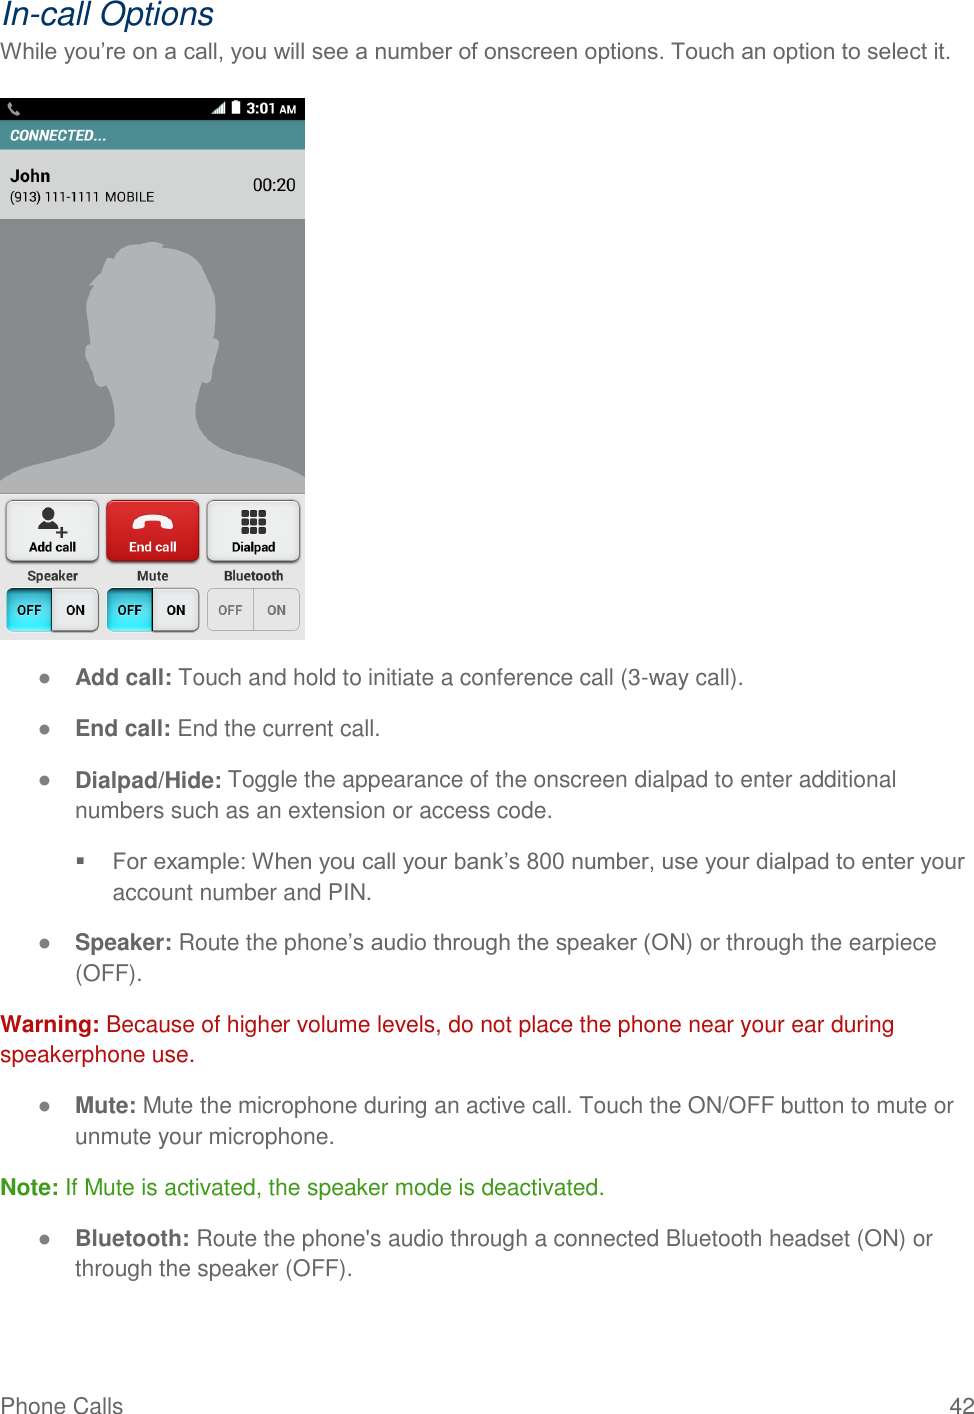
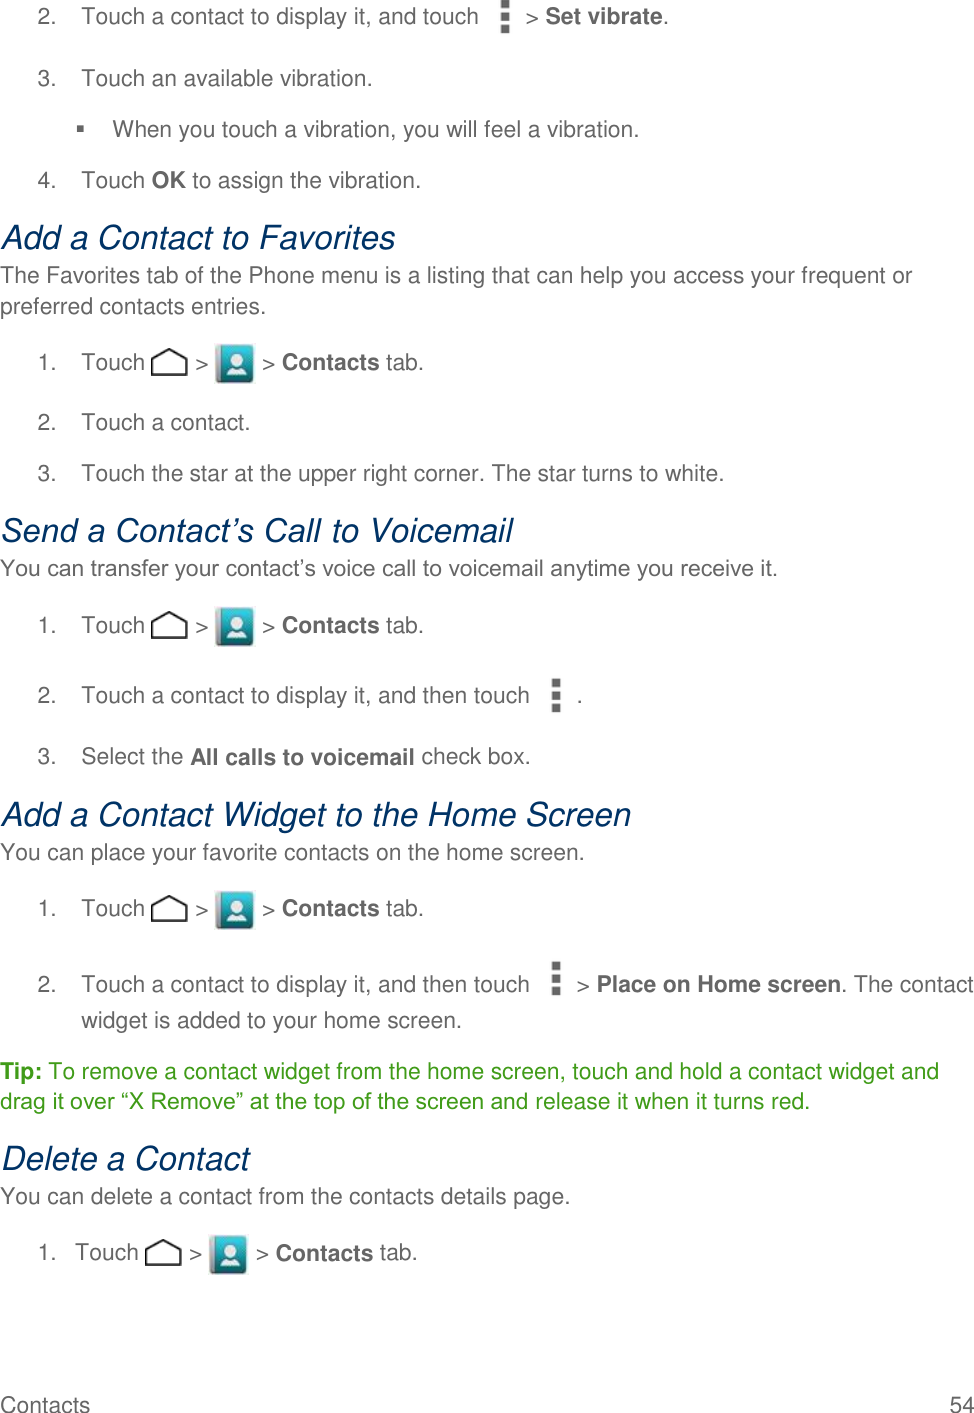
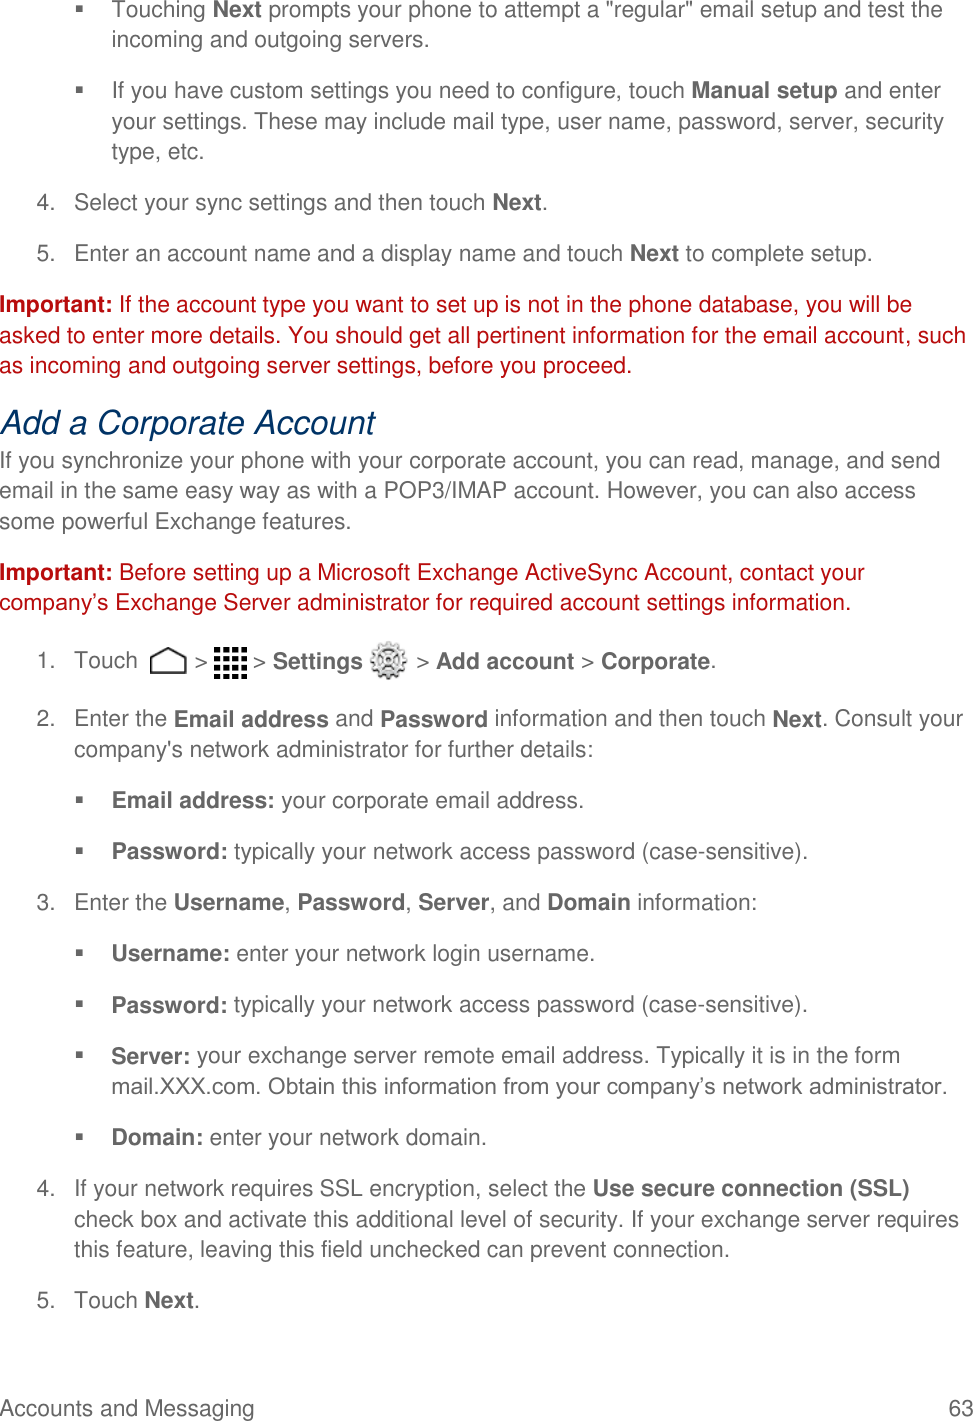
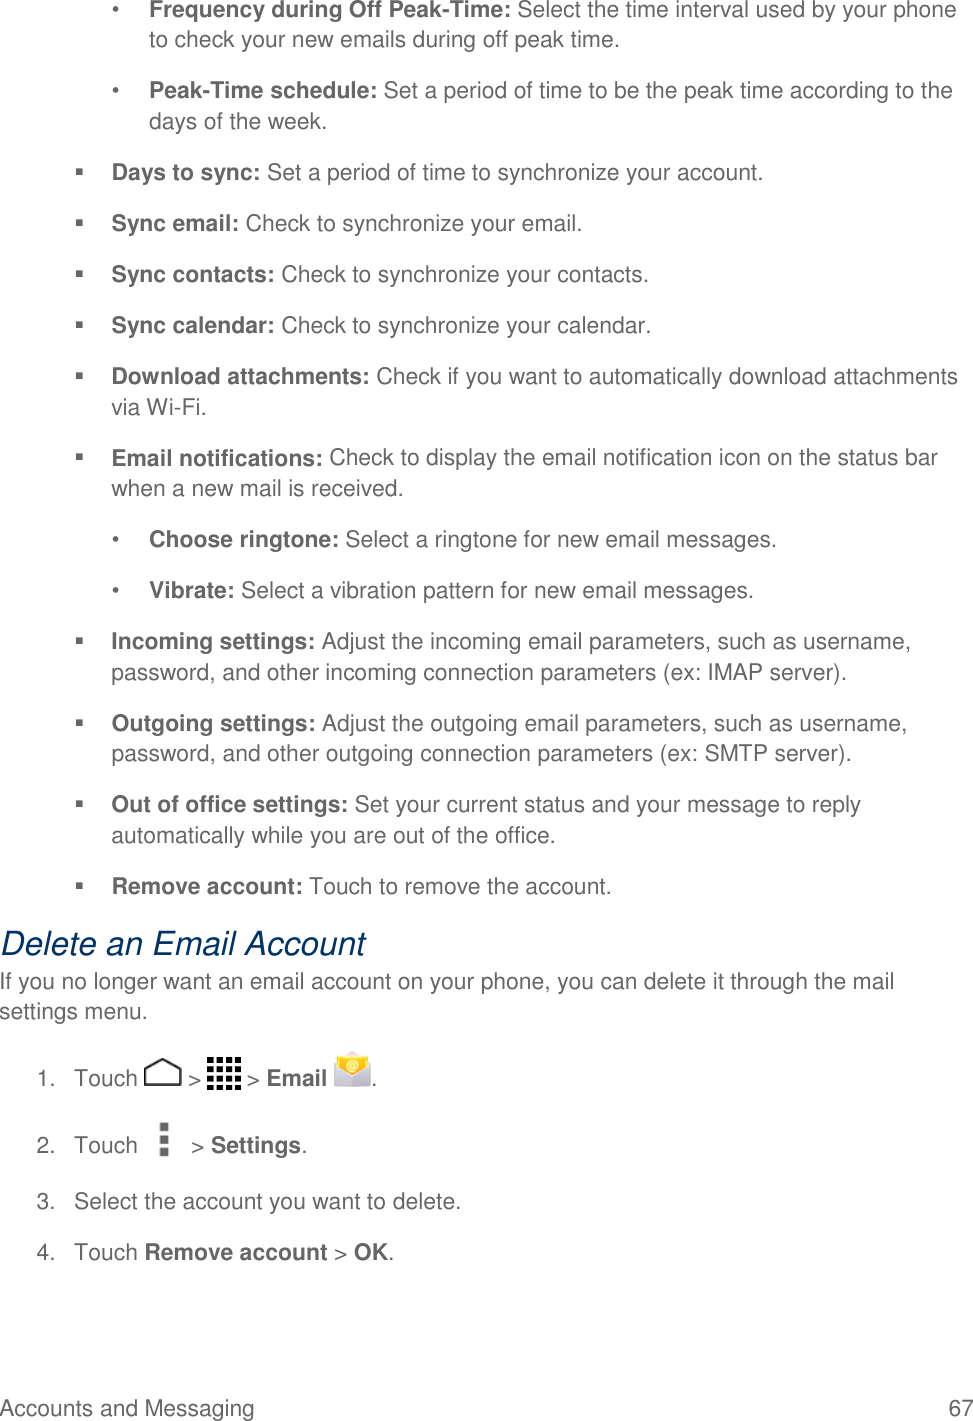
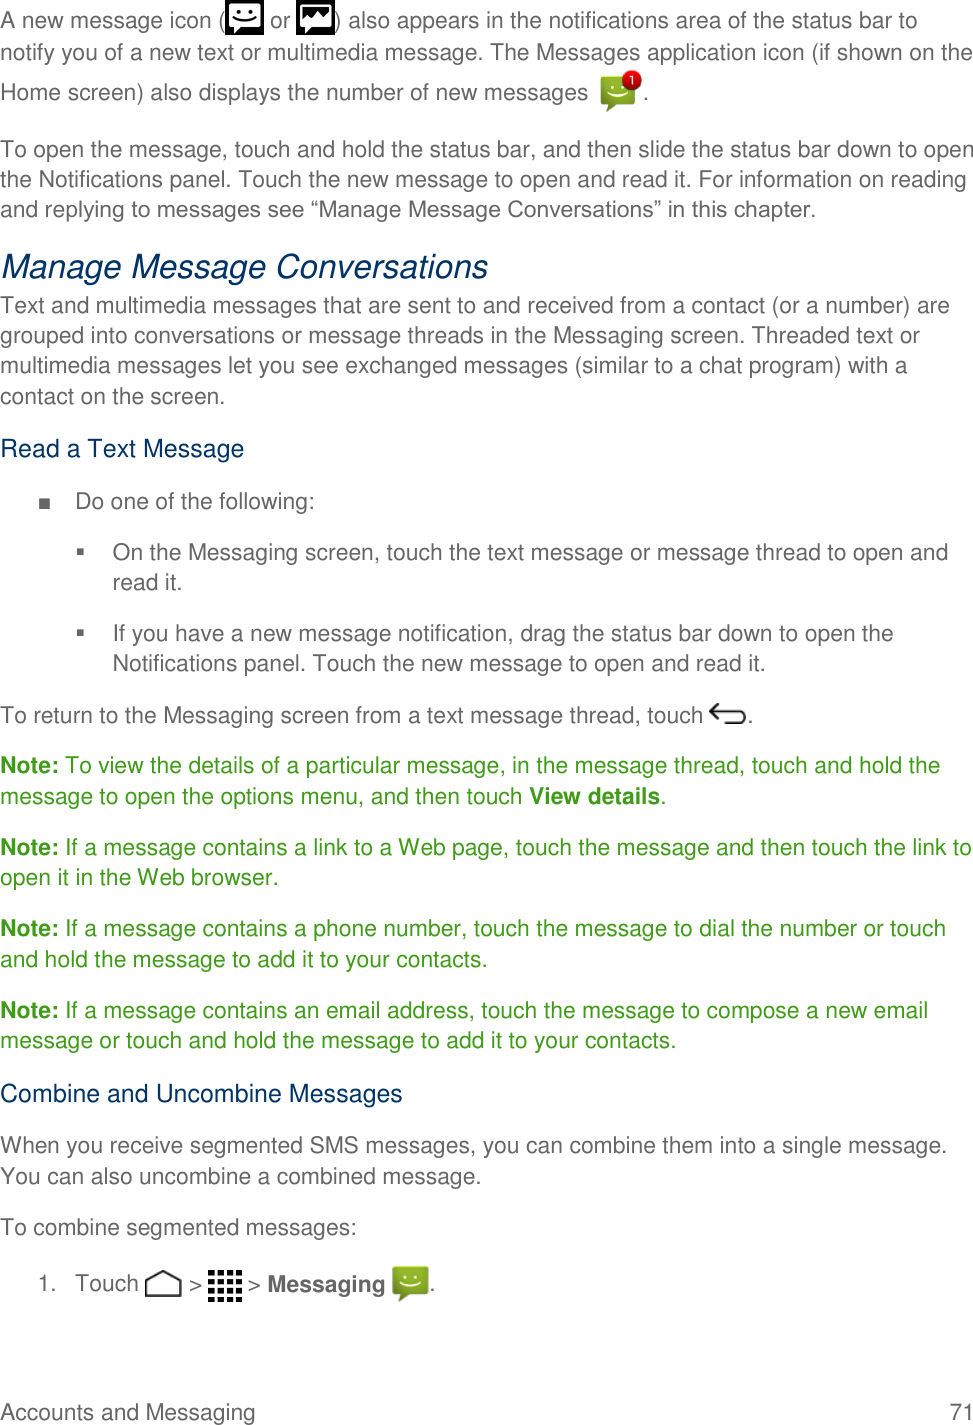
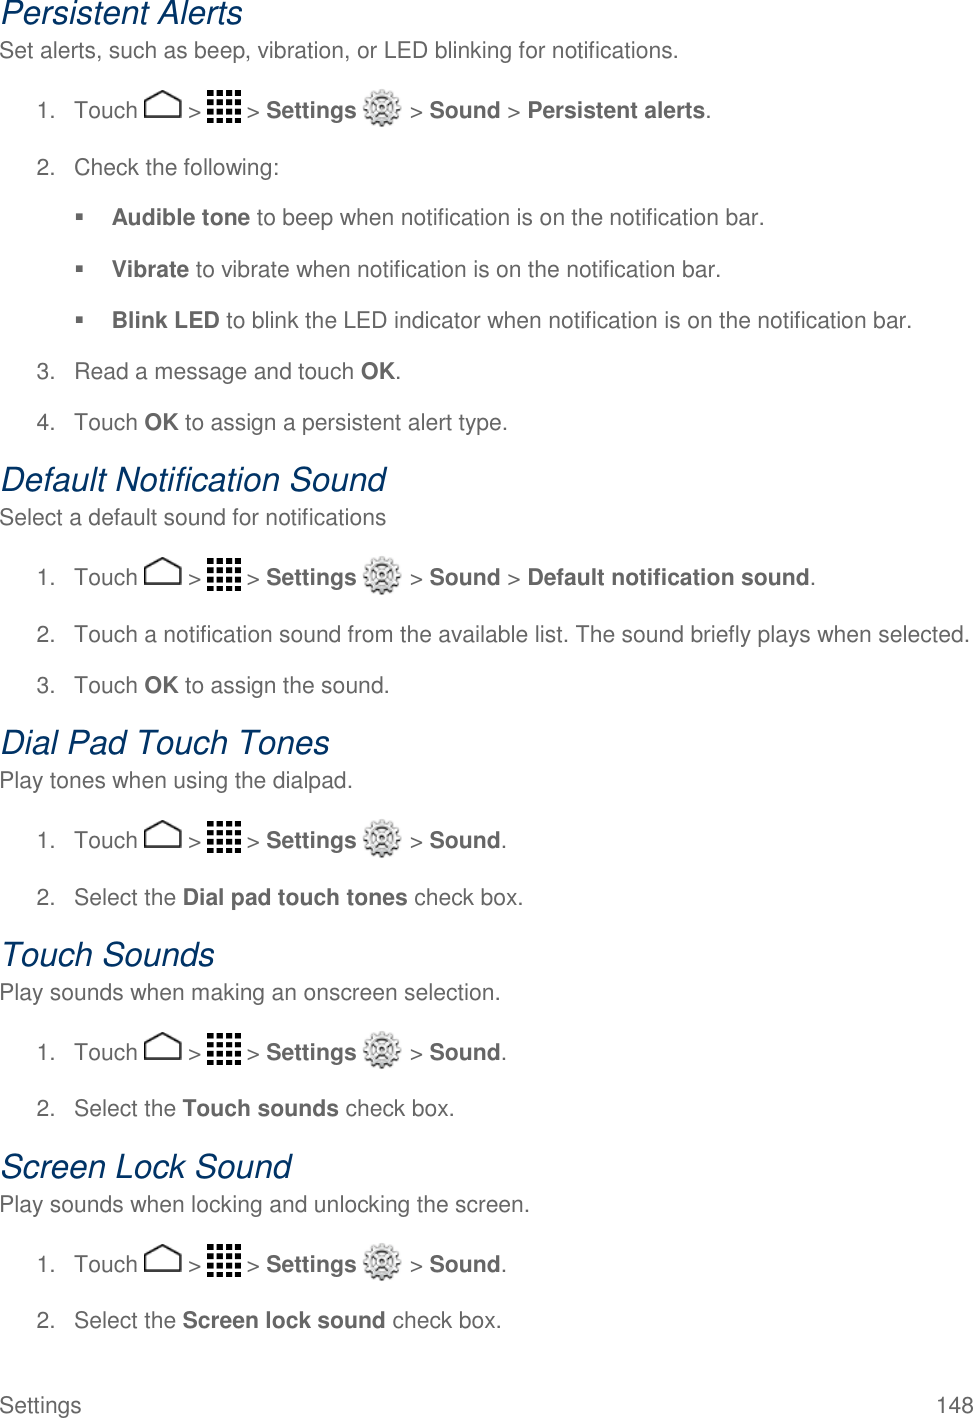
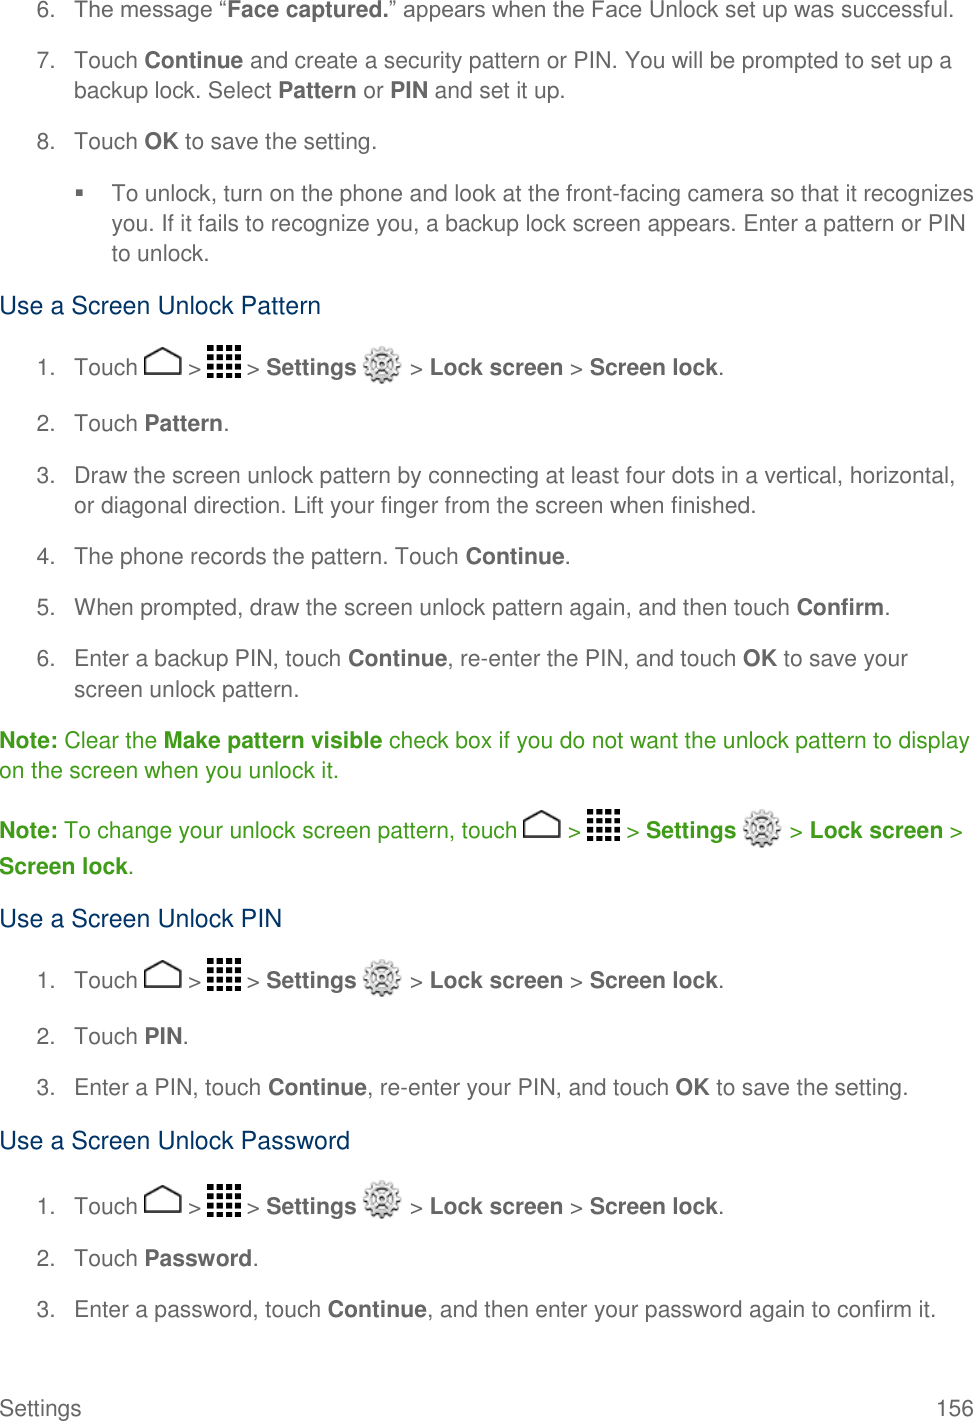
![Tools and Calendar 129 Automatic Speech Recognition (ASR) You can use your phone’s built-in automatic speech recognition (ASR) software (Voice Dialer) to dial a phone number in your contacts or to launch phone functions. All you have to do is to talk into the phone, and ASR will recognize your voice and complete tasks by itself. Activate the Voice Dialer ■ Touch > > Voice Dialer . The phone prompts you to say a command from the list displayed on the screen. To complete your task, simply follow the onscreen prompts or touch an onscreen option. If the application does not recognize the number, name, or application name, it will find the most likely matches and display a list. Touch a selection or touch Cancel to exit the Voice Dialer. Tip: Use ASR in a quiet environment so it can accurately recognize your commands. Make a Voice Call with the Voice Dialer 1. Touch > > Voice Dialer . 2. When prompted to speak, say “Call [contact]” or “Dial [number].” For example, say “Call John Smith on mobile,” to call John Smith’s mobile phone. Your phone dials the number stored for the contact “John Smith” with the label “Mobile.” Open an Application with the Voice Dialer 1. Touch > > Voice Dialer . 2. When prompted to speak, say “Open [application name].” For example, say “Open Calendar,” to open the Calendar. The application screen is displayed. Open a Settings Menu with the Voice Dialer 1. Touch > > Voice Dialer . 2. When prompted to speak, say “Open [settings menu name].” For example, say “Open sound settings.” The Sound settings menu screen is displayed.](https://usermanual.wiki/Kyocera/C6730/User-Guide-2238673-Page-140.png)
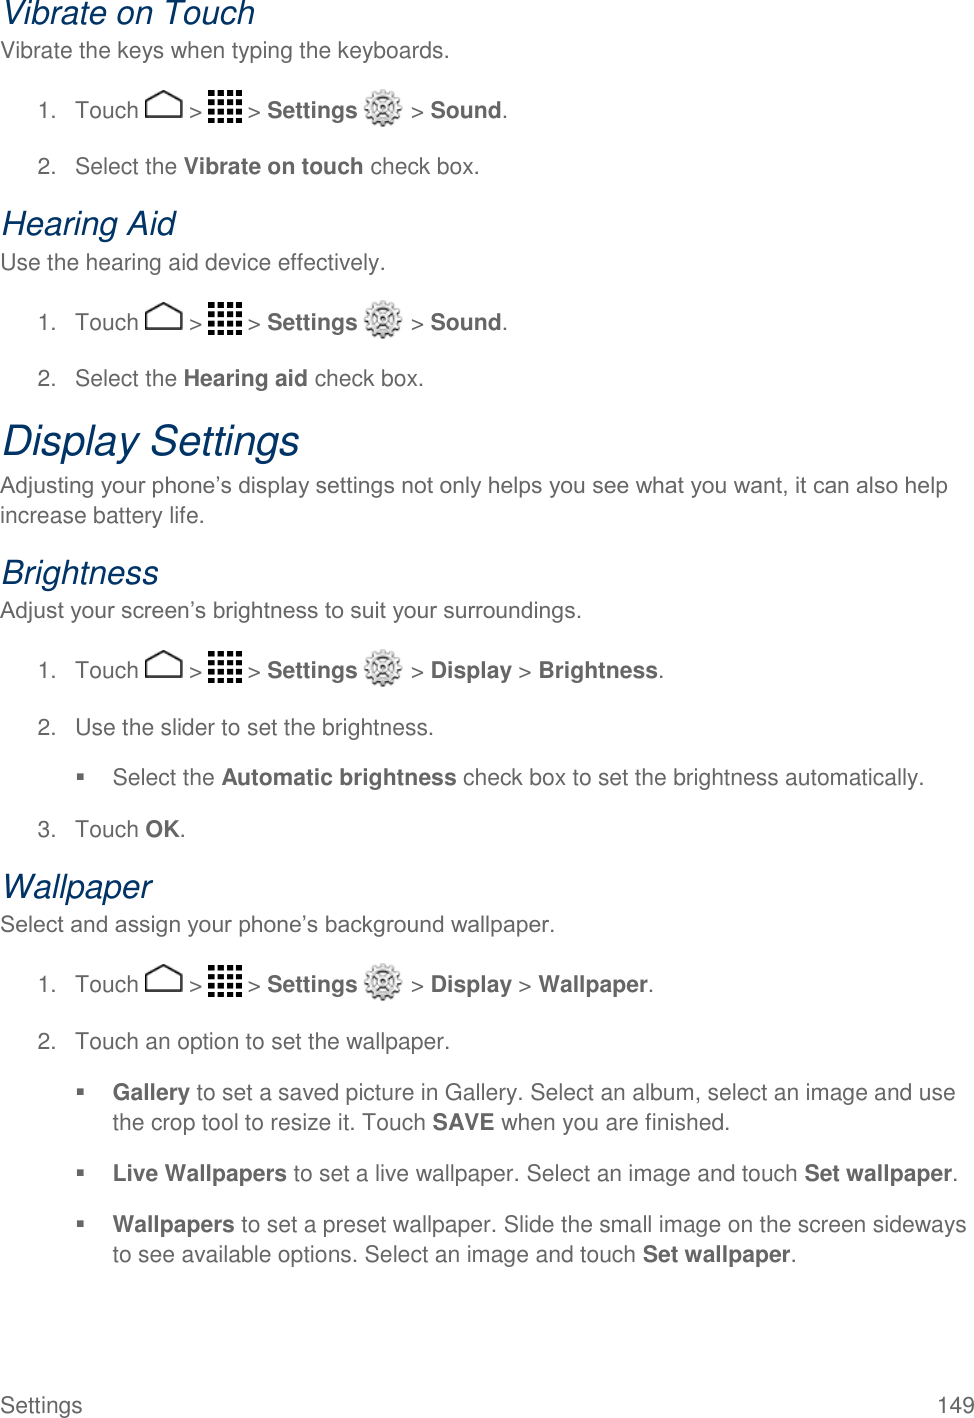
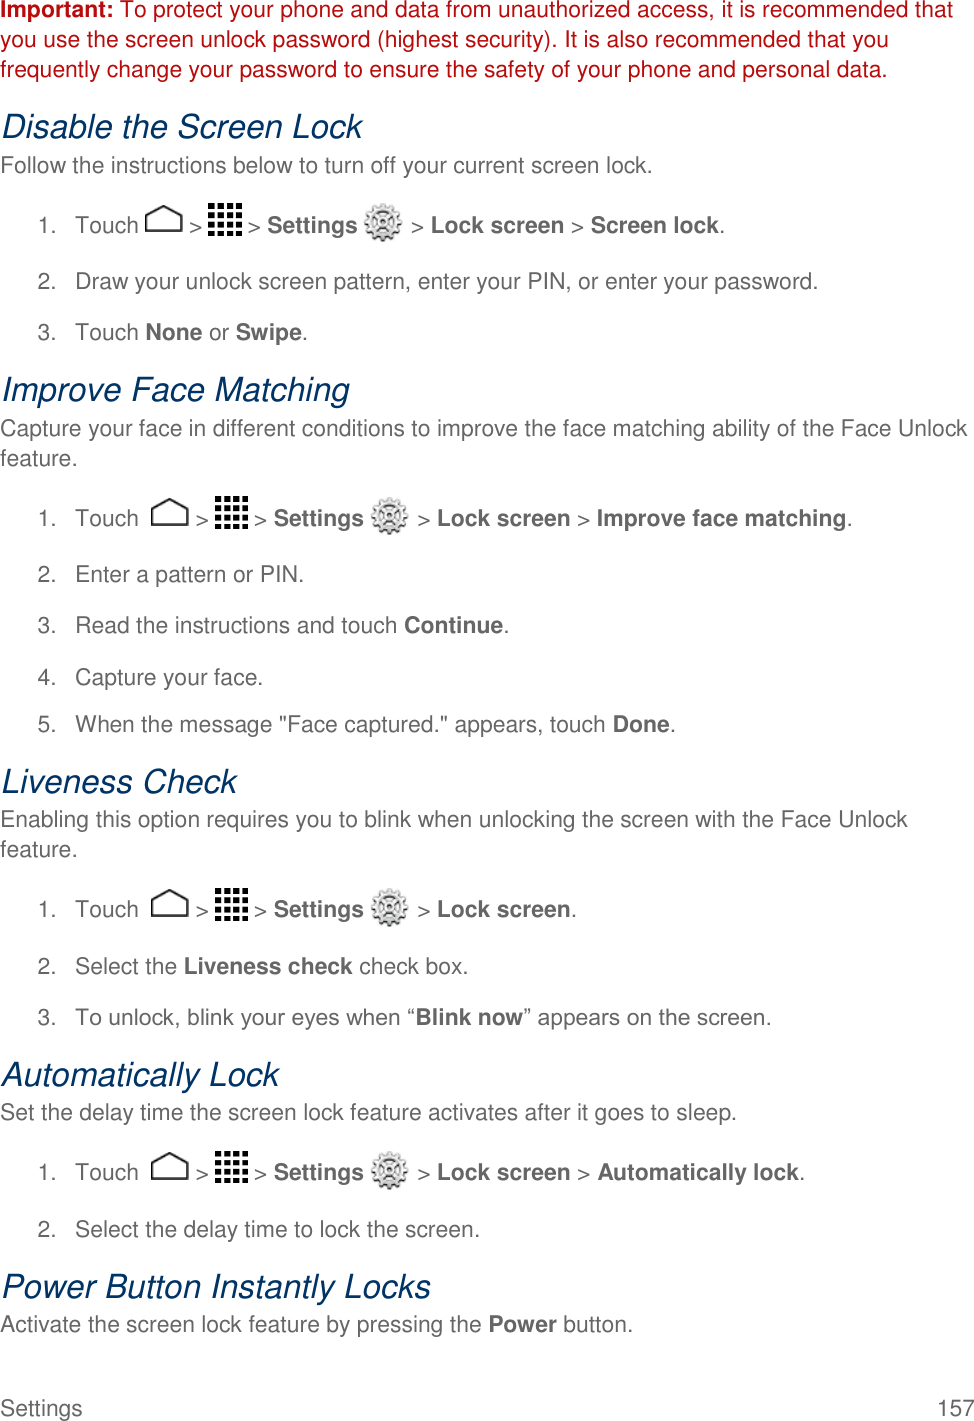

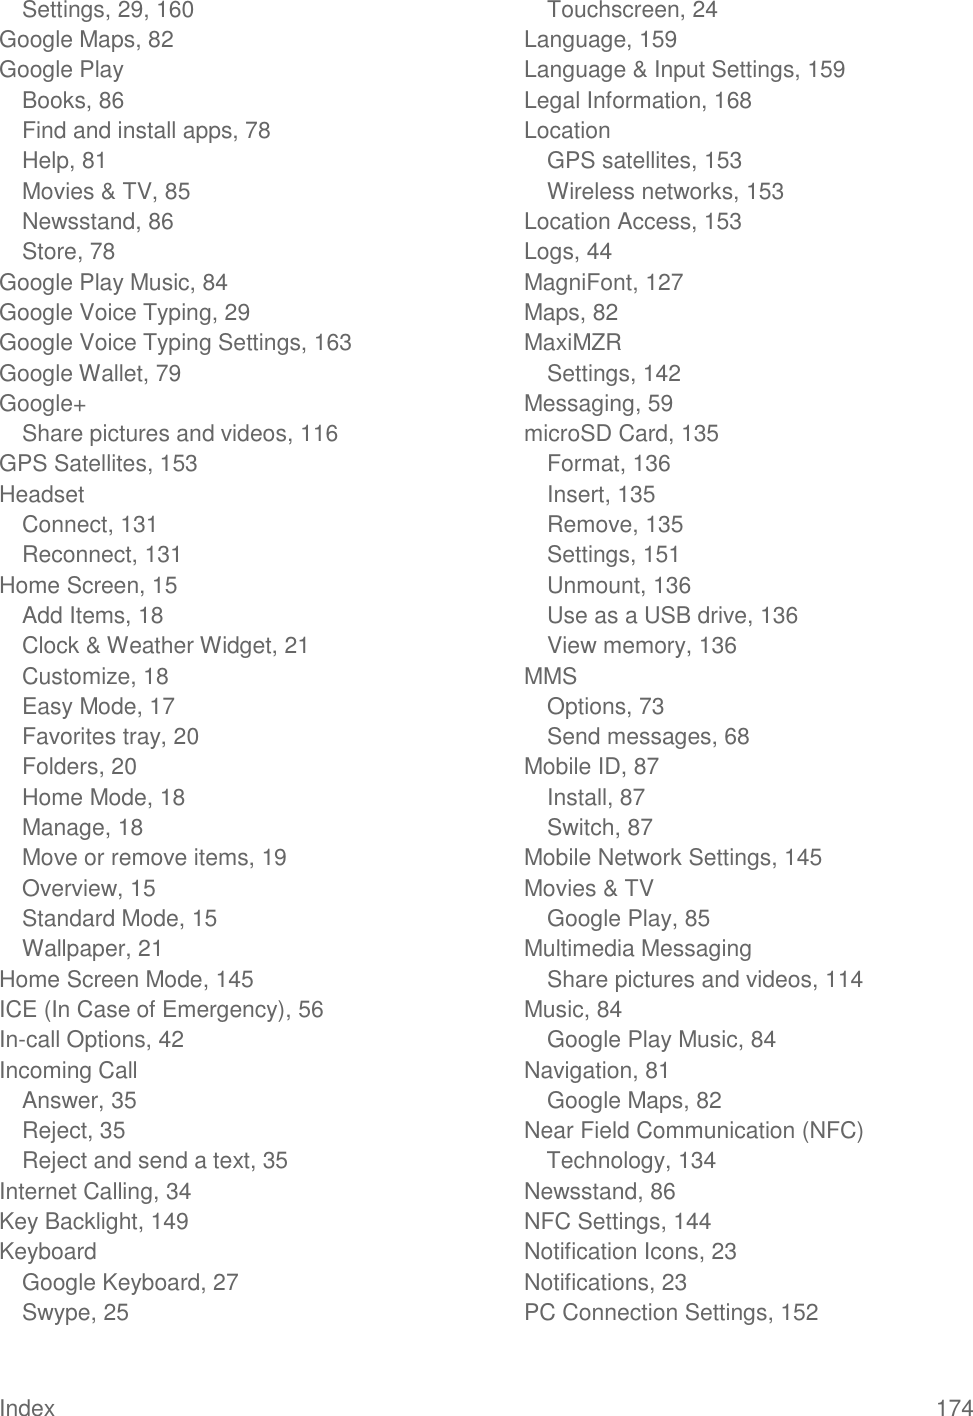
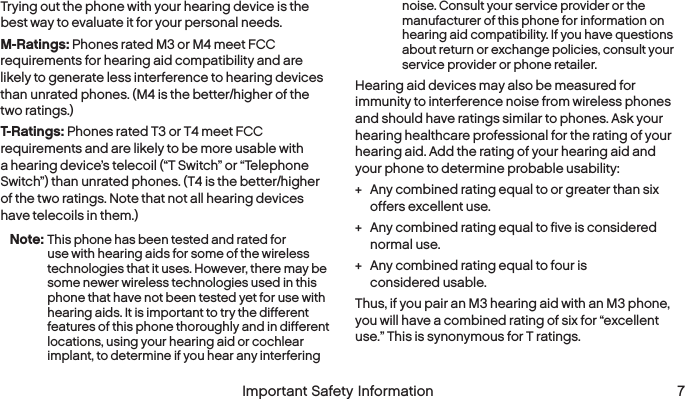
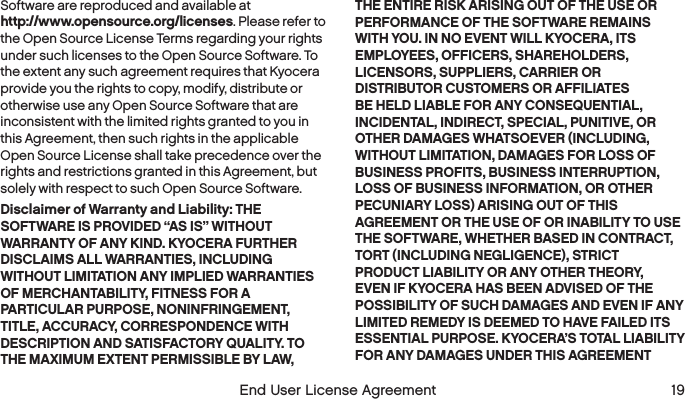
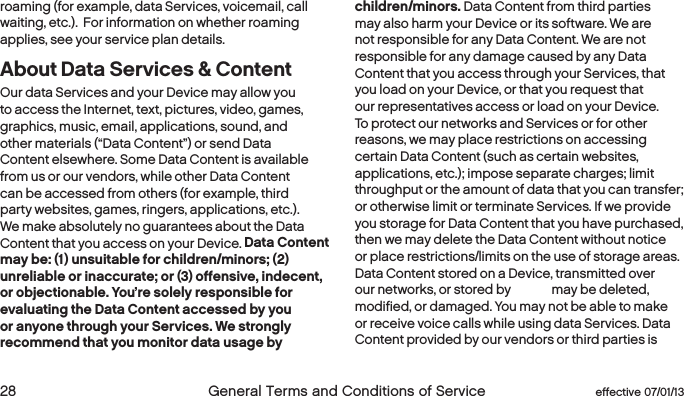
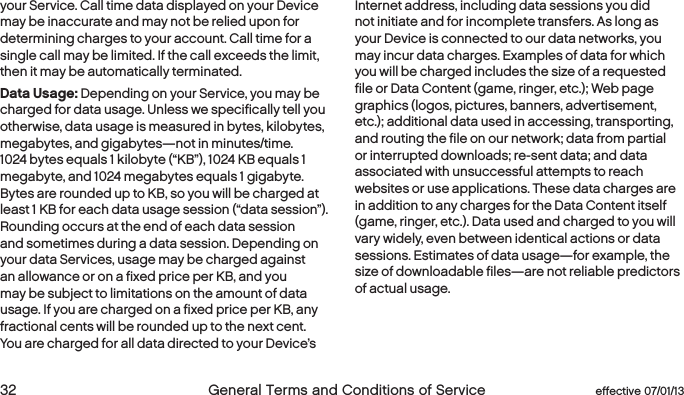
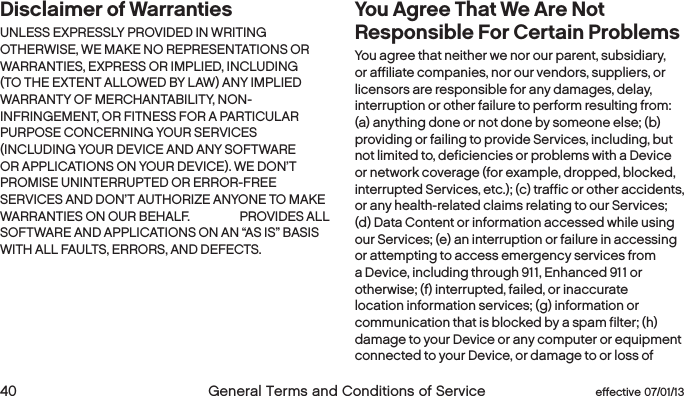
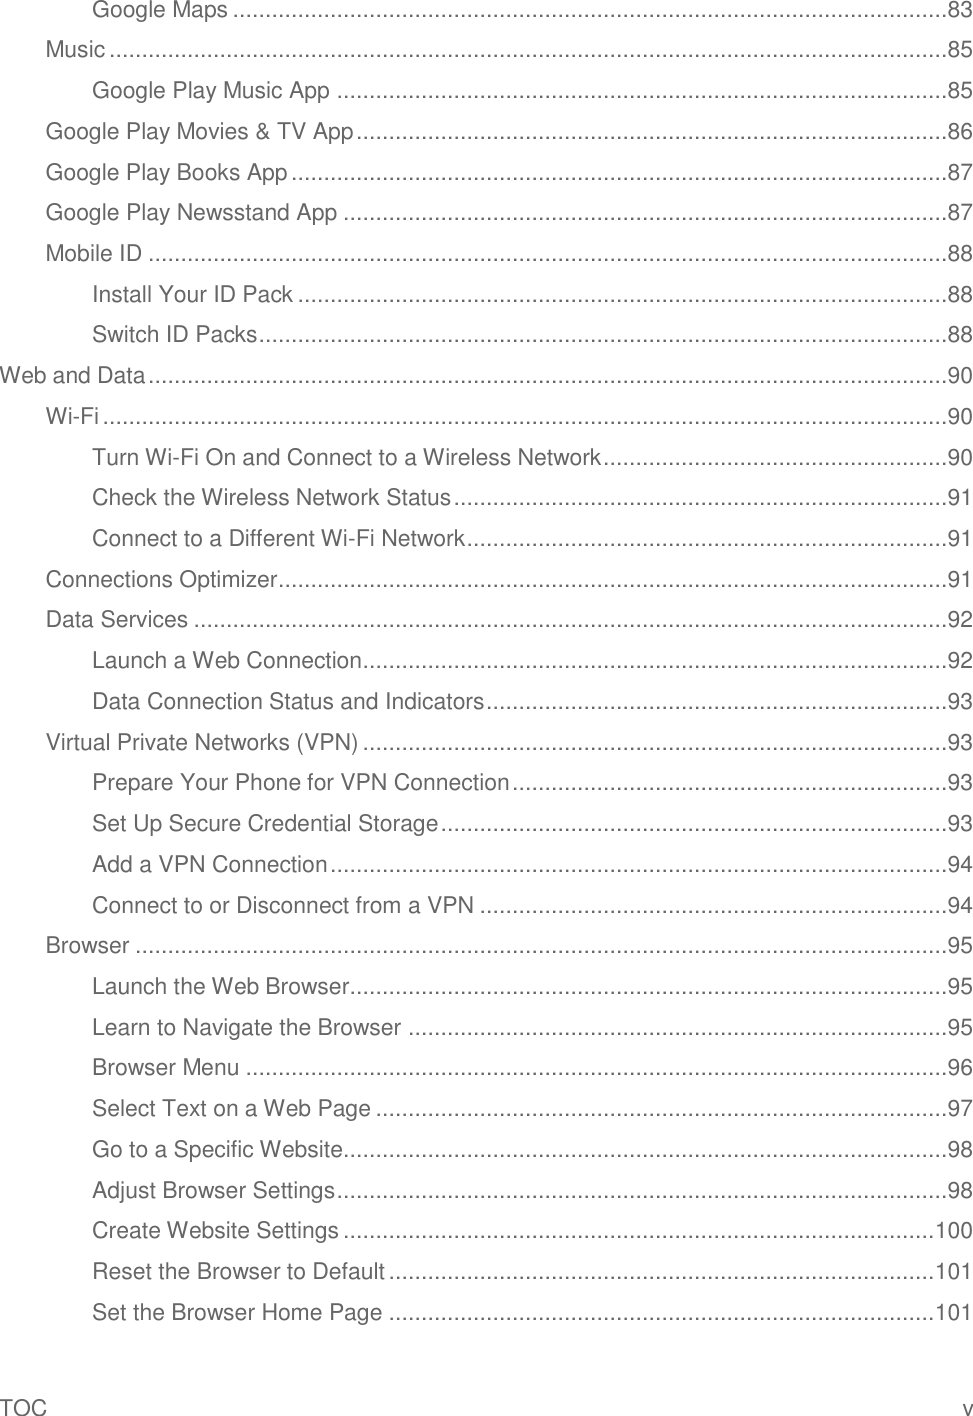
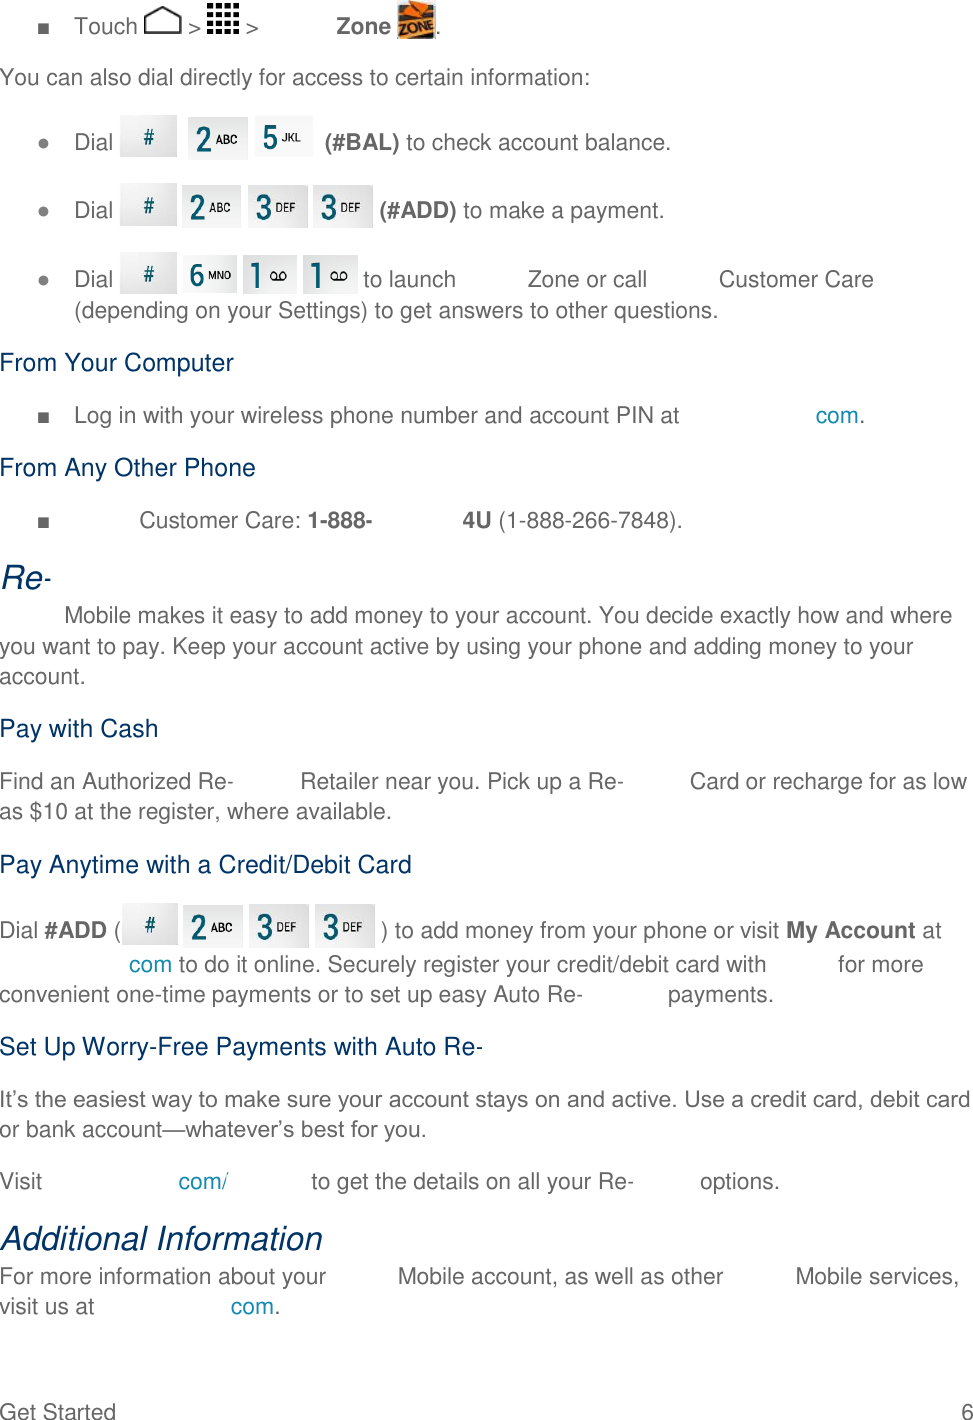
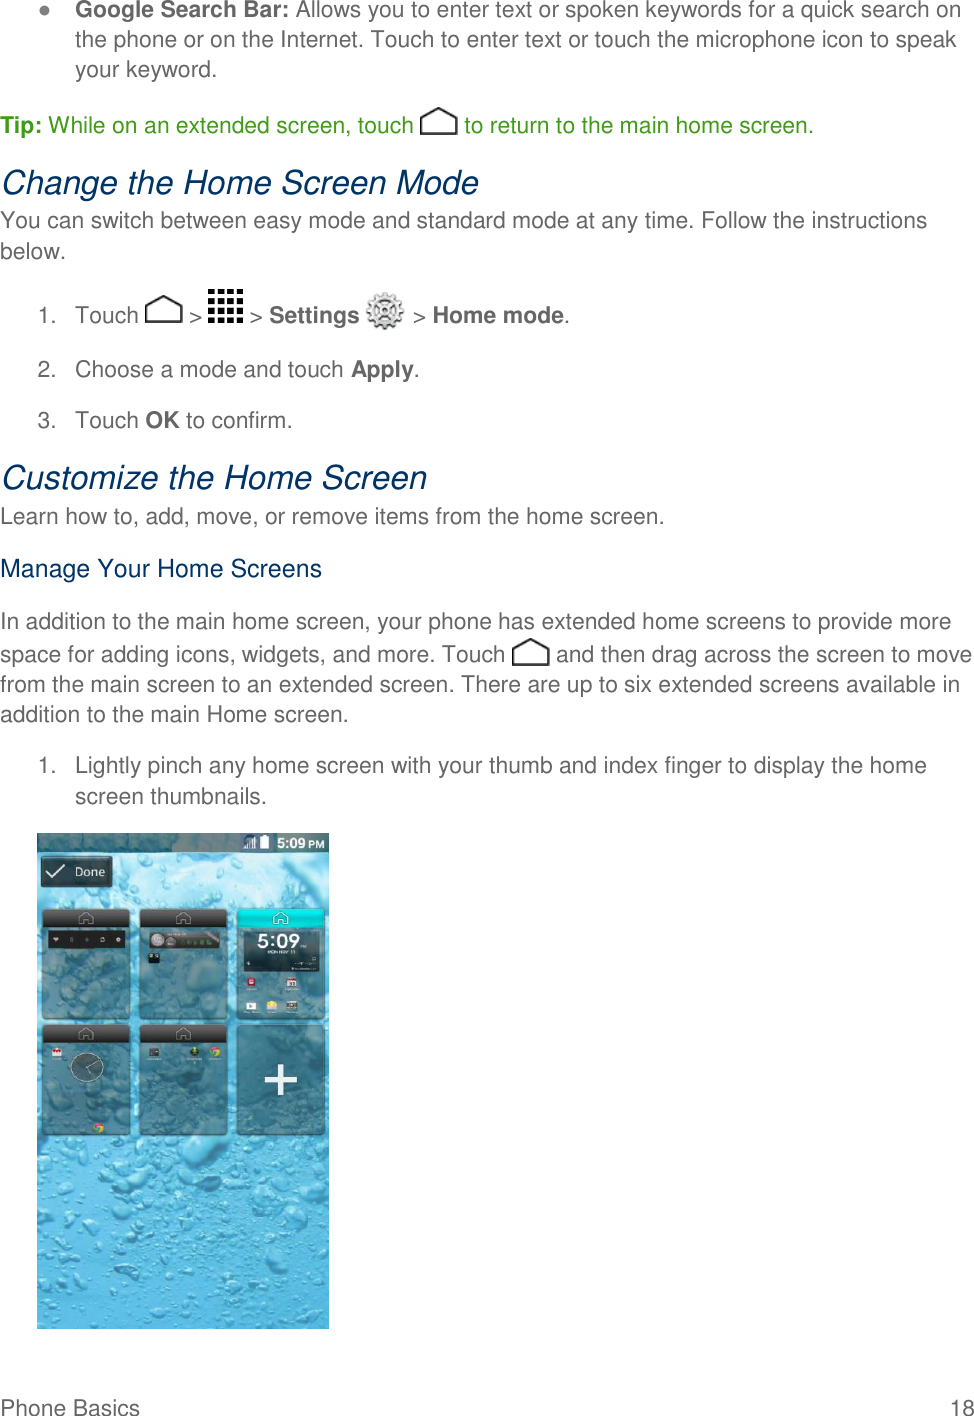
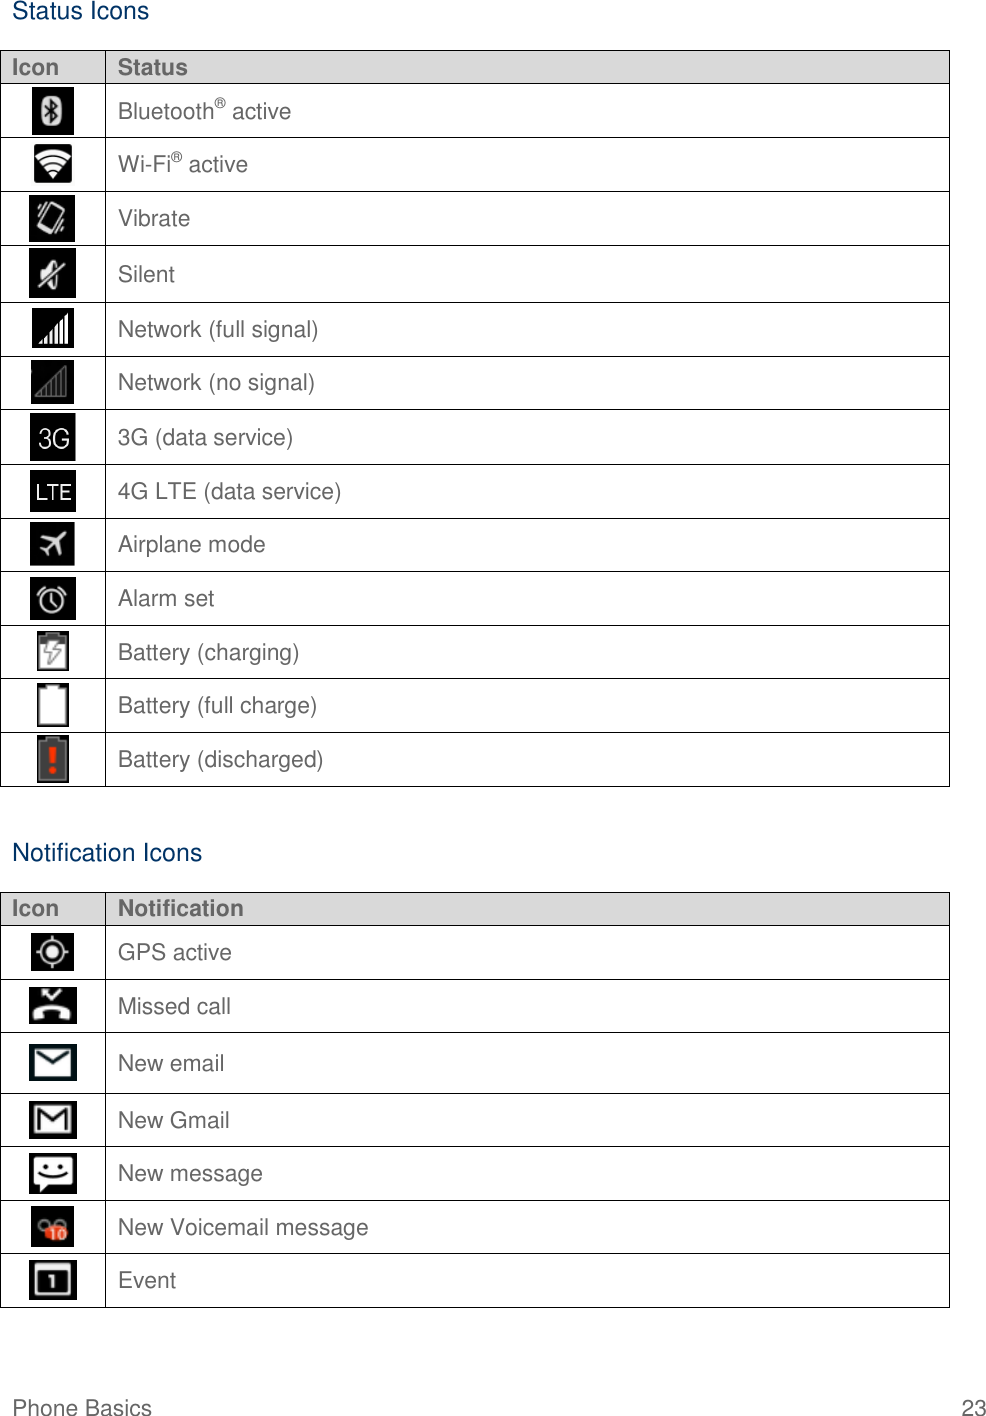
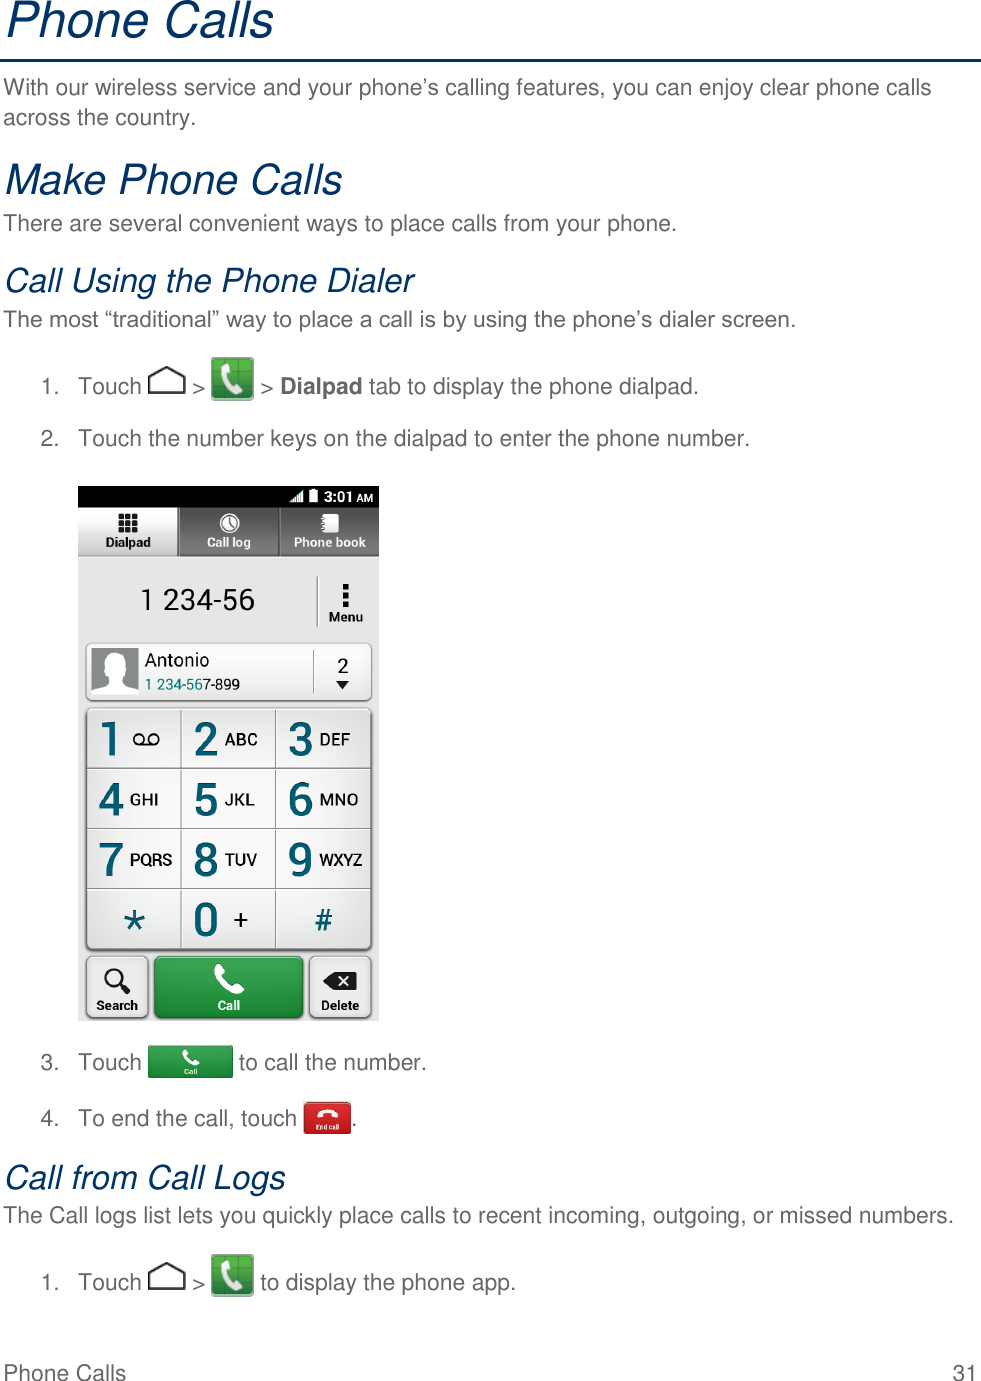
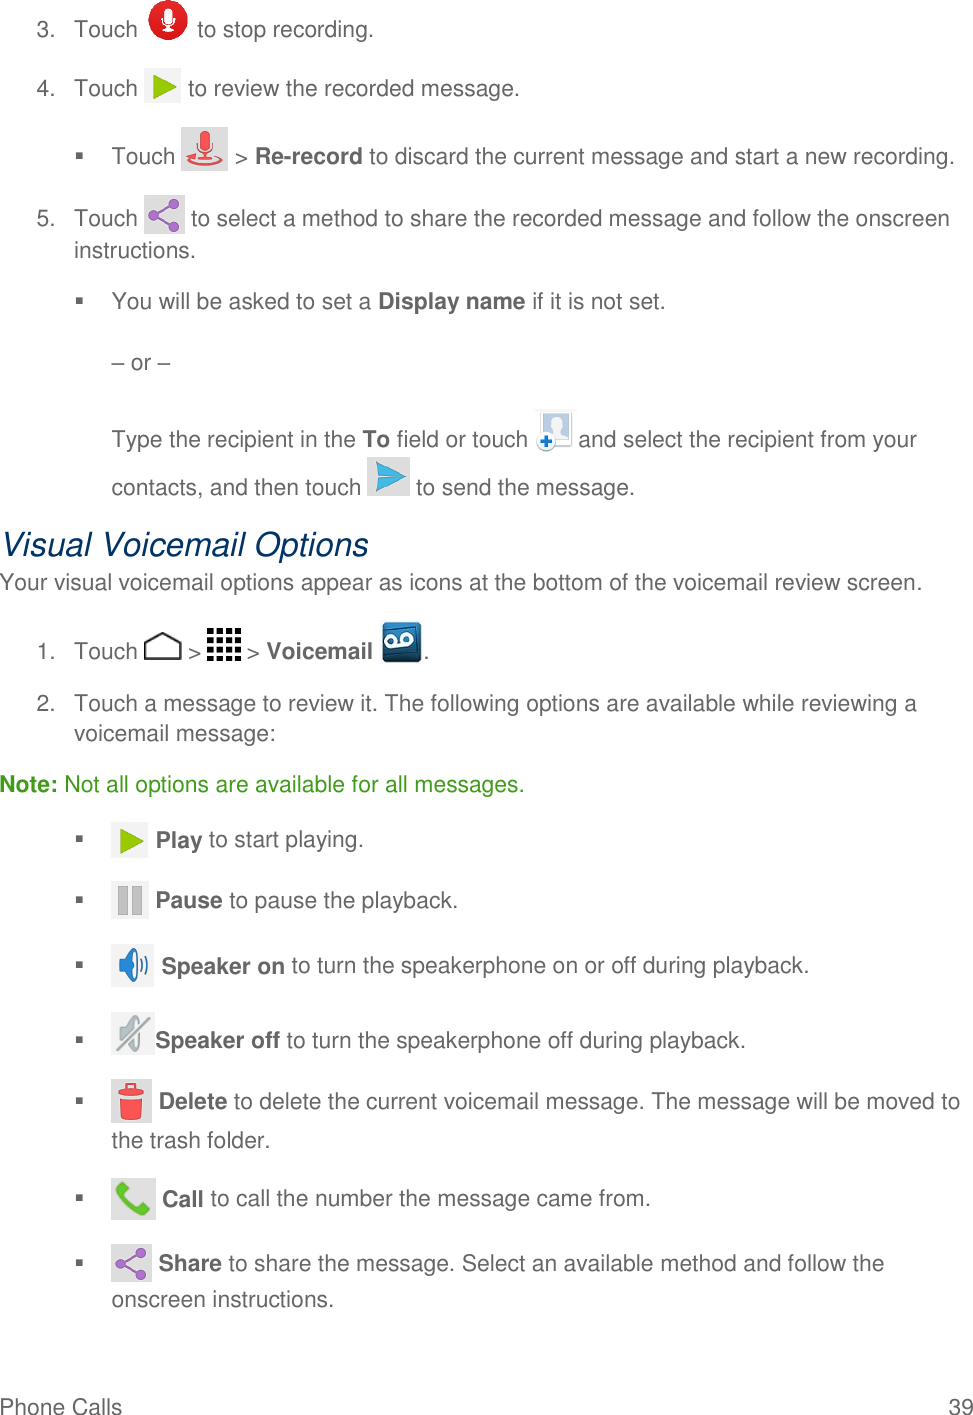
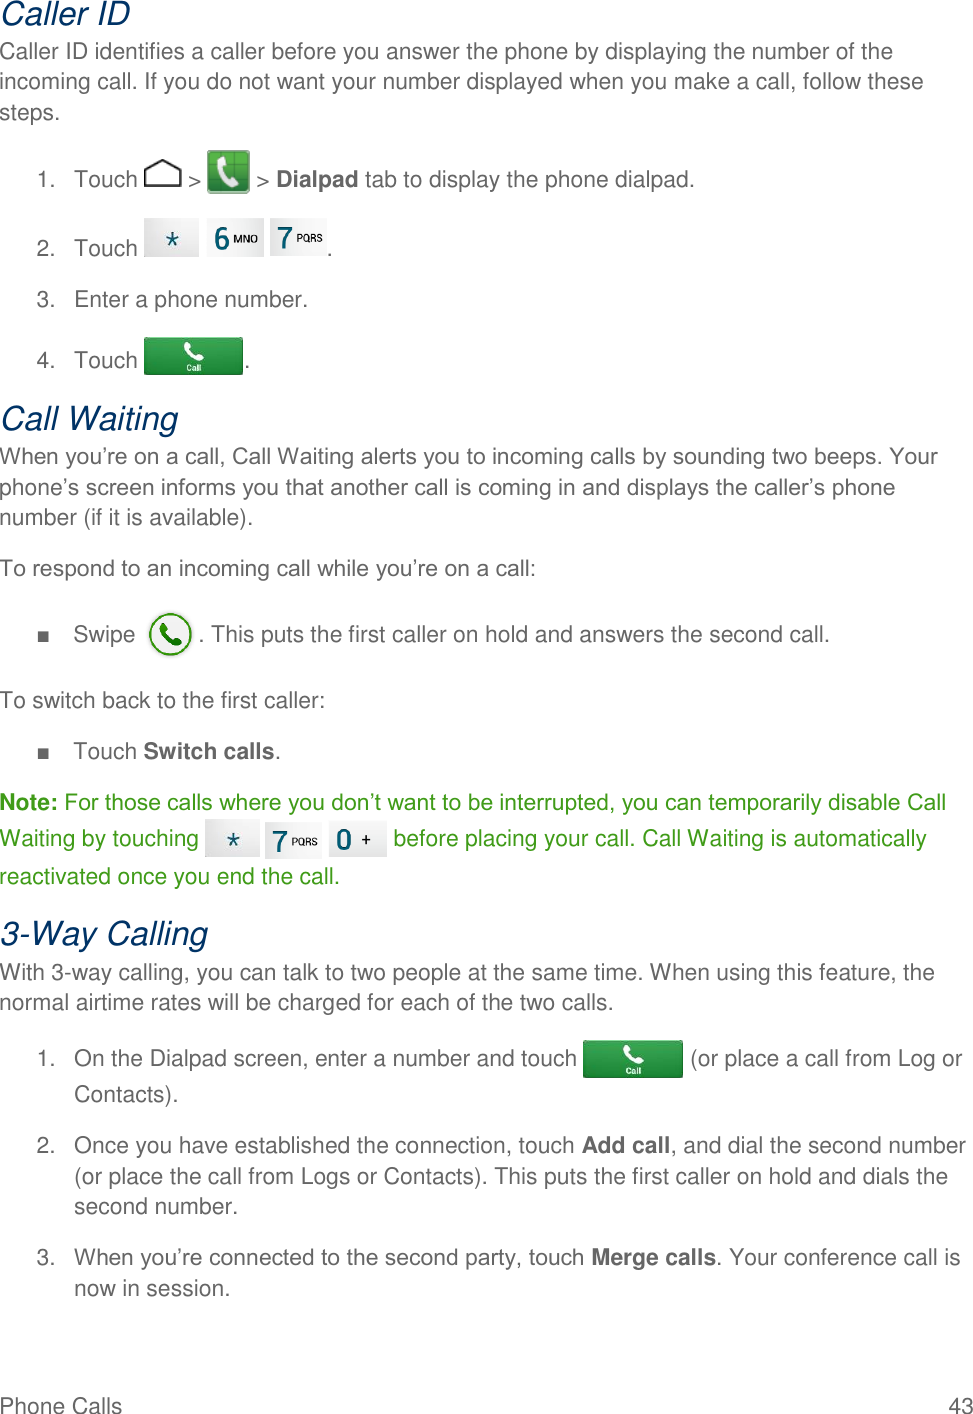
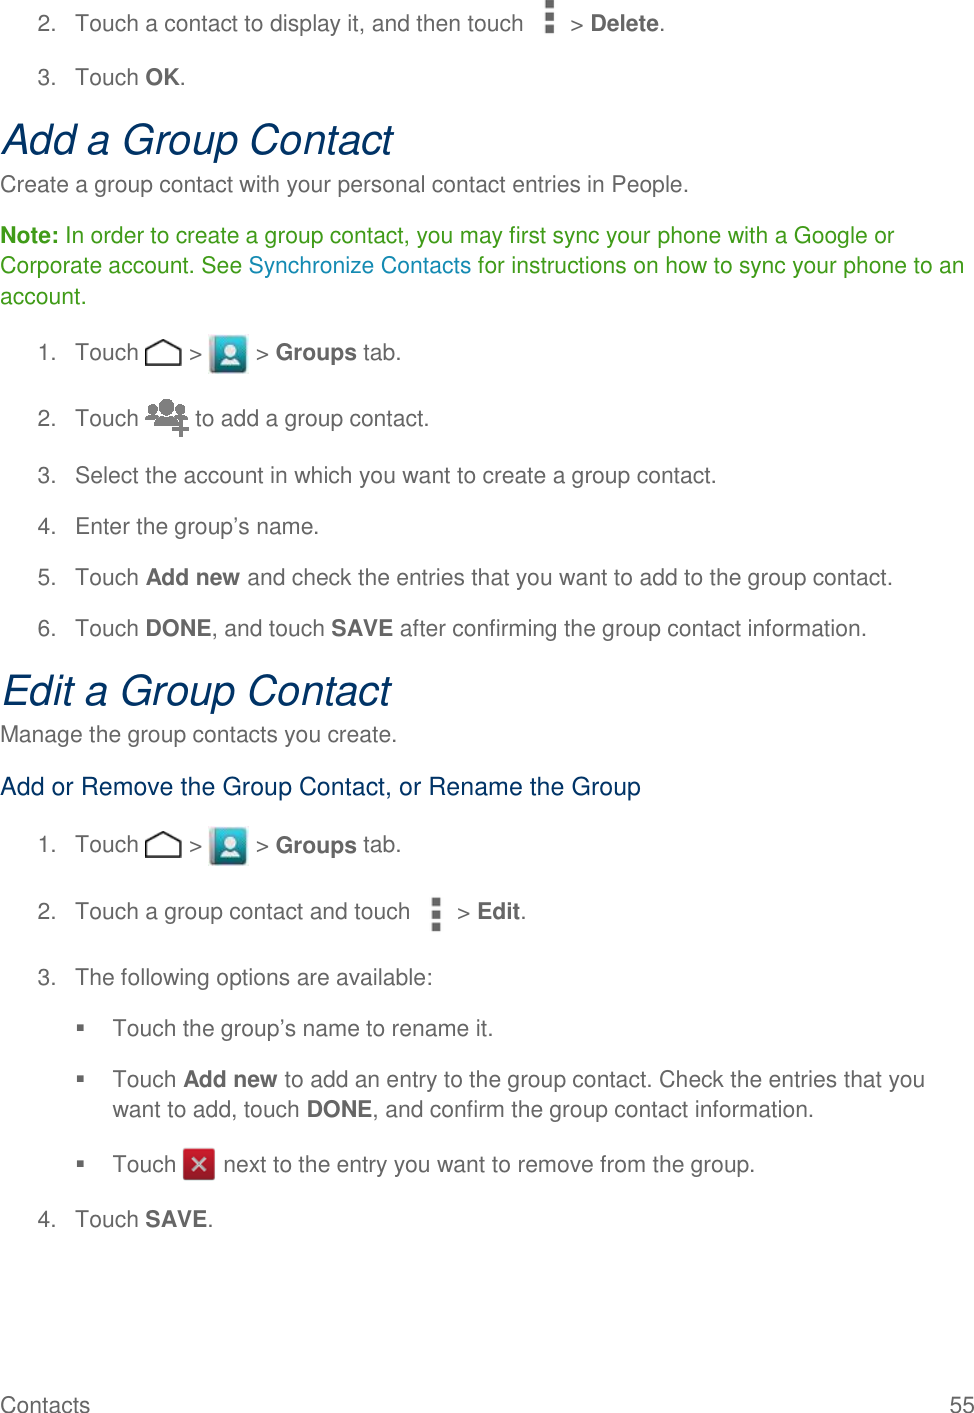
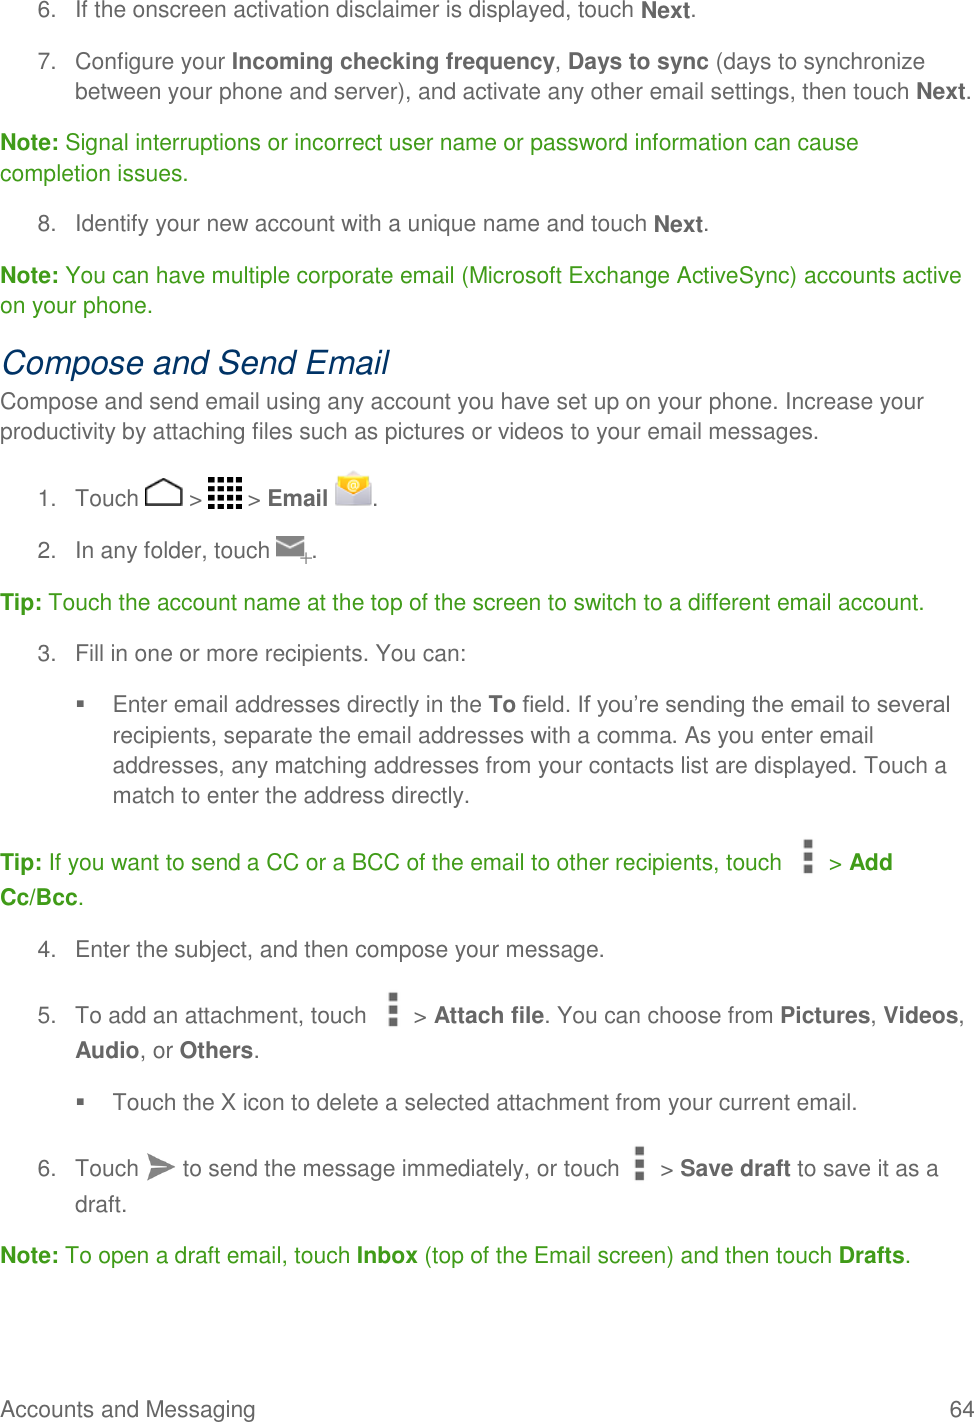
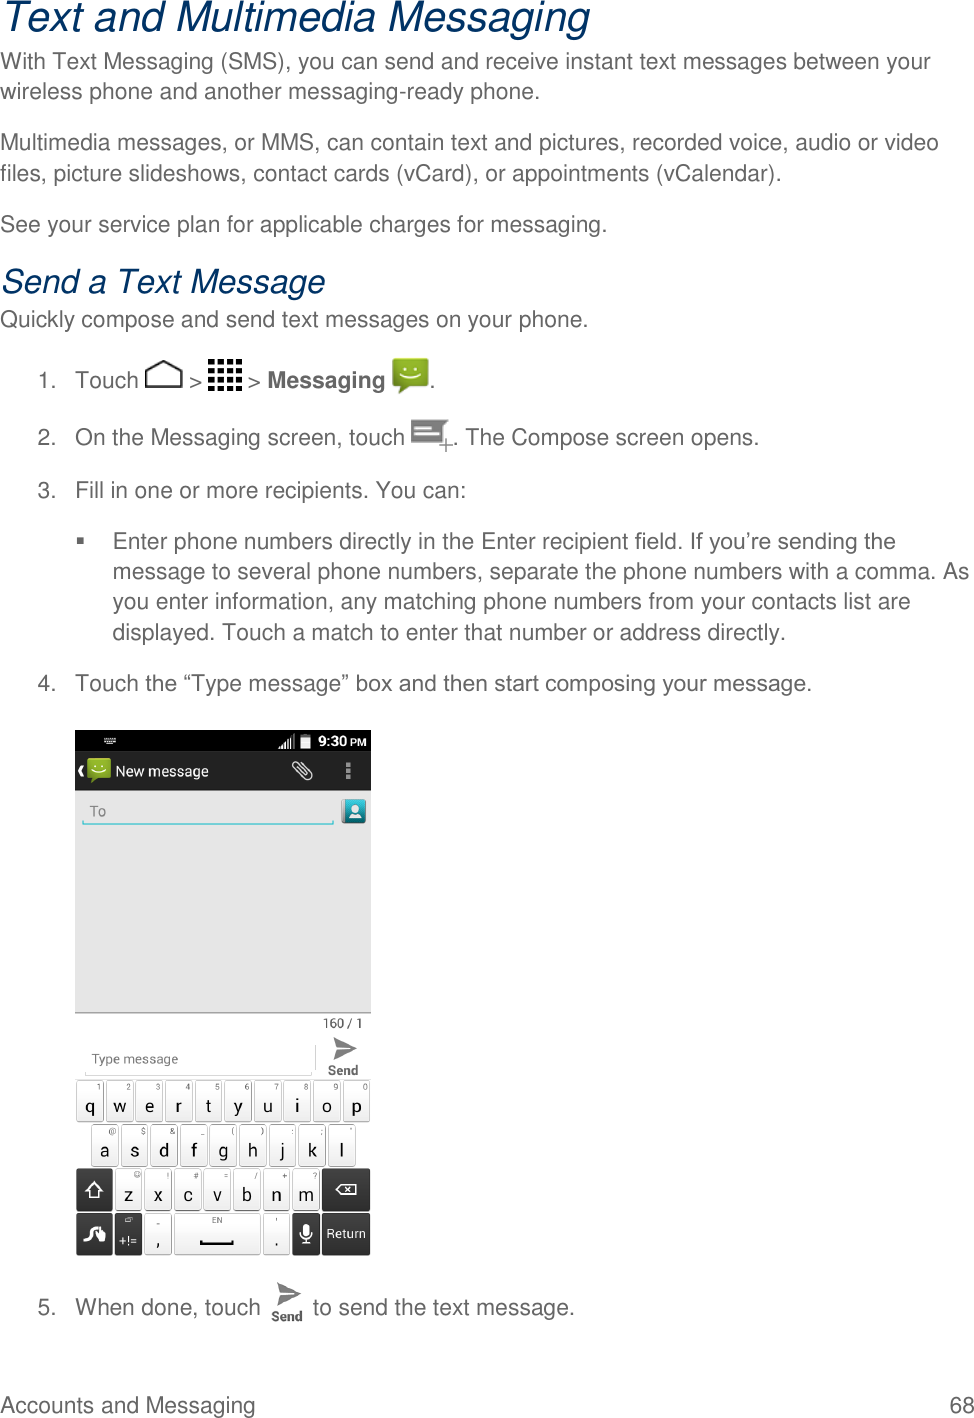
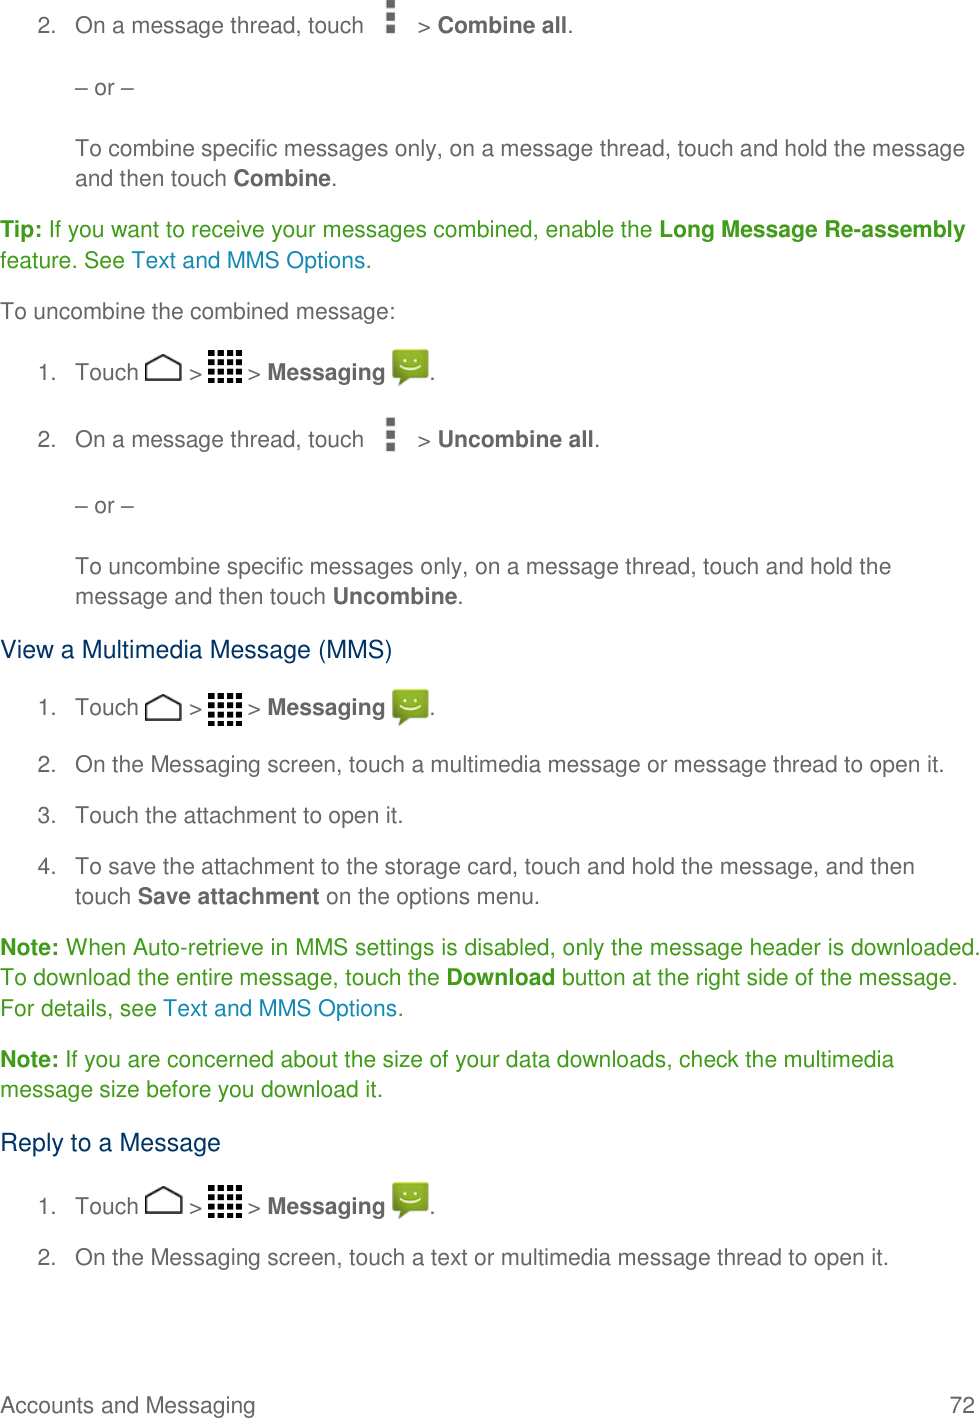
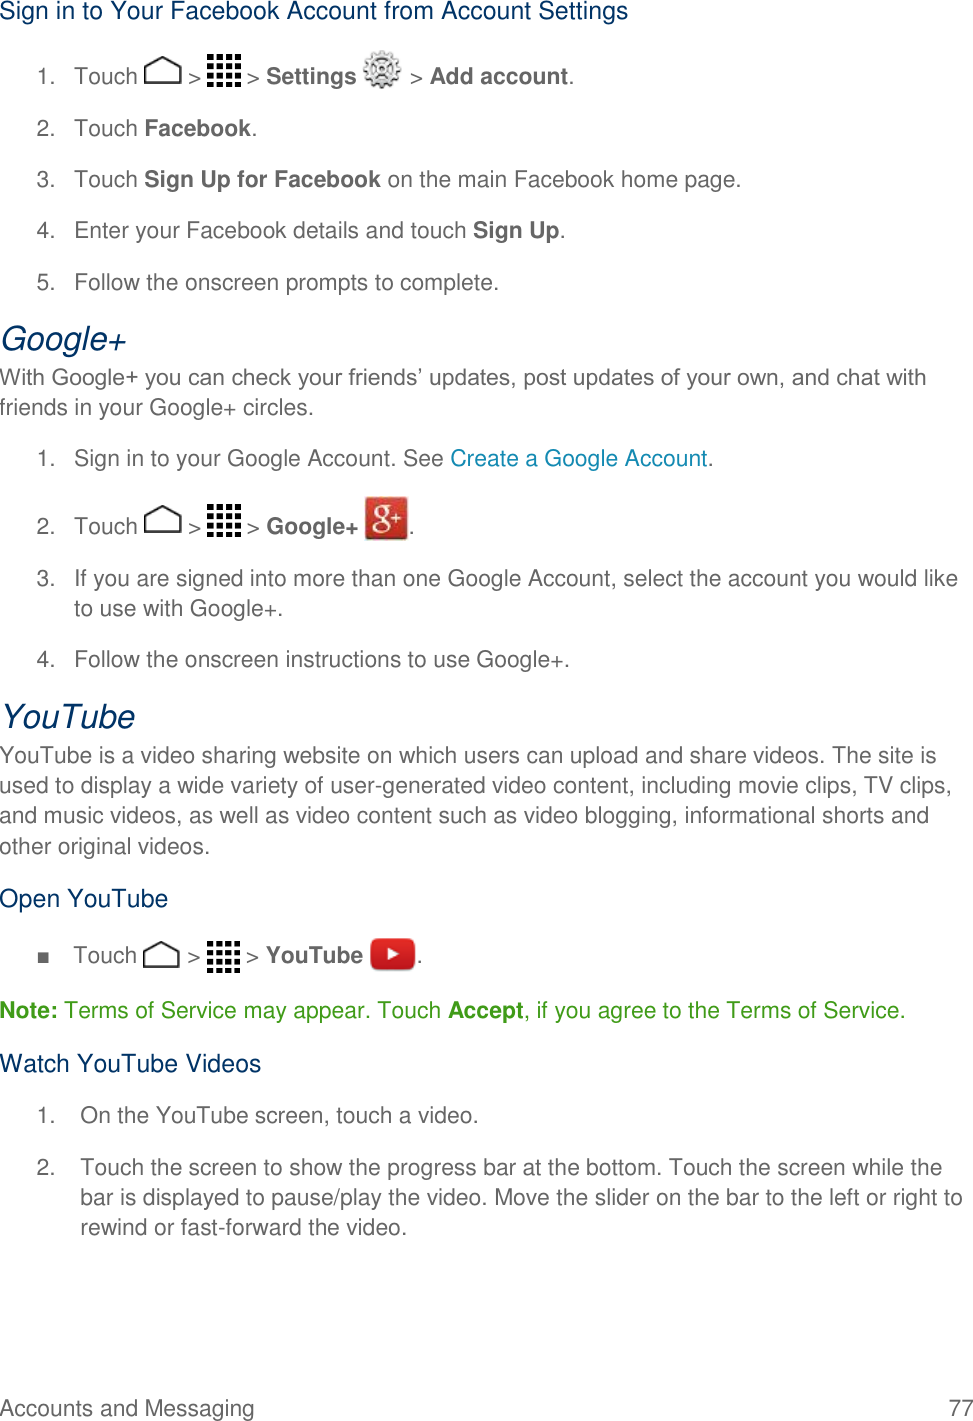
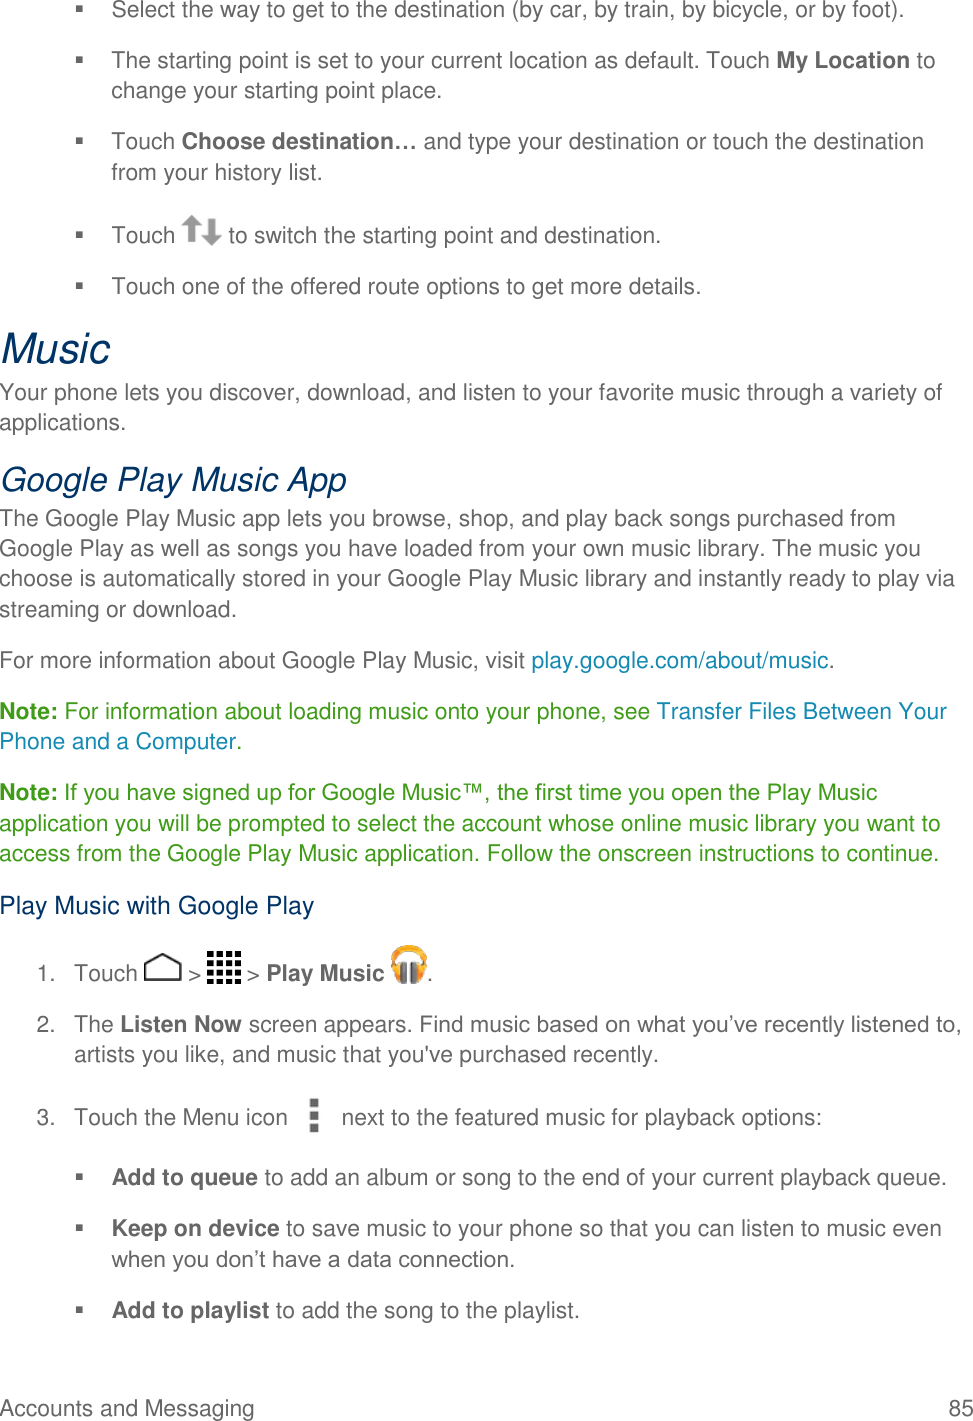
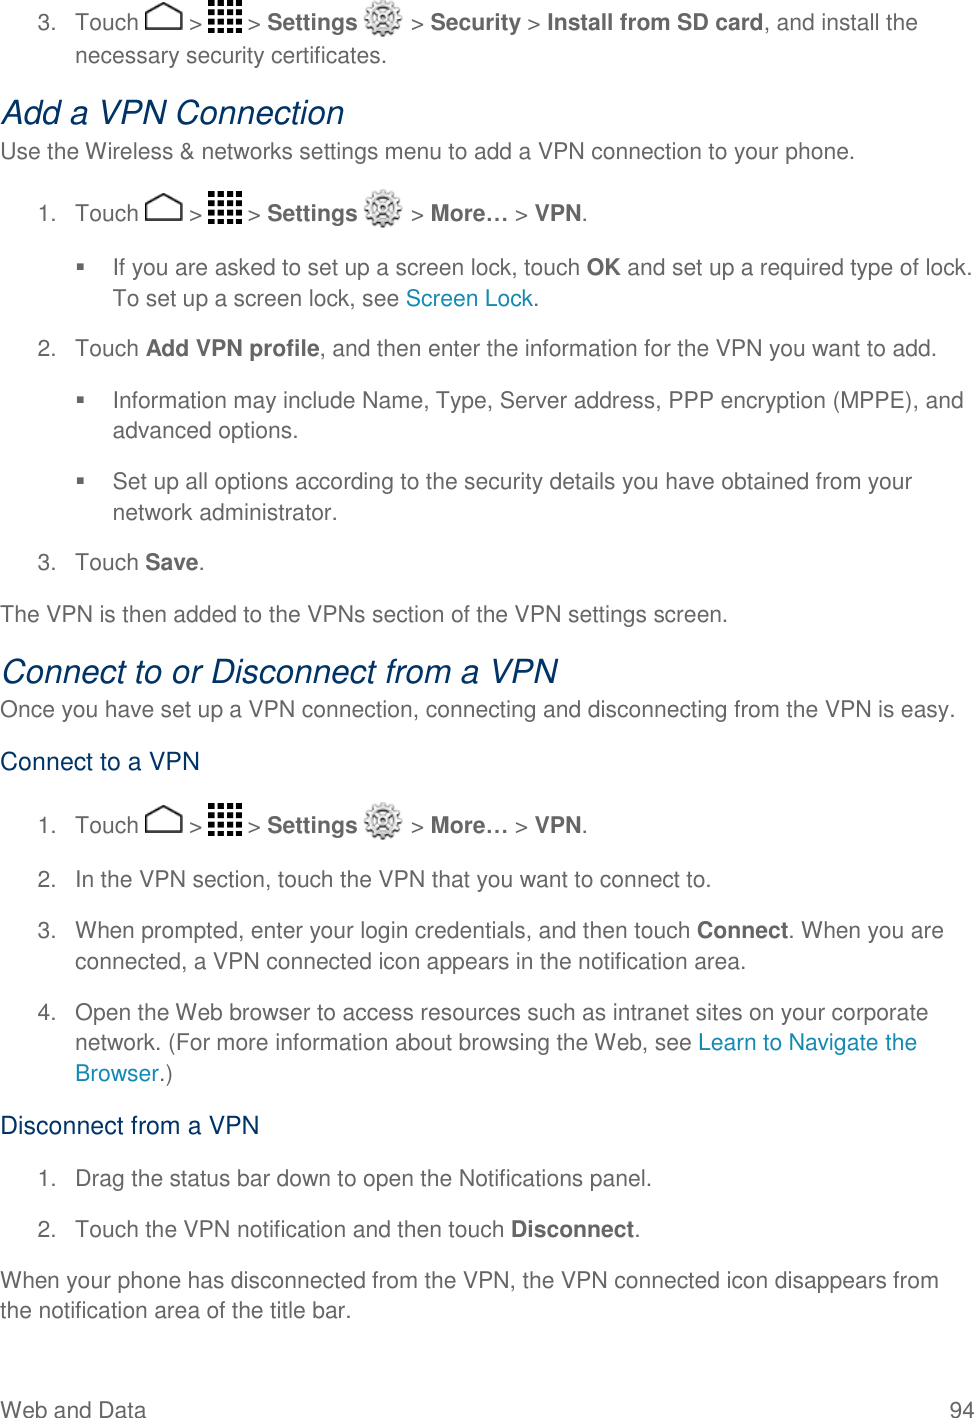
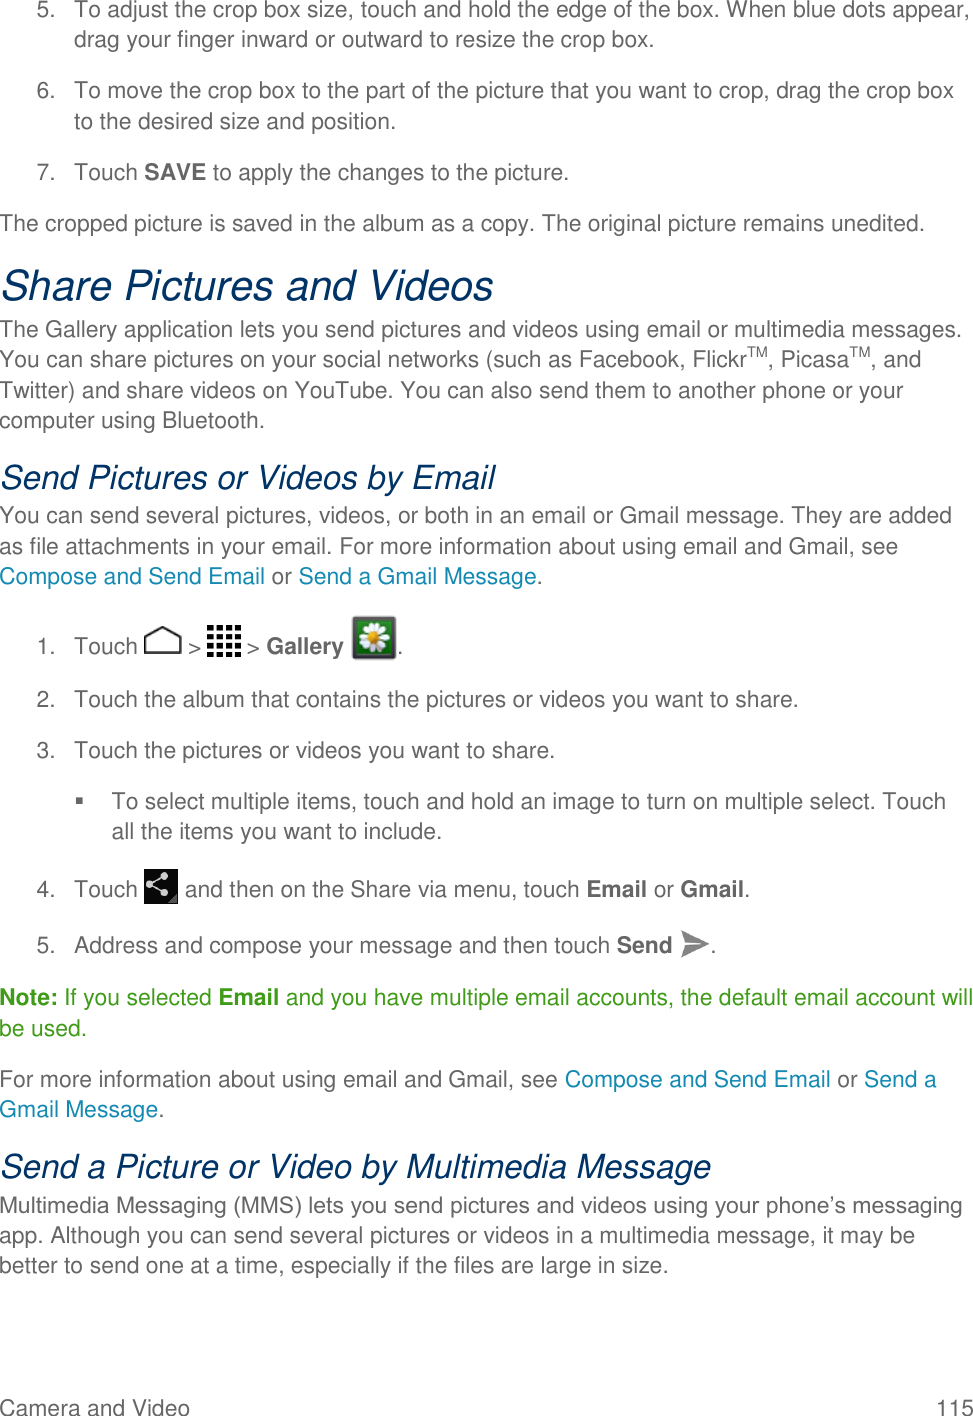
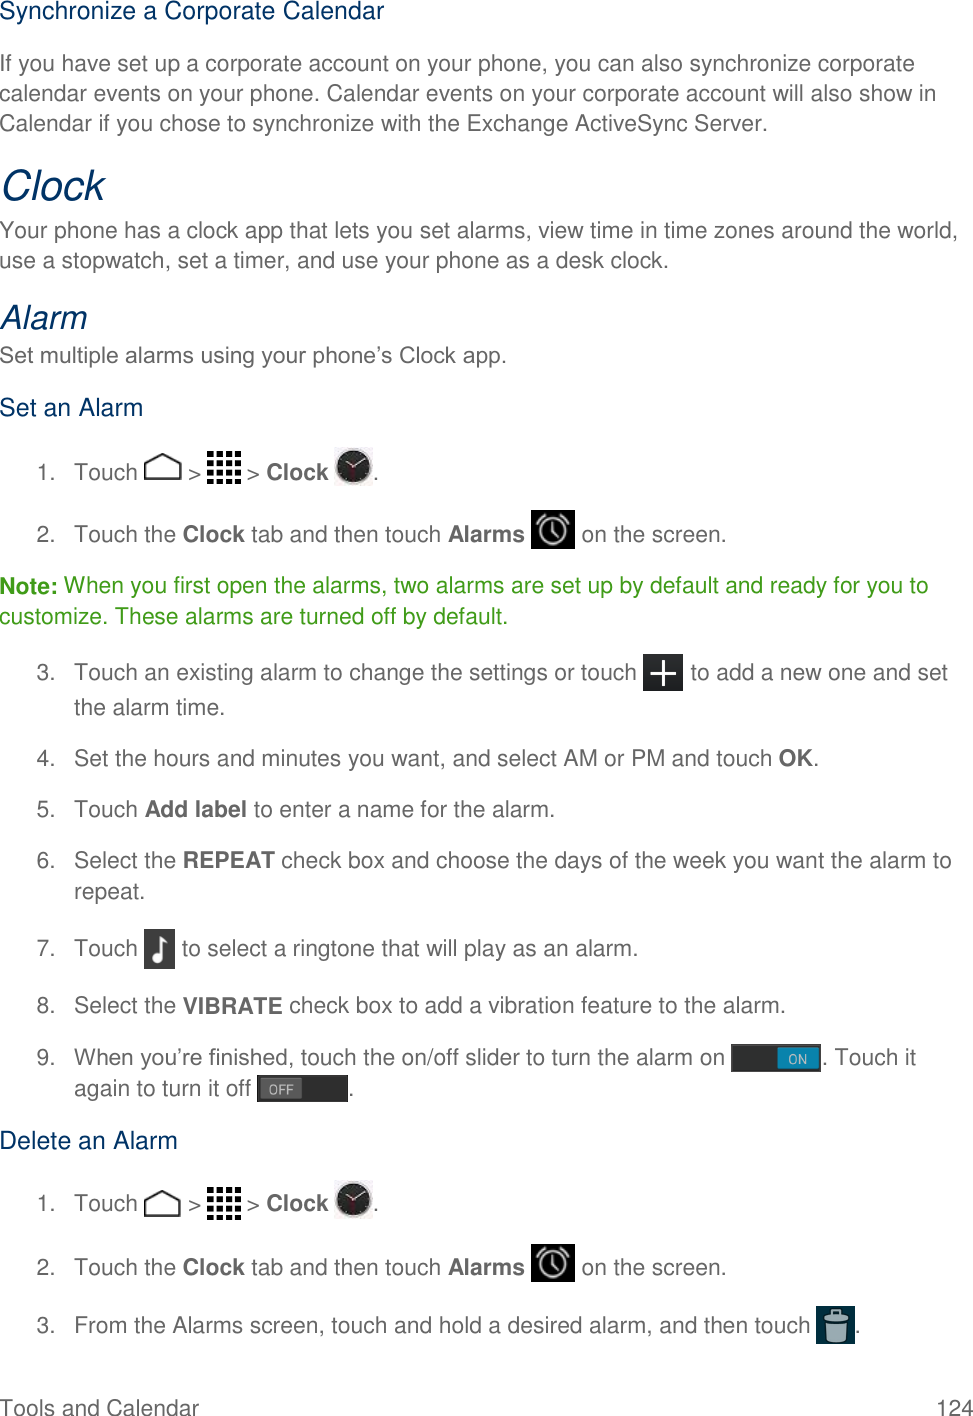
![Settings 164 • Smart editor: Select to underline the words that may be incorrect. • Show Voice key: Select to display the voice key on the Swype keyboard. • Enable handwriting: Select to enable the handwriting function. Themes: Touch to select the theme for the Swype keyboard. My Words: Touch to configure the dictionary management and the data management settings. Languages: Touch to select the language to use on Swype. Gestures: Touch to learn some useful shortcuts on the Swype keyboard. Help: Touch to see some helpful information, such as how to use the Swype keyboard and the version information, or enable the tip function. Updates: Touch to perform an update. Google Voice Typing Settings The Google voice typing settings menu lets you change the input languages and block offensive words. 1. Touch > > Settings > Language & input, and then check the Google voice typing check box. 2. Touch next to Google voice typing to configure its settings: Choose input languages to select languages for Google voice typing. Removing the check mark from the Automatic field allows you to select other languages. Block offensive words to replace recognized offensive words in transcriptions with [*] when entering text by speaking. Offline speech recognition to download the languages you want to use offline. Voice Search You can configure the settings of the voice search feature. 1. Touch > > Settings > Language & input > Voice Search. 3. Choose from the following options: Language to set the language used when entering text by speaking. Speech output to select when to use voice search.](https://usermanual.wiki/Kyocera/C6730/User-Guide-2238673-Page-175.png)
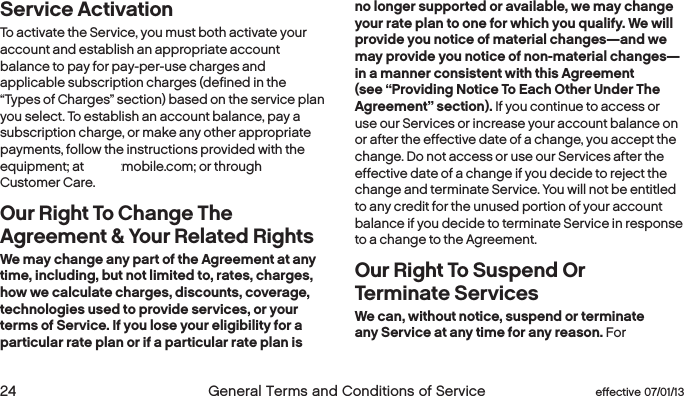
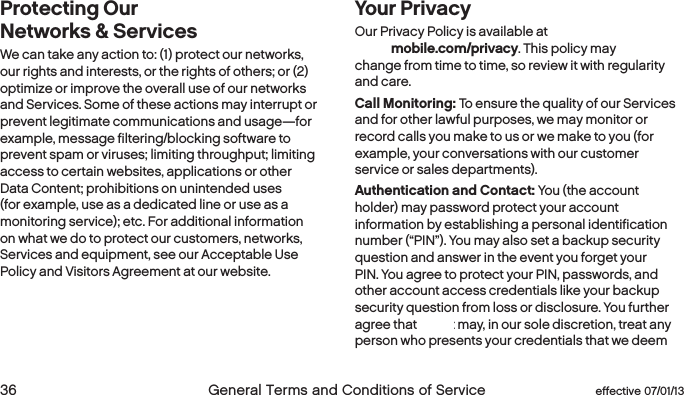
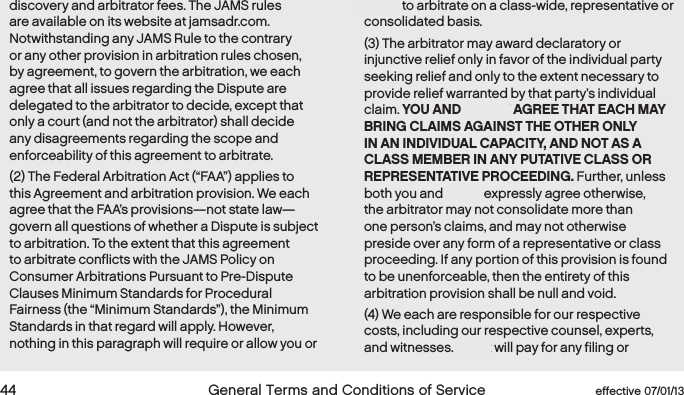
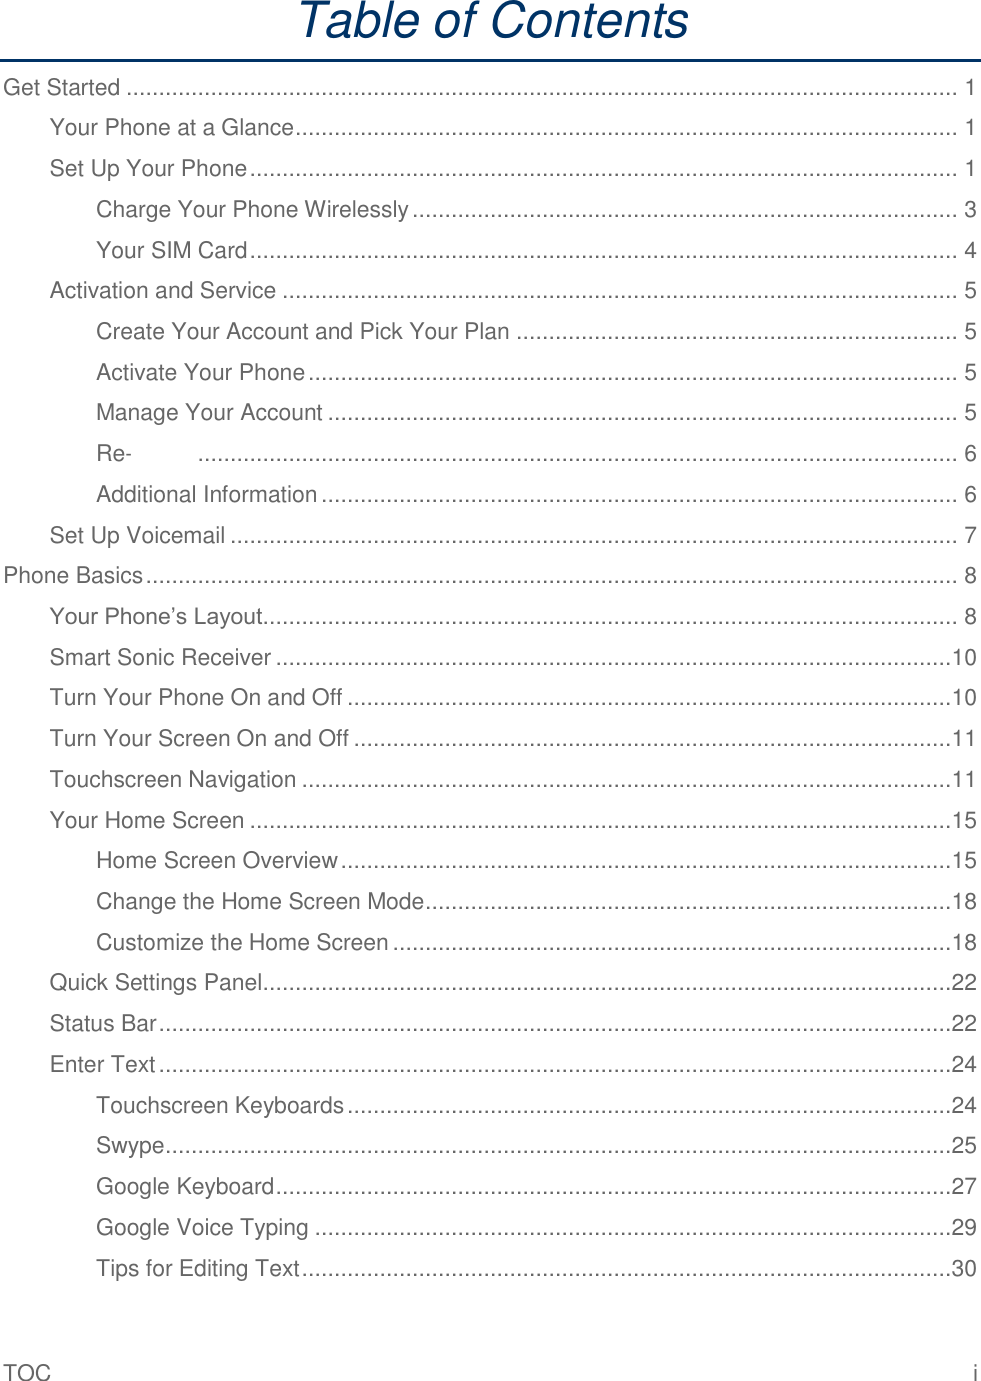
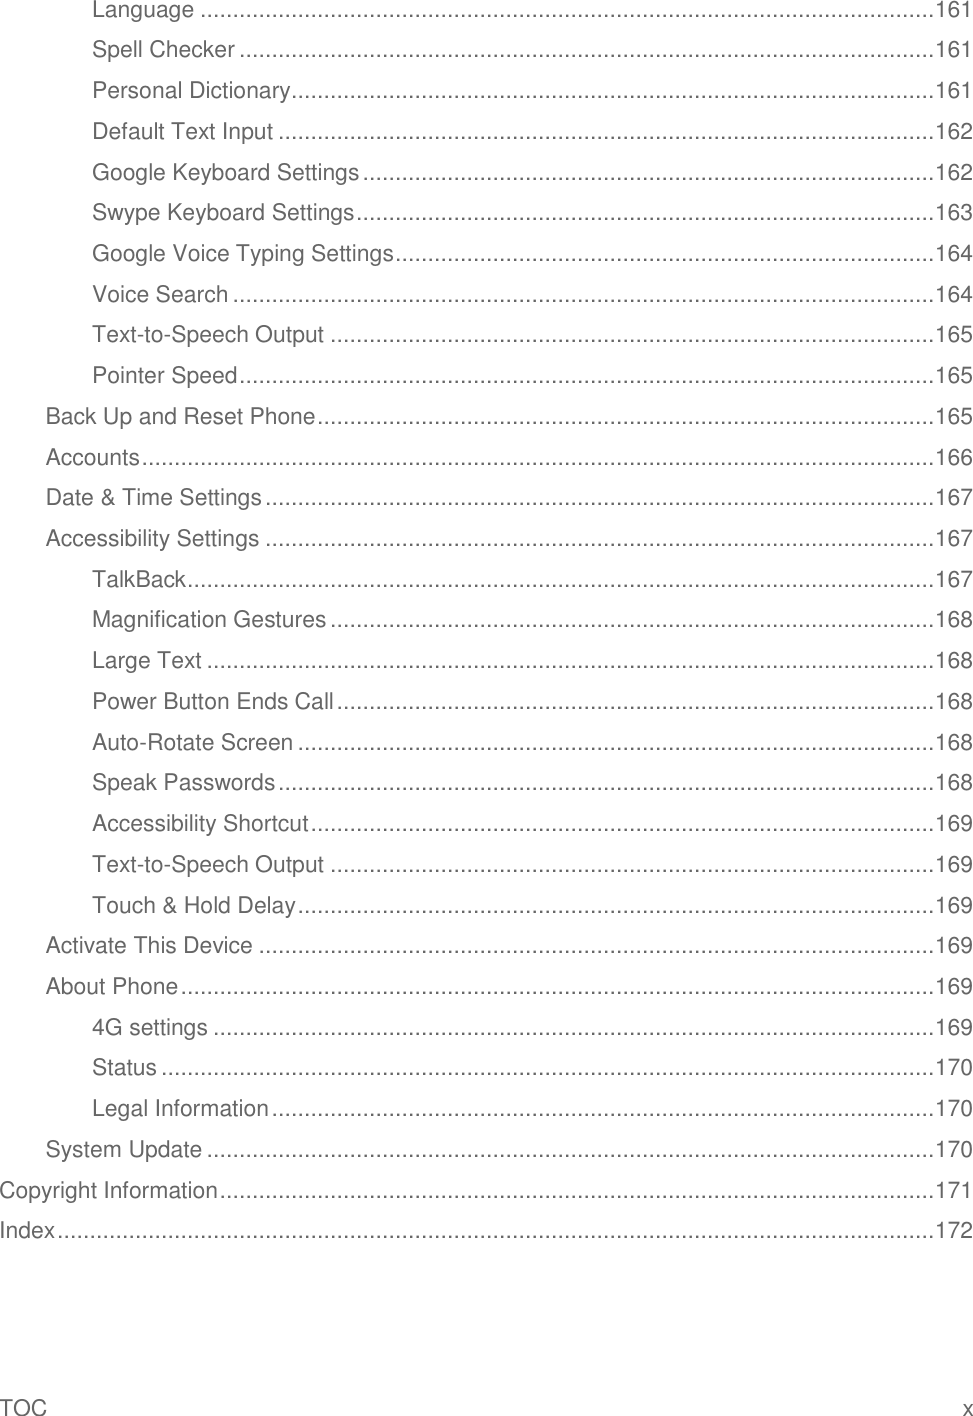
![Settings 165 Block offensive words to replace recognized offensive words in transcriptions with [*] when entering text by speaking. Hotword detection to launch voice search by saying "Google." Offline speech recognition to download the speech recognition data for offline use. Bluetooth headset to record audio through Bluetooth headset if available. Text-to-Speech Output Your phone can convert text into audible speech in some reading apps such as TalkBack (see TalkBack). You may select the language you hear or adjust its speed. 1. Touch > > Settings > Language & input >Text-to-speech output. 4. Select your engine. Touch to configure the settings of the selected engine. 5. Touch Speech rate and select a speed. 6. Touch Listen to an example to play a short demonstration of the set speech synthesis. Pointer Speed You can increase the speed of your mouse pointer movement according to your needs. 1. Touch > > Settings > Language & input > Pointer speed. 2. Use the slider to set the speed and touch OK. Back Up and Reset Phone Your phone’s Backup & reset menu lets you back up your phone’s data and settings to Google servers before resetting your phone to the original factory settings. The Factory data reset erases all data from the phone’s application storage, including: ● Your Google Account ● All other email and social networking accounts ● System and application data and settings ● Downloaded applications Backup and Restore To set your backup and restore options: 1. Touch > > Settings > Backup & reset.](https://usermanual.wiki/Kyocera/C6730/User-Guide-2238673-Page-176.png)