Kyocera E4100 Dual-Band CDMA Phone User Manual Manual
Kyocera Corporation Dual-Band CDMA Phone Manual
UserManual.wiki
>
Kyocera
>
E4100 User Manual
Manual
Navigation menu
Upload a User Manual
Namespaces
Wiki Guide
HTML
PDF
Info
Views
User Manual
Discussion / Help
Navigation

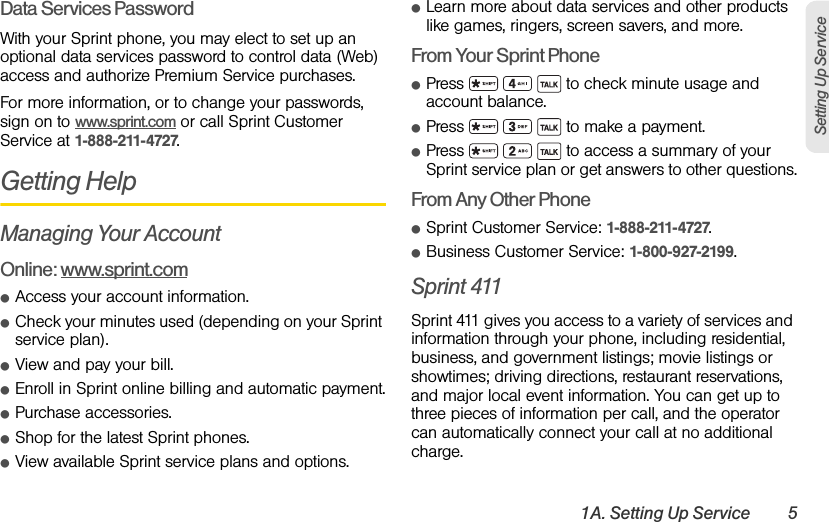

![26 2A. Phone BasicsEntering TextSelecting a Text Input ModeYour phone provides convenient ways to enter letters, numbers, and symbols whenever you are prompted to enter text.1. From a screen where you can enter text, press OPTIONS (right softkey) to change the text mode. (If you are in the message entry screen, press OPTIONS [right softkey] > Text Mode.)2. Select one of the following options:ⅢAbc to enter characters by using the alphabet mode. (See page 27.)ⅢT9Word to enter text using a predictive text system that reduces the number of keypresses required while entering a word.Ⅲ123 to enter numeric characters.ⅢSymbols to enter symbols.ⅢSmileys to enter smile icons.ⅢEmoticons to enter “emoticons.” (This is available, for example, when composing a message or when editing a Schedule or To Do description in Calendar.) ⅢPaste List to paste copied or cut text (if applicable). ⅢWeb Shortcuts to enter Web shortcuts (for example, www., http://, or .com). ⅢText Options to display the text entry options menu (if applicable). (See page 28.) T9 Text InputT9 Text Input lets you enter text by pressing keys just once per letter. (To select the T9 Word mode when entering text, see “Selecting a Text Input Mode” on page 26.)T9 Text Input uses an intuitive word database to analyze the letters you enter and create a suitable word. (The word may change as you type.)](https://usermanual.wiki/Kyocera/E4100/User-Guide-1372041-Page-36.png)
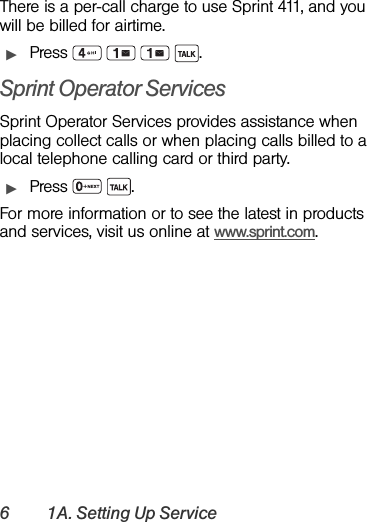
![38 2B. SettingsAdding a Customized SignatureAdd a customized signature to each message you send.1. Press > Messaging > OPTIONS (right softkey) > Signature. 2. Select On. (If you do not wish to attach a signature to your outgoing messages, select Off.) 3. Enter a signature and press .Managing Preset MessagesYour phone is loaded with 20 preset messages to help make sending messages easier. Customize or delete these messages, such as “Where are you?,” “Let’s get lunch,” and “Meet me at” to suit your needs, or add your own messages to the list.To edit or delete a preset message:1. Press > Messaging > OPTIONS (right softkey) > Preset Messages. The list of preset messages will be displayed.2. To edit or delete a message, highlight it and press OPTIONS (right softkey). 3. Select Edit, edit the message, and press .– or –Select Delete > YES (left softkey) to delete the message. (You can also reset all messages by selecting Reset all messages > YES [left softkey].)To change the language of the preset message:1. Press > Messaging > OPTIONS (right softkey) > Preset Messages.2. Press OPTIONS (right softkey) > Select Language.3. Select English or Spanish.](https://usermanual.wiki/Kyocera/E4100/User-Guide-1372041-Page-48.png)


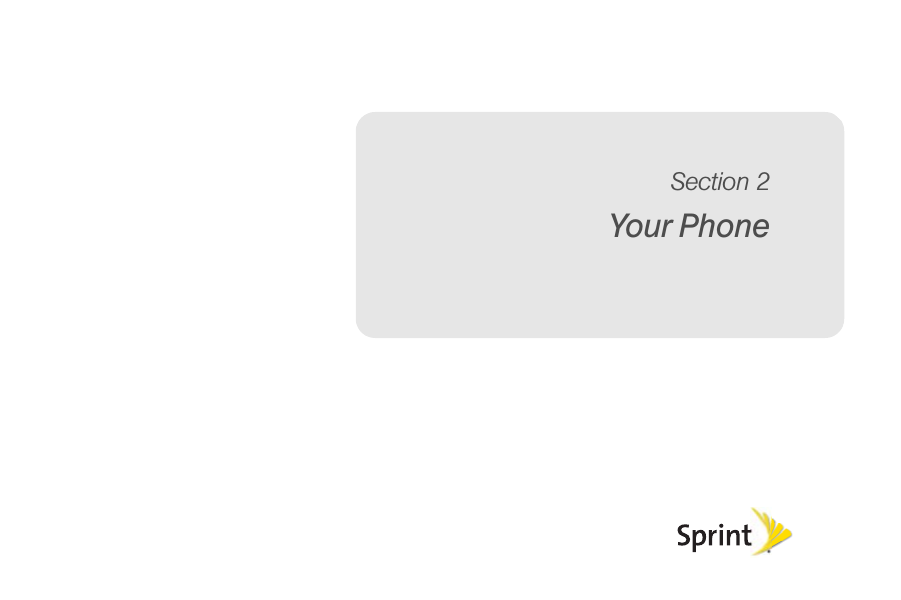
![3B. Web and Data Services 111Web and DataNavigating the WebNavigating through menus and websites during a data session is easy once you’ve learned a few basics. Here are some tips for getting around.SoftkeysDuring a data session, the bottom line of your phone’s display screen contains one or more softkeys. These keys are shortcut controls for navigating around the Web, and they correspond to the softkeys directly below the phone’s display screen.To use softkeys:ᮣPress a softkey. (If an additional pop-up menu is displayed when you press the softkey, select the menu items using your keyboard [if they’re numbered], or by highlighting the option and pressing .)ScrollingAs with other parts of your phone’s menu, you’ll have to scroll up and down to see everything on some websites.To scroll line by line through websites:ᮣPress the navigation key up or down.SelectingOnce you’ve learned how to use softkeys and scroll, you can start navigating the Web.To select onscreen items:ᮣUse the navigation key to highlight an item, and then press the left softkey (or press ).Links, which are displayed as underlined text, allow you to jump to Web pages, select special functions, or even place phone calls. Tip: Depending on which websites you visit, the labels on the softkeys may change to indicate their function.Tip: You’ll find that the left softkey is used primarily for selecting items. This softkey is often labeled “GO.”If the items on a page are numbered, you can use your keyboard (number keys) to select an item.](https://usermanual.wiki/Kyocera/E4100/User-Guide-1372041-Page-121.png)
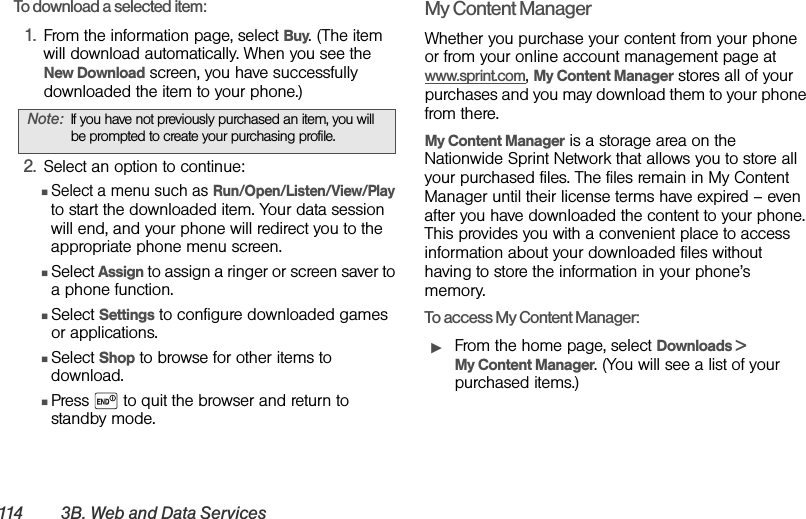
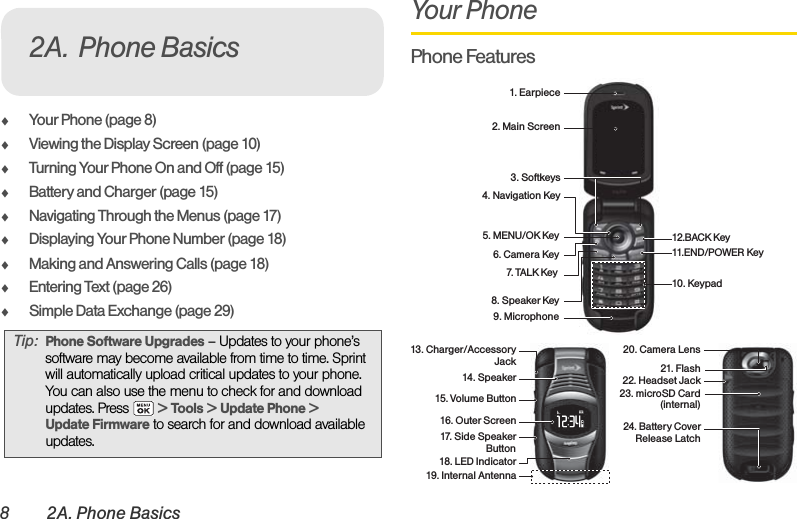
![3B. Web and Data Services 115Web and DataTo download purchased content from My Content Manager:1. From the My Content Manager display, highlight the item you wish to download, and press . (You will see the information page for the selected item.)2. Highlight Download and press . (The item will download automatically. When you see the New Download screen, you have successfully downloaded the item to your phone.)3. Select an option to continue:ⅢSelect a menu such as Run/Open/Listen/View/Play to start the downloaded item. Your data session will end, and your phone will redirect you to the appropriate phone menu screen.ⅢSelect Assign to assign a ringer or screen saver to a phone function.ⅢSelect Settings to configure downloaded games or applications.ⅢSelect Shop to browse for other items to download.ⅢPress to quit the browser and return to standby mode. For complete information and instructions on downloading Games, Ringers, Screen Savers, and Applications, visit the Digital Lounge at www.sprint.com.ApplicationsYou can access a wide variety of applications in many different categories with your phone and data service. Your phone comes preloaded with links to the following applications:ⅷNASCAR Sprint Cup MobileⅷScanLifeⅷSocial ZoneⅷSprint Football LiveⅷWHERETip: You can also access My Content Manager through the phone’s main menu. Go to My Stuff > [Games, Ringers, Screen Savers, or Applications] > My Content Manager. The browser will open and take you to the corresponding content.](https://usermanual.wiki/Kyocera/E4100/User-Guide-1372041-Page-125.png)