Kyocera KWC-KE423 PCS-CDMA Cellular Phone User Manual XHIBIT05 OVFKWC KE423 User Gu
Kyocera Communications, Inc PCS-CDMA Cellular Phone XHIBIT05 OVFKWC KE423 User Gu
UserManual.wiki
>
Kyocera
>
KWC KE423 User Manual
User Manual
Navigation menu
Upload a User Manual
Namespaces
Wiki Guide
HTML
PDF
Info
Views
User Manual
Discussion / Help
Navigation
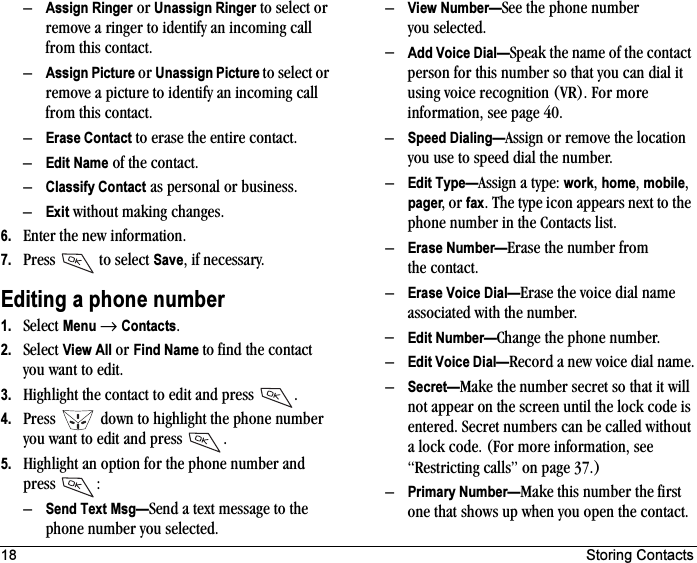
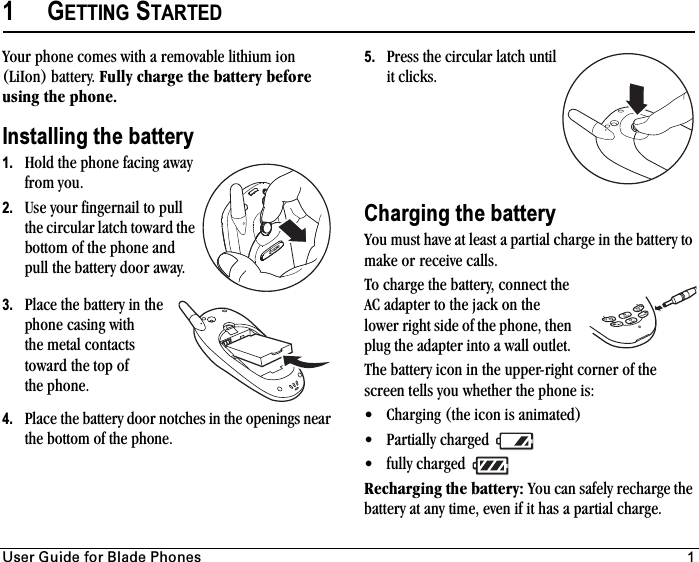
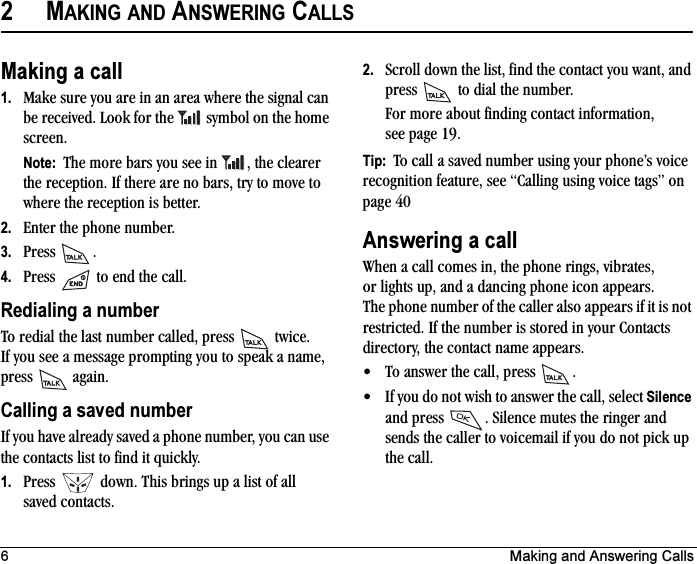
![User Guide for Blade Phones iiiFCC/IC NoticeThis device complies with part 15 of the FCC rules. Operation is subject to the following two conditions: (1) This device may not cause harmful interference, and (2) this device must accept any interference received, including interference that may cause undesired operation.To maintain compliance with FCC RF exposure guidelines, if you wear a handset on your body, use the Kyocera Wireless Corp. (KWC) supplied and approved case CA90-G2603-01 and universal belt clip 55-B1795-01.Other accessories used with this device for body-worn operations must not contain any metallic components and must provide at least 22.5 mm separation distance including the antenna and the user’s body.THIS MODEL PHONE MEETS THE GOVERNMENT’S REQUIREMENTS FOR EXPOSURE TO RADIO WAVES.Your wireless phone is a radio transmitter and receiver. It is designed and manufactured not to exceed the emission limits for exposure to radio frequency (RF) energy set by the Federal Communications Commission of the U.S. Government. These limits are part of comprehensive guidelines and establish permitted levels of RF energy for the general population. The guidelines are based on standards that were developed by independent scientific organizations through periodic and thorough evaluation of scientific studies. The standards include a substantial safety margin designed to assure the safety of all persons, regardless of age and health.The exposure standard for wireless mobile phones employs a unit of measurement known as the Specific Absorption Rate, or SAR. The SAR limit set by the FCC is 1.6 W/kg.* Tests for SAR are conducted using standard operating positions specified by the FCC with the phone transmitting at its highest certified power level in all tested frequency bands.Although the SAR is determined at the highest certified power level, the actual SAR level of the phone while operating can be well below the maximum value. This is because the phone is designed to operate at multiple power levels so as to use only the power required to reach the network. In general, the closer you are to a wireless base station antenna, the lower the power output.Before a phone model is available for sale to the public, it must be tested and certified to the FCC that it does not exceed the limit established by the government-adopted requirement for safe exposure. The tests are performed in positions and locations (e.g., at the ear and worn on the body) as required by the FCC for each model. (Body-worn measurements differ among phone models, depending upon availability of accessories and FCC requirements. The body-worn SAR values provided above were obtained by using Kyocera Wireless Corp. [KWC] supplied and approved case CA90-G2603-01 and universal belt clip 55-B1795-01).While there may be differences between the SAR levels of various phones and at various positions, they all meet the government requirement for safe exposure.The FCC has granted an Equipment Authorization for this model phone with all reported SAR levels evaluated as in compliance with the FCC RF emission guidelines. SAR information on this model phone is on file with the FCC and can be found under the Display Grant sectionhttp://www.fcc.gov/oet/fccid after searching on the FCC ID:](https://usermanual.wiki/Kyocera/KWC-KE423/User-Guide-515604-Page-3.png)
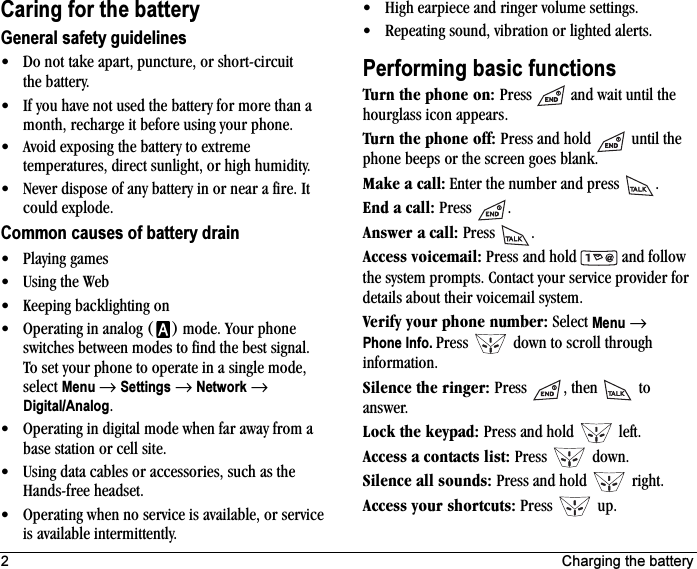
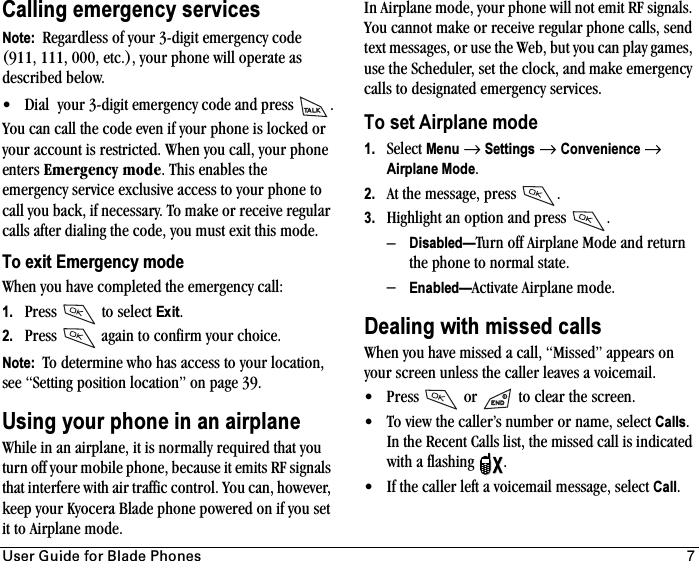
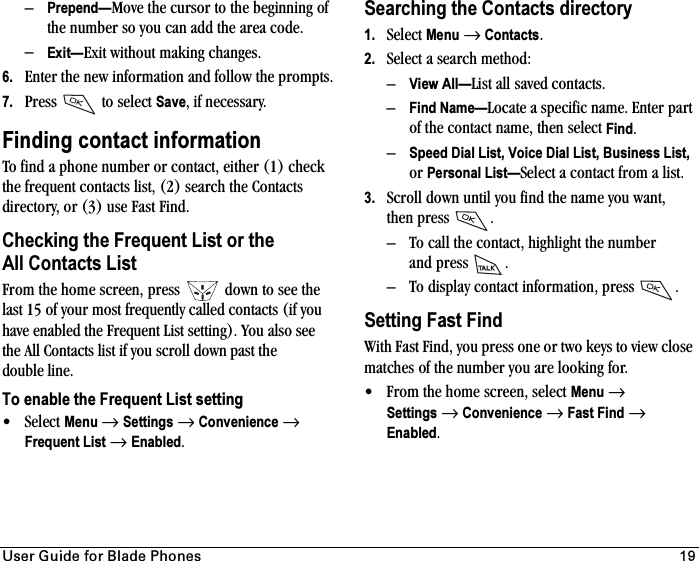
![rëÉê=dìáÇÉ=Ñçê=_ä~ÇÉ=mÜçåÉë 93. Press right and press to select Yes.Speed dialingSpeed dialing allows you to quickly dial a stored phone number by entering a one- or two-digit speed dialing location. You can speed dial a number once you have saved it as a contact and assigned a speed dial number to it. (See “Saving a contact entry” on page 16 and “Editing or erasing a contact” on page 17.)Using speed dialing From the home screen, enter the one- or two-digit speed dialing location assigned to the contact and press .Setting up 1-Touch Dialing1-Touch Dialing is a form of speed dialing that allows you to press and hold a speed dial location to make a call. It is the fastest way to speed dial. 1. Select Menu →Settings →Convenience →1-Touch Dialing →Enabled.2. Press .Using 1-Touch DialingTo dial a phone number, press and hold the assigned speed dialing location for the phone number. If it is a two-digit location, press the first digit, then press and hold the second. For example, if the speed dialing location is 15, press , then press and hold .Setting up voicemailBefore your phone can receive voicemail messages, you must set up a password and record a personal greeting with your service provider. When you have set up your voicemail, all unanswered calls to your phone are automatically transferred to voicemail, even if your phone is in use or turned off.1. From the home screen, press and hold .2. Enter your passcode, which you obtain from your service provider.3. Follow the system prompts to create a password and record a greeting.Note: If you are having trouble accessing your voicemail, contact your service provider.Checking voicemail messagesWhen a voice message is received, your screen will display a message: “New Message [x] Voicemail.” This text will remain for about five minutes. After that,](https://usermanual.wiki/Kyocera/KWC-KE423/User-Guide-515604-Page-17.png)