Kyocera S1370 UMTS/GSM Bar Phone User Manual I 54 en 20150202 03x
Kyocera Corporation UMTS/GSM Bar Phone I 54 en 20150202 03x
UserManual.wiki
>
Kyocera
>
S1370 User Manual
User Manual
Navigation menu
Upload a User Manual
Namespaces
Wiki Guide
HTML
PDF
Info
Views
User Manual
Discussion / Help
Navigation


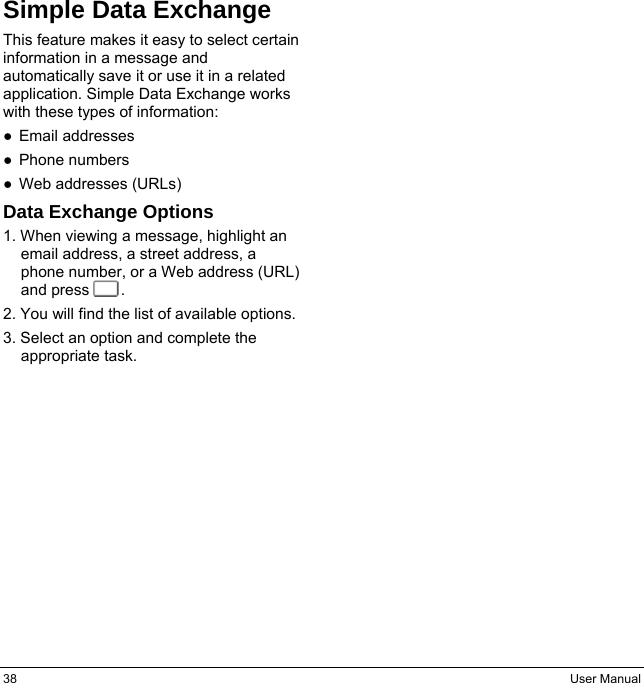

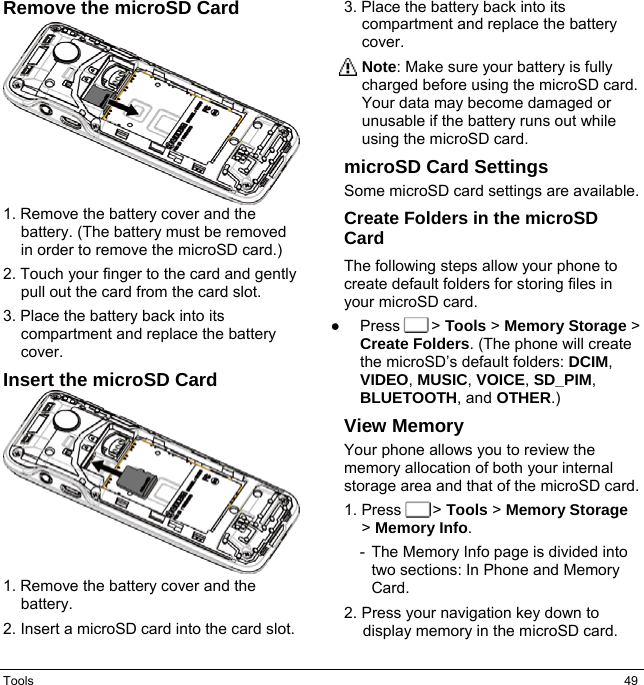
![Camera 43 - Copy/Move to copy or move pictures from a memory card folder to another memory card folder. - Details/Edit to edit or display details relating to your pictures. - Text Caption to edit the selected picture’s caption. - Special Effects to select from Fun Frames, Color Tone, Fun Stamps, or Rotate. - Resize to resize the selected picture. Select 0.1M (320x240). (Some options may not be available depending on the size of picture you have.) - Trimming to crop the selected picture. - Photo Info to display information such as the picture’s caption, time/date, and size. - Full Screen to display the selected picture in full screen view. Send Pictures Once you have taken a picture, you can use the messaging capabilities of your phone to instantly share it with family and friends as an attachment. 1. Press > My Photos > In Phone / On Memory Card. 2. Select your pictures to send. 3. Press OPTIONS (right softkey) > Select Multiple to select multiple pictures. 4. Press SEND (left softkey) and select the recipient from the list or from the following options: - Go to Contacts to select a recipient from your Contacts. (Qualifying Contacts entries must contain a wireless phone number or an email address.) - MULTIPLE (left softkey) to select multiple recipients. Press CONTINUE (left softkey) when you have finished selecting and entering recipients. (You may include up to 40 recipients per message.) - NEW ADDRESS (right softkey) to enter a recipient’s wireless phone number or email address directly. Press CONTINUE (left softkey) to proceed. 5. Compose a message. 6. Confirm the recipients, message, and pictures. (You may also select additional options by pressing OPTIONS [right softkey]. Follow the onscreen instructions to add available options.) 7. Press SEND (left softkey) to send the pictures.](https://usermanual.wiki/Kyocera/S1370/User-Guide-2541550-Page-43.png)