Kyocera SCP-3810 Dual Band CDMA Cellular Phone with Bluetooth User Manual Key Functions
Kyocera Corporation Dual Band CDMA Cellular Phone with Bluetooth Key Functions
UserManual.wiki
>
Kyocera
>
SCP-3810 User Manual
>
User Manual
Contents
1.
User Manual
2.
Users Manual
User Manual
Navigation menu
Upload a User Manual
Namespaces
Wiki Guide
HTML
PDF
Info
Views
User Manual
Discussion / Help
Navigation

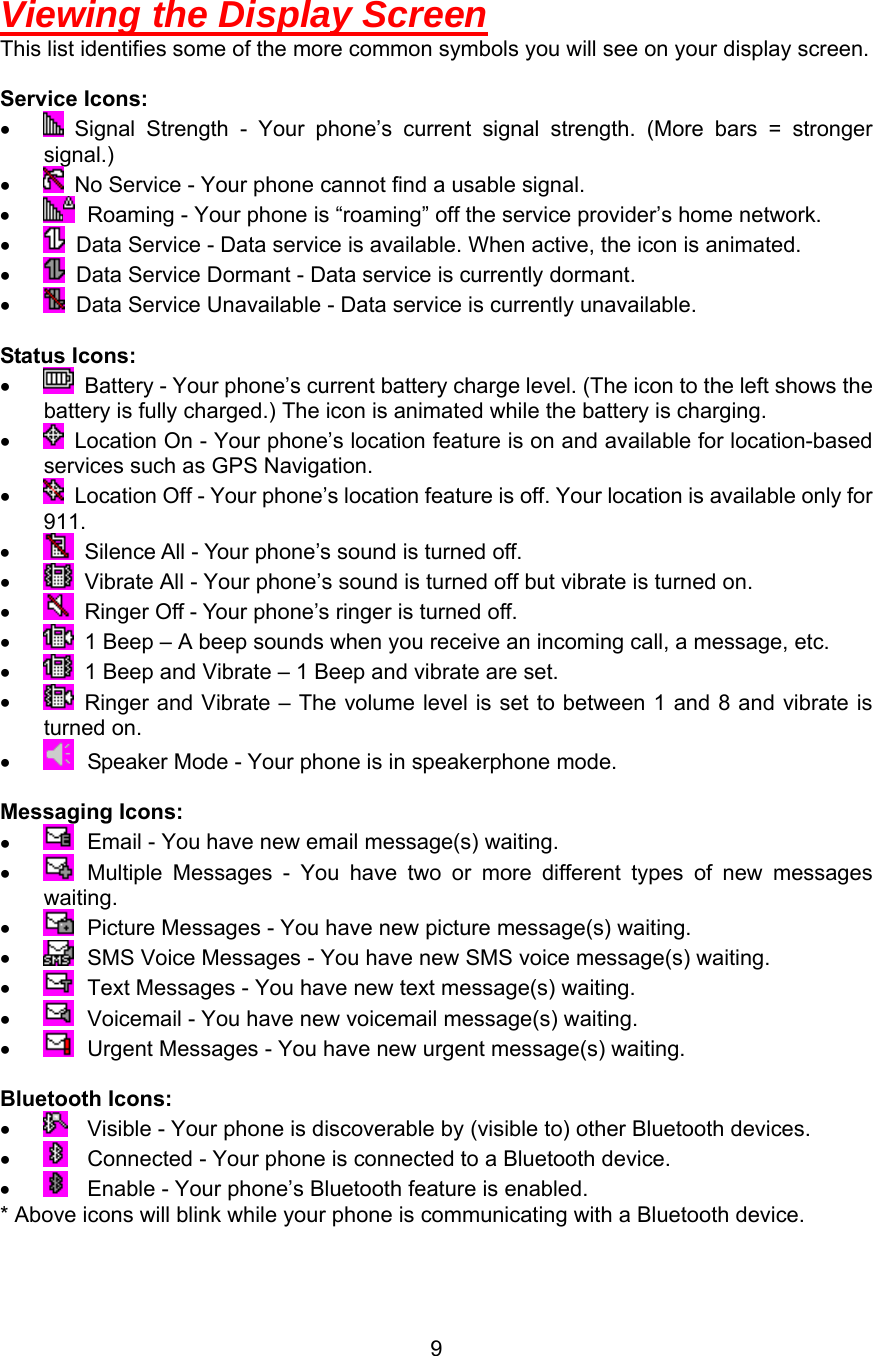
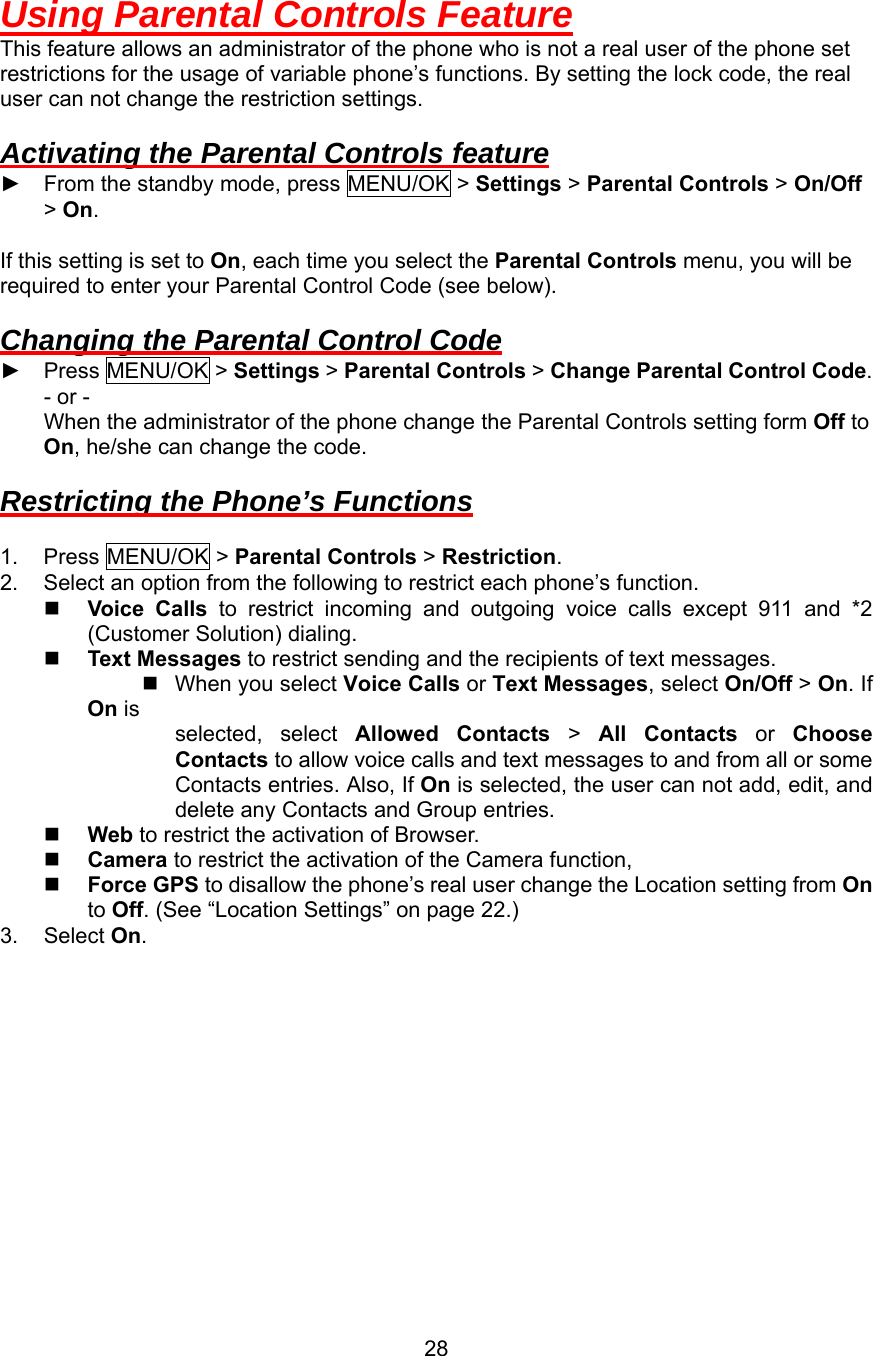
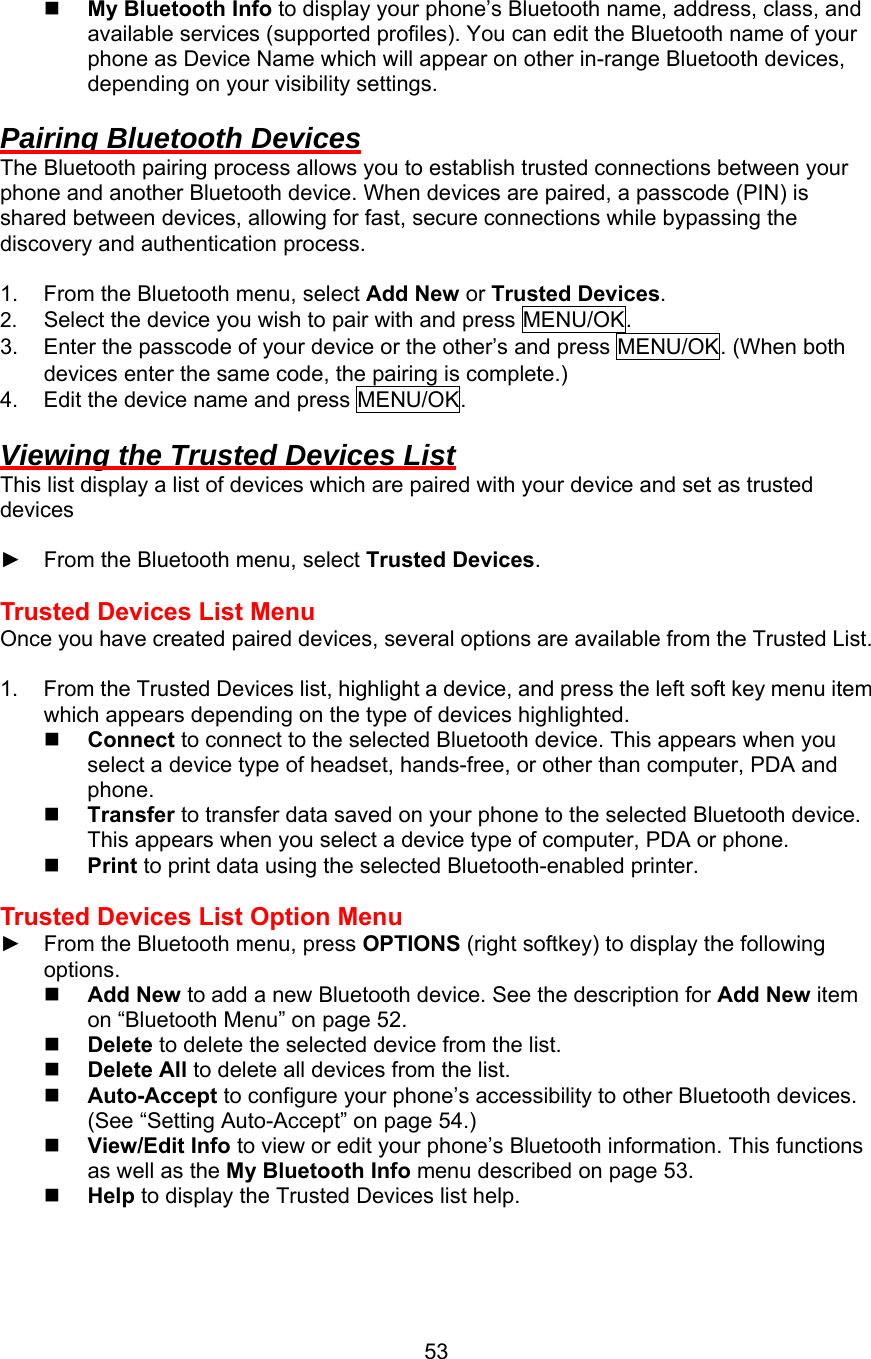
![Phone Basics Your Phone [Open Front]1. Earpieceoftkeys2. Main Screen[Close Front]13. S 14. LED Indicator15. Outer Screen3. MENU/OK Key 12. Headset Jack4. Camera Key 11. Navigation Key 5. TALK Key 10. BACK Key9. SPEAKER Key8. END/POWER Key7. Keypadicrophonepeake6. M[Close Back Side] [Close Left Side]16. Sr19. Micro-USB Connector17. Camera Lens 20. Volume Button18. Battery Release Latch 21. Side Camera Button22. Internal Anntena 6](https://usermanual.wiki/Kyocera/SCP-3810.User-Manual/User-Guide-1163557-Page-7.png)
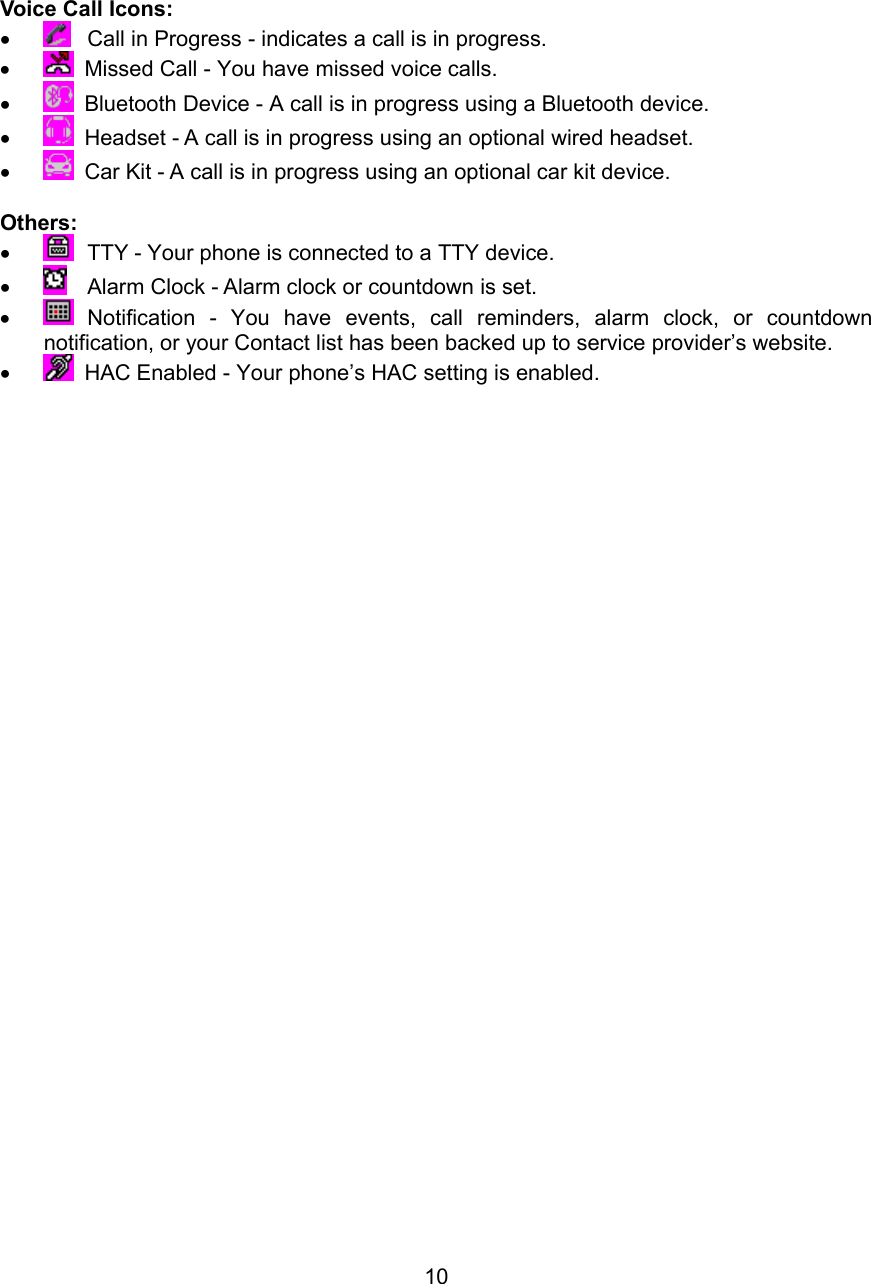

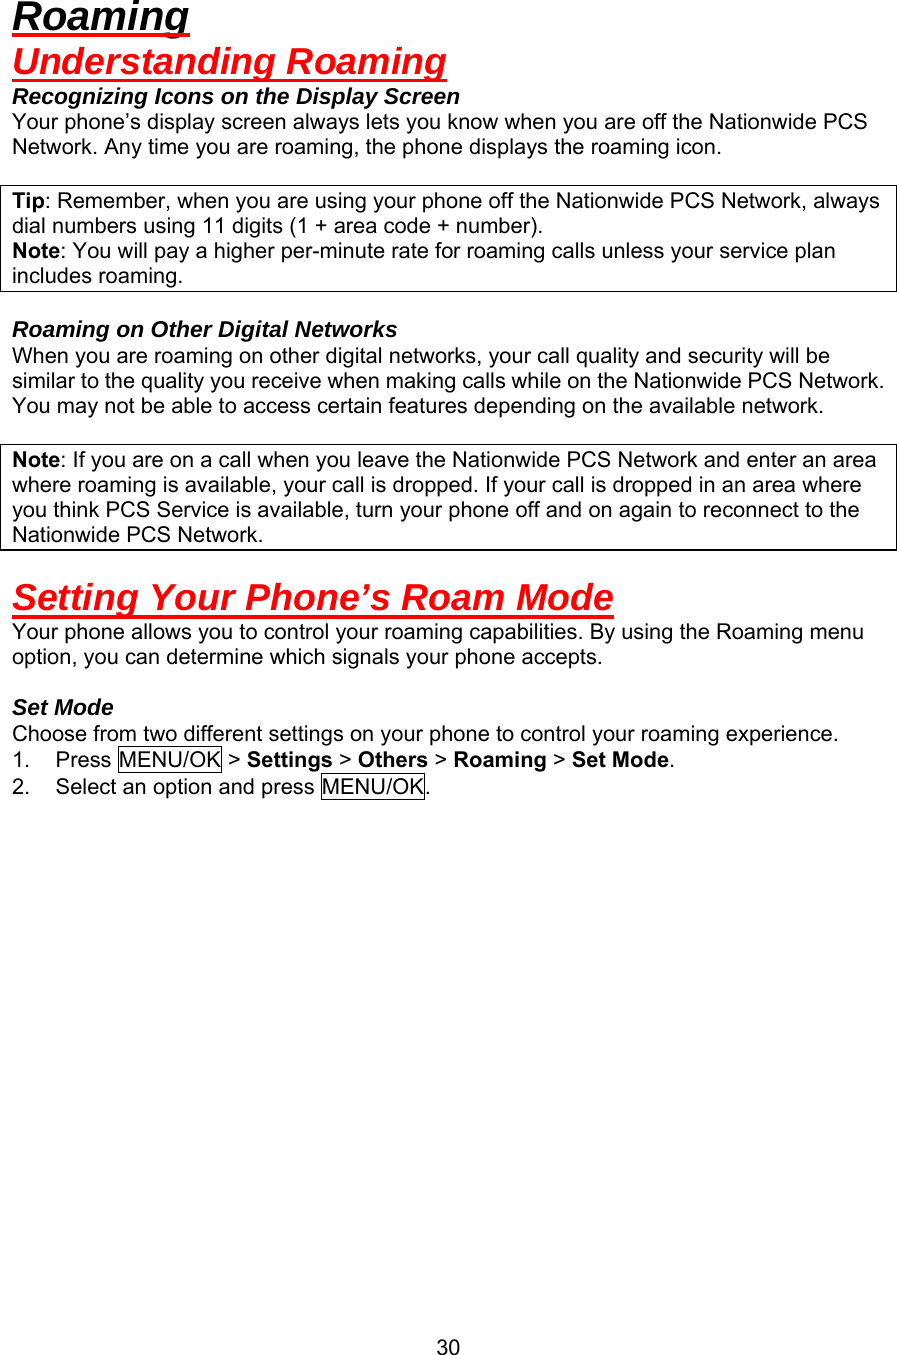
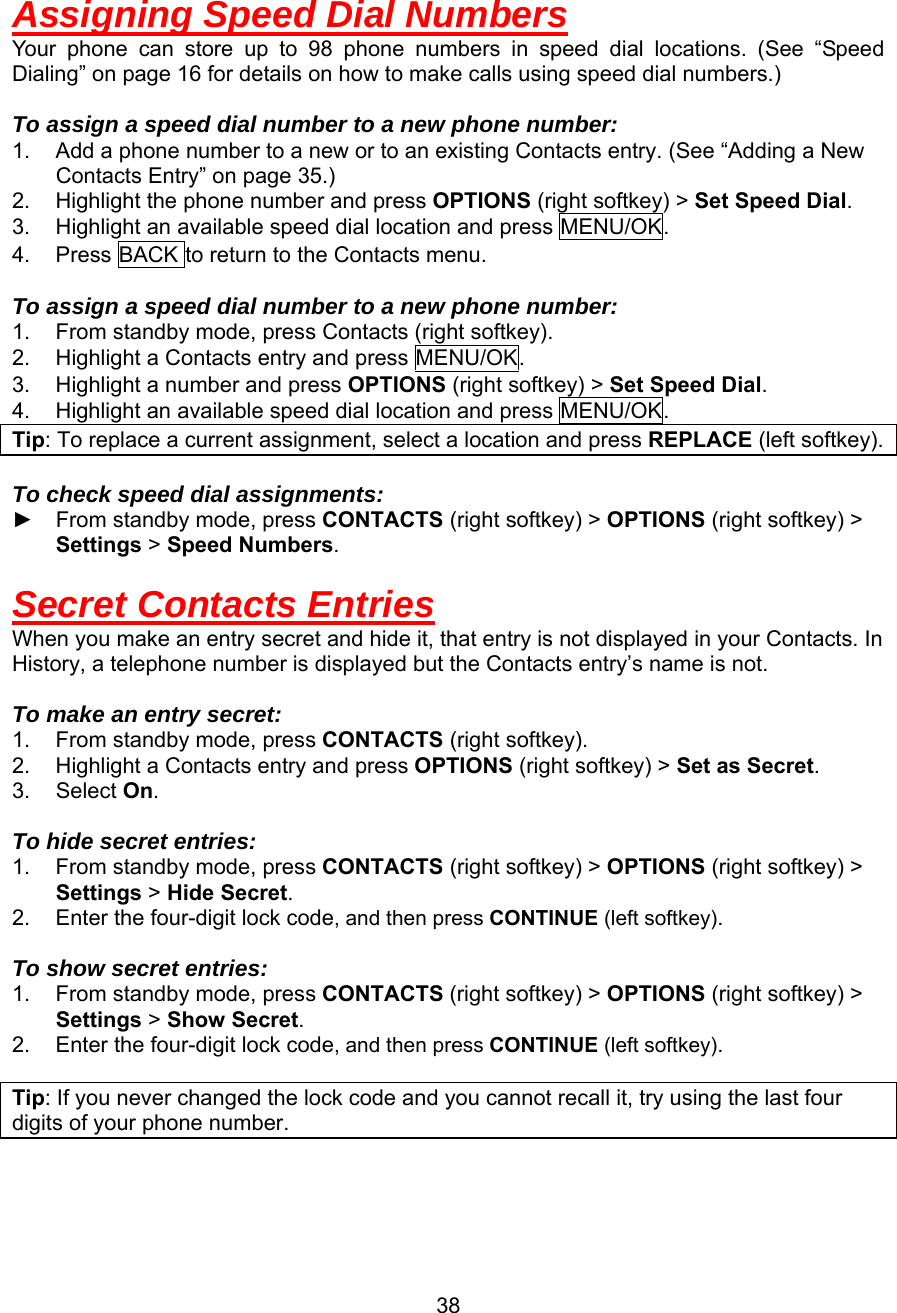
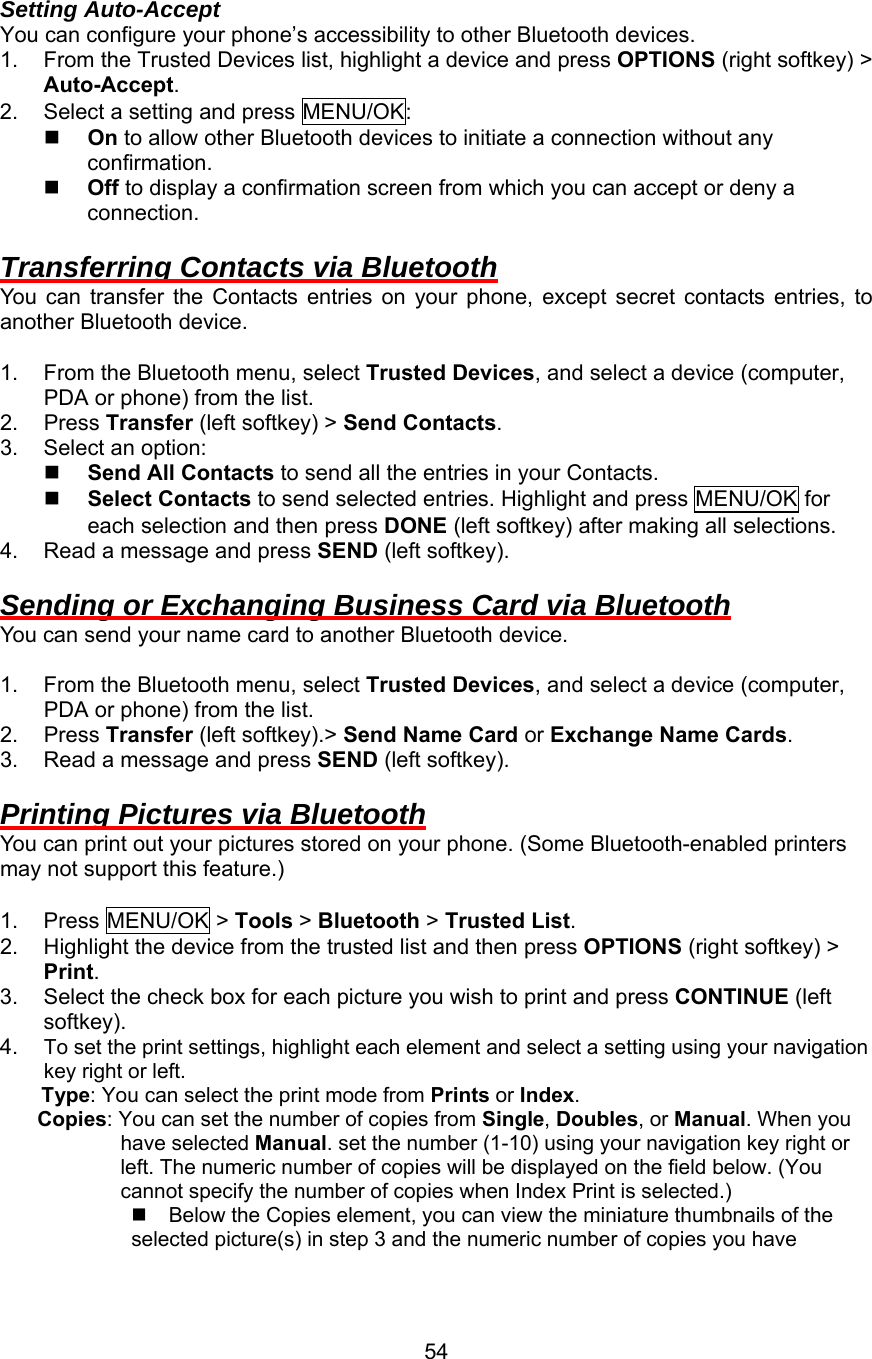
![Changing the Menu Language When you first turn your phone on, the menus are displayed in English. Spanish is also available for displaying menus. 1. Press MENU/OK > Settings > Others > Language. 2. Select English or Español, and then press MENU/OK]. Power Save Mode This feature helps conserve your battery power by setting: • Main Screen backlight to Dim Only. • Key backlight to Always Off. • Main Screen sleep mode to After 5 seconds. 1. Press MENU/OK > Settings > Display > Power Save Mode. 2. A message appears. Press OK (left softkey) to continue. 3. Select On or Off and press MENU/OK. Changing the Standby Mode Display Select from among a variety of items to be displayed in standby mode. 1. Press MENU/OK > Settings > Display > Clock/Calendar. 2. Highlight a display option and press MENU/OK twice. Changing the Text Greeting The text greeting is displayed on your phone’s screen in standby mode. Choose the phone’s default greeting, or enter your own custom greeting. 1. Press MENU/OK > Settings > Display > Greeting. 2. If you select Custom, enter a custom greeting and press MENU/OK. Location Settings Your phone is equipped with a Location feature for use in connection with location-based services. The Location feature allows the network to detect your position. To Turn the Location feature On or Off: 1. Press MENU/OK > Settings > Others > Location. 2. A message appears. Press OK (left softkey) to continue. 3. Select On or Off. Tip: When the Location feature is on, your phone’s standby screen will display the ico . nWhen Location is turned off, the ico will be displayed. n 22](https://usermanual.wiki/Kyocera/SCP-3810.User-Manual/User-Guide-1163557-Page-23.png)
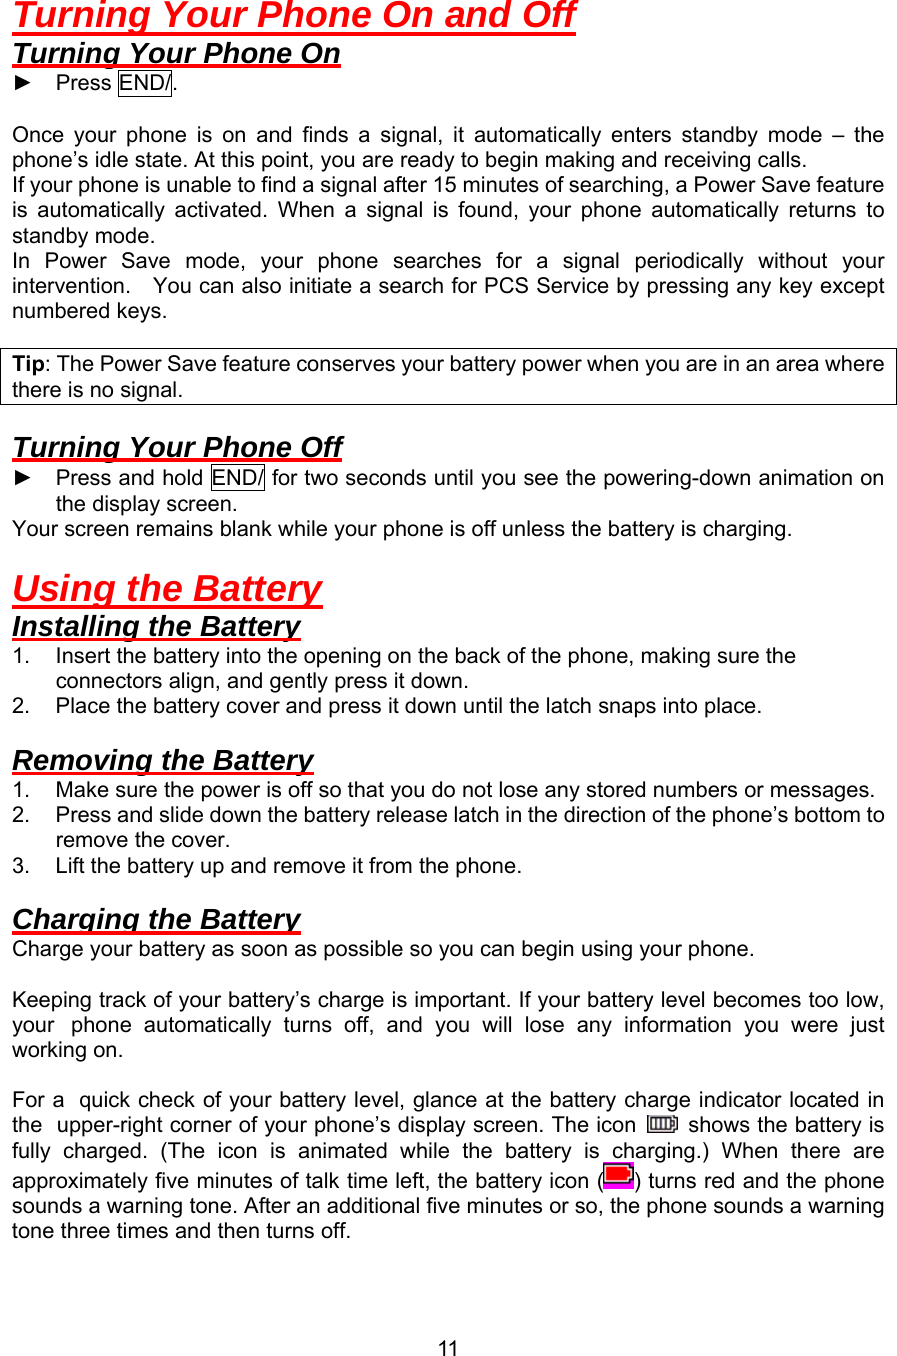
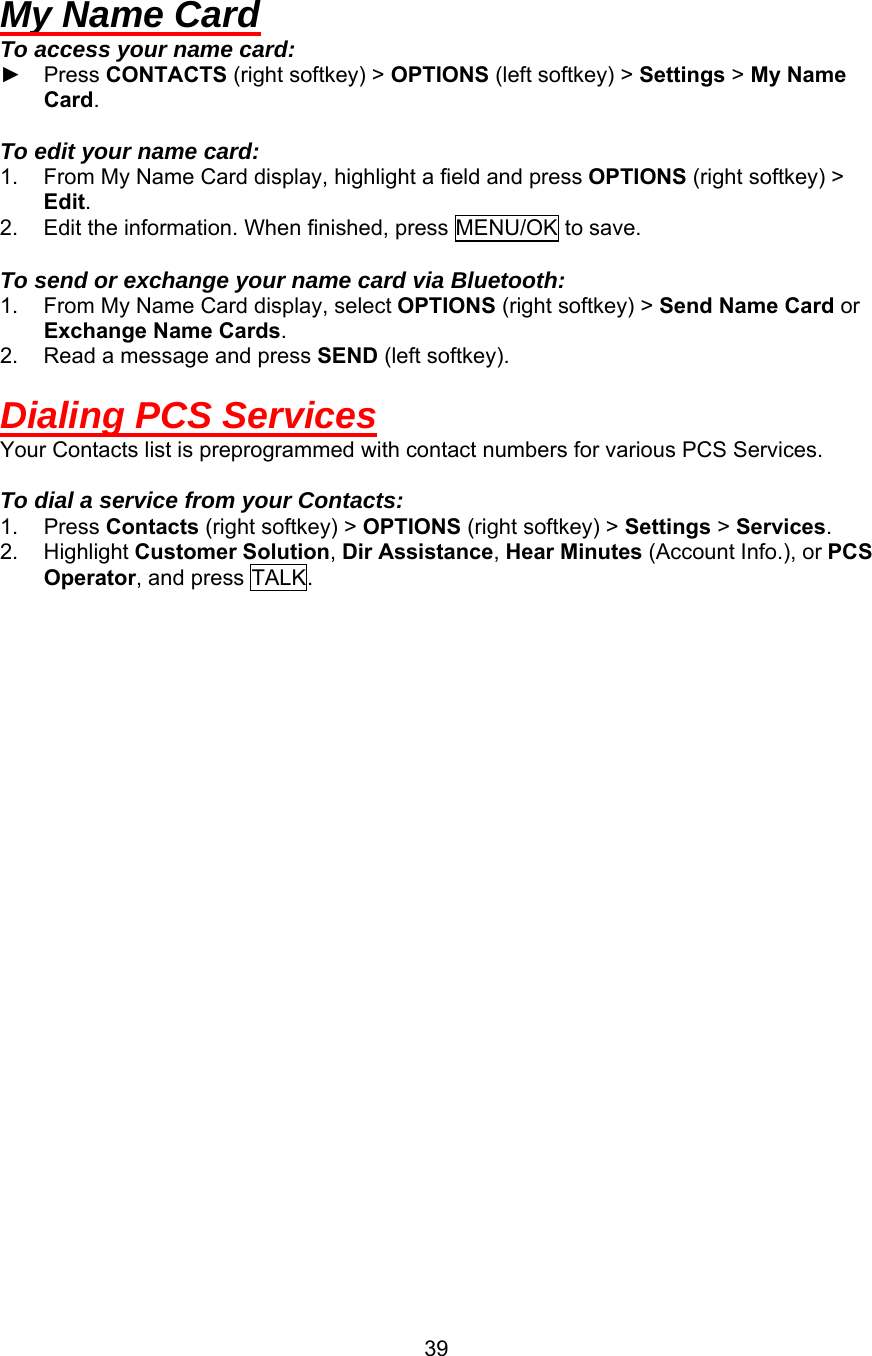
![Messaging Settings Setting Message Notification When you receive a message, your phone notifies you by displaying an icon on your display screen. You can also choose to be notified with a message notification on your display screen. 1. Press MENU/OK > Messages > Settings > Notification. 2. Select Msgs and Icon or Icon Only. Text Messaging Settings Setting a Callback Number You can notify your recipients of your callback number with a text message. 1. Press [MENU/OK > Messages > Settings > Callback Number. 2. Select My Phone Number, Other or None. If you select Other, enter a callback number and press MENU/OK. Setting a Signature Add a customized signature to each message you send. 1. Press MENU/OK > Messages > Settings. 2. Select On. (If you do not wish to attach a signature to your outgoing messages, select Off.) 3. Enter a signature and press MENU/OK. Managing Preset Messages Your phone is loaded with 20 preset messages to help make sending text messages easier. Customize or delete these messages, or add you own messages to the list. To edit or delete a preset message: 1. Press MENU/OK > Messages > Settings > Preset Messages. The list of preset messages will be displayed. 2. To edit or delete a message, highlight it and press OPTIONS (right softey). 3. Select Edit, edit the message, and press MENU/OK. - or - Select Delete > YES (left softkey) to delete the message. (You can also reset all messages by selecting Reset all messages > YES [left softkey].) To change the language of the preset messages: 1. Press MENU/OK > Messages > Settings > Preset Messages. 2. Press OPTIONS (right softkey) > Select Language. 3. Select English or Spanish. 23](https://usermanual.wiki/Kyocera/SCP-3810.User-Manual/User-Guide-1163557-Page-24.png)

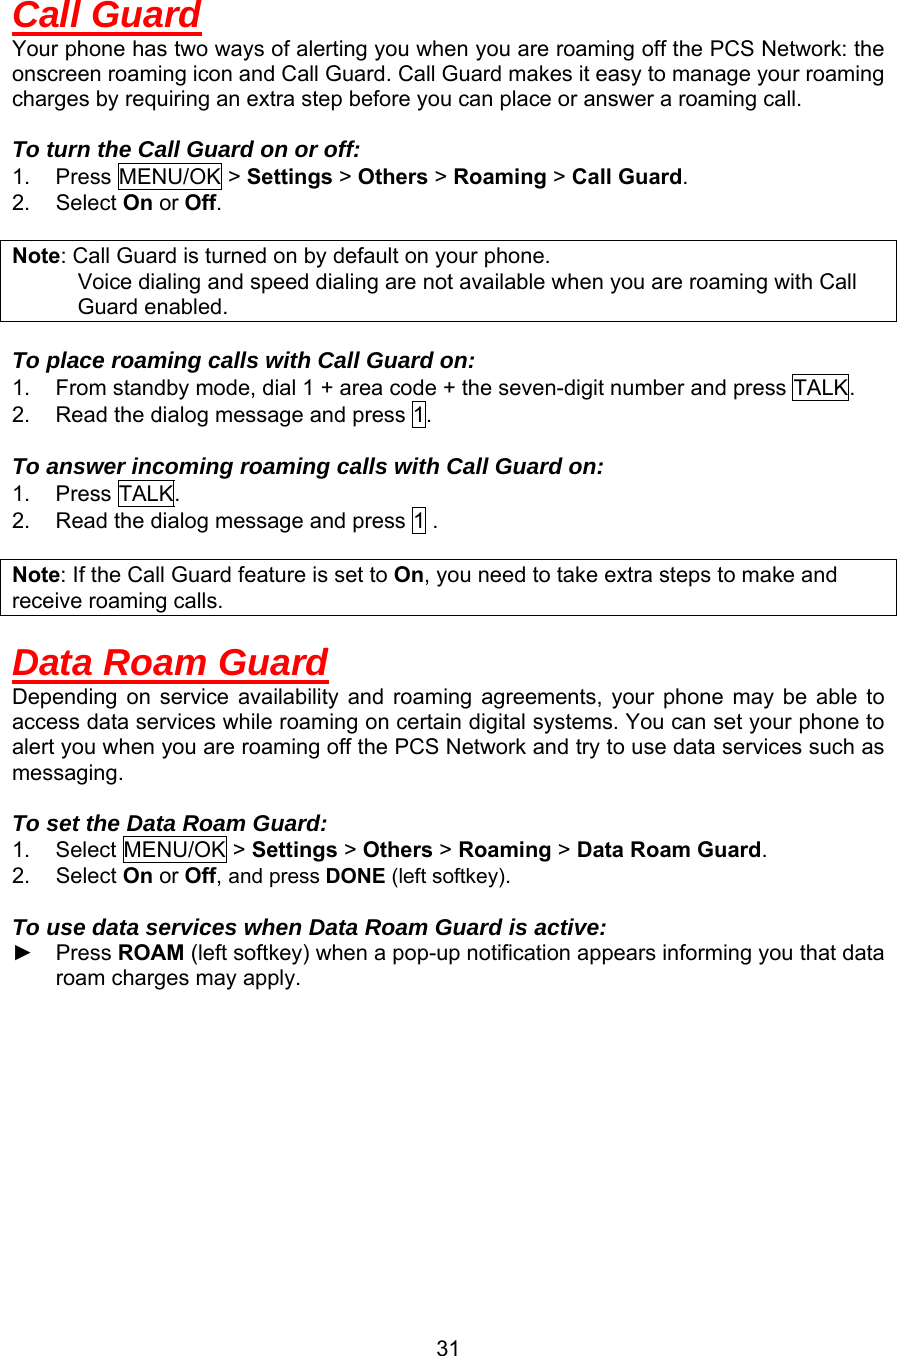

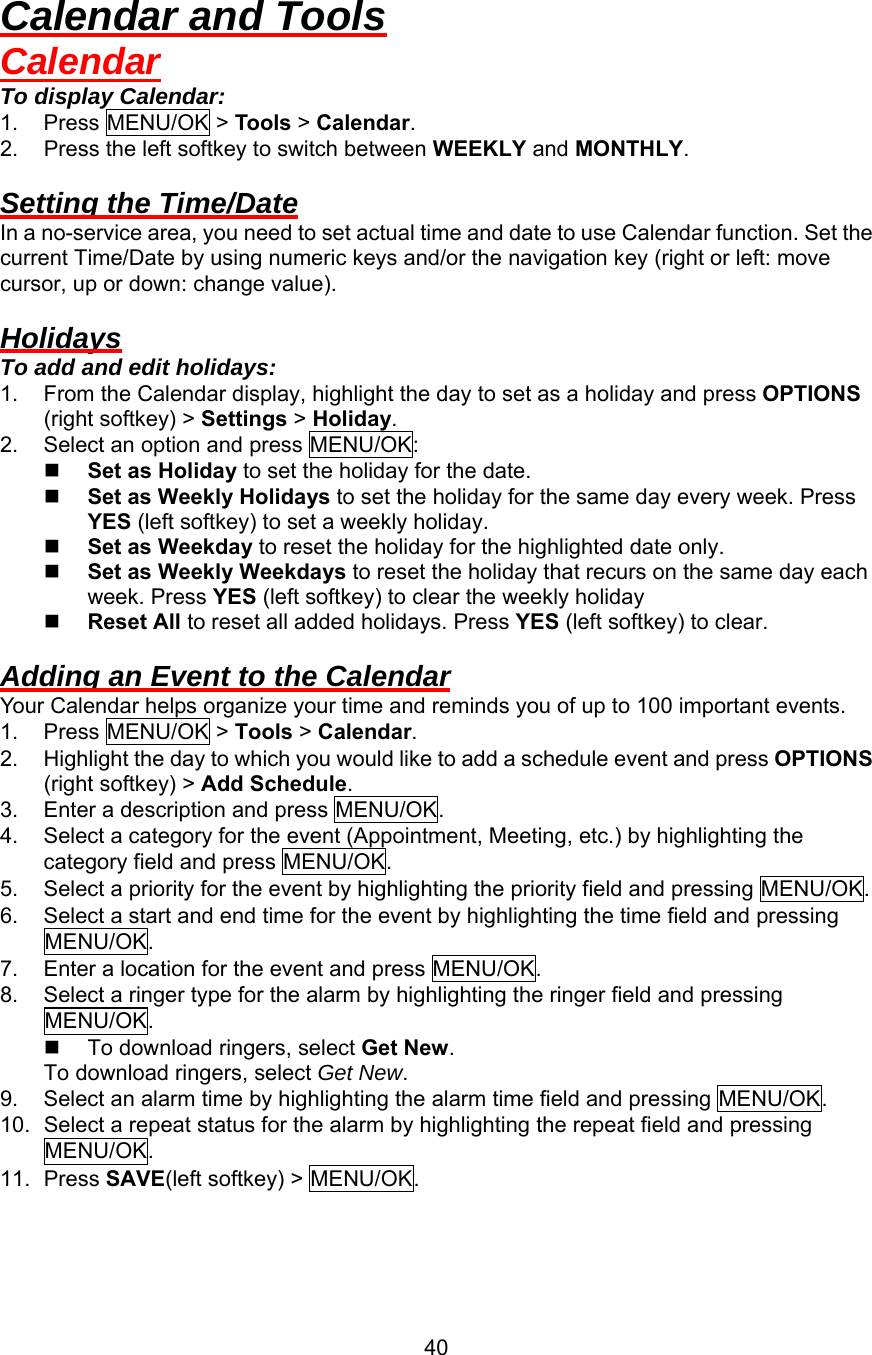

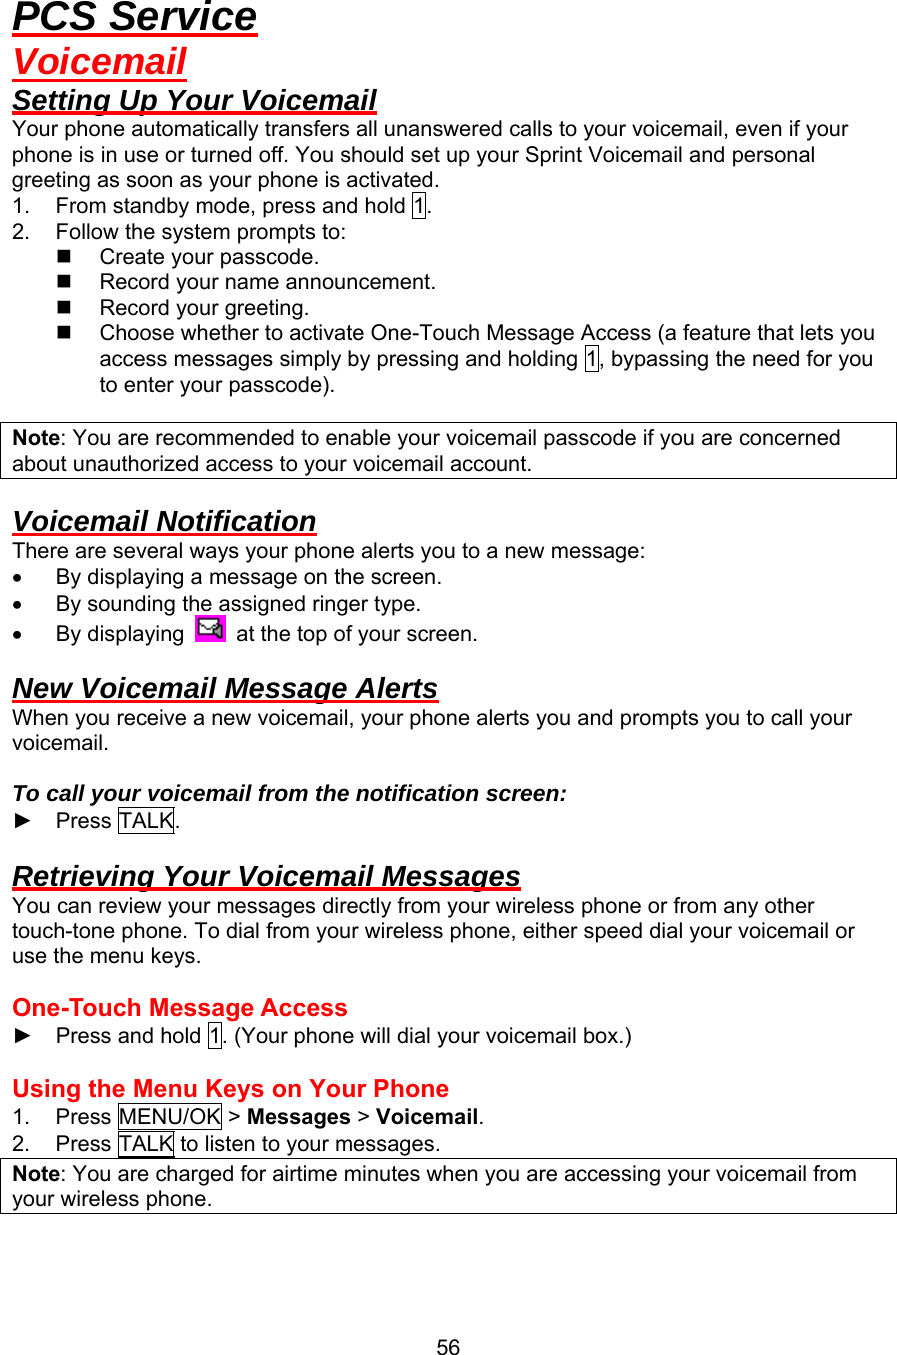
![ Delete to delete the picture you just took. Details/Edit to edit your picture or display details relating to your pictures. Assigning Pictures You can assign a picture as a screen saver or as a picture ID for a Contacts entry. 1. Take a picture. 2. When a picture displayed press OPTIONS (right softkey) > Set as and select an option. Picture ID to assign the picture to a Contacts entry. Highlight an entry and press MENU/OK twice to assign the picture. Screensaver to assign the picture as a screen saver. Press MENU/OK to assign the picture. Tip: You can view the pictures assigned as Picture ID or screen saver by pressing MENU/OK > Tools > Assigned Media Camera Mode Options Press OPTIONS (right softkey) in camera mode to display additional camera options: • Picture Mode to select a picture mode from Normal, Beach/Snow, Scenery, Mirror Image, or Night/Dark. • Zoom to zoom in and out on a subject. (See “Zoom” below.) • Self-Timer to activate the camera’s timer. (See “Self-Timer” below.) • Fun Tools to select an option from the following: (See “Fun Tools” on page 48.) Multiple Shots to shoot multiple shots. (This menu can not be used when resolution is set to 1.3M. See “Camera Settings” on page 49.) Fun Frames to select a fun picture frame to decorate your picture. Color Tone to select a wide variety of color tones for the picture. • Image Controls to set the Brightness, White Balance, Sharpness and Contrast. • Camera Settings to select your settings. • Review Media to review your pictures in My Albums. • Key Guidance to indicate the key functions in camera mode. • User Settings to save your own settings and recall them. Zoom This feature allows you to zoom in on an object when you take a picture. You can adjust the zoom from 1x to 12x. 1. From camera mode, press the navigation key right or left. 2. Press the side camera button, MENU/OK, or CAPTURE (left softkey) to take a picture. Self-Timer You can set a timer to delay the shutter point. The [Self-Timer] icon appears when it is set. 1. From camera mode, press OPTIONS (right softkey) > Self-Timer. 2. Highlight a delay timing (10 Seconds or 5 Seconds) and press MENU/OK. 3. Press MENU/OK or Start (left softkey) when you are ready to start the timer. (You will 47](https://usermanual.wiki/Kyocera/SCP-3810.User-Manual/User-Guide-1163557-Page-48.png)


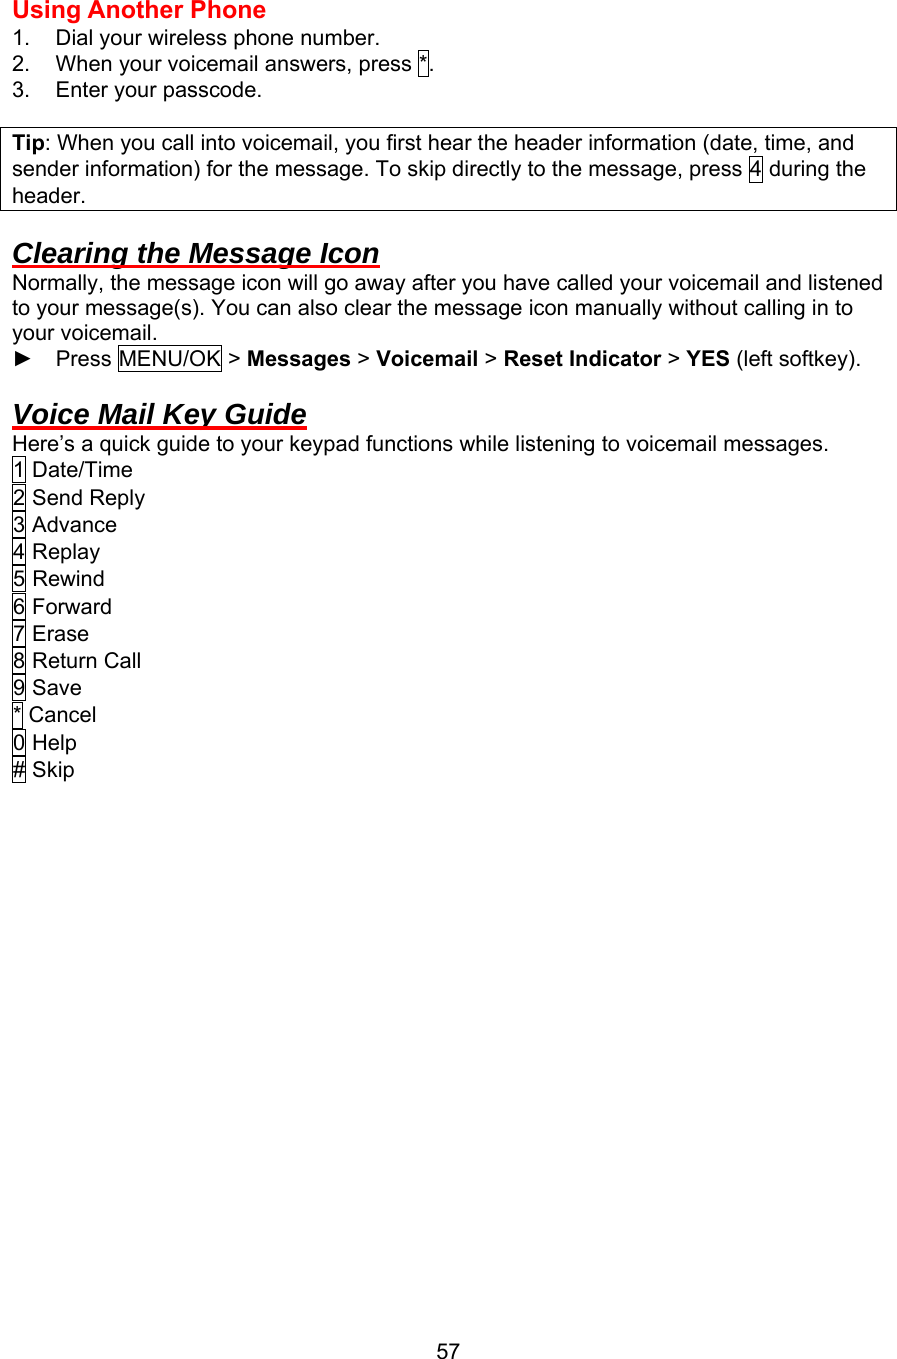
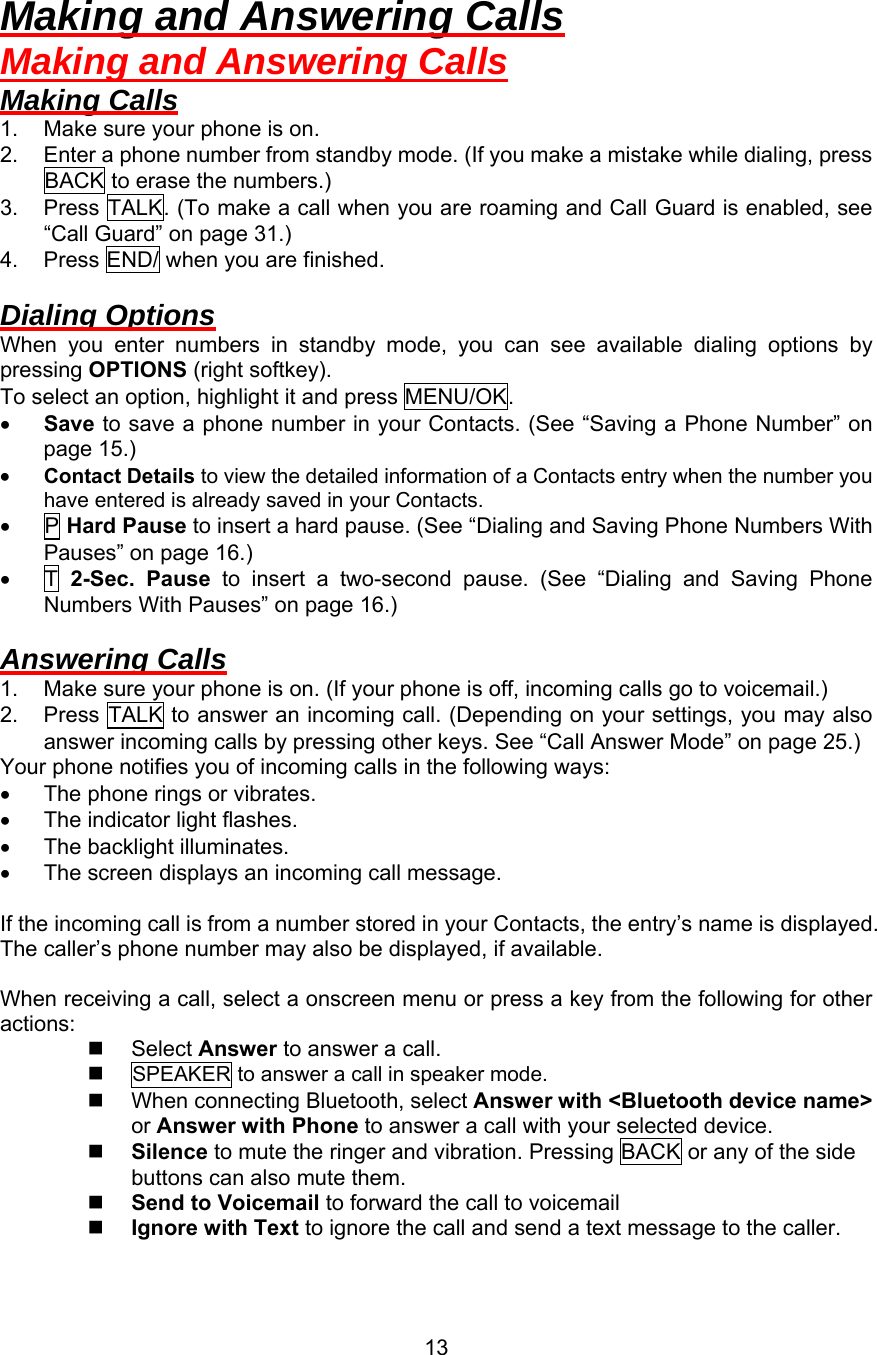
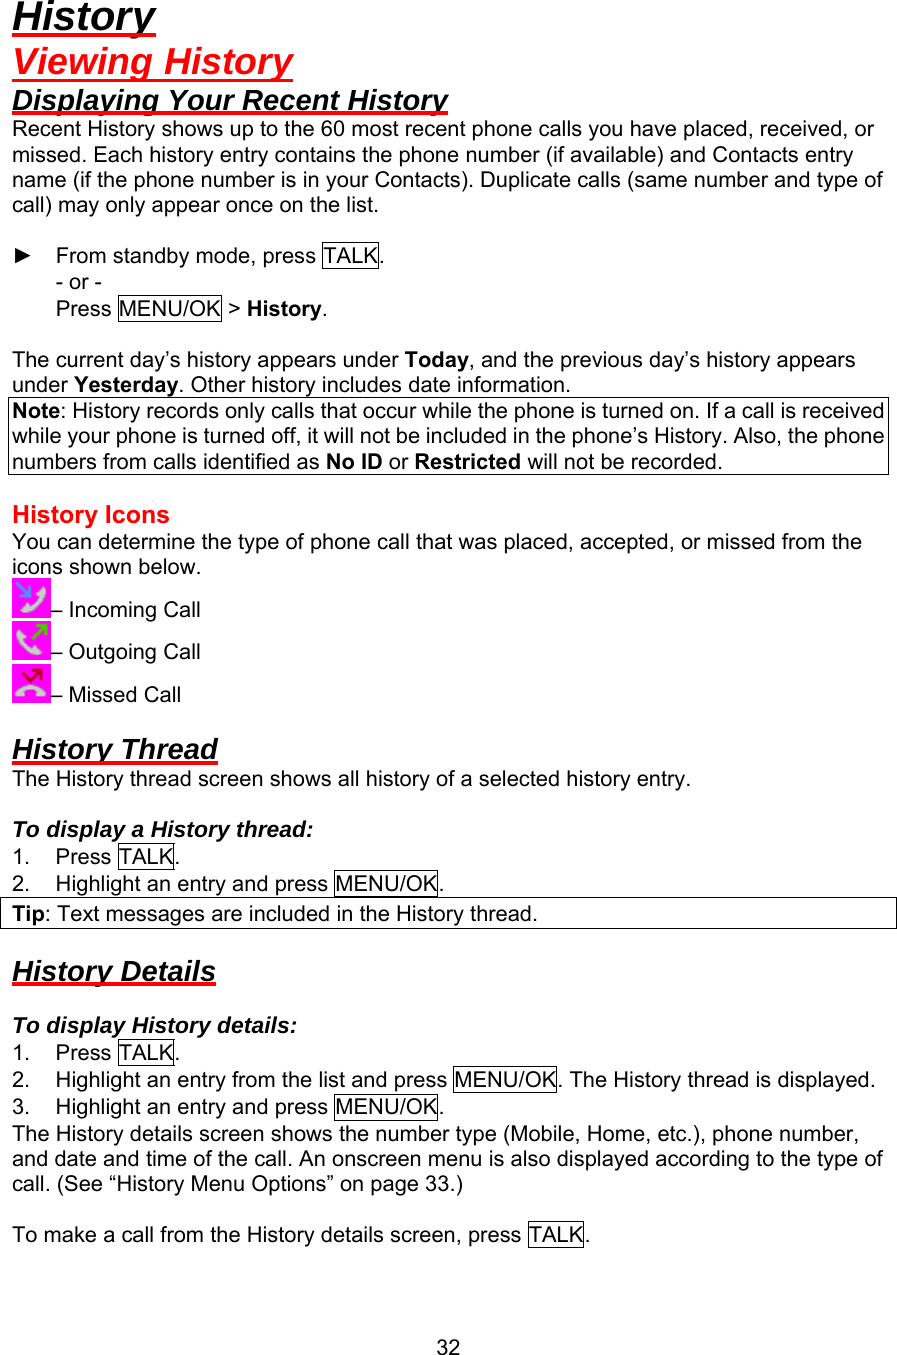
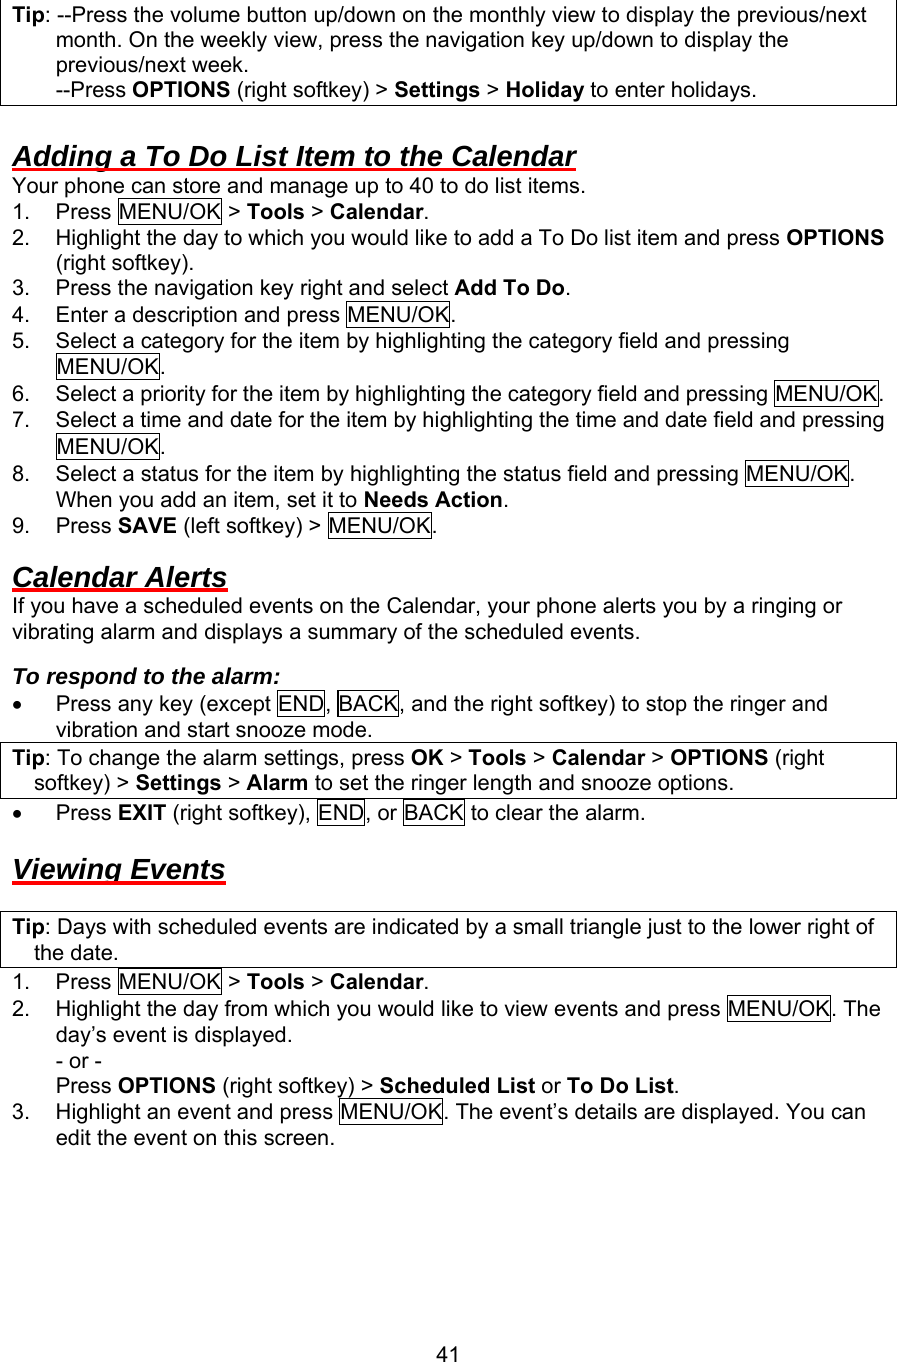
![SMS Voice Messaging SMS voice messaging lets you send a voice message to other SMS-enabled phones or to working email addresses without making a phone call. Just record a message and send it directly to the recipient’s phone messaging inbox. Composing SMS Voice Messages 1. Press MENU/OK > Messages > Send Message > Voice SMS. 2. Select a recipient from the list or from the following options. Go to Contacts to select a recipient from your Contacts. (Qualifying Contacts entries must contain a phone number or an email address.) MULTIPLE (left softkey) to select multiple recipients. Press CONTINUE (left softkey) when you have finished entering recipients. (You may include up to 25 recipients per message.) NEW ADDRESS (right softkey) to enter a recipient’s phone number or email address directly. Press CONTINUE (left softkey) to proceed. 3. Start recording after the beep. (You can record up to two minutes.) 4. To finish recording, press DONE (left softkey). 5. Press SEND (left softkey) to send the voice message. Accessing SMS Voice Messages ► When you receive a new voice message, your phone will display a notification message. Use your softkeys to access and play the voice message. - or - 1. Press MENU/OK > Messages > Voice SMS. 2. Highlight a message and press MENU/OK to play. (To display the message options, press OPTIONS [right softkey].) To reply to an SMS Voice message: 1. While the message is displayed, press REPLY (left softkey). Note: Press OPTIONS (right softkey) > Reply with to reply with a piture message or a text message. 2. Record your reply, and then press DONE (left softkey) > SEND (left softkey). - or - 1. Press MENU/OK > Messages > Voice SMS. 2. Highlight a message you want to reply and press REPLY (left softkey). 3. Record your reply, and then press DONE (left softkey) > SEND (left softkey). Caller ID Caller ID allows people to identify a caller before answering the phone by displaying the number of the incoming call. If you do not want your number displayed when you make a call, follow these steps. 1. Press * 6 7. 2. Enter the number you want to call. 3. Press TALK. 59](https://usermanual.wiki/Kyocera/SCP-3810.User-Manual/User-Guide-1163557-Page-60.png)
![was developed to provide a standardized means of measuring both wireless phone and hearing devices to determine usability rating categories for both. Ratings have been developed for mobile phones to assist hearing device users find phones that may be compatible with their hearing device. Not all phones have been rated for compatibility with hearing devices. Phones that have been rated have a label located on the box. Your SCP-3810 by Sanyo has [M4/T4] ratings. These ratings are not guarantees. Results will vary depending on the user’s hearing device and individual type and degree of hearing loss. If a hearing device is particularly vulnerable to interference noise; even a phone with a higher rating may still cause unacceptable noise levels in the hearing device. Trying out the phone with your hearing device is the best way to evaluate it for your personal needs. M-Ratings: Phones rated M3 or M4 meet FCC requirements for hearing aid compatibility and are likely to generate less interference to hearing devices than unrated phones. (M4 is the better/higher of the two ratings.) T-Ratings: Phones rated T3 or T4 meet FCC requirements and are likely to be more usable with a hearing device’s telecoil (“T Switch” or “Telephone Switch”) than unrated phones. (T4 is the better/higher of the two ratings. Note that not all hearing devices have telecoils in them.) Hearing aid devices may also be measured for immunity to interference noise from wireless phones and should have ratings similar to phones. Ask your hearing healthcare professional for the rating of your hearing aid. Add the rating of your hearing aid and your phone to determine probable usability: • Any combined rating equal to or greater than six offers excellent use. • Any combined rating equal to five is considered normal use. • Any combined rating equal to four is considered usable. Thus, if you pair an M3 hearing aid with an M3 phone, you will have a combined rating of six for “excellent use.” This is synonymous for T ratings. More information about hearing aid compatibility may be found at: www.fcc.gov, www.fda.gov, and www.accesswireless.org. Getting the Best Hearing Device Experience With Your Phone Set the phone’s display and keypad backlight settings to ensure the minimum time interval to further minimize interference. To change the backlight setting: 1. Press MENU/OK > Settings > Display > Main Screen > Backlight. 2. Select the minimum time interval setting and press MENU/OK. To change the keypad light setting: 1. Press MENU/OK > Settings > Display > Keypad Light. 2. Select the minimum time interval setting and press MENU/OK. 64](https://usermanual.wiki/Kyocera/SCP-3810.User-Manual/User-Guide-1163557-Page-65.png)
![Body-Worn Operation To maintain compliance with FCC RF exposure guidelines, if you wear a handset on your body, use the PCS supplied or approved carrying case, holster or other body-worn accessory. If you do not use a body-worn accessory, ensure the antenna is at least 0.866 inch ([2.2] centimeters) from your body when transmitting. Use of non-PCS approved accessories may violate FCC RF exposure guidelines. Other accessories used with this device for body-worn operations must not contain any metallic components and must provide at least 22 mm separation distance including the antenna and the user’s body. For more information about RF exposure, visit the FCC Web site at www.fcc.gov. Specific Absorption Rate (SAR) for Wireless Phones The SAR is a value that corresponds to the relative amount of RF energy absorbed in the head of a user of a wireless handset. The SAR value of a phone is the result of an extensive testing, measuring and calculation process. It does not represent how much RF the phone emits. All phone models are tested at their highest value in strict laboratory settings. But when in operation, the SAR of a phone can be substantially less than the level reported to the FCC. This is because of a variety of factors including its proximity to a base station antenna, phone design and other factors. What is important to remember is that each phone meets strict federal guidelines. Variations in SARs do not represent a variation in safety. All phones must meet the federal standard, which incorporates a substantial margin of safety. As stated above, variations in SAR values between different model phones do not mean variations in safety. SAR values at or below the federal standard of 1.6 W/kg are considered safe for use by the public. The highest reported SAR values of the SCP-3810 are: Cellular CDMA mode (Part 22): Head: [0.32] W/kg; Body-worn: [0.46] W/kg PCS mode (Part 24): Head: [0.87] W/kg; Body-worn: [0.38] W/kg FCC Radio Frequency Emission This phone meets the FCC Radio Frequency Emission Guidelines. FCC ID number: V65SCP-3810 More information on the phone’s SAR can be found from the following FCC Website: http://www.fcc.gov/oet/fccid. 66](https://usermanual.wiki/Kyocera/SCP-3810.User-Manual/User-Guide-1163557-Page-67.png)