Kyocera SCP-6780 Dual-Band CDMA Phone User Manual
Kyocera Corporation Dual-Band CDMA Phone
UserManual.wiki
>
Kyocera
>
SCP-6780 User Manual
>
User Manual
Contents
1.
User Manual
2.
Users Manual
User Manual
Navigation menu
Upload a User Manual
Namespaces
Wiki Guide
HTML
PDF
Info
Views
User Manual
Discussion / Help
Navigation
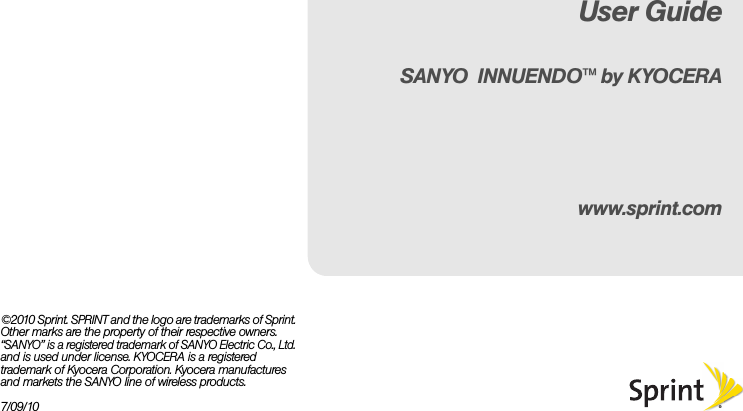


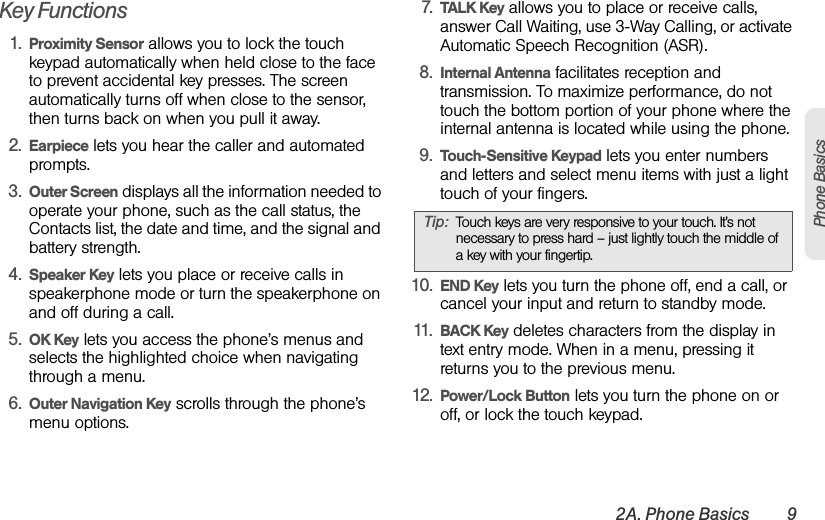
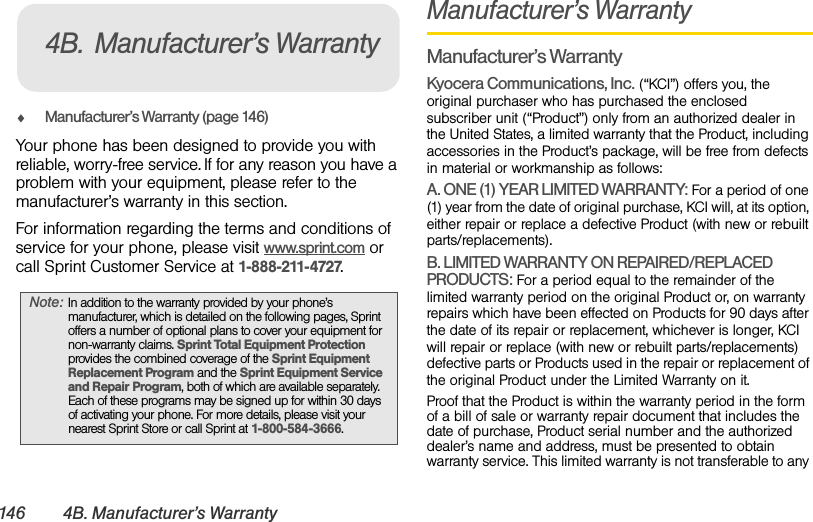
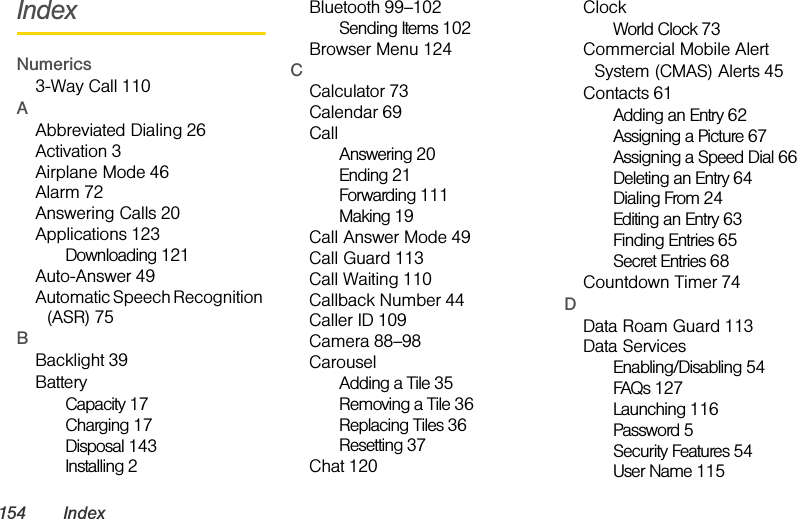
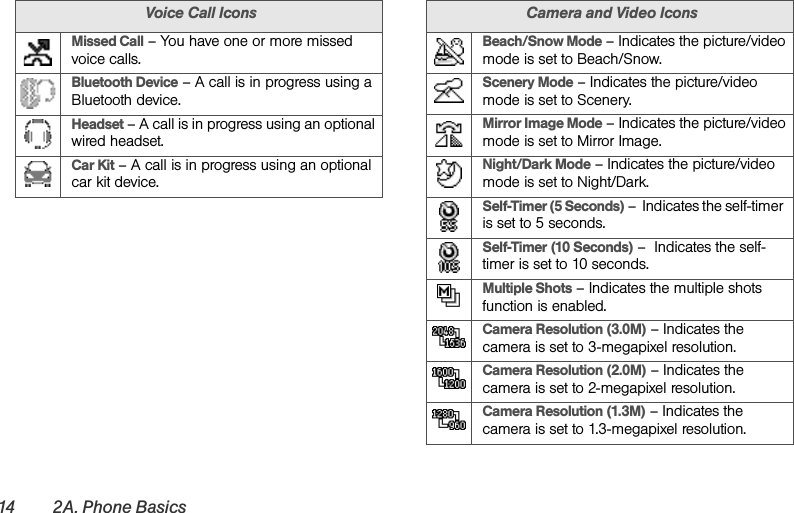
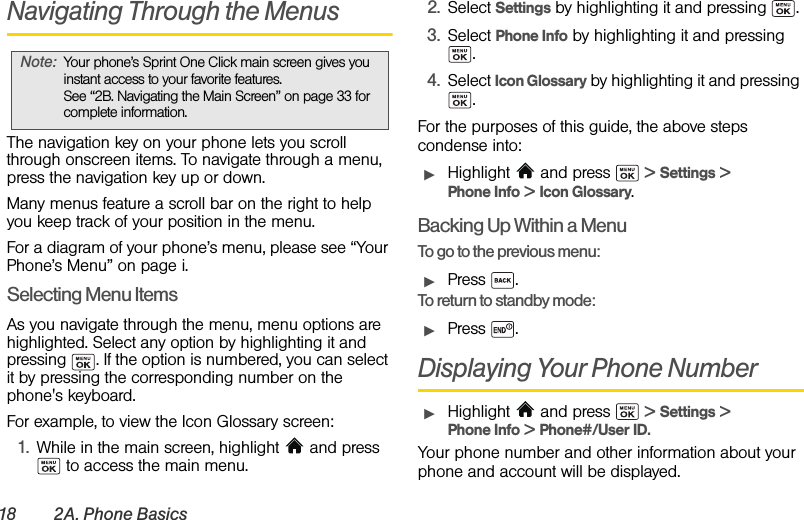
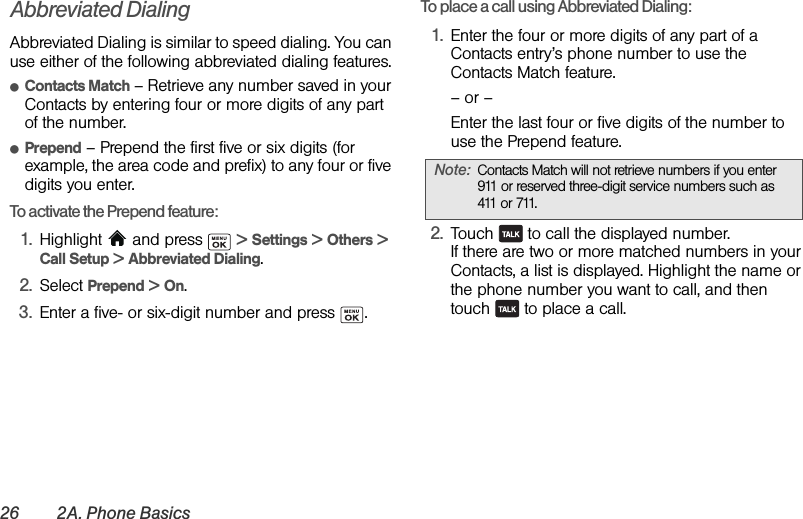
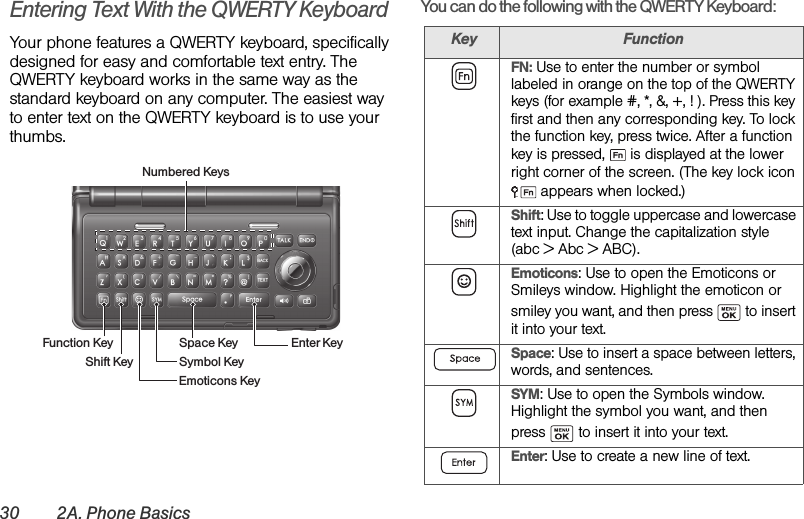
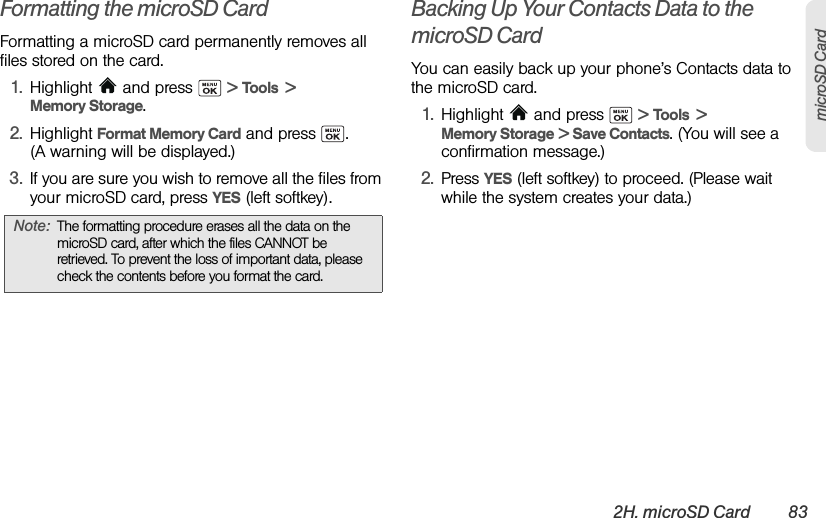
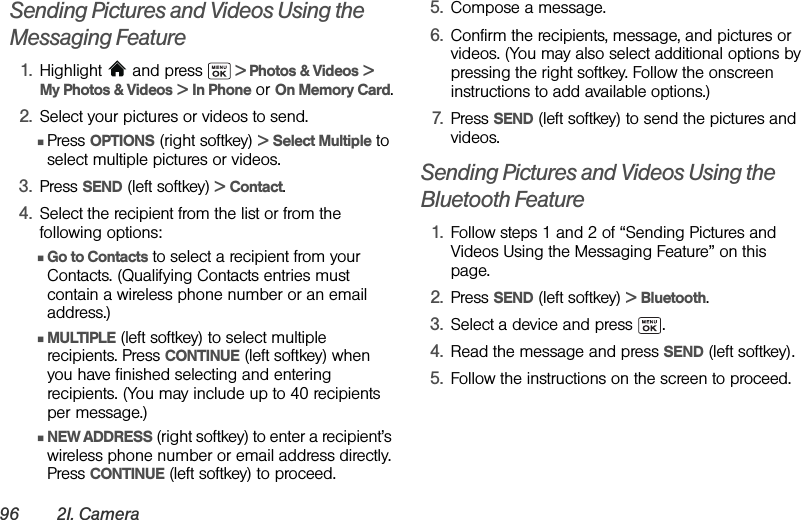
![2A. Phone Basics 13Phone BasicsMessaging and Alert IconsNew Messages –You have one or more new messages waiting.New Voicemail – You have one or more new voicemail messages waiting.New Email – You have one or more new email messages waiting.Urgent Messages – You have one or more new urgent messages (including Commercial Mobile Alert System [CMAS] alert message) waiting.Multiple Alerts – You have different kinds of alerts waiting.Urgent Multiple Alerts – You have different kinds of alerts (including urgent message) waiting.Application Alerts – You have alert messages from Java applications activated in the background.Bluetooth IconsVisible – Your phone is discoverable by (visible to) other Bluetooth devices.Connected – Your phone is connected to a Bluetooth device. Enabled – Your phone’s Bluetooth feature is enabled.Connected via HFP – Your phone is connected to or communicating with a Bluetooth device via Hands-free Profile (HFP).Connected via A2DP – Your phone is connected to or communicating with a Bluetooth device via Advanced Audio Distribution Profile (A2DP).Tip: The above icons will blink while your phone is communicating with a Bluetooth device.](https://usermanual.wiki/Kyocera/SCP-6780.User-Manual/User-Guide-1317046-Page-25.png)
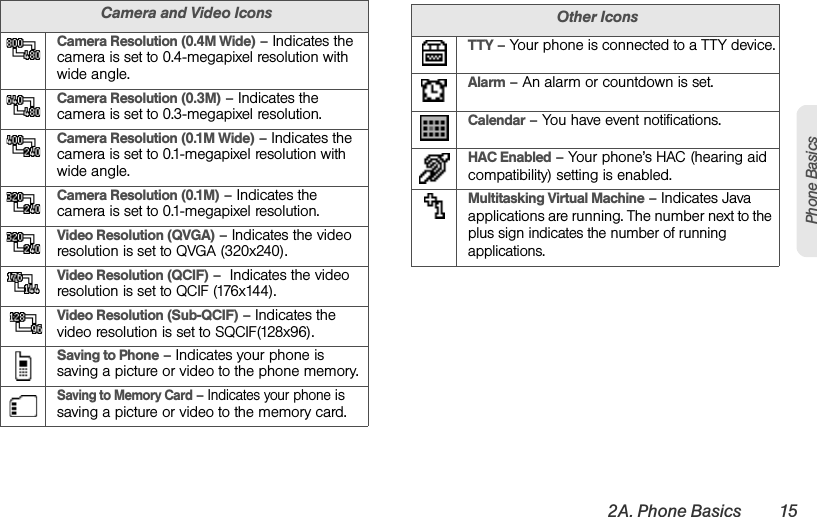
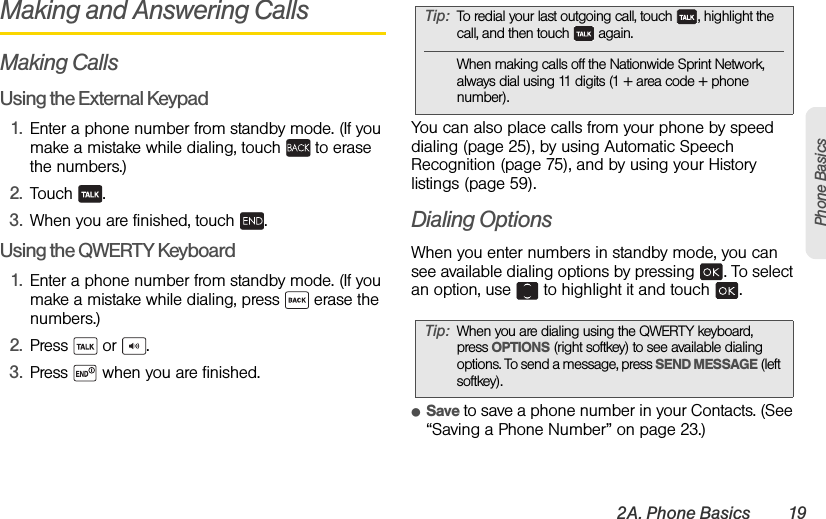
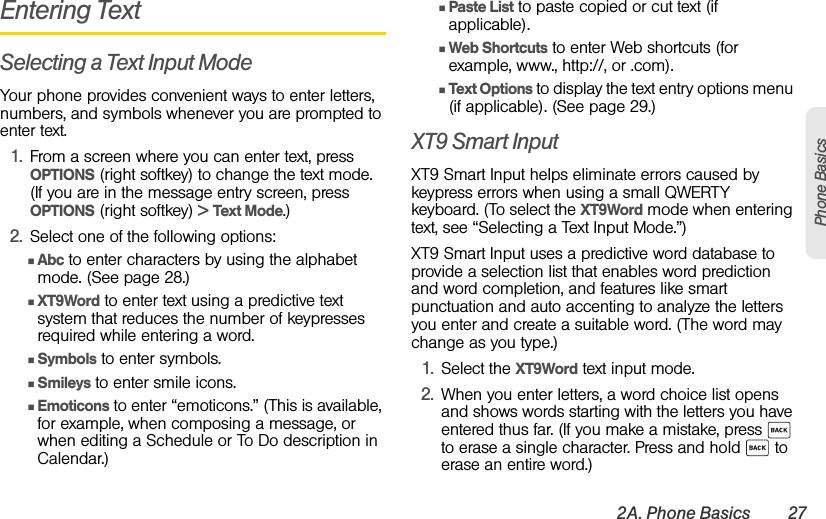
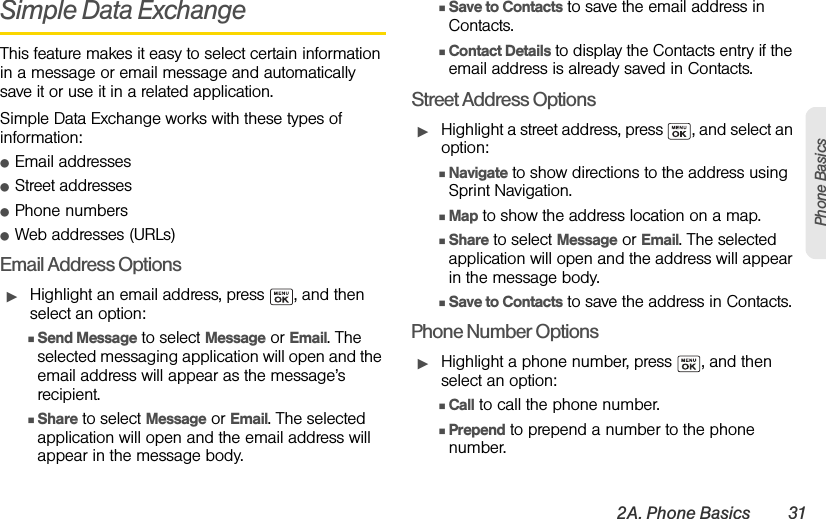
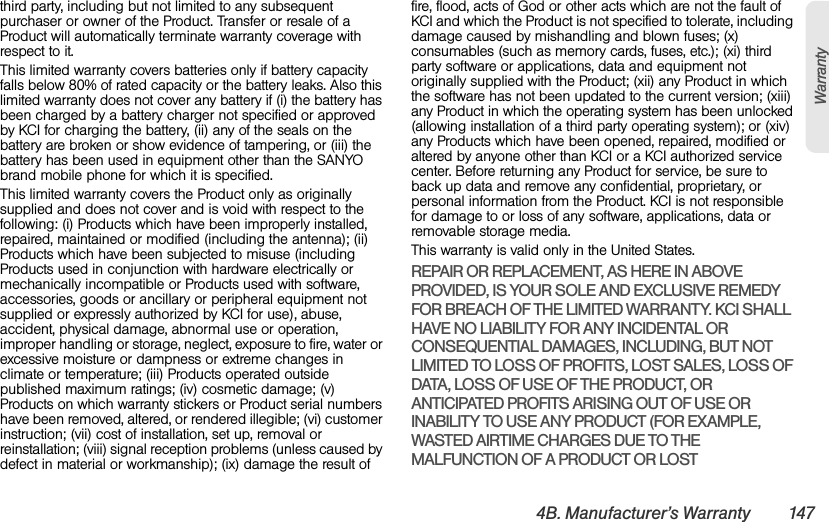
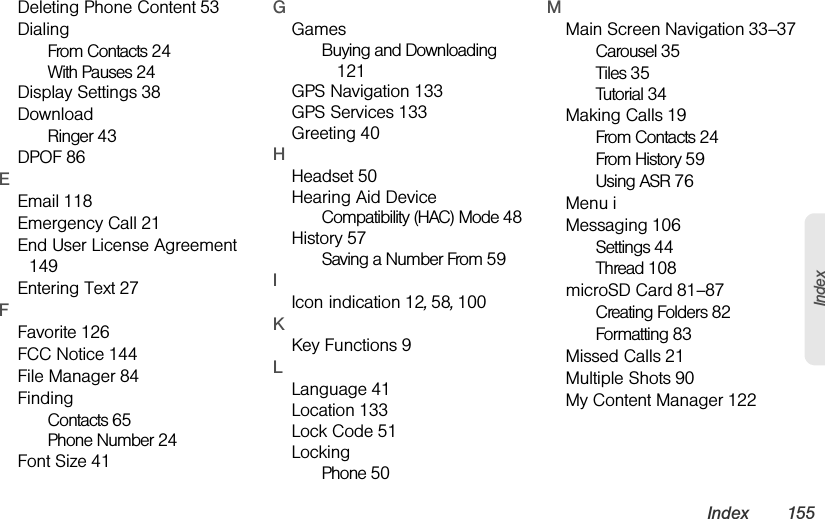
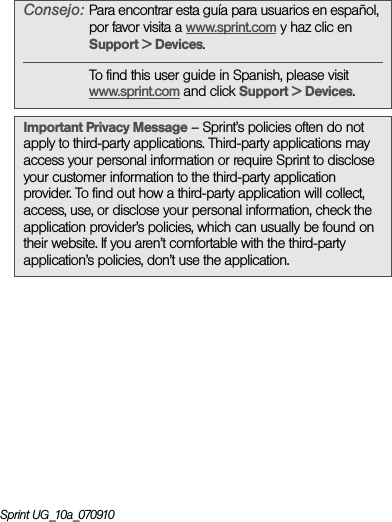
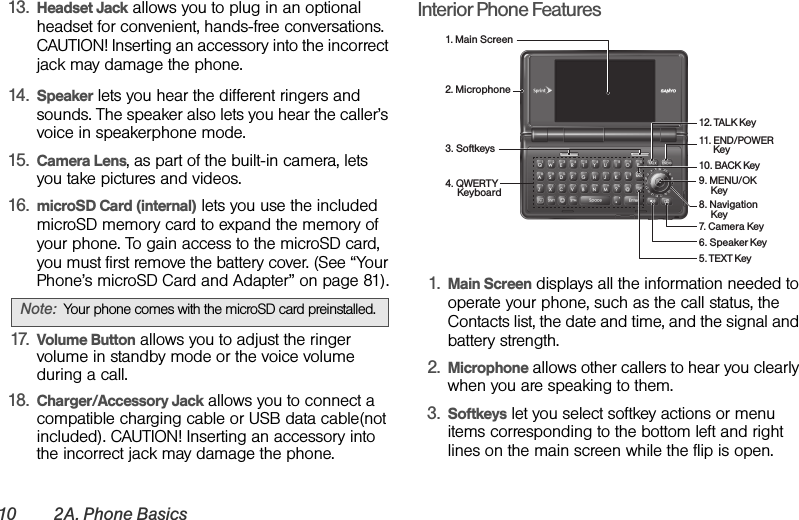
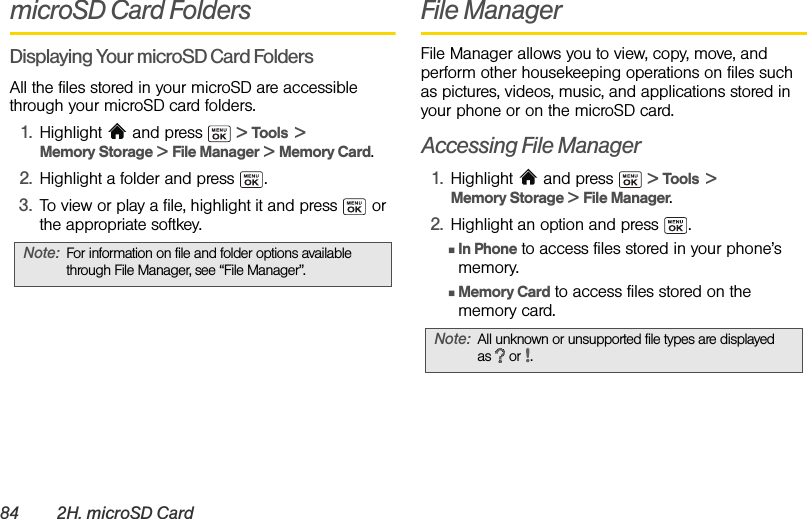
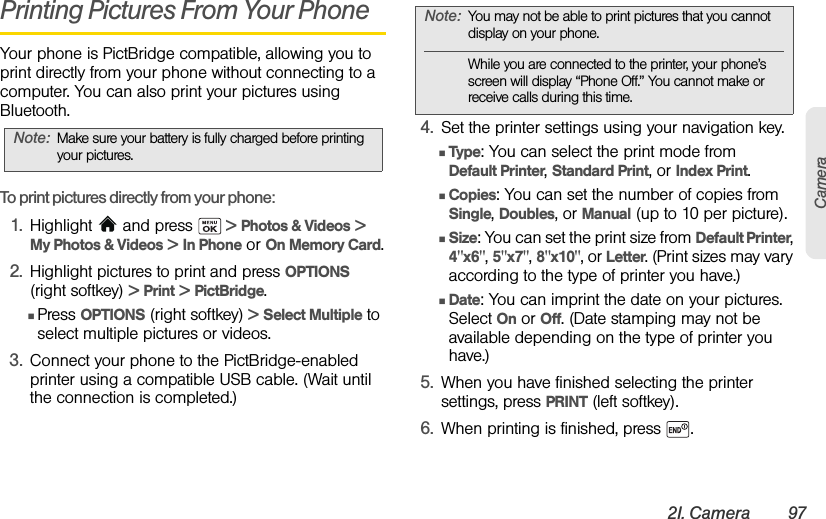
![2B. Navigating the Main Screen 35Navigating the Main ScreenPersonalizing the CarouselNow that you know what the carousel is, it’s time to make it work for you by adding, removing, or rearranging tiles to match how you want to use your phone.Adding a Tile to the Carousel1. Highlight and press OPTIONS (left softkey) > Personalize Carousel.2. Press ADD TILE (left softkey), select a tile category (New, All, News & Sports, Communicate & Tools, Web & Communities, Social Networks, Entertainment & Games, Money & Weather, or Green), and then highlight a tile.3. To add the tile, press ADD (left softkey) or press . (To view a preview, press PREVIEW [right softkey].) Note: The following table shows a sample of the tiles that may be available on your phone.Sprint One Click TilesHome – View Home screen. Press to access the phone’s full menu.Messaging – Access Voicemail, Send Message, Messages, and Email.My Account – Access links to Account Details, Hear Minutes, and Hear Balance.Personalize My Phone – Access Change Screen Saver, Change Ringer, Personalize Carousel, and Tutorials.Shortcuts – Add and access up to five shortcuts from My Stuff, My Photos & Videos, Web Favorite, and Menu Item.MySpace – Access your MySpace page.Yahoo! – Access Yahoo! Mail, Mobile Homepage, News and more. Yahoo! at your fingertips!Twitter – Access your Twitter account.Facebook – Access your Facebook page.](https://usermanual.wiki/Kyocera/SCP-6780.User-Manual/User-Guide-1317046-Page-47.png)
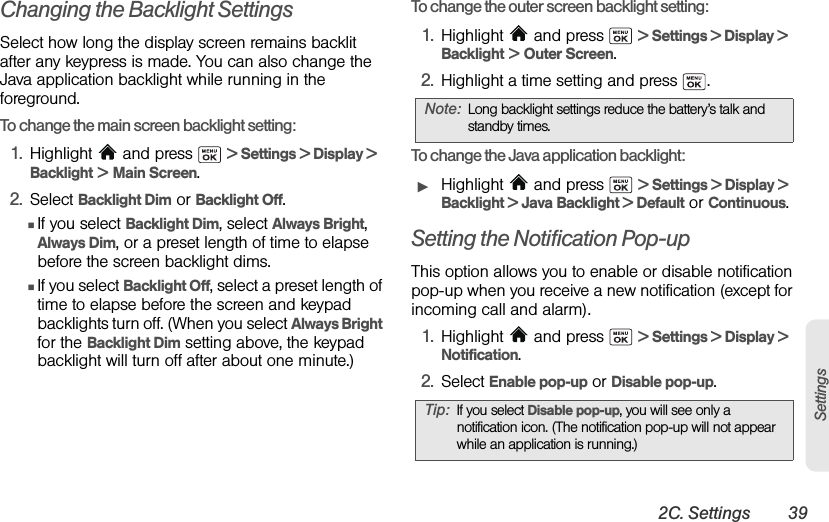

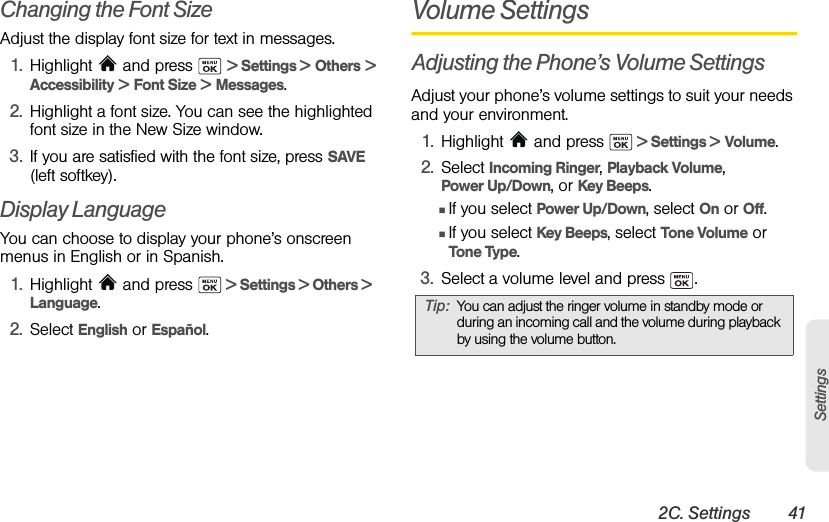


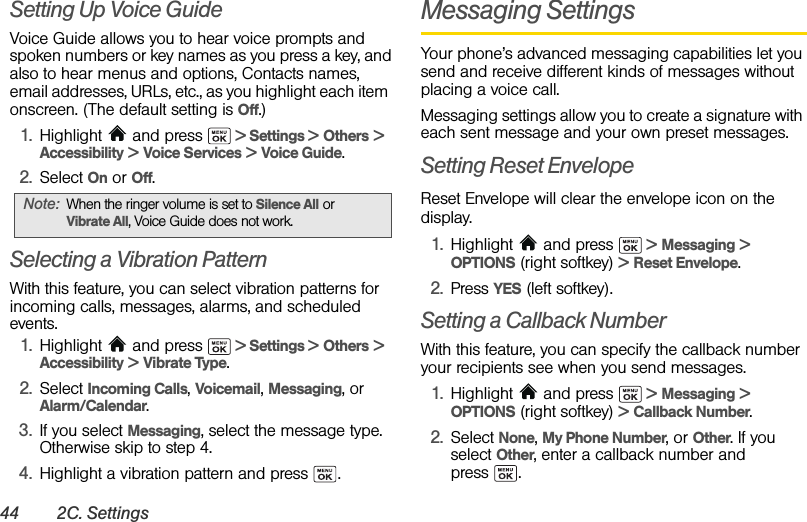
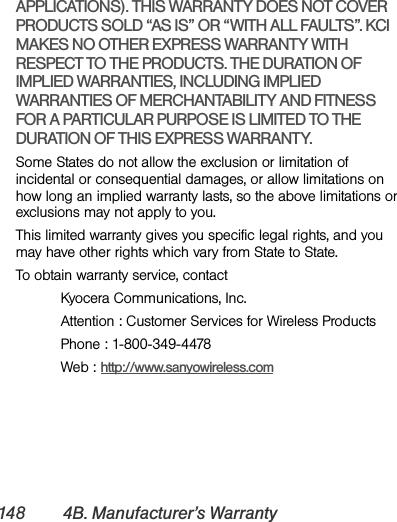
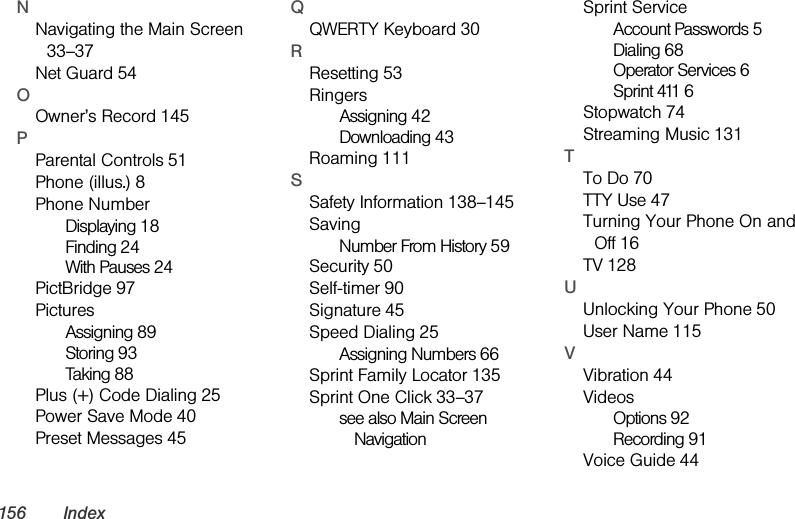
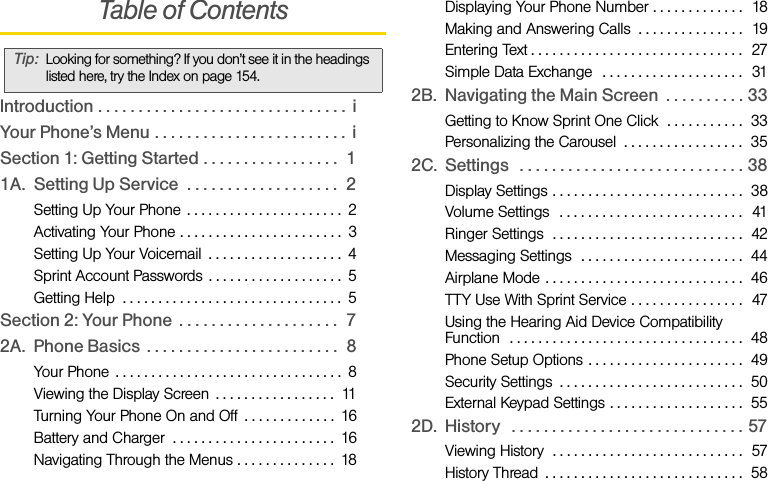
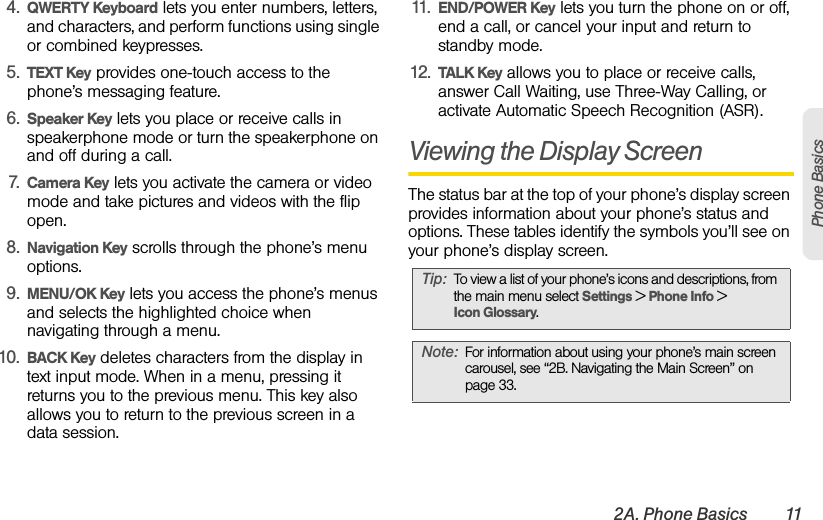
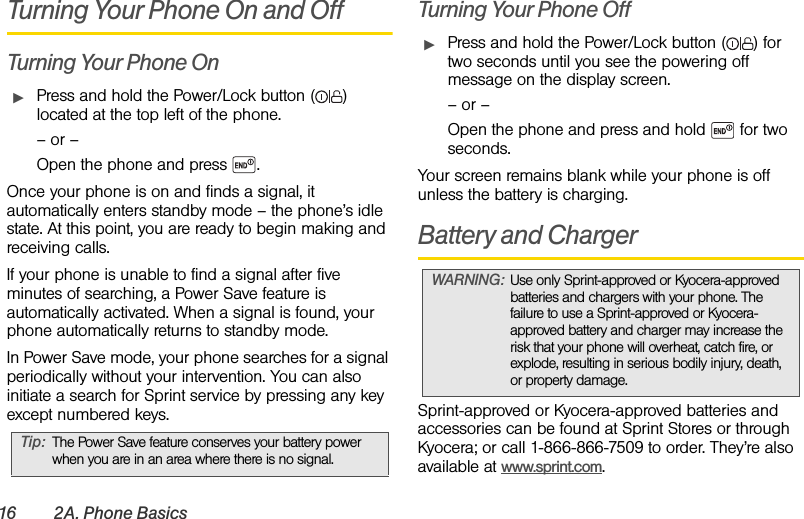
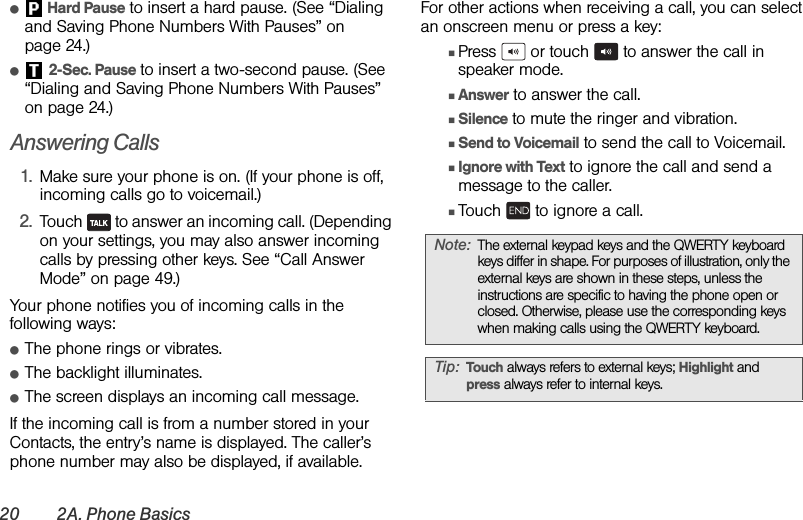
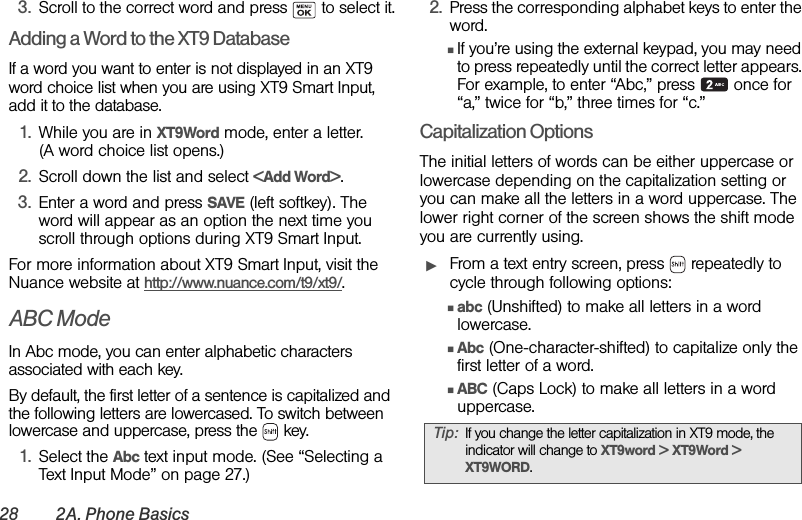
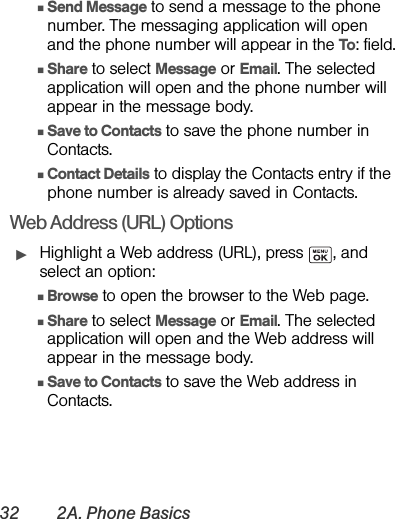
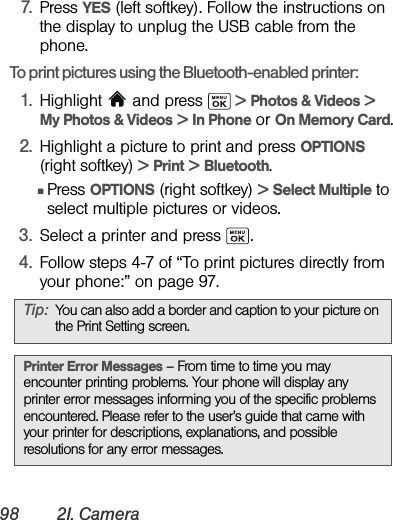
![2C. Settings 45SettingsAdding a Customized SignatureAdd a customized signature to each message you send.1. Highlight and press > Messaging > OPTIONS (right softkey) > Signature. 2. Select On. (If you do not wish to attach a signature to your outgoing messages, select Off.) 3. Enter a signature and press .Managing Preset MessagesYour phone is loaded with 20 preset messages to help make sending messages easier. Customize or delete these messages, such as “Where are you?,” “Let’s get lunch,” and “Meet me at” to suit your needs, or add your own messages to the list.To edit or delete a preset message:1. Highlight and press > Messaging > OPTIONS (right softkey) > Preset Messages. The list of preset messages will be displayed.2. To edit or delete a message, highlight it and press OPTIONS (right softkey). 3. Select Edit, edit the message, and press .– or –Select Delete > YES (left softkey) to delete the message. (You can also reset all messages by selecting Reset all messages > YES [left softkey].)To change the language of the preset message:1. Highlight and press > Messaging > OPTIONS (right softkey) > Preset Messages.2. Press OPTIONS (right softkey) > Select Language.3. Select English or Spanish.Setting CMAS AlertsThis phone features an embedded Commercial Mobile Alert System (CMAS), which is a federally supervised cell phone alert service to send out broadcast SMS messages for public warning.1. Highlight and press > Messaging > OPTIONS (right softkey) > CMAS Alerts.2.Check the box next to the options you wish to select:ⅢPresidential Alerts to deliver a national Presidential alert. (Presidential Alerts is always grayed out [not selectable] and cannot be excluded.)](https://usermanual.wiki/Kyocera/SCP-6780.User-Manual/User-Guide-1317046-Page-57.png)

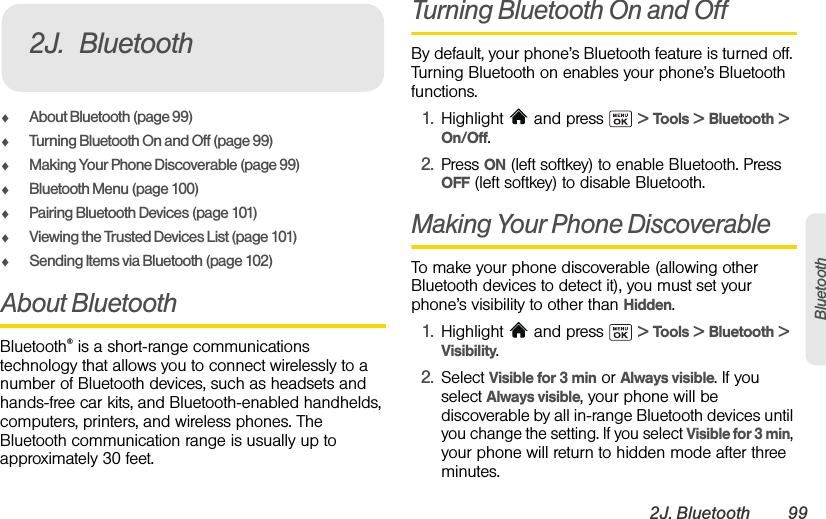

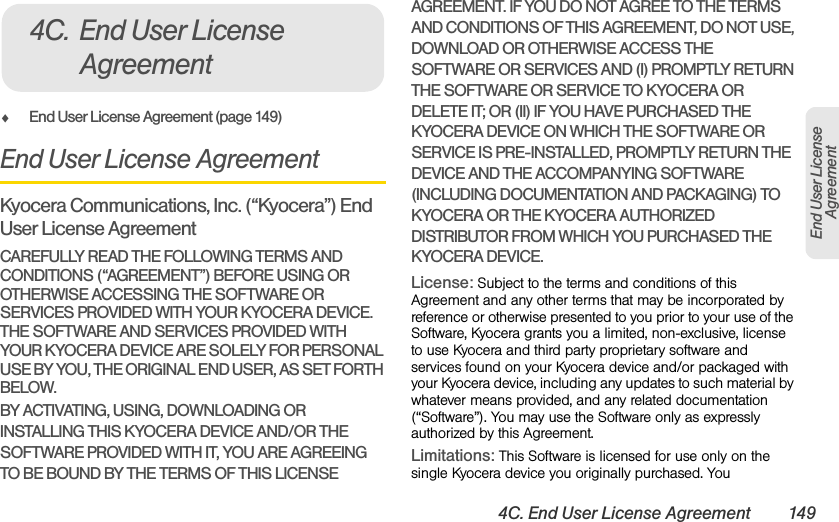
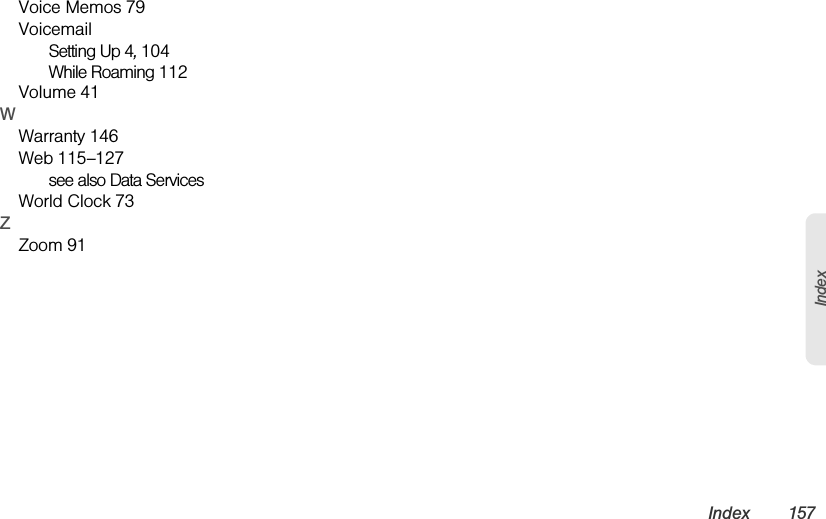
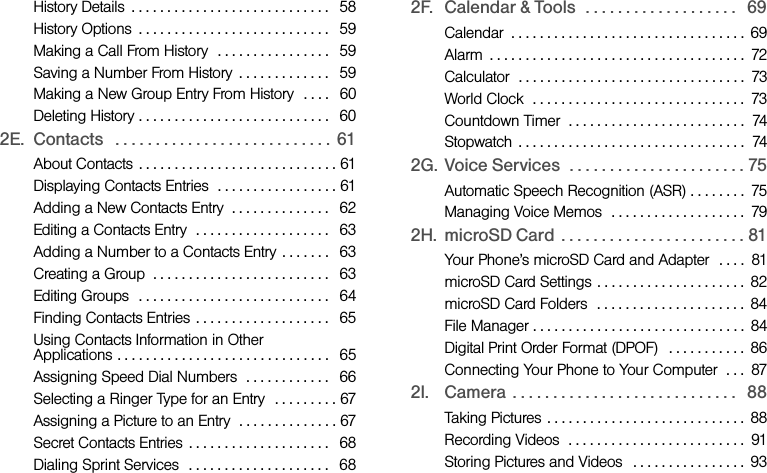
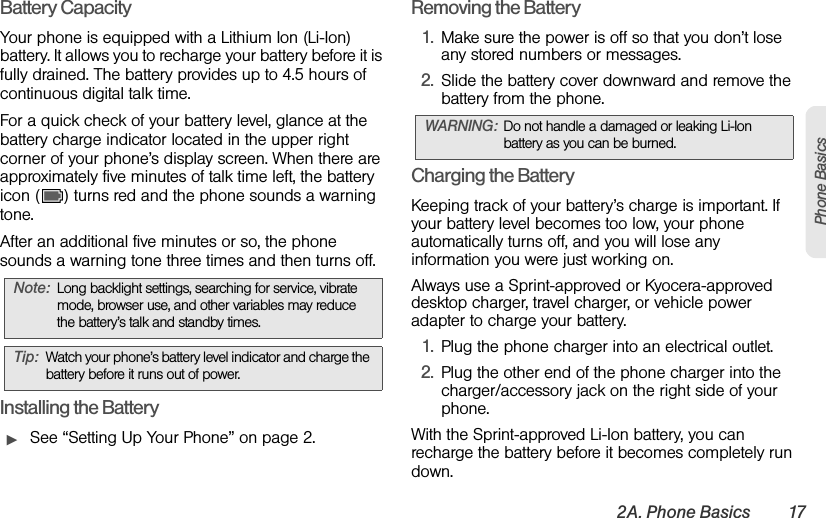
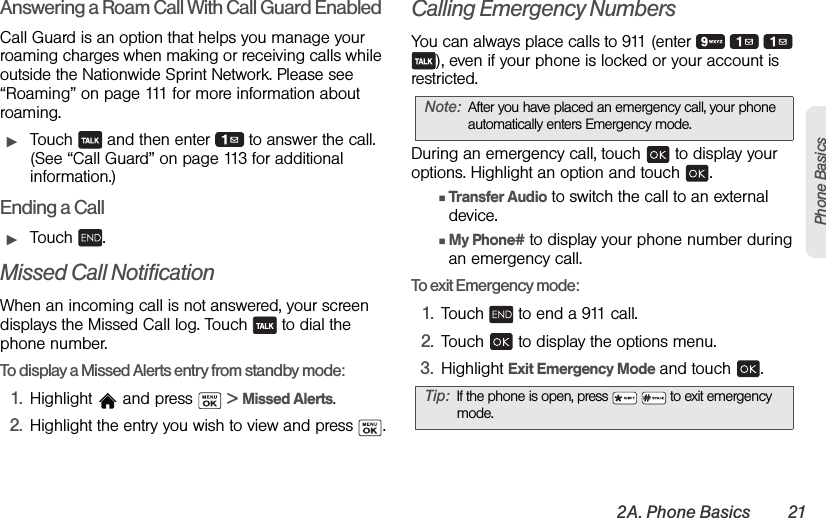
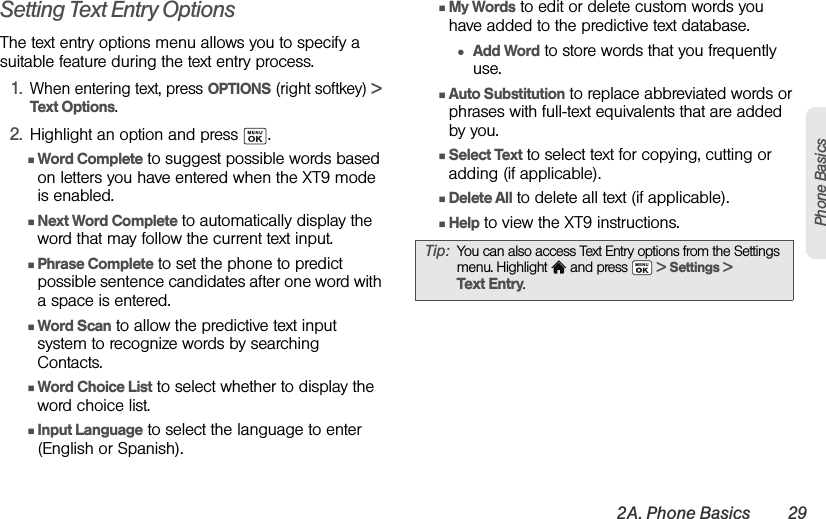
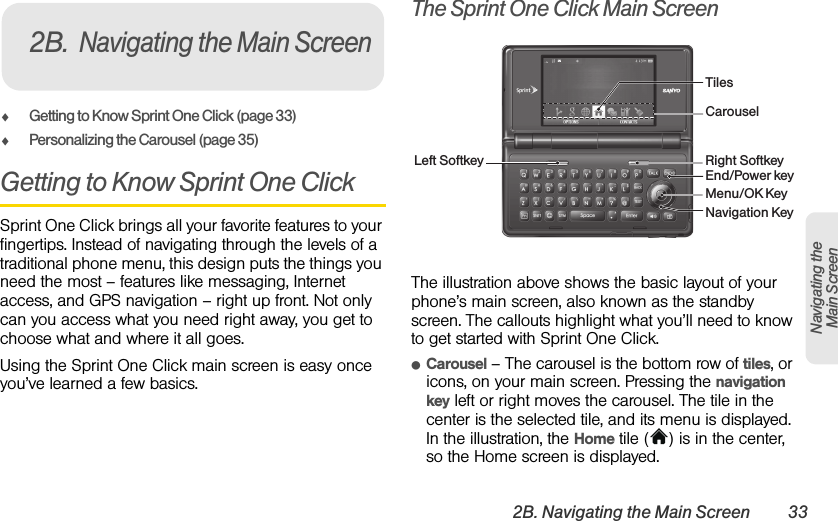
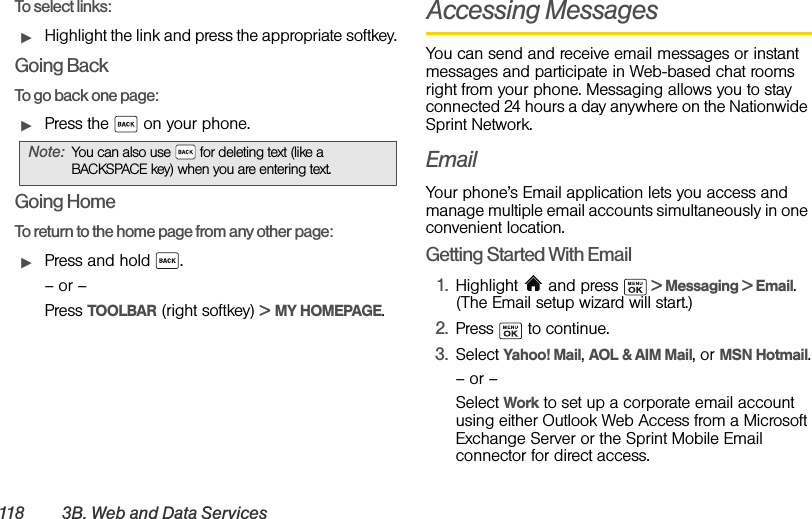
![3B. Web and Data Services 117Web and DataIf you do not see an indicator, your phone does not have a current data connection. To launch a connection, see “Launching a Web Connection” on page 116.Navigating the WebNavigating through menus and websites during a data session is easy once you’ve learned a few basics. Here are some tips for getting around.SoftkeysDuring a data session, the bottom line of your phone’s display screen contains one or more softkeys. These keys are shortcut controls for navigating around the Web, and they correspond to the softkeys directly below the phone’s display screen.To u se softkeys:ᮣPress a softkey. (If an additional pop-up menu is displayed when you press the softkey, select the menu items using your keyboard [if they’re numbered], or by highlighting the option and pressing .)ScrollingAs with other parts of your phone’s menu, you’ll have to scroll up and down to see everything on some websites.To scroll line by line through websites:ᮣPress the navigation key up and down.SelectingOnce you’ve learned how to use softkeys and scroll, you can start navigating the Web.To select onscreen items:ᮣUse the navigation key to highlight an item, and then press the left softkey (or press ).Links, which are displayed as underlined text, allow you to jump to Web pages, select special functions, or even place phone calls. Tip: Depending on which websites you visit, the labels on the softkeys may change to indicate their function.Tip: You’ll find that the left softkey is used primarily for selecting items. This softkey is often labeled “GO.”If the items on a page are numbered, you can use your keyboard (number keys) to select an item.](https://usermanual.wiki/Kyocera/SCP-6780.User-Manual/User-Guide-1317046-Page-129.png)
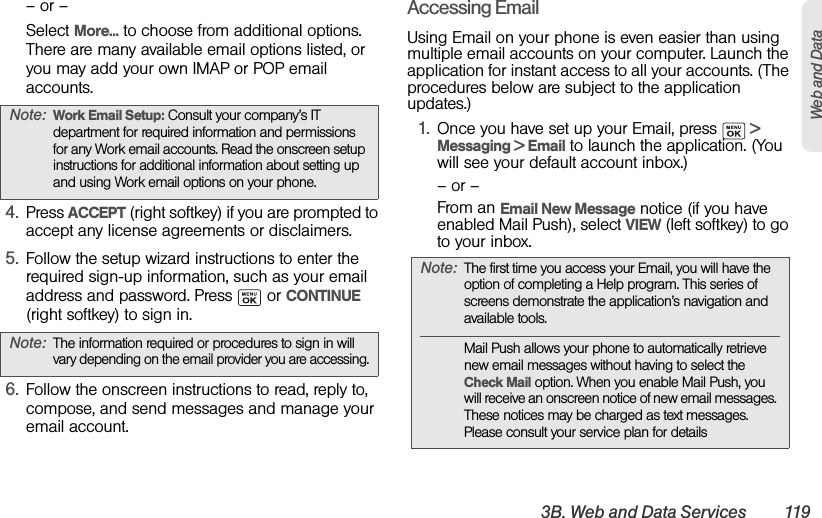
![120 3B. Web and Data Services2. Use your keyboard and navigation keys to read, manage, and reply to your email messages.ⅢPress OPTIONS (right softkey) to select messaging options, such as Delete, Compose, Reply, Check Mail, or Settings. ⅢPress OPTIONS (right softkey) > Check Email to manually check for new messages. ⅢTo view a different email account, press the left and right navigational keys to change the account tab. You can also navigate to the Home tab and select an available account.ⅢTo add a new account, press OPTIONS (right softkey) on the Home tab, and then select Add Account > Email. Follow the instructions in “Getting Started With Email” on page 118 to set up a new account.Accessing Wireless ChatroomsSprint gives you the ability to join wireless chatrooms from your phone. 1. From the home page, select Messaging > Chat & Dating. 2. Select a category and a chat provider and follow the onscreen instructions to sign up and begin chatting.Note: You can also access certain email accounts, including your Sprint Mail account, through the home page. Press > Web and then select Messaging > Email > [AOL & AIM Mail, MSN Hotmail, or Yahoo! Mail]. Follow the onscreen instructions to enter your account information and access your email messages.Note: Chat & Dating options change frequently, so check back often to see what’s new.](https://usermanual.wiki/Kyocera/SCP-6780.User-Manual/User-Guide-1317046-Page-132.png)
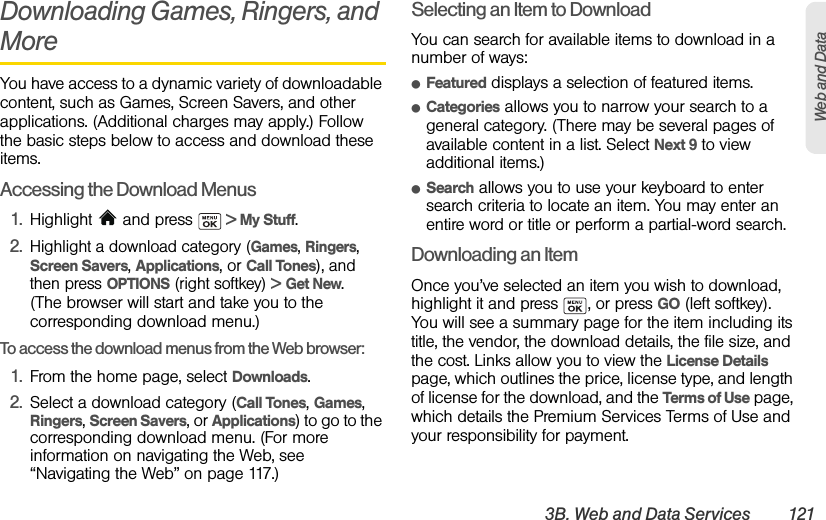
![3B. Web and Data Services 123Web and DataTo download purchased content from My Content Manager:1. From the My Content Manager display, highlight the item you wish to download, and press . (You will see the information page for the selected item.)2. Highlight Download and press . (The item will download automatically. When you see the New Download screen, you have successfully downloaded the item to your phone.)3. Select an option to continue:ⅢSelect a menu such as Run/Open/Listen/View/Play to start the downloaded item. Your data session will end, and your phone will redirect you to the appropriate phone menu screen.ⅢSelect Assign to assign a ringer or screen saver to a phone function.ⅢSelect Settings to configure downloaded games or applications.ⅢSelect Shop to browse for other items to download.ⅢPress to quit the browser and return to standby mode. For complete information and instructions on downloading Games, Ringers, Screen Savers, and Applications, visit the Digital Lounge at www.sprint.com.ApplicationsYou can access a wide variety of applications in many different categories with your phone and data service. Your phone comes preloaded with links to the following applications:ⅷNASCAR Sprint Cup MobileⅷScanLifeⅷSocial ZoneⅷSprint Football LiveⅷWHERETip: You can also access My Content Manager through the phone’s main menu. Go to My Stuff > [Games, Ringers, Screen Savers, or Applications] > My Content Manager. The browser will open and take you to the corresponding content.](https://usermanual.wiki/Kyocera/SCP-6780.User-Manual/User-Guide-1317046-Page-135.png)
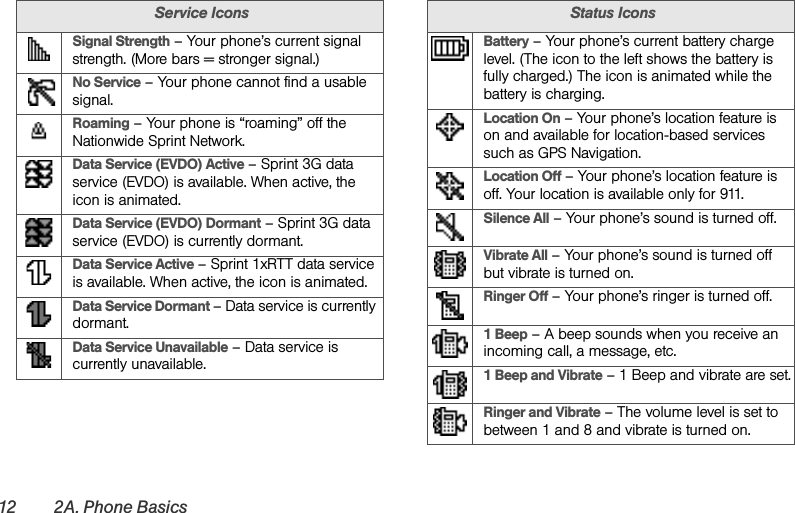
![3C. Entertainment: TV and Music 131TV and MusicStreaming MusicSprint offers a variety of musical options through the Music category in the Sprint TV menu, including SIRIUS Music, Music Choice, VH1, and many others. Choose from rock, pop, hip-hop, and R&B, and access exclusive video clips, music industry news, performances, and interviews with your favorite artists.1. Highlight and press > Entertainment > TV > Radio > [selection].2. Select Preview to see and hear a preview of your selected channel (if available).– or –Select Subscribe to purchase a monthly subscription to your selected channel.Once you have purchased access to a music or radio channel, you can select from a variety of stations to listen to your favorite music or get caught up on what’s new in music.Backing Up Your Downloaded Music FilesSprint recommends you back up your downloaded music files to your computer. Although the downloaded files can only be played on your phone and on your account, backing them up to your computer lets you access the files in case your microSD card is lost or damaged, or if you install a new microSD card.1. Connect your phone using a USB cable or the built-in connection on Bluetooth-enabled computers.2. Use your computer to navigate to the microSD card’s Music folder.3. Select and copy the music files to a folder on your computer’s hard drive.Note: Although you can store purchased and downloaded music files on your computer, they will only be playable on your phone and on your account. If you copy the files to a new microSD card, you will need to create a folder on the card called “MUSIC” to be able to play the music files.](https://usermanual.wiki/Kyocera/SCP-6780.User-Manual/User-Guide-1317046-Page-143.png)
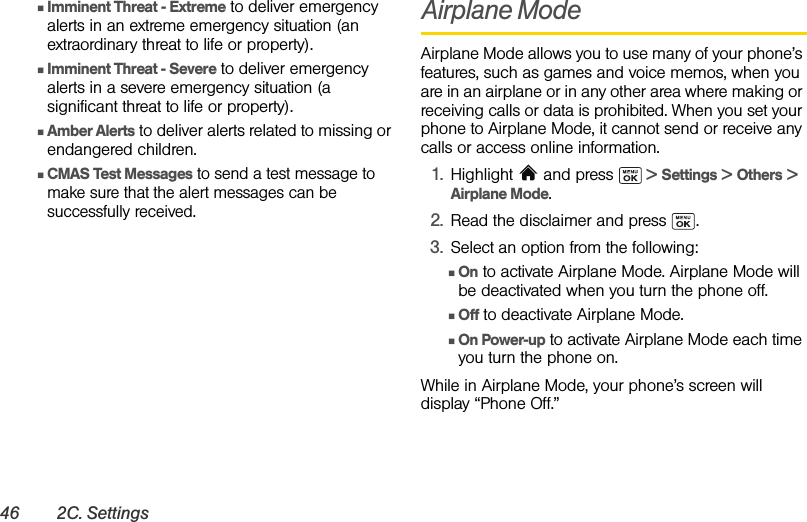
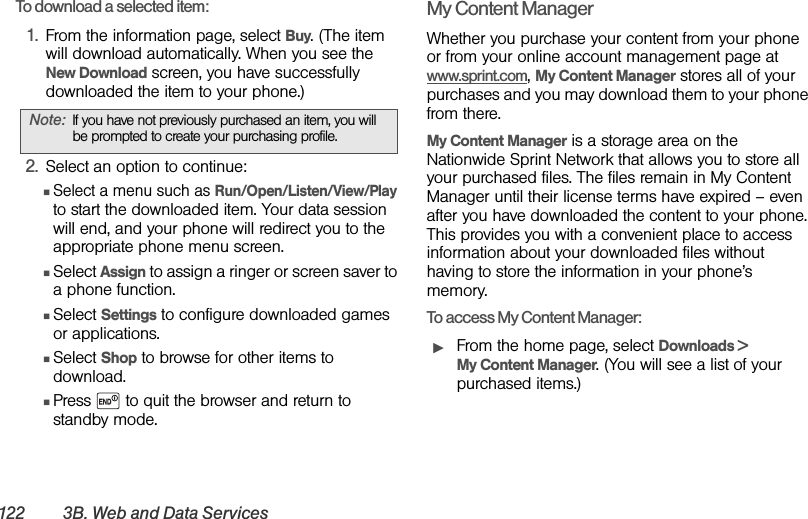
![132 3C. Entertainment: TV and MusicReceiving an Incoming Call While Playing MusicAn incoming call pauses any currently playing music file while the phone call is active. Once you end the call, you can choose to resume any paused applications. (Music will resume playing automatically.)1. Answer an incoming call by pressing . 2. When you are done with your call, press to end the call. The previously paused application then resumes.If the phone is running more than one simultaneous application (such as Sprint Music, Application [from My Stuff], and Games), the user interface can begin to slow down and result in music or sound interruptions.ⅷTo solve this type of issue, it is best to close down all other applications (Highlight and press > My Stuff > Application Manager > OPTIONS (right softkey) > Exit Application) before initiating a new application.Note: When placing an outgoing call, the Application Manager pauses your current music playback and allows you to proceed with your outgoing call. When you end the call, the Application Manager restarts the music playback.](https://usermanual.wiki/Kyocera/SCP-6780.User-Manual/User-Guide-1317046-Page-144.png)