Kyocera SCP-8600 Dual-Band CDMA Phone User Manual Sprint Basic Guide E73
Kyocera Corporation Dual-Band CDMA Phone Sprint Basic Guide E73
UserManual.wiki
>
Kyocera
>
SCP-8600 User Manual
>
User Manual
Contents
1.
User Manual
2.
Users Manual
User Manual
Navigation menu
Upload a User Manual
Namespaces
Wiki Guide
HTML
PDF
Info
Views
User Manual
Discussion / Help
Navigation

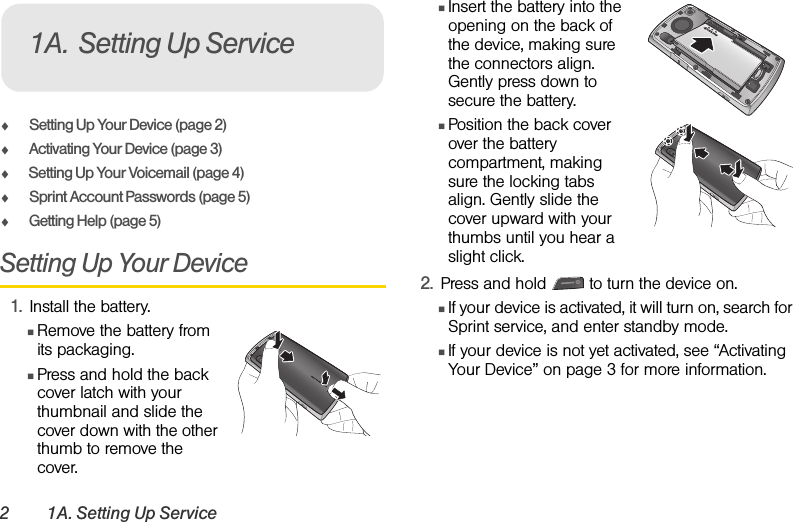
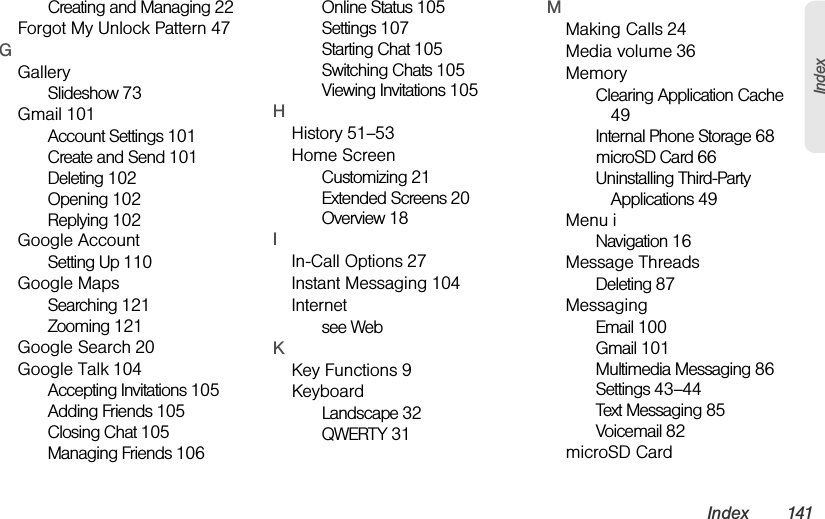
![1A. Setting Up Service 3Setting Up ServiceActivating Your DeviceⅷIf you purchased your device at a Sprint Store, it is probably activated and ready to use.ⅷIf you received your device in the mail and it is for a new Sprint account or a new line of service, it is designed to activate automatically. To confirm your activation, make a phone call.ⅷIf you received your device in the mail and you are activating a new device for an existing number on your account, you will need to go online to activate your new device.ⅢFrom your computer’s Web browser, go to www.sprint.com/activate and complete the onscreen instructions to activate your device.Sprint IDOnce your device is activated, the next thing you will need to do is to install an initial ID Pack. ID Packs are bundles of applications, ringtones, wallpapers, settings, and more. ID Packs are installed using an application called Sprint ID. You can install as many ID Packs as you wish, and you can easily switch from one ID Pack to another without losing any applications already installed.Installing Your First ID Pack1. Touch Install service pack on the Welcome screen. (If the lock screen appears, unlock it by dragging the Unlock icon [ ] to the right side of the screen.)2. Touch an ID Pack on the Browse Packs screen.3. Read the information screen for a description of the ID Pack and touch Download and Install.4. Touch Continue on any following screens until you see the Downloading... progress bar.Note: If you are having difficulty with activation, contact Sprint Customer Service by dialing 1-888-211-4727 from any other phone.Note: Your device must be activated, your battery should be fully charged, and you should be in a network coverage area before you install an ID Pack.](https://usermanual.wiki/Kyocera/SCP-8600.User-Manual/User-Guide-1317651-Page-17.png)


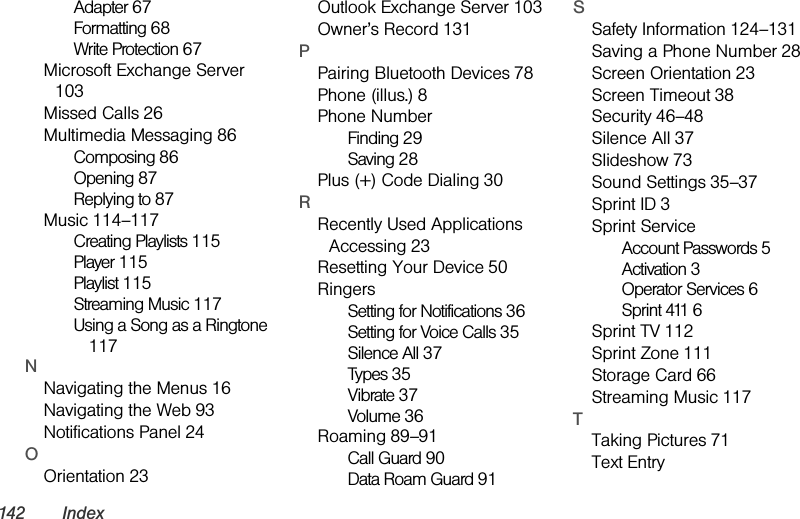
![30 2A. Device BasicsDialing From the Contacts List1. On the Home screen, touch Contacts.-or-On the Phone screen, touch the Contacts tab.2. Scroll through the list, touch the entry you want to call and touch Call [label].Dialing From the Favorites List1. On the Home screen, touch Contacts and then touch the Favorites tab.– or –On the Phone screen, touch the Favorites tab.2. Scroll through the list and touch . A call is made when the Favorite has only one phone number registered. The Call using window opens if the Favorite has multiple phone numbers registered. Touch the number you want to dial to make a call.Plus (+) Code DialingWhen placing international calls, Plus Code Dialing automatically enters the international access code for your location (for example, 011 for international calls made from the U.S.).1. On the Phone screen, touch and hold until you see a “+” on the display screen.2. Enter the country code and phone number, and then touch . (The device automatically prepends the access code for international dialing, followed by the country code and phone number.)](https://usermanual.wiki/Kyocera/SCP-8600.User-Manual/User-Guide-1317651-Page-44.png)
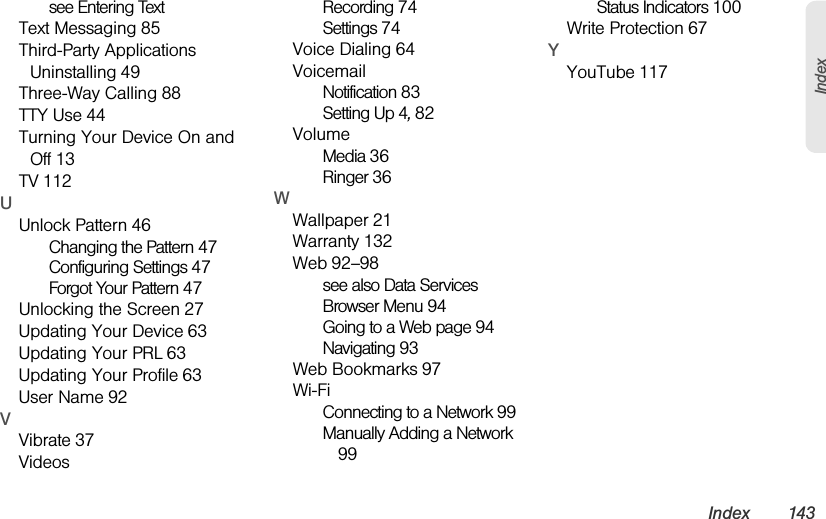
![52 2C. Call LogCall Log OptionsᮣTouch a call log entry to open the overview page where the call details are displayed at the top and any available options are listed underneath:ⅢCall [contact] to return the phone call.ⅢSend text message to send a text message to the entry.ⅢView contact/Add to contacts to display the entry's information or save the number to Contacts. ᮣTouch and hold an entry to display the options menu:ⅢCall [number] to return the phone call.ⅢView contact/Add to contacts to display the entry’s information or save the number to Contacts.ⅢEdit number before call to edit the number and then call the number.ⅢSend text message to send a text message to the entry.ⅢRemove from call log to delete the call information from call log.ᮣTouch > Clear call log to delete all call log entries.Making a Call From the Call Log ᮣPress and touch adjacent to the entry you would like to call.Saving a Number From the Call Log1. Touch an entry. 2. Touch Add to contacts.3. From the Contacts screen, touch Create new contact or touch an existing Contact entry name to save the number to an existing entry.4. Touch any field to enter the details.5. Enter all the necessary details and touch Done to save.Once you have saved the number, the call log list reflects the newly saved data.](https://usermanual.wiki/Kyocera/SCP-8600.User-Manual/User-Guide-1317651-Page-66.png)
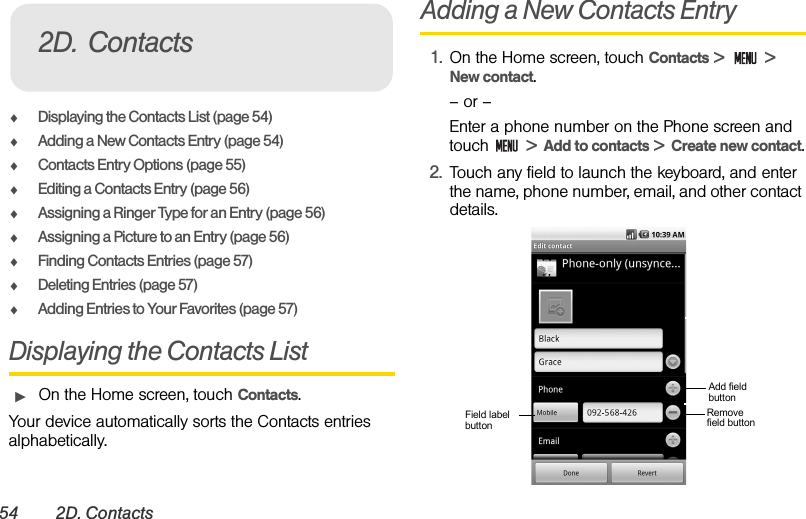
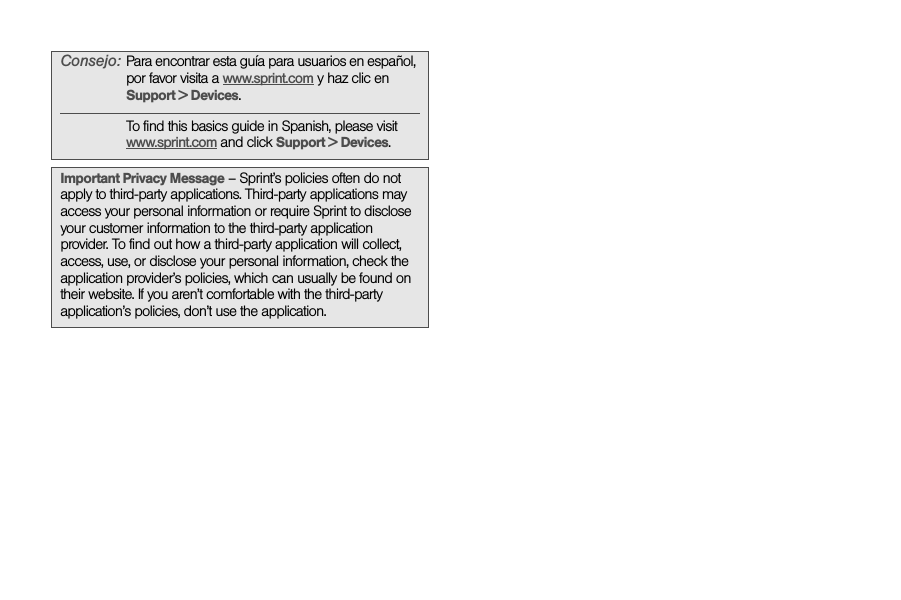
![2D. Contacts 55ContactsⅢTouch to assign a picture to the entry. See “Assigning a Picture to an Entry” on page 56.ⅢTo add more fields, touch the Add field button. To remove a field, touch the Remove field button.ⅢTo change the field label, touch the Field label button and touch an available option.ⅢScroll up or down to move through the contact fields.3. To save a contact, touch Done.Contacts Entry OptionsᮣTouch the picture ID ( ) to display icons of available applications, and then touch an icon to launch an application.ᮣTouch, or touch and hold, a Contacts entry for the following options:ⅢCall [number/label] or Call contact to call the contact.ⅢText [number/label] or Text contact to send a text message to the contact.ⅢEmail [label] to send an email to the contact.ⅢView contact to display the contact's overview page.ⅢAdd to favorites/Remove from favorites to add the contact to, or remove the contact from, the favorites list.ⅢEdit contact to edit the contact's details.ⅢDelete contact to delete the current Contacts entry from your device.ᮣTouch a Contacts entry and then touch :ⅢEdit contact to edit the entry.ⅢShare to share the data via messaging.ⅢOptions to assign a ringtone to the entry or to send calls from the entry directly to voicemail.ⅢDelete contact to delete the entry.Tip: ICE - In Case of EmergencyTo make it easier for emergency personnel to identify important contacts, you can list your local emergency contacts under “ICE” in your device’s Contacts list. For example, if your mother is your primary emergency contact, list her as “ICE–Mom” in your Contacts. To list more than one emergency contact, use “ICE1–___,” “ICE2–___,” etc.](https://usermanual.wiki/Kyocera/SCP-8600.User-Manual/User-Guide-1317651-Page-69.png)
![64 2F. Voice ServicesࡗAutomatic Speech Recognition (ASR) (page 64)ࡗText-to-Speech (page 65)Automatic Speech Recognition (ASR)You can use your device’s built-in automatic speech recognition (ASR) software (Voice Dialer) to dial a phone number in your Contacts or to launch device functions. All you have to do is talk into the device, and ASR will recognize your voice and complete tasks by itself.Activating the Voice DialerᮣTouch > > Voice Dialer.The device prompts you to say a command from the list displayed onscreen. When the application recognizes the command, it executes the command right away.If the application does not recognize the number, name, or application name, it will find the most likely matches and display a list. Touch a selection or touch Cancel to exit the Voice Dialer.Making a Voice Call With the Voice Dialer1. Press and hold .2. When prompted to speak, say “Call [contact]” or “Dial [number].”ⅢFor example, say “Call John Smith on mobile,” to call John Smith’s mobile phone. Your device dials the number stored for the contact “John Smith” with the label “Mobile.”Shortcut: Press and hold .2F. Voice ServicesTip: Use ASR in a quiet environment so it can accurately recognize your commands.](https://usermanual.wiki/Kyocera/SCP-8600.User-Manual/User-Guide-1317651-Page-78.png)
![2F. Voice Services 65Voice ServicesOpening an Application With the Voice Dialer1. Press and hold .2. When prompted to speak, say “Open [application name].” ⅢFor example, say “Open Calendar,” to open the Calendar. The application screen is displayed.Opening a Settings Menu With the Voice Dialer1. Press and hold .2. When prompted to speak, say “Open [settings menu name].”ⅢFor example, say “Open sound & display settings.” The settings menu screen is displayed.Text-to-SpeechYour device can convert text into speech in some downloaded applications. You may select the language you hear or adjust its speed.1. Touch > > Settings > Text-to-speech. 2.Touch Install voice data and download and install the voice data from Android Market. (You will be asked to set up a Google Account if you have not already done so. See “Creating a Google Account ” on page 110.) Once the data is installed, you can access other Text-to-speech menus.3. Touch Speech rate and select a speed.4. Touch Language and select a language.5. Touch Listen to an example to play a short demonstration of the set speech synthesis.6. Touch the Always use my settings check box to keep your settings.](https://usermanual.wiki/Kyocera/SCP-8600.User-Manual/User-Guide-1317651-Page-79.png)


![3C. Entertainment: TV and Music 117TV and Music Setting Music As a Ringtone1. Open the Music library and browse for the music that you want to set as ringtone.2. Touch and hold a selection, and then touch Use as phone ringtone.Deleting MusicYou can delete music files from the microSD card.1. Open the Music library and browse for the music that you want to delete.2. Touch and hold a selection, and then touch Delete.3. Touch OK to confirm.Streaming MusicSprint offers a variety of musical options through the Music category in the Sprint TV menu, including SIRIUS Music, Music Choice, VH1, and many others. Choose from rock, pop, hip-hop, and R&B, and access exclusive video clips, music industry news, performances, and interviews with your favorite artists.1. Touch > > Sprint TV > Radio > [selection].2. Select Subscribe to purchase a monthly subscription to your selected channel.Once you have purchased access to a music or radio channel, you can select from a variety of stations to listen to your favorite music or get caught up on what’s new in music.YouTubeYouTube™ is a video sharing website on which users can upload and share videos. The site is used to display a wide variety of user-generated video content, including movie clips, TV clips, and music videos, as well as video content such as video blogging, informational shorts and other original videos. Opening YouTubeᮣTouch > > YouTube. The library screen appears.Watching YouTube Videos1. On the YouTube screen, touch a video.](https://usermanual.wiki/Kyocera/SCP-8600.User-Manual/User-Guide-1317651-Page-131.png)