LG Electronics USA 50PX950UA Plasma monitor User Manual 50PX950 U 2
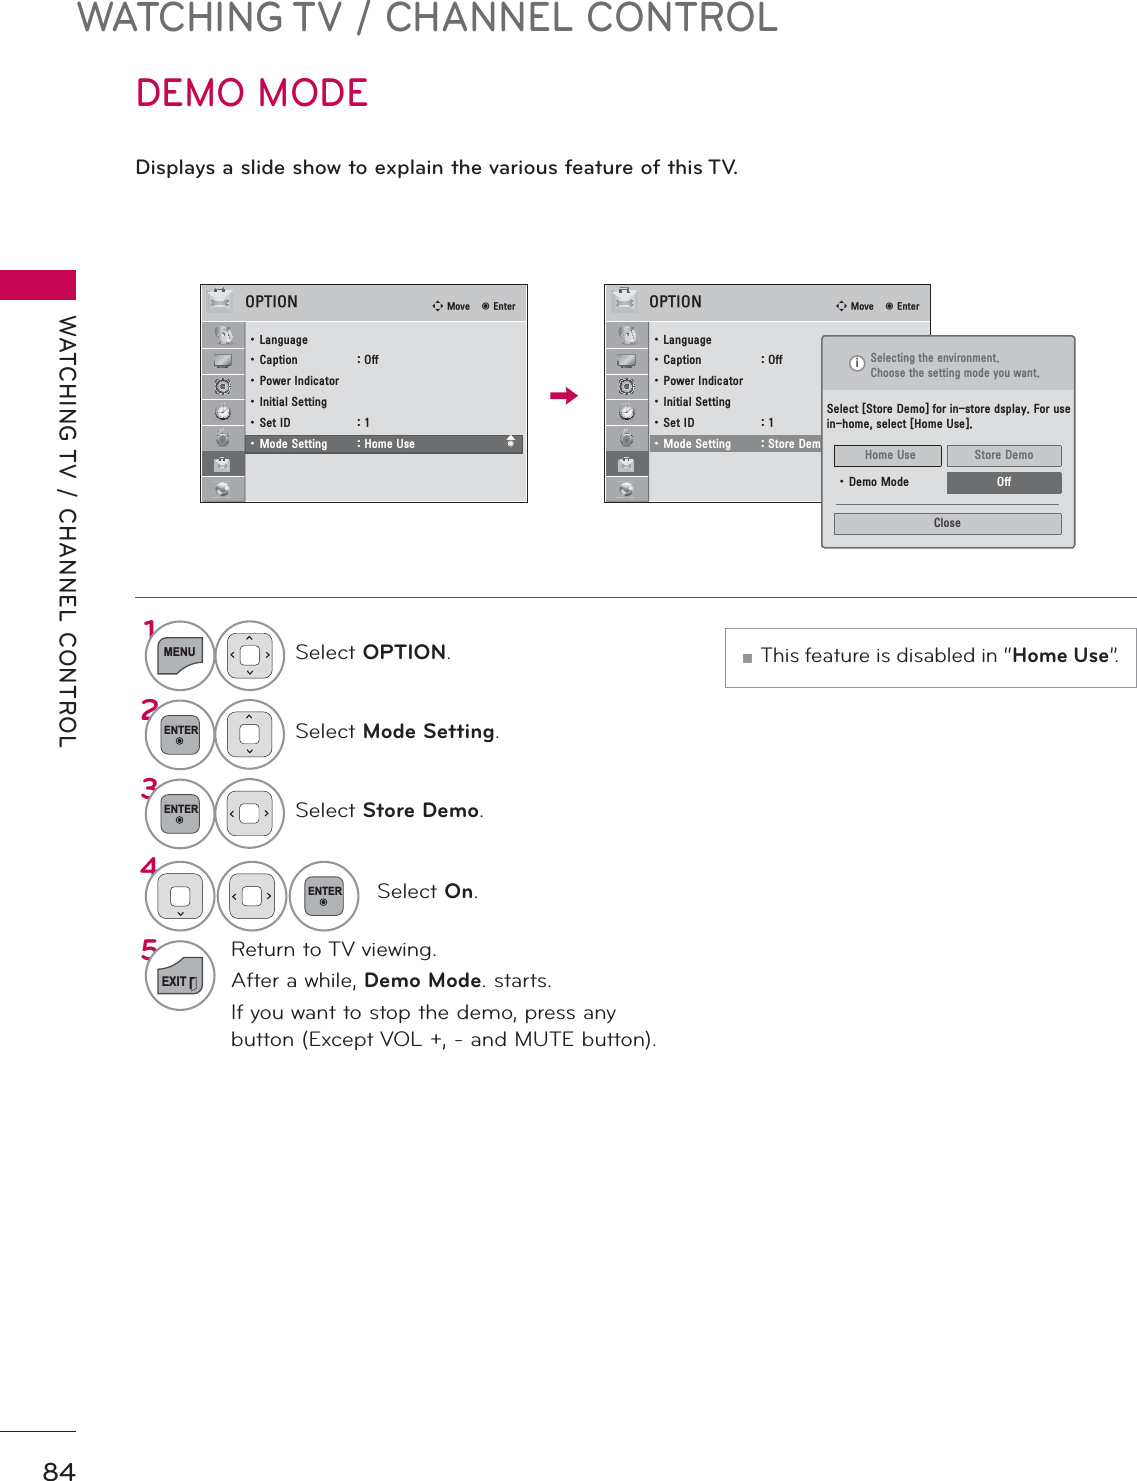
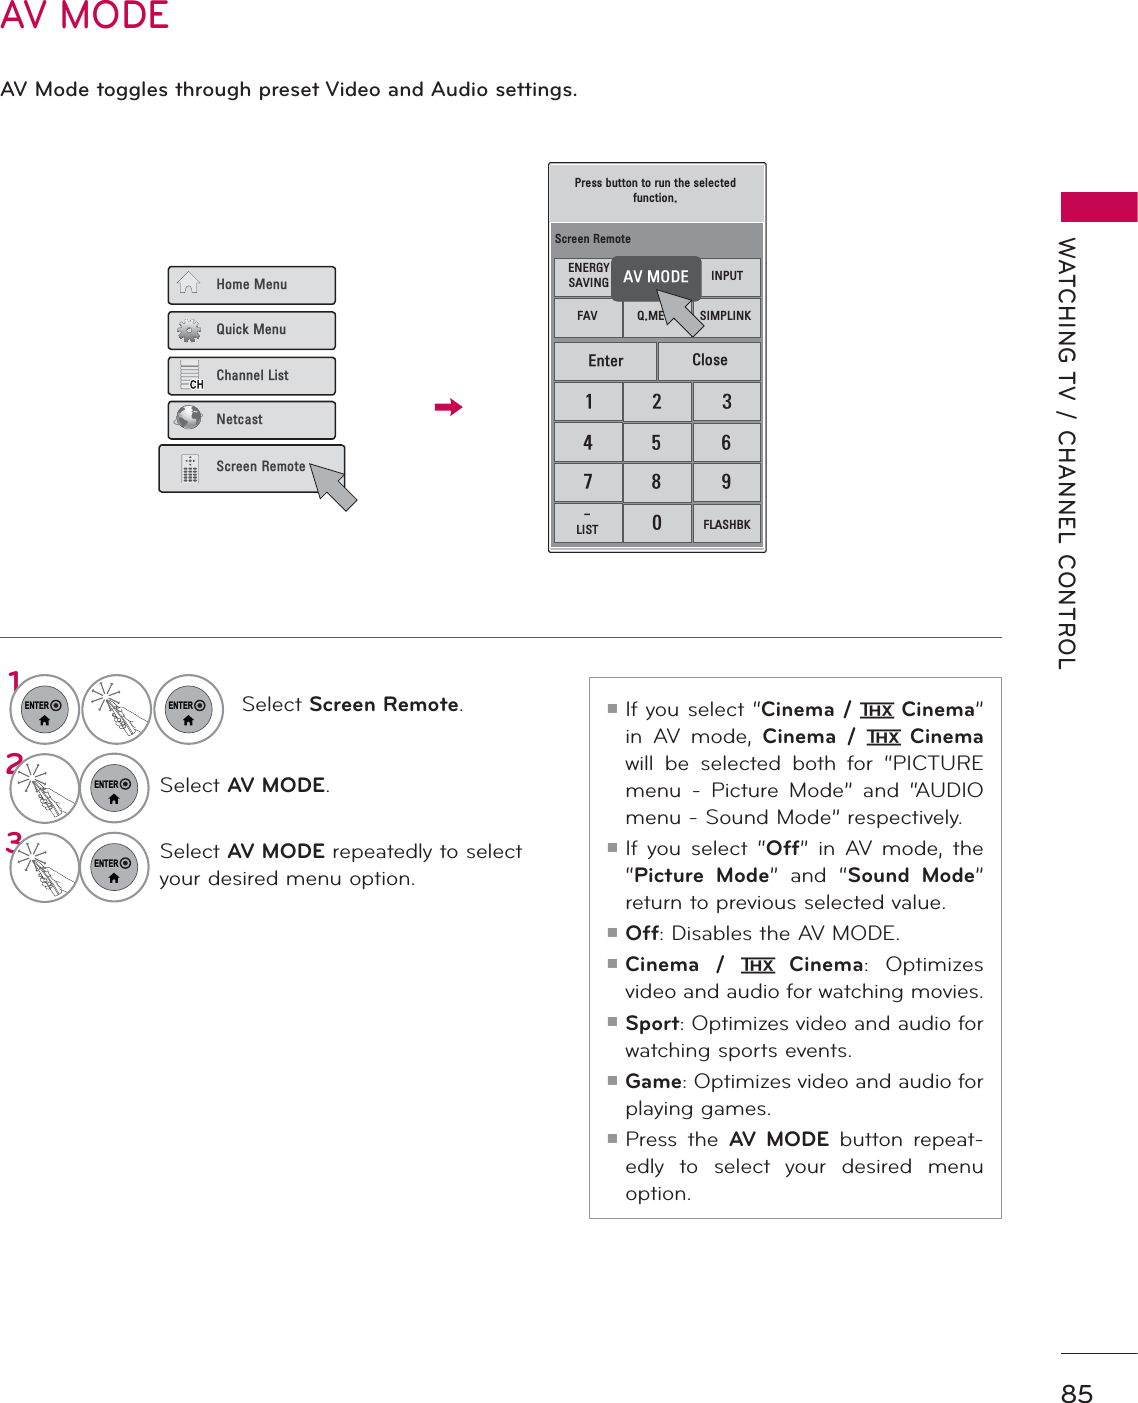
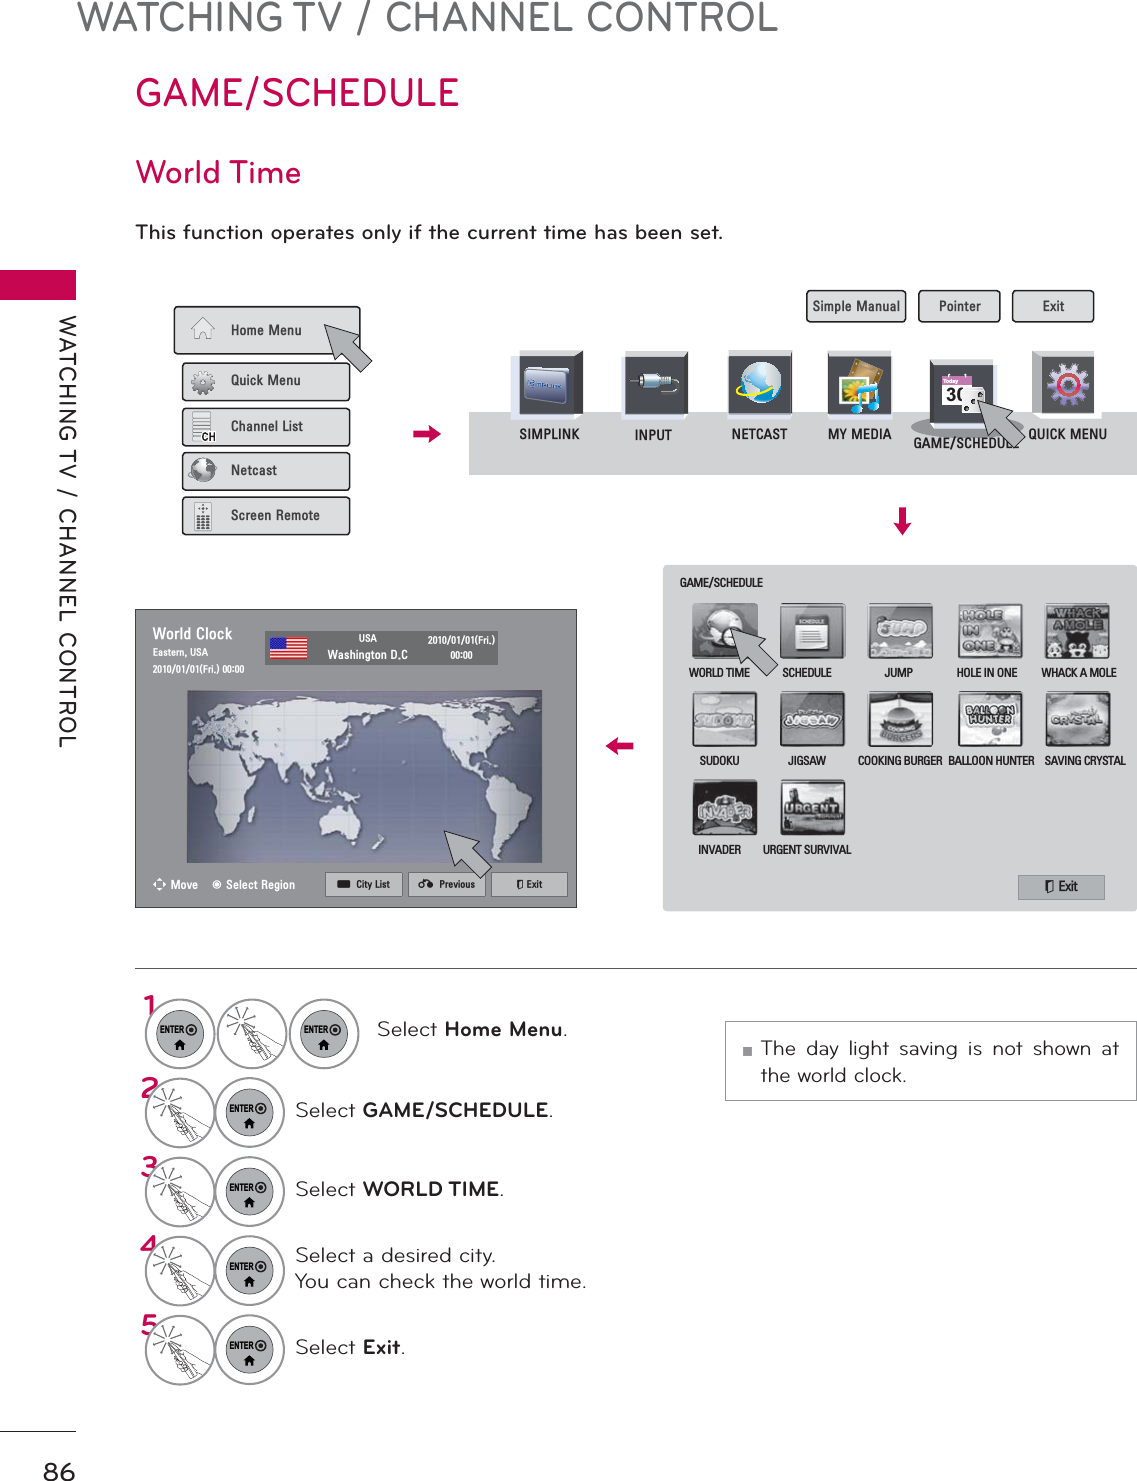
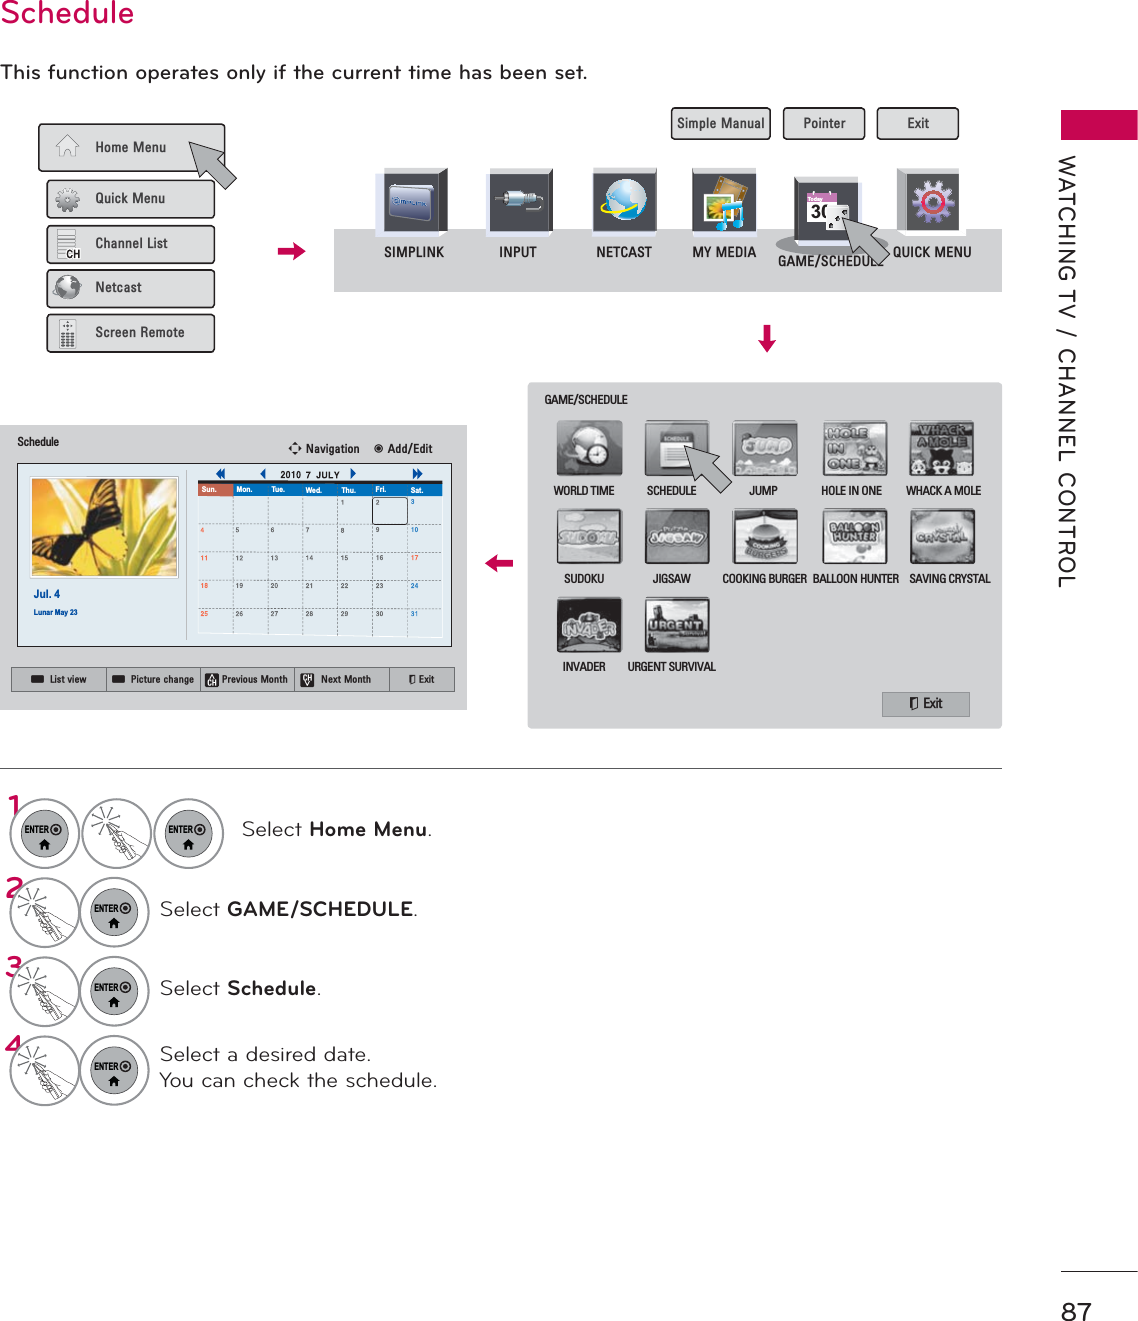
LG Electronics USA Plasma monitor 50PX950 U 2
UserManual.wiki
>
LG Electronics USA
>
50PX950UA User Manual
>
User manual 2 of 2
Contents
1.
User manual 1 of 2
2.
User manual 2 of 2
User manual 2 of 2
Navigation menu
Upload a User Manual
Namespaces
Wiki Guide
HTML
PDF
Info
Views
User Manual
Discussion / Help
Navigation
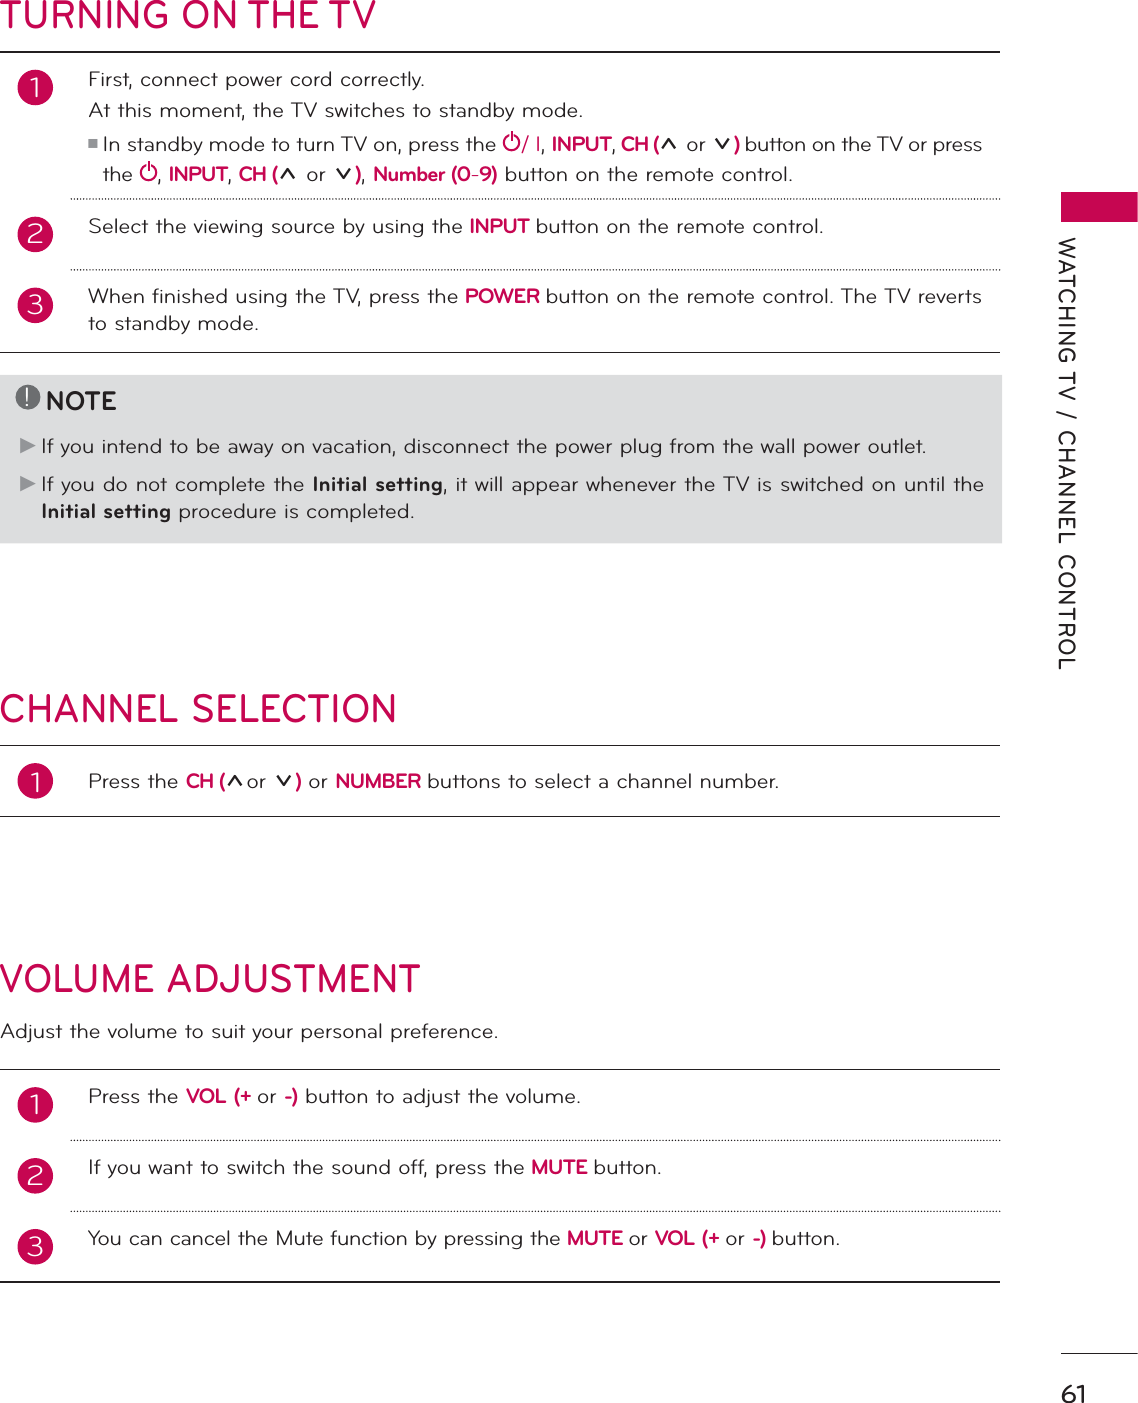
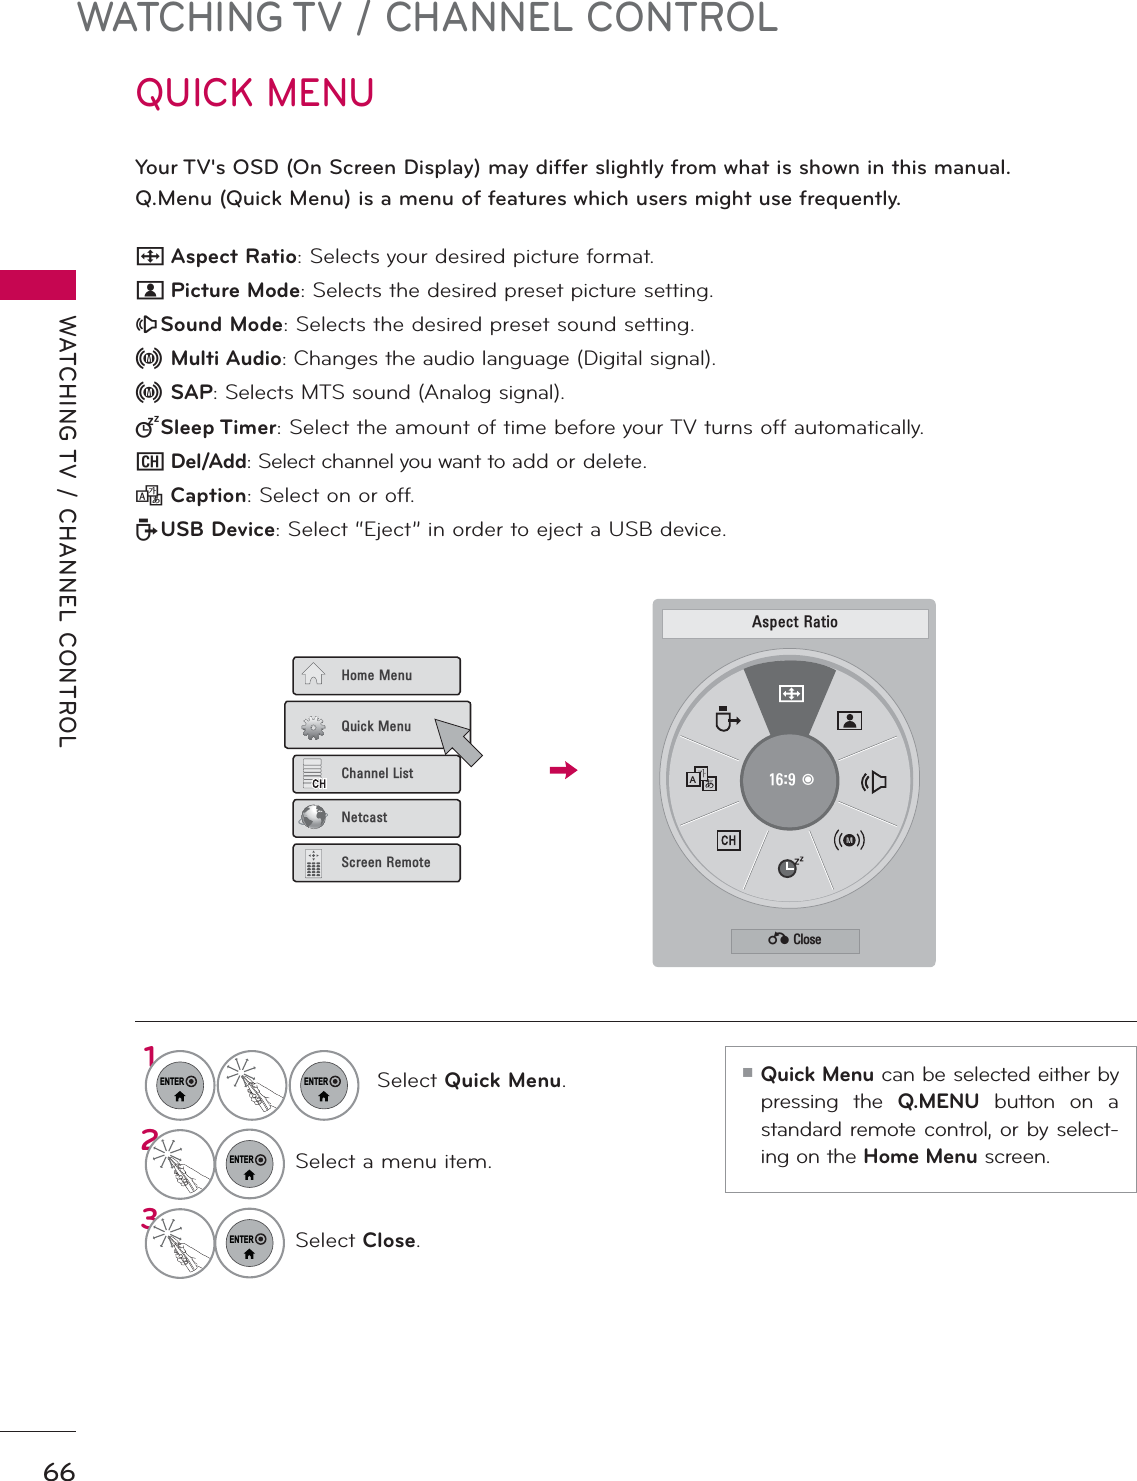
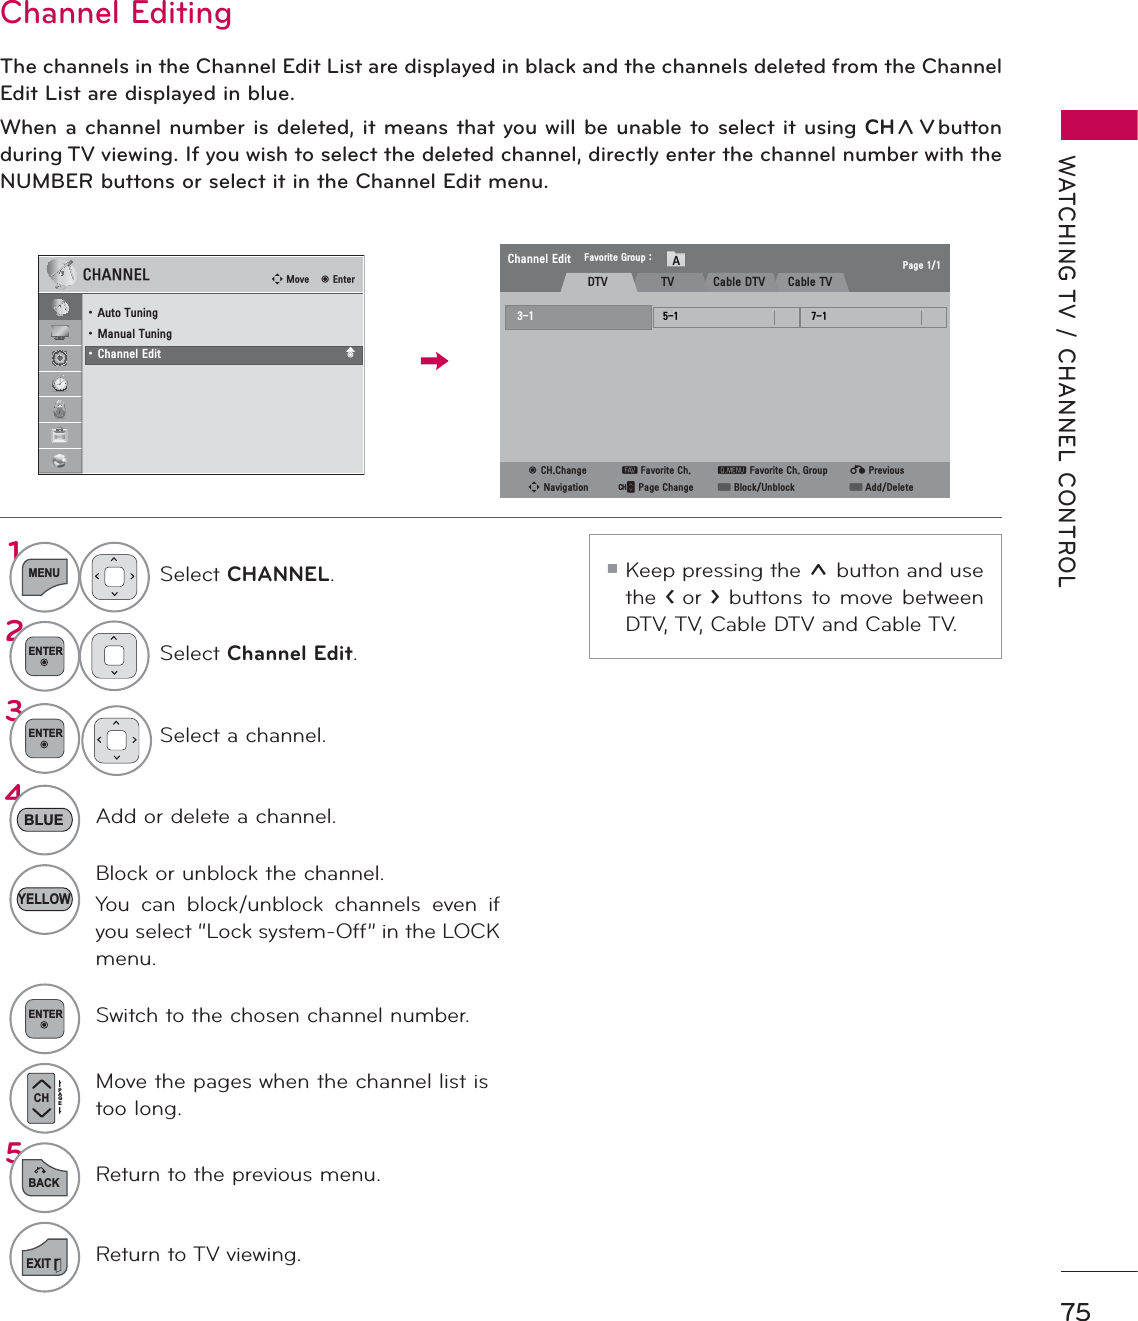
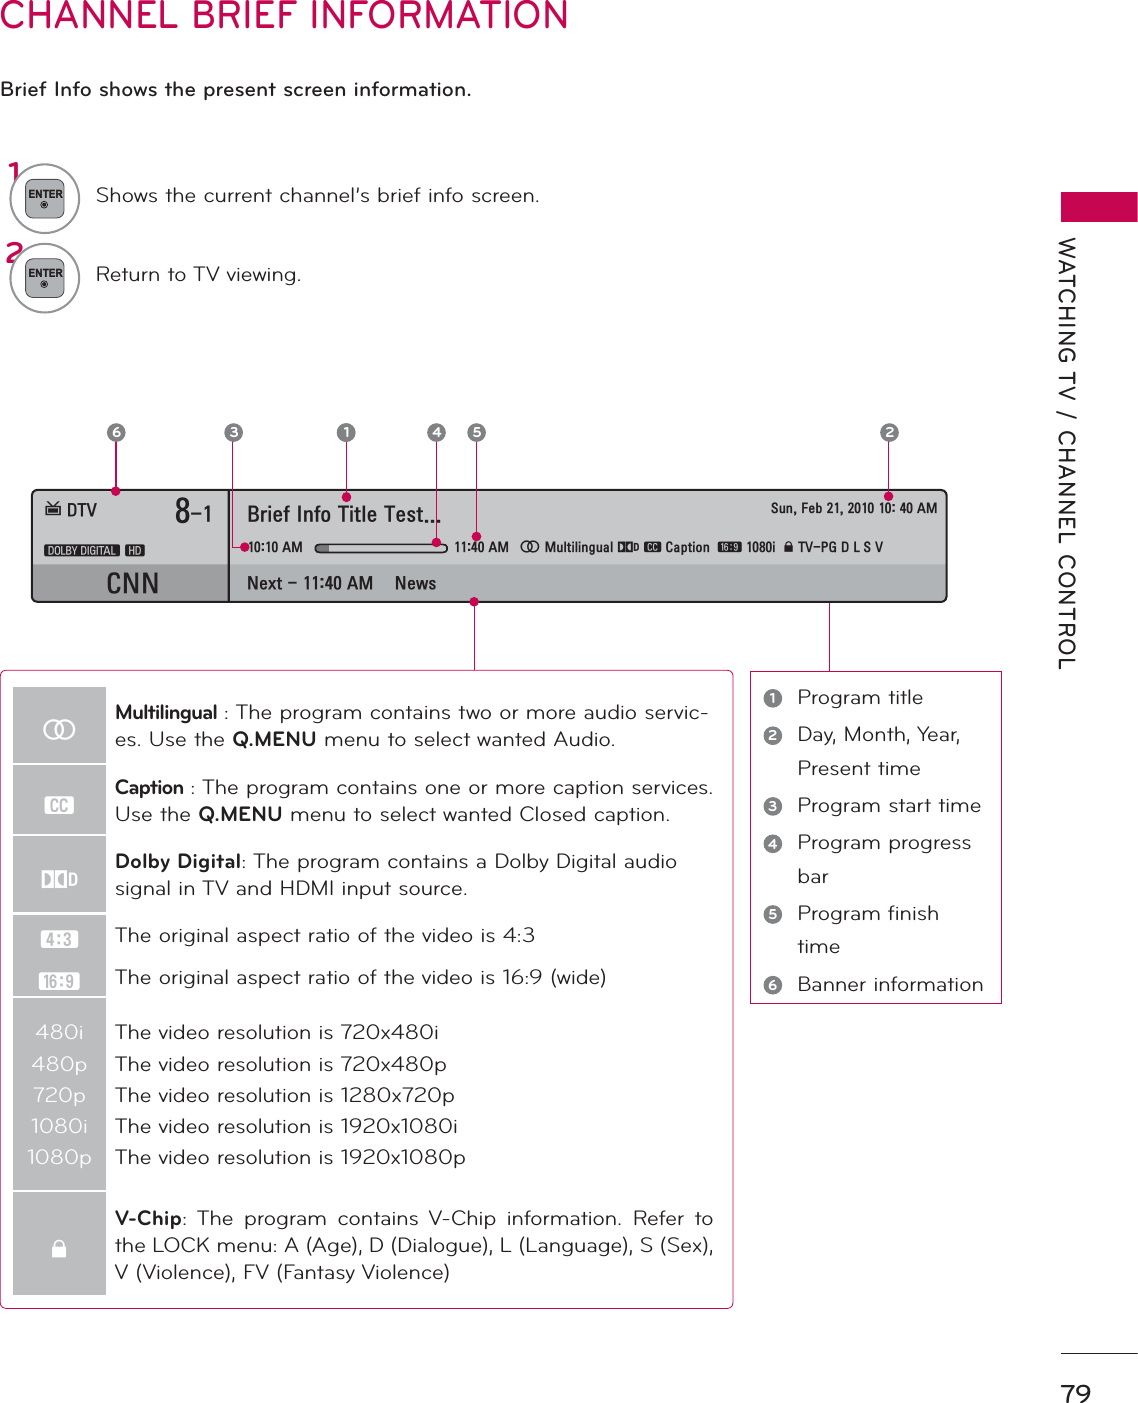
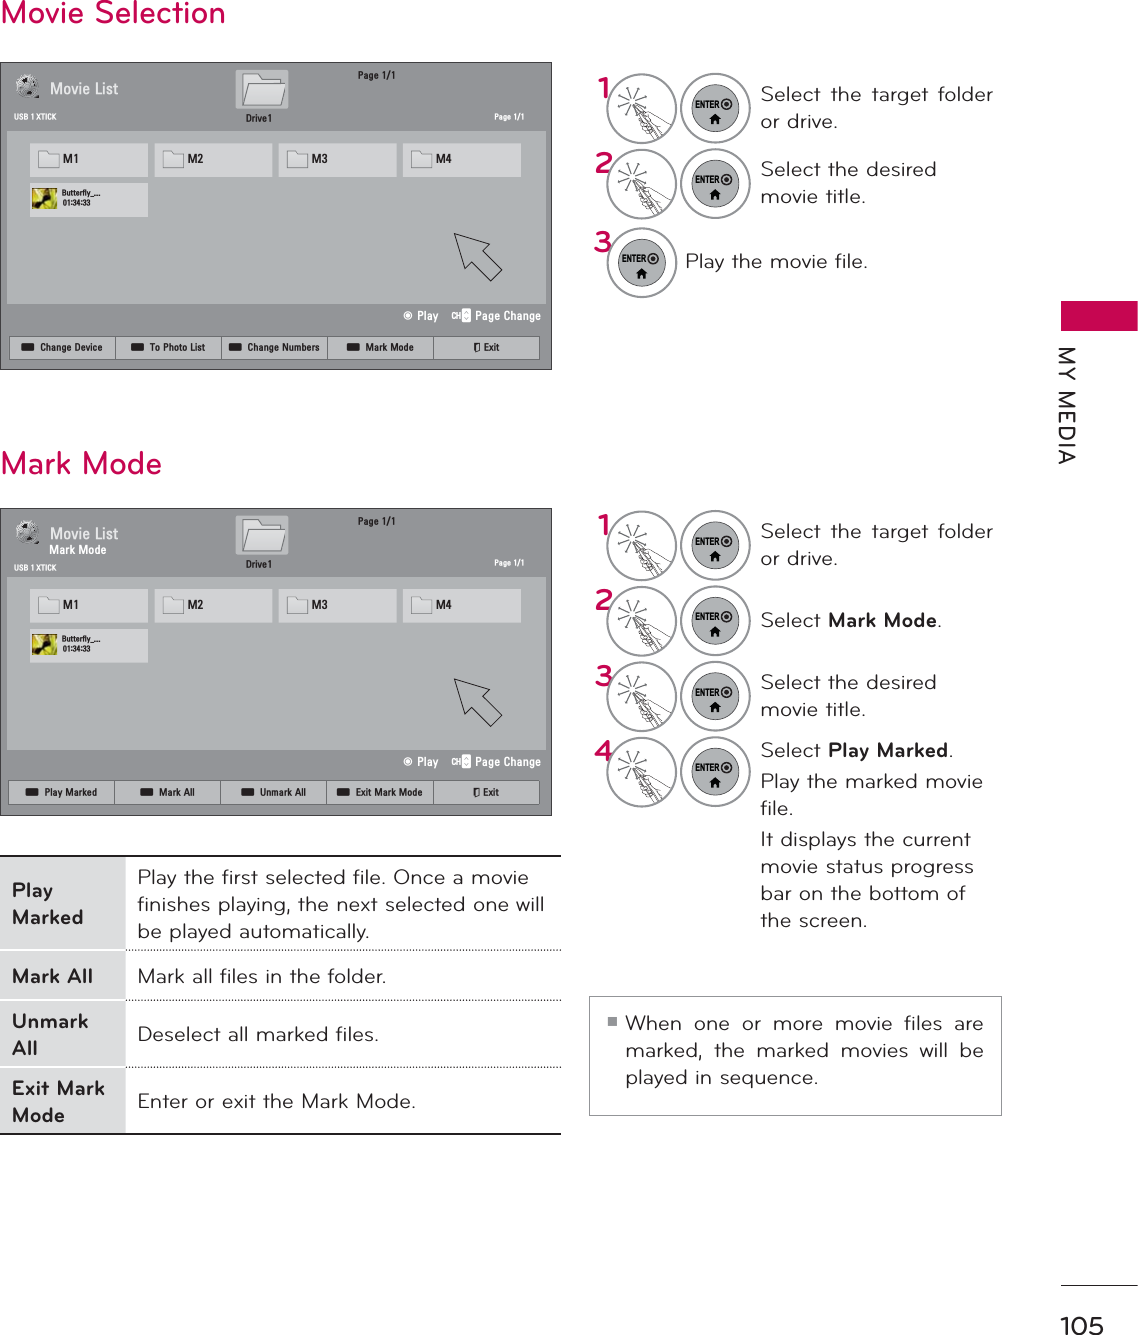
![WATCHING TV / CHANNEL CONTROLWATCHING TV / CHANNEL CONTROL64&+$11(/237,213,&785($8',2 7,0(/2&.ON-SCREEN MENUS SELECTIONYour TV's OSD (On Screen Display) may differ slightly from that shown in this manual.3,&785( ᯒ0RYHᯙ(QWHUؒ $VSHFW5DWLR ؒ 3LFWXUH:L]DUGؒ ᰚ(QHUJ\6DYLQJ 2IIؒ 3LFWXUH0RGH 6WDQGDUG ؒ%DFNOLJKW ؒ&RQWUDVW ؒ%ULJKWQHVV ؒ6KDUSQHVV7,0( ᯒ0RYHᯙ(QWHUؒ &ORFNؒ 2II7LPH 2IIؒ 2Q7,PH 2IIؒ 6OHHS7LPHU 2II/2&. ᯒ0RYHᯙ(QWHUؒ 6HW3DVVZRUGؒ /RFN6\VWHP 2Q ؒ%ORFN&KDQQHO ؒ0RYLH5DWLQJ ؒ795DWLQJ&KLOGUHQ ؒ795DWLQJ*HQHUDO ؒ'RZQORDGDEOH5DWLQJ ؒ,QSXW%ORFNؒ 6HW3DVVZRUGؒ /RFN6\VWHP 2Q ؒ%ORFN&KDQQHO ؒ795DWLQJ(QJOLVK ؒ795DWLQJ)UHQFK ؒ'RZQORDGDEOH5DWLQJ ؒ,QSXW%ORFNؒ .H\/RFN 2II237,21 ᯒ0RYHᯙ(QWHUؒ /DQJXDJHؒ &DSWLRQ 2IIؒ 3RZHU,QGLFDWRUؒ ,QLWLDO6HWWLQJؒ 6HW,' ؒ 0RGH6HWWLQJ +RPH8VHؒ ,5%ODVWHU 2II$8',2 ᯒ0RYHᯙ(QWHUؒ $XWR9ROXPH 2IIؒ &OHDU9RLFH,, 2IIᰕ3ؒ %DODQFH ؒ 6RXQG0RGH 6WDQGDUG ؒ,QILQLWH6RXQG2II ؒ7UHEOH ؒ%DVV ؒ5HVHW/R&+$11(/ ᯒ0RYHᯙ(QWHUؒ $XWR7XQLQJؒ 0DQXDO7XQLQJؒ &KDQQHO(GLW1MENUDisplay each menu.2ENTERSelect a menu item.3ENTERAccept the current selection.4EXITReturn to TV viewing.!NOTEŹISM Method: For Plasma TV.ŹBacklight, TruMotion, LED Local Dimming, Power Indicator: For LED LCD TV.ᯫFor further information, refer to the optional “Wireless Media Box”manual for operating instructions.For USAFor Canada](https://usermanual.wiki/LG-Electronics-USA/50PX950UA.User-manual-2-of-2/User-Guide-1302634-Page-4.png)
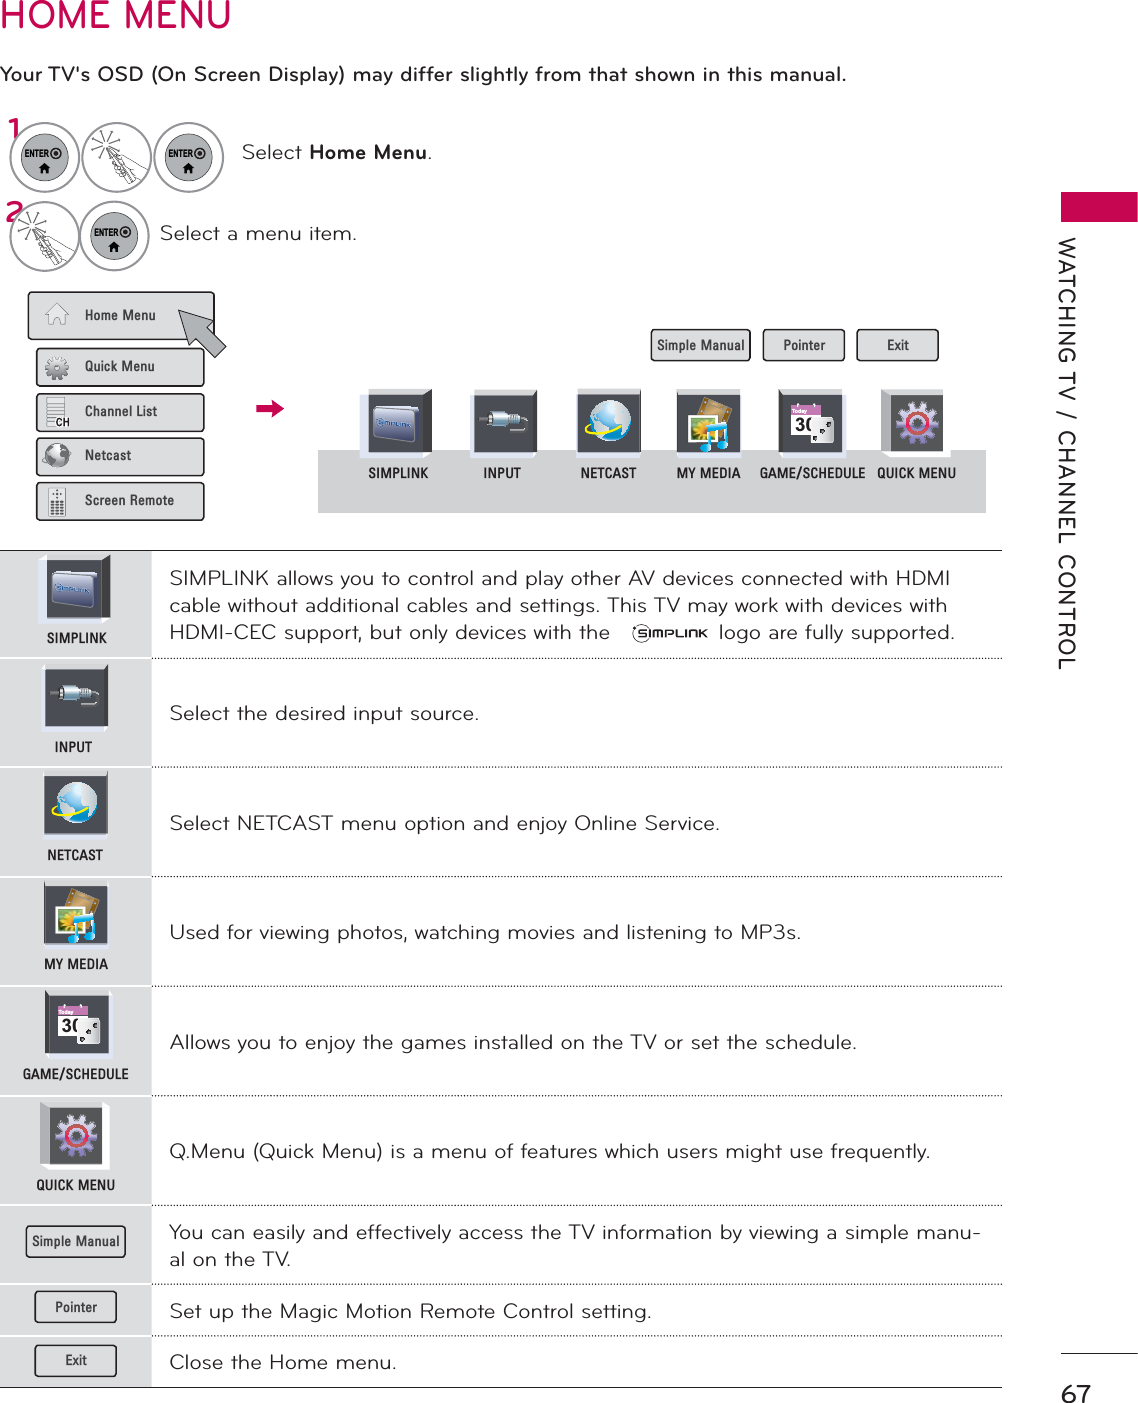

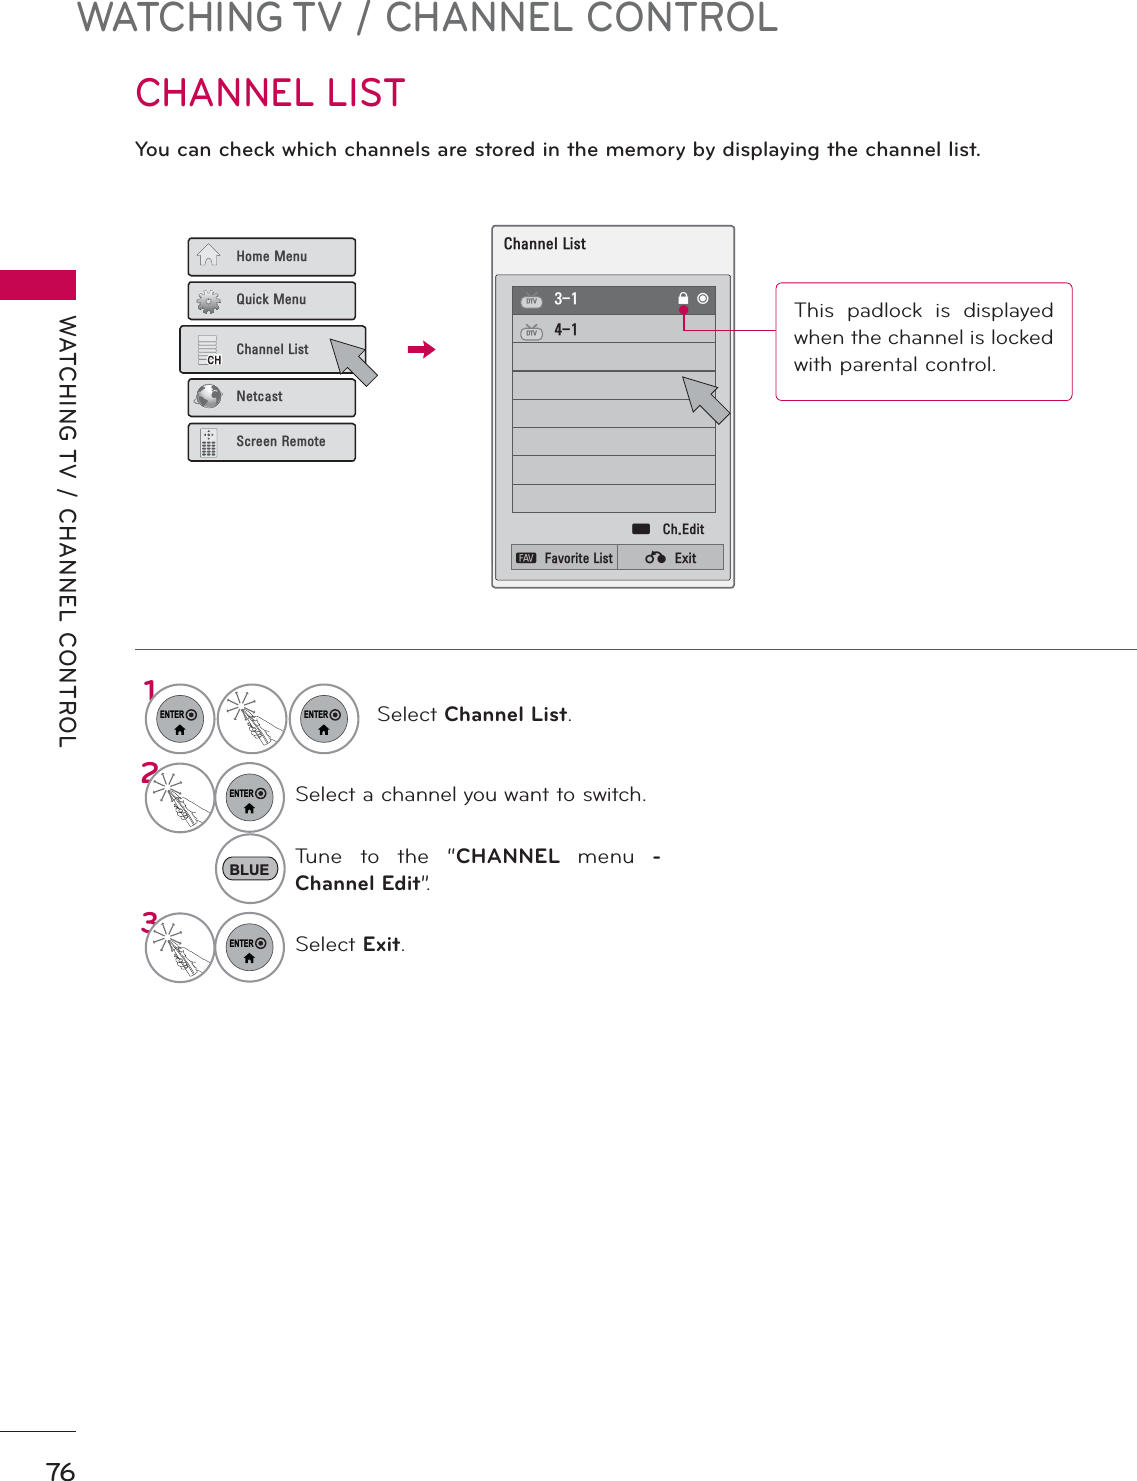

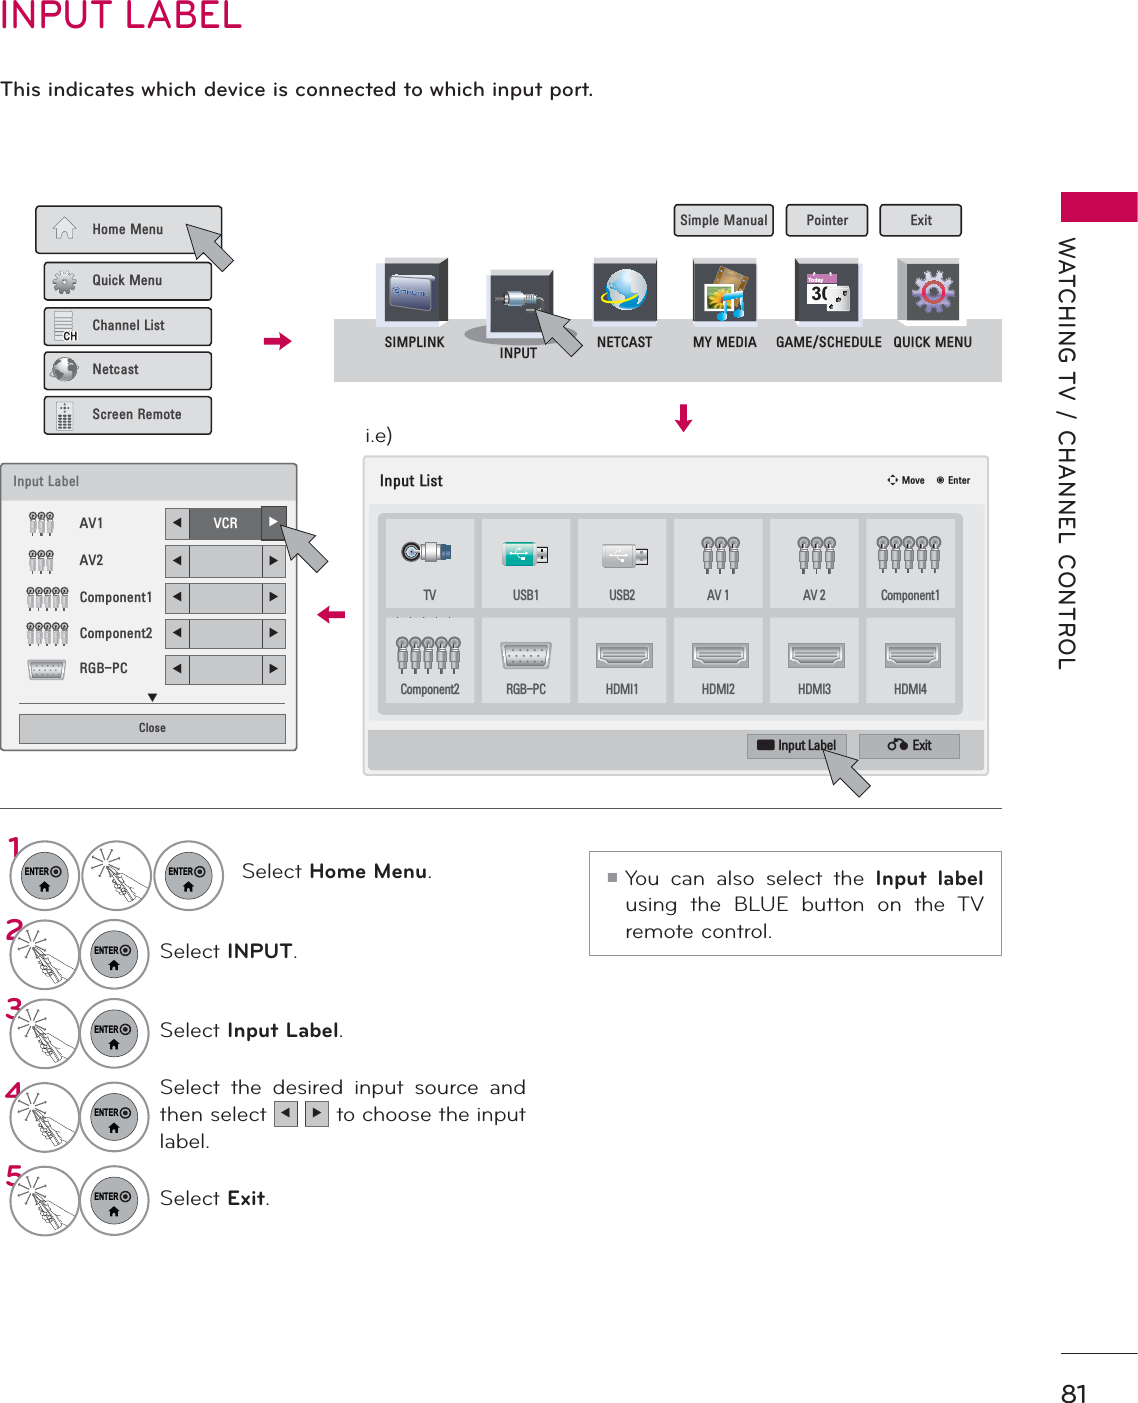
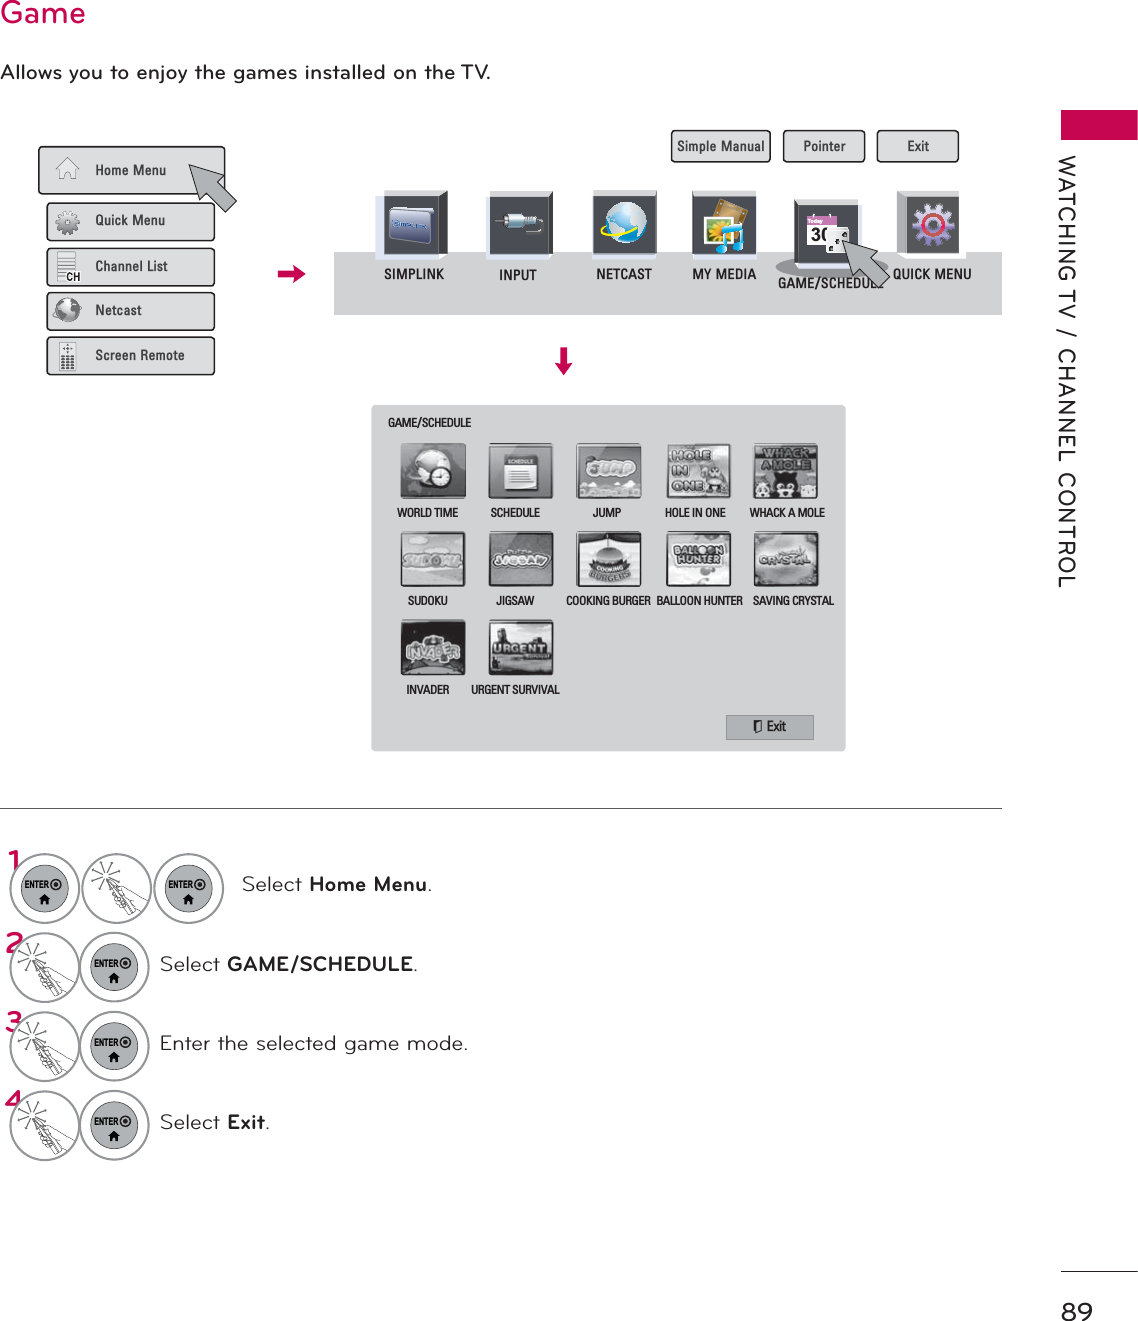

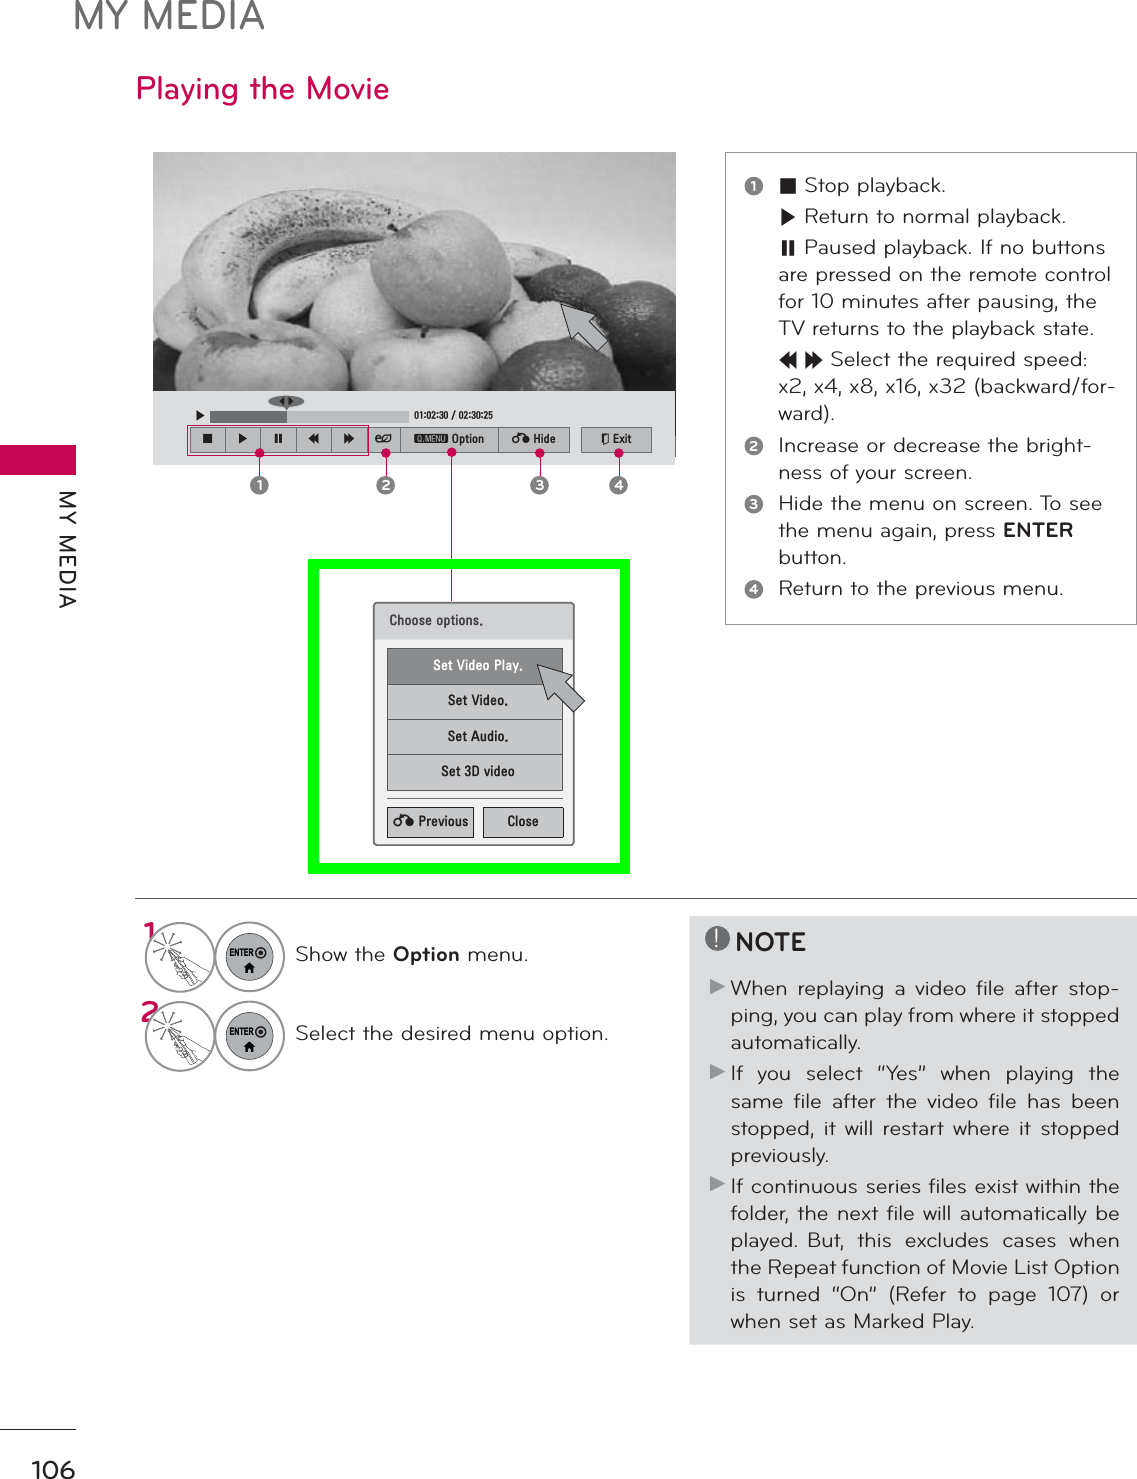
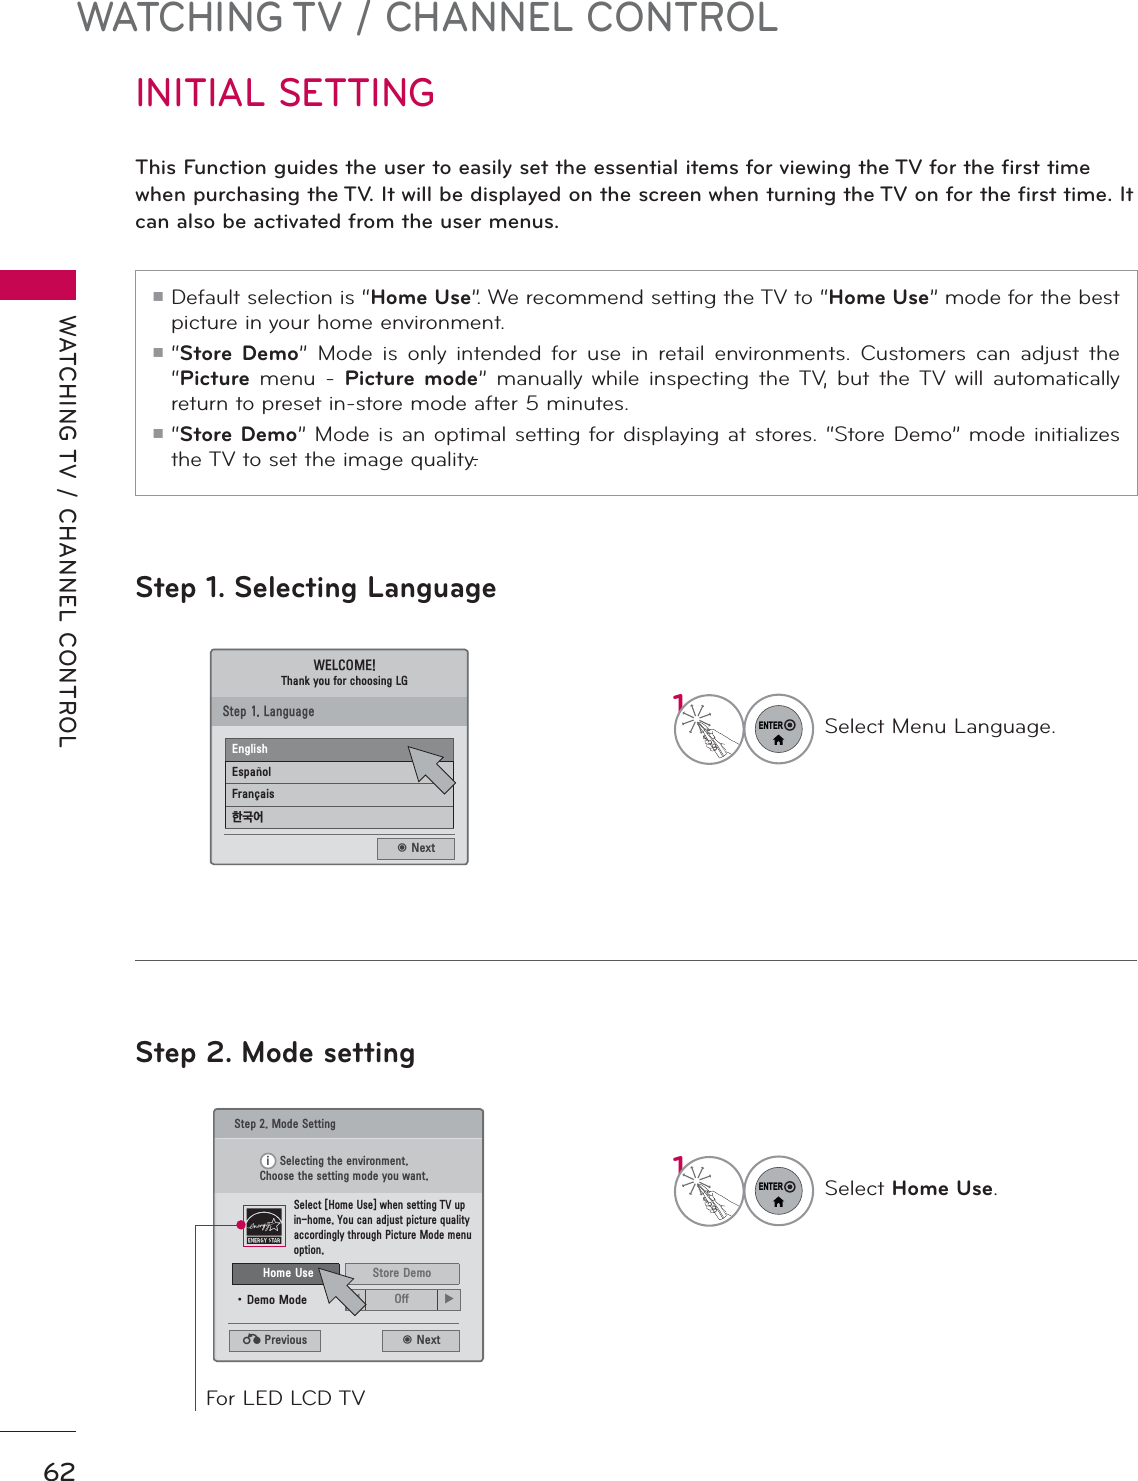
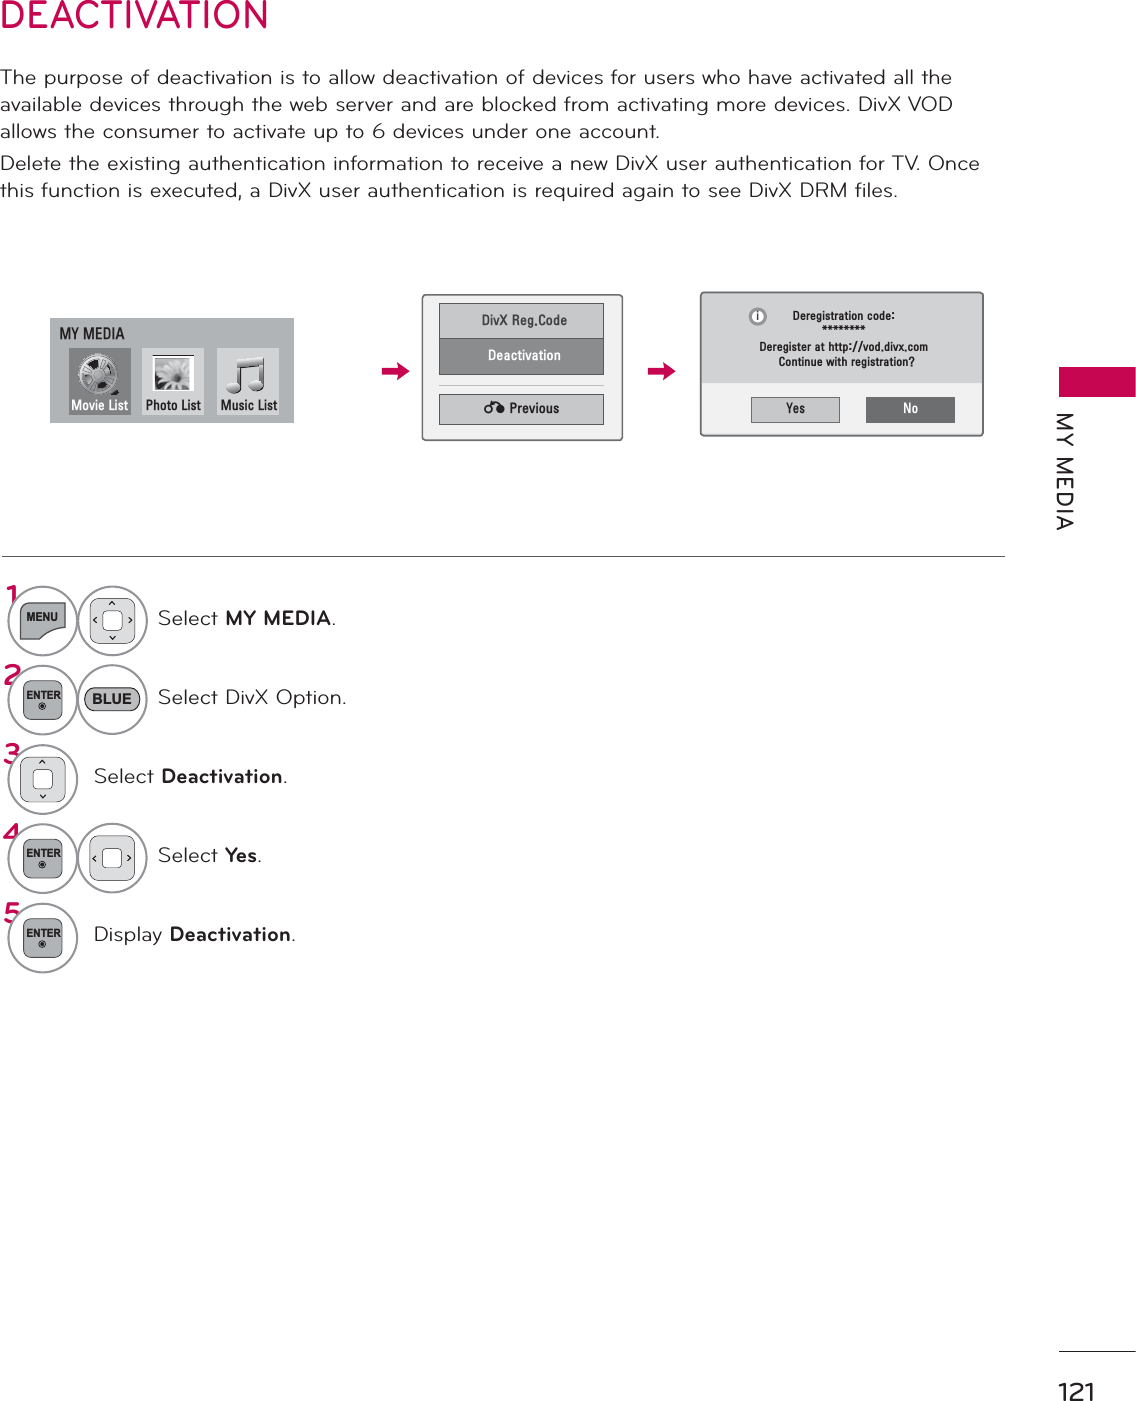
![107MY MEDIASubtitle Language Group Supported LanguageLatin1 English, Spanish, FrenchKorean English, KoreanSet Video Play Menu Options6HW9LGHR3OD\3LFWXUH6L]H ܁)XOO ۽$XGLR/DQJXDJH ܁۽6XEWLWOH/DQJXDJH ܁2Q ۽ؒ/DQJXDJH ܁(QJOLVK ۽ؒ&RGH3DJH ܁'HIDXOW ۽ؒ6\QF ܁۽ؒ3RVLWLRQ ܁۽ؒ6L]H ܁1RUPDO ۽5HSHDW ܁2II ۽Code PageᯫPicture Size: Selects your desired picture format for videos.Full Mode: Files are played in full screen mode regardless of the aspect ratio of video.Original Mode: Files are played according to the aspect ratio of video.ᯫAudio Language: Changes the Language Group of the audio for video files. Files with a single audio track cannot be selected.ᯫSubtitle Language: The subtitles can be turned on or off.ᯫLanguage: Activated for SMI subtitles and can select the language within the subtitle.ᯫCode Page: Subtitle font selection. When set to default, contents are displayed in the language set in "Option - Language - Menu Language."ᯫSync: When the video is not synchro-nized with the captions, it can be adjusted by 0.5 second.ᯫPosition: Move the location of the subtitles.ᯫSize: Changes the subtitle font size.ᯫRepeat: Turn on/off repeat function of movie playback. When turned on, the file within the folder will be played back repeatedly. When turned off, if the next file name is similar to the previous file, it can be played sequen-tially.1ENTERSelect the desired menu option.2ENTERMake appropriate adjustments.۽ᰙ3UHYLRXV &ORVH](https://usermanual.wiki/LG-Electronics-USA/50PX950UA.User-manual-2-of-2/User-Guide-1302634-Page-47.png)
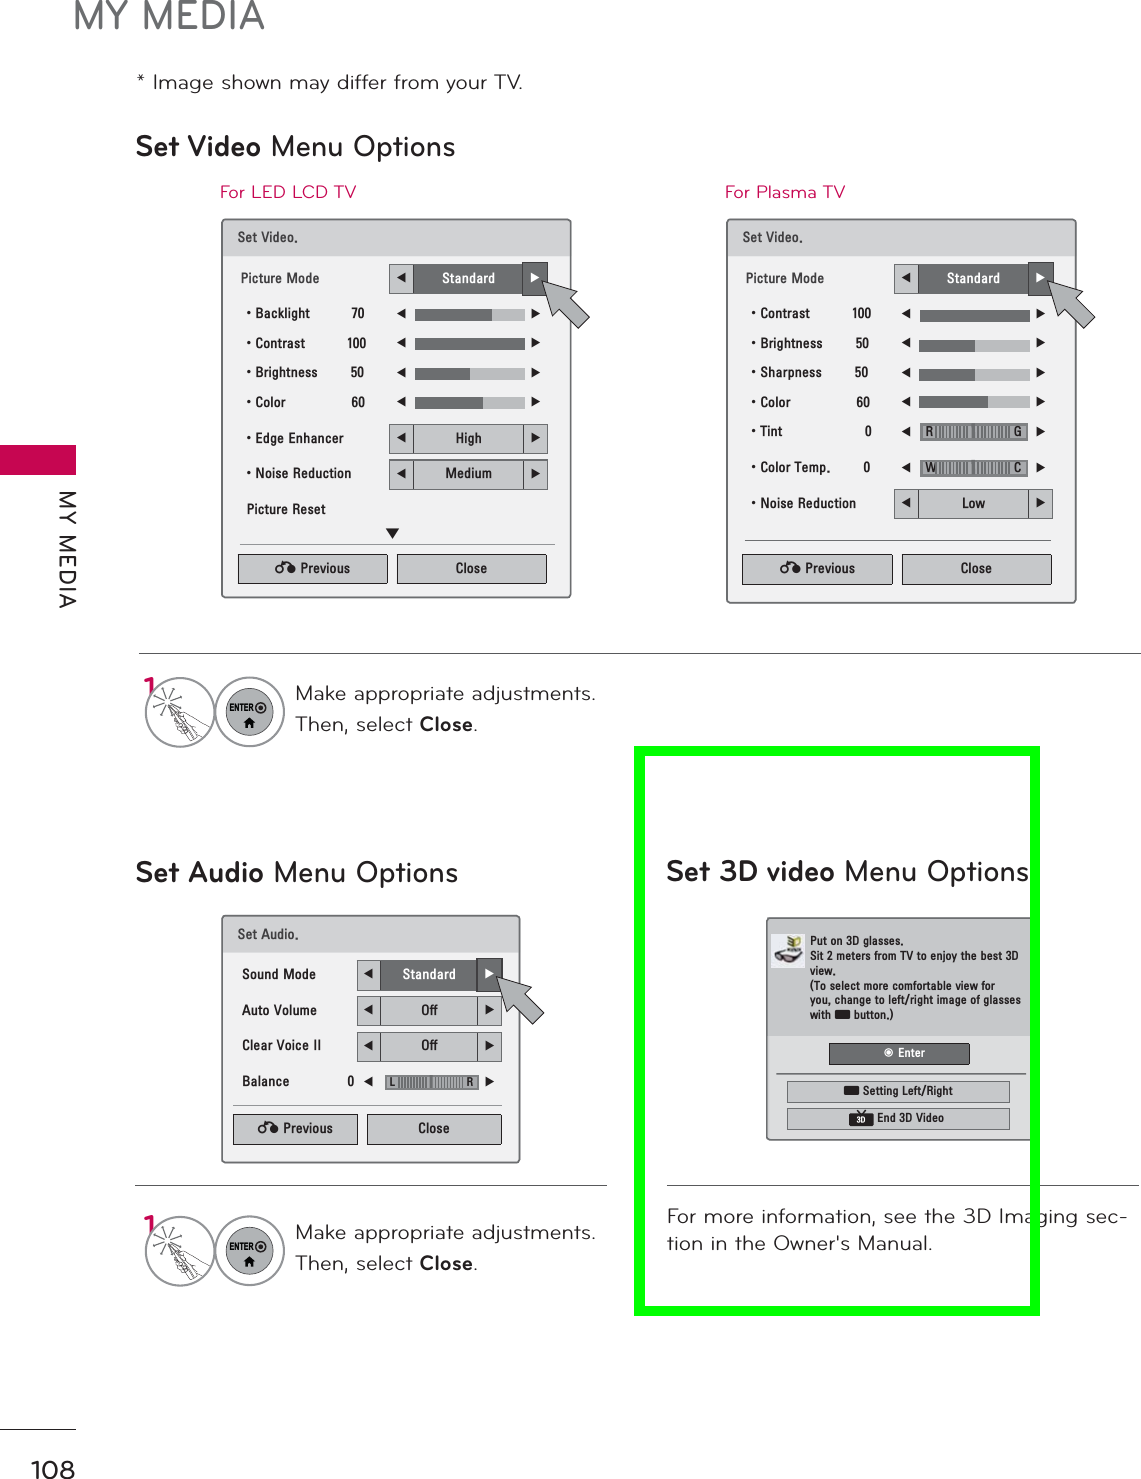


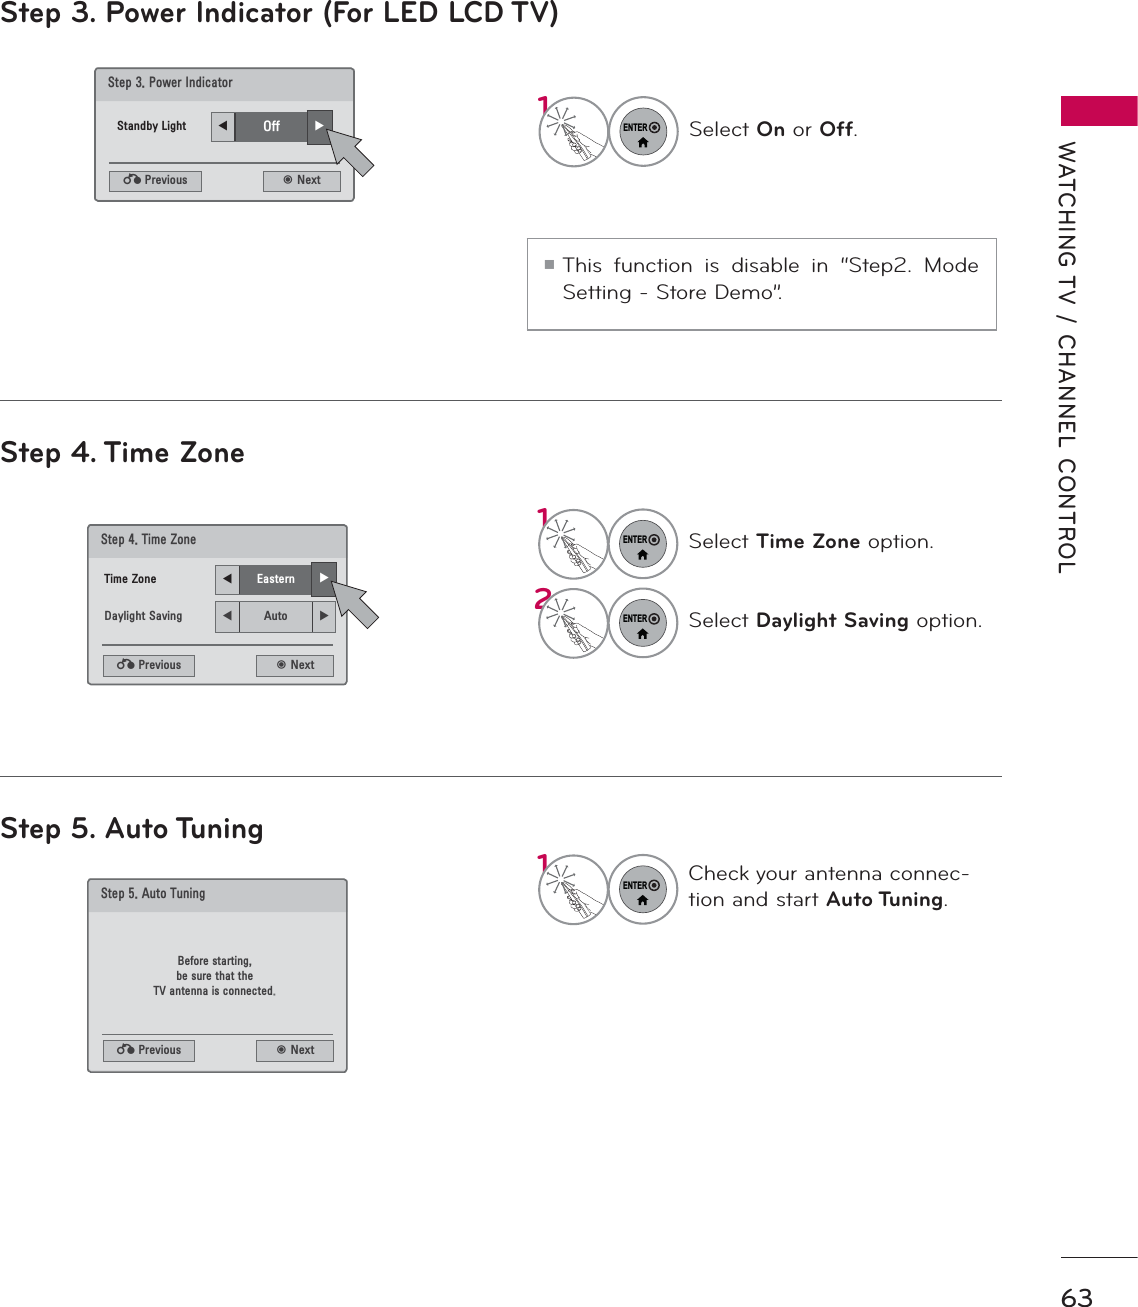
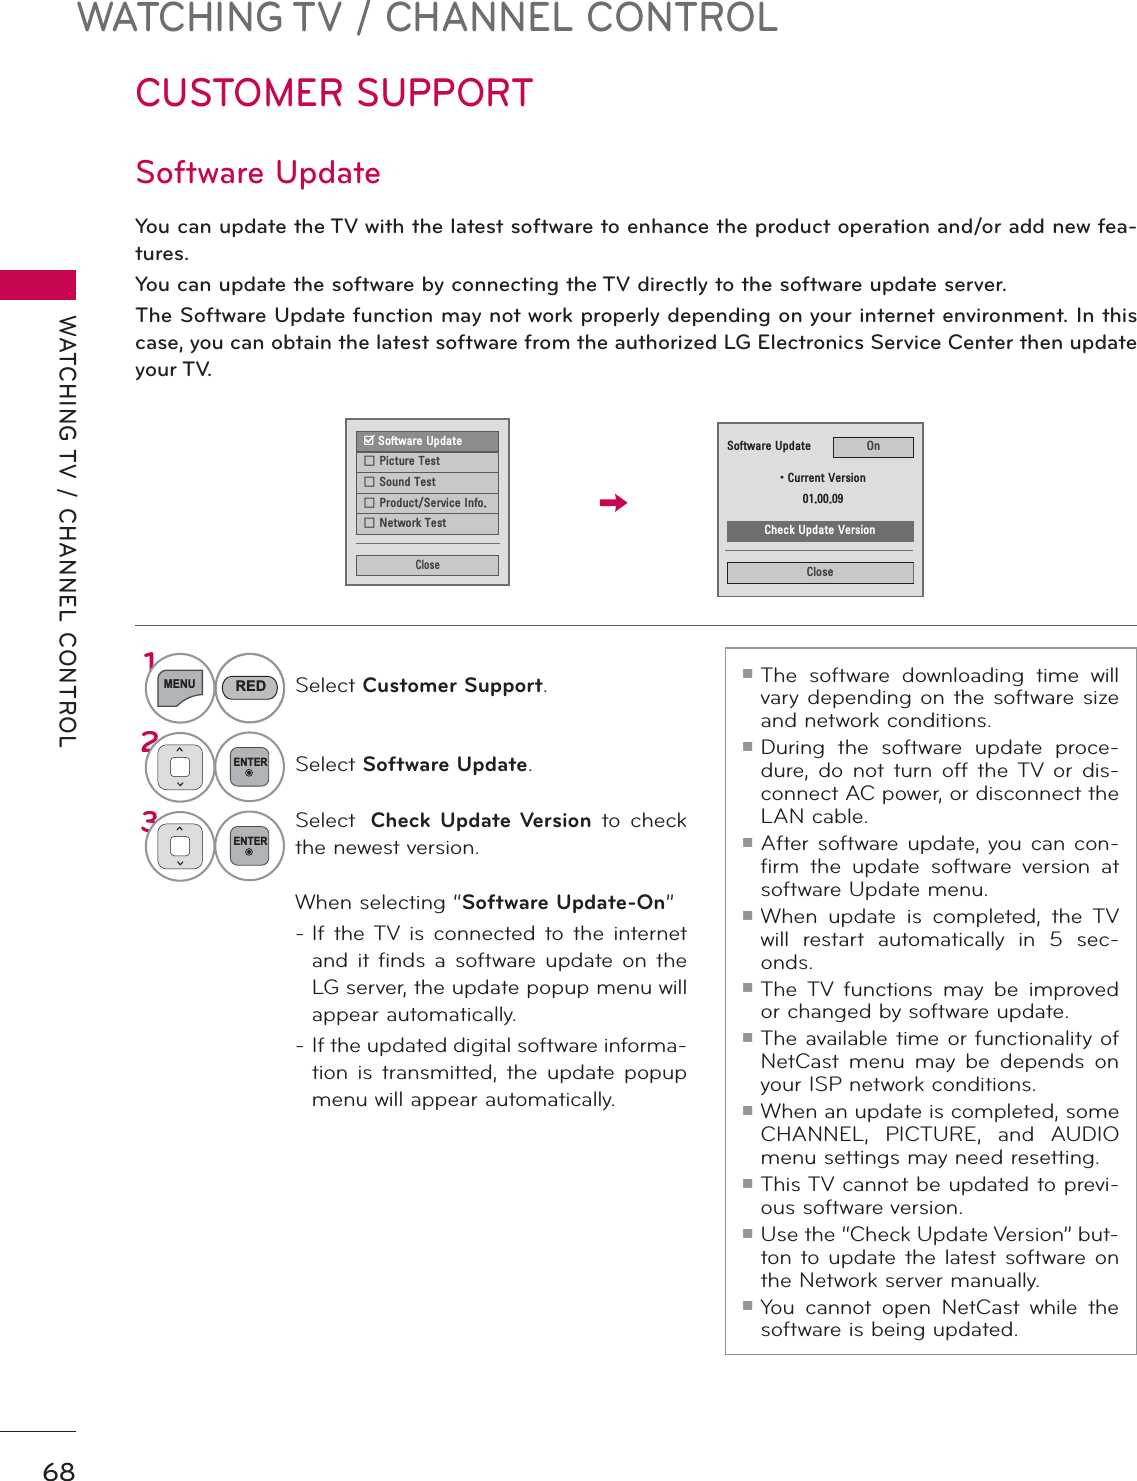
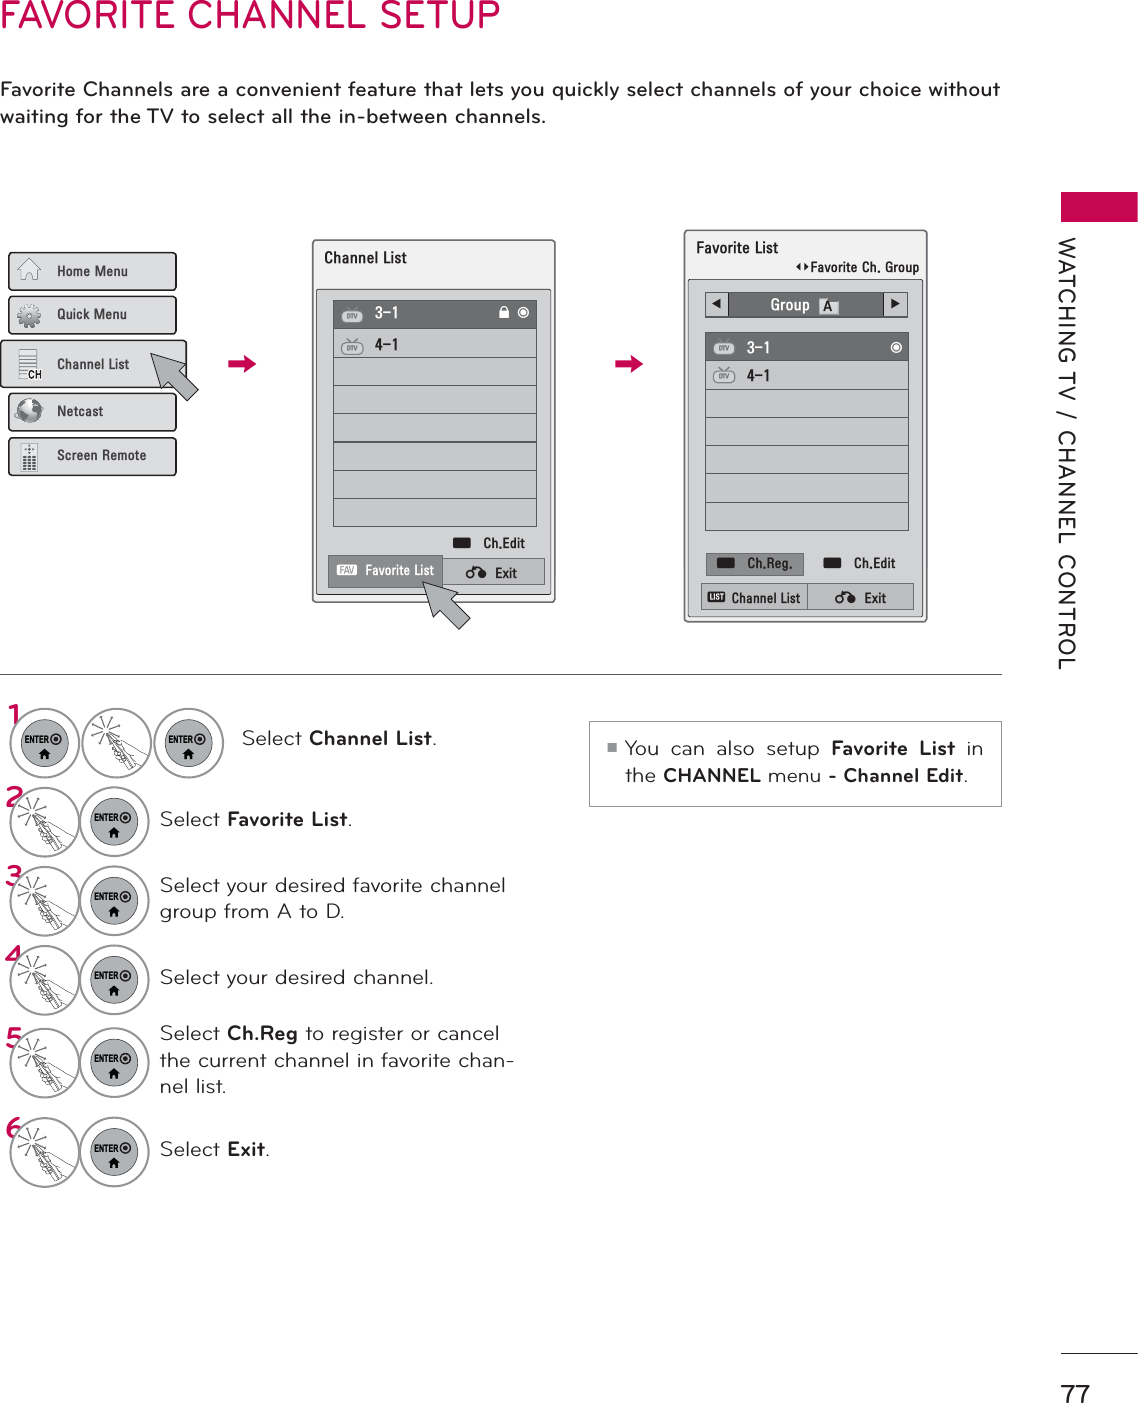
![NETWORKNETWORK122LEGAL NOTICENETWORK1MENUSelect NETWORK.2ENTERSelect Legal Notice.3ENTERCheck Legal notice.4EXITReturn to TV viewing.NETWORK ᯒ0RYHᯙ(QWHUؒ 1HWZRUN6HWWLQJ :LUHGؒ 1HWZRUN6WDWXV ,QWHUQHWLVFRQQHFWHGؒ /HJDO1RWLFHؒ (61ᯐᯙ/HJDO1RWLFHᯝ&ORVH,03257$17127,&(5(/$7,1*721(7:25.6(59,&($OOFRQWHQWDQGVHUYLFHVDFFHVVLEOHWKURXJKWKLVGHYLFHEHORQJWRWKLUGSDUWLHVDQGDUHSURWHFWHGE\FRS\ULJKWSDWHQWWUDGHPDUNDQGRURWKHULQWHOOHFWXDOSURSHUW\ODZV6XFKFRQWHQWDQGVHUYLFHVDUHSURYLGHGVROHO\IRU\RXUSHUVRQDOQRQFRPPHUFLDOXVH<RXPD\QRWXVHDQ\FRQWHQWRUVHUYLFHVLQDPDQQHUWKDWKDVQRWEHHQDXWKRUL]HGE\WKHFRQWHQWRZQHURUVHU YLFHSURYLGHU:LWKRXWOLPLWLQJWKHIRUHJRLQJXQOHVVH[SUHVVO\DXWKRUL]HGE\WKHDSSO LFDEOHFRQWHQWRZQHURUVHUYLFHSURYLGHU\RXPD\QRWFRS\XSORDGSRVWWUDQVPLWWUDQVODWH VHOOPRGLI\FUHDWHGHULYDWLYHZRUNVRUGLVWULEXWHLQDQ\PDQQHUR UPHGLXPDQ\FRQWHQWRUVHUYLFHVGLVSOD\HGWKURXJKWKLVGHYLFH<28(;35(66/<$&.12:/('*($1'$*5((7+$77+('(9,&($1'$//7+,5'3$57<&217(17$1'6(59,&(6$5(3529,'('$6,6:,7+287:$55$17<2)$1<.,1'(,7+(5(;35(6625,03/,('/*(/(&7521,&6(;35(66/<',6&/$,06$//:$55$17,(6$1'&21',7,216:,7+5(63(&772$1<&217(17$1'6(59,&(6(,7+(5(;35(6625,03/,(',1&/8',1*%87127/,0,7('72:$55$17,(62)0(5&+$17$%,/,7<2)6$7,6)$&725<48$/,7<),71(66)25$3$57,&8 /$5385326(SDJHIMPORTANT NOTICE RELATING TO NETWORK SERVICEAll content and services accessible through this device belong to third parties and are protected by copyright, patent, trademark and/or other intellectual property laws. Such content and ser-vices are provided solely for your personal noncommercial use. You may not use any content or services in a manner that has not been authorized by the content owner or service provider. Without limiting the foregoing, unless expressly authorized by the applicable content owner or service provider, you may not copy, upload, post, transmit, translate, sell, modify, create deriva-tive works, or distribute in any manner or medium any content or services displayed through this device.YOU EXPRESSLY ACKNOWLEDGE AND AGREE THAT THE DEVICE AND ALL THIRD PARTY CONTENT AND SERVICES ARE PROVIDED "AS IS" WITHOUT WARRANTY OF ANY KIND, EITHER EXPRESS OR IMPLIED. LG ELECTRONICS EXPRESSLY DISCLAIMS ALL WARRANTIES AND CONDITIONS WITH RESPECT TO ANY CONTENT AND SERVICES, EITHER EXPRESS OR, IMPLIED, INCLUDING BUT NOT LIMITED TO, WARRANTIES OF MERCHANTABILITY, OF SATISFACTORY QUALITY, FITNESS FOR A PARTICULAR PURPOSE, AND NON-INFRINGEMENT OF THIRD PARTY RIGHTS. LG DOES NOT GUARANTEE THE ACCURACY, VALIDITY, TIMELINESS, LEGALITY, OR COMPLETENESS OF ANY CONTENT OR SERVICE MADE AVAILABLE THROUGH THIS DEVICE AND DOES NOT WARRANT THAT THE DEVICE OR SERVICES WILL MEET YOUR REQUIREMENTS, OR THAT OPERATION OF THE DEVICE OR SERVICES WILL BE UNINTERRUPTED OR ERROR-FREE. UNDER NO CIRCUMSTANCES, INCLUDING NEGLIGENCE, SHALL LG BE LIABLE, WHETHER IN CONTRACT OR TORT, FOR ANY DIRECT, INDIRECT, INCIDENTAL, SPECIAL OR CONSEQUENTIAL DAMAGES, OR ANY OTHER DAMAGES ARISING OUT OF, ANY INFORMATION CONTAINED IN, OR ANY CONTENT OR SERVICE ACCESSED BY YOU OR ANY THIRD PARTY, EVEN IF ADVISED OF THE POSSIBILITY OF SUCH DAMAGES.Third party services may be changed, suspended, removed, terminated or interrupted, or access may be disabled at any time, without notice, and LG makes no representation or war-ranty that any content or service will remain available for any period of time. Content and services are transmitted by third parties by means of networks and transmission facilities over which LG has no control. LG may impose limits on the use of or access to certain services or content, in any case and without notice or liability. LG expressly disclaims any responsibility or liability for any change, interruption, disabling, removal of or suspension of any content or service made available through this device.LG is neither responsible nor liable for customer service related to the content and services. Any question or request for service relating to the content or services should be made directly to the respective content and service providers.](https://usermanual.wiki/LG-Electronics-USA/50PX950UA.User-manual-2-of-2/User-Guide-1302634-Page-62.png)
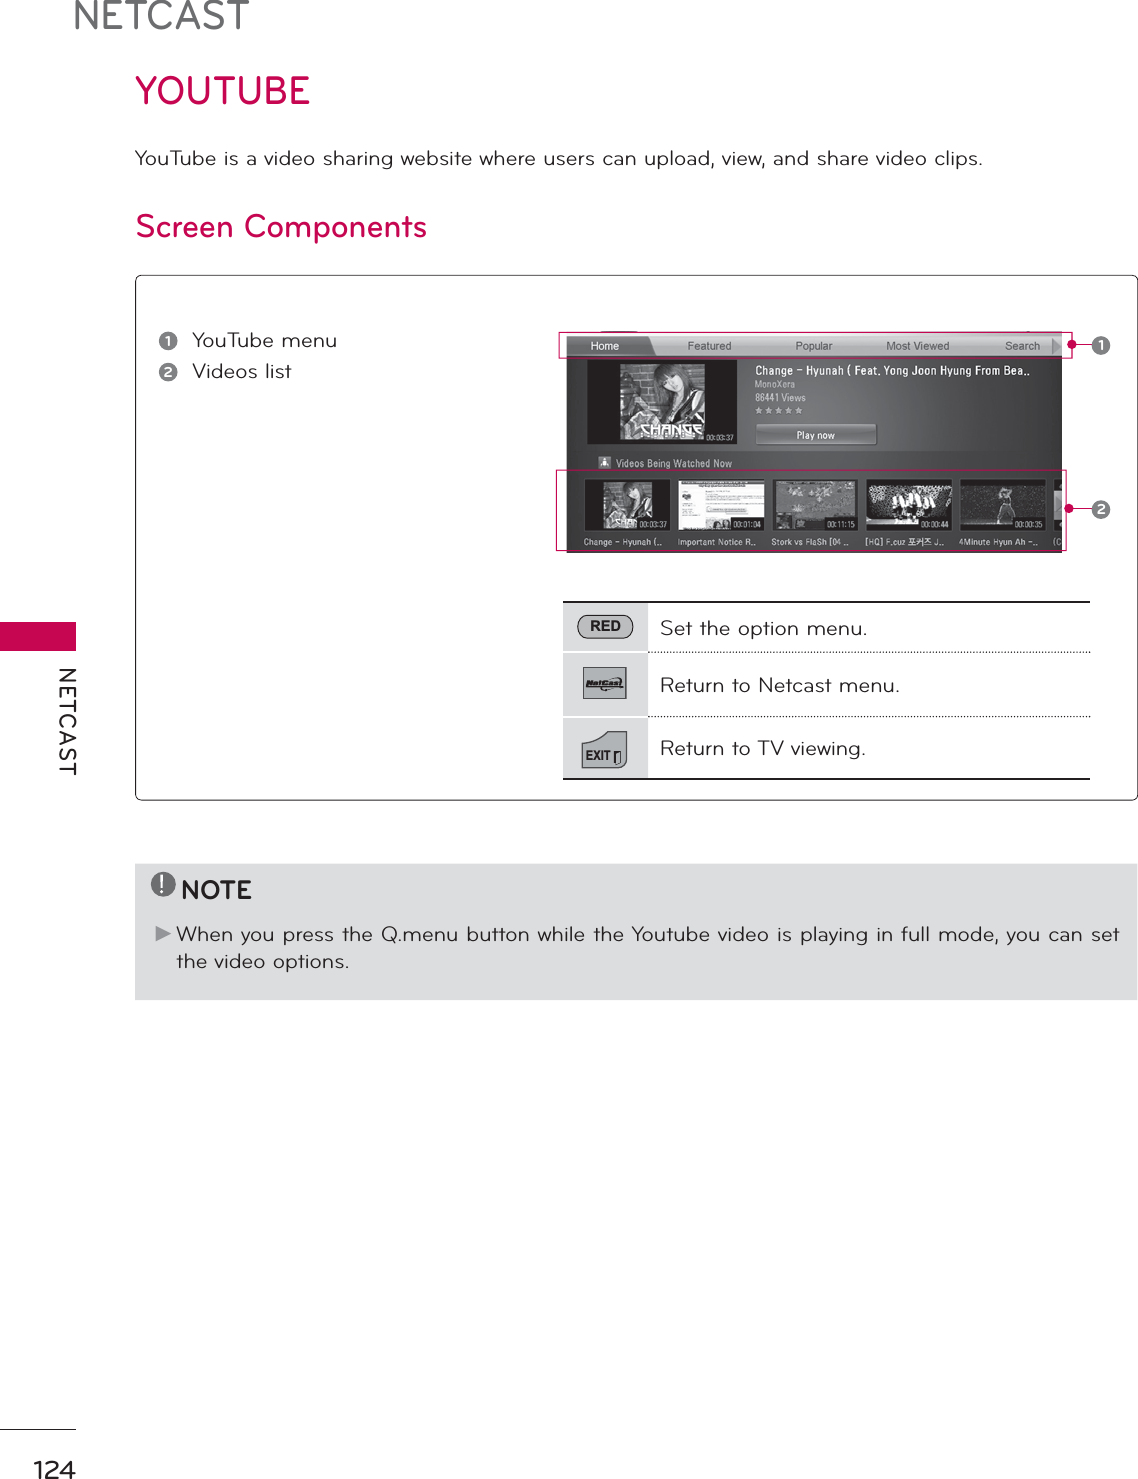

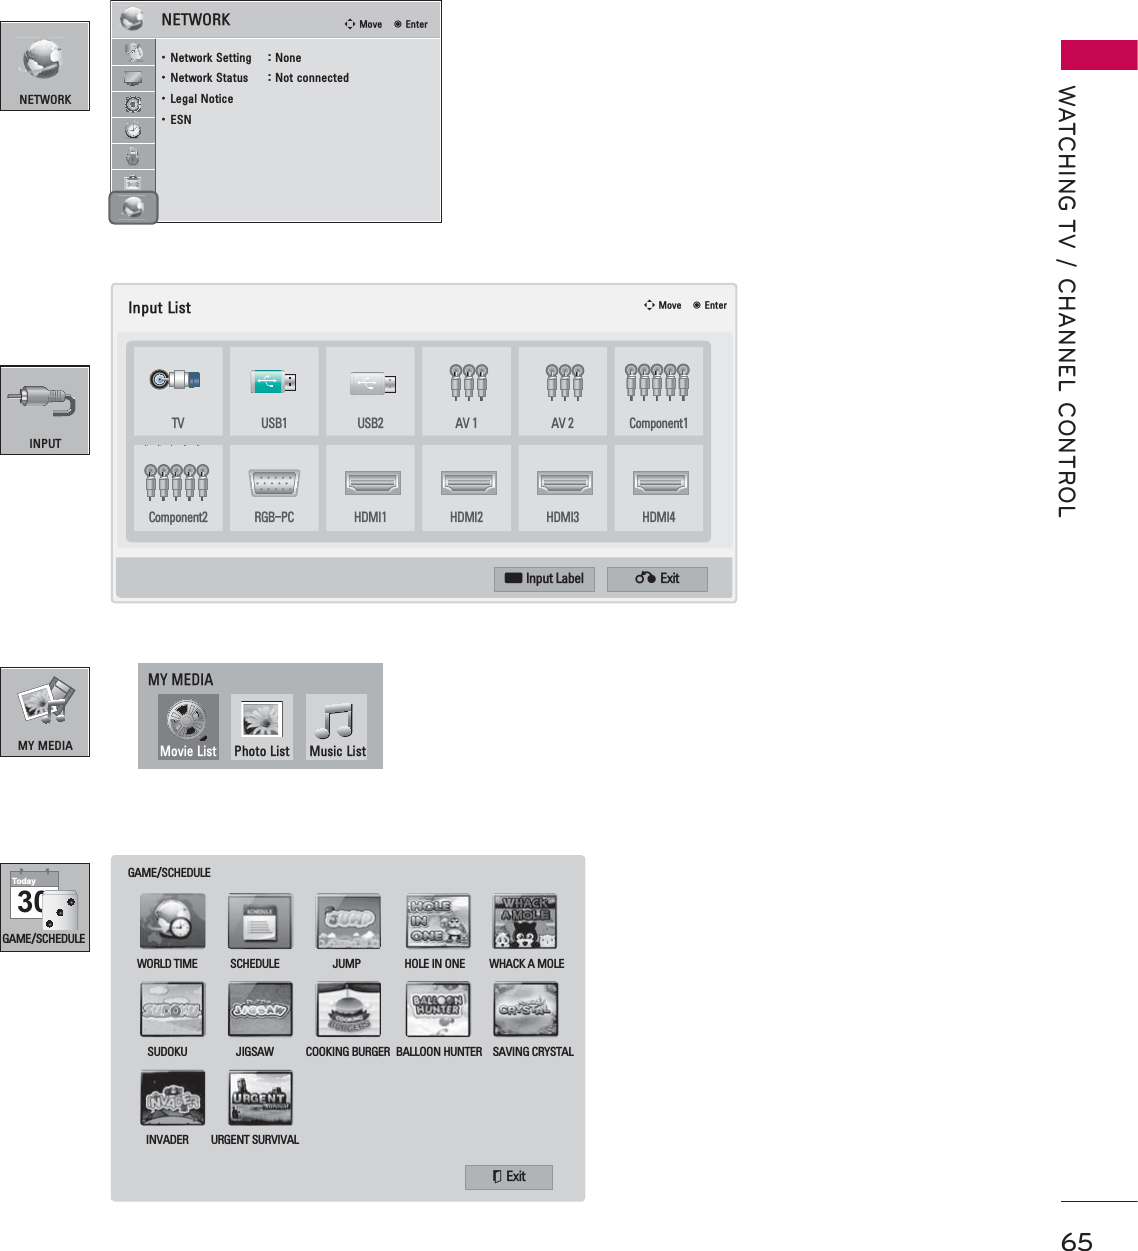
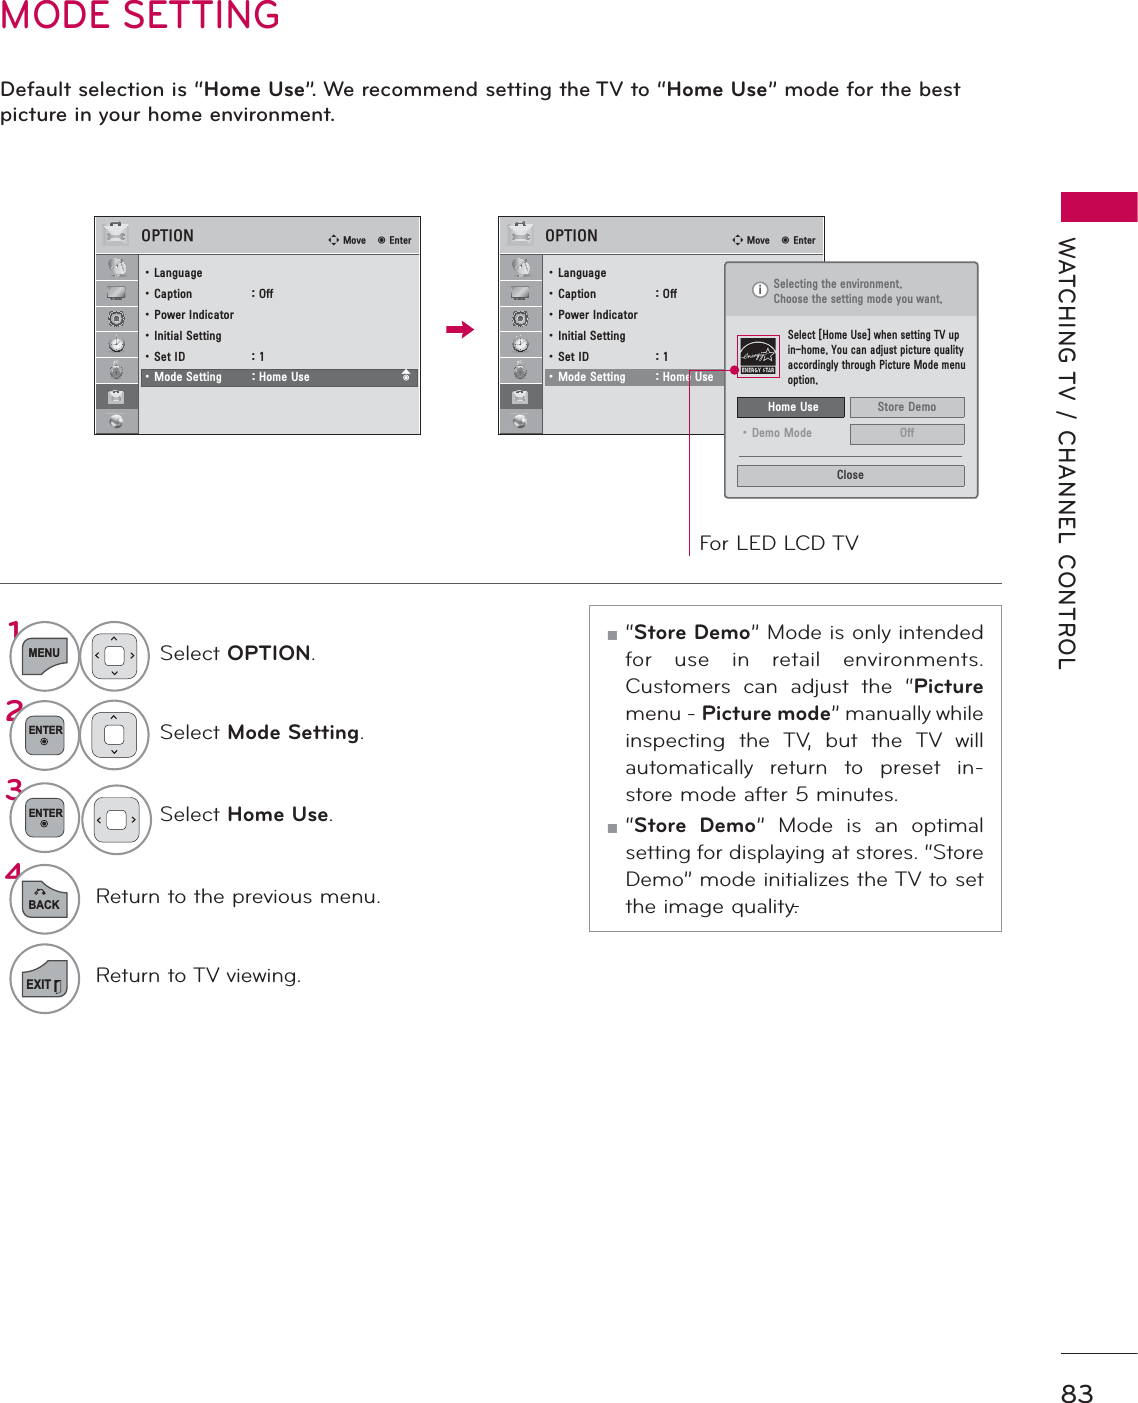
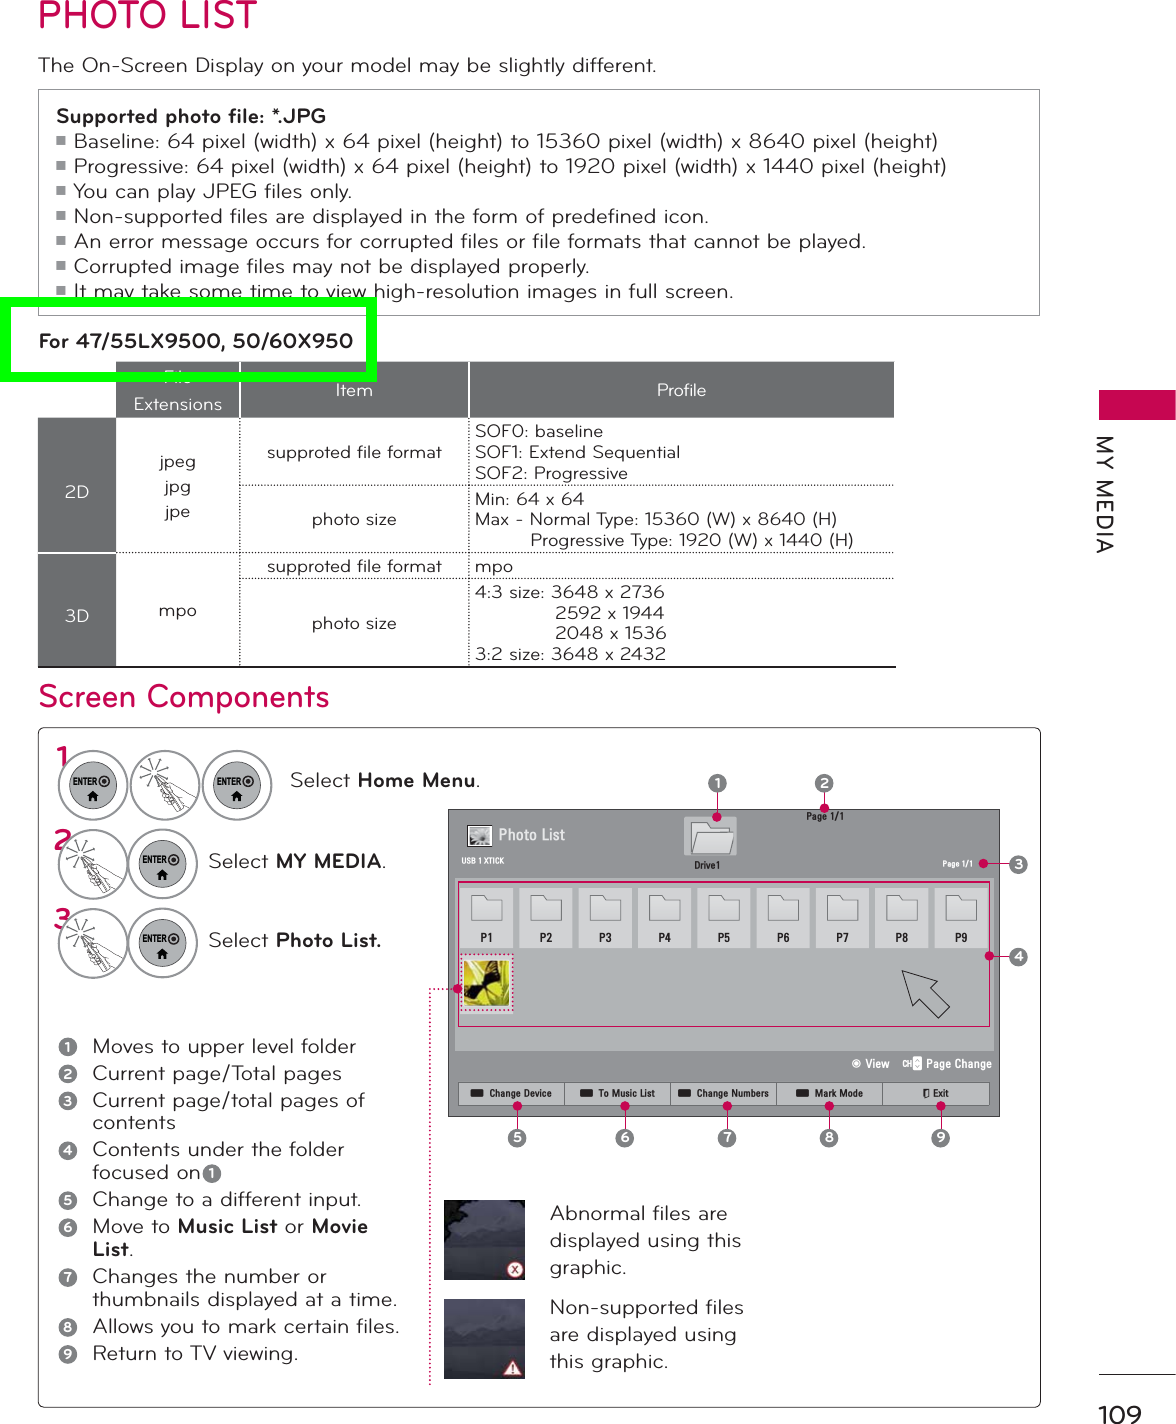
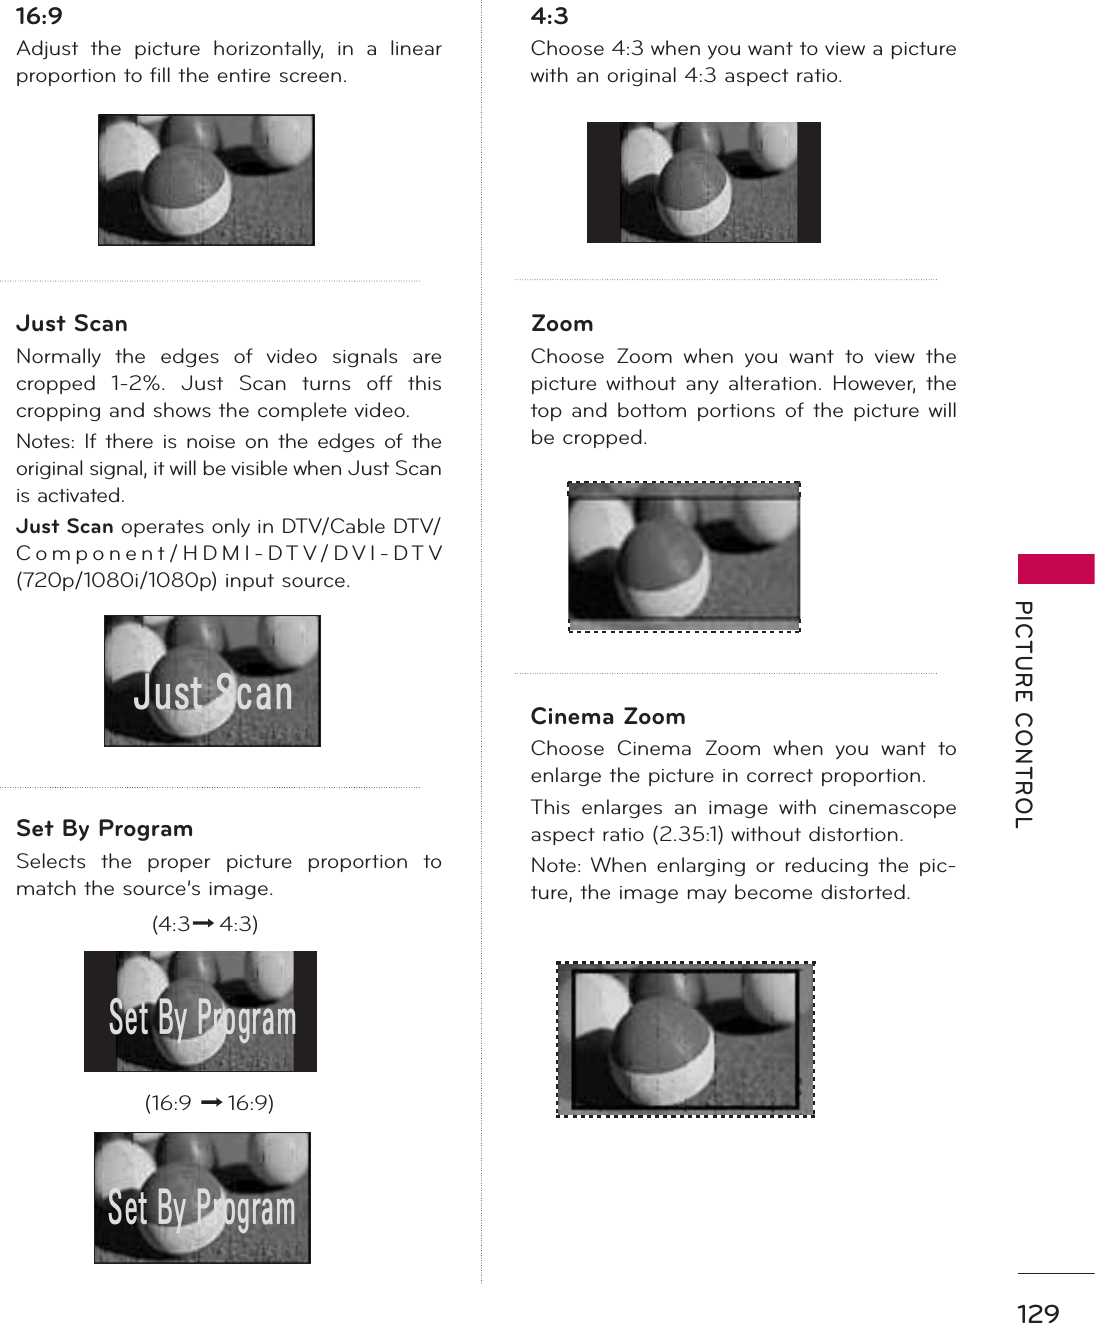
![PICTURE CONTROLPICTURE CONTROL128PICTURE SIZE (ASPECT RATIO) CONTROLPICTURE CONTROLThis feature lets you choose the way an analog picture with a 4:3 aspect ratio is displayed on your TV. You can select a different aspect ratio depending on input source (analog broadcasting, digital broad-casting, aux).1MENUSelect PICTURE.2ENTERSelect Aspect Ratio.3ENTERSelect the desired picture format.4BACKReturn to the previous menu.EXITReturn to TV viewing.ᯫYou can also adjust Aspect Ratio in the Q.MENU.ᯫPress the RATIO button repeatedly to select the desired picture format. PICTURE PICTUREᯒ0RYHᯙ(QWHU ᯒ0RYHᯙ(QWHUؒ $VSHFW5DWLR ؒ 3LFWXUH:L]DUGؒ ᰚ(QHUJ\6DYLQJ 2IIؒ 3LFWXUH0RGH 6WDQGDUG ؒ%DFNOLJKW ؒ&RQWUDVW ؒ%ULJKWQHVV ؒ6KDUSQHVVؒ $VSHFW5DWLR ؒ 3LFWXUH:L]DUGؒ ᰚ(QHUJ\6DYLQJ 2IIؒ 3LFWXUH0RGH 6WDQGDUG ؒ%DFNOLJKW ؒ&RQWUDVW ؒ%ULJKWQHVV ؒ6KDUSQHVVᯱᯙ1Q.MENUSelect Aspect Ratio.2ENTERSelect Zoom or CinemaZoom.3ENTERAdjust proportion of Zoom or Cinema Zoom. The Cinema Zoom adjustment range is 1-16.4ENTERMove the image on the screen.ᯡ۳-XVW6FDQ۳6HW%\3URJUDP۳۳=RRP۳&LQHPD=RRPWhen adjusting Zoom or Cinema Zoom in Q.MENUᯱᯙ](https://usermanual.wiki/LG-Electronics-USA/50PX950UA.User-manual-2-of-2/User-Guide-1302634-Page-68.png)
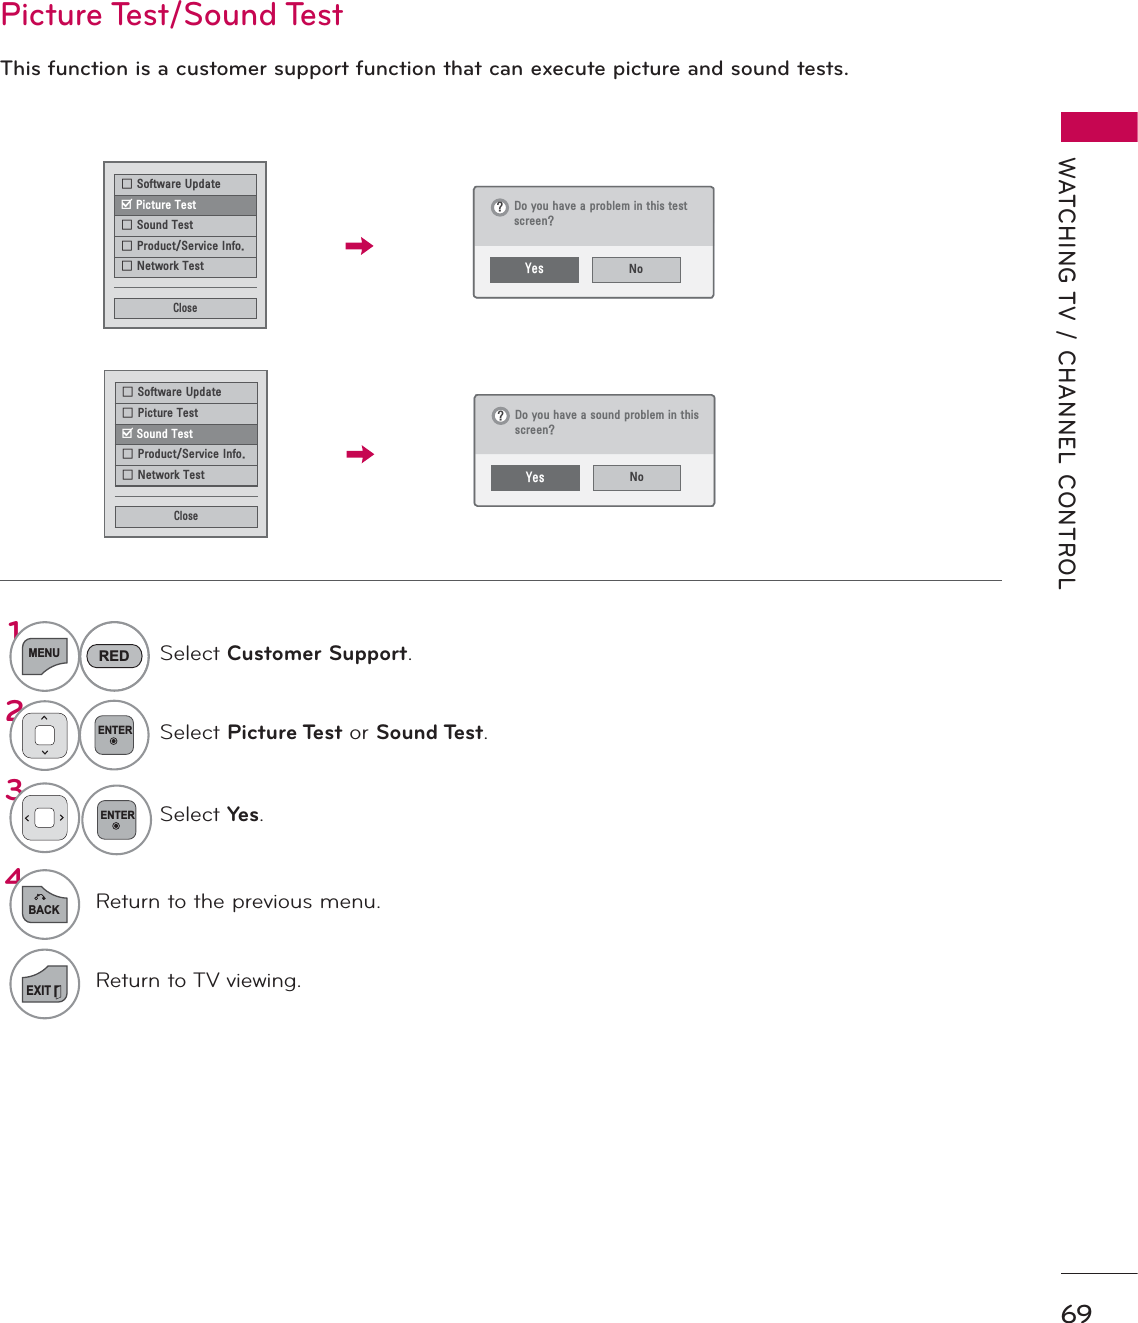
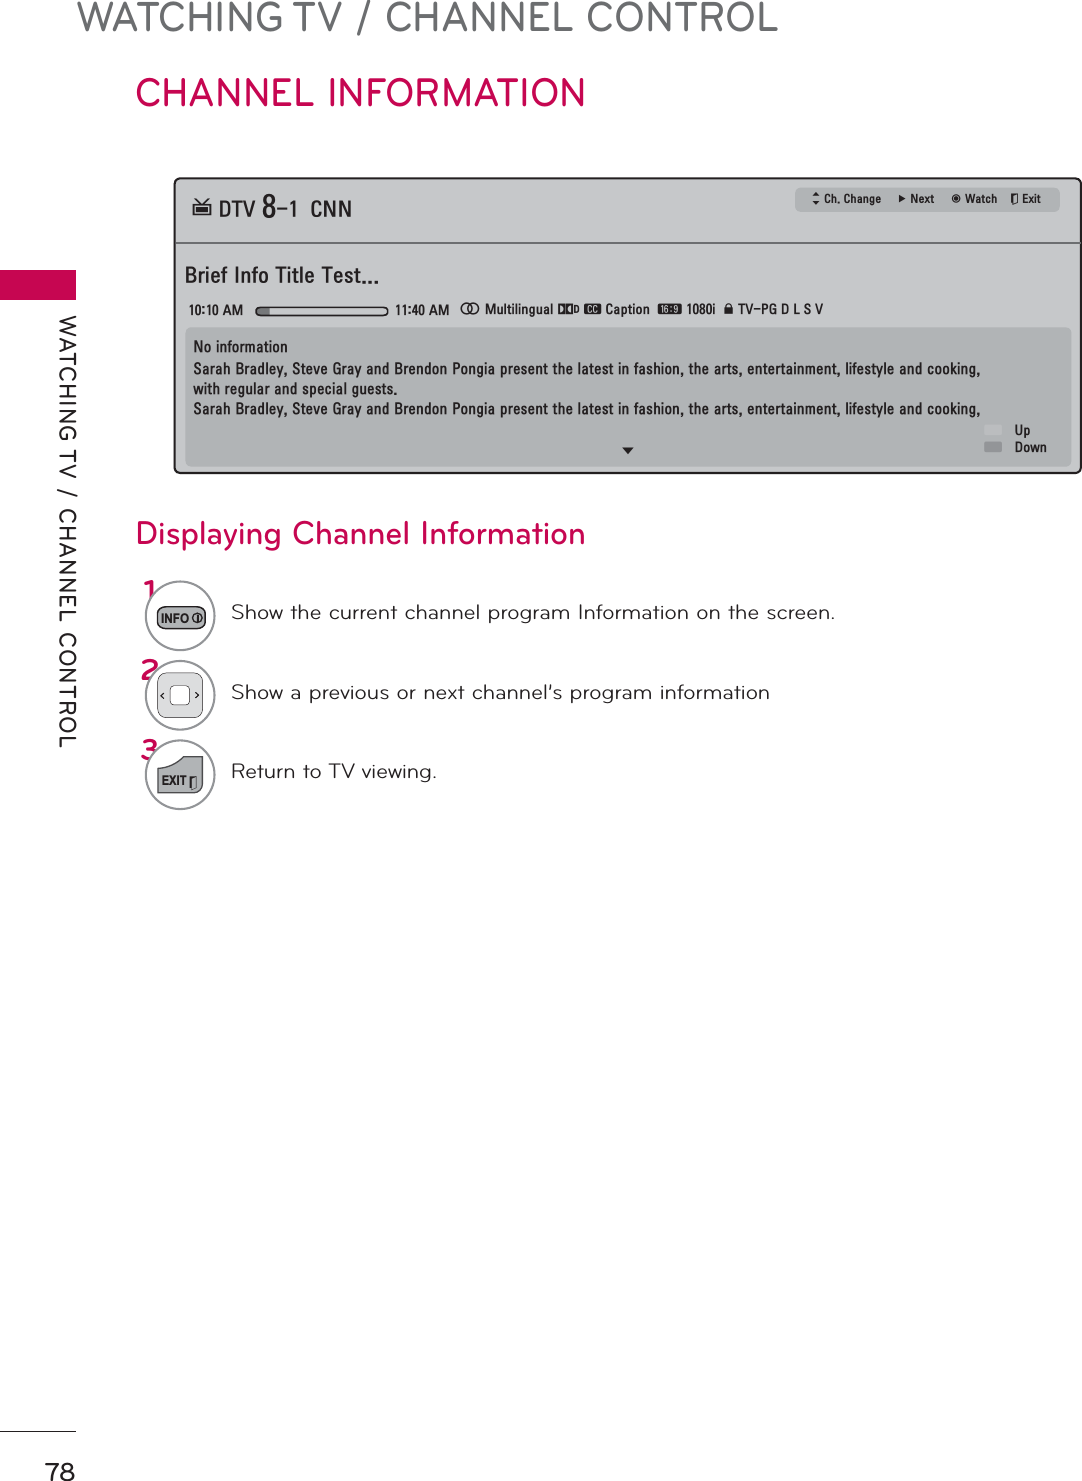
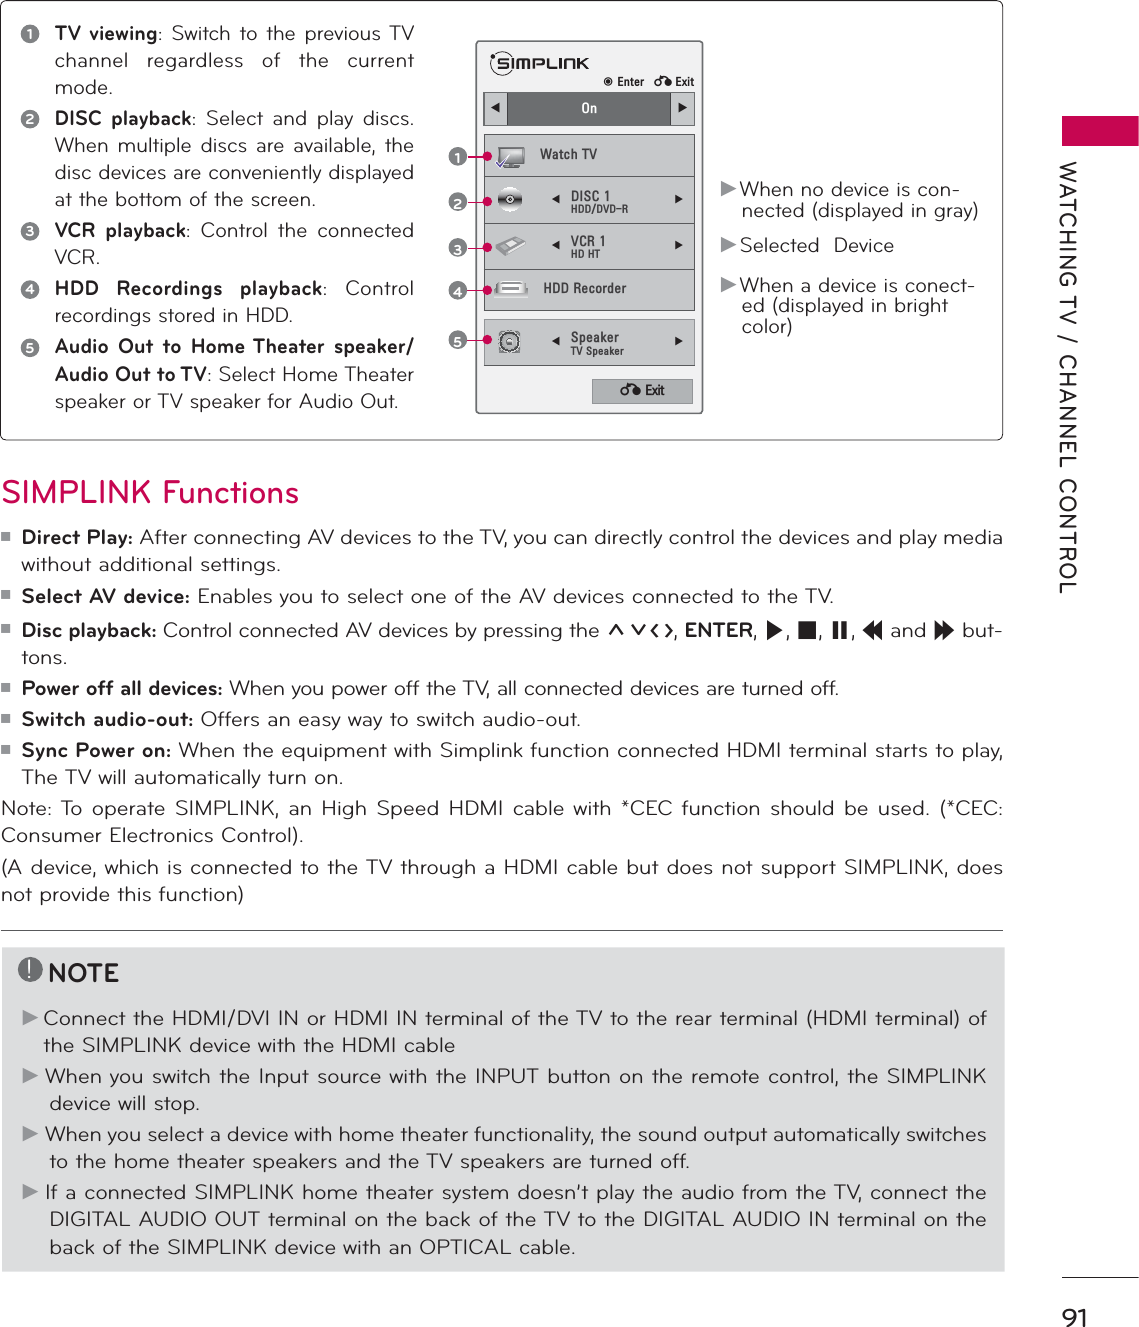
![PICTURE CONTROLPICTURE CONTROL130PICTURE WIZARD3LFWXUH:L]DUG:LWK3LFWXUH:L]DUG\RXFDQDGMXVWWKHSLFWXUHTXDOLW\RIWKHRULJLQDOLPDJHᰦThis feature lets you adjust the picture quality of the original image. Use this to calibrate the screen quality by adjusting the Black and White Level etc. You can calibrate the screen quality by easily follow-ing each step. When you adjust the image to Low,Recommended or High, you can see the example of the changes you made.1MENUSelect PICTURE.2ENTERENTERSelect Picture Wizard.3ENTERAdjust Picture Wizard.4ENTERAdjust Standard/Preferred.5ENTERAdjust Black Level.6ENTERAdjust White Level.7ENTERAdjust Tint.ᯫIf you select Preferred, OSD (On Screen Display) differ from that shown in this manual.PICTURE ᯒ0RYHᯙ(QWHUᰙ3UHYLRXV ᯙ1H[W%ODFN/HYHO6HWWKHVFUHHQDERYHLGHQWLFDOWRWKH5HFRPPHQGHGVDPSOHEHORZؒ%ULJKWQHVV /RZ +LJK5HFRPPHQGHGᰙ3UHYLRXV ᯙ1H[W܁۽:KLWH/HYHO6HWWKHVFUHHQDERYHLGHQWLFDOWRWKH5HFRPPHQGHGVDPSOHEHORZؒ&RQWUDVW /RZ +LJK5HFRPPHQGHGᰙ3UHYLRXV ᯙ1H[W܁۽ؒ6WDQGDUG3UHIHUUHGᰙ3UHYLRXV ᯙ1H[W6WDQGDUG 3UHIHUUHG3LFWXUH:L]DUG܁6WDQGDUG۽7LQW6HWWKHVFUHHQDERYHLGHQWLFDOWRWKH5HFRPPHQGHGVDPSOHEHORZ/RZ +LJK5HFRPPHQGHGؒ7LQW ᰙ3UHYLRXV ᯙ1H[W܁۽RGᯐᯙؒ $VSHFW5DWLR ؒ 3LFWXUH:L]DUGؒ ᰚ(QHUJ\6DYLQJ 2IIؒ 3LFWXUH0RGH 6WDQGDUG ؒ%DFNOLJKW ؒ&RQWUDVW ؒ%ULJKWQHVV ؒ6KDUSQHVV](https://usermanual.wiki/LG-Electronics-USA/50PX950UA.User-manual-2-of-2/User-Guide-1302634-Page-70.png)