LG Electronics USA 60PY2DRUA PDP Display User Manual 528Aen TU 50PY22 1
LG Electronics USA PDP Display 528Aen TU 50PY22 1
UserManual.wiki
>
LG Electronics USA
>
60PY2DRUA User Manual
>
Users Manual Part 2
Contents
1.
Users Manual Part 1
2.
Users Manual Part 2
3.
Users Manual Part 3
Users Manual Part 2
Navigation menu
Upload a User Manual
Namespaces
Wiki Guide
HTML
PDF
Info
Views
User Manual
Discussion / Help
Navigation
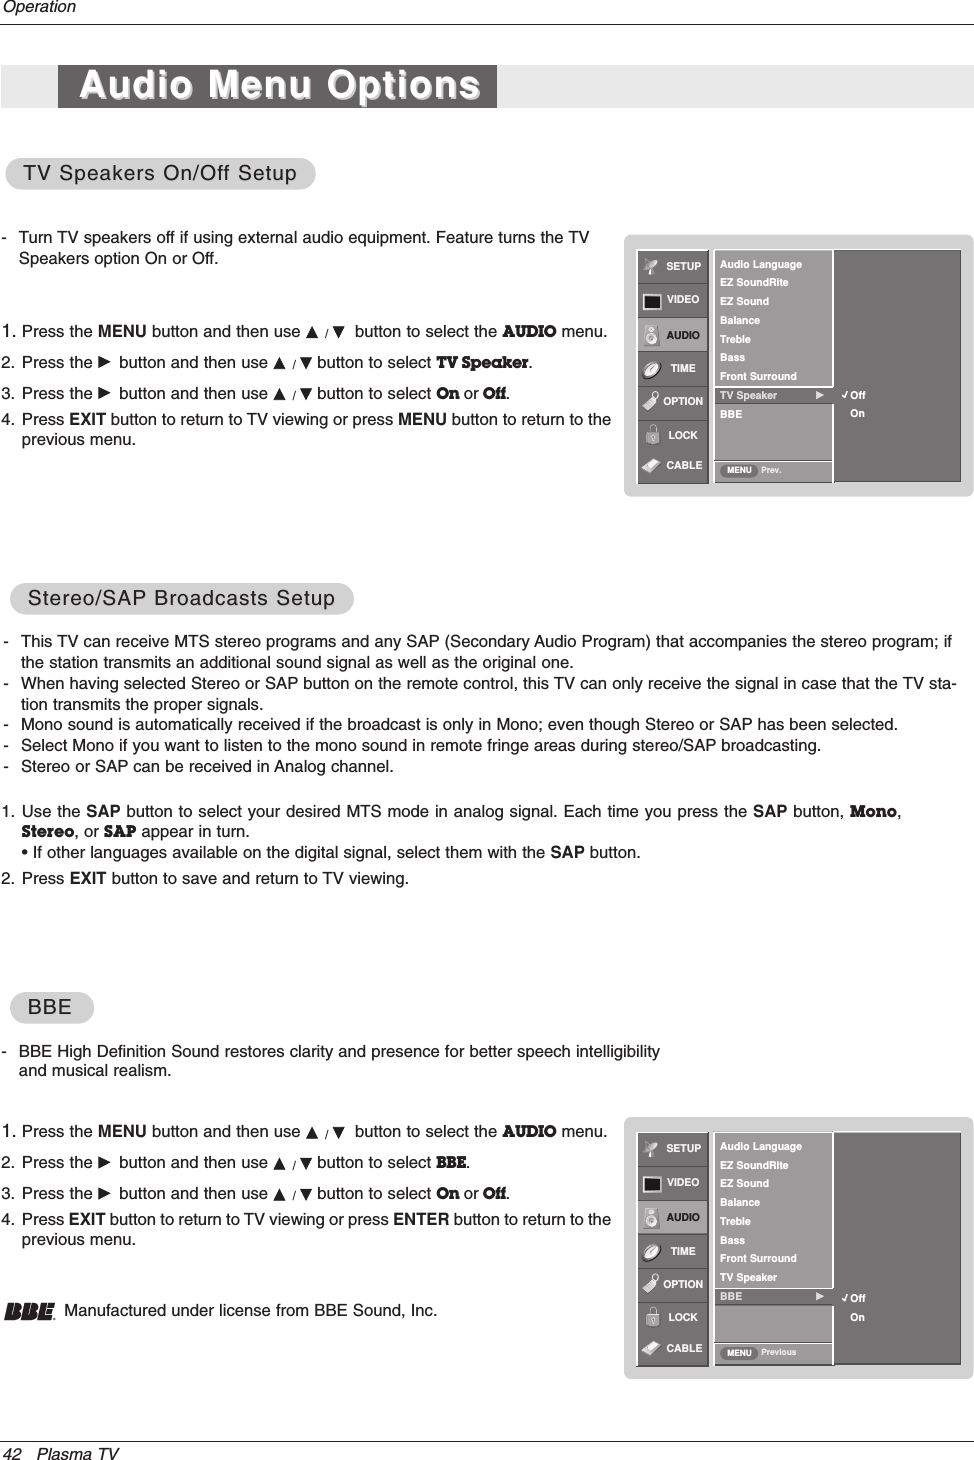

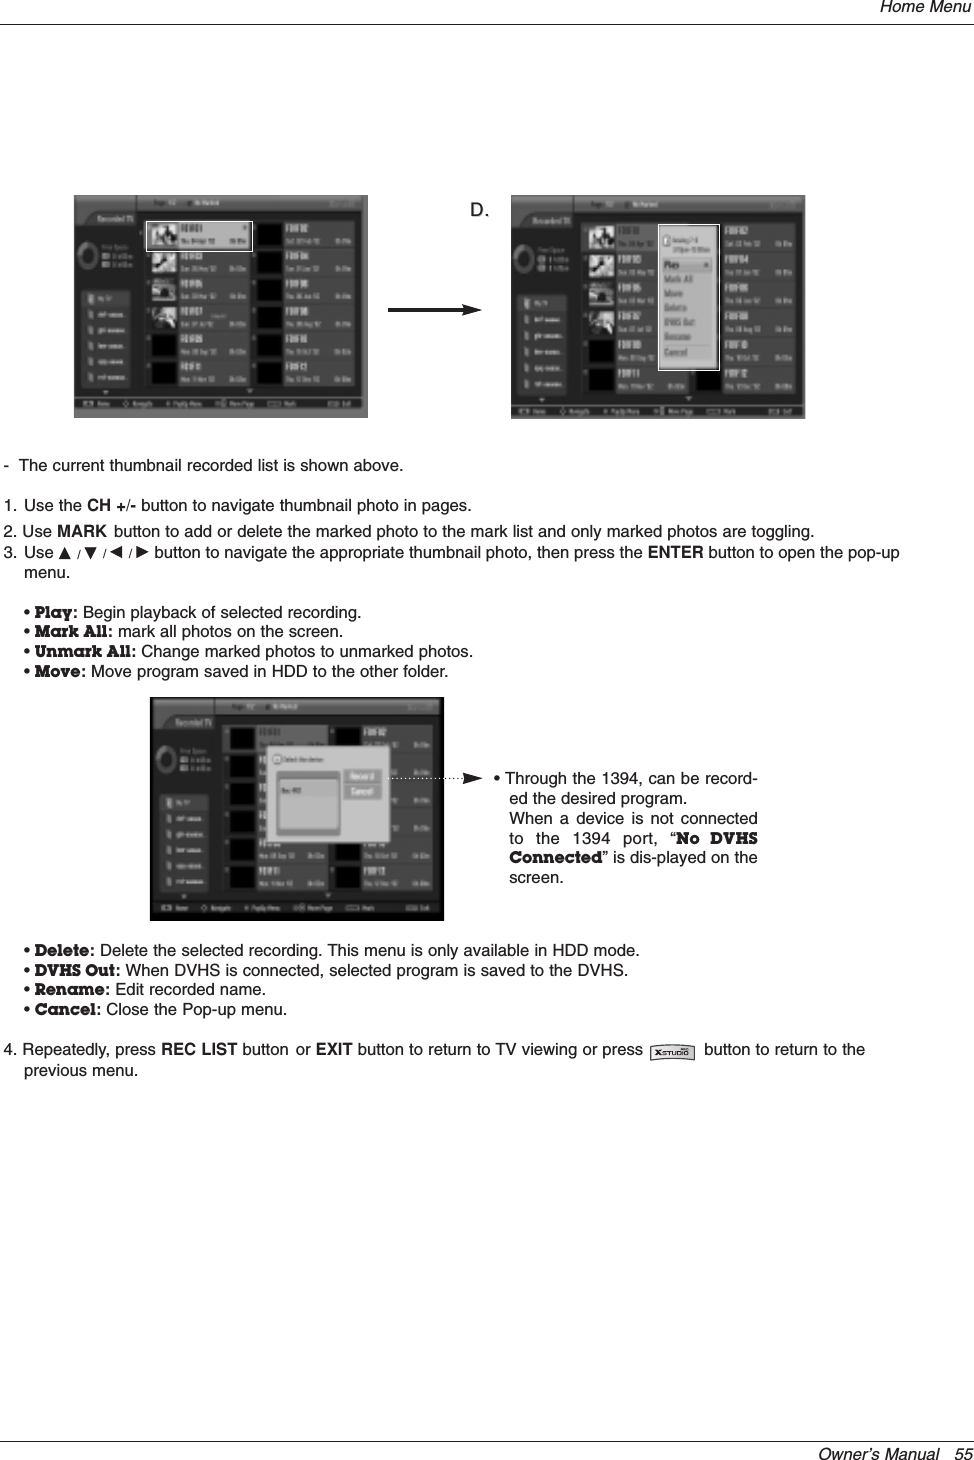

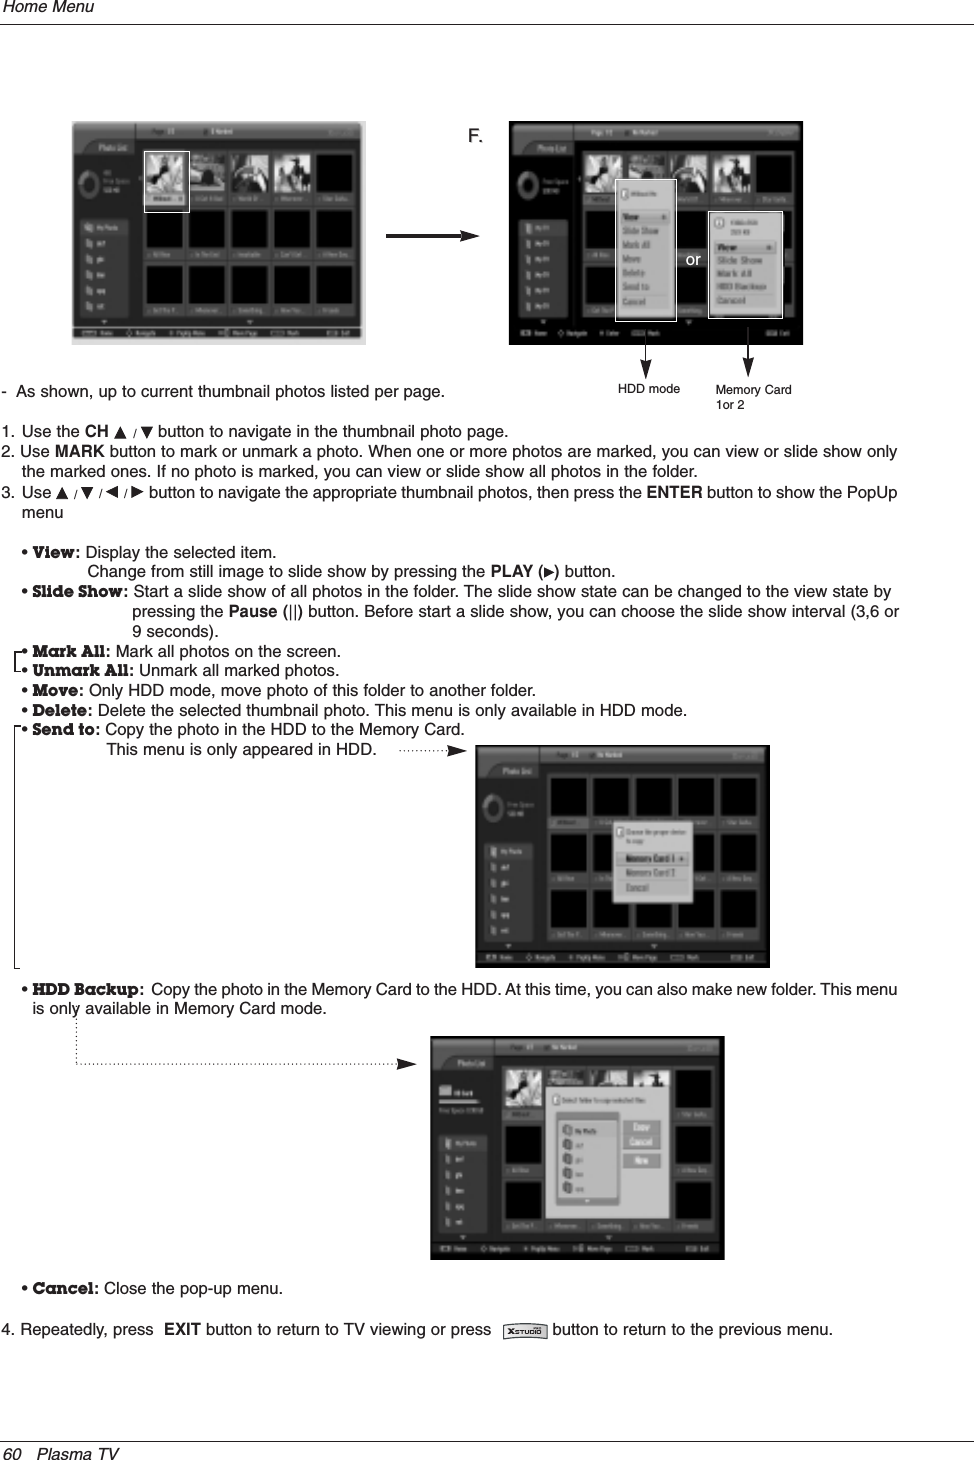
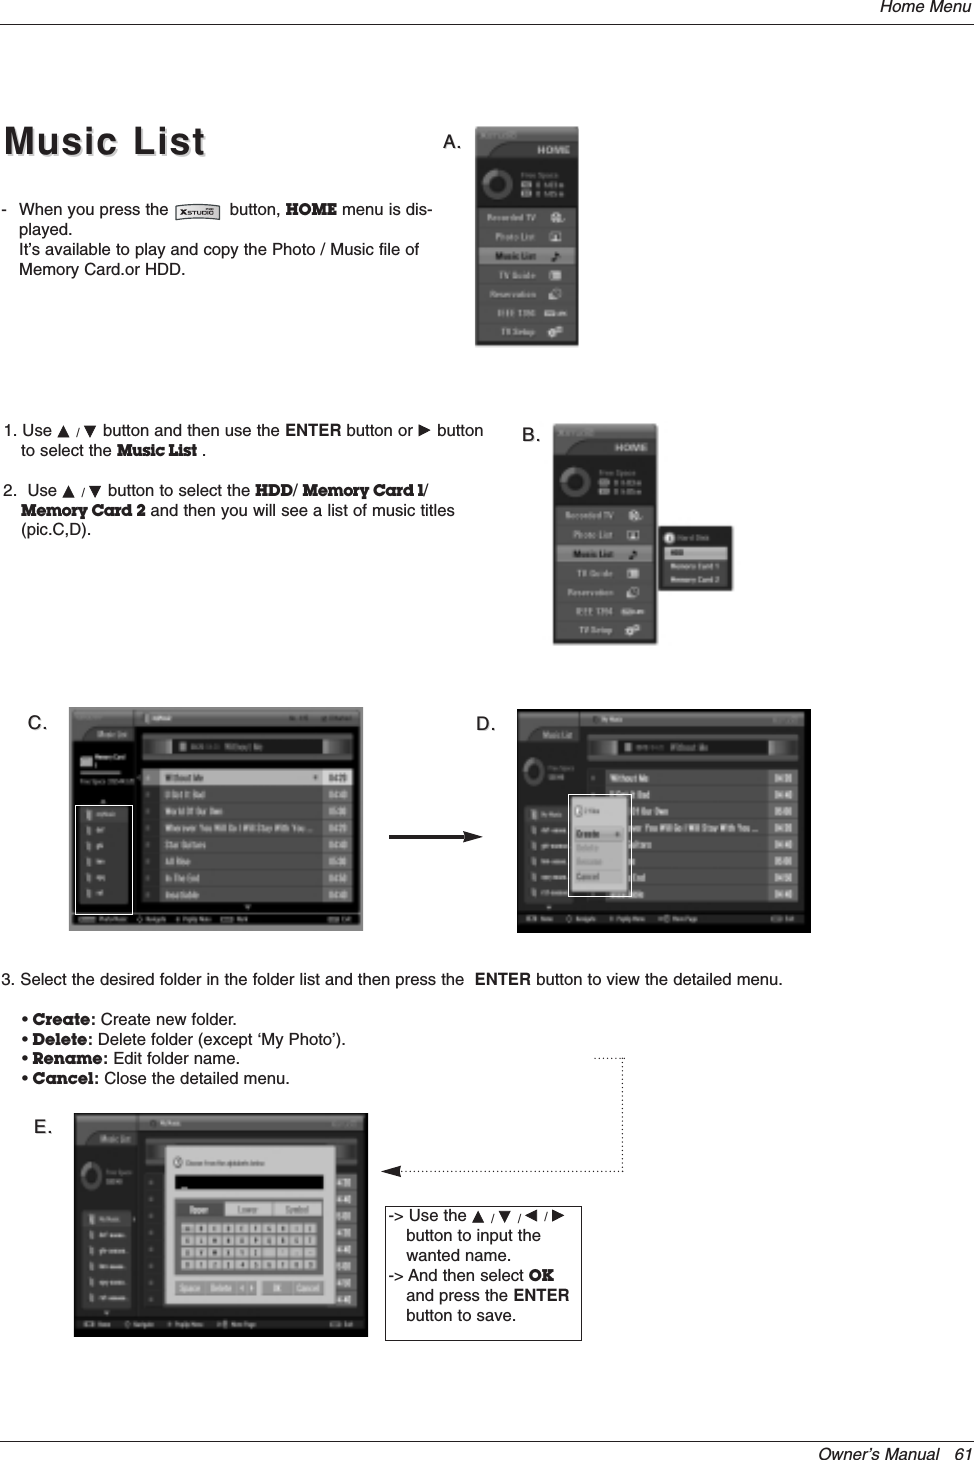

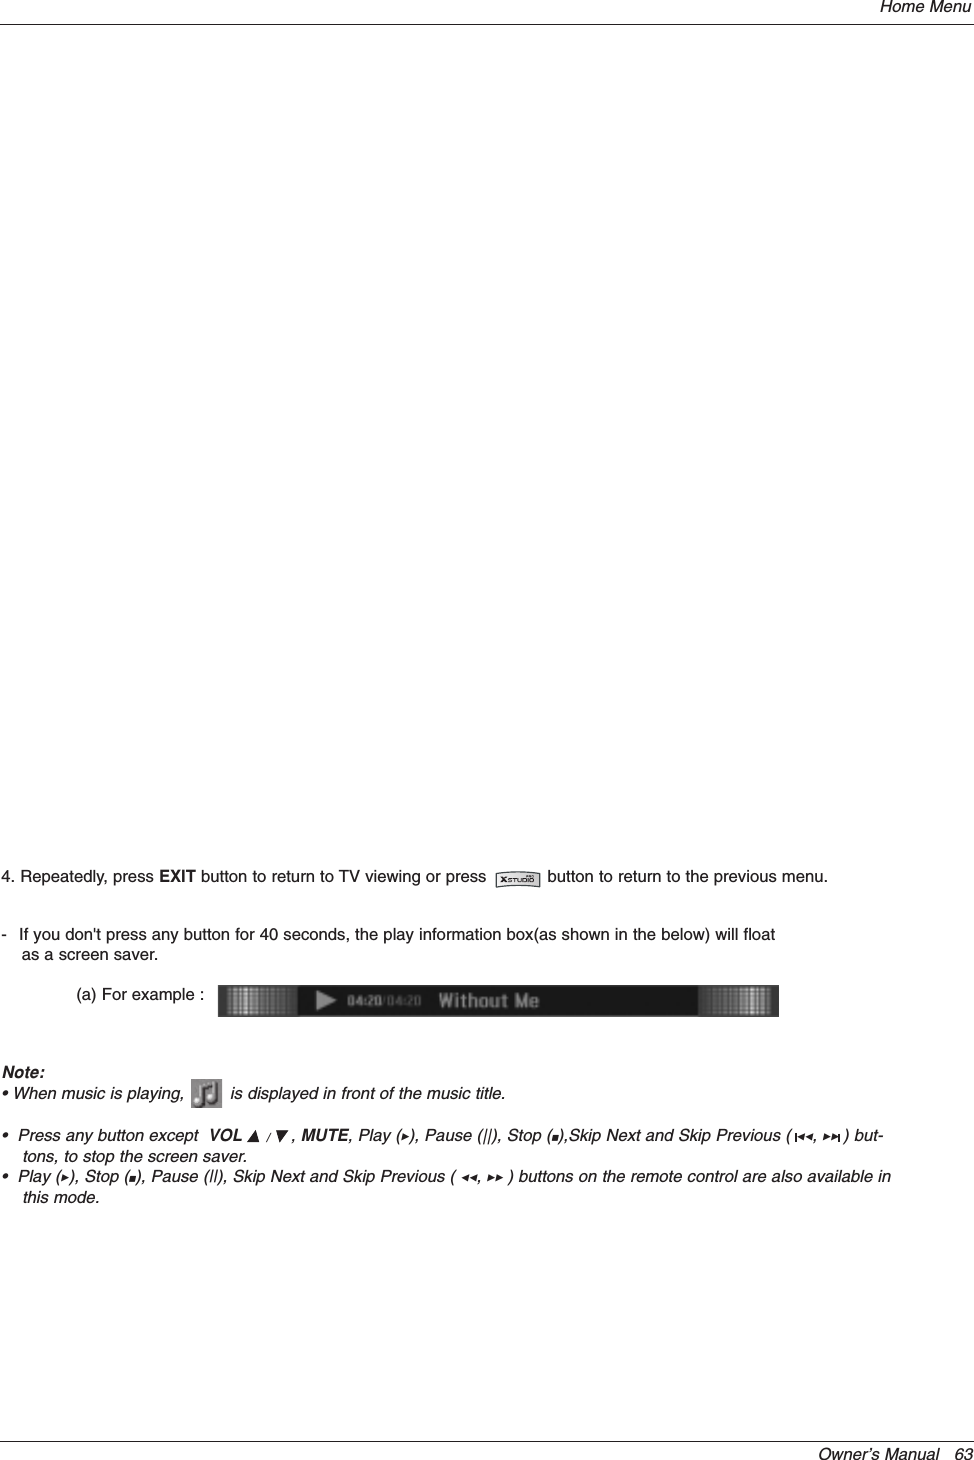
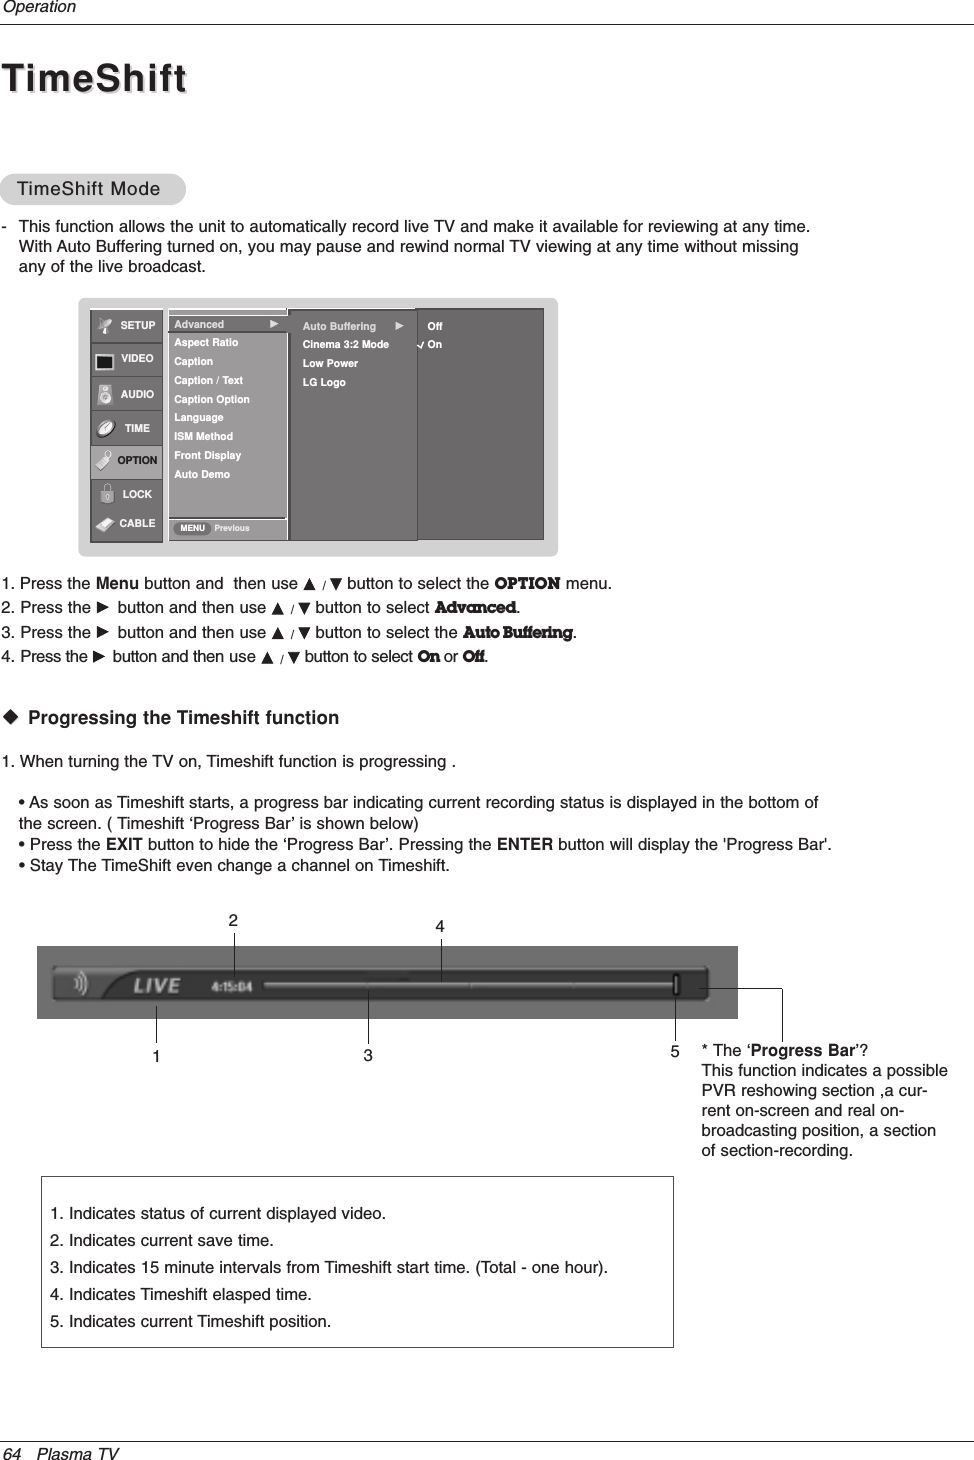
![Owner’s Manual 67Operation5. After adjusting the recording time, select OK and the progress bar will be displayed.Total record-ing durationElapsed recording time• Press the EXIT button to hide the Progress Bar. Press the ENTER button to display the progress bar.5. Press the STOP ( V ) to stop recording, or, when the recording duration is reached, the HD DVR will stop recordingand power off. Although recording has stopped, the Timeshift features remain active.Notes:•When recording, if the available storage space becomes low, the recording will be automatically end.•Once recording has finished, " A recording is finished, will you put the power off?" will be displayed.•If power is interrupted or turned off too soon after recording, the program may not be saved. Therefore, first press the( V ) button and confirm the recording list, before powering the unit off. •If you press the POWER button while recording, the Screen Saver will initiate and recording will continue.(However,if recording with the duration set to [no limit], recording will stop and the unit will power off.)•Recordings of less than 10 seconds will not be saved.•To save the disk space while recording a digital screen, no data is saved when no signal is present.•The recording function will not initiate for a copy-protected program.C.4. You can also add recording time by pressing the RECORD (Ó) button during the Instant Record. Press the F / G repeat-edly to add to the recording time. Each press of F / G button changes the recording duration in the sequence shownbelow.basic value-> +10min -> +20min -> +30min -> +40min ->+50min -> +1hrThe extra recording time added to existed setting value makes final recording time length.](https://usermanual.wiki/LG-Electronics-USA/60PY2DRUA.Users-Manual-Part-2/User-Guide-515660-Page-27.png)